Creating Walls, Partition walls and Floors for a residential layout using REVIT
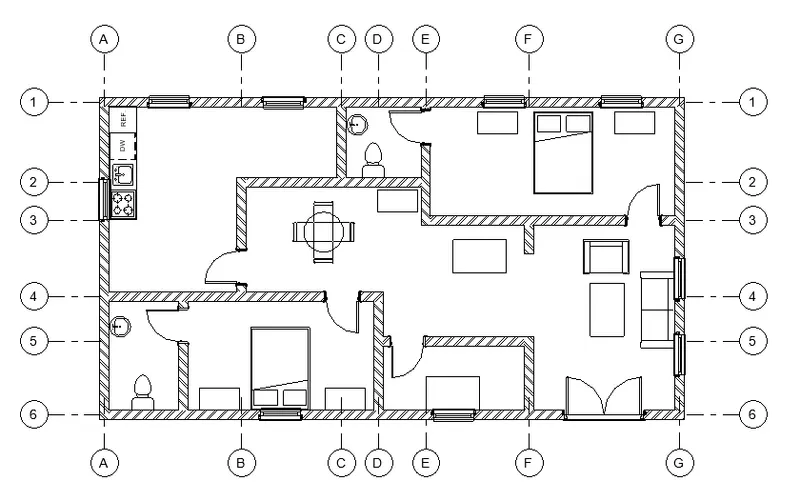
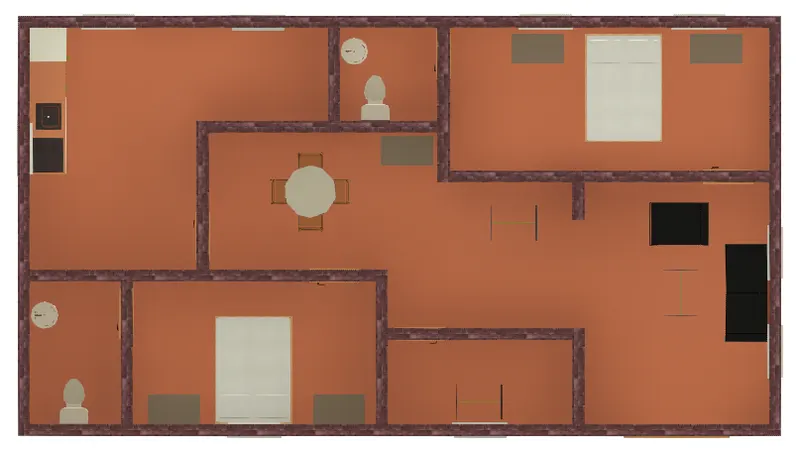
1) Use the project file created from Week 2. Use it for this assignment. Based on your layout from week 2, using floor tool under architecture tab and select the floor with appropriate material and thickness using the property browser create a layout in the Ground floor Level. Align the floor plan with grids created from week 2.
- double click on revit 2023 icon to open
- file>Open>browse the week 2 file
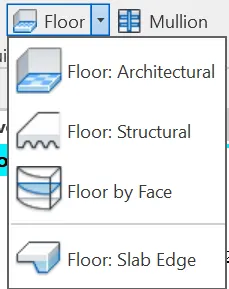
- click on Architecture tab>Floor>Architecture floor
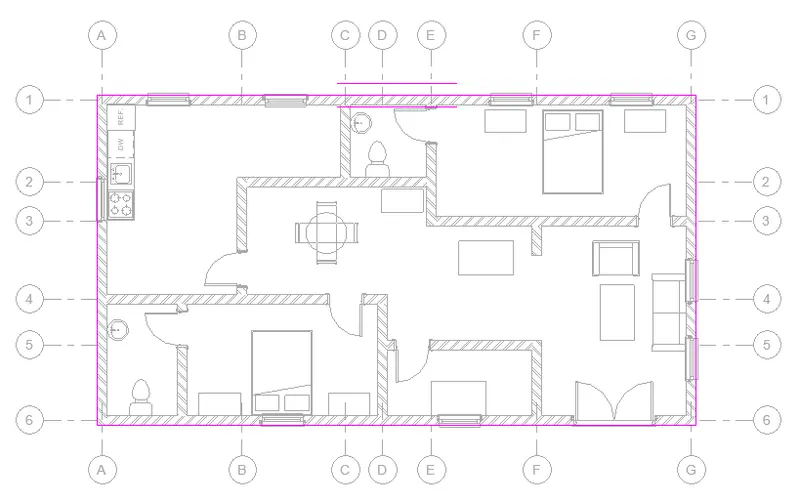
- create a boundary sketch to create floor
- Use tools like Line, rectangle, polygon, Pick line and Pick wall.
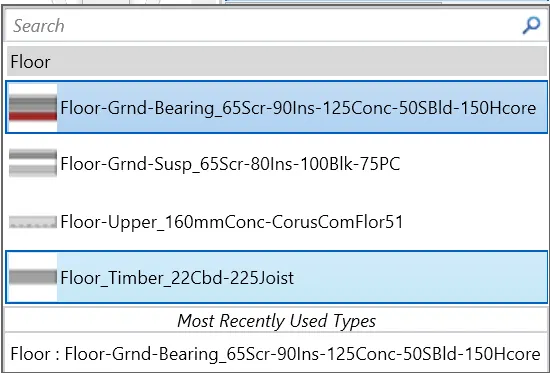
- Select the floor type in the property browser.
click Edit type>Edit (Structure) to modify the material and thickness of the floor
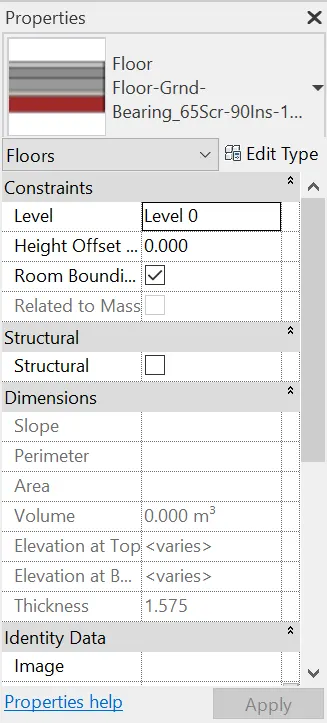
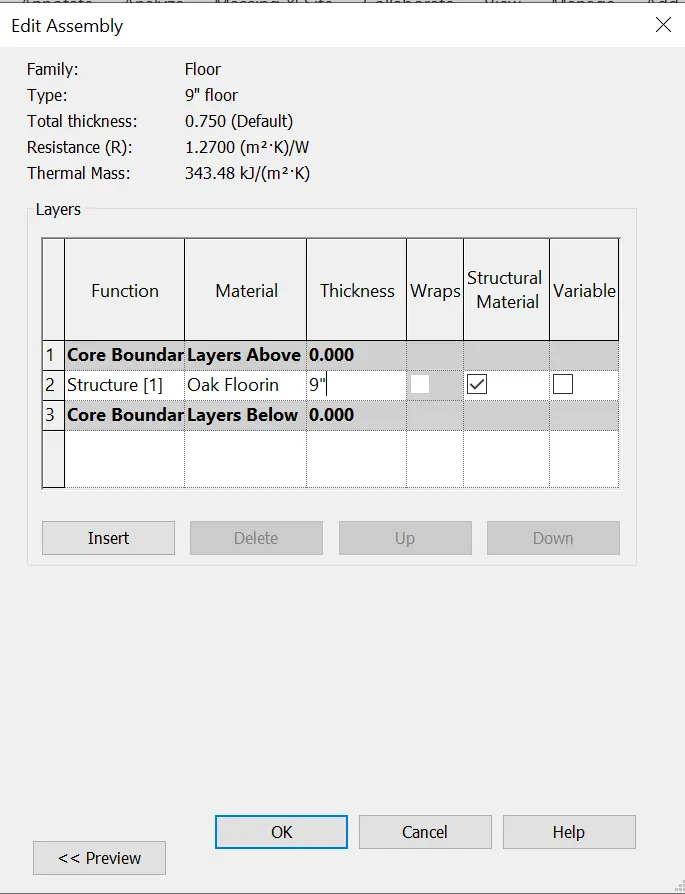
- click the material browser to select the material
- Add thickness in the thickness row in edit assembly property box.
Result:
2) Add walls based on the floor layout. Pick lines or use the draw tool to modify the boundary of walls. Use the property browser to select appropriate material and thickness for walls. After creating the walls verify using the property browser to see if the top and bottom of the walls are constrained.
- Select the walls in the model to change the material and thickness
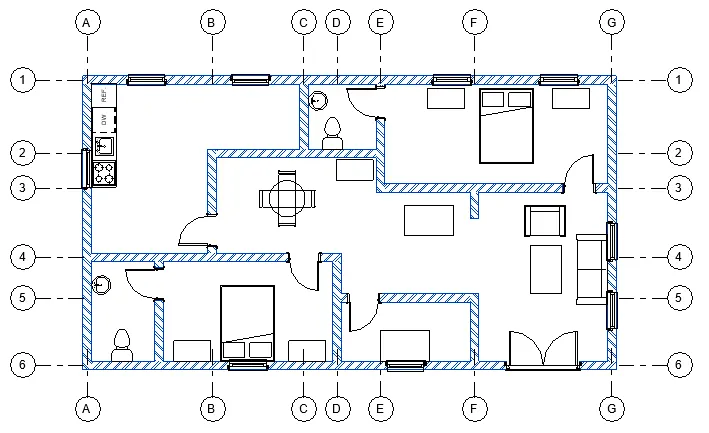
- click Edit type>Duplicate to rename the original.
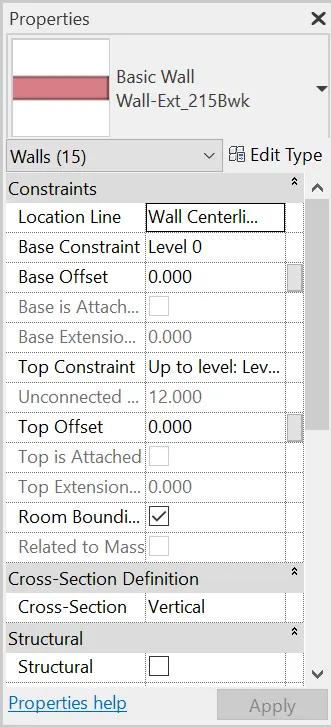
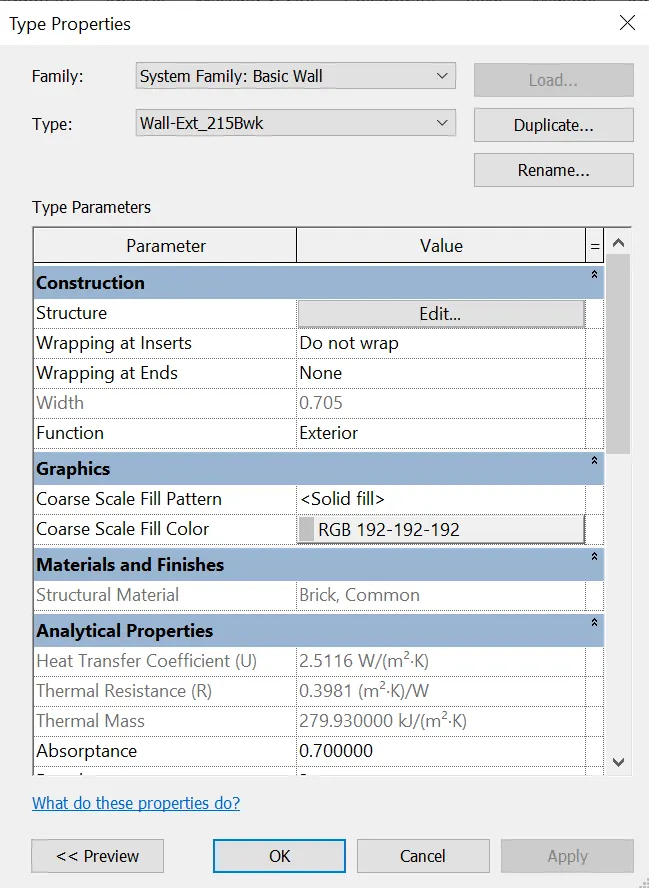
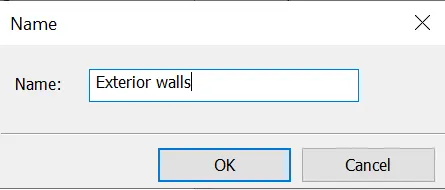
- Ckick duplicate and rename to proceed with the materila application and thickness.
- Click Edit (Structure) to alter the material and thickness.
- Click the material browser (three horizontal dots) in the "Edit assembly", and it directs to the material browser to change the material.
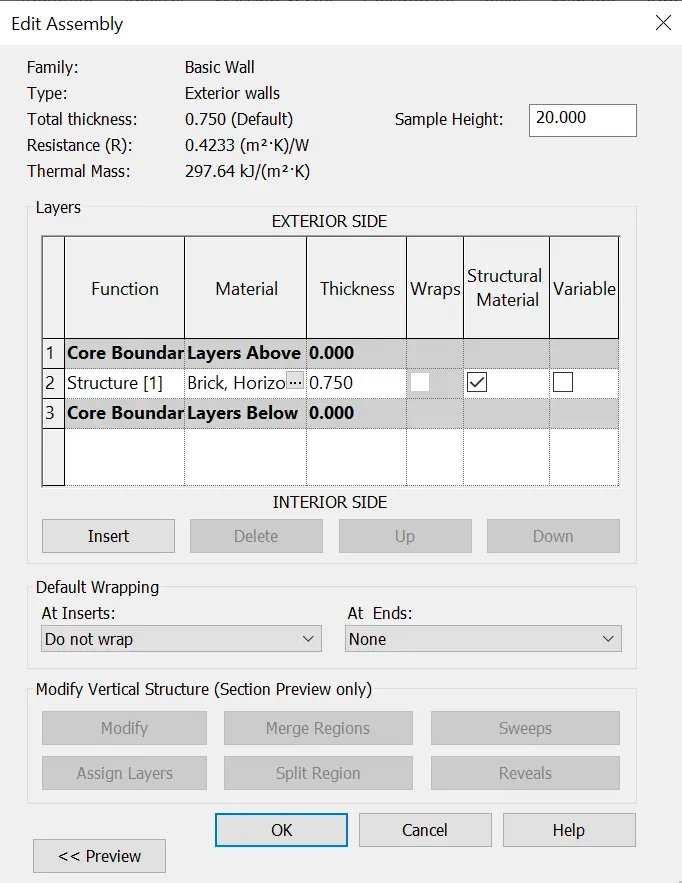
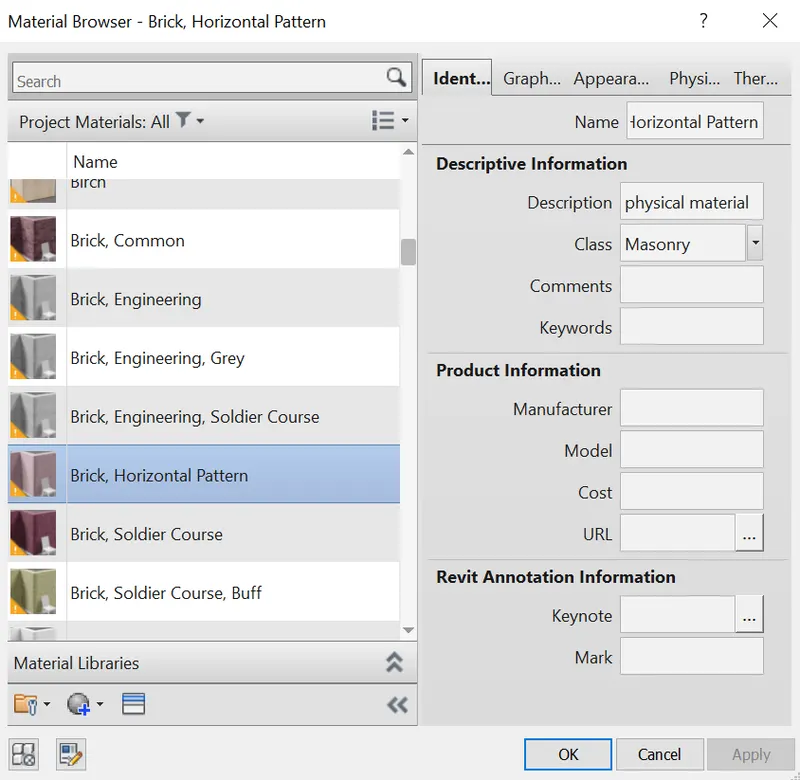
- Alter the thickness in the thickness row by adding a desired value
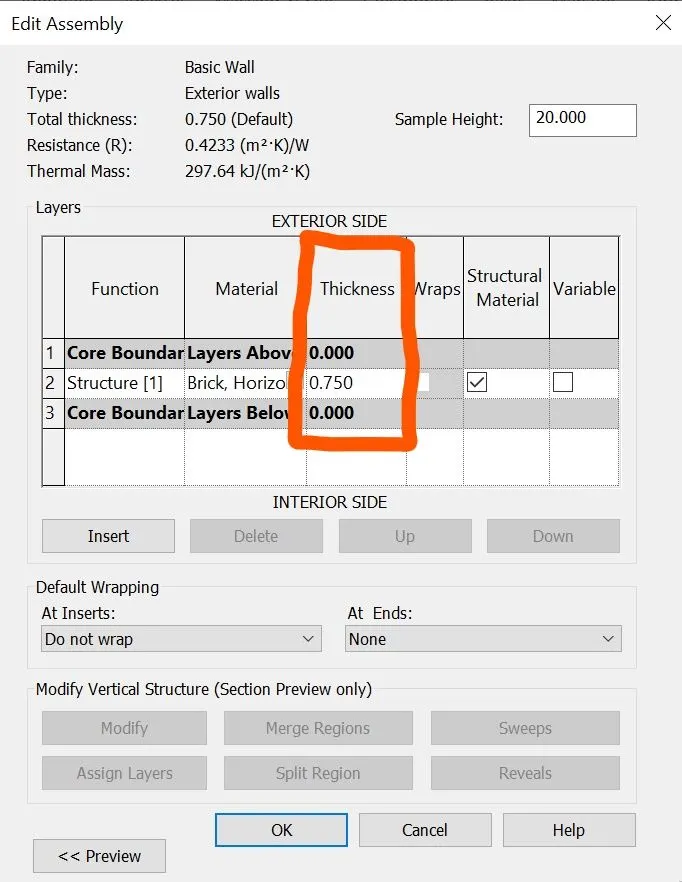
Result:
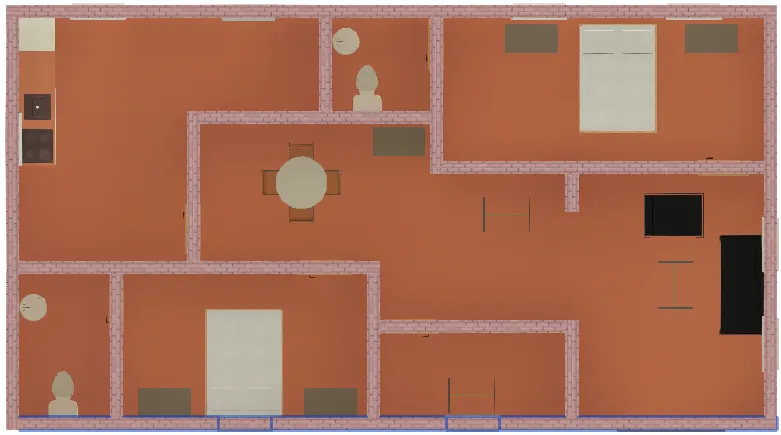
a. Based on your observation, what is beneficial for connecting walls with associated levels rather than being Unconnected
connecting the walls with associated level will be benefical because in future if there any need to change the level height the respective walls will align with the concerned level instantly.
b. Which option is convenient for modeling walls, By Height or By Depth?
In case of creating architecture wall we have to apt for height because it is a super structure and have to proceed above the plenth level and in case of footing walls, by depth suits the best.
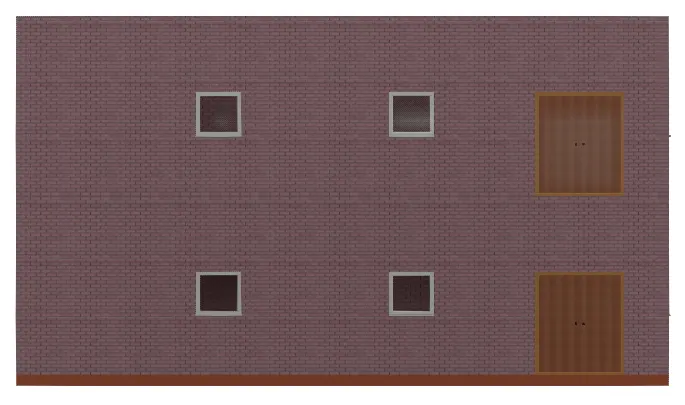
3) Copy the model elements ( wall, floor ) modelled to Ground Floor Level and paste it aligned to First Floor Level . Use modify tab to utilize copy and paste options to align
elements to a different level
- Select the components (walls and floor) to be copied in the model
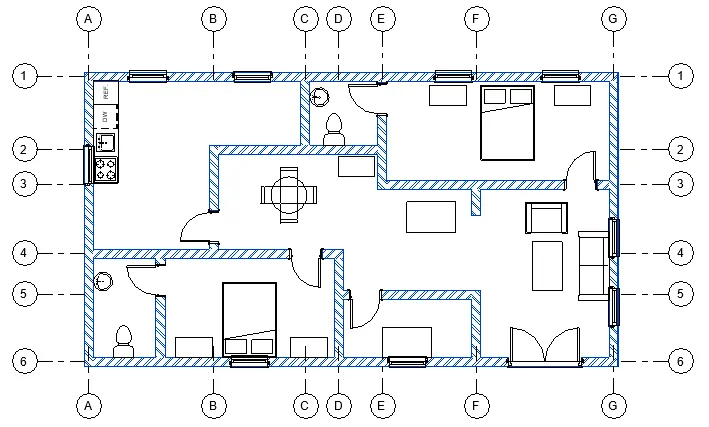
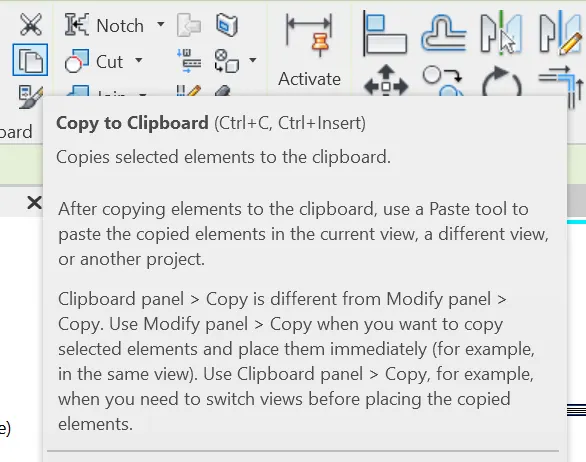
- After selection, click the "copy to clip board" option which is available in the clipboard panel.
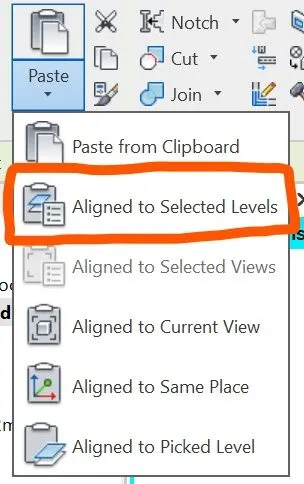
- Then, Click the past option to select "align to selected levels"
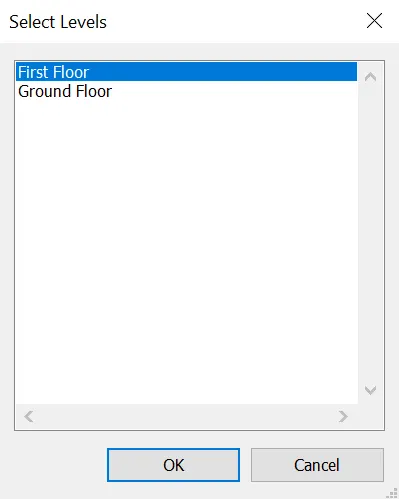
- Now, select the first floor to copy selected walls and floor.
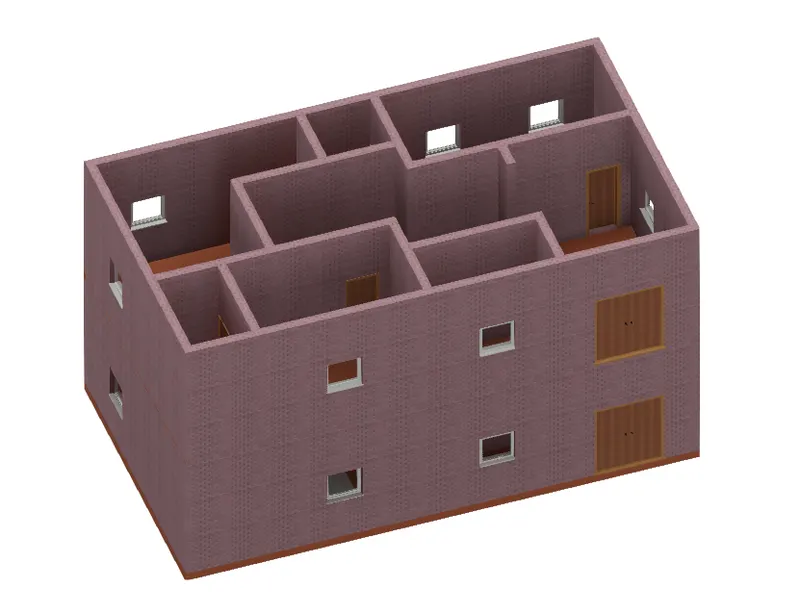
Result:
4) Use interior partition walls to create separate rooms within your residential unit
- Go to architecture tab>walls>wall:Architectural.
- select the preferred wall in the property browser.
- set the constraints from Ground floor to First floor.
- create walls by using the model tools which is available in the ribbon.
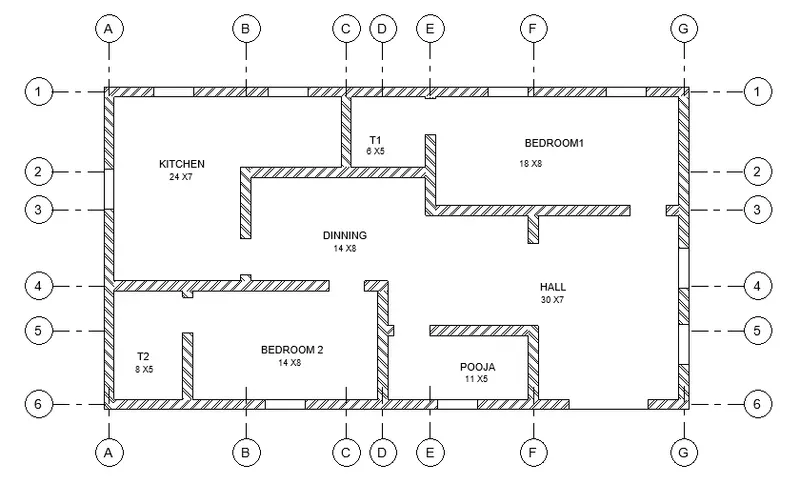
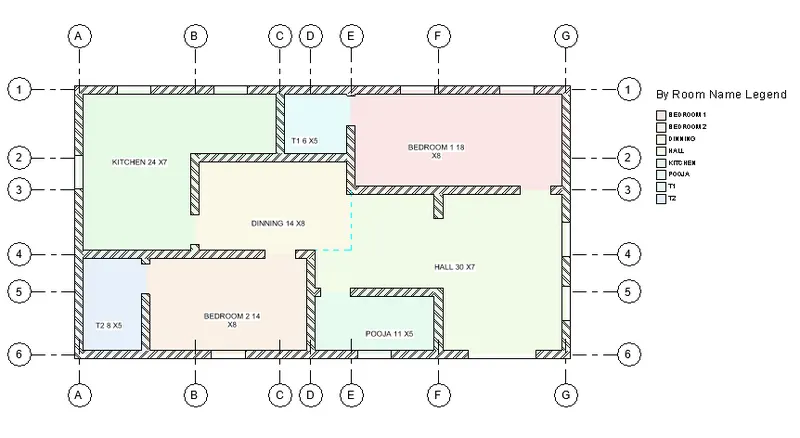
Result:
5) To place all the relevent components in the model.
Go to insert tab>load families.

- click "load family" to browse and import in the model to place.
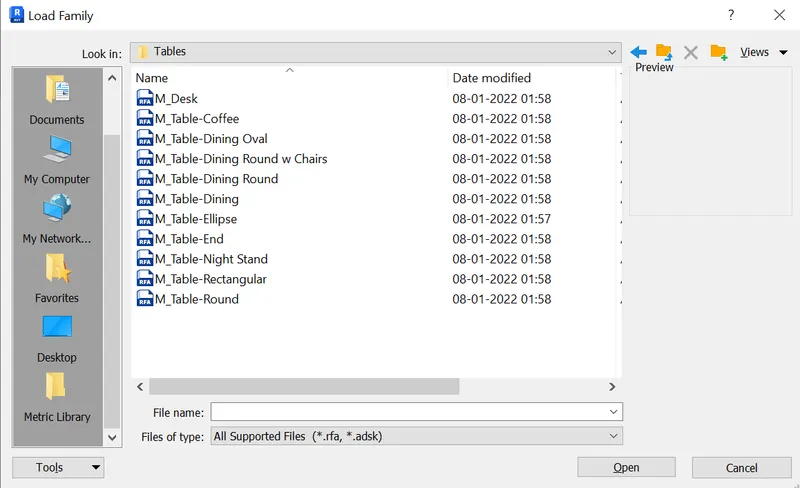
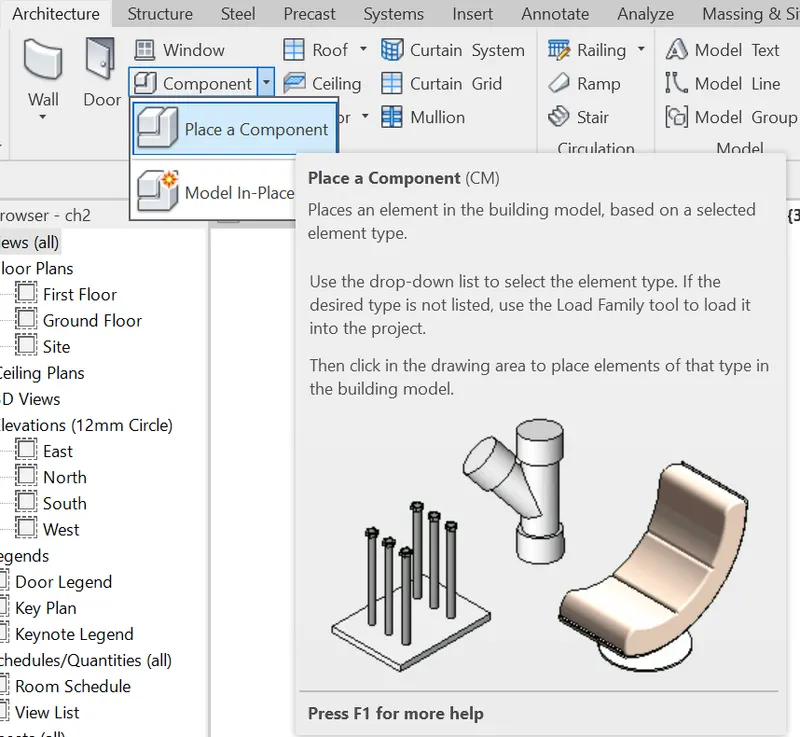
- And go to architecture tab>component>place a component
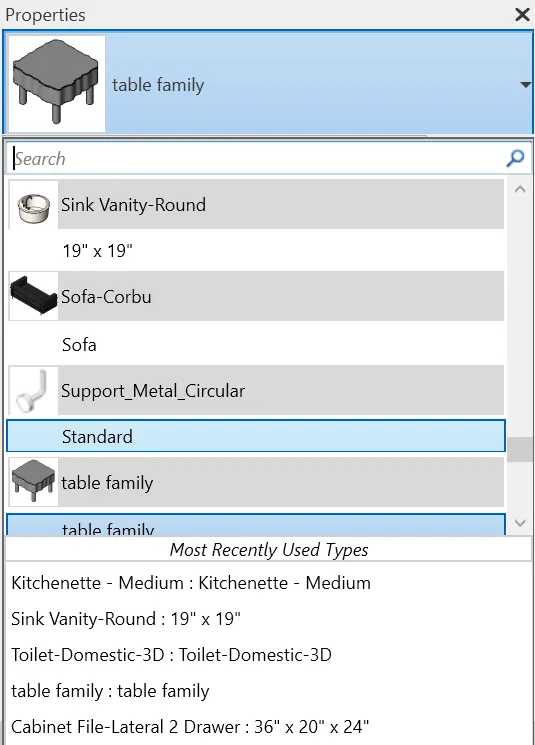
- Select the components in the property browser to place in the model.
Result: