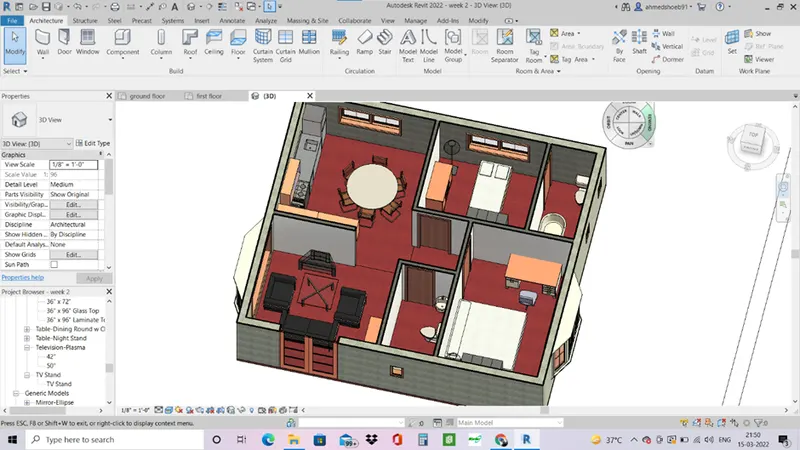
Creating Walls, Partition walls and Floors for a residential layout using REVIT
Aim – to create floor for the building with appropriate material and thickness.
Procedure –
- Open the week 2 layout in the revit.
- Go to ground floor level on floor plans.
- Select floor in toolbar and architectural floor.
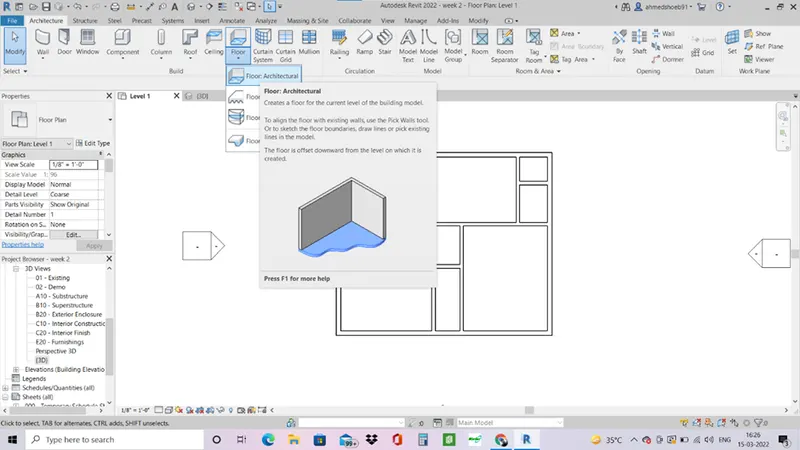
- Select pick lines and outer boundary of walls.
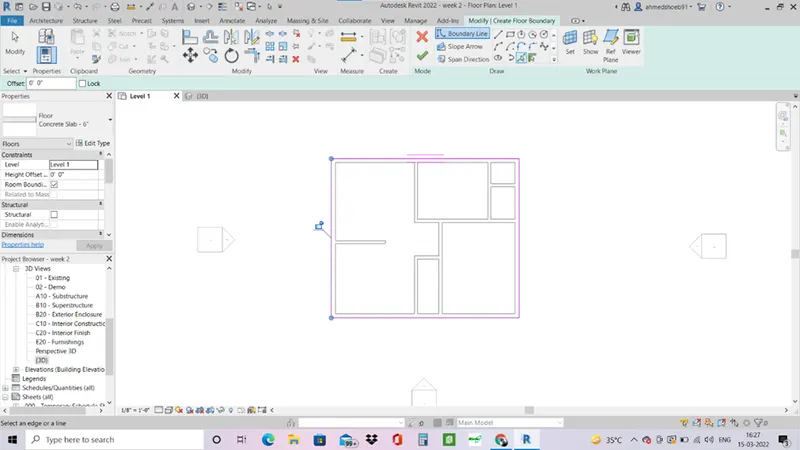
- A floor is created.
- In floor properties edit the structural properties of the floor.
- Duplicate the generic floor of 1’ to carpet 4”.
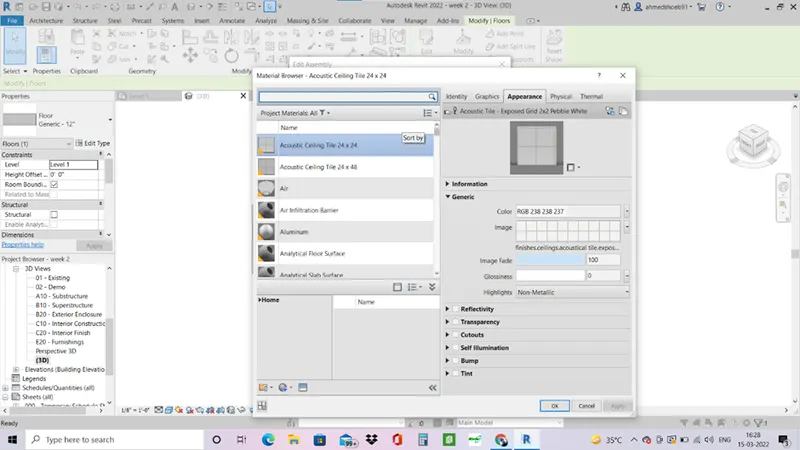
- A floor is created.
Result –
An architectural floor is created for the layout. And the floor is modified through edit properties.
Aim – to create the walls on the layout and need to apply changes to the materials and thickness of the using the property browser of the walls.
Procedure –
- Select the walls in toolbar.
- Select architectural walls.
- Go to property browser>edit.
- Duplicate the wall and rename it accordingly.
- Change the thickness of the wall and material of the walls .
- Draw the walls accordingly on the layout of the ground floor plan.
- Notice the height constraints of the walls.
- Set the walls constraints, set the height constraints to first floor.
- This will change the walls height according to levels.
- Walls are created.
Result –
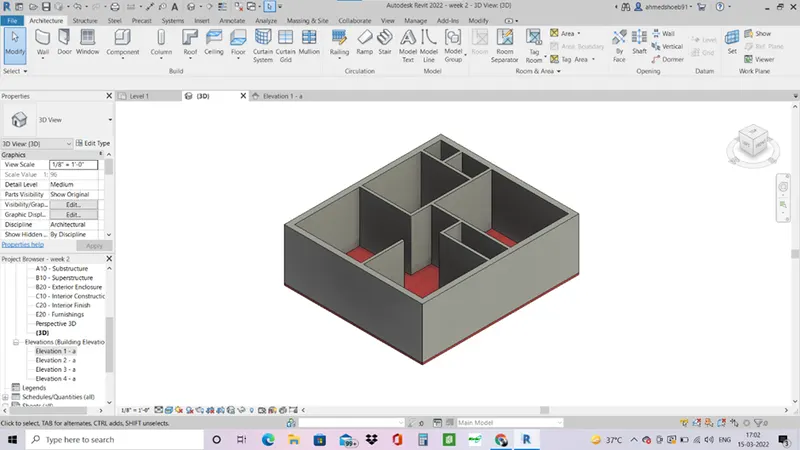
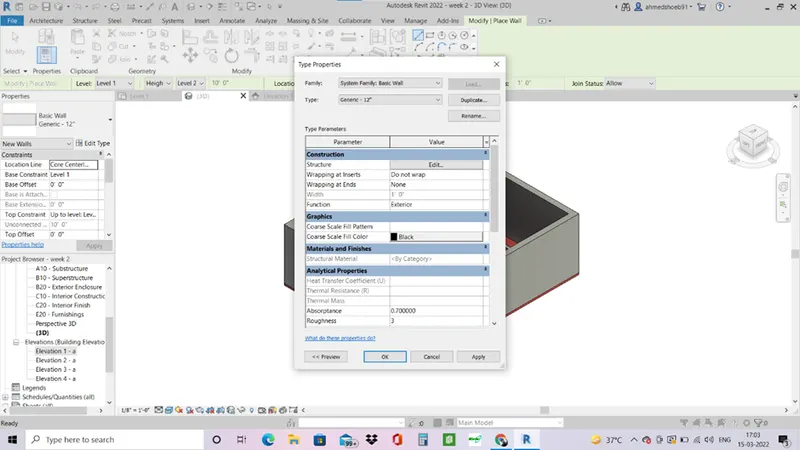
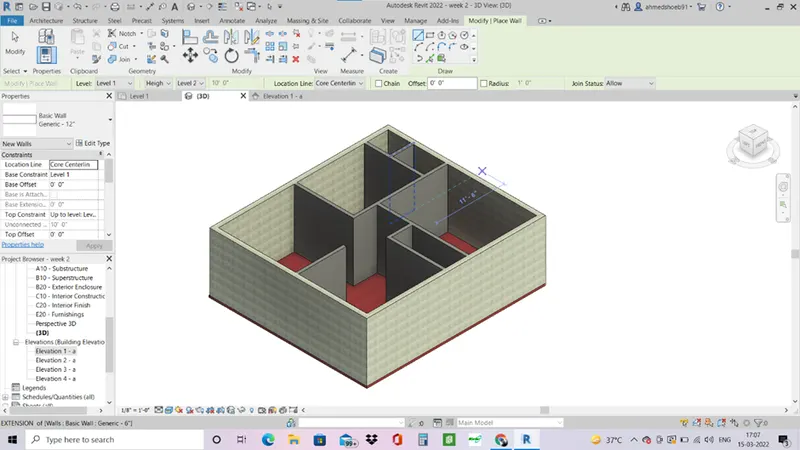
- A) According to me it is beneficial for walls to be connected to the levels rather than unconnected. This will help in drafting the walls height easily by just changing the levels the height of the walls will change automatically. Unconnected also helps in some cases where individual walls height are required.
- B) Height is better option for modelling of walls and is much easy than depth.
Aim – to copy the model elements and paste it on aligned level.
Procedure –
- Go on ground floor plan level.
- Select all the elements on the ground floor.
- Go to toolbar and select copy option.
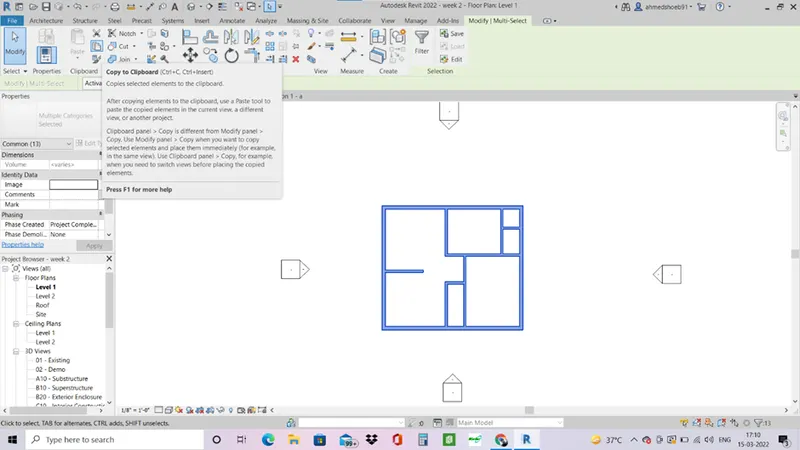
- Go to paste option and select aligned level> first floor.
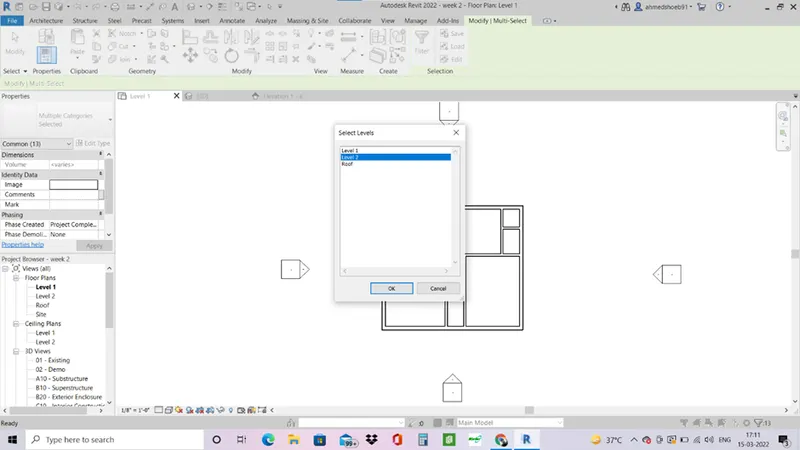
- The elements are copied on the first floor.
Result.
Select the floor element and repeat the copy paste option to create the floor on level 1.
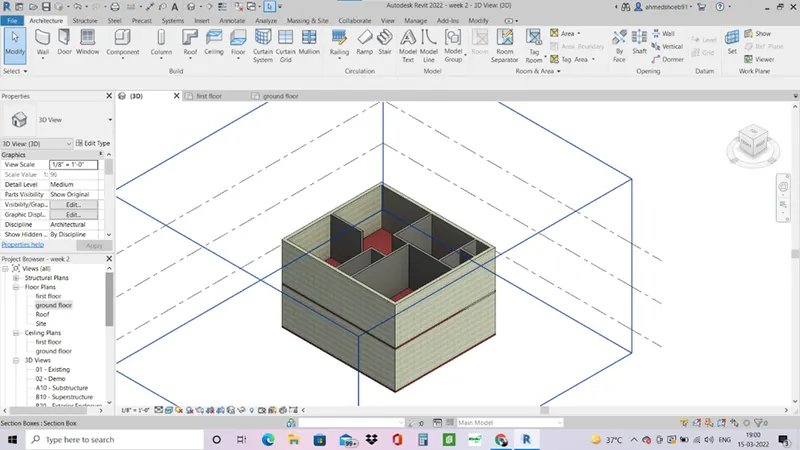
Aim – using the partition walls to create the separate rooms for the unit.
Procedure –
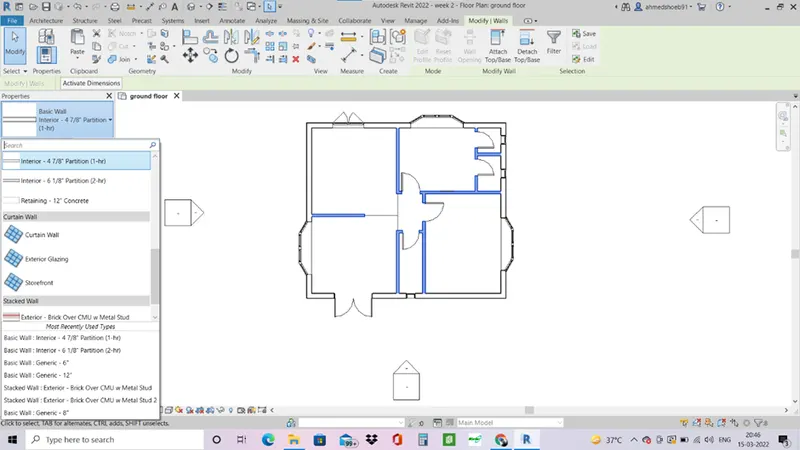
- Select walls>architectural walls.
- Select the partition walls of 4 ½ inches.
- Draw all the partition walls required.
- Internal partition walls is created.
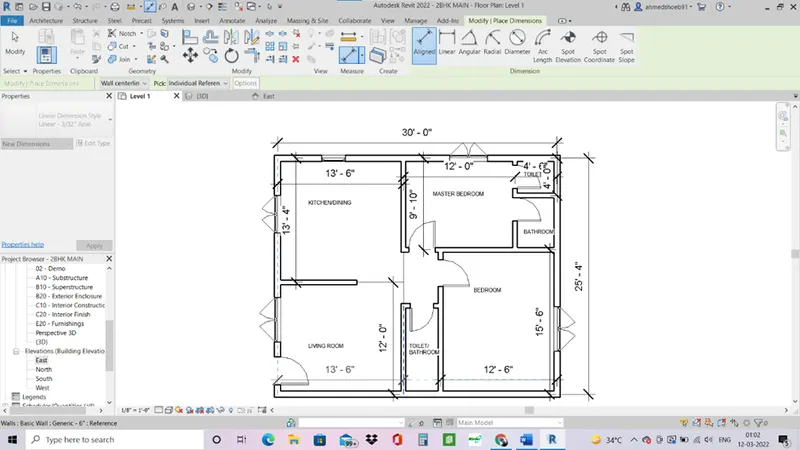
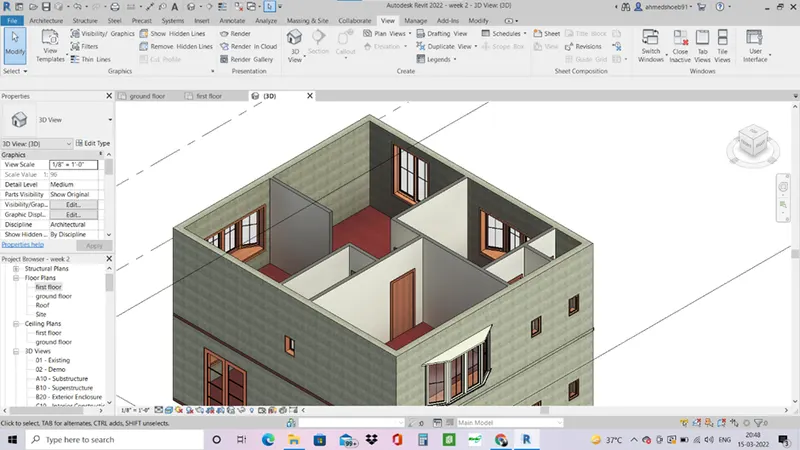
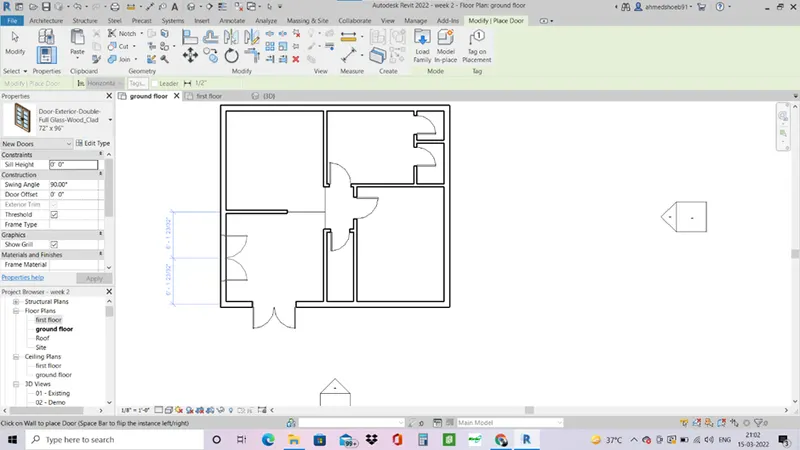
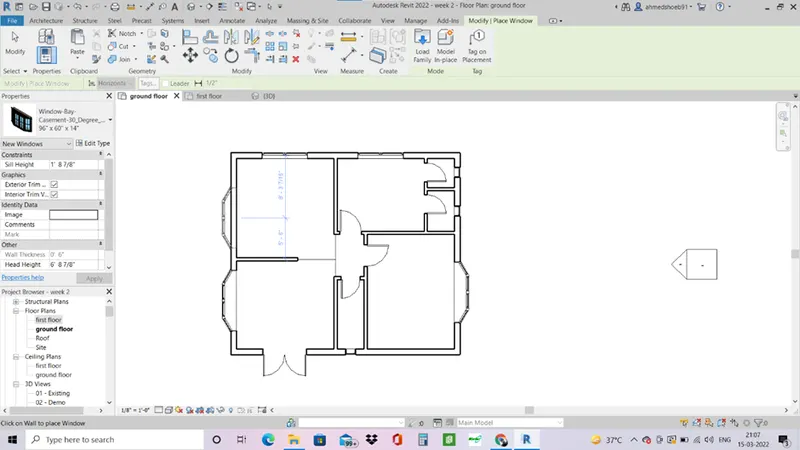
- Door and windows are added.
- Use room tag and annotate the room accordingly.
Result –
Aim – to add various components in the residential unit.
Procedure –
- Go to place component in toolbar.
- Select the required family and element which is to placed in the room.
- If the required elements are not there then you can load the families in Revit.
- Once the families and elements are loaded you can individually place the elements in the Revit.
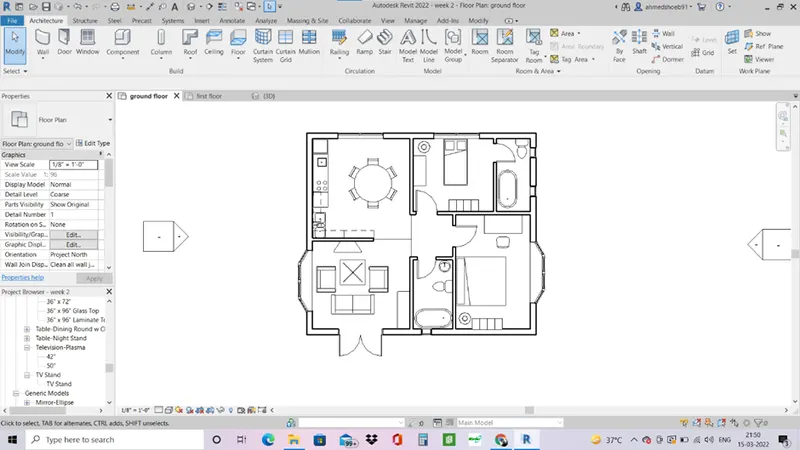
Result –
Go to 3d view to see the model.