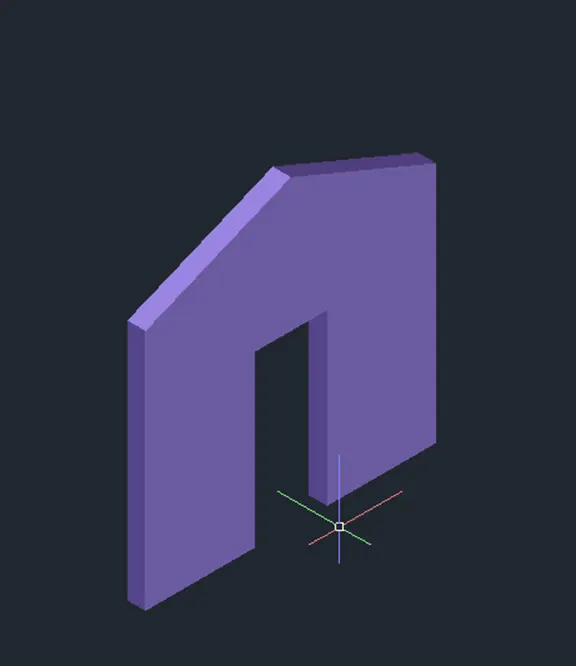
Creating various 3D Models like Furniture, Footing, Girder, Column drop with panel and Gable Wall in AutoCad
1.ANSWER
AIM: Create a 3D Furniture element as shown in the Figure. Assume dimensions which are missing.
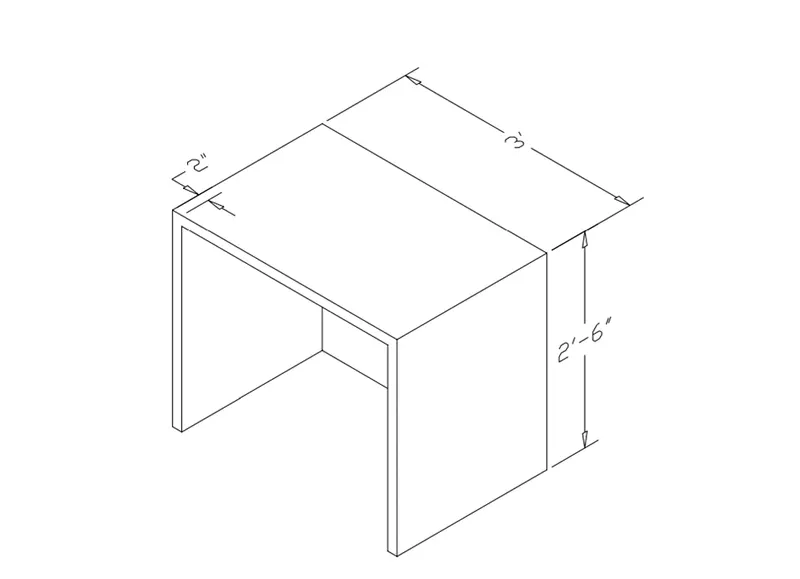
PROCEDURE:
- Open the new drawing sheet and change the units from metric to engineering and precision 0’-0”.
Used commands:
- Rectangle
- Region
- Extrude
- UCS
- Move
- Subtract
- 3D orbit
Create a rectangle 2’-0 X 3’-0” by using REC Enter in the 2D wireframe mode in top view.
Then change the view by clicking the corner of WCS ICON or change the top view to isometric.
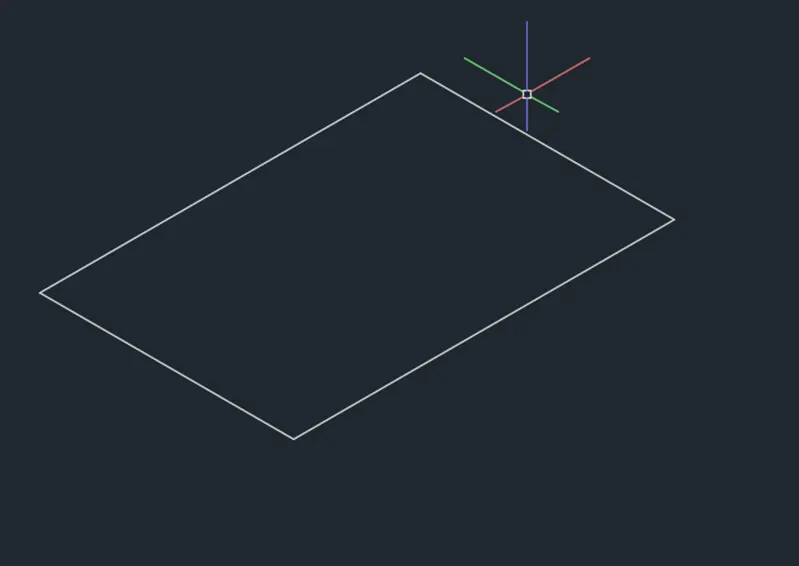
- Using a region by typing REG in the command prompt for making rectangle into solid.
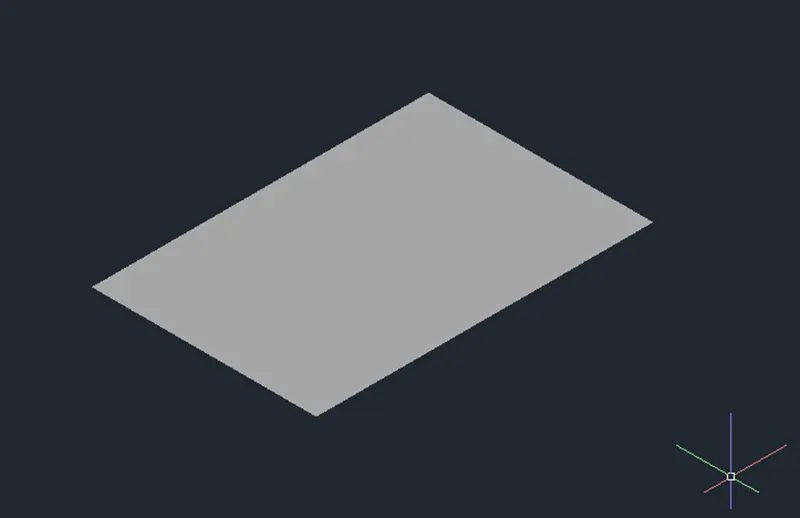
- Using a extrude command from the ribbon.
- Extrude the solid to the depth of 2’-6” ENTER.
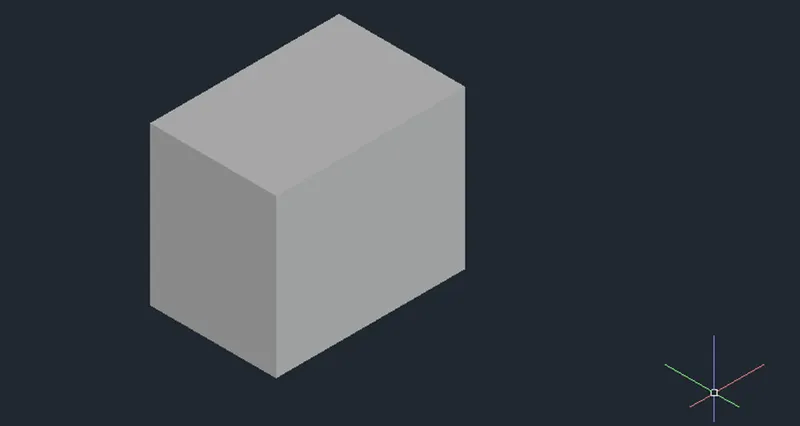
- Create another rectangle at a required face by using UCS command by typing UCS in the command prompt.
- Then Select a required face.

- Here iam using different layer for the internal rectangle for more clarity.
- Then move the rectangle to the solid place at required position.
- Apply region by REG ENTER.
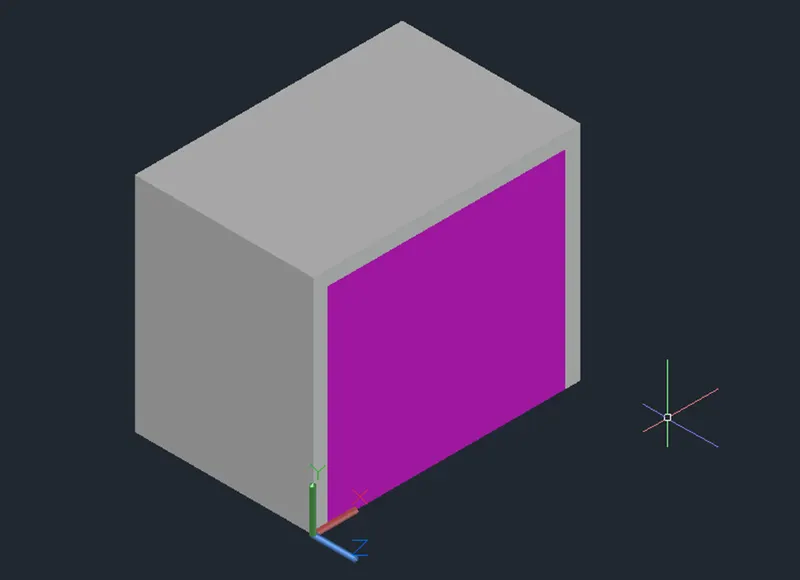
- Then Extrude the inner rectangle.
- For subtracting use Subtract command in the command prompt.
- Use 3DORBIT for clear view.
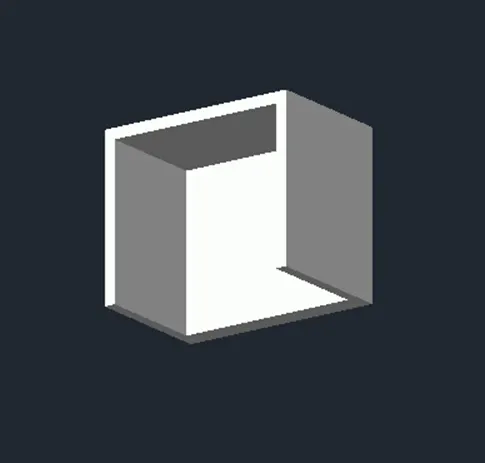
RESULT:
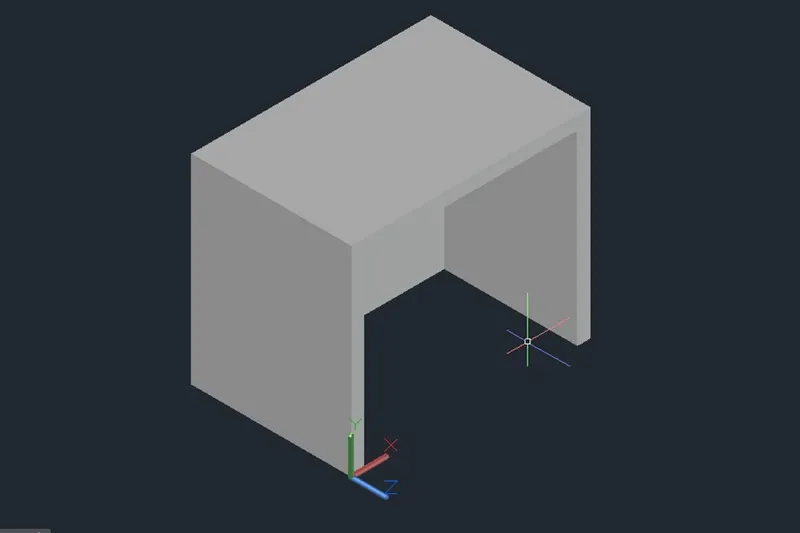
2.ANSWER
AIM: Create the 3d Model of an Isolated footing as shown in Figure.
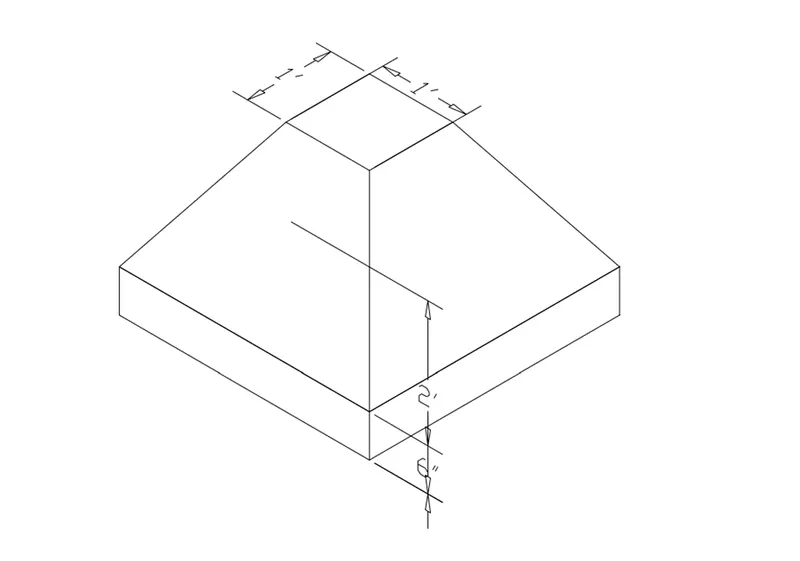
PROCEDURE:
- Create two Rectangles by using REC ENTER.
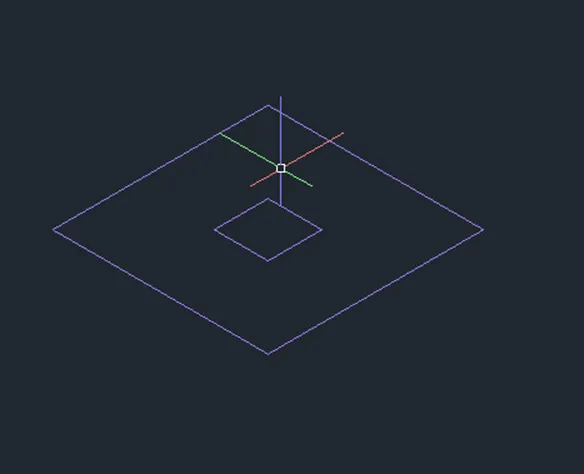
- Using Move command to move the centre rectangle at z-axis with 2’-0” ENTER.
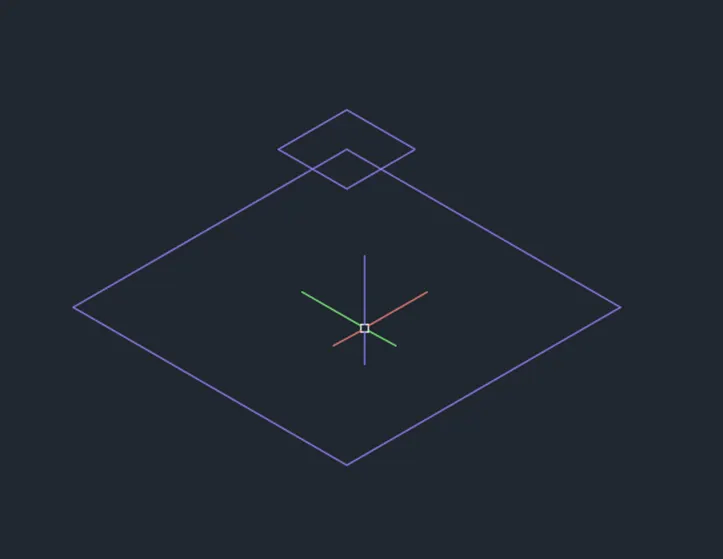
- Using Loft and Extrude commands to create the geometry.
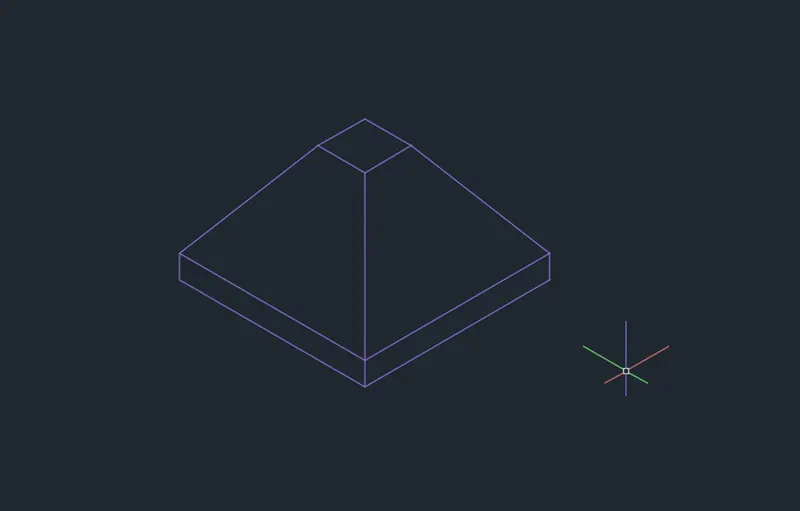
RESULT:

3.ANSWER
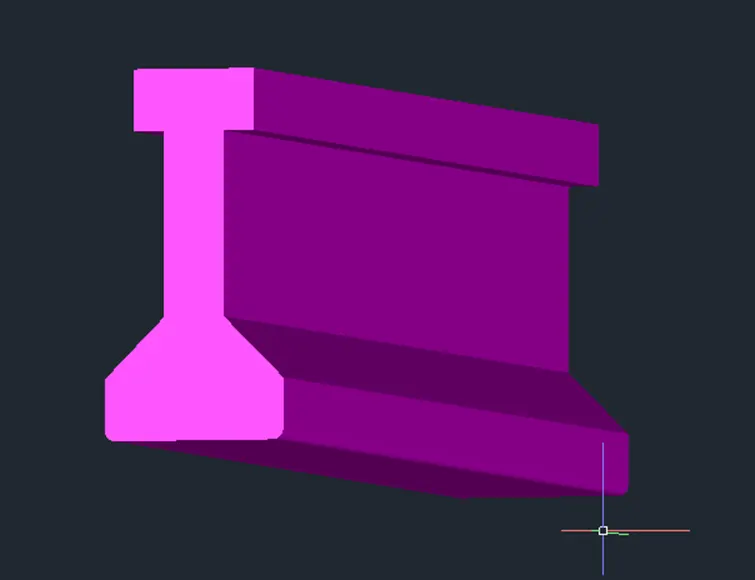
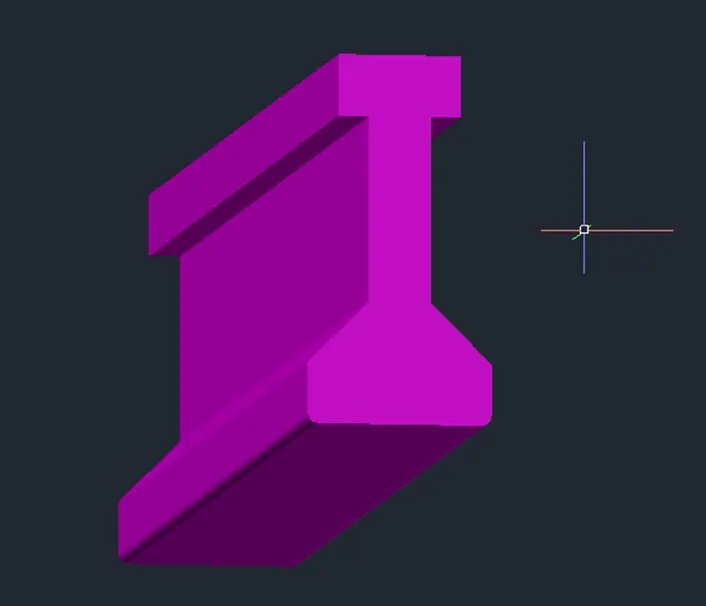
AIM: Create the 3D view of the AASTHO Type Girder.
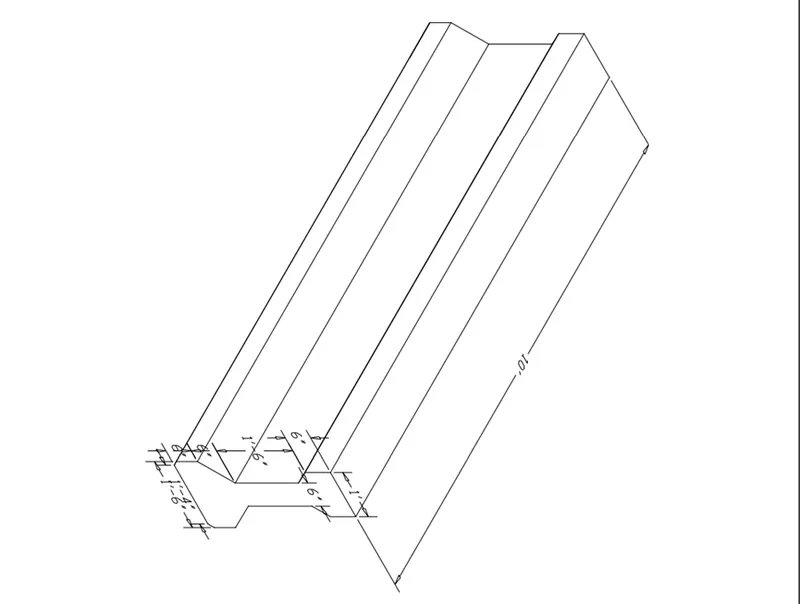
PROCEDURE:
- Using the Line command for creating a face of AASTHO girder in 2D wireframe.
- Using Fillet command for the fillet the edges 1” radius.
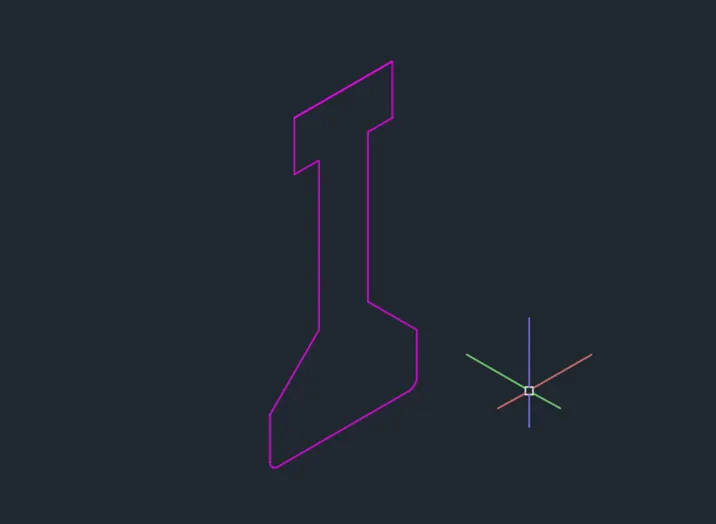
- Apply the region to the geometry.
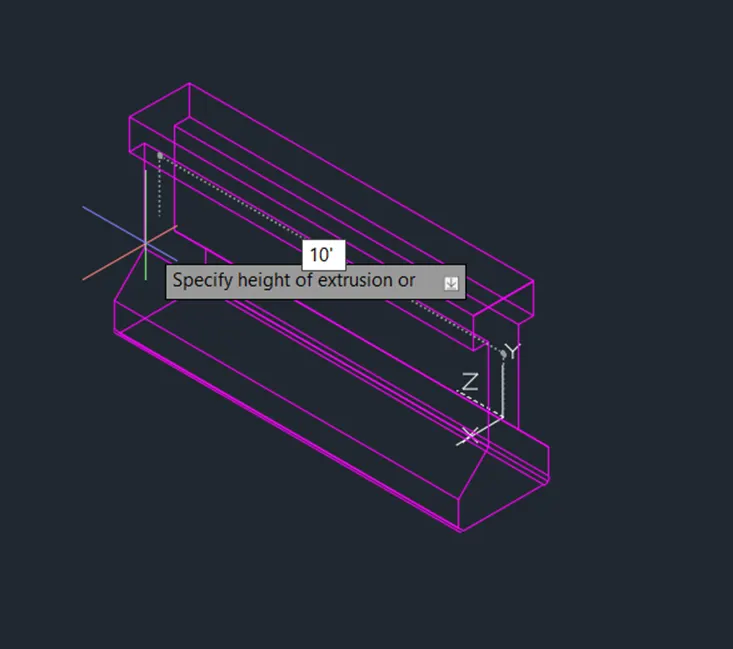
- Using extrude by typing EXT in the command prompt.
- Extrude the girder span of 10’-0” ENTER.
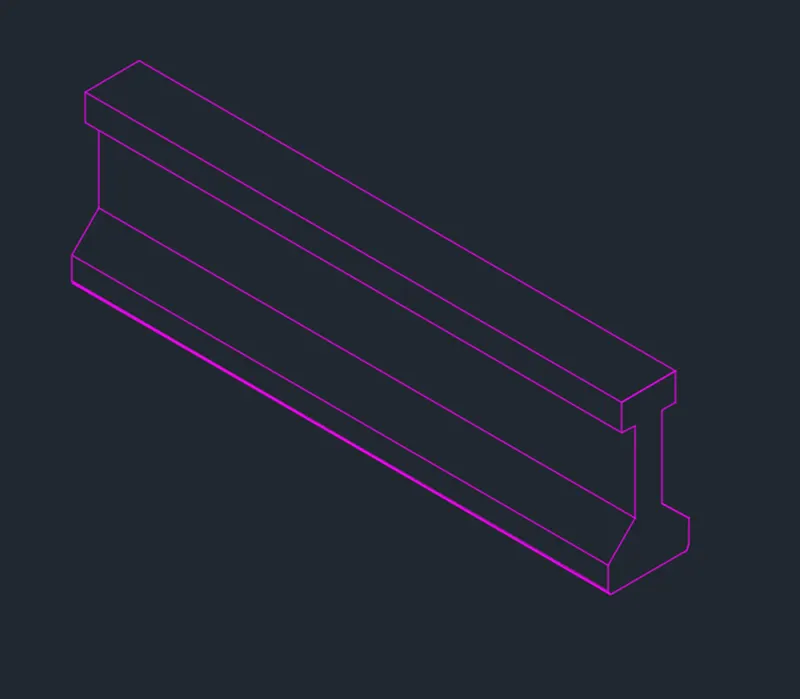
- Change the 2D wireframe to Shadded view.
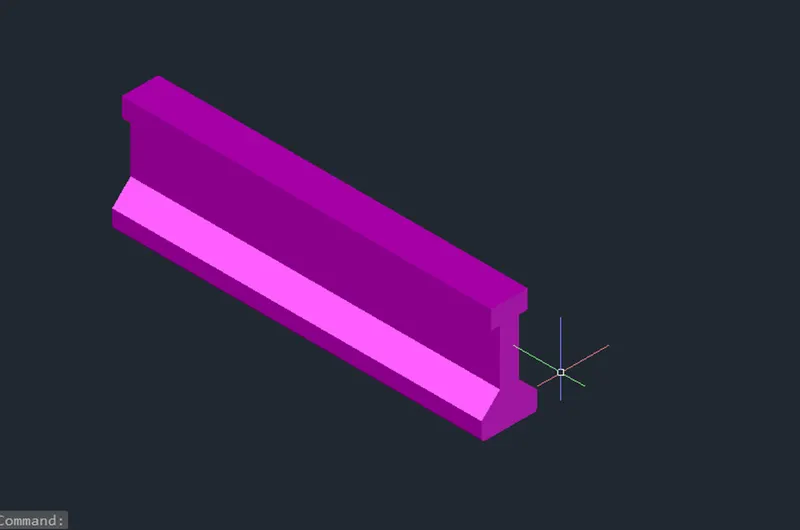
RESULT:
4.ANSWER
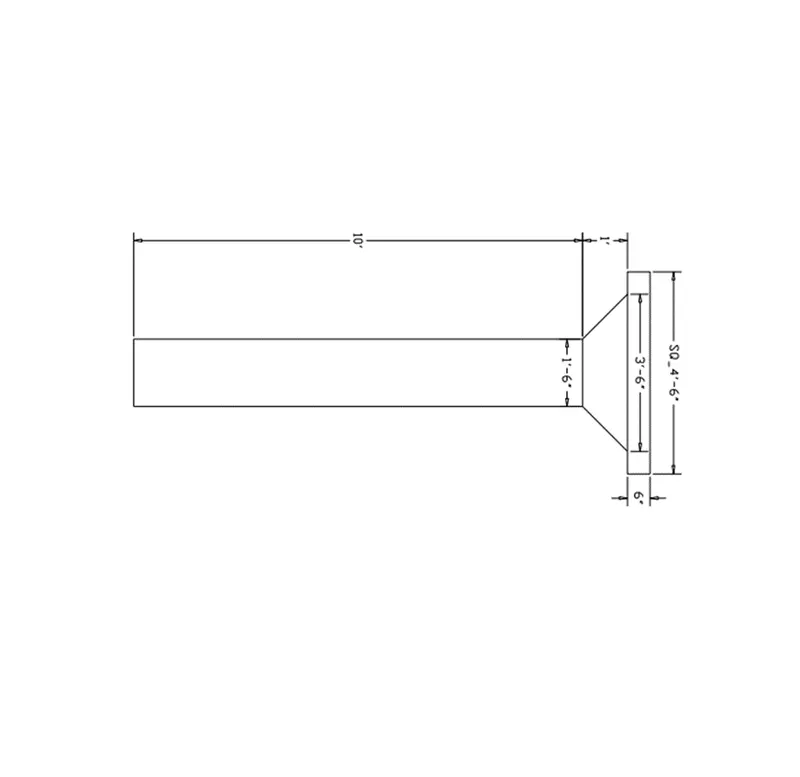
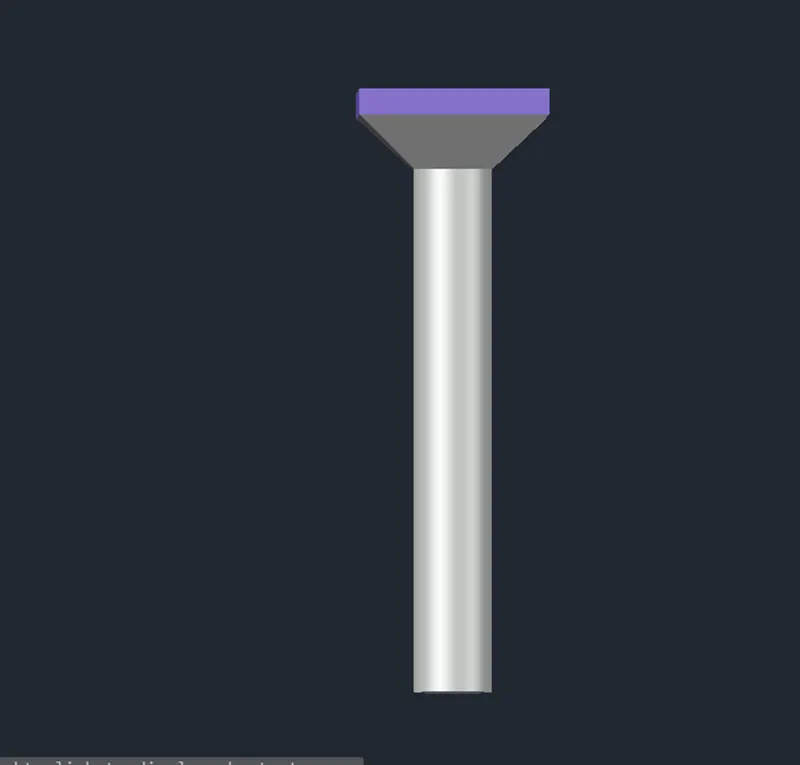
AIM: Create a 3d Model of a drop column with panel as shown in section and isometric view.
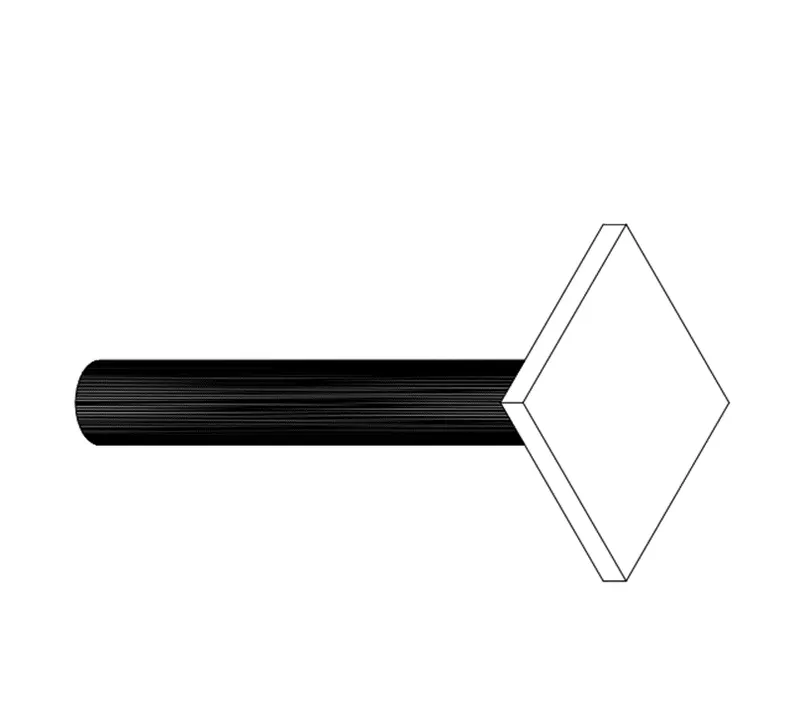
PROCEDURE:
- Using circle command for creating the circular column.
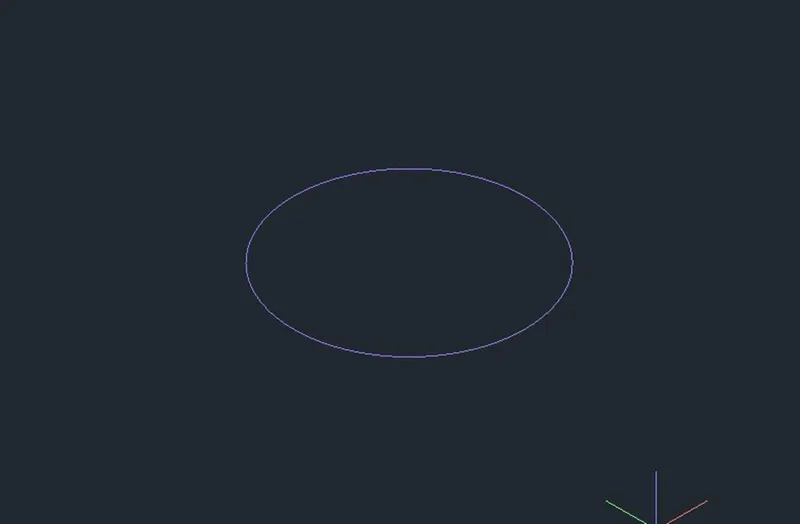
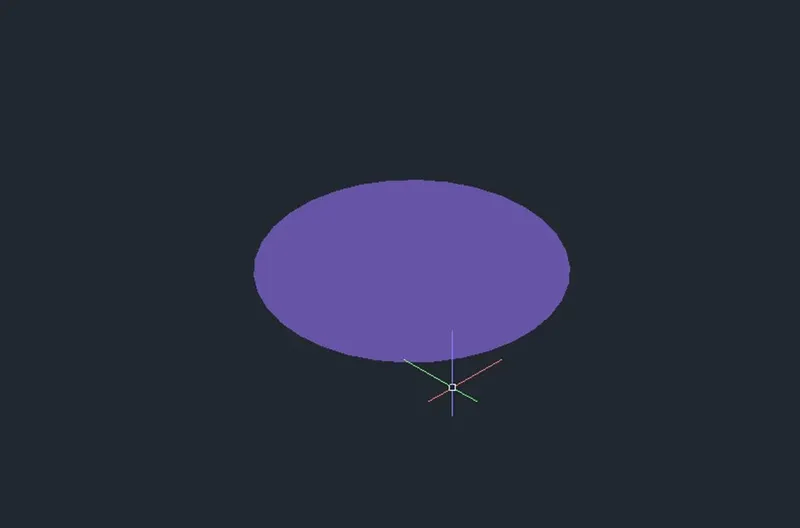
- Apply the region command to make a circle into solid.
- Using Extrude command for height of the column towards Z-axis with 10’-0” ENTER.
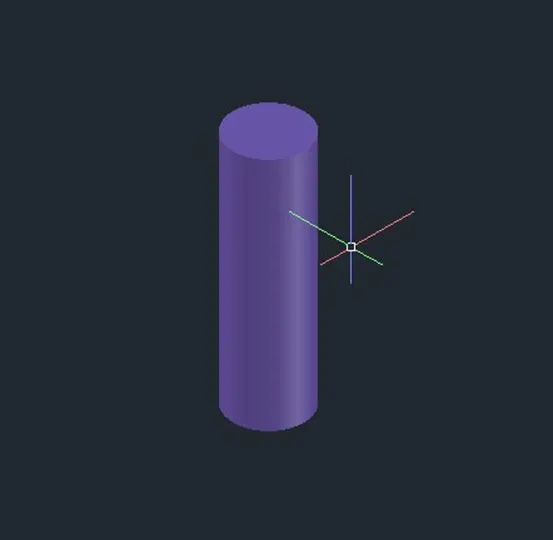
- Use UCS command to work on the required face.

- Then create a rectangle and extrude with a Tamper angle 46 degrees with height of 2’-0” ENTER.
- Then using the Press pull command to lift the top face of the panel.
RESULT:
5.ANSWER
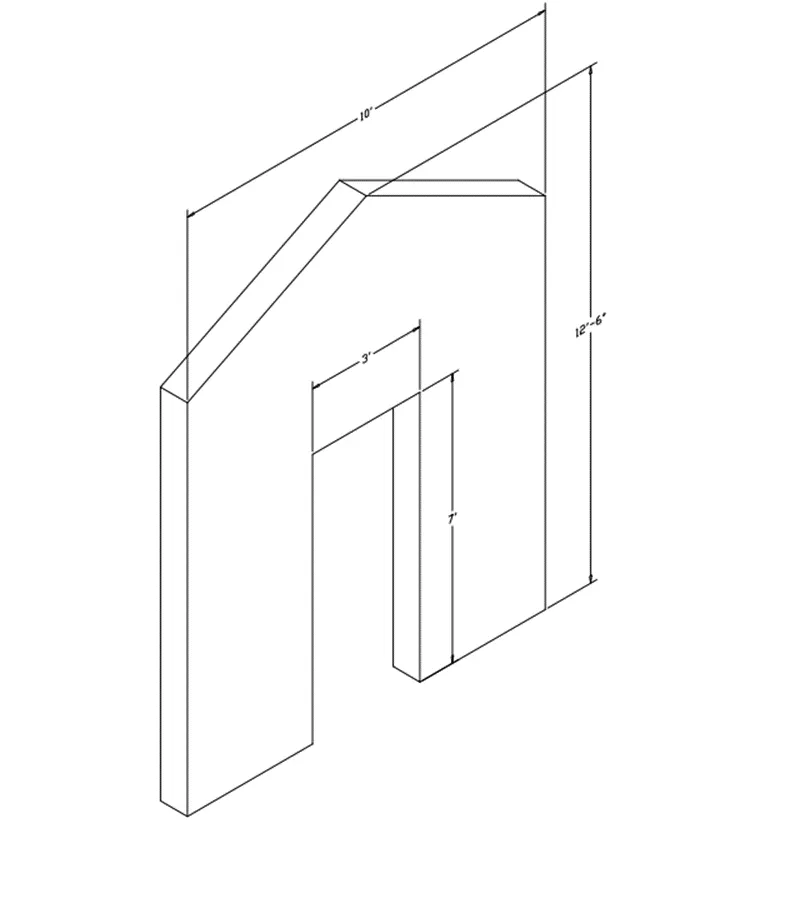
AIM: Create the 3d model of a wall as shown in Figure. Consider wall thickness as 9”.
PROCEDURE:
- Using Line command to create 3d model wall in the isometric view.
- Create a wall with required dimensions.
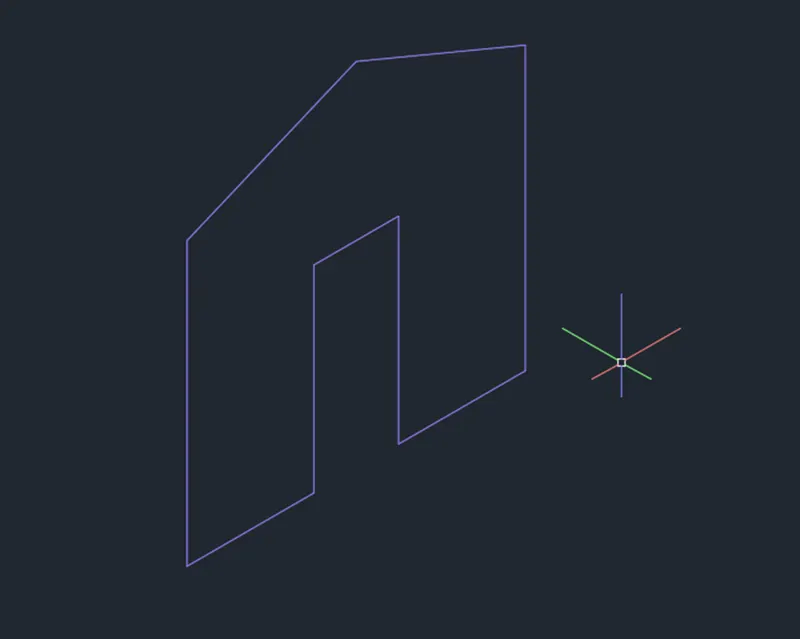
- Then Apply the region to the geometry for make it into solid.
- Then extrude by EXT ENTER → extrude with 9” thickness of the wall.
RESULT: