Creating various 3D Models like Furniture, Footing, Girder, Column drop with panel and Gable Wall in AutoCad
1) AIM : Create a 3D Furniture element as shown in the figure.
INTRODUCTION: we use 3D basic modeling in autocad.Here we use 3D wireframe to create figures.
PROCEDURE:
- First go to setting in autocad change 2D interface to 3D interface.
- leave the ucs same as wcs.
- now start the fig. from origin(0,0,0)
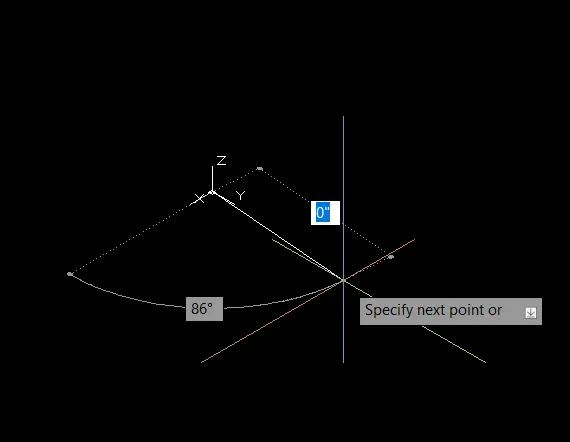
- now orthomode on and direct. the mouse where you want to draw
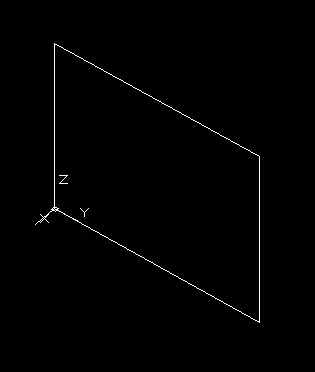
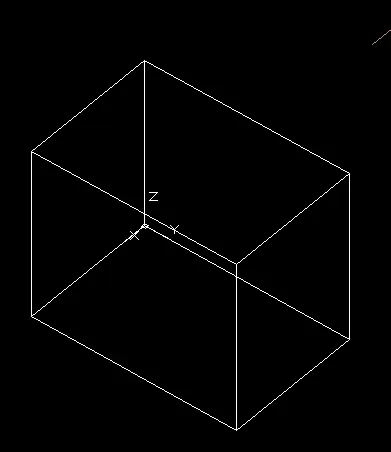
RESULT:
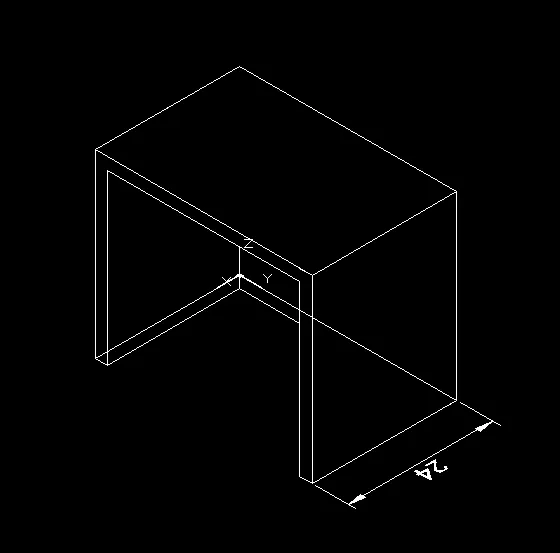
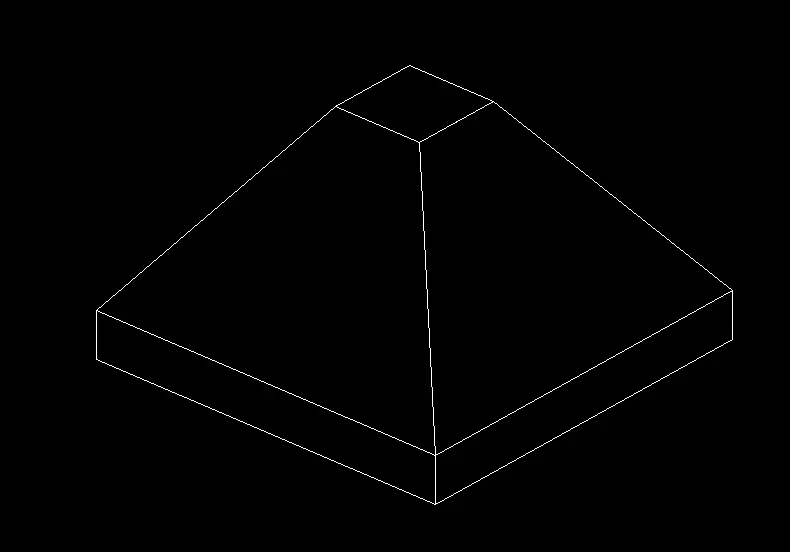
2) AIM: Create the 3d Model of an Isolated footing as shown in Figure.
INTRODUCTION:we use 3D basic modeling in autocad.Here we use 3D wireframe to create figures.
PROCEDURE:
- First go to setting in autocad change 2D interface to 3D interface.
- leave the ucs same as wcs.
- Now first create rectangle of 4'x4' and another rectangle 1'x1'
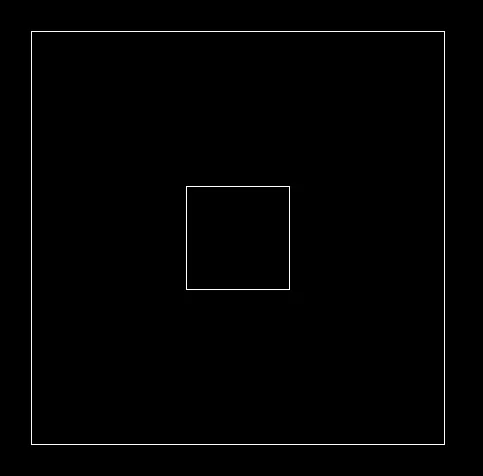
- now MOVE the smaller rectangle above at 2'
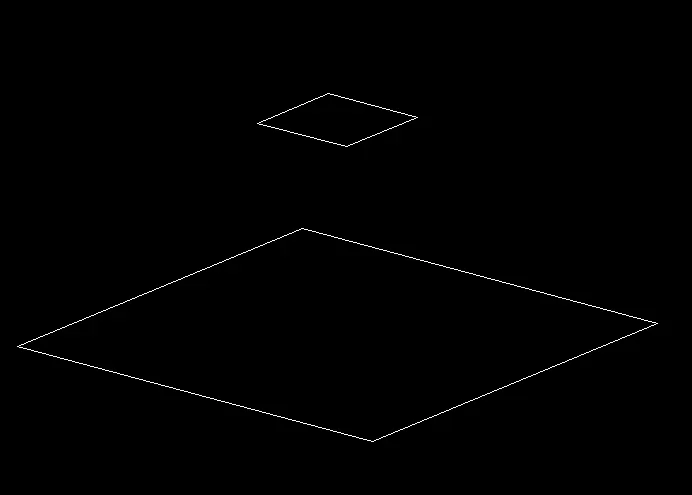
- Now join the corner point and type " 3Dface" to make the face on it.
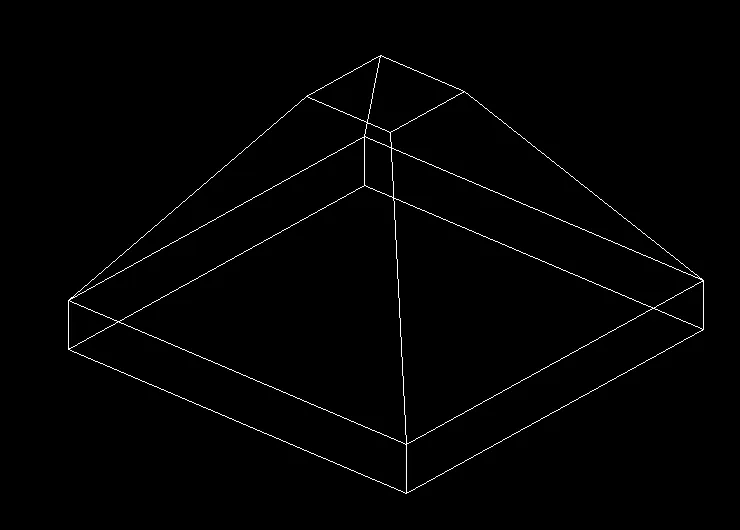
RESULT:
3) AIM: Create the 3D view of the AASTHO Type Girder.
INTRODUCTION: we use 3D basic modeling in autocad.Here we use 3D wireframe to create figures.
PROCEDURE:
- First go to setting in autocad change 2D interface to 3D interface.
- leave the ucs same as wcs.
- Now make the cross section of this grider

- now copy this cross section 10' back
- and join the corner point of these two figures.
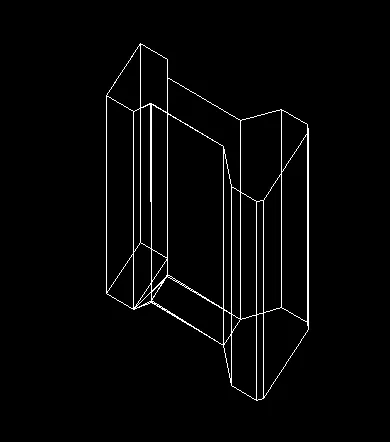
RESULT:
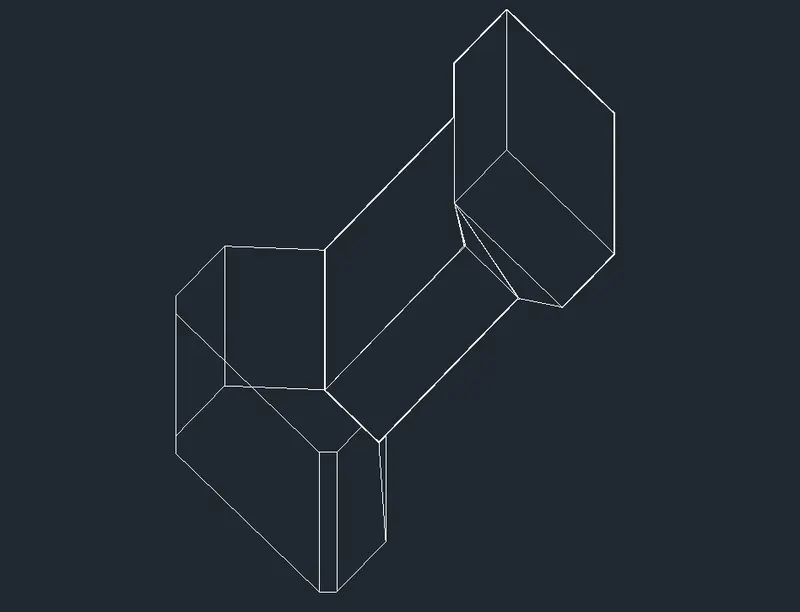
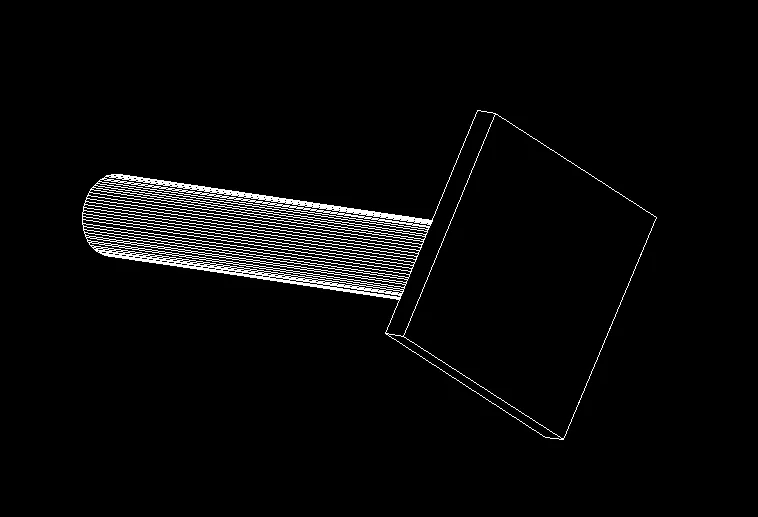
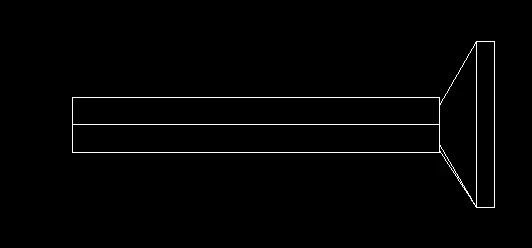
4) AIM: Create a 3d Model of a drop column with panel as shown in section and isometric view
INTRODUCTION: we use 3D basic modeling in autocad.Here we use 3D wireframe to create figures.
PROCEDURE:
- First go to setting in autocad change 2D interface to 3D interface.
- leave the ucs same as wcs.
- first create square 4'6" and copy it at (@0,0,6")
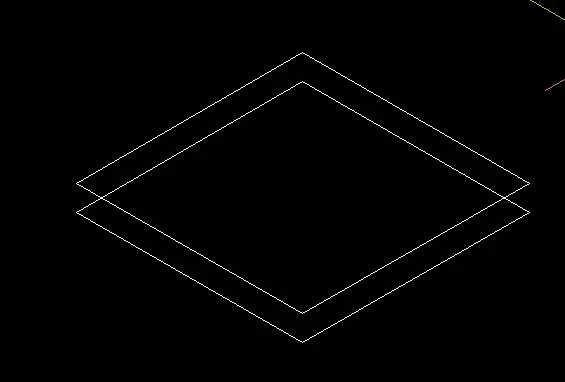
- now join the corner
- and create the circle at 1'6" from bottom square.
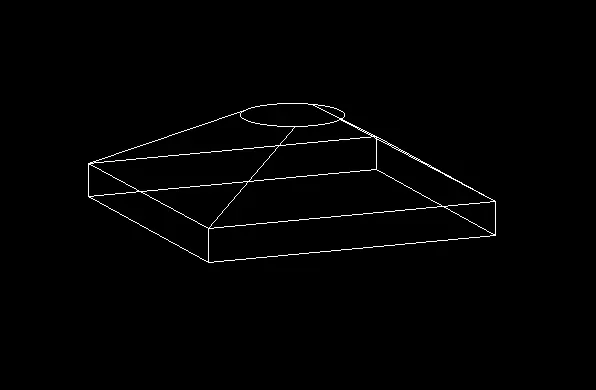
- now create circle at 10' and use rulesurface to create surface on circle.
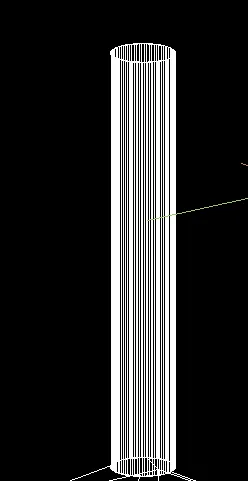
Result:
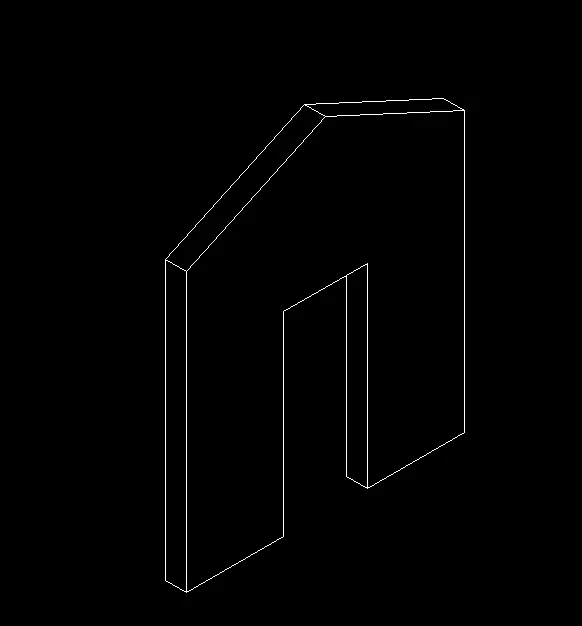
5) AIM: Create the 3d model of a wall as shown in Figure.
INTRODUCTION: we use 3D basic modeling in autocad.Here we use 3D wireframe to create figures.
PROCEDURE:
- First go to setting in autocad change 2D interface to 3D interface.
- leave the ucs same as wcs.
- first create external of wall.
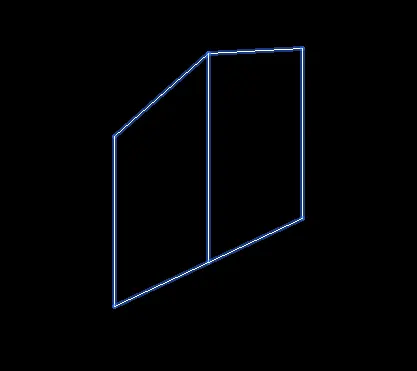

- now copy it and place it just back at 9". and join it
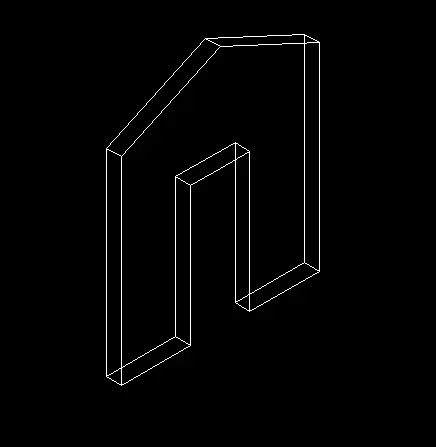
- now use surface to hide the background lines
RESULT:
THANK YOU.