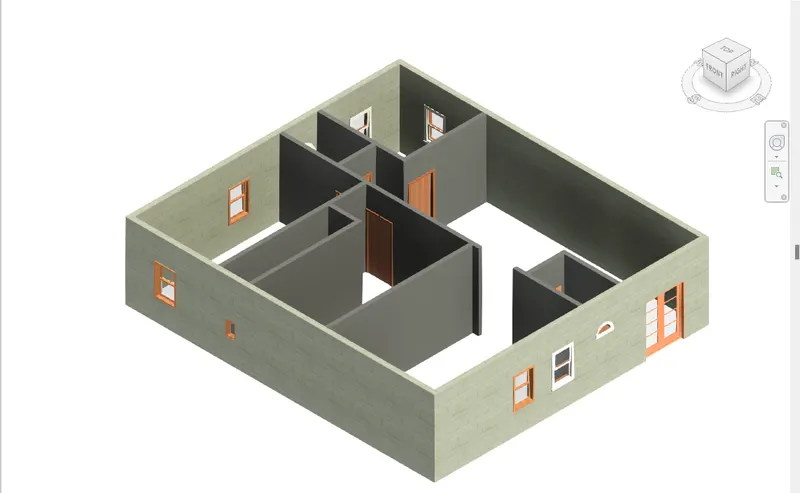
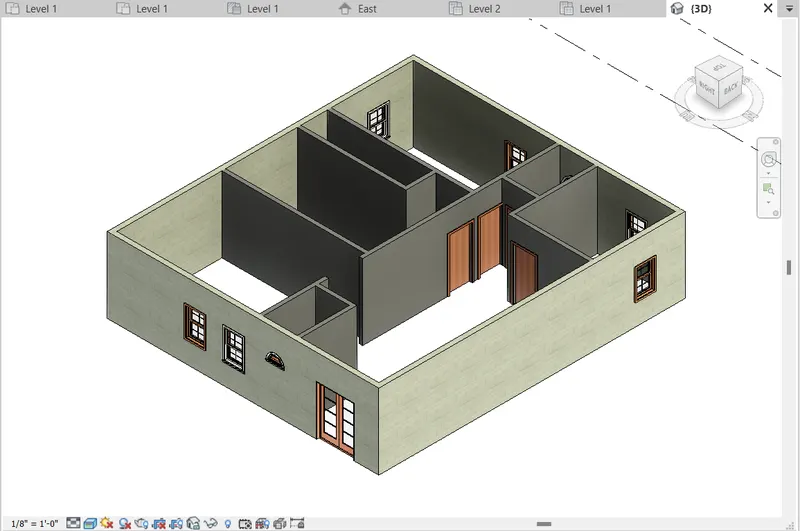
Creating Levels, Grids, Layout and model elements for a residential unit using REVIT
1Q.What is BIM? Summarize the features of BIM and benefits of using BIM over 2D CAD tools.
AIM : To Summarize the features of BIM and benefits of using BIM over 2D CAD tools.
Procedure :
BIM is an acronym for Building Information Modeling or Building Information Management. It is a highly collaborative process that allows architects, engineers, real estate developers, contractors, manufacturers, and other construction professionals to plan, design, and construct a structure or building within one 3D model. It can also span into the operation and management of buildings using data that building or structure owners have access to (hence the Building Information Management). This data allows governments, municipalities, and property managers to make informed decisions based on information derived from the model— even after the building is constructed.
Objective :
BIM objects, the components that make up a BIM model, are intelligent, have geometry, and store data. If any element is changed, BIM software updates the model to reflect that change. This allows the model to remain consistent and coordinated throughout the entire process so that structural engineers, architects, MEP engineers, designers, project managers, and contractors can work in a more collaborative environment.
Following are some salient features of Building Information Modelling: BIM Modeling Services
- Easy access to information
BIM is a physical representation of the physical and functional characteristics of the building process, that provides every minute detail of the project. Every stakeholder makes their discipline-specific input to make it a comprehensive shared information resource about the structure. One can easily access the right information at the right time that provides a reliable basis for decision making during a structure’s entire lifecycle.
- Making the process more extensive
CAD software enable users to work accurately in 3 dimensions- length, breadth and depth.However, BIM Modeling service providers, are allowed to work in five dimensions, time and cost being the additional dimensions. They are thus able to produce accurate cost and material estimates and precise time schedules of the project even as the design is being developed.
- More comprehensive overview of the project
BIM models not only present 3D geometric view of the structure, they provide a more comprehensive overview of the entire building process. It covers every component of this process from geometrical aspect of the design to spatial relationships,from light analysis to provision of various services,from topographical information to quantities or properties of building components, and so on.
- Lifelike views
BIM design tools allow you to obtain various views from a building model and produce high-quality, accurate drawings. These views are based on a single definition of each object and thus gives a more realistic and accurate idea of the final structure.
Advantages of BIM over 2D CAD Tools-
There are several BIM advantages, including the following:
- BIM offers a more complete representation of a building’s design. It takes more than the building’s core components into account. For example, BIM allows you to design electrical and HVAC systems, as well as the building itself. This means the project team can take full advantage of the space and resources available.
- BIM pulls your documents into a single database. Several people can work on the same model and save it to the cloud. This allows for instant updates, so you won’t waste time searching for documents when you need to make changes.
- A BIM model will allow you to prefabricate important components ahead of time. You won’t have to adjust them based on the building design. Instead, such components are part of the initial design.
- You can provide much more to your clients using BIM than you could with CAD. The models you give to your clients update constantly as you work on your project. Your client can check in any time, which leads to quicker approval for milestones and more efficient project development.
- Resource tracking is a key component of BIM models. You’ll be able to figure out how much of each resource you need during the design stage. This improves the flow and efficiency of construction.
RESULT : BIM and BIM features of BIM is summrized
2Q.Understand the concept of Categories, Families, Elements, Instances in Revit. Go to Insert Tab, choose a category. Pick a family and element. Understand the instances and insert it to Revit model.
AIM :To Understand the concept of Categories, Families, Elements, Instances in Revit. Go to Insert Tab, choose a category. Picking a family and element and Understanding the instances and insert it to Revit model.
Procedure :
Category: A Category controls the organization, visibility, graphical representations, and scheduling options of Families within the Project.
Family: A Family is a grouping of 2D and/or 3D information that serves to represent a discrete building or documentation element in the Project. It defines parametric, graphical, and documentation requirements.
Elements: Everything in Revit is an Element
Instance: An Instance is an individual representation of a Type in the Project defined by unique parametric, graphical, and documentation characteristics which makes it unique from other Instances in the Project.
Families are classified into distinct groupings of classes and sub-classes
- Elements: Everything in Revit is an Element.
- Classes: Elements are classified into a Model, Datum, or View-Specific class.
- Sub-classes: Model elements are further classified into Hosts & Components and, View-Specific are further classified into Annotations & Detail Items.
LOADING THE FAMILY FROM REVIT 2023-
- Open Revit 2021.
- Go to the insert tab.
- Select the option load families
- Select the particular family and enter in Revit.
INSERT TAB

LOAD FAMILY TAB
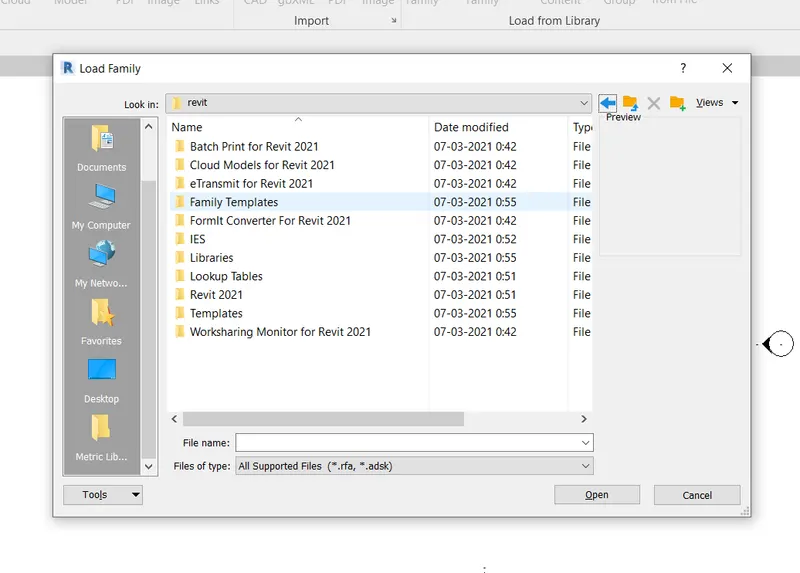
DOOR FAMILY
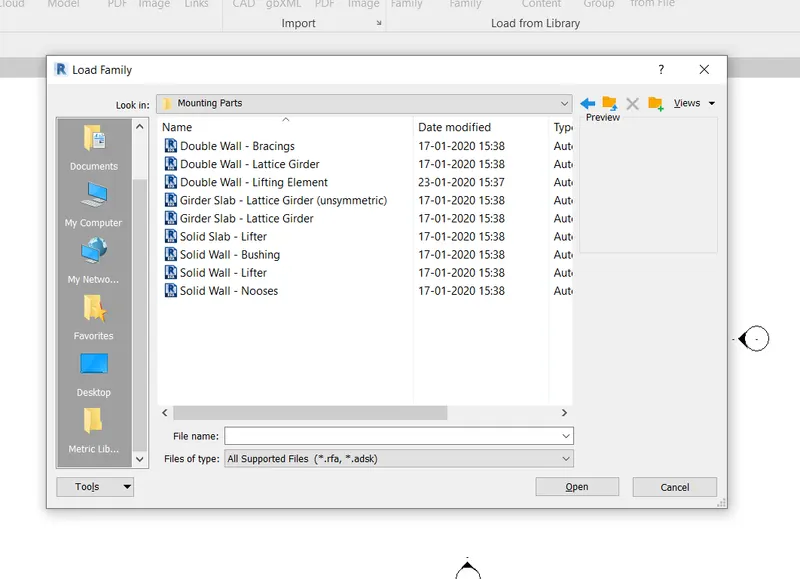
FAMILIES IN REVIT 2023
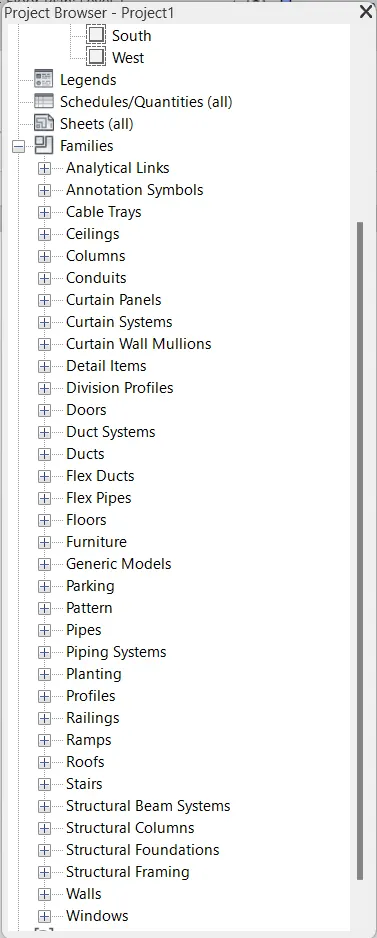
Result : Families, Elements, Instances in Revit is successfully inserted in Revit software
3Q) Setting up a Project – Open a project file with architectural template. Save the file with appropriate name. Set up the project units to Imperial / Metric based on your convenience of modelling. Complete the project information under Manage tab. Set up the maximum backups for project file to 3
AIM : To Setting up a Project and Opening a project file with architectural templateand aslo Saving the file with appropriate name and Set up the project units to Imperial / Metric based on your convenience of modelling and Completing the project information under Manage tab. Set up the maximum backups for project file to 3
Procedure :
Opening the Project with Architectural Template-
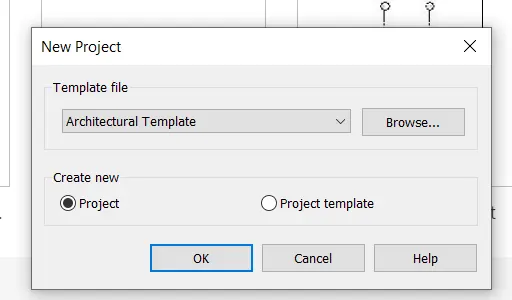
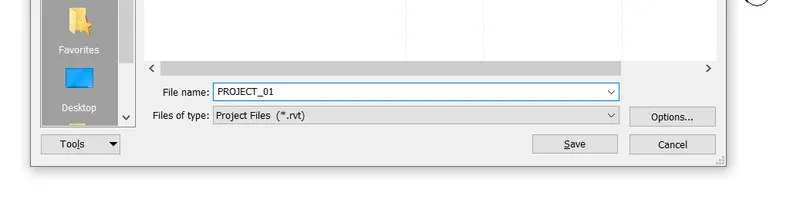
Save the project with the name PROJECT_01-
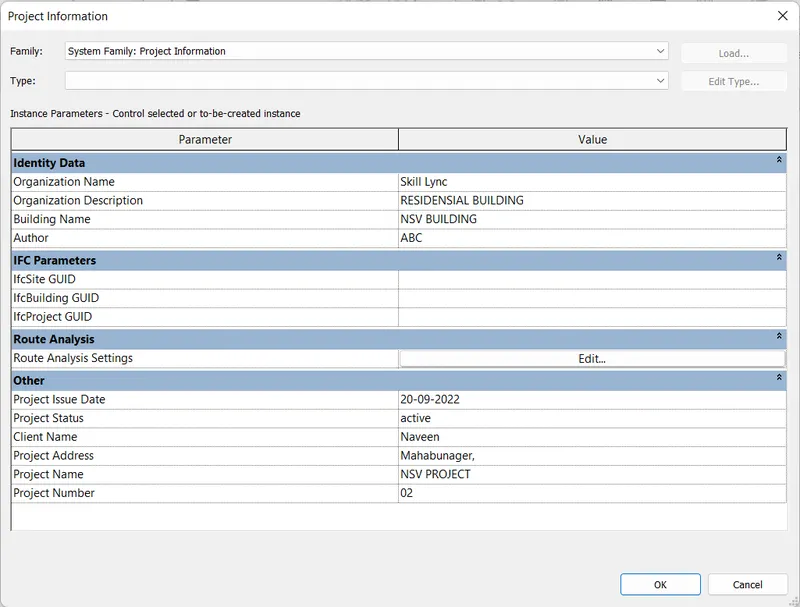
Project Information in the MANAGE TAB-
- Go to manage tab.
- Select the option project information.
- Completely fill the information in detail.
Creating backups of the file-
- Go to the file menu.
- Select save as option and select project.
- A save as dialog box will be appearing on the screen.
- Click on the OPTIONS TAB in left bottom of the dialog box and set the maximum backups as 3.
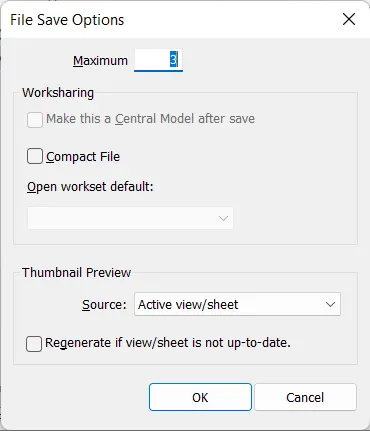
RESULT: Setting up a Project is successfully done in the revit with units and done project informantion and setting up the max backup flies.
4Q) Understand the concept of Levels and Grids. Follow the naming and conventions. Create the following Levels: ( Convert to metric equivalents if metric is your units)
Ground Floor @ 0’
First Floor @ 10’
Second Floor @ 20’
Roof @ 30’
AIM : To Understand the concept of Levels and Grids and To Follow the naming and conventions and Creating the following Levels: ( Convert to metric equivalents if metric is your units) Ground Floor @ 0’ First Floor @ 10’ Second Floor @ 20’ Roof @ 30’
Procedure : Creating different Levels in Revit 2023
- Open Revit 2023.
- Open Architectural template and select project.
- A Revit screen will be open.
- Change the units from MM to Feet and Inches.
- Command UN a dialog box will be appearing on the screen,
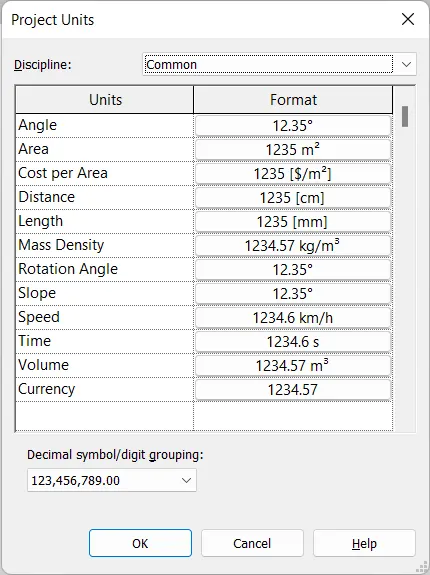
- Change the units to Feet’s.
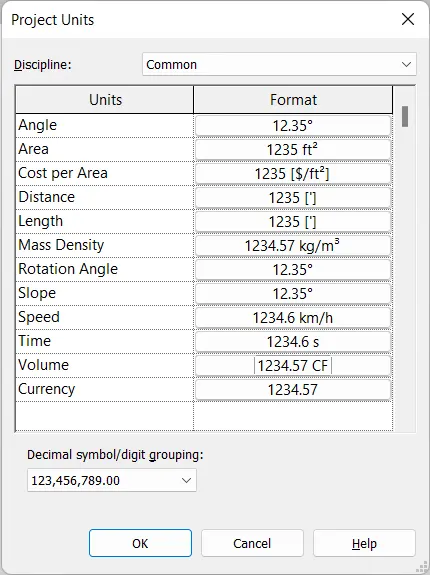
- Now for creation of the different levels go to the view tab on the top bar, select elevation view.
- From the project browser section in the left o the screen selects the option elevation and select East.
- Two basic levels will be displayed on the screen.
- Keep the bottom most level and delete the second level.
- Rename the bottom level as Ground Floor and rename the height as 0’
- Now go to the modify tab and select copy command.
- Copy the levels to 10’, 20’, 30’40'.
- Rename the levels as ground floor, first floor, second floor and roof.
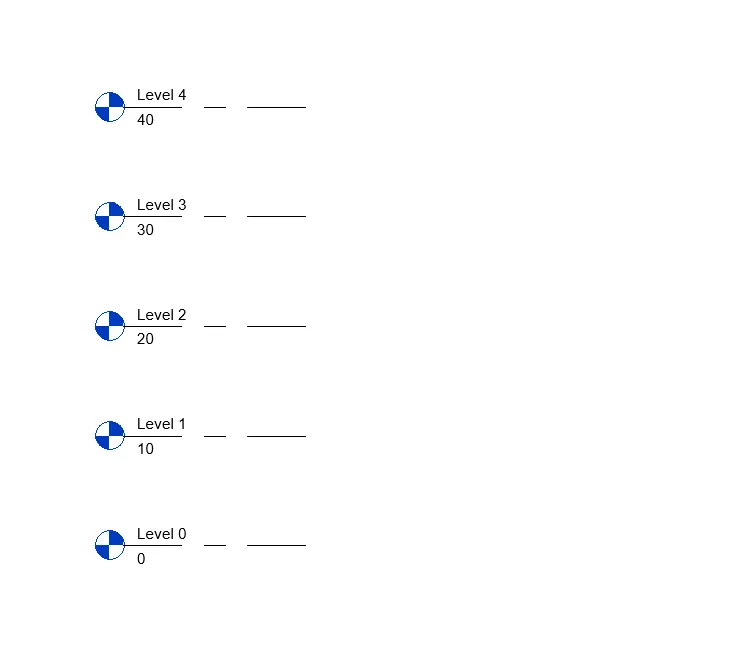
Creating different grids in Revit 2023
- Open Revit 2023.
- Open Architectural template and select project.
- A Revit screen will be opening.
- Change the units from MM to Feet and Inches.
- Command UN a dialog box will be appearing on the screen,
- Change the units to Feet’s.
- Go to the Architectural tab and in that select grids option.
- Draw the grid in the vertical manner which is already named as 1.
- Copy the grid from the modify command and copy the grids at the interval of 20’ spacing.
- Draw the grids intersecting the vertical grids in the same manner and name it as A, B, C, D, E.
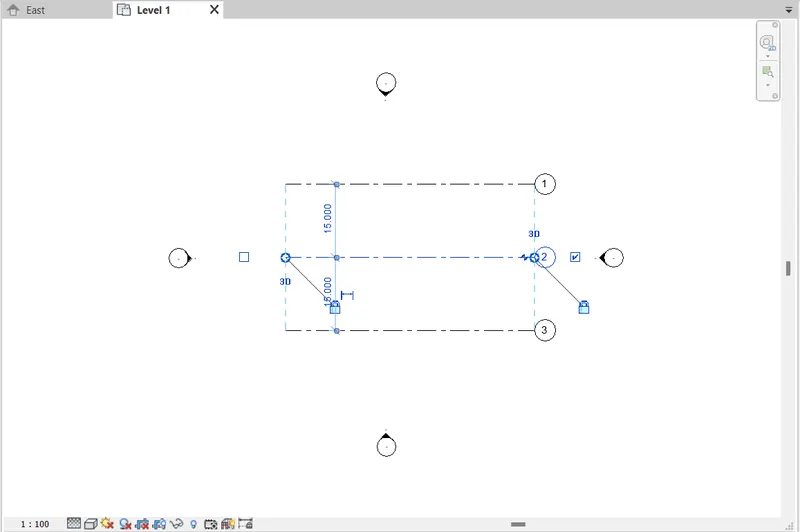
GRIDS OPTION.
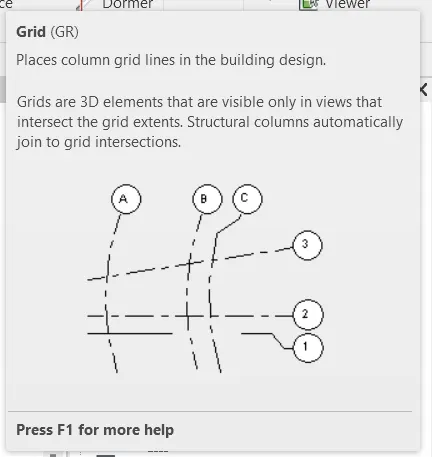
VERTICAL GRIDS AT SPACING OF 20'.
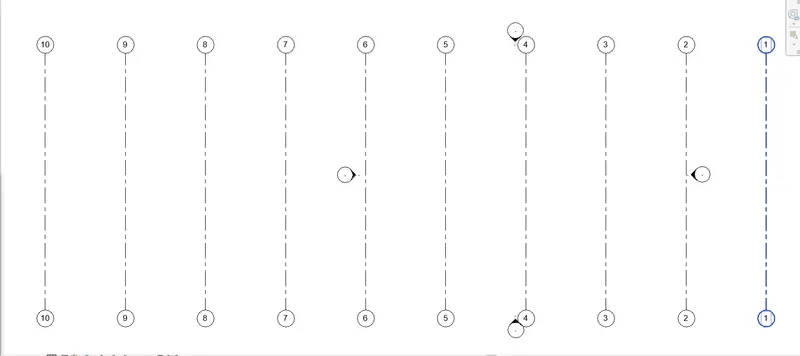
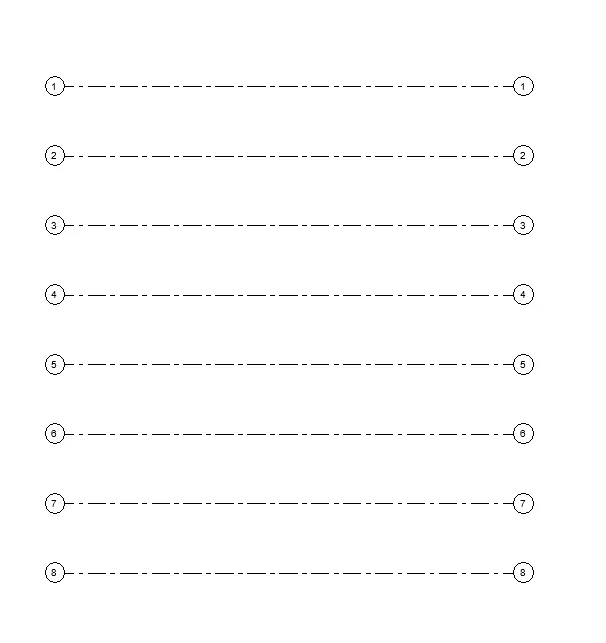
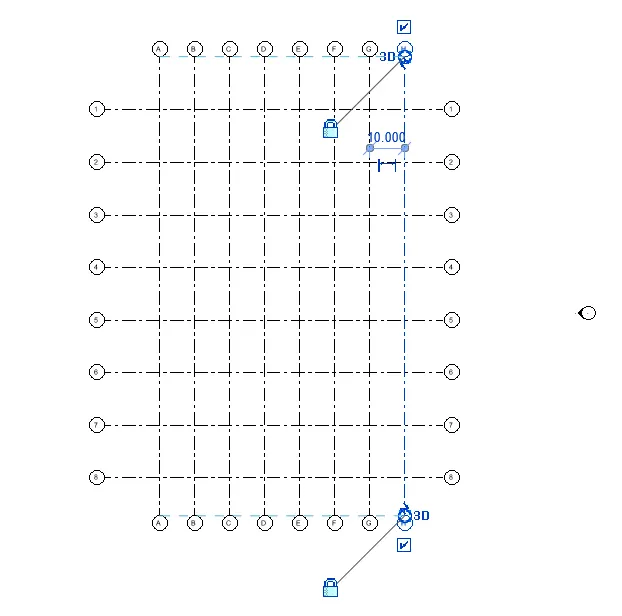
Result : The concept of Levels and Grids and Follow the naming and conventions are done and also Created the following Levels are done in revit software
Ground Floor @ 0’
First Floor @ 10’
Second Floor @ 20’
Roof @ 30’
`
5Q . 3D modelling of residential unit – From looking at your house / or a place you aspire. Create a conceptual layout of the residential unit. You can measure using a tape or
you can access your residential plan to create a similar layout.
AIM : To create 3D modelling of residential unit
Procedure :
- Open Revit 2023 with architectural template.
- Enter UN (Units) command and set the dimensions to feet and inches.
- Go to the wall option in the architectural tab.
- Draw the external walls.
- Again, go to wall option and draw the internal walls by changing the wall settings.
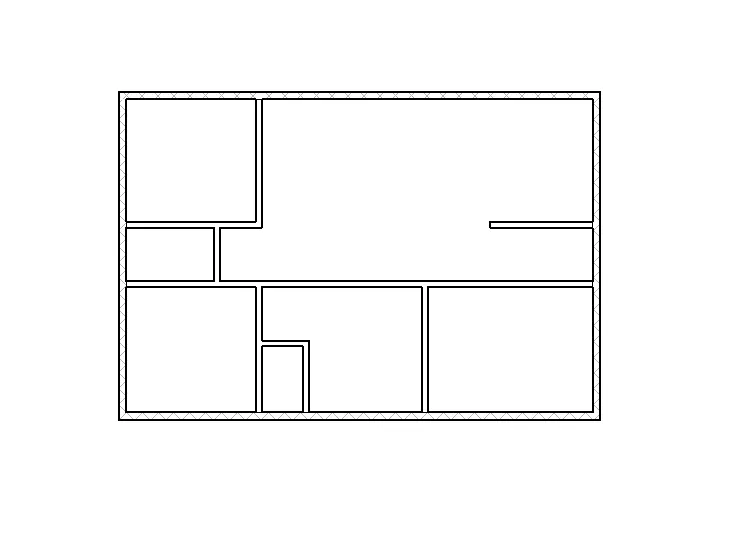
Result : 3D modelling of residential unit is drafted and designed by using revit software.
6Q) In the layout created draft the level of details you are planning to include – Dimensions of room, components you plan to add in the residential unit.
AIM : To include Dimensions of room, components we plan to add in the residential unit.
Procedure :
- Open the REVIT 2023 Sofware.
- Select the architectural templete file
- Then select the wall options the select the 8" wall for the exterior wall the draw a layout and the for interior select the 6" wall type then draw the wall at inner side then click on enter
- Now click on the room option then create the room and room tags
- Now click on the area then give the area boundarys then create the room area.
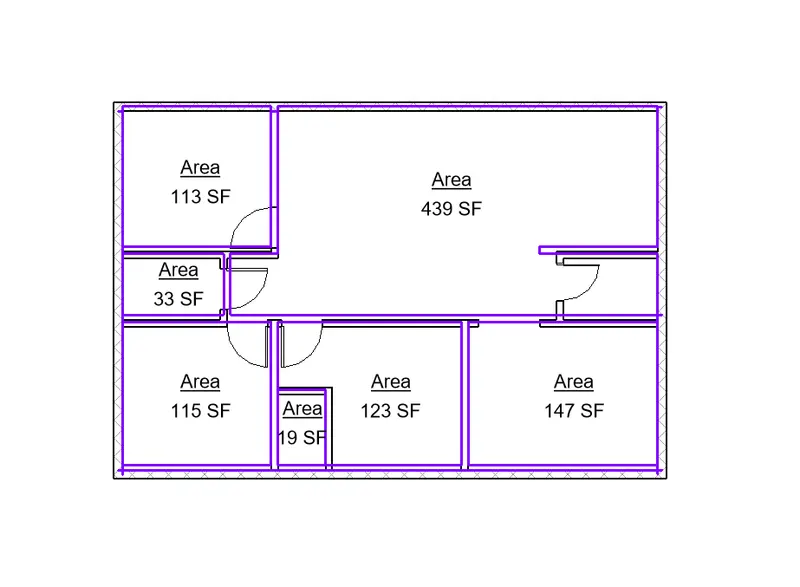
- Now go to the architechture tab the select the door object option then create the door at require possition or specified dimentions.
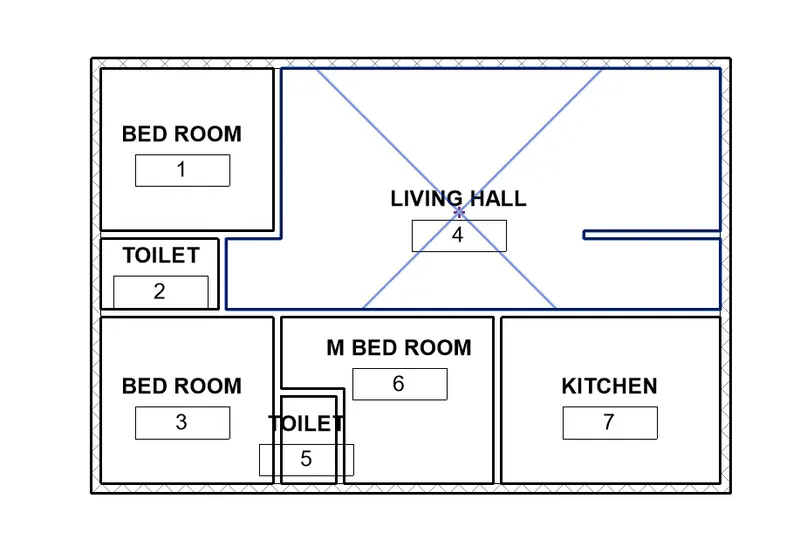
- At finally the project will appiear following...
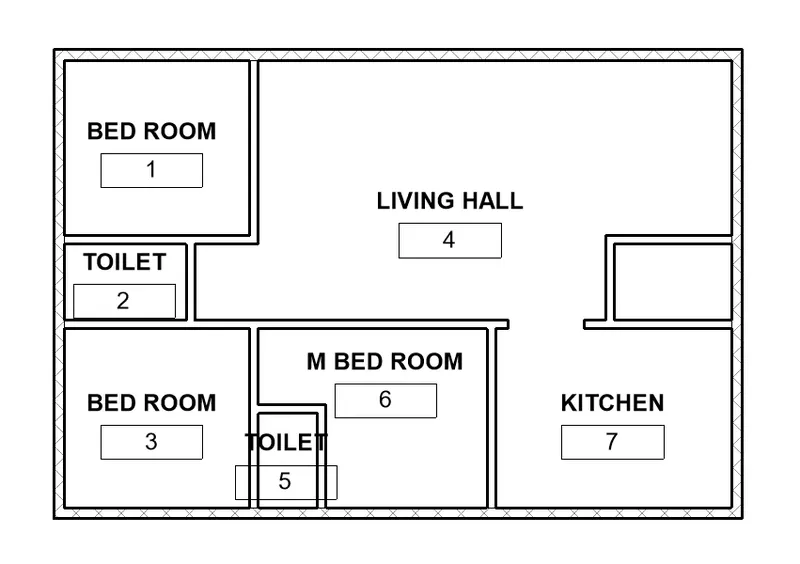
Result : Included Dimensions of room, components we plan to added in the residential unit.
7Q) Identify the residential model elements such as Door, Windows, Tables, Chair, Couch, Bed, Lamps from the library and insert them to the model . Save the project for use
for Assignment 3
AIM : To identify the residential unit model elements such as Door, Windows, Tables, Chair, Couch, Bed, Lamps from the library and insert them to the model and aslo save the project
Procedure :Click on the windows option create window.
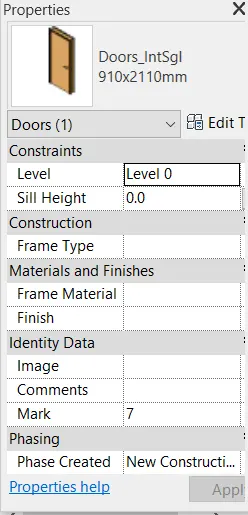
If we dont have windows or door in the options then go to insert tab then load the revit family
DOOR MODEL DETAILS.
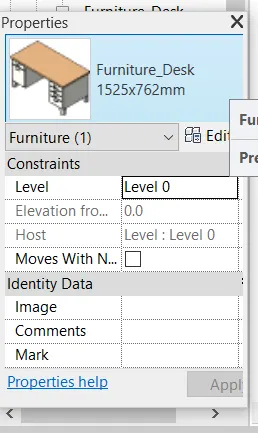
FURNITURE MODEL DESK DETAILS
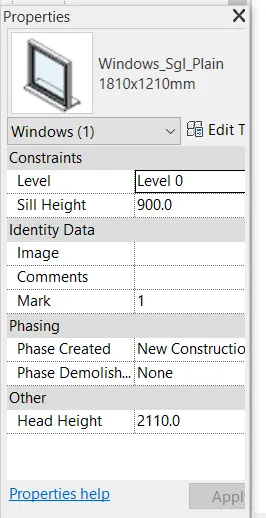
WINDOW DETAILS
Select items and specify the door and windows at require possition.
In the menu bar there is a defult 3d view option click on that to view the project in the 3d
By using orbit we can rotate the object
In design tab click on visual style then change the realistic with edges.
Result : The elements added to the residebtial unit and aslo seved the project as example project 1
FINAL 3D DRAWING OF RESIDENTIAL UNIT