Creating Levels, Grids, Layout and model elements for a residential unit using REVIT
1) BIM (Building Information Modeling) is a concept or a process that is used in AUTODESK REVIT to create building project.
Main features
- coordination and computation : It helps in collaborates with different discipline such as mechnical,electrical and plumbing in same plateform and it also helps in analysis of loads.
- making the process more expressive
- easy access to information.
Benefits over 2D cad
- real time modeling : If you change in one view, there is no need to change in different views.
- time saving
2) Categories,family,element and instance are revit hierarchy.
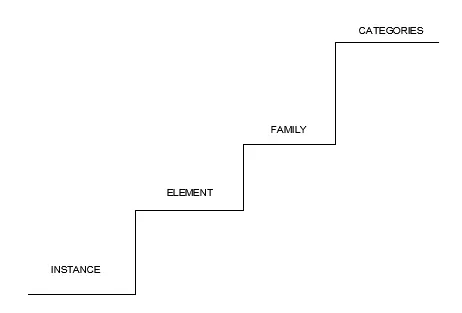
- Catogories is predefined in revit software such as doors,windows,furnitures and fixtures and many more.
- Family is inside the categorie for example if you open door categorie,you get residential door,industrial door and commerical door.
- if you choose any family the u get different types of door such as double door,single flush door, sliding door etc.
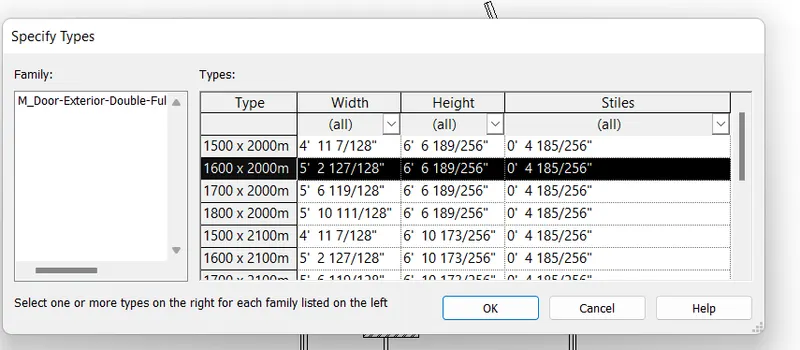
- If you choose any type of door the you get different sizes of the door.
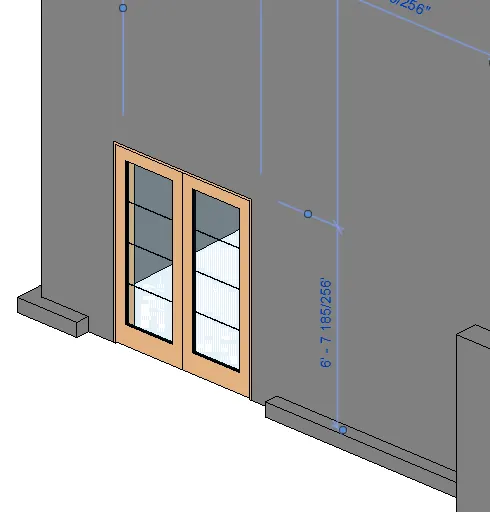
now go to insert tab, and load family
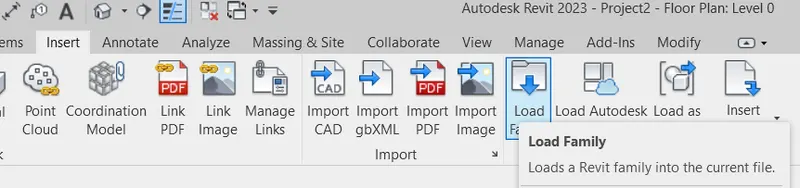
then after clicking on load family,then we get many pre defined categories
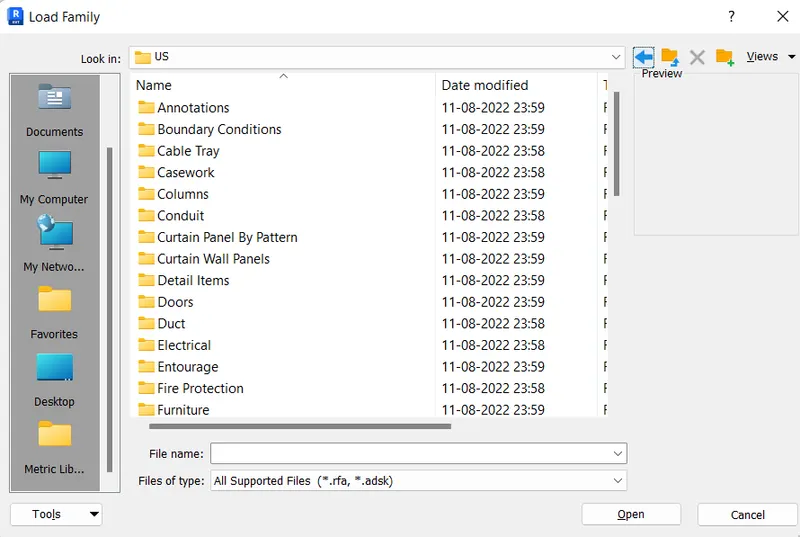
then after many families and get instances and load in model
3) Setting up project
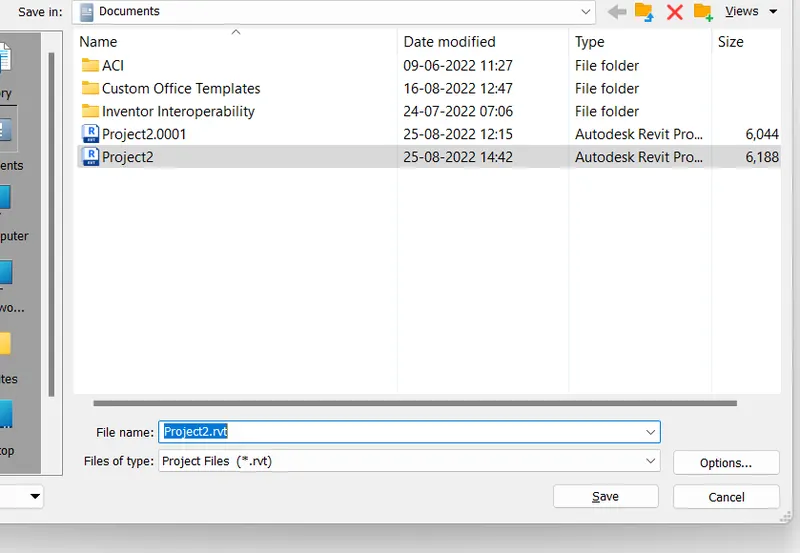
- first go to file and save as project and name it appropiate
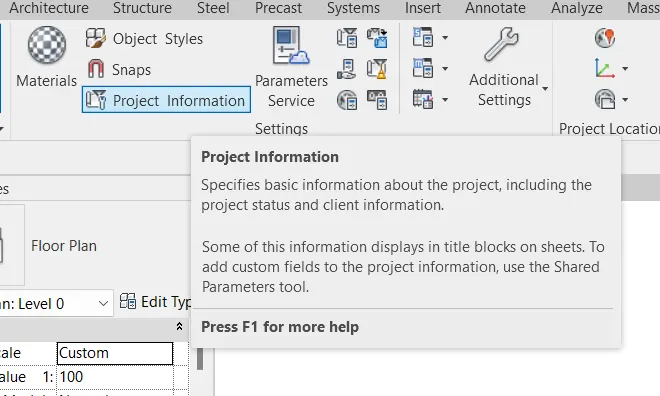
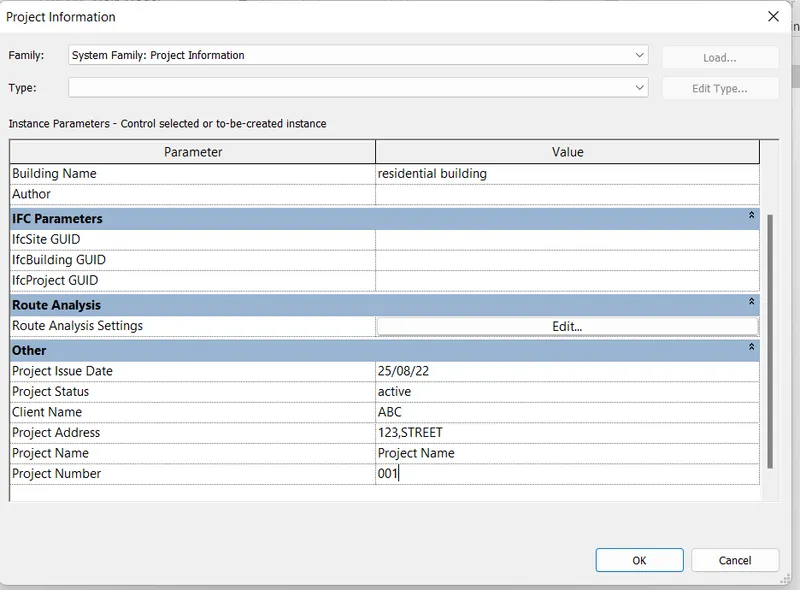
- to get project information - go to manage tab and go to project information and provide information as needed.
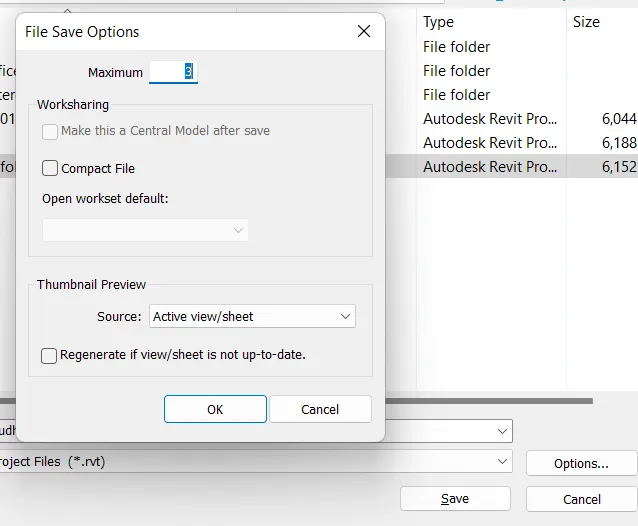
- for backups files- go to file and save as and peojects and go down to options and set your maximum backup files.
4) AIM : Create the levels and grids
INTRODUCTION : Levels are horizontal lines and it is used so that we can create building models as different heights and depths.But grids are simple representation of horizontal line in x-y directions and It is
usually used to identify the position of columns anf footings. With the help of grids, we are able to layout the column and footing on site.
PROCEDURES:
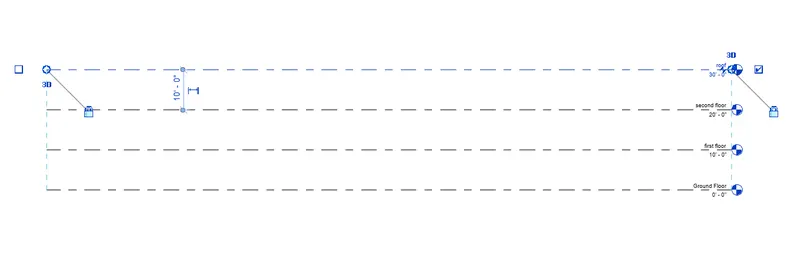
- first go to any elevation view
- then go to levels option in datum.
- choose pick line and offset eg. 10'
- then start offseting and naming it as per given
- now go to plan view of any levels
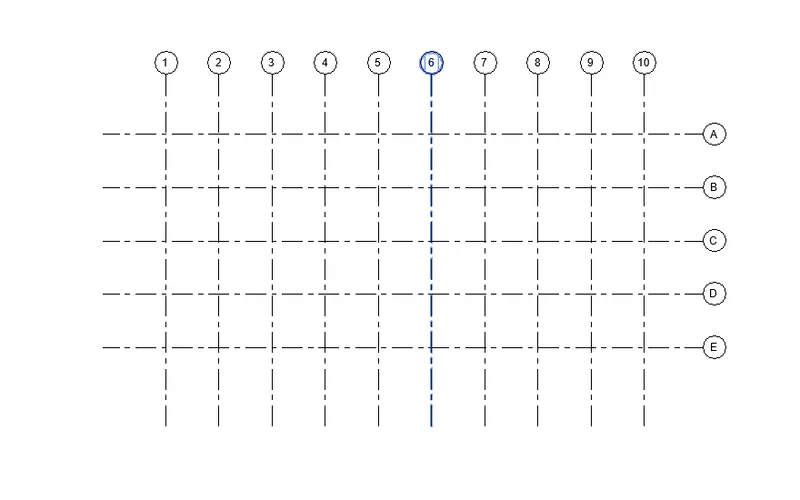
- then go to grids option
- choose pick line and offset as per given
- the start offseting x-y direction
- and name it in x-direction A,B,C.... and in y direction 1,2,3,.....
RESULT:
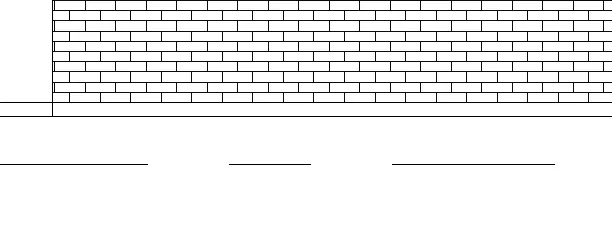
LEVELS GRIDS
5) AIM : Create a conceptual layout of the residential unit.
INTRODUCTION : Create layout in revit software. Revit software allows us to create 2d layout and 3d model at a time.
PROCEDURE :
- first open new project
- choose architecture templet and press okk
- now save this file with proper name
- now go to manage tab and click on project information and fill the data as per required.
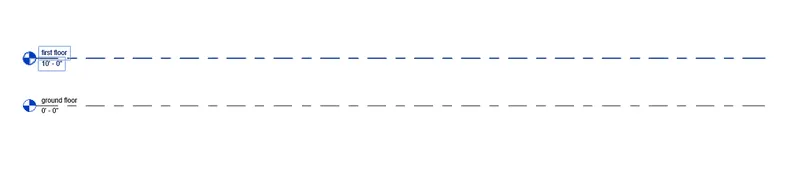
- now go to architecture tab and go down to elevation in project and start creating new levels as per required.
- now go to ground floor plan
- create new wall as per required and othewise you choose wall as already define in revit
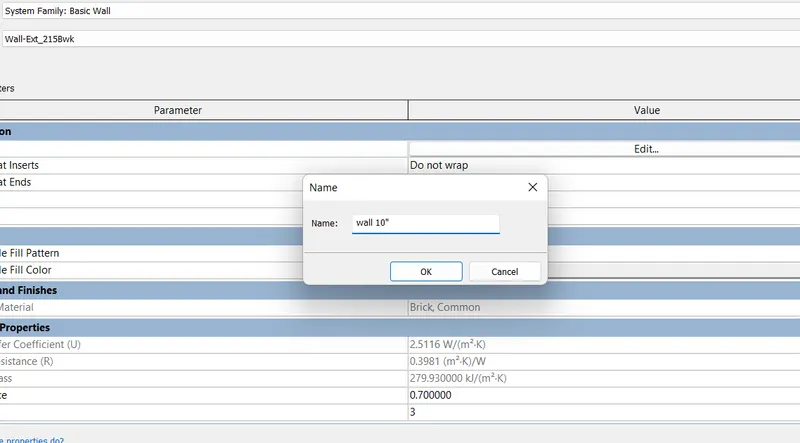
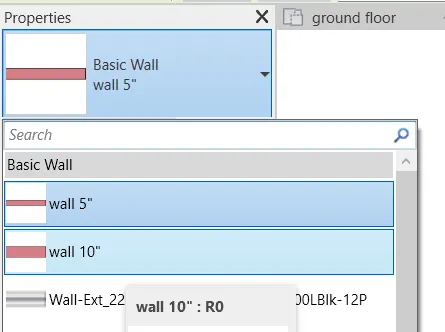
- now start creating wall for plan and adjust it according to your requirement.
- first create wall external as wall as internal
- use trim and offset command to cutting and adust wall
- after that use floor in plot area
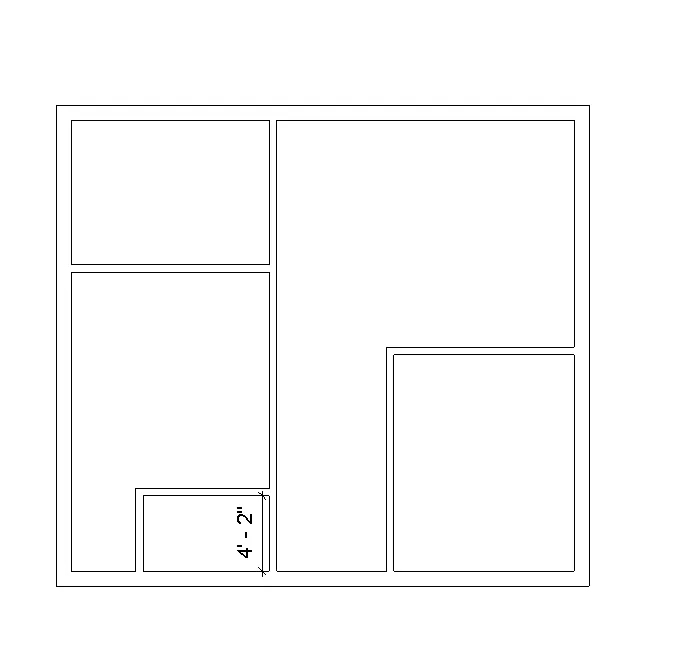
RESULT :
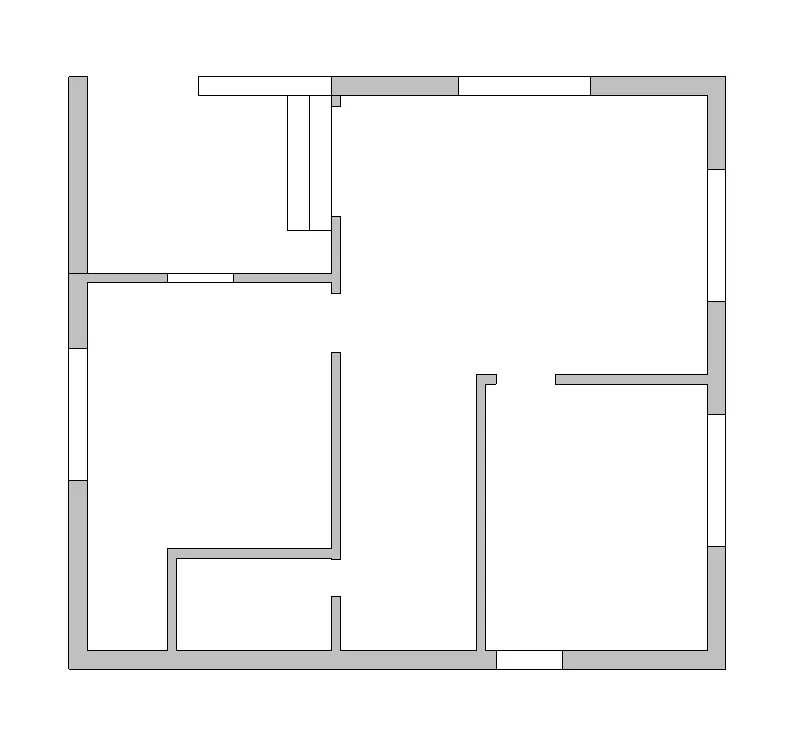
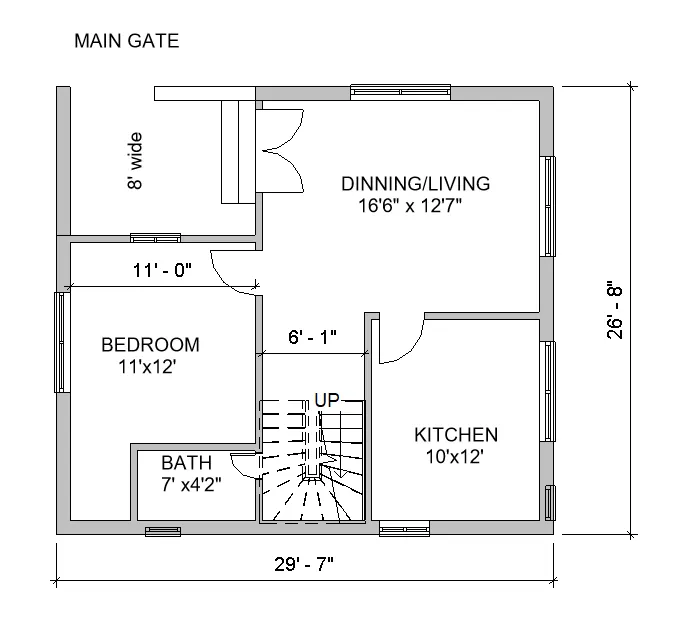
6) AIM : Create a detailed conceptual layout of the residential unit.
INTRODUCTION : In the layout created draft the level of details,we include the dimension of layout,staircase etc
PROCEDURE :
- All steps are same till creating plan as mentioned above question5
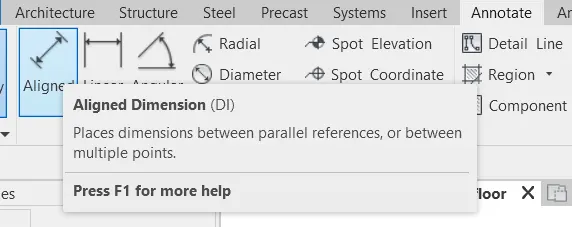
- now to annotate tab and click on aligned dimension
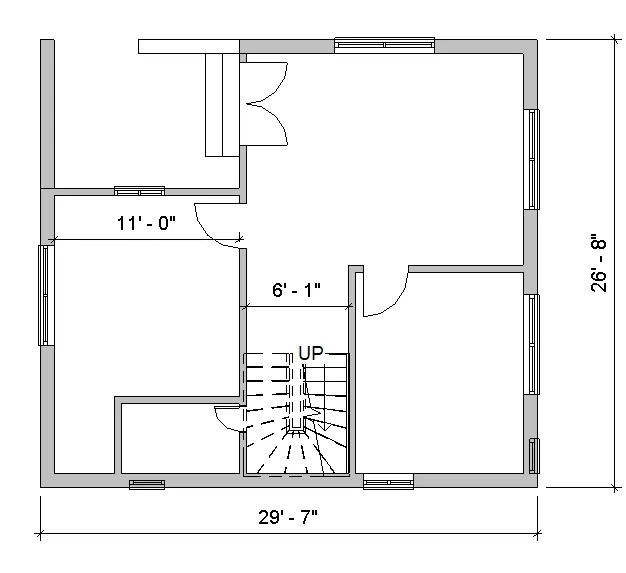
- now start dimensining the plan
- now add text with dimension in it and and add staircase ,floor in it
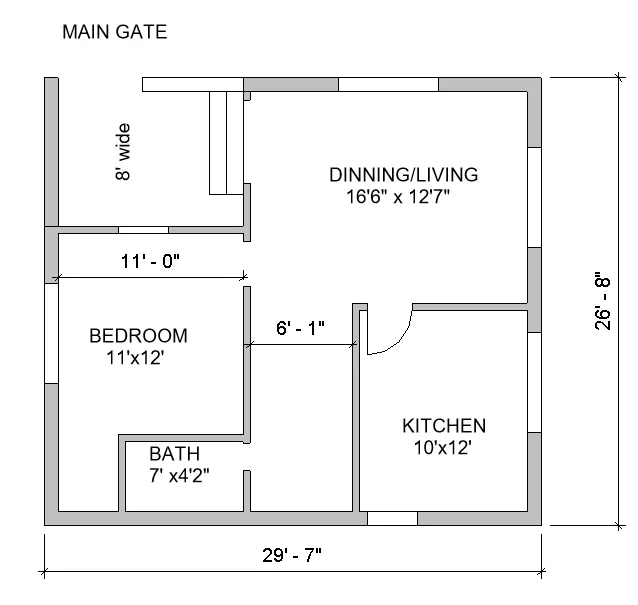
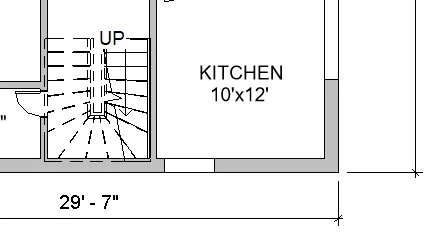
RESULT:
7) AIM : Create a detailed conceptual layout of the residential unit.
INTRODUCTION : In the layout created draft the level of details,we include door,window,ventailation ,bed,dinning,kitchen element,tree in plan
PROCEDURE :
- All steps are same asmentioned above question5
- first insert door,window and ventailation in plan.For that we go to insert tab and load family or simply go to architecture and go to door,wondow click it and load family and insert it in wall
- after insert it in appropriate places
- now start inserting bed,dinning componets in it.
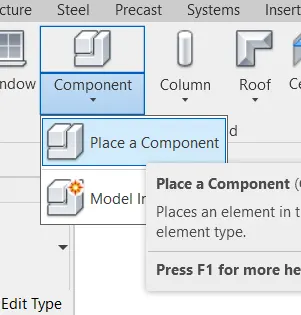
- go to component and click on place a component
- after that choose bed,table categories
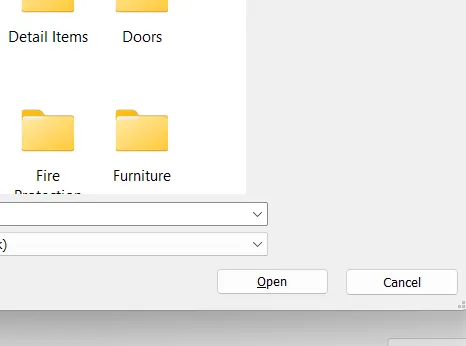
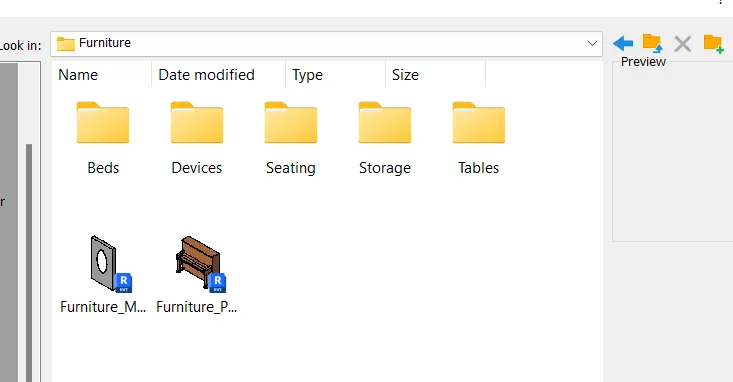
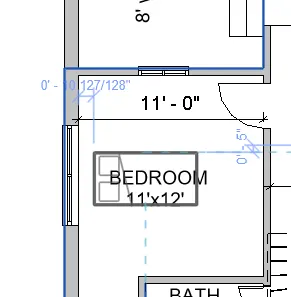
- now choose bed family and place it in room of plan
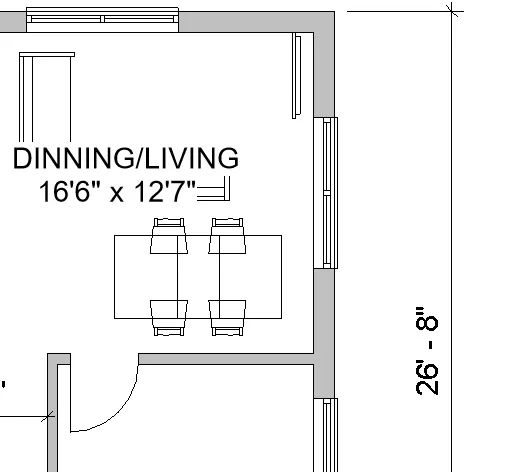
- choose dining and living component and place it in plan
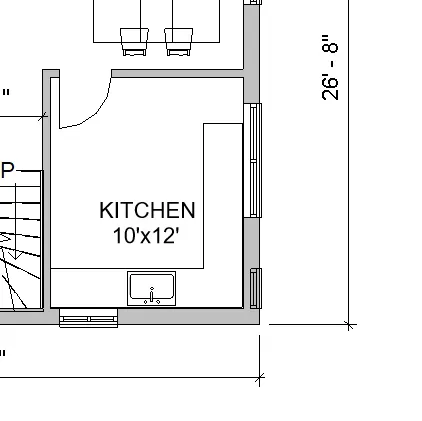
- now choose kitchen componet in kitchen area
RESULT : Final detailed plan
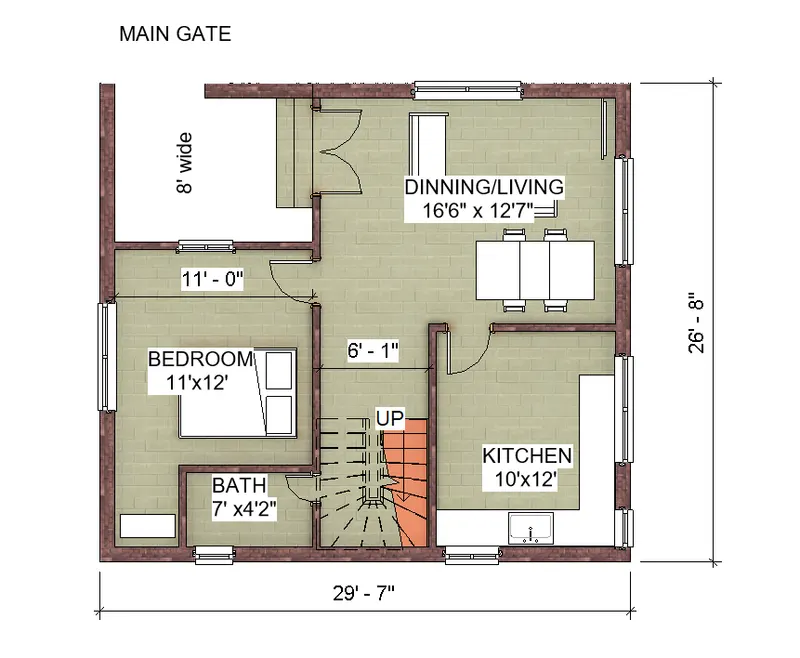
PLAN (IN REALISTIC VIEW)
=========================================XXXXX=======================================
THANK YOU