Creating Levels, Grids, Layout and model elements for a residential unit using REVIT
- AIM: To know what is BIM and to summerize the features of BIM and benifits of using BIM over 2D cad tools
BIM
- Bim is an acronym for building information building or building information management.It is a highly collabarative process that allows architects,engineers, real estate developers, contracts,manufactires ,and other construction profssionals to plan,design, and construct a structure or building within 3D model
- FEATURES OF BIM
- Coordination features :Revit as BIM tool helps in coordination betwenn multiple disciplines. The diffrent disciplines can come together and work on a single project as well as they have their independent design unit but they can coordinate in achieving process in a project as a whole unit so the revit offers this coordination which is key features in building information buiilding
- Computation feature: Revit as a BIM tool helps in performing computaion such as material schedule or quality schedule
or to evaluate energy analysis
- BENEFITS OF USING BIM OVER 2D CAD TOOLS
- While thre are parallels between CAD andBIM, thewy are two very diffrent things,CAD deals al,ost exclusively with the process of designing models and floor plans . Thats an important part of an BIM aswell, but includes so much more than designs.BIM is a important part of BIM as well,but BIM includes so much more than designs.BIM inckudes so much more than designs.BIM IS A METHODOLOGY that entire firm needs to accept any chance of succeding in its use
- A major diffrence between BIM and CAD is the interactivity of the diffrent dimensions during editing process. In BIM the dimension that comprise an object are interconnected. Therefore,any adjustment that needs to be made in a building design such as width of a wall or corridor can be done in a single edit
- The great efficency of using a BIM softwafre means that the designer can concentrate more on the creativity aspects of a project without having constantly worry about updating a multitude of lines entities throughout the entire project.This translates into an incredible increases in productivity because each project,chosen from BIM objects menu already comes with a predefined information that can provide useful data fioor calculating project cost ,thermal perfortmance aspects maintainance ,structure.All this lads to considerabel saving of time
- Within a BIM design procedurefloor plans elevation views and section views are simply diffrent views of the same object.Al views can be observed according to specific design phases.Whenever there is a change somewhere in the project,these changes seamlessly affec t all other related documents
- As an example, by simply changing the external finish of a facade element,this causes a modiofication in the wall transmittance value,its cost and even its structural load this allows the technician to avoid mistakes and be sure to have all drawings alligned with the project revisions wherever thewy are introduced
- AIM: To understand the concept of categories ,families,Elements ,Instances in Revit and to create the family
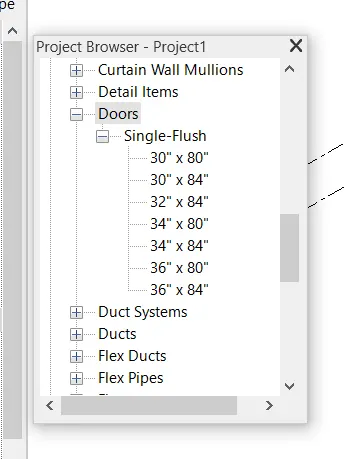
- Category: A Category Controls the organization,visibilty,graphical representation,and schdulling option of families within the project
- Family: A Family is a grouping of 2D and 3D/information That serves to represent a discrete builidng or documentation element
- Element : The element is a specific representation ina defined by distinct parametric ,graphical and documentation characteristics which makes it unique from other elements in the family
- Instances:An instances is an individual representation of a element in the project defined by unique parametric ,graphical and documentation characteristics which makoes it unique from other instances in the project
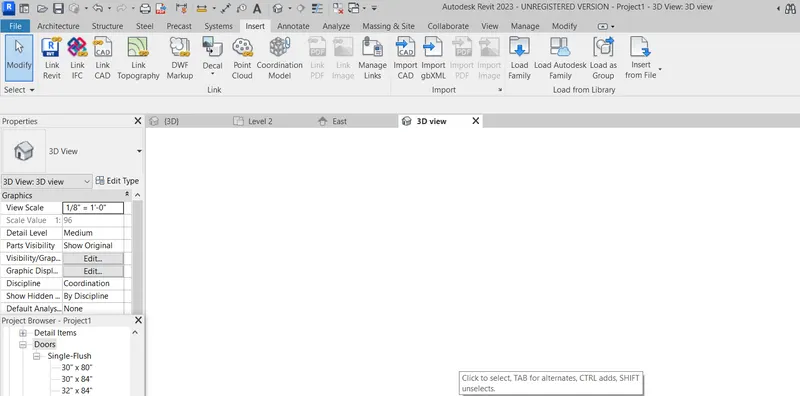
- Procedure to create family in revit
- Go to insert tab
- Click on > LOAD FAMILY
- AIM: Setting up a project-Open a project file with an architectural template.save the file with an appropriate name.Set up the project units to imperial/metrics based on your convenienace od modelling.complete thew project information under the manage tab,set up the maximum backups for project file to 3
- A) Aim: To set up a project
- PROCEDURES:
- STEP1) Open REVIT
- Click the windows button and type revit and press enter
- Once the revit is open, the home page is as follows
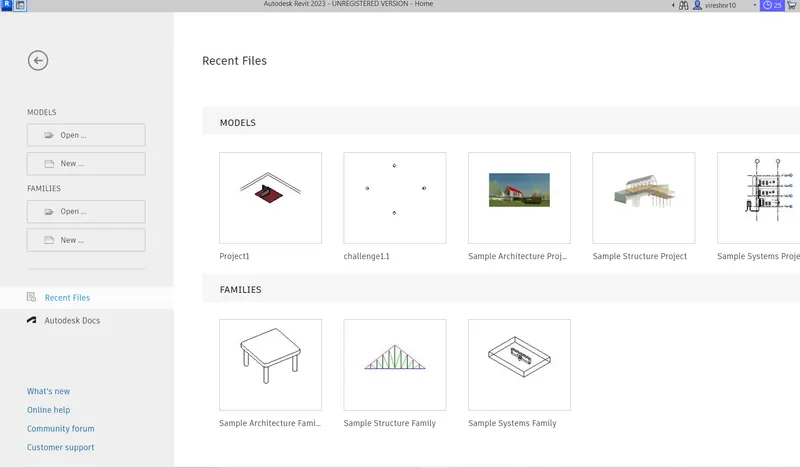
- STEP 2: Creating Architecture Template and saving Template
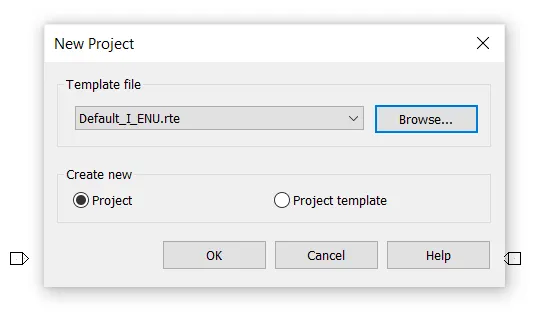
- Click on new from the home page
- Click on the new ''project''
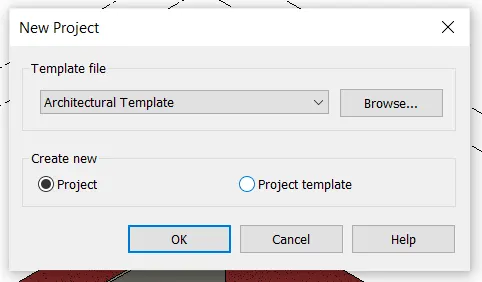
- Click OK to open the architectural template
- Click on save button to open the dialogue box to set filename
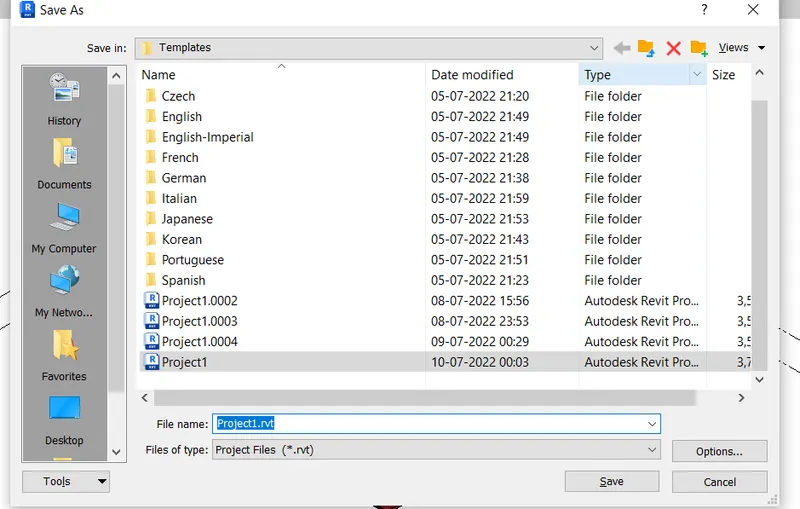
- STEP3): Go to the manage tab
- Click on project units
- A dialogue box of projct units opens
- Units are changed acco-rdingly
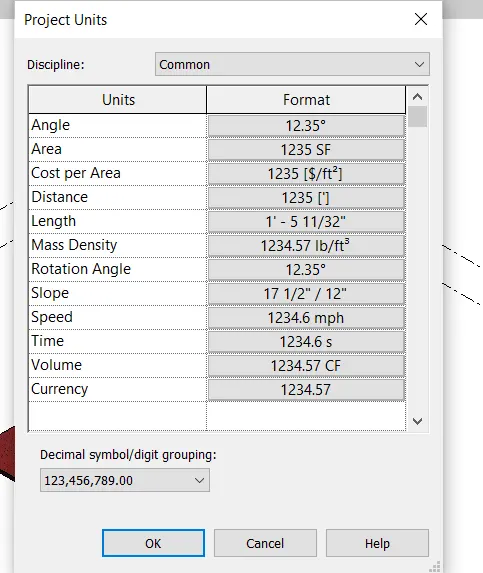
- STEP4):
- Go to the manage tab
- A dialogue box of project information opens
- Details of project information are entered as per convenience
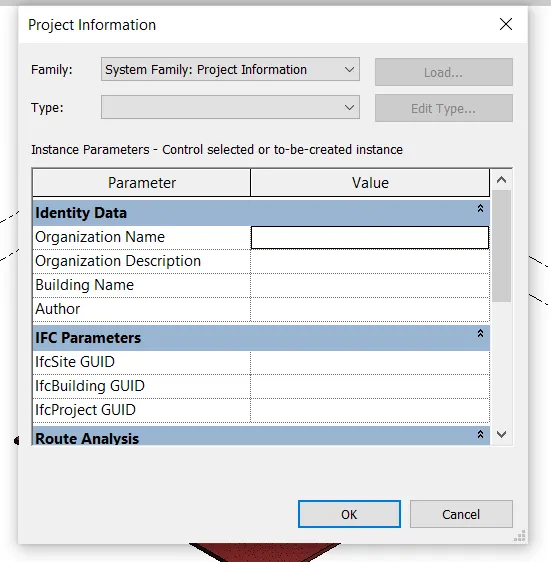
- AIM: To create levels and grids for standard layout
- PROCEDURES: Step1) Open revit
- Click the windows button and type revit and press enter
- Once the revit is open the home page is as follows
- Step2) Create an template
- STEP3) PROJECT INFORMATION
- Enter all project information and projects necessary
- STEP4) Create layout
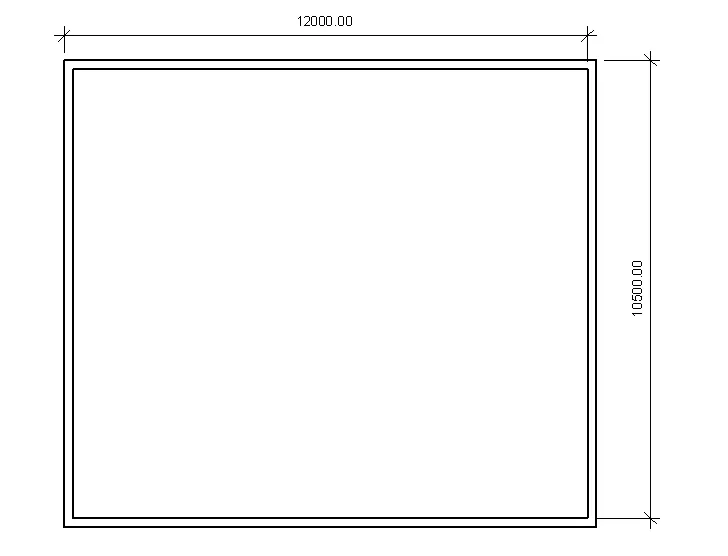
- Create a layout of 12000 X 10500
- STEP5) Creating levels
- Go to elevation view such as earth/north/west/south
- To create Specific levels go to architectural tab and click on level to add
- Creating grids for outer layout
- Go to construction tab and click on grid
- Create horizontal grid as alphabet A,B
- Create Vertical grid as number 1&2
- RESULT
- Levels and grids are created as required
- AIM:To create 3D modelling of residential building
- PROCEDURE
- Open revit
- Click the windows button and type revit press enter
- Once the revit is open home page is follows
- Creat a architectural template as shown in figure
- Create a layout of 30'8X41'8.5''
- STEP 7) Drawing roooms and components in the residential unit
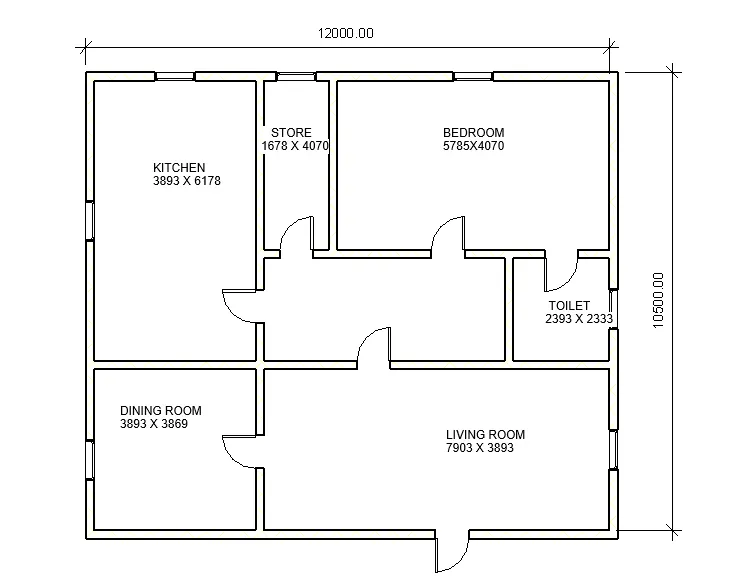
- Drawing an master bedroom with toilet ,living room,kitchen and toilet as shown in the figure
- Dimensions of resp.are shown in the figure
- STEP 8) Drawing components
- Components such as doors ,windows ,Tables,bed,television,dining table,staircaseto second floor
- Go to insert tab and click on load families
- Click liabraries select the component from the various options given by revit models
- Place the component at its resp. locations with its specific dimensions
- RESULT
- This result is for 5,6,7 question combined
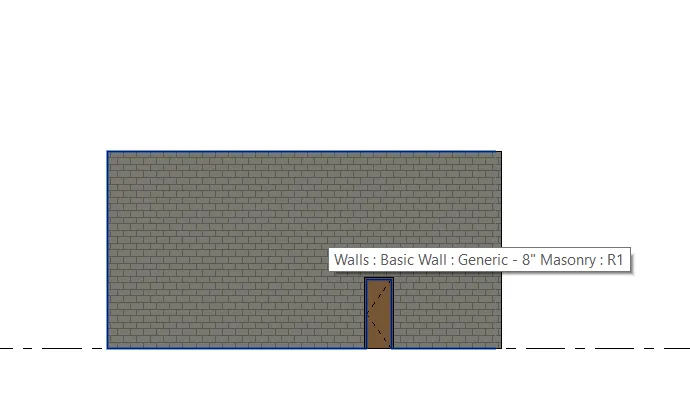
- THe total layout including plot details and plinth area with main entrance door as shown below
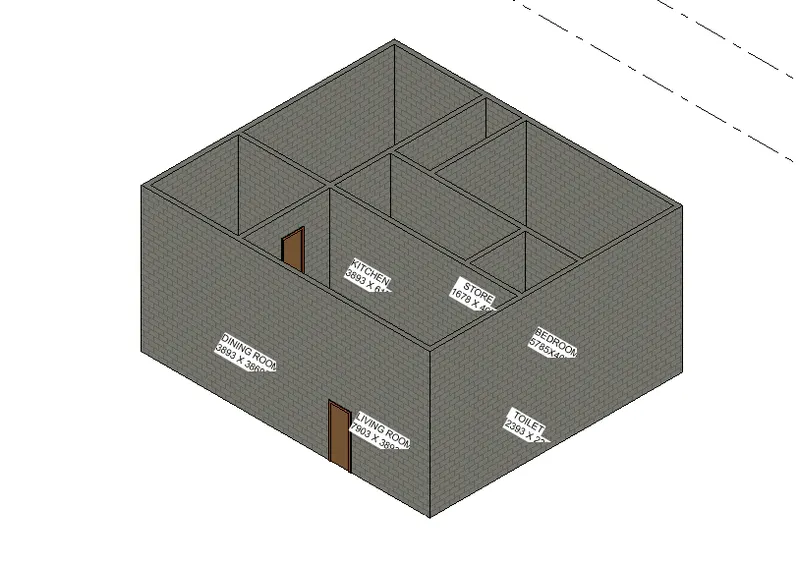
3.3D View of the ground floor plan with the basic componnets mentioned above