Creating Levels, Grids, Layout and model elements for a residential unit using REVIT
1) What is BIM? Summarize the features of BIM and benefits of using BIM over 2D CAD tools ?
Ans- BIM is an intelligent model based process that connects Arechiture ,Engineering & construction professionals, so they can more efficiently design build and operate building & infrastructuren through this, its is building information modelling.
Features of BIM - The goal is using BIM to create 3D model, it is enables users to understand relationship between spaces, material and various systems with in a physical structure. BIM Softwere can we used for every step of the process from planning to design and construction. The following features are found in BIM softwere-
- Import or export of 2D Design
- 3D modelling
- 3D rendering
- schedueling and estimating
- Sequencing
Benefits of using BIM over 2D CAD tools- By going 3D route there is no need to waste papers on rework and duplicate design,BIM softwere allows to users to do the same design and annotating that they can in 2D, but do it more quickly & efficiently.
2) Understand the concept of Categories, Families, Elements, Instances in Revit. Go to Insert Tab, choose a category. Pick a family and element. Understand the instances and insert it to Revit model?
Ans - Categories - A category controls the organization, visibility, graphical representations and scheduling option of families within the project.
Family - A family is a grouping of 2D or 3D information that serves to represent a discrete building or documentation element in the project.It defines parametric, graphical and documentation requirements.
Elements - A elements is a specific representation in a family defined by distnict parametric ,graphical and documentation nature,which makes it uniqe from other elementsin the family.
Instances - An Instances is an individual representation of a element in the project defined by unique parametric, graphical and documentation nature which makes it unique from other instances in the project.
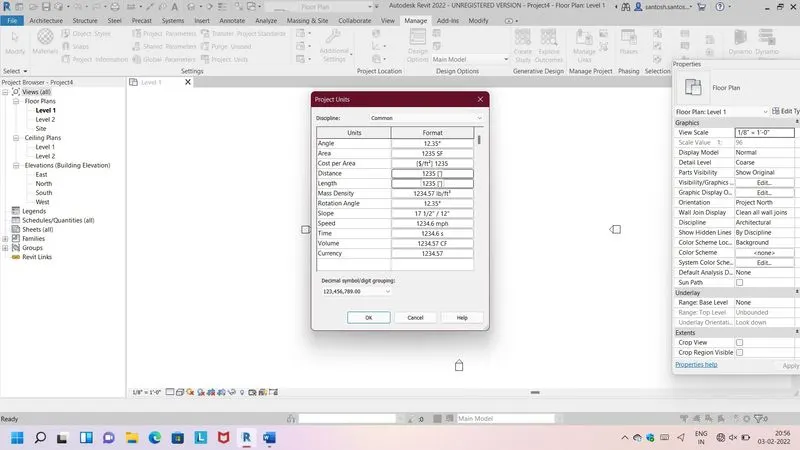
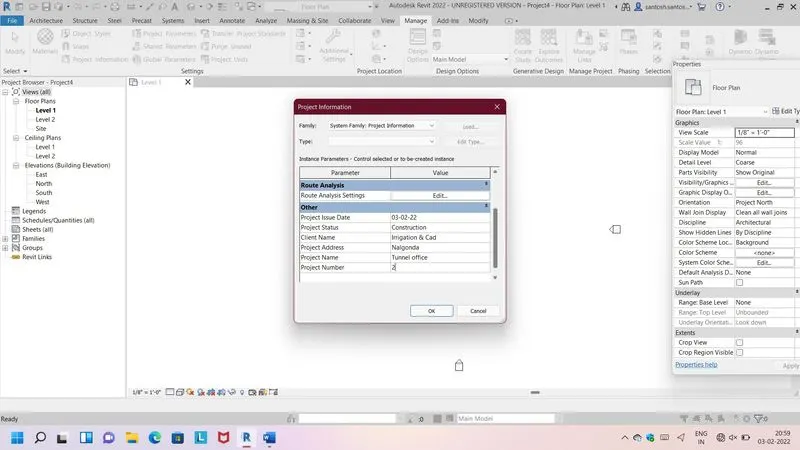
3) Setting up a Project – Open a project file with architectural template. Save the file with appropriate name. Set up the project units to Imperial / Metric based on your convenience of modelling. Complete the project information under Manage tab. Set up the maximum backups for project file ?
Ans- Aim- Setting a Project-
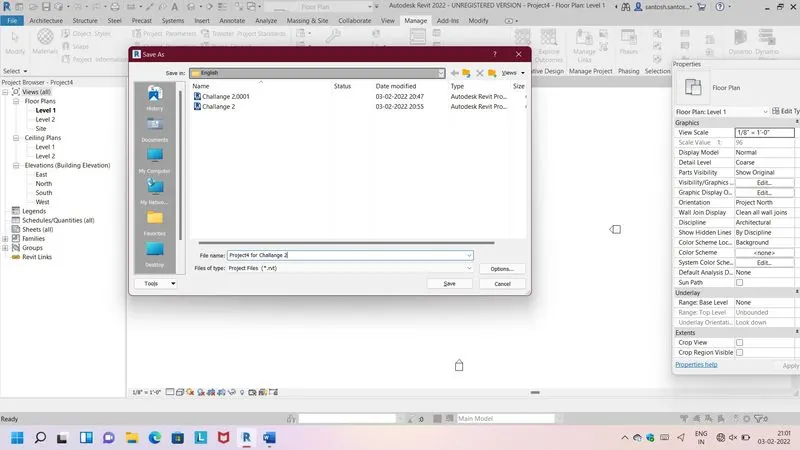
Setup project unit-
Setup project information-
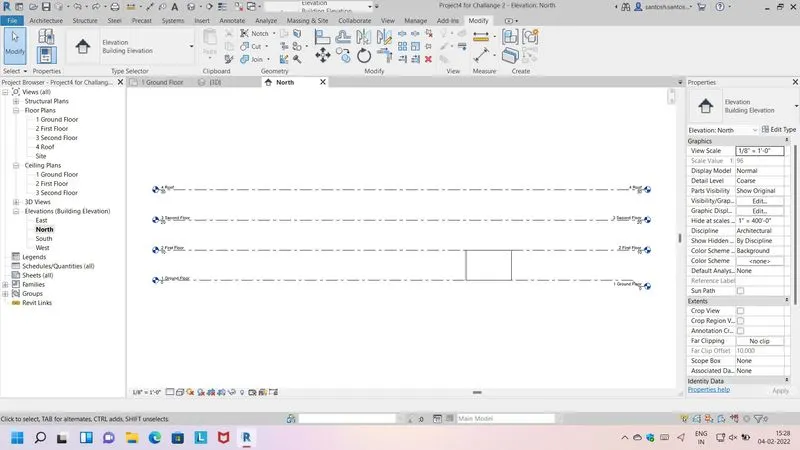
4) Understand the concept of Levels and Grids. Follow the naming and conventions. Create the following Levels: ( Convert to metric equivalents if metric is your units)
Ground Floor @ 0’
First Floor @ 10’
Second Floor @ 20’
Roof @ 30’
Grids Transverse Grids A, B,C,D, E @ 10’ spacing
Longitudinal Grids from 1 to 10 @ 20’ spacing
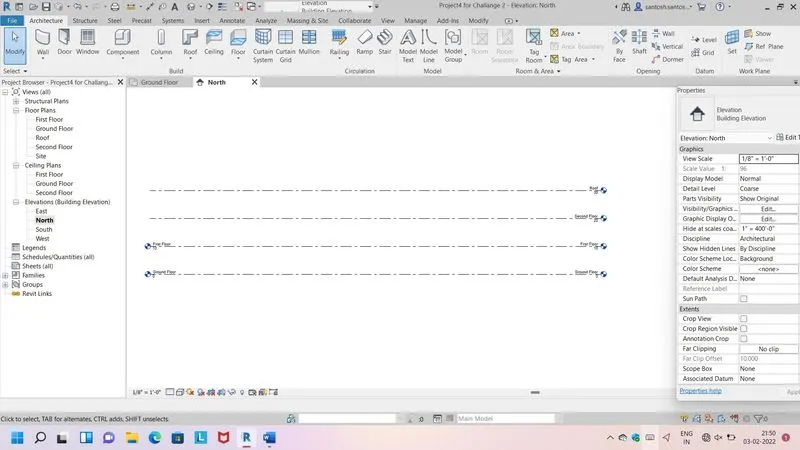
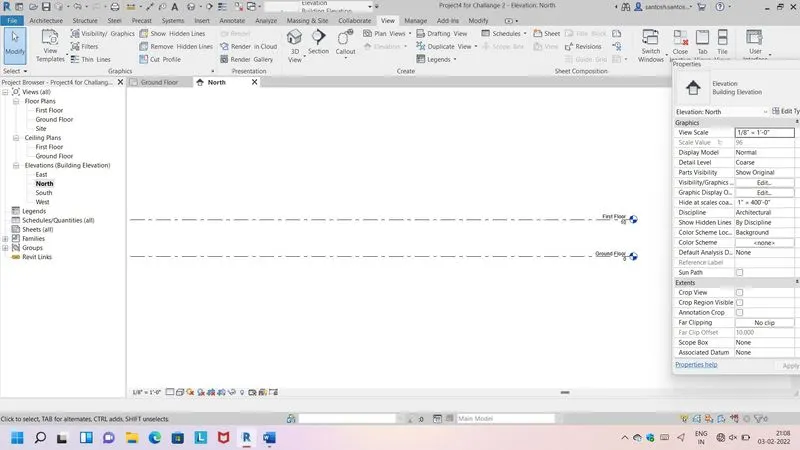
Ans - Levels and grid are finite planes that help to define project context.
Create Levels -
Creating Grid -
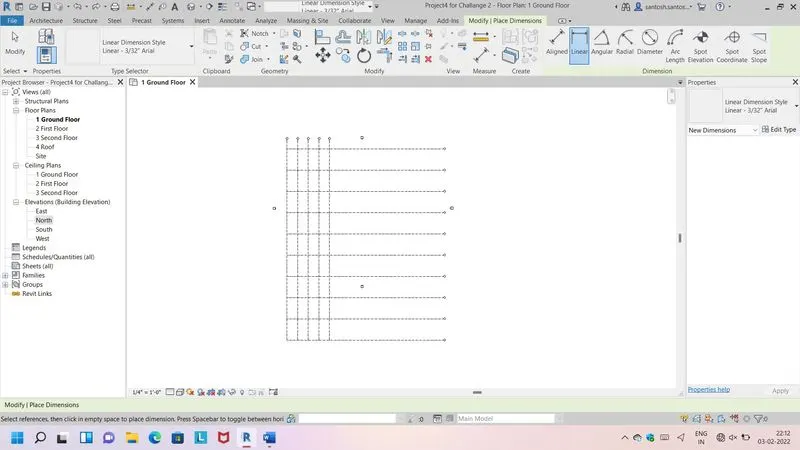
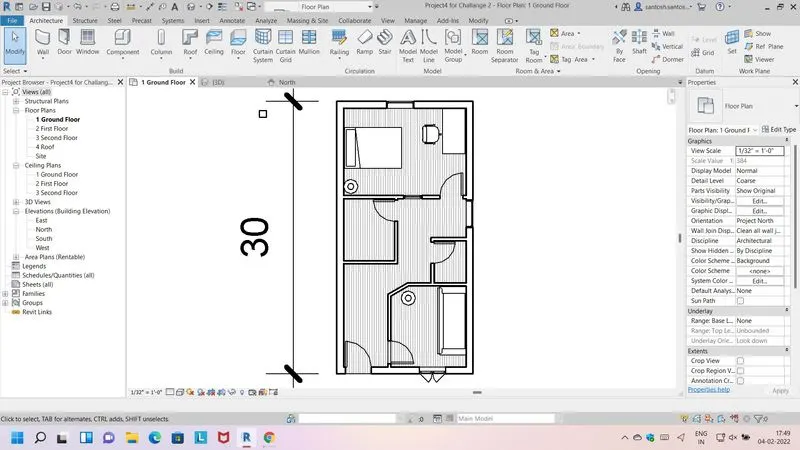
5) 3D modelling of residential unit – From looking at your house / or a place you aspire. Create a conceptual layout of the residential unit. You can measure using a tape or
you can access your residential plan to create a similar layout ?
Ans- Layout a Plan-
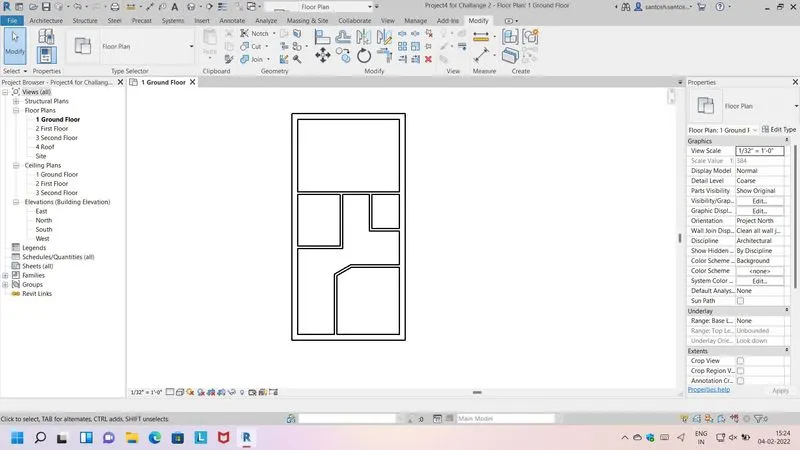
6) In the layout created draft the level of details you are planning to include – Dimensions of room, components you plan to add in the residential unit.
Ans -
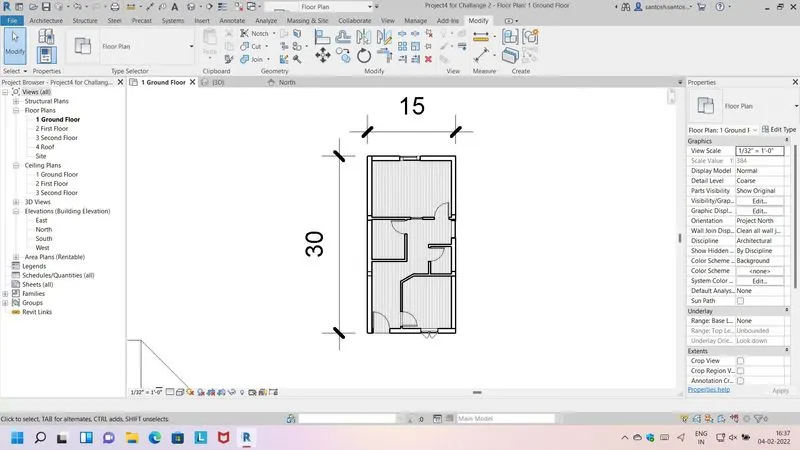
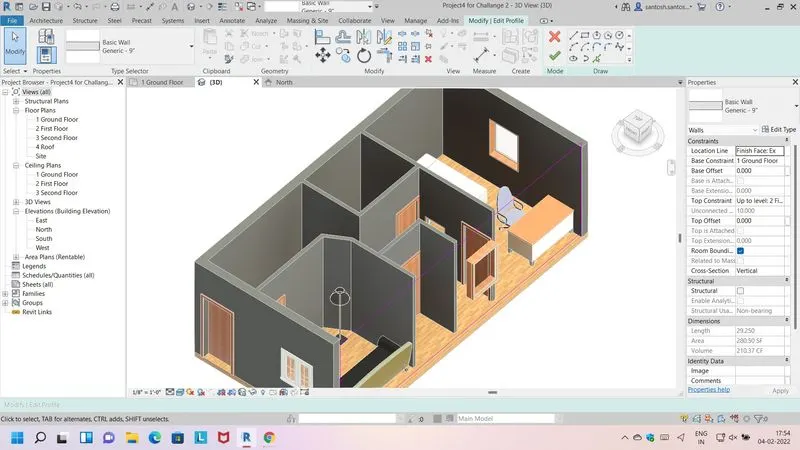
7) Identify the residential model elements such as Door, Windows, Tables, Chair, Couch, Bed, Lamps from the library and insert them to the model?
Ans-