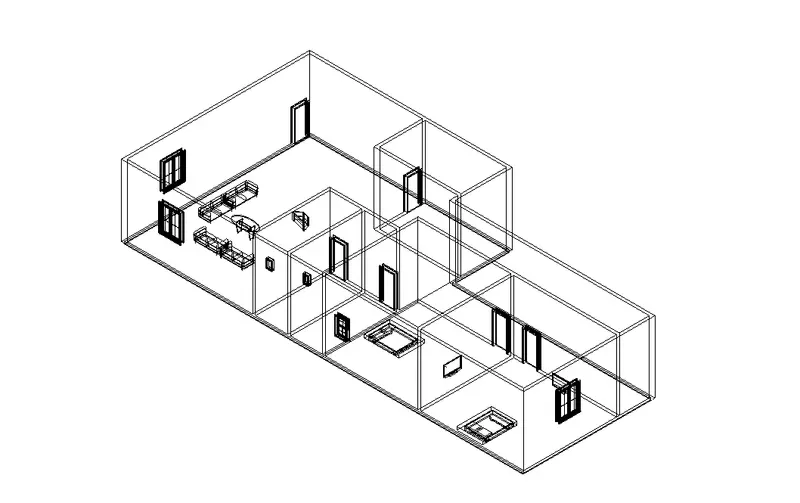
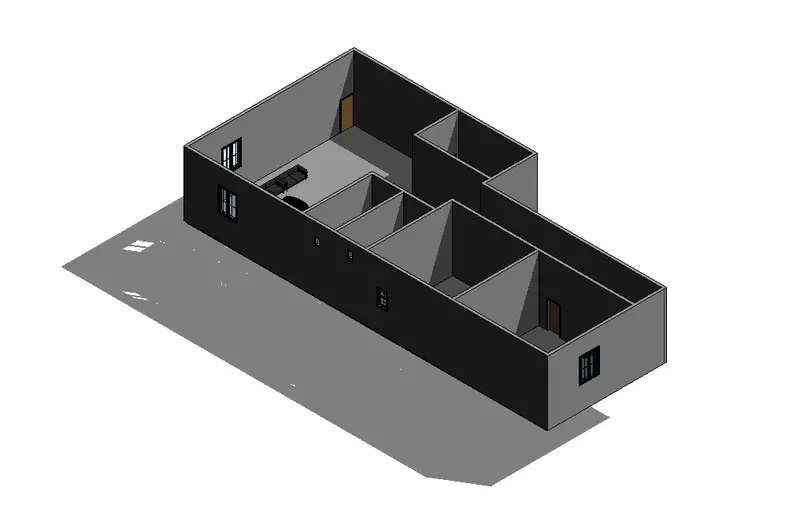
Creating Levels, Grids, Layout and model elements for a residential unit using REVIT
Q-1) What is BIM? Summarize the features of BIM and benefits of using BIM over 2D CAD tools.
ANS-1
- BIM is known as building information modeling or building information management .
- BIM is use for civil , architectural and also for a mechanical for detailing.
- Benifits of using BIM is it's provide lots of help for project management.
different between 2D CAD and BIM
- 2D CAD is mostly use for prepair a perticular drawing on onther hand BIM is use for whole structure.
- in the CAD software we can not create drawing to deep.
- but in BIM modeling we can give proper information to the model.
- Using BIM is very comfortable and time saver in compair to CAD.
Q-2) Understand the concept of Categories, Families, Elements, Instances in Revit. Go to Insert Tab, choose a category. Pick a family and element. Understand the instances and insert it to Revit model.
ANS-2
categories - categories provide the visiblity and graphical view of the model or some elements.
family - family is the group of all information in revit . we can add or edit some info from the family. it's give a option to change properties in the model .
instances - this is give a individual presentation of a type in project.
CREATE FAMILY IN REVIT:-
- first open revit and go to insert tab and click on load family.
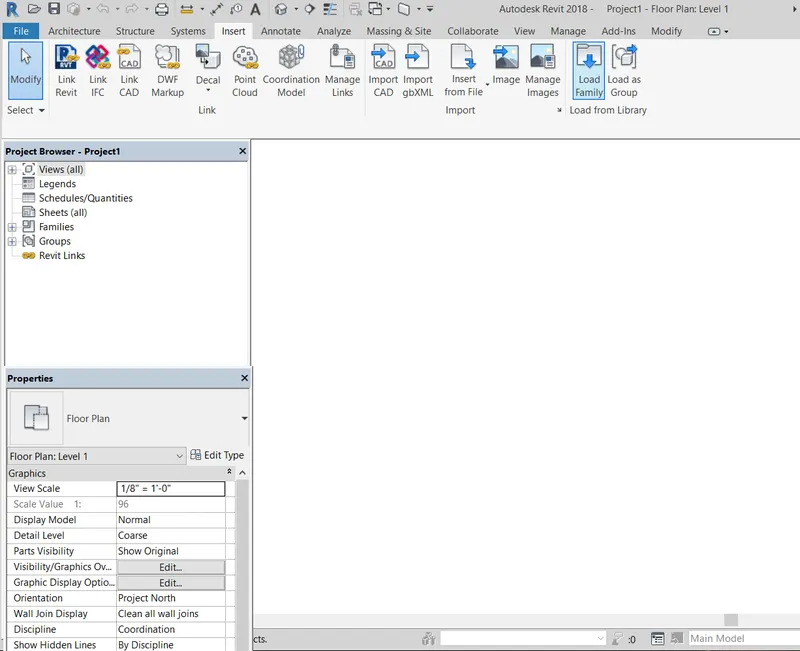
- now select any libraries and click open.
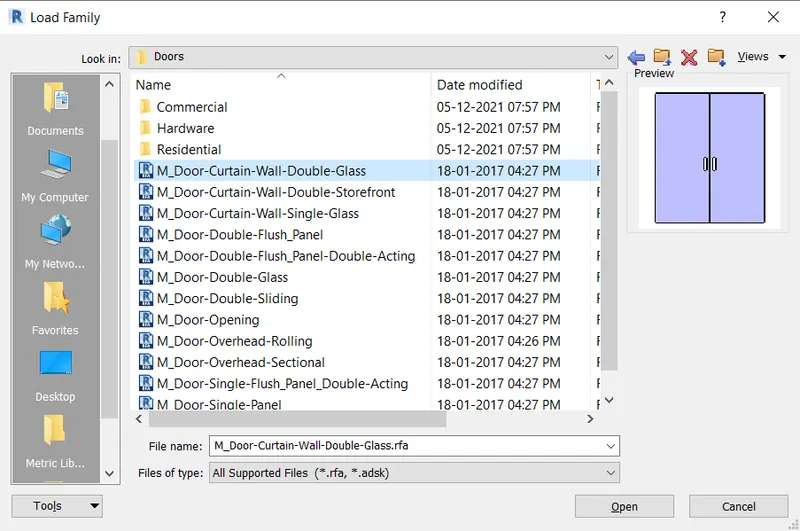
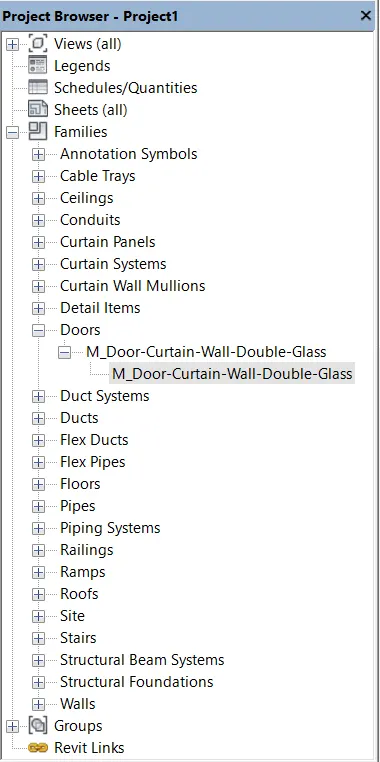
Q-3) Setting up a Project – Open a project file with architectural template. Save the file with appropriate name. Set up the project units to Imperial / Metric based on your convenience of modelling. Complete the project information under Manage tab. Set up the maximum backups for project file to 3
ANS-3
- open revit and use architectural drawing template.
- save those file according to file name.
- now open projects unit and change accordingly.
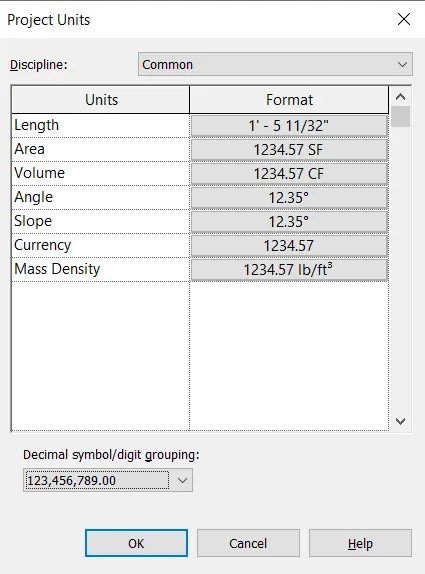
- now go to manage tab and click on project information.
- fillup all required information and save it for latter project work.
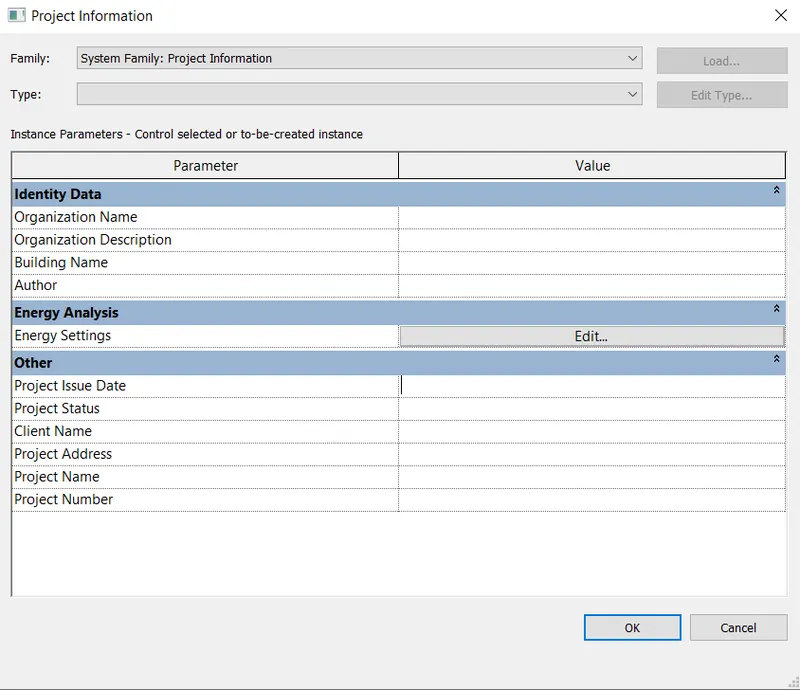
Q-4) Understand the concept of Levels and Grids. Follow the naming and conventions. Create the following Levels: ( Convert to metric equivalents if metric is your units)
Ground Floor @ 0’
First Floor @ 10’
Second Floor @ 20’
Roof @ 30’
Grids Transverse Grids A, B,C,D, E @ 10’ spacing
Longitudinal Grids from 1 to 10 @ 20’ spacing
ANS-4
- open revit and use construction drawing template.
- set up a project information.
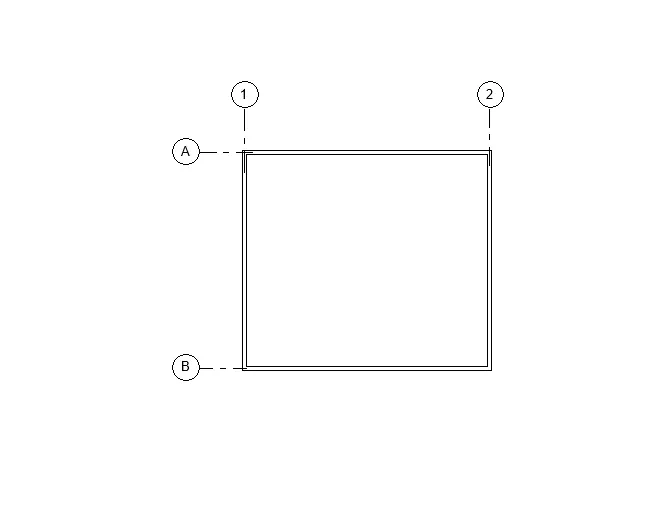
- now create a layout of 40'x35'.
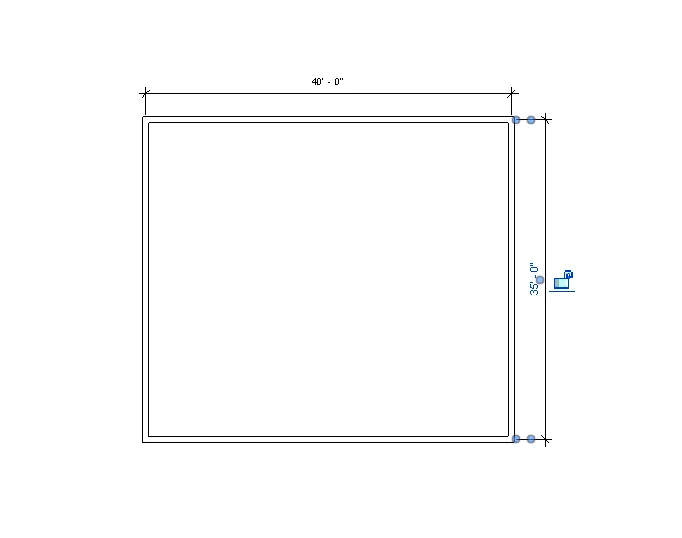
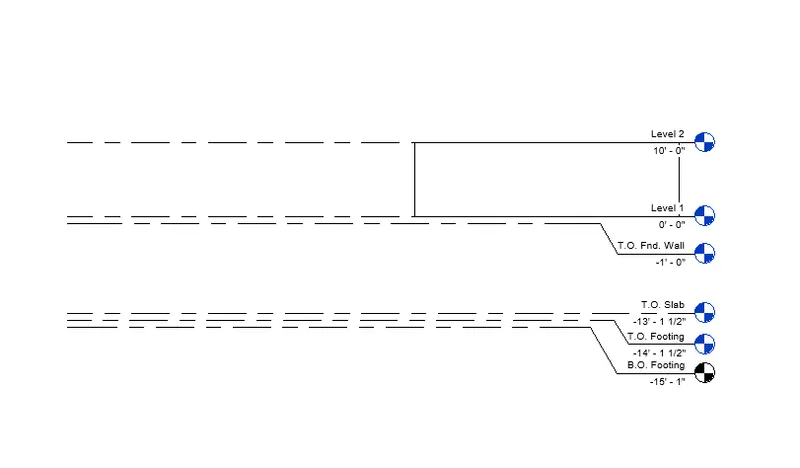
- now select elevation view and set a levels.
- now select grid option and give grids into the drawen layout.
Q-5) 3D modelling of residential unit – From looking at your house / or a place you aspire. Create a conceptual layout of the residential unit. You can measure using a tape or
you can access your residential plan to create a similar layout.
ANS-5
- open revit and use architectural drawing template.
- set up a project information.
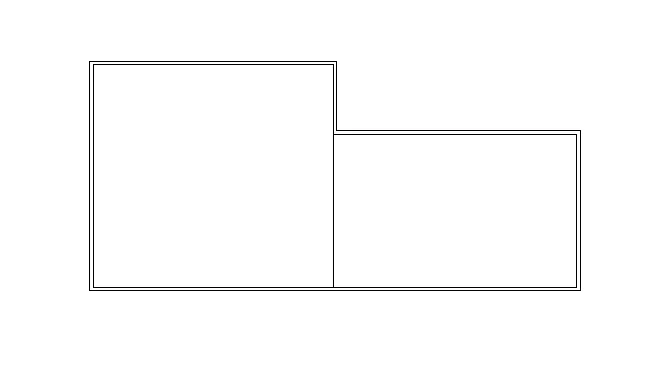
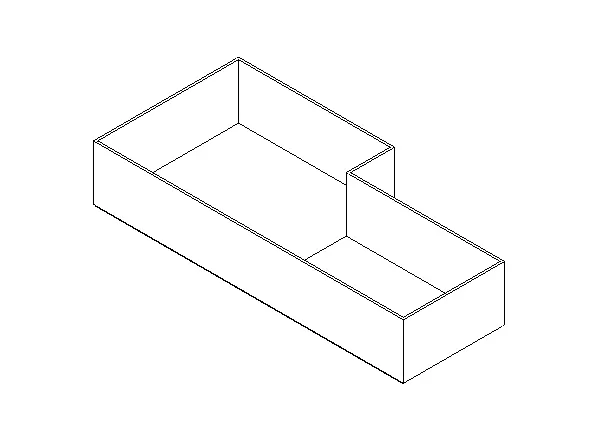
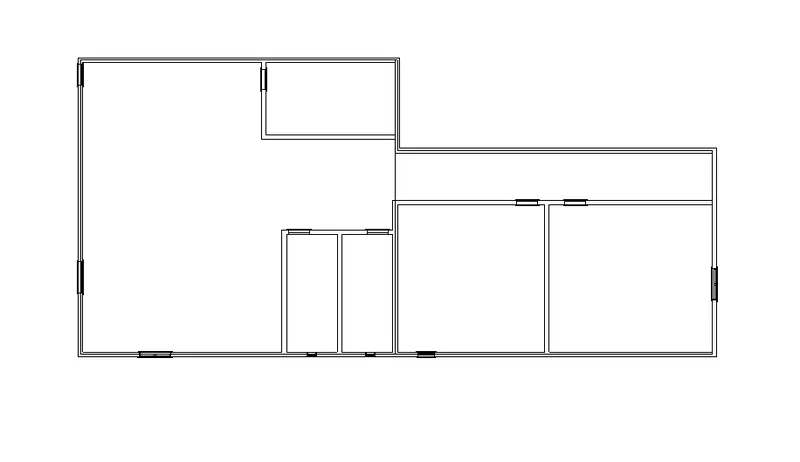
- now draw a layout as your choice or as per given bellow and save it for latter.
Q-6) In the layout created draft the level of details you are planning to include – Dimensions of room, components you plan to add in the residential unit.
ANS-6
- first open a project we did in previous question.
- now draw a walls , bedroom walls and other component.
- give a dimension to them.
Q-7) Identify the residential model elements such as Door, Windows, Tables, Chair, Couch, Bed, Lamps from the library and insert them to the model . Save the project for use
for Assignment 3
ANS-7
- first open a project we did in previous question.
- now draw a walls , bedroom walls and other component.