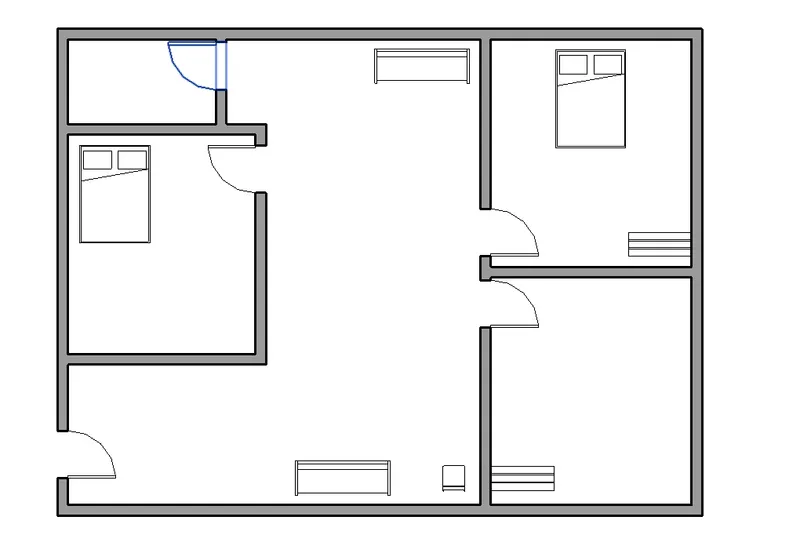
Creating Levels, Grids, Layout and model elements for a residential unit using REVIT
1) What is BIM? Summarize the features of BIM and benefits of using BIM over 2D CAD tools.
ans)Bim is a process supported by various tools, technologies and contracts involving the generation and
management of digital representation of physical and functional characteristics of places. building information models are
computer files which can be extracted ,exchanged or networked to support decision making regarding a built asset.
bim software is used by individuals, businesses and government agencies who plan, design,construct,operate
and maintain diverse physical infrastructure such as water ,refuse, electricity, gas, communication utlities
roads,railways, ports and tunnels.
uses of bim goes beyond the planning and design phase of project,extending throughout the building life
cycle. the supporting processes of building lifecycle management includes cost management, construction
management, project management, facility operation and application in green building.
2) Understand the concept of Categories, Families, Elements, Instances in Revit. Go to Insert Tab, choose a category. Pick a family and element. Understand the instances and insert it to Revit model.
ans)CATEGORY : a category controls the organization ,visiblity ,graphical representations and the and scheduling options of families within the project.
FAMILY: a family is a grouping of 2D and 3D information that serves to represent a discrete building or documentation element
in the project. it defines parametric ,graphical and documentation requirements.
INSTANCE : an instance is an individual representation of a type in the project defined by unique parametric,graphical
and documentaion characteristics which makes it unique from other instances in project.
ELEMENTS : element is a specific representation in a family defined by distinct parametric, graphical and documentation
characteristics which makes it unique from other types in the family.
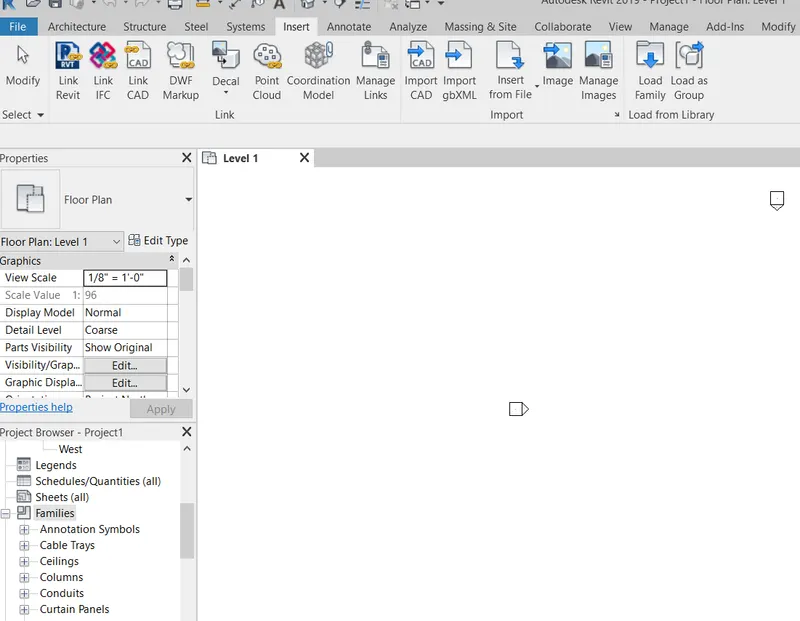
in the figure below,we have gone to the insert tab and at the left side of screen we can see families such as
ceilings,columns and doors etc.
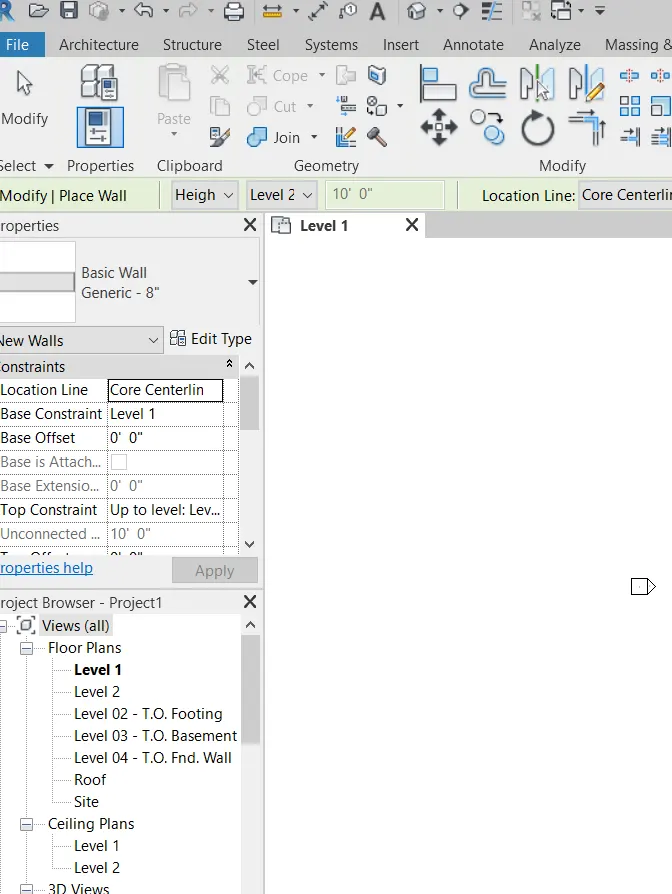
in figure below we can see the example of categories, i.e basic wall generic 8''.if we click on it
it is subdivided into different categories which is called family .
and again the families are subdivided into different types based on size which is called elements.
3) Setting up a Project – Open a project file with architectural template. Save the file with appropriate name. Set up the project units to Imperial / Metric based on your convenience of modelling. Complete the project information under Manage tab. Set up the maximum backups for project file to 3.
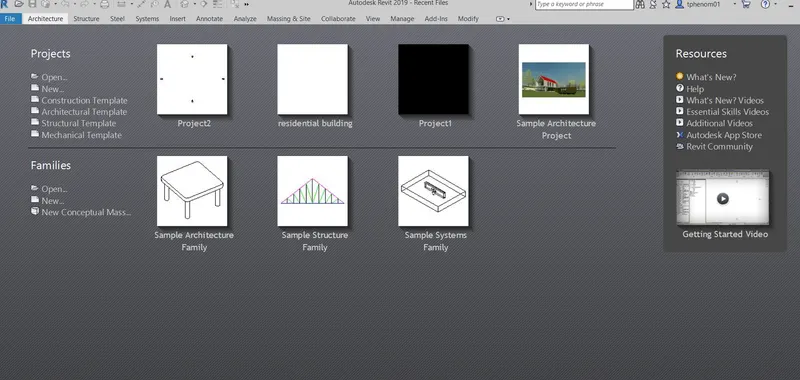
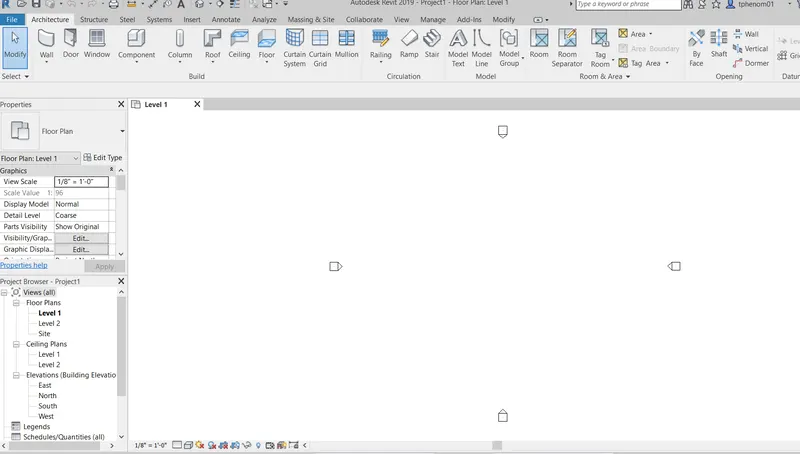
ans)in the figure shown below there are different template options available ,we are opening the file with architectural template.
this is the interface we get after opening it with architectural template.
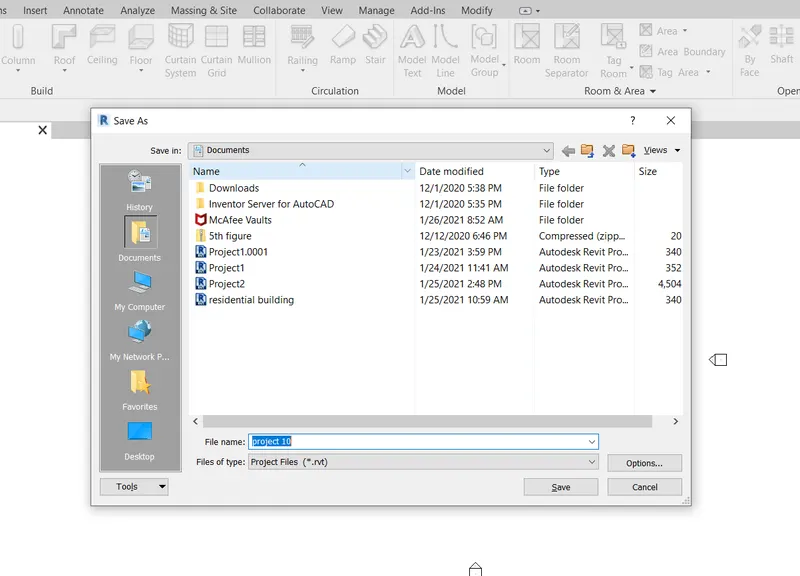
next step is saving the file with appropriate name as shown in figure.
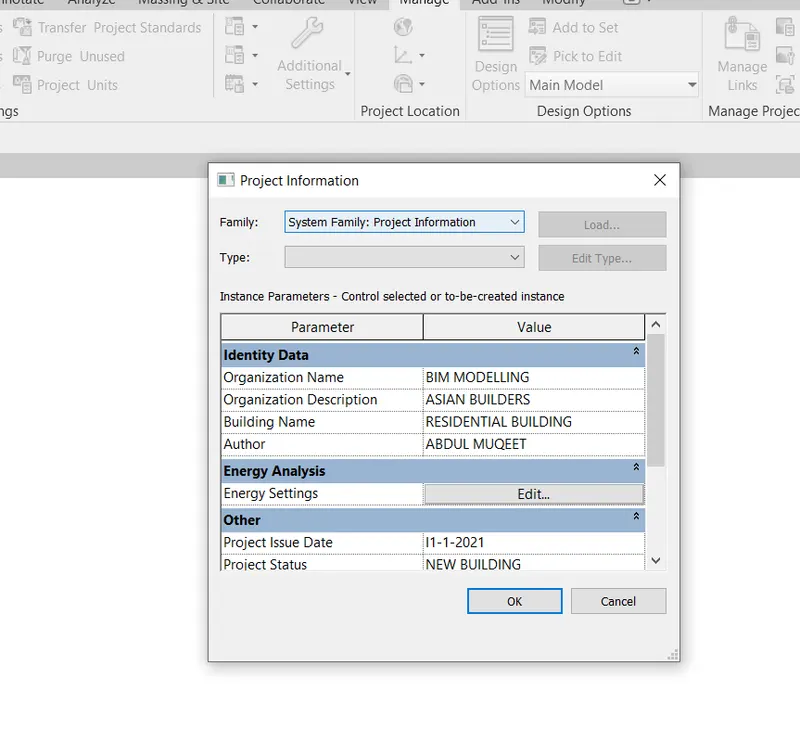
now go to the manage tab and add the project information details as shown below and save it.
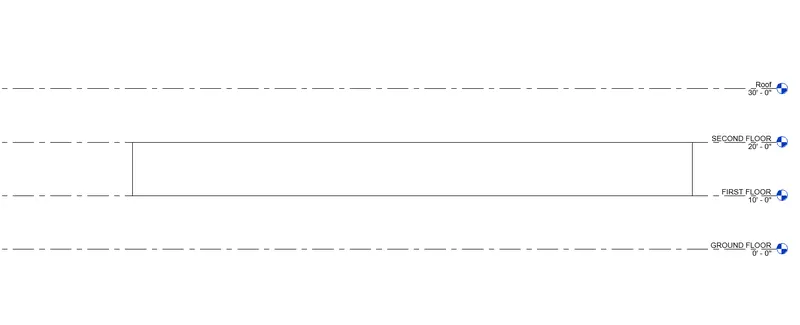
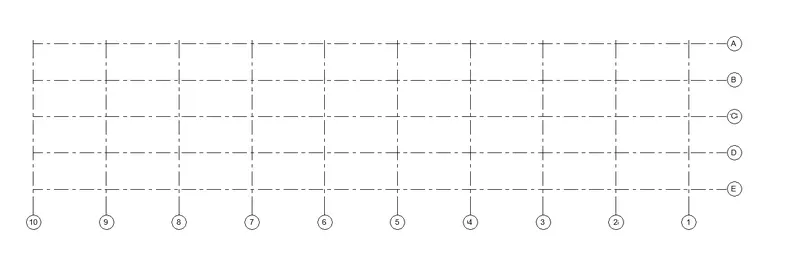
4) Understand the concept of Levels and Grids. Follow the naming and conventions. Create the following Levels: ( Convert to metric equivalents if metric is your units)
Ground Floor @ 0’
First Floor @ 10’
Second Floor @ 20’
Roof @ 30’
Grids Transverse Grids A, B,C,D, E @ 10’ spacing
Longitudinal Grids from 1 to 10 @ 20’ spacing.
ans) levels are the most important elements of revit model.whole future modelling depends on how you plan and set your levels in the
begining .levels and grids are the structure of revit model.
5)
AIM :
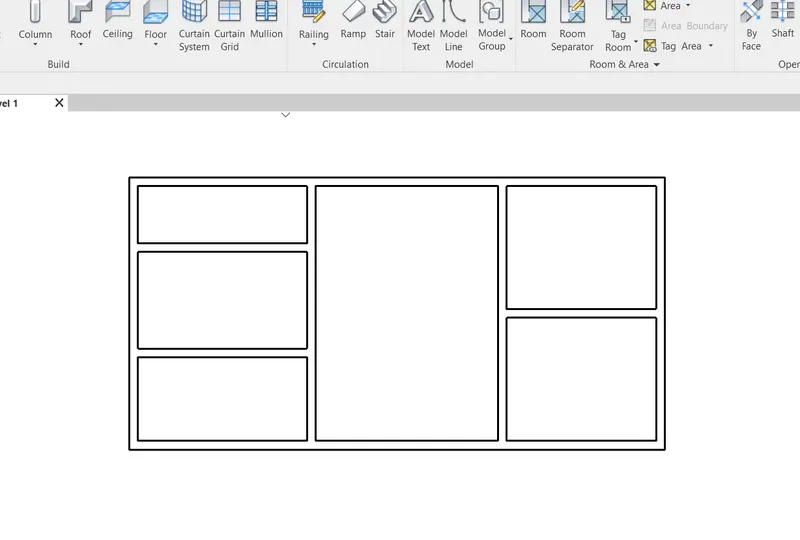
3D modelling of residential unit – From looking at your house / or a place you aspire. Create a conceptual layout of the residential unit. You can measure using a tape or
you can access your residential plan to create a similar layout.
PROCEDURE:
1)open the revit and save the file with appropriate name before starting the project.
2)draw the layout with the help of wall command as shown in figure.
6)
AIM :
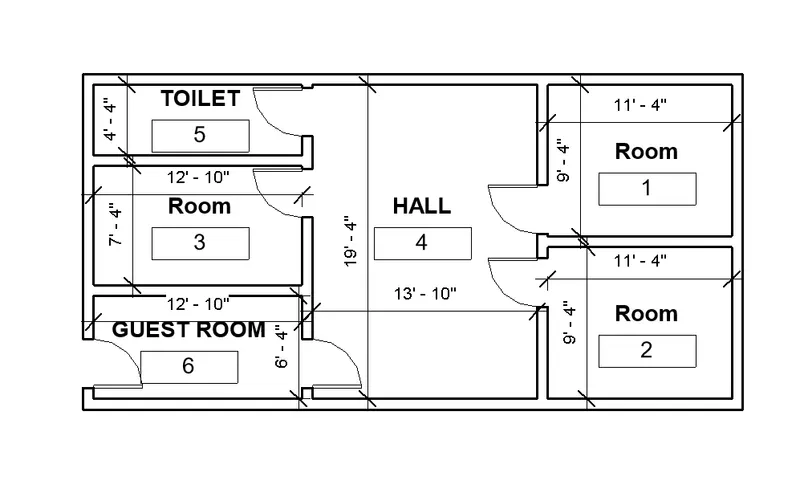
In the layout created draft the level of details you are planning to include – Dimensions of room, components you plan to add in the residential unit.
PROCEDURE :
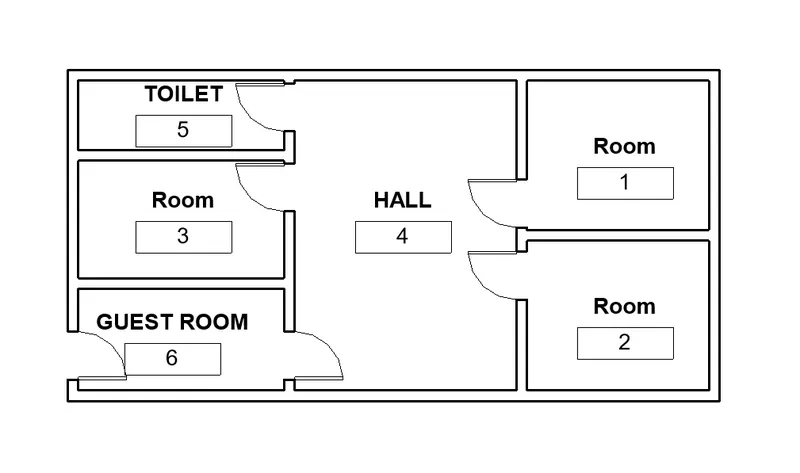
consider the plan of 40'*30' as shown in figure with the help of wall command.
make the entire plan marking rooms as shown in figure.
annotate the text inside the rooms using room option.
place the doors for rooms using door option and place it.
mark the dimensions using dimension option from the view tab.
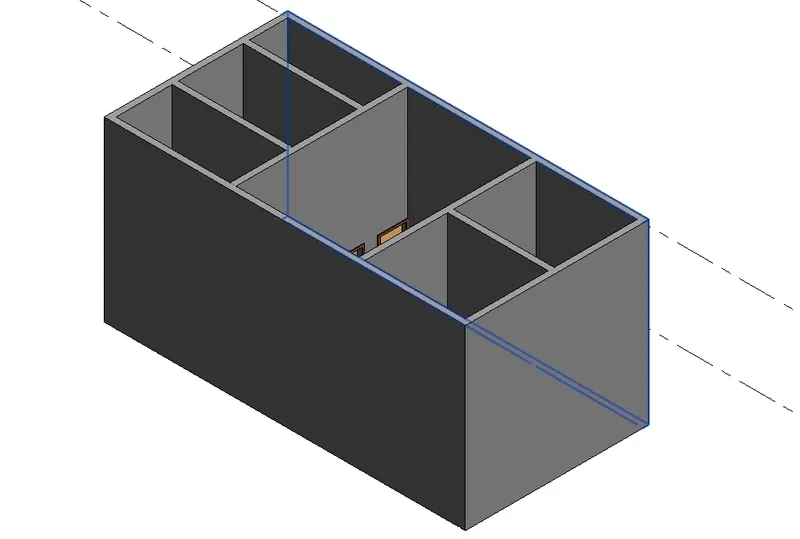
Q7)
AIM :
Identify the residential model elements such as Door, Windows, Tables, Chair, Couch, Bed, Lamps from the library and insert them to the model . Save the project for use
for Assignment 3.
PROCEDURE:
consider the plan of 40'*30' as shown in figure with the help of wall command.
make the entire plan marking rooms as shown in figure.
annotate the text inside the rooms using room option.
place the doors for rooms using door option and place it.
mark the dimensions using dimension option from the view tab.