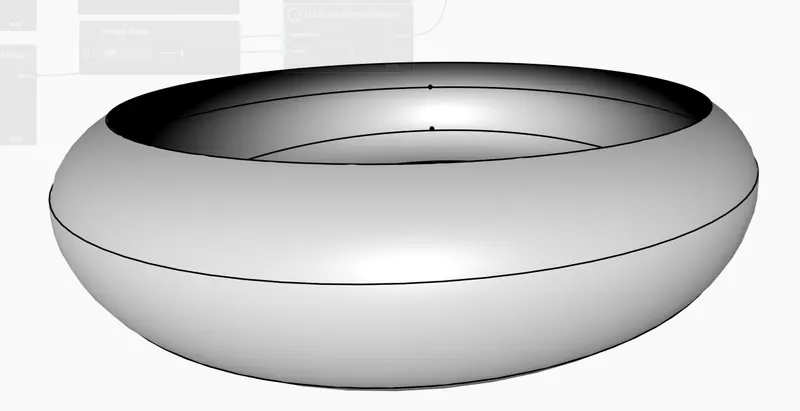
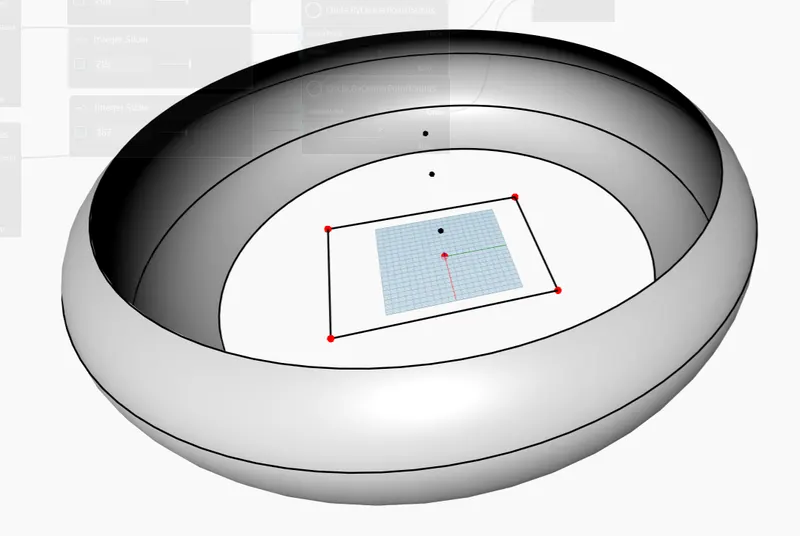
Creating Conceptual mass in REVIT and Creation of Sinusoidal curve and a Parametric stadium using Dynamo
1) AIM: Using Dynamo create a set of sinusoidal points and create a curve and create a surface out of the curve.
INTRODUCTION: For creating sinusoidal surface, first create points then after curve and last surface.In dynamo,we create model using code instead of revit conventional method.we create ranges of points so that we can change the range according to need.
PROCEDURE:
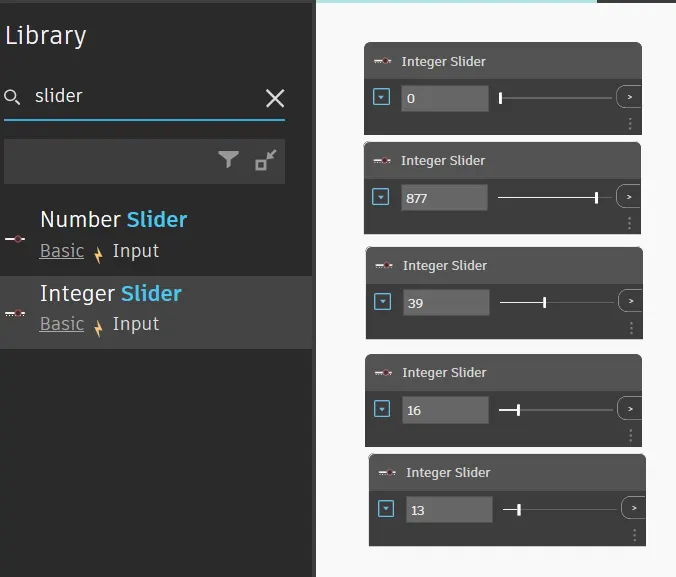
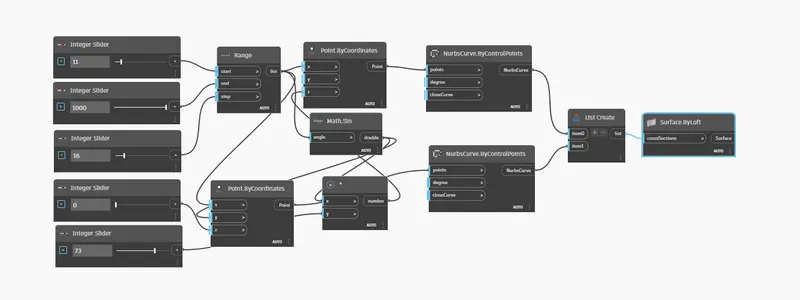
- first we use " slider" .It gives use range of numbers so that we can change according to need.
- here use 5 no. of interger sliders.
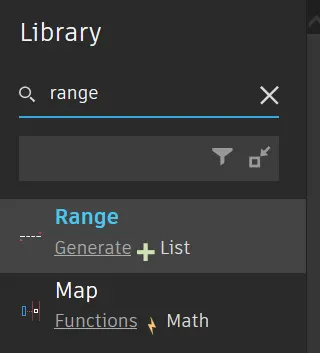
- after that type " range" in search box.
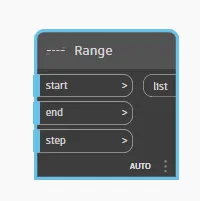
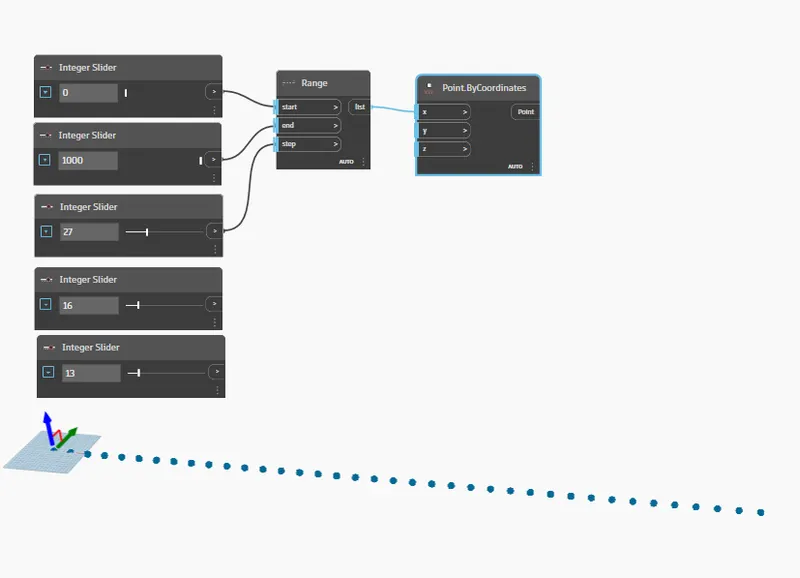
- just wire the range and first 3 slider to create value of range in x- axis.
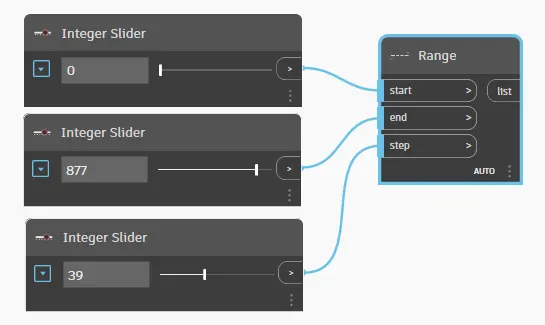
- wiring them doesn't create points in dynamo worksurface.For that, we use another command " points by coordinates" in search box.
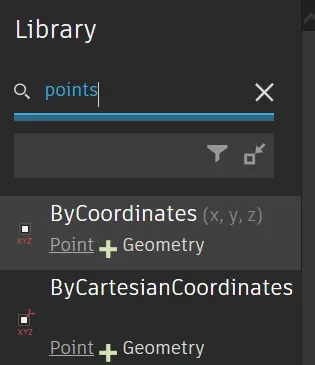
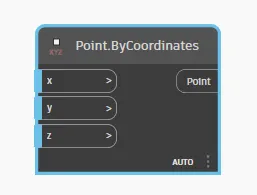
- after wiring the point.ByCoordinates with range, then automatically points created on dynamo interface.Using slider we can change the range , space and distance from origin of points.
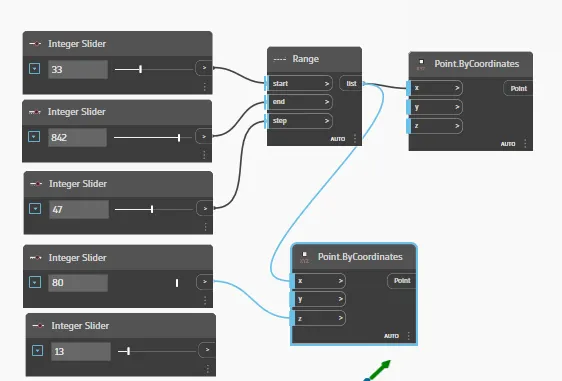
- now create another set of points in z axis with same range. For that type " points by coordinates" and wire them with range and 4th slider. we can change the height of 2nd set of points using 4th slider.
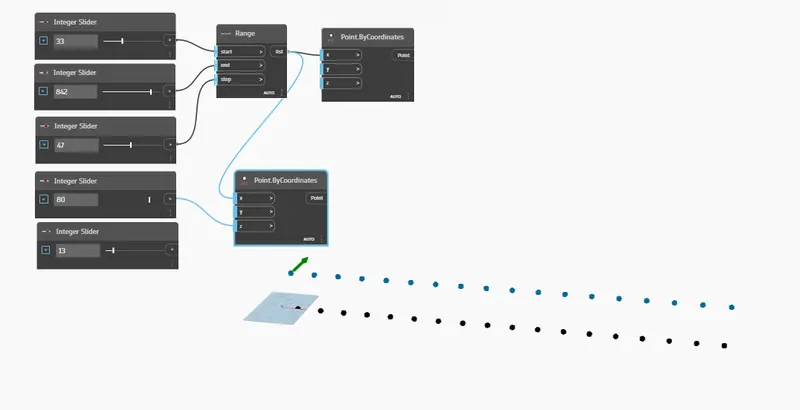
- getting this points on sin curve. For that type " Math.Sin" and " product" in search box.
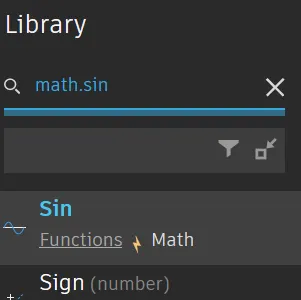
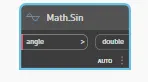
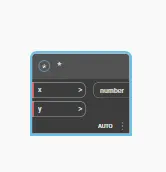
- now wire the "math.sin" with range and product "x". after that product "y" is wired with 5th slider.
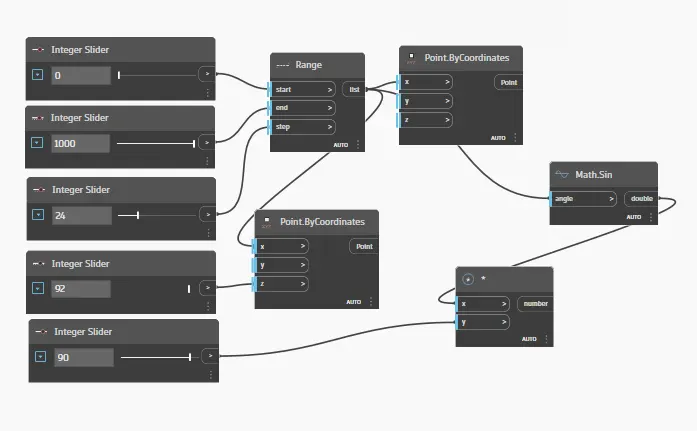
- now output of product is wired with input of 1st points by coordinates, then we get points in sine curve.
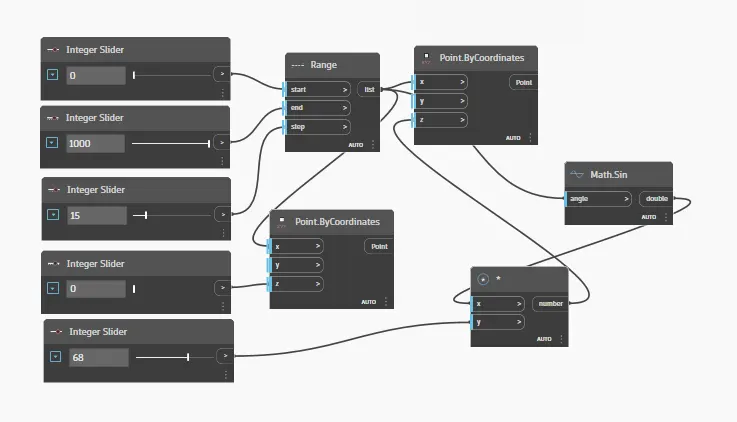
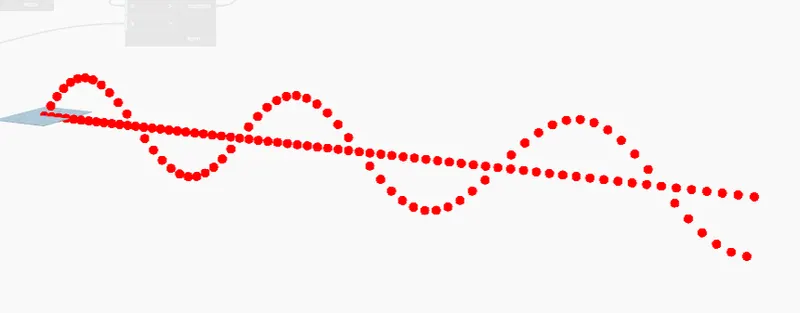
- upto now we create the points with ranges. Now create sin curves.For that type" nurbs".
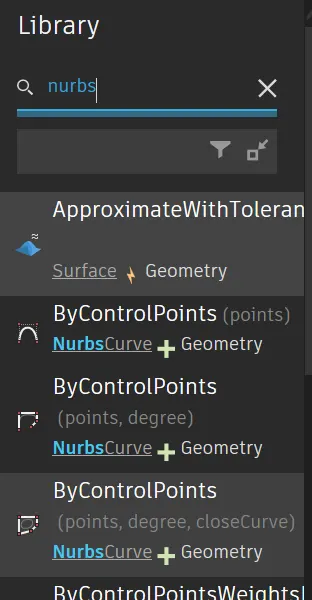
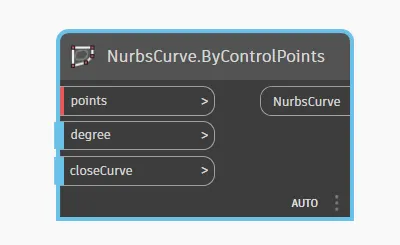
- since we have two sets of points for two curves.so we create two curves by using " nurbs".And wire them with two sets of points.
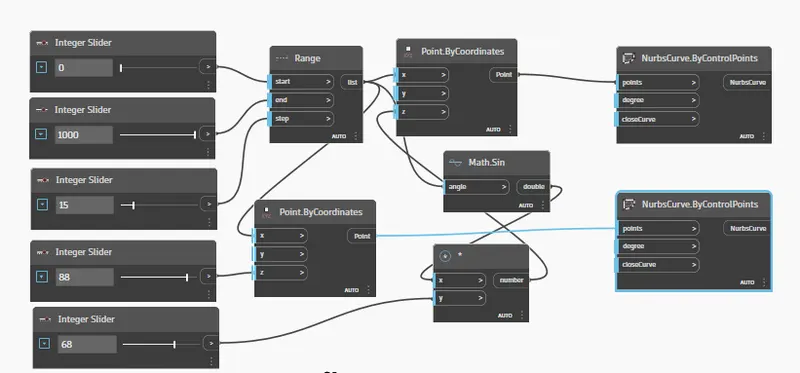
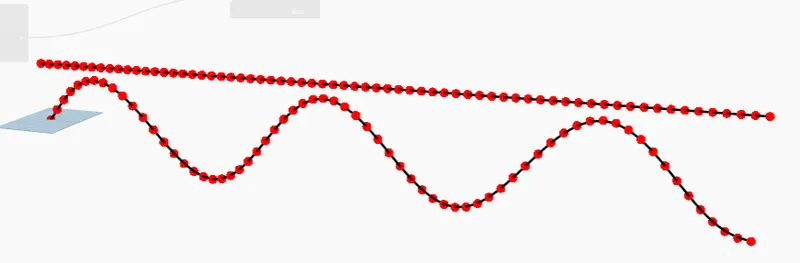
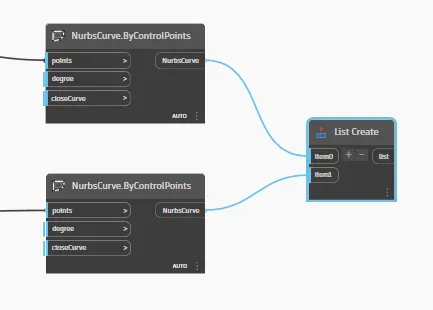
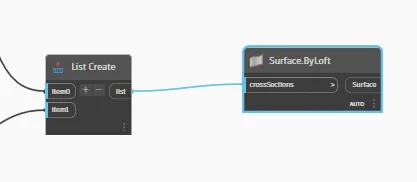
- for creating sine surface. First create list and wire them with two curves.
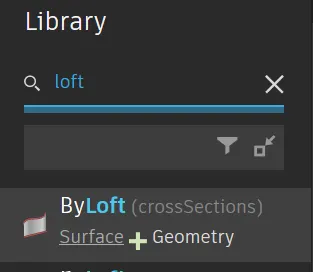
- now create surface by " loft".
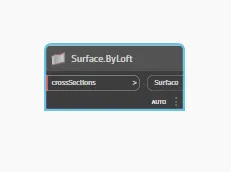
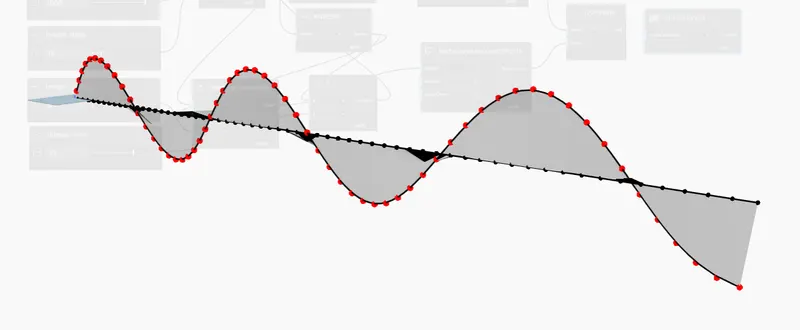
- now wired it with list. then you see curve sinosidal surface created.
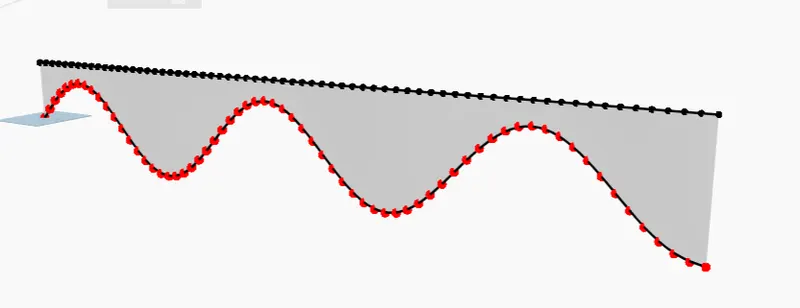
RESULT :
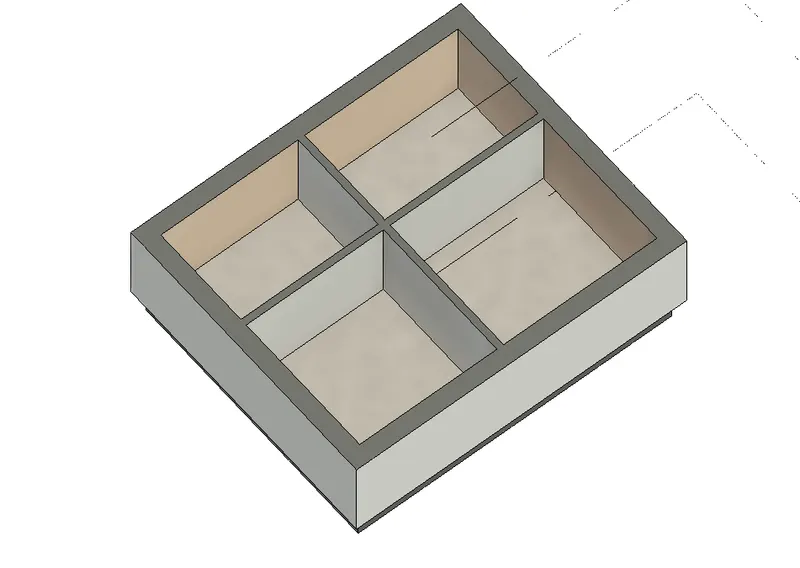
2) AIM: Create a conceptual layout of floor plan in dynamo.
INTRODUCTION: Using the tools available in dynamo link the lines to appropriate model elements in Revit by choosing the wall types and wall parameters. Make use of the sliders to slide through the height of the wall and length of the wall.
PROCEDURE:
- first we use " slider" .It gives use range of numbers so that we can change according to need.
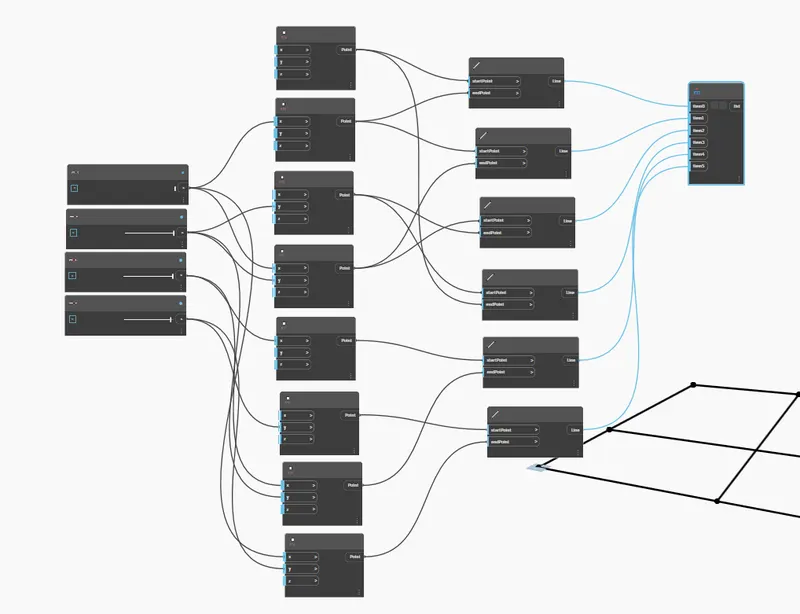
- here use 4 no. of interger sliders.
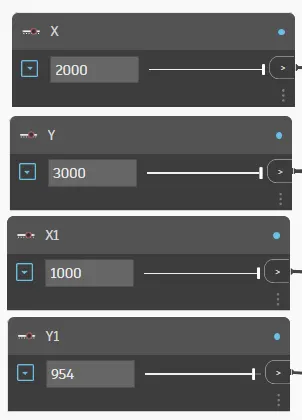
-
- wiring them doesn't create points in dynamo worksurface.For that, we use another command " points by coordinates" in search box.
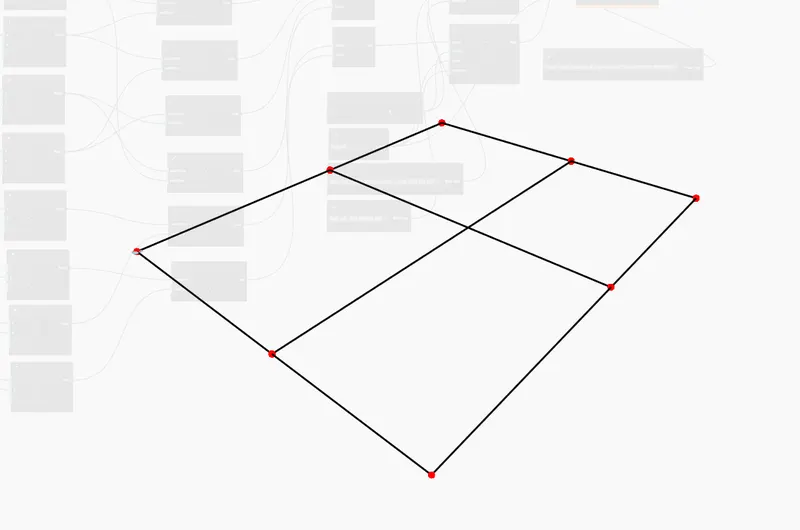
- we create 8 no. of points by coordinates and wire them with integer slider to get points range in dynamo axis.
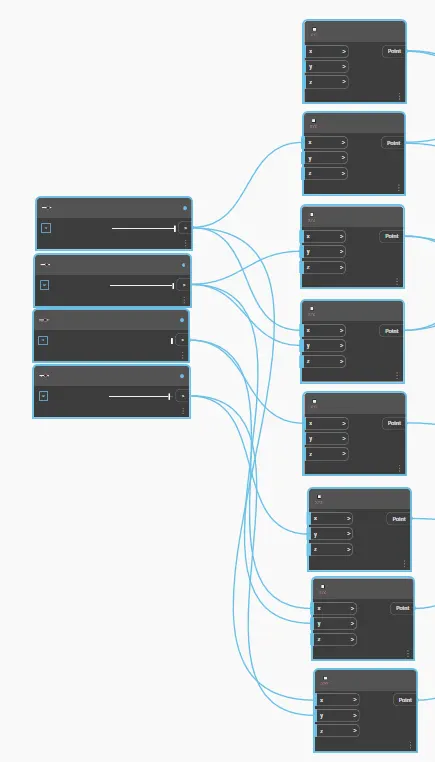
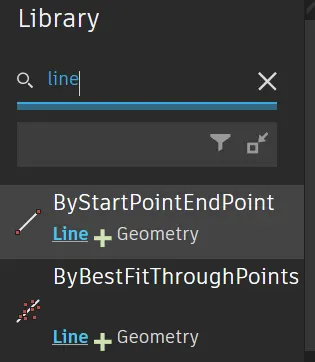
- to create line with these points, we have to type " line". using this command we create line
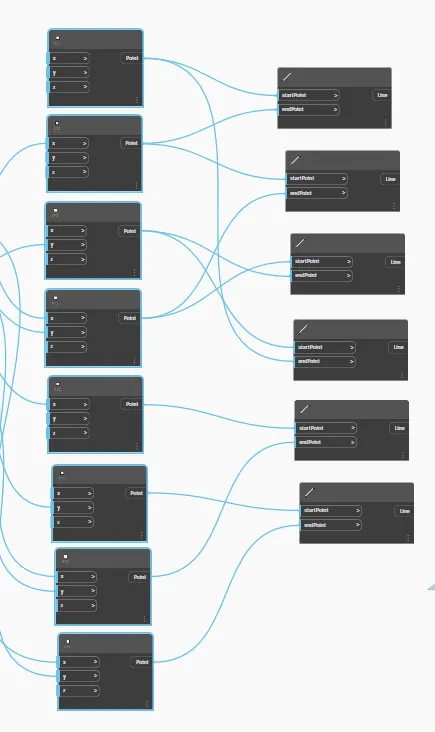
- we create 6 line by wiring line with points.
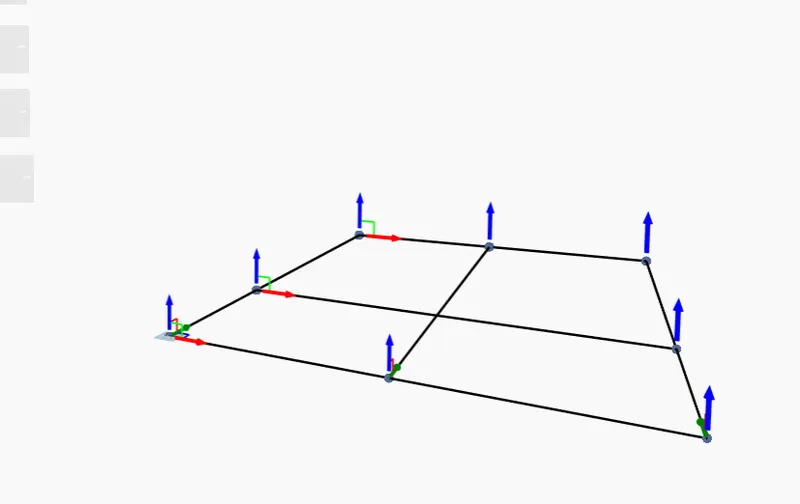
- to create wall and floor in these lines, first we create " list" command. you can control no. of list items according to need.
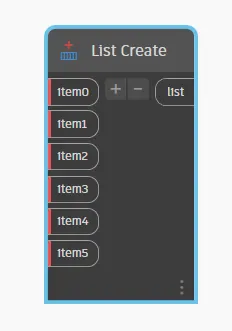
- now wiring it with lines.
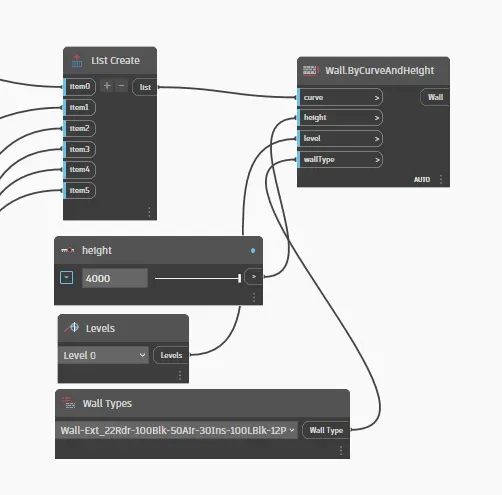
- to get wall on this line,command " wall by curve and height"
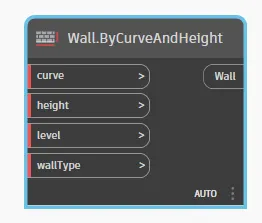
- now curve is wired with list.
- for height slider is used and then wired them and type " level" for level of walls.
- command " wall type" and choose wall type appeared in revit.
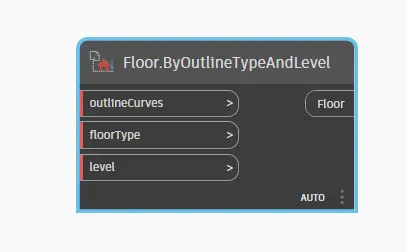
- for floor in layout, command" floor " then choose" ByOutlineTypeAndLevel".
- now wire them with wall.
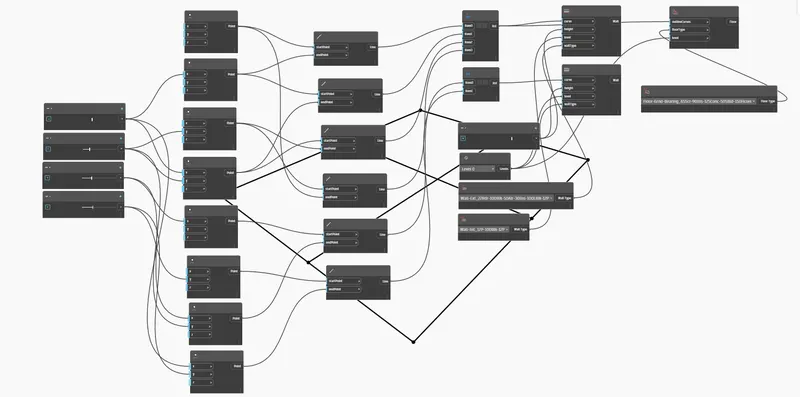
RESULT:
3) AIM:Create an array of model elements in Revit.Use dynamo to vary the properties of model elements by using the slider or code block.
INTRODUCTION:First create array of model such as columns, footing and etc. after that go to dynamo and change its property in dynamo.
PROCEDURE:
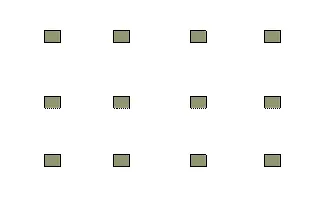
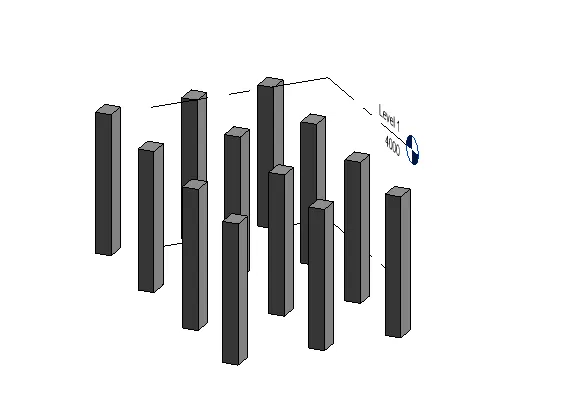
- First create set of columns in revit.
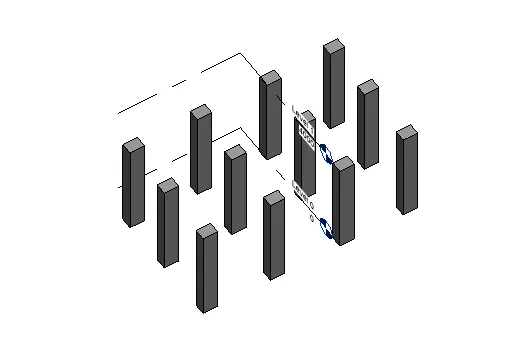
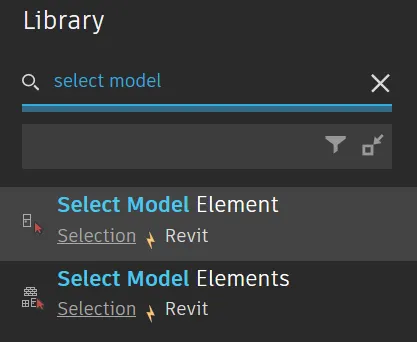
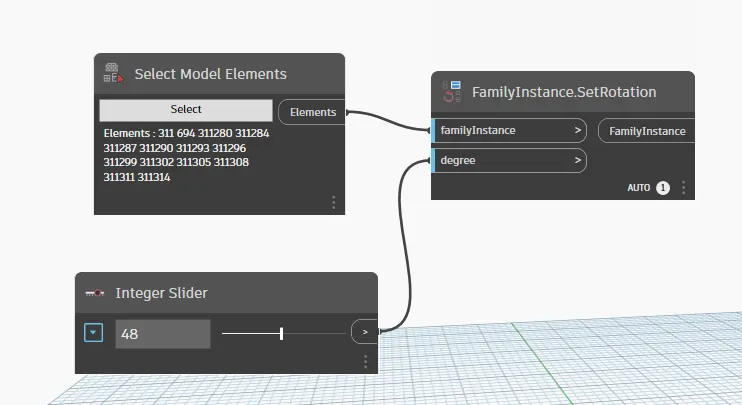
- now open dynamo and type "select model".
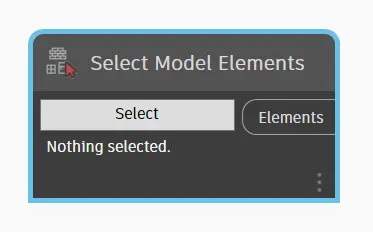
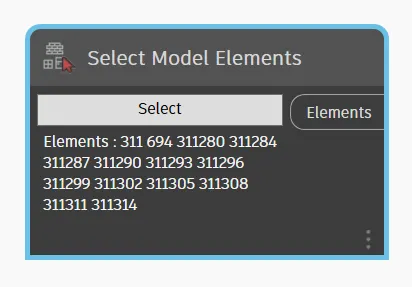
- now click on select and go to revit and select it.
- now type "set rotation" and slider
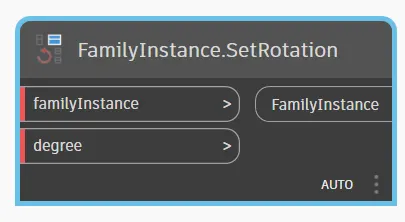
- now wire them and change the angle of rotation of columns using dynamo.
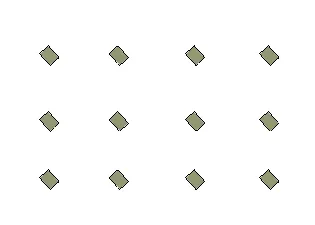
RESULT :
4) AIM: Create a conceptual mass in Revit and develop a parametric column by dividing the surfaces.
INTRODUCTION: Apply the concepts similar to used in parametric walkway modelling. Use triangular bent or square shaped panels to add finish to the parametric column.
PROCEDURE:
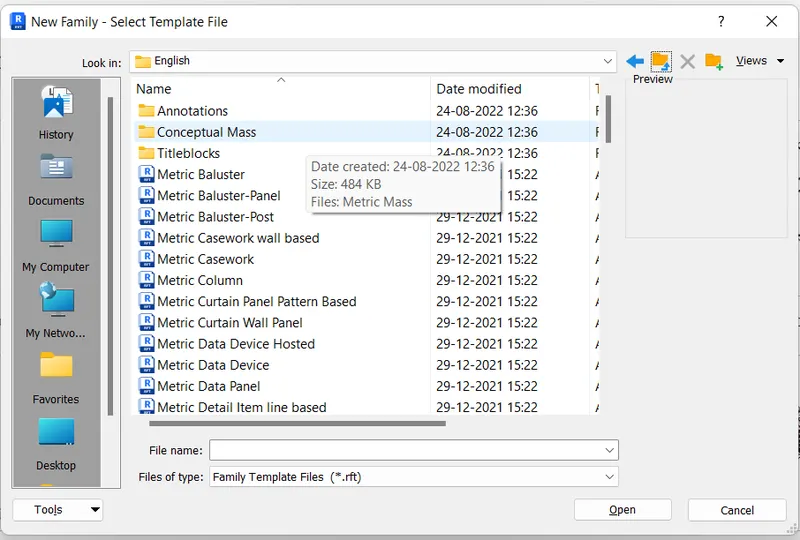
- Go to family and choose conceptual mass.
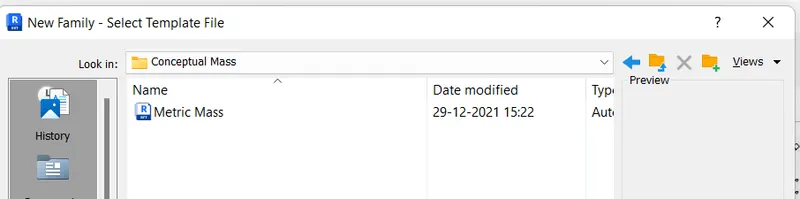
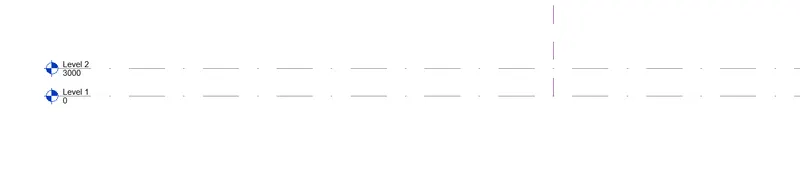
- go to elevation view and create level2 at 3000mm from base.
- now go to floor plan at level 2.set workplane ar level2.
- go to modify> draw>spline through points .
- and start creating design through this line.
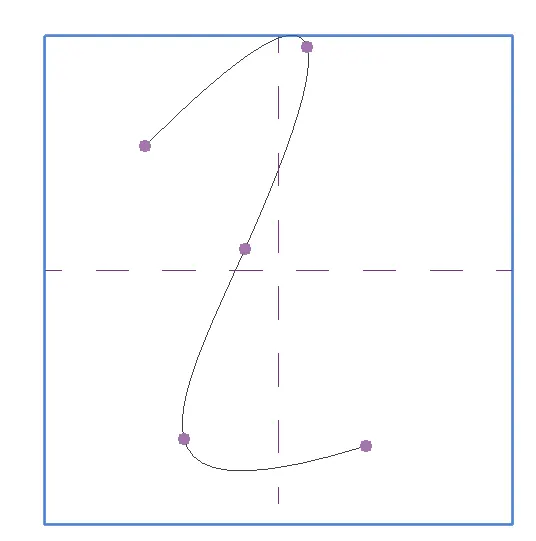
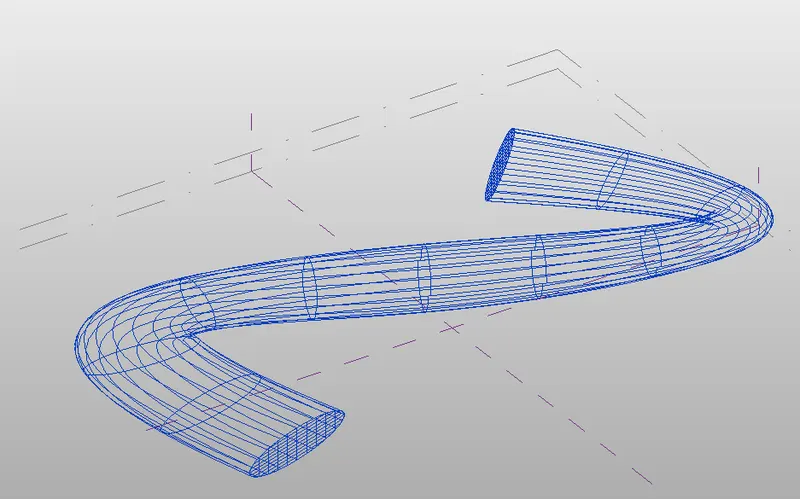
- now chhose the shape of paramatric walkway such as circular, rectangural and many more.
- chhose the points and set as workplane and show the work plane.
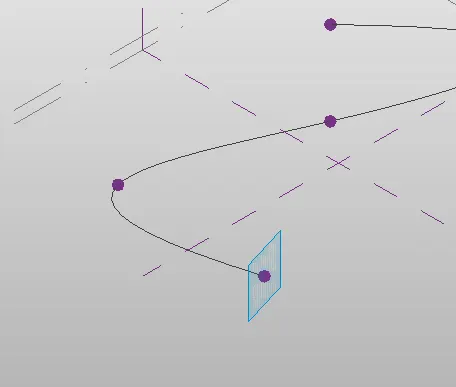
- i choose ellipse shape and goto chhosen points and create (3000,2500)mm elipse.
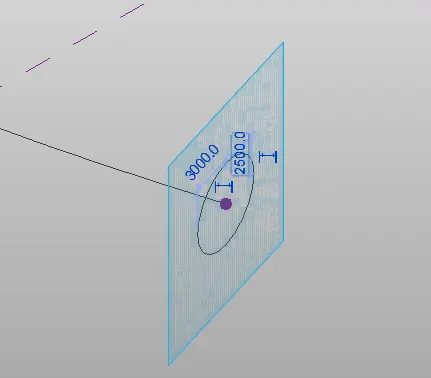
- same way create on every points.
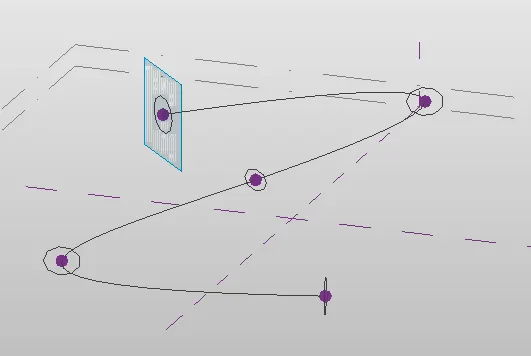
- now select themodel lines and shape and go to create form click.
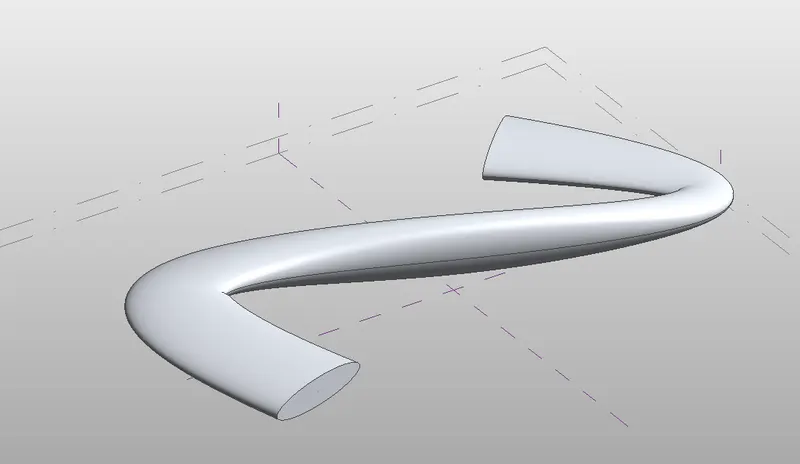
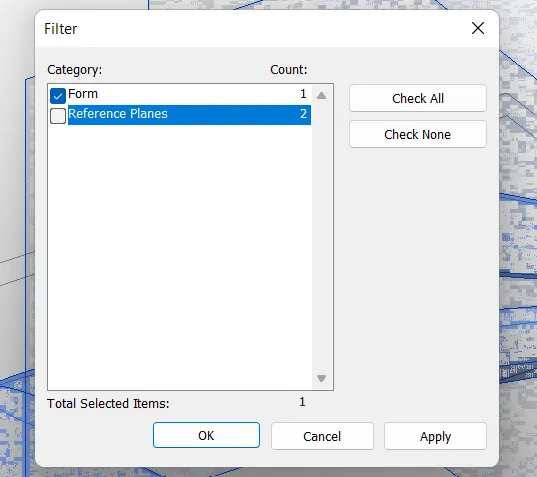
- now select all and go to filter and deselect reference line. and apply divide surface.
- now choose pattern and apply.
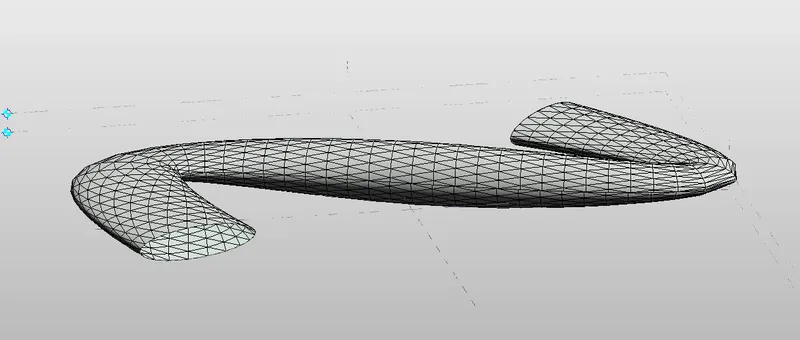
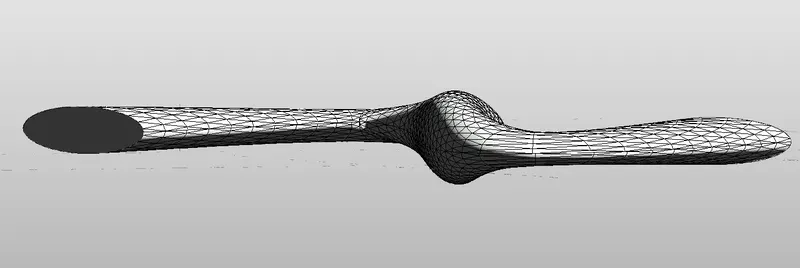
RESULT:
5) AIM: Use Dynamo to work on developing a Parametric Stadium.
INTRODUCTION: Using sets of command, paramertic stadium is created. All the dimension is assumed.
PEOCEDURE:
- first we use " slider" .It gives use range of numbers so that we can change according to need.
- here use 4 no. of interger sliders.
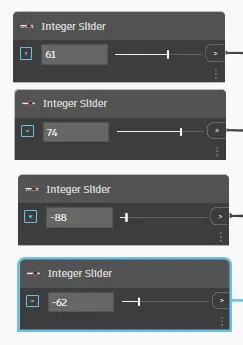
- wiring them doesn't create points in dynamo worksurface.For that, we use another command " points by coordinates" in search box.
- 4 points are created and wire them with slider.
- Now type "LINE" and create line with the 4 points and wire them.
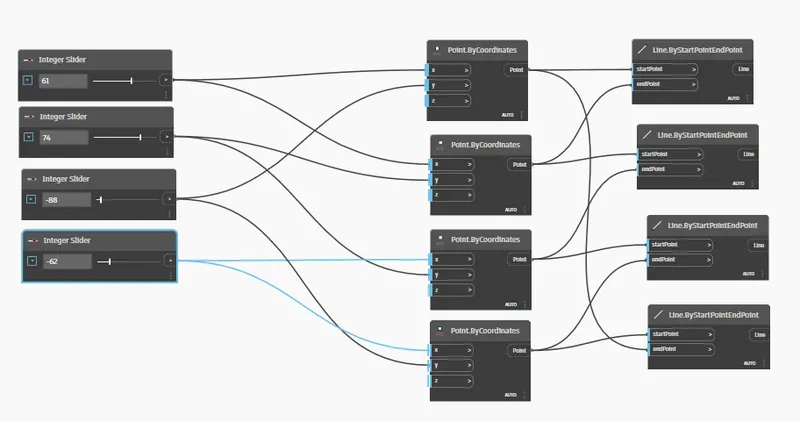
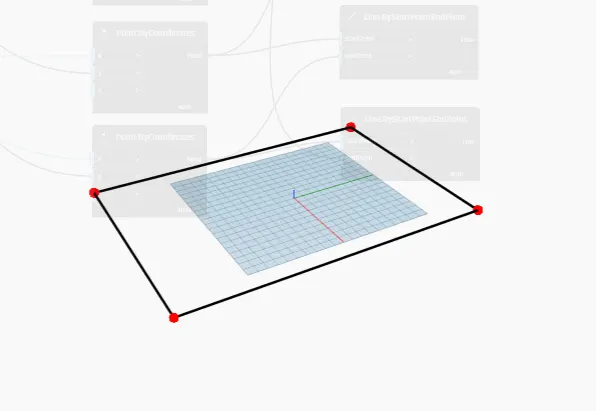
- after creating this football area. now creating design of stadium.
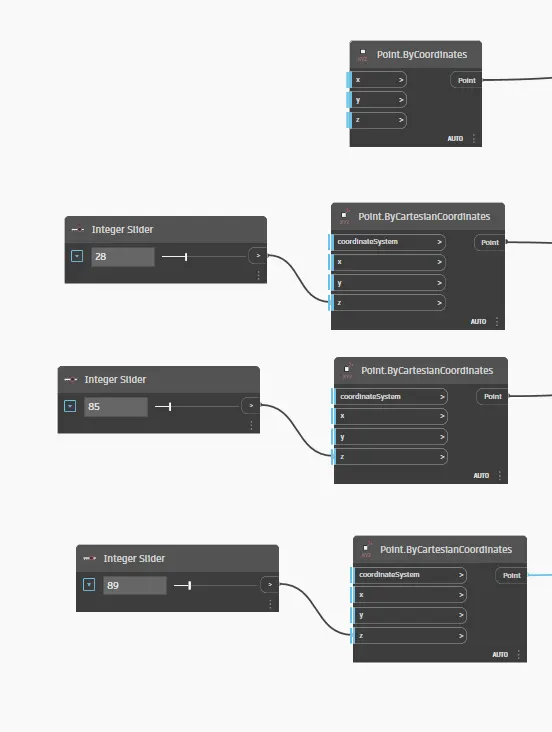
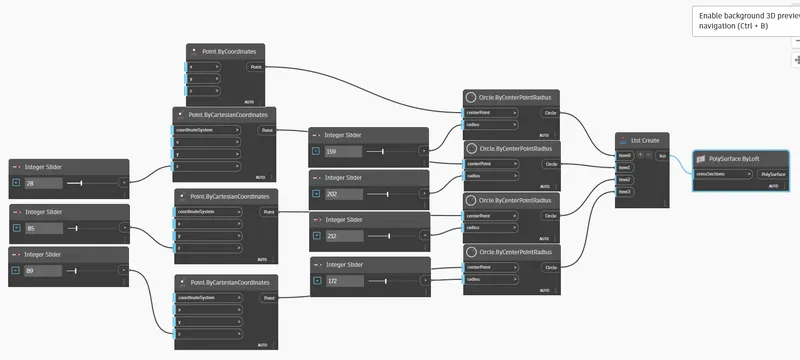
- create 3 slider and 4 " points by coordinates" and wire them in z axis.
- now again create 4 slider for radius of circle and command 4 no. of circles. and wire them.
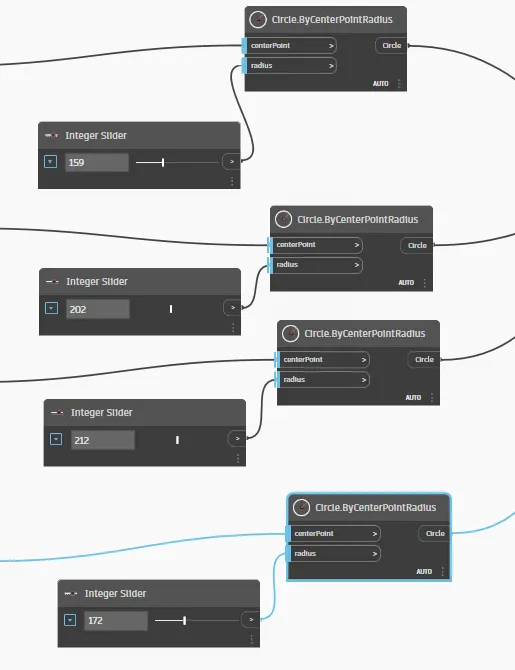
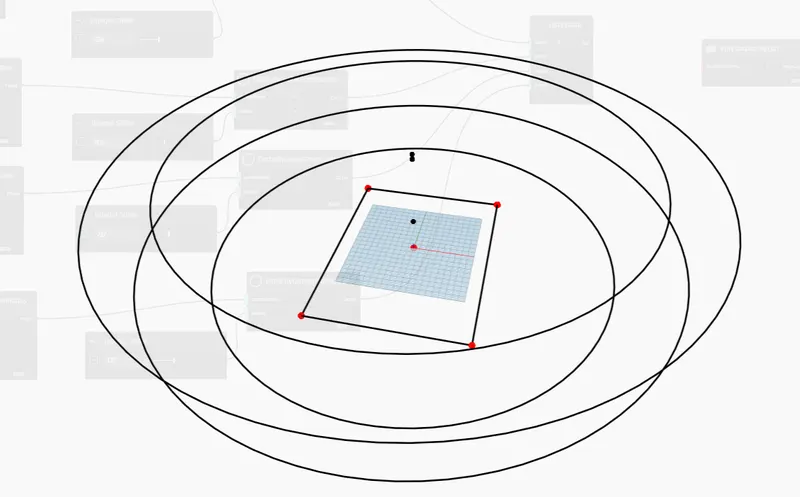
- after creating this profile, create list and wire all the circle profile and again wire them with " surface by loft".
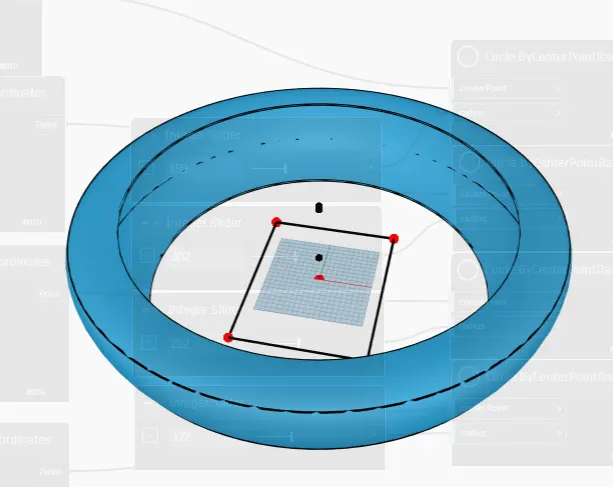
RESULT: