Creating Conceptual mass in REVIT and Creation of Sinusoidal curve and a Parametric stadium using Dynamo
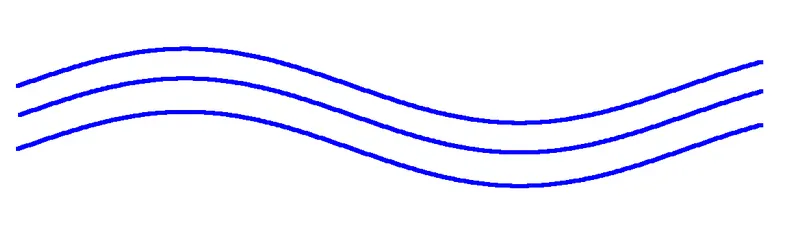
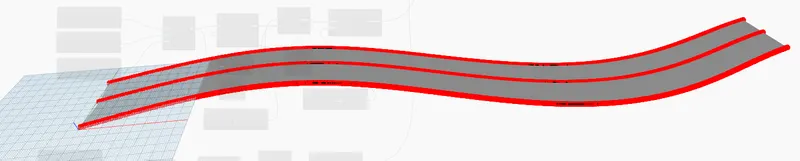
Q.1. Using Dynamo create a set of sinusoidal points and create a curve and create a surface out of the curve.
Ans=
Aim:- To create a set of sinusoidal points and create a curve and create a surface out of the curve
Introduction:-
Dynamo is an open-source visual programming language for Revit, written by designers and construction professionals. It is a programming language that allows you to type lines of code; while also creating an algorithm that consists of nodes.
Procedure:-
step 1:-
- Open revit > architectural template >manage tab.
- click on dynamo.
step 2:-
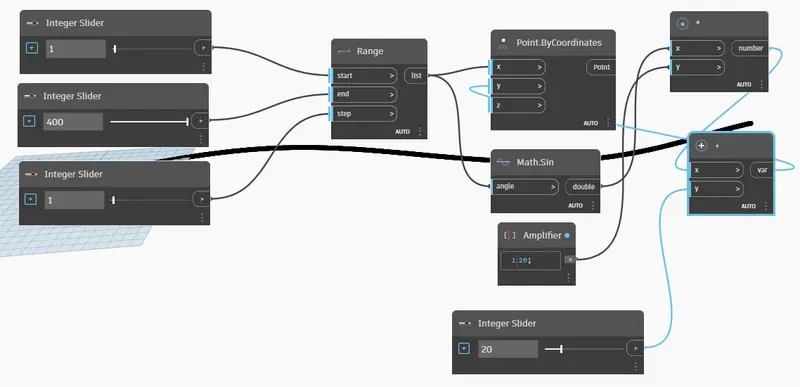
- connect integer slider (numbers and steps ) and range to coordinates (x axsis)
- connect range to math .sin product x
- Type code block and convert it to amplifier
- Type "+" & "*" and then
- connect amplifier to product y of "*"
- connect product to addition x of "+"
- coonect Interger slider number to addition y of "*"
- Connect Math.sin to x of "*"
- coonect addition to coordinate (y axsis)
- Connect final product of "+" to Y coordinate of Point.ByCoordinates
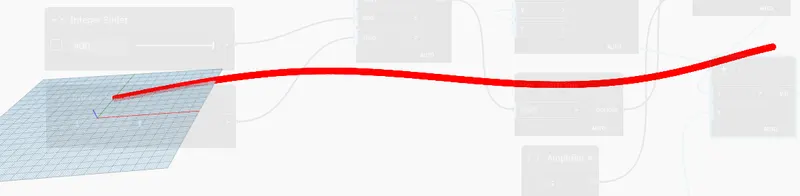
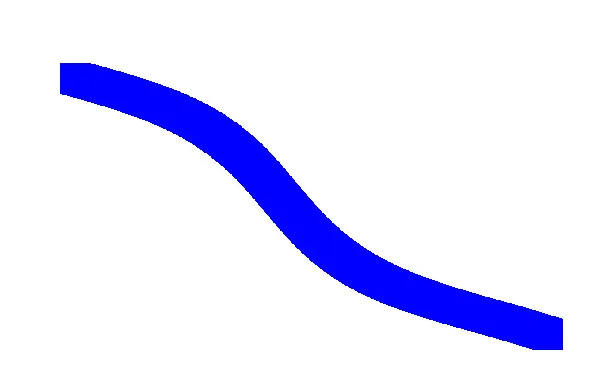
RESULT:-
step 3:
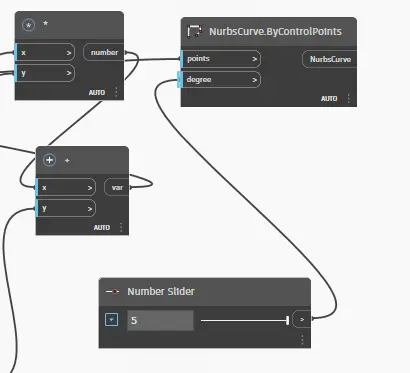
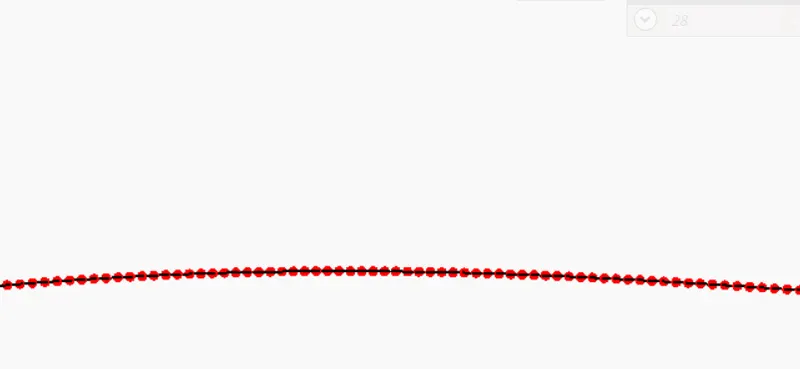
- lines > NurbsCurve.BycontrolPoints
- connect NurbsCurve.BycontrolPoints (points ) to point by coordinates (point )
- connect NurbsCurve.BycontrolPoints (degree )to number slider (1 to 5 )
step 4 :
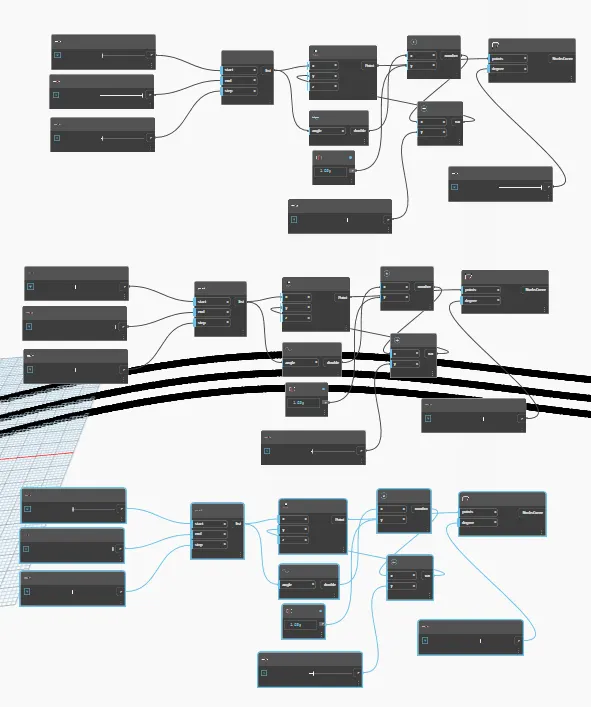
- follow the same for the rest of the lines
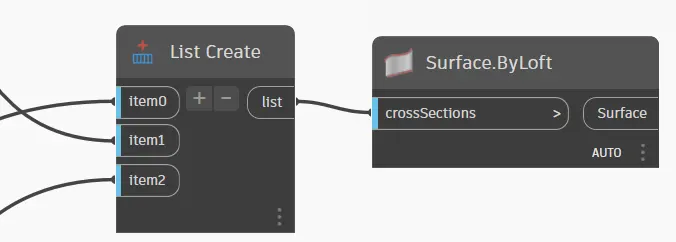
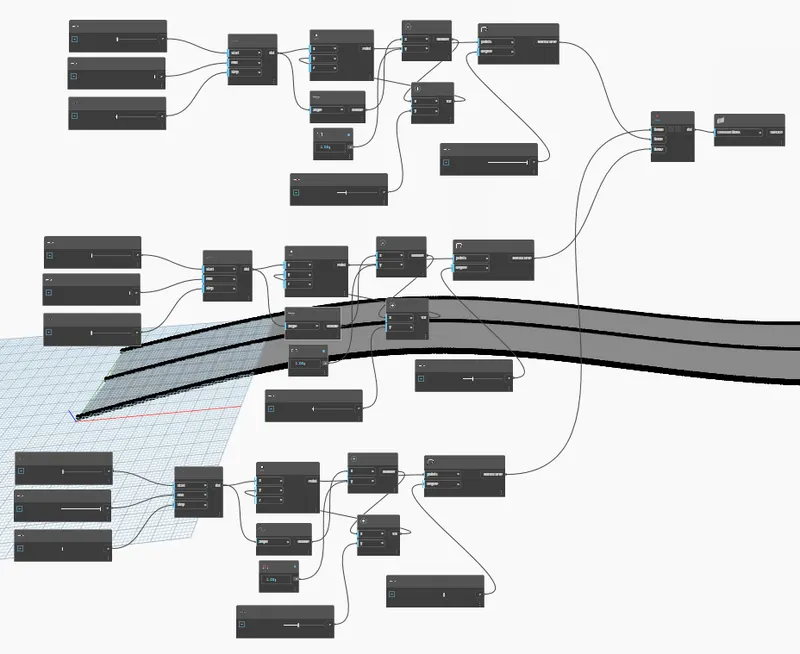
- list create > connect all the curves
- surface > surface by loft > connect it to the list created
RESULT:-
Q.2. Create a conceptual layout of the floor plan in dynamo. Using the tools available in dynamo link the lines to appropriate model elements in Revit by choosing the wall types and wall parameters. Make use of the sliders to slide through the height of the wall and the length of the wall.
Ans=
Aim:- To create a conceptual layout of the floor plan in dynamo.
INTRODUCTION:-
Dynamo is an open-source visual programming language for Revit, written by designers and construction professionals. It is a programming language that allows you to type lines of code; while also creating an algorithm that consists of nodes.
To create floor using wall types in dynamo. Tools used are Integer slider, code block, point by coordinates,
Procedure:-
Step 1: Open Dynamo
- Open New Revit Architectural project
- Go to the Manage tab and open Dynamo
Step 2: Adding Blocks
- Add 2 integer sliders and rename them X and Y
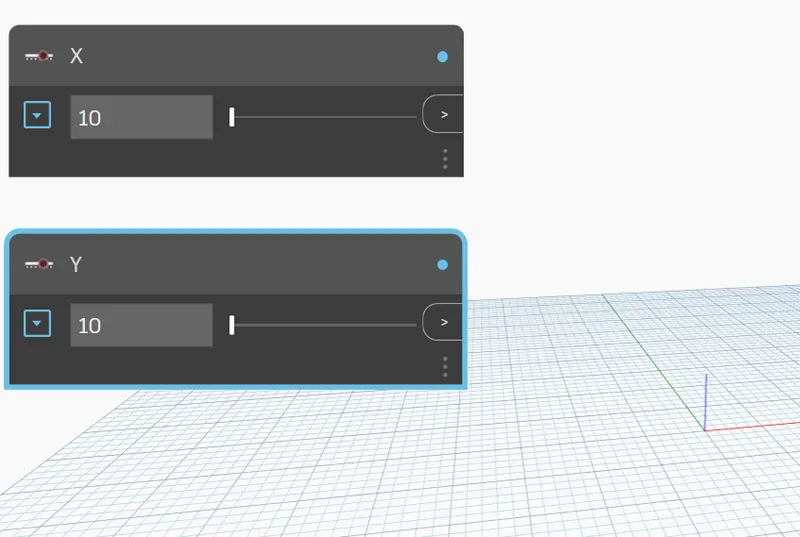
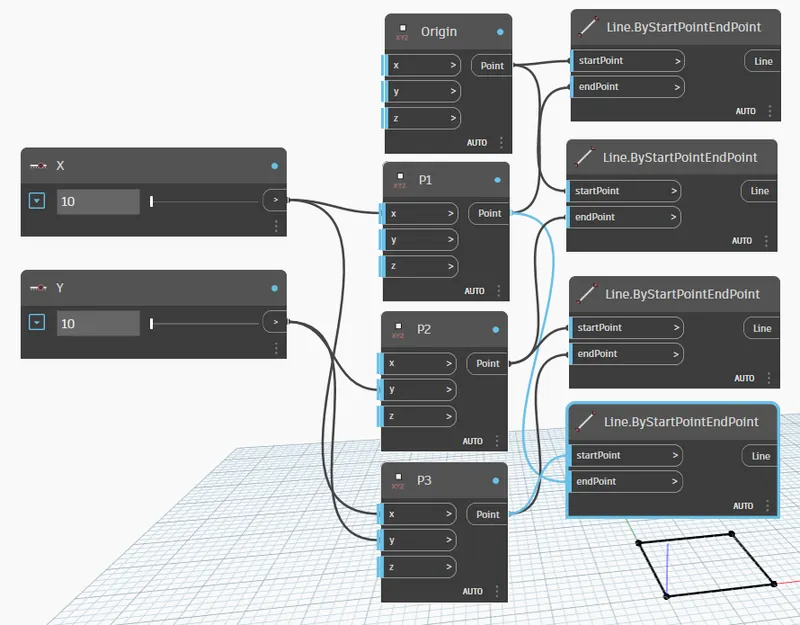
- Add four point by coordinate blocks
- Rename as Origin, P1, P2, P3
Connect as follows
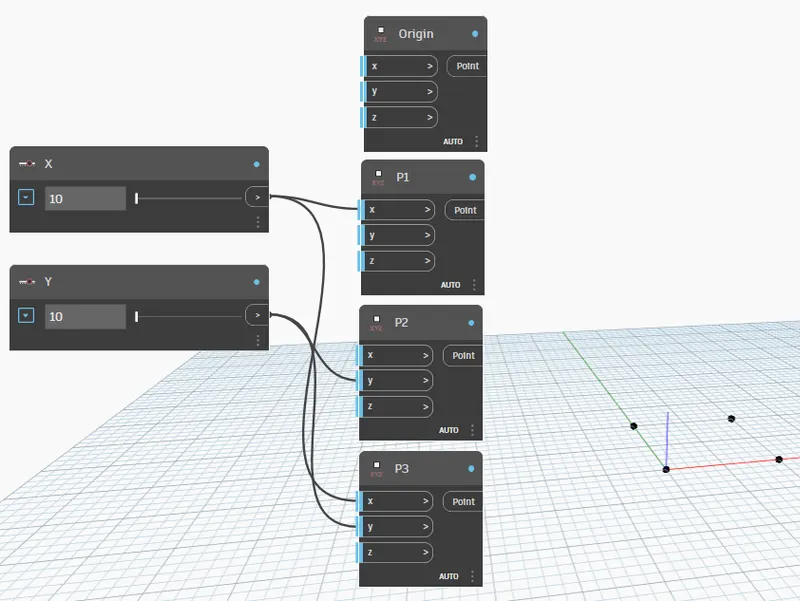
Step 3: Adding Line
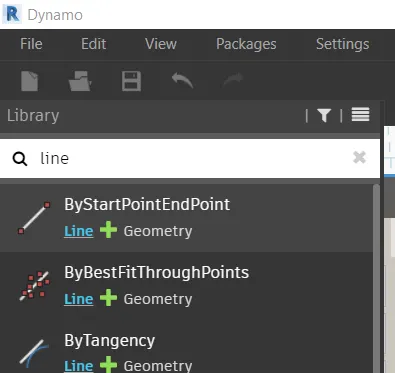
Search Line by start and endpoint as shown in figure
Connect to the points as follows
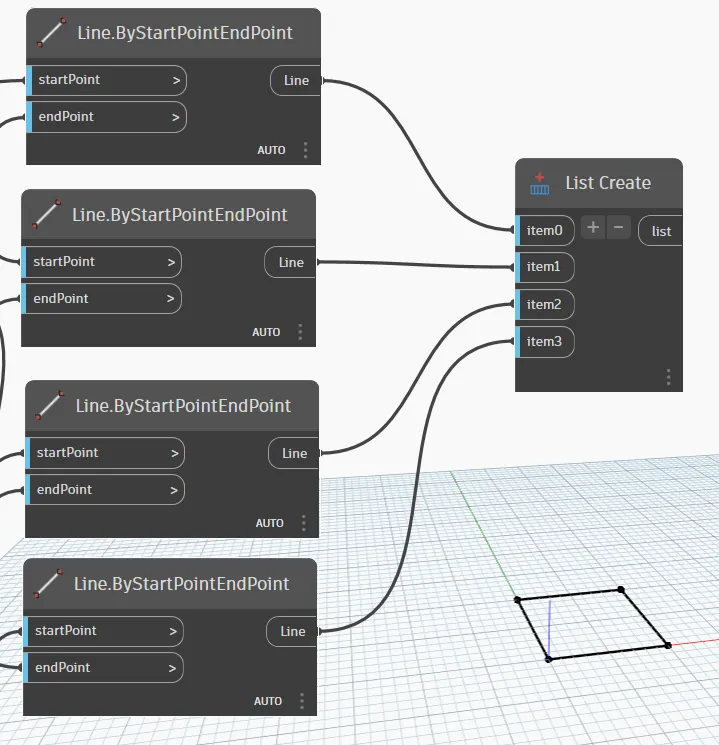
Step 4: Adding Wall type and its necessary components
Create a list of all the lines created using list block
From search bar
- Add number slider for wall height
- Add Levels block
- Add wall type block
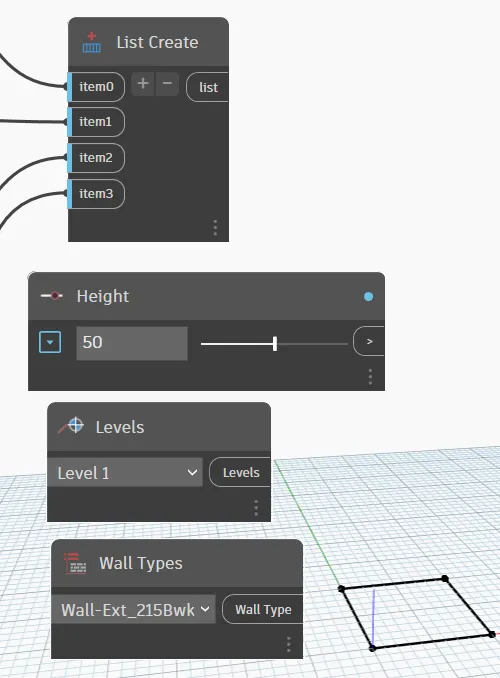
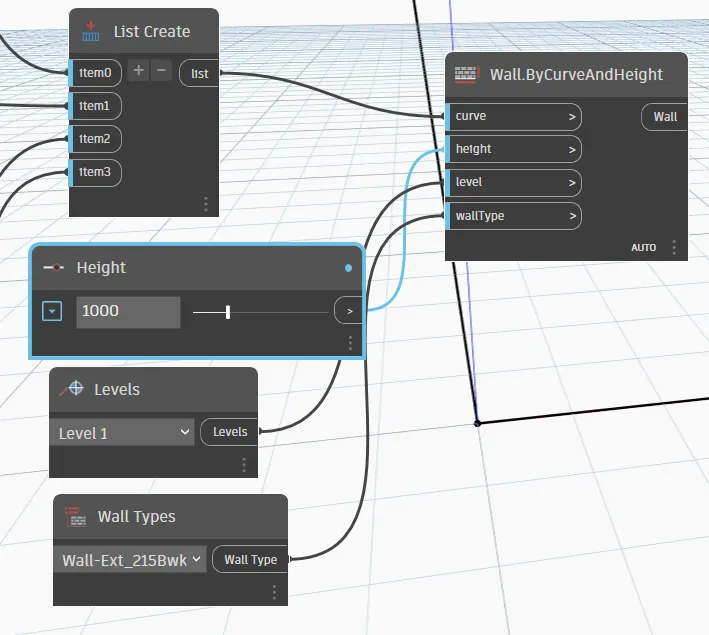
Search Wall by curve and height and add to the workspace
Connect as follows to the components created above
Result:-
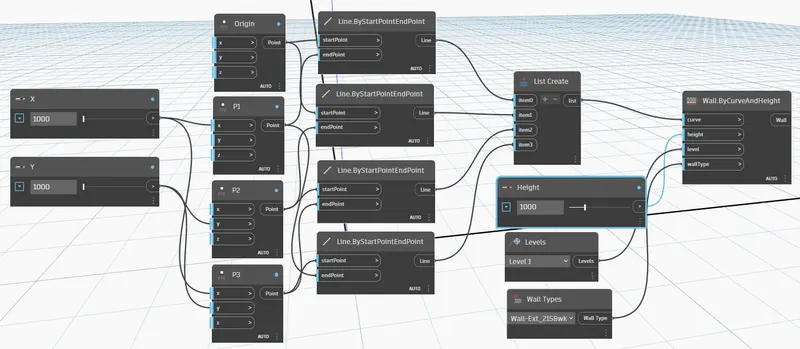
The final Flow chart is as follows
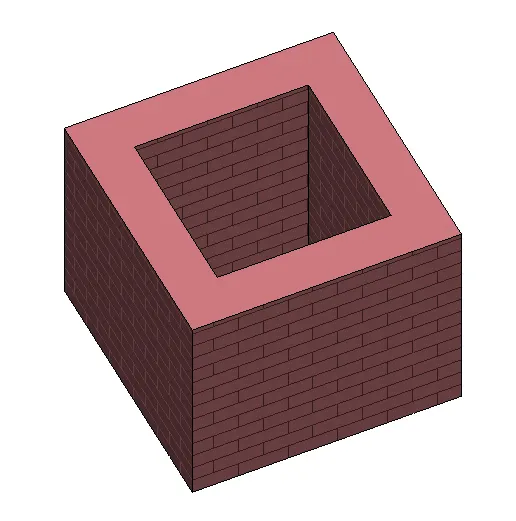
The wall layout is as follows
Q.3. Create an array of model elements in Revit. Use dynamo to vary the properties of model elements by using the slider or code block.
Ans=
Aim:- To create an array of model elements in Revit
Introduction:-
Dynamo is an open-source visual programming language for Revit, written by designers and construction professionals. It is a programming language that allows you to type lines of code; while also creating an algorithm that consists of nodes.
The Array tool creates a linear or radial array of selected elements. Use the Array tool to create several instances of one or more elements and manipulate them simultaneously. Array members can belong to a group; therefore, you can add or remove items from the group.
Procedure:-
Step 1: Creating Elements in Revit
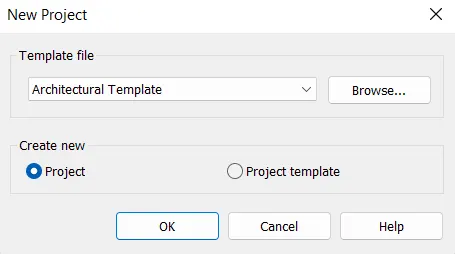
- Open New Revit Architectural project
- Create four columns in plan view
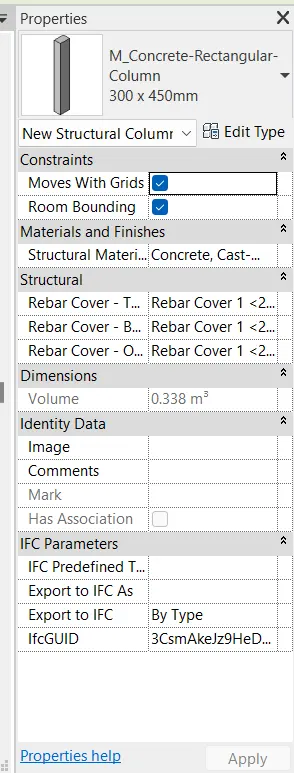

Step 2: Open Dynamo
- Go to the Manage tab and open Dynamo
- Open new workspace
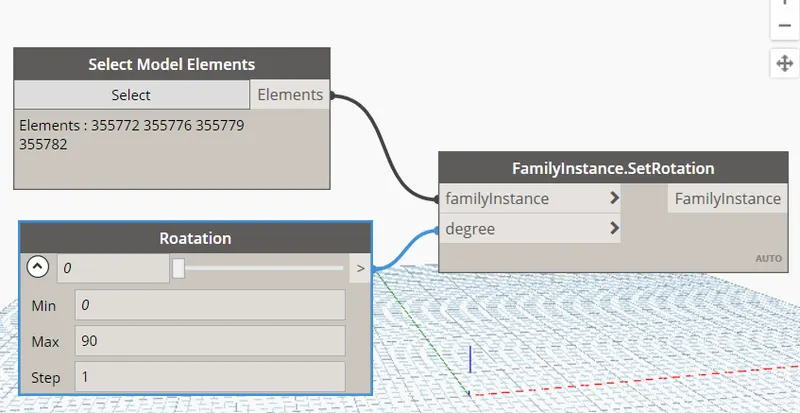
- Search Select Model ELements and
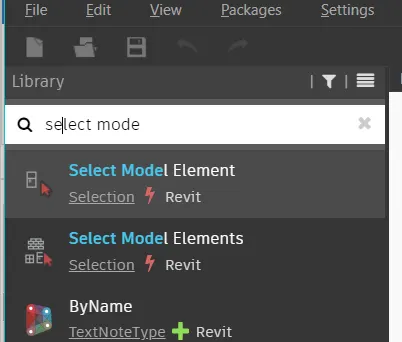
Select all the columns created in Plan view of Revit
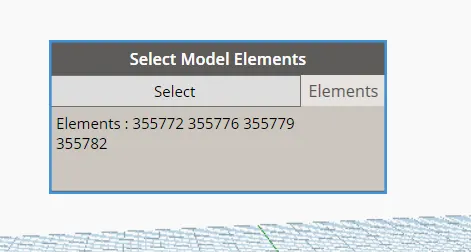
Step 3: Adding Rotation
Search Set Rotation
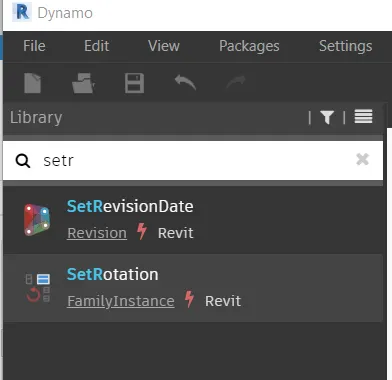
- Click to add to the workspace
- Add a number slider for degree
- Connect those as follows
Result:
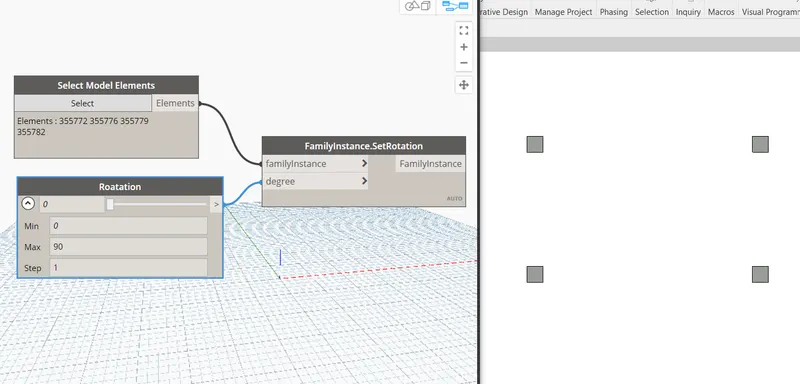
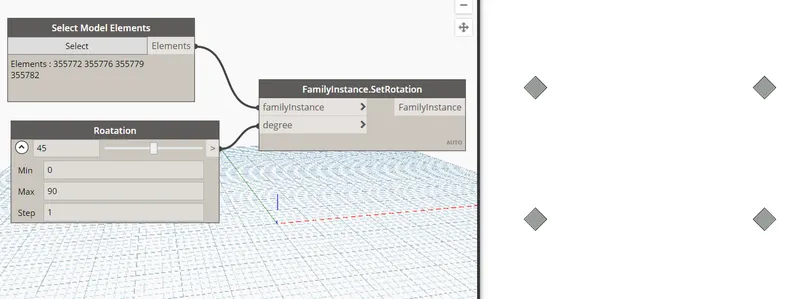
The result of the above is as follows
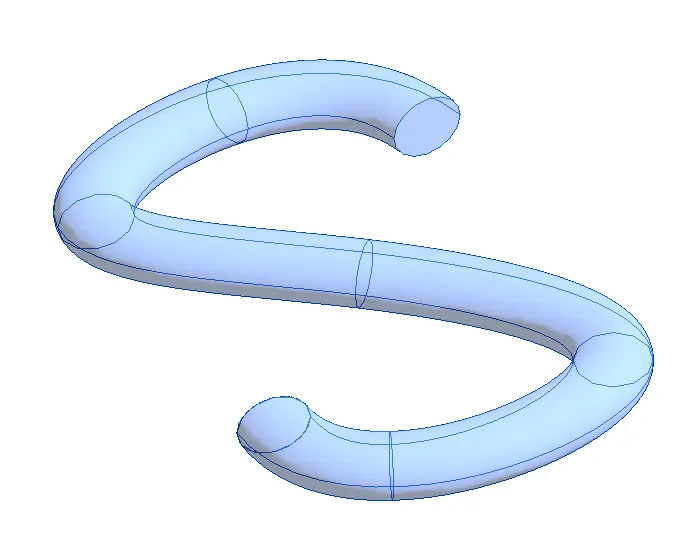
4) Create a conceptual mass in Revit and develop a parametric column by dividing the surfaces and applying the concepts similar to used in parametric walkway modelling. Use triangular bent or square-shaped panels to add a finish to the parametric column.
Ans=
Aim:- To create a conceptual mass in Revit and develop a parametric column
Introduction:-
Dynamo is an open-source visual programming language for Revit, written by designers and construction professionals. It is a programming language that allows you to type lines of code; while also creating an algorithm that consists of nodes.
Creating conceptual mass families means that the mass is external to the project. It uses the same tools to create the mass family, which is then saved and loaded into the project.
Procedure:-
Step 1: Open Conceptual Mass
- Open New Revit Family
- Go to FAMILIES and Conceptual mass
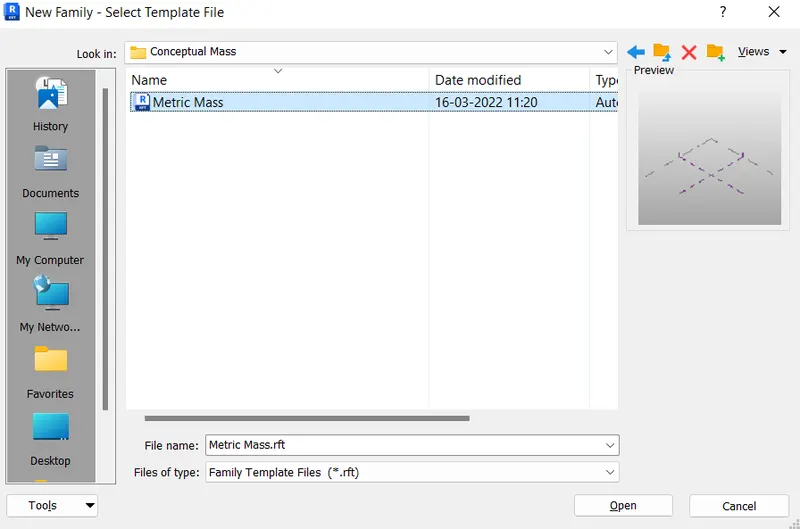
- Clcik on metric mass to open Conceptual Mass
Step 2: Drawing Shape
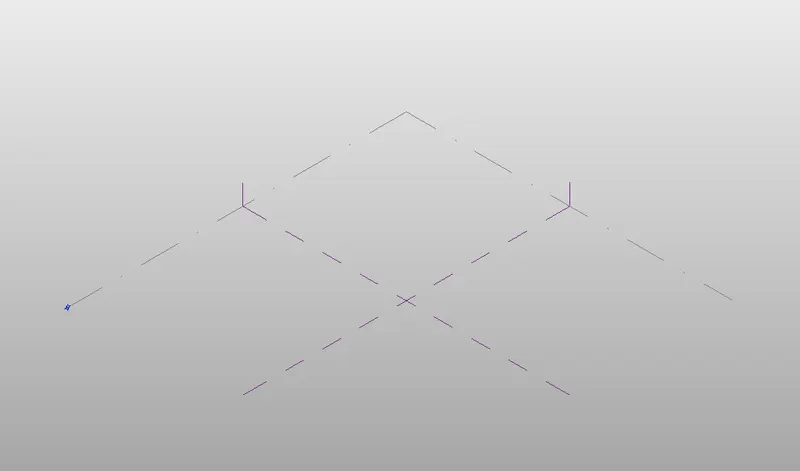
- Go to Level 1 Plan View
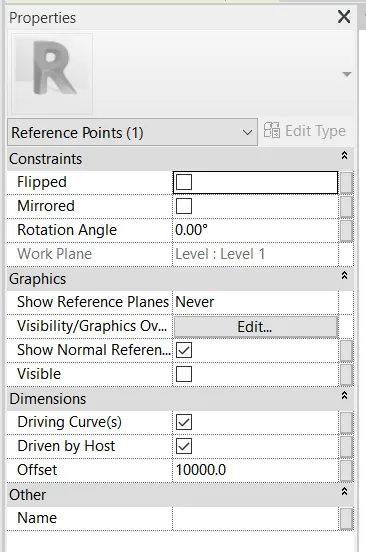
- Draw Points at different elevations by changing offset distance
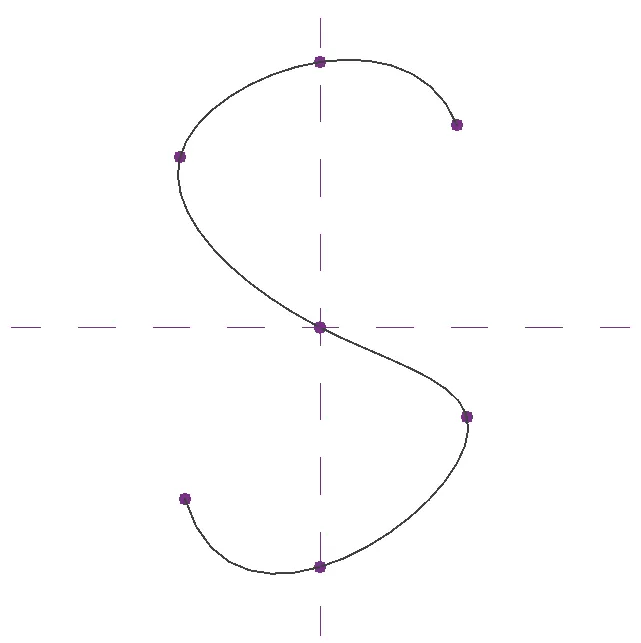
- Connect them as the following using spline curve
Step 3: Setting Plane and Shape
- Go to 3D view
- Click on Set Plane and show the plane
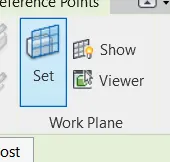
- Click on the point created and set the plane
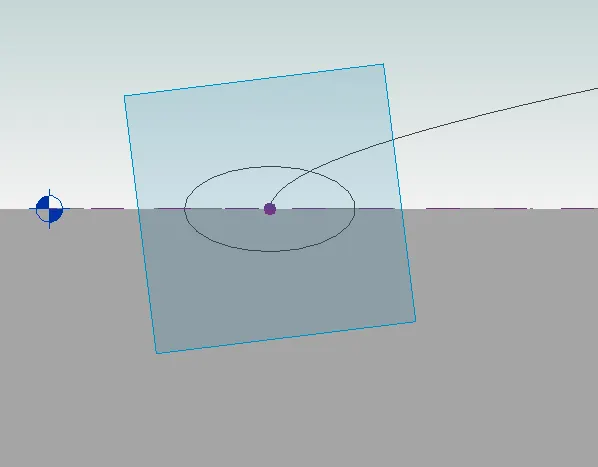
- Draw an ellipse as shown in figure
Similarly, create at all the points
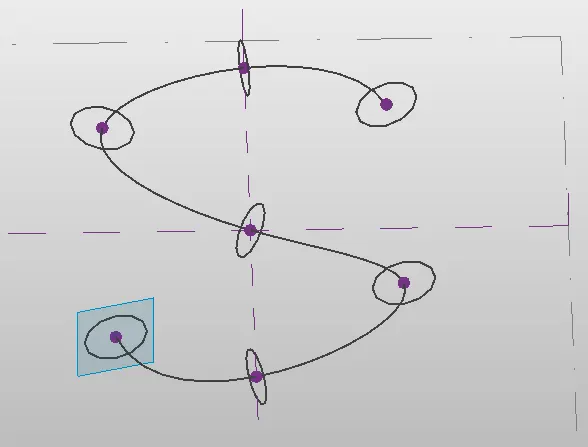
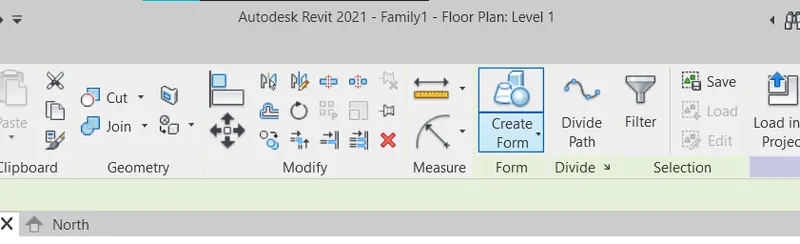
Select all the ellipses created and click on "Create Form"
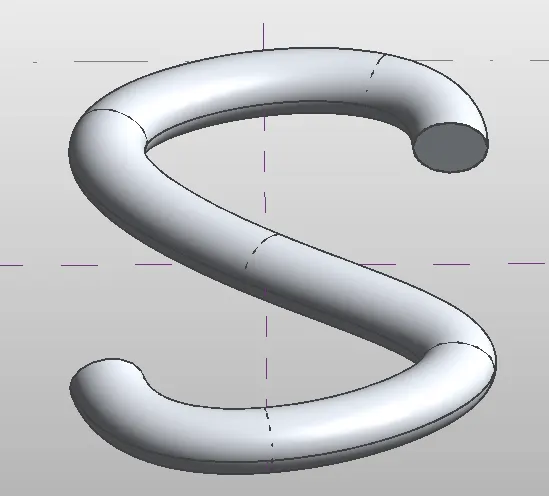
Result:-
The result after creating the form is as follows
Click on Load into the project
Q.5. Use Dynamo to work on developing a Parametric Stadium. List your parameters and use the visual programming approach to complete the modelling, You can use the concepts discussed in parametric high rise tower in class for reference.
Aim:- To Use Dynamo to work on developing a Parametric Stadium
Introduction:-
Dynamo is an open-source visual programming language for Revit, written by designers and construction professionals. It is a programming language that allows you to type lines of code; while also creating an algorithm that consists of nodes.
Creating conceptual mass families means that the mass is external to the project. It uses the same tools to create the mass family, which is then saved and loaded into the project.
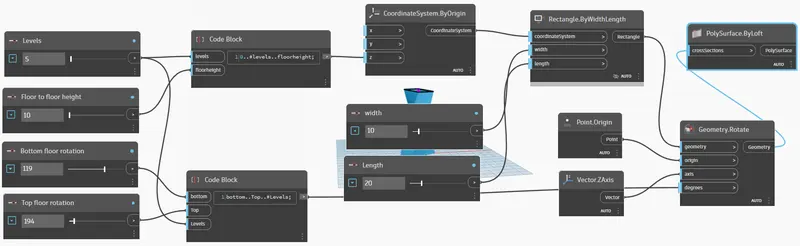
CONCEPT OF PARAMETRIC HIGH RISE TOWER:-
- CREATE FOUR INTEGER SLIDER AS PER GIVEN DIAGRAM.
- Create code block and type "level..floorheight"
- Create another code block "Bottom..Top..#Levels;"
- Connect bottom and top floor rotation with code block of bottom and top.
- connect the first code block to z axis of coordinateSystem .ByOrigin
- Create rectangle by width and length with coordinate system.
- Connect coordinate system with coordinate tab of rectangle coordinate system.
- Create integer slider as named width and length and connect them with rectangle width and length.
- connect rectangle to gomentry rotate , connect geometry rotate with the code block which is connected to bottom floor rotation and top roatation.
- Its axsis to z-axsis and connect it to polysurface.
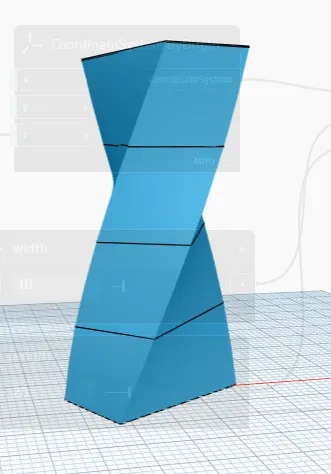
RESULT:-
4 levels
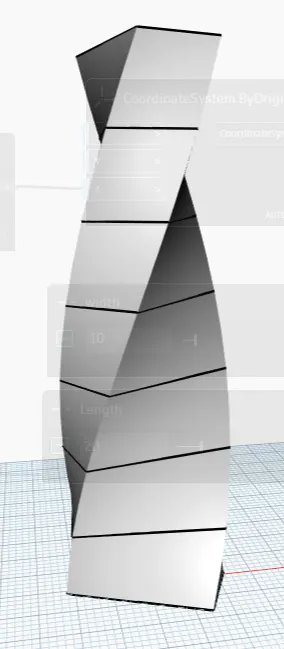
8 levels
Procedure:-
Step 1: Opening New Project
Open New Revit Architectural Template and save as Project 3
Go to Manage Tab and click on Dynamo
Open new Dynamo workspace
Step 2: Creating Points and Circles
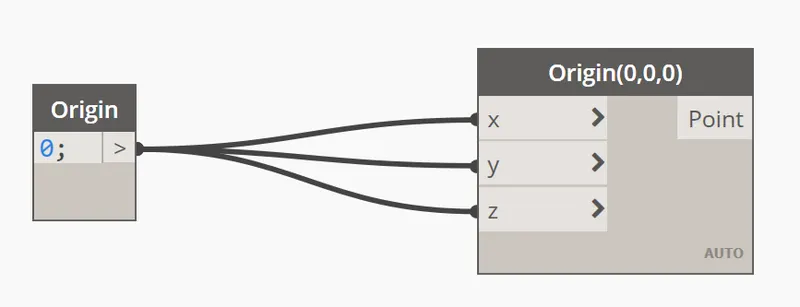
- Add code block and set value 0;
- Add block point by coordinates
- Rename as Origin Point and set the XYZ values as 0 from the code block
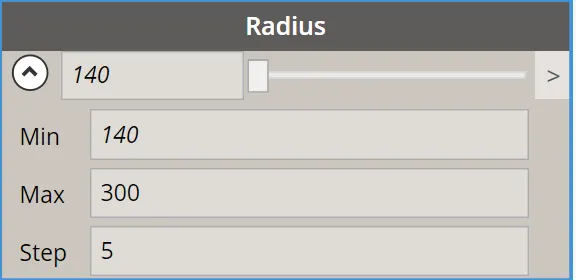
- Add Number Slider and rename as the radius
- Set min as 140 and Max as 300 and step as 5
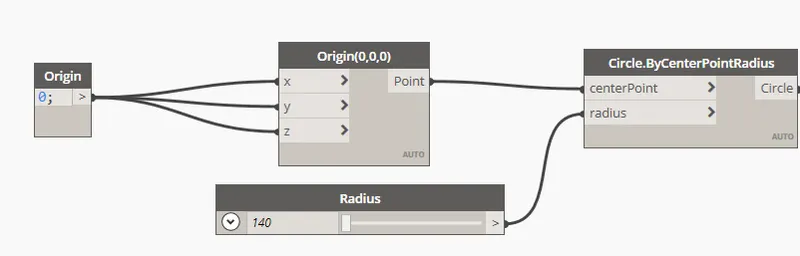
- Add Circle by Centerpoint and Radius
Connect point and set Center point and radius
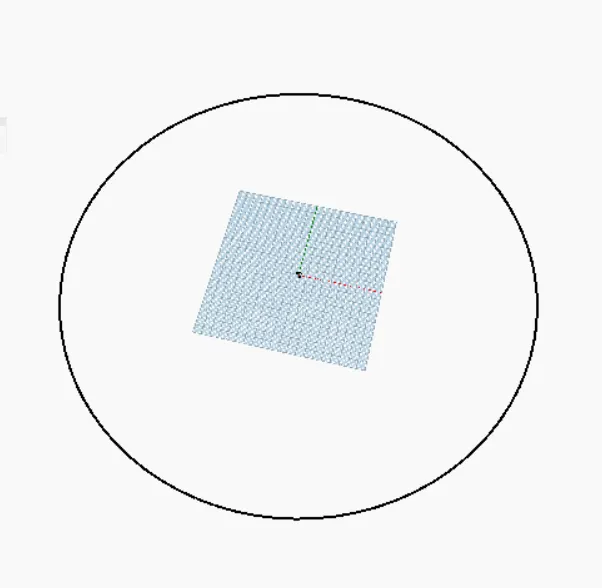
Step 3: Create Set of circles at different levels
- Add 3 Number Sliders
- Rename as X, Y, Z
- Set ranges for X and Y as 1 to 100 and step 1
- Set range for Z as o to 100 and step 5
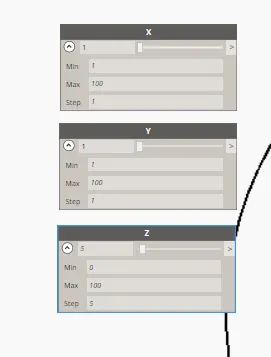
- Add Number Slider and rename as the radius
- Set min as 140 and Max as 300 and step as 5
- Add Circle by Centerpoint and Radius
- Connect point and set Center point and radius
- Set Values as below
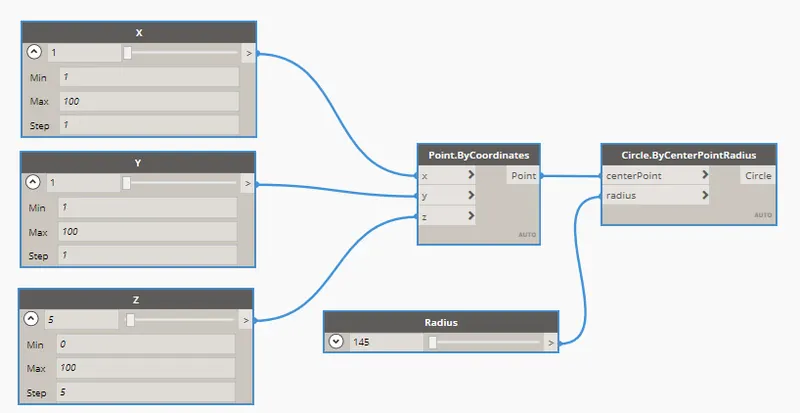
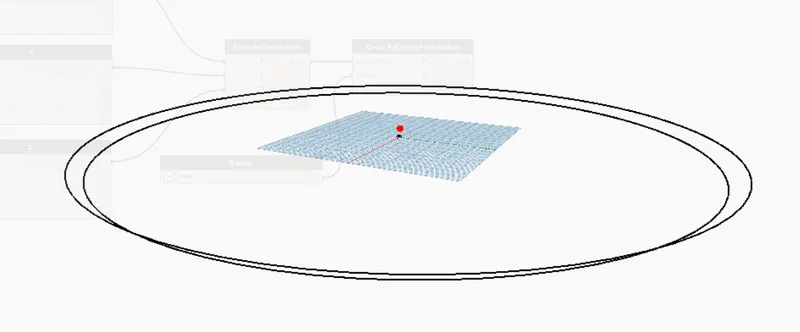
- Repeat the same with Z increment of 5 and radius increment of 5 to create
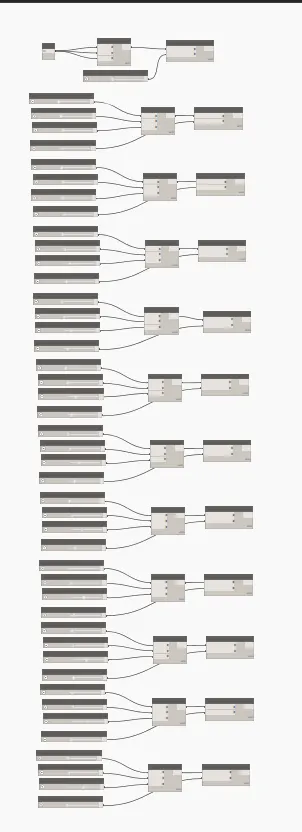
- All the circles are as below
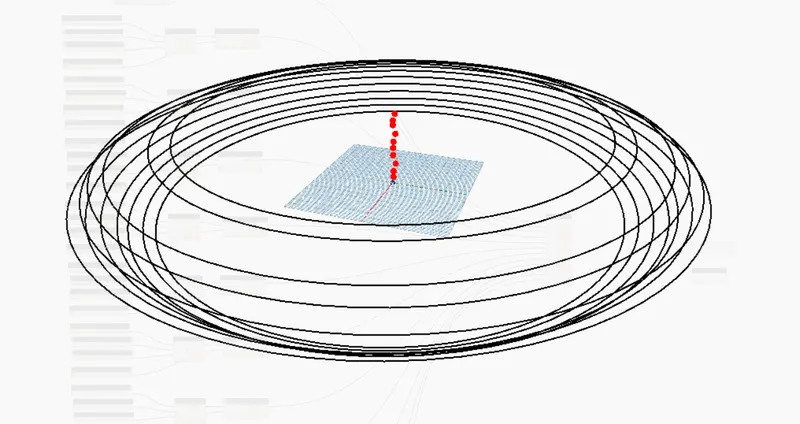
Step 4: Create Surface
Add LIST block to workspace and
Connect all the circles to list
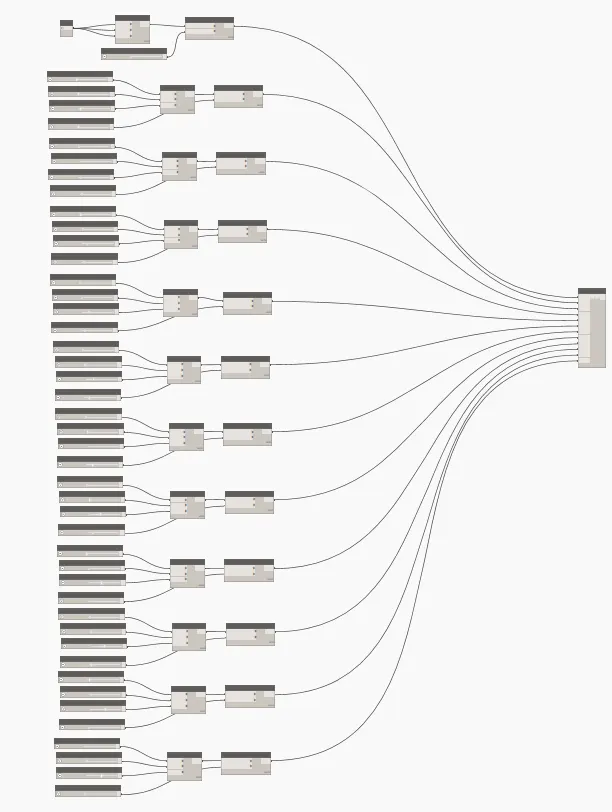
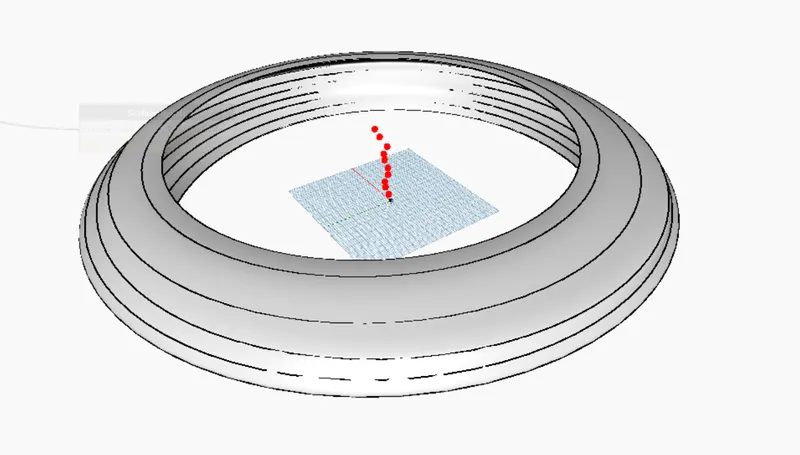
Add Surface by loft block to the workspace and connect as follows
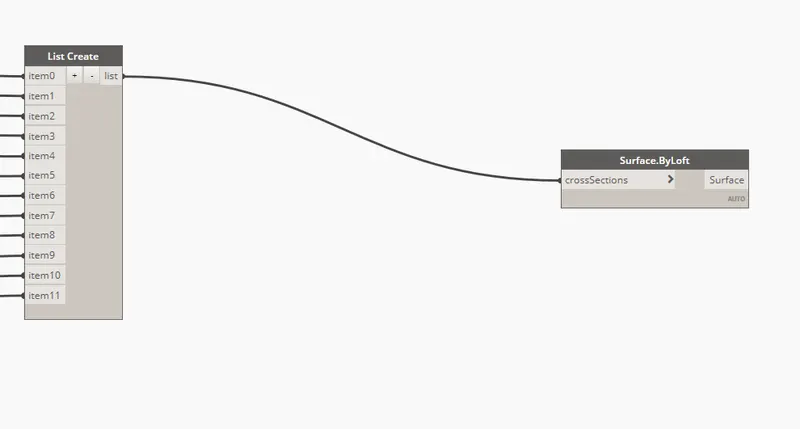
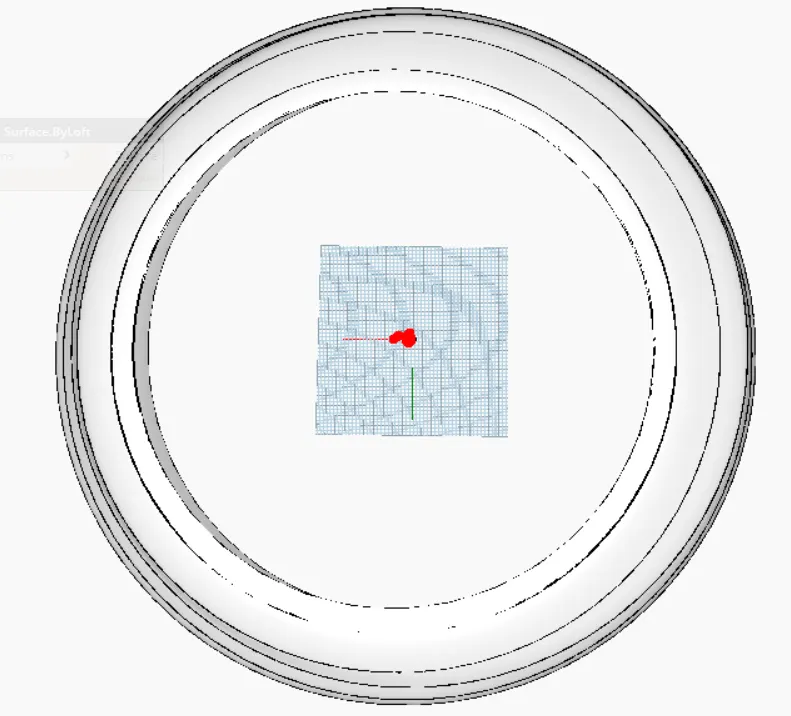
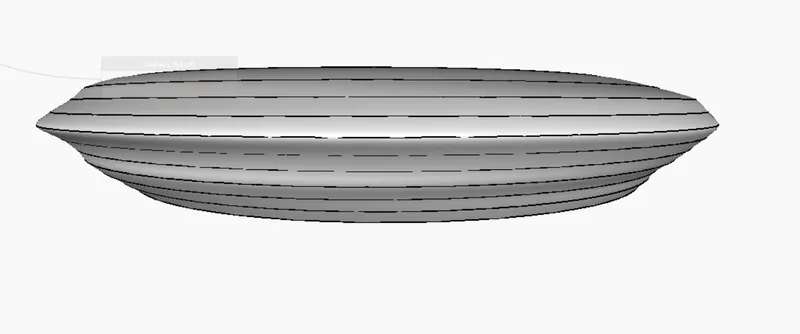
Result:-
The final result of a parametric stadium is as follows-