Creating Bar Bending schedule, Different Door types, and Creation of standard drawing templates using AutoCad
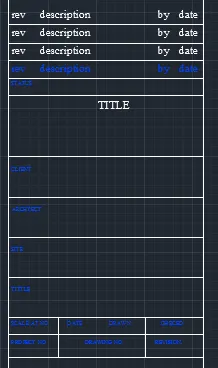
AIM :Creating the templates and Taking the size of the title block as per industry standards.
INTURDUCTION :Templates are the blocks that are During the finel of project that every detail of the pojecet are mentoined in the template. They are used to identiy the poject work easily.Template can be converted into block at once and reuse them in project.
PROCEDURE:
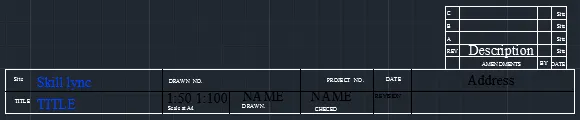
Step 1: First draw the line to horizontal of some distance
Step 2: Then draw the line Perpendicular to x line
Step 3: command D Dimension setting set the text dimension height to 10
Step 4: Command DT Dimension Text and type the text as follows
Step 5: Command Copy, and then copy the text to all the required place.
Step 6: command DEDIT and edit the text and rename the copy item
Step 7: Command L line Draw the line from on end to other end of the box
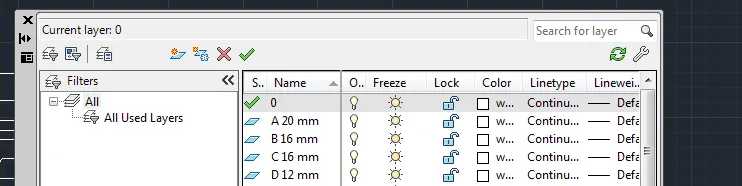
Step 8 : Command layer and assign the text to the layer block
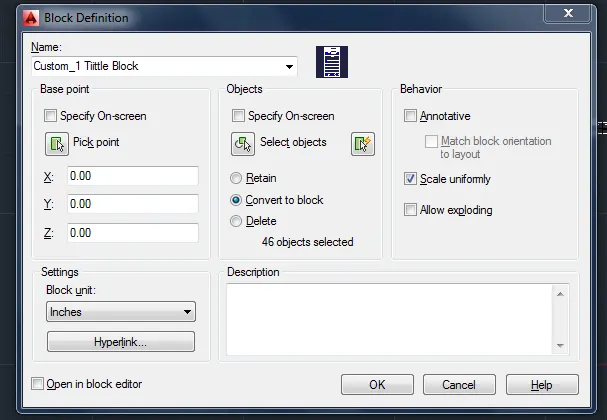
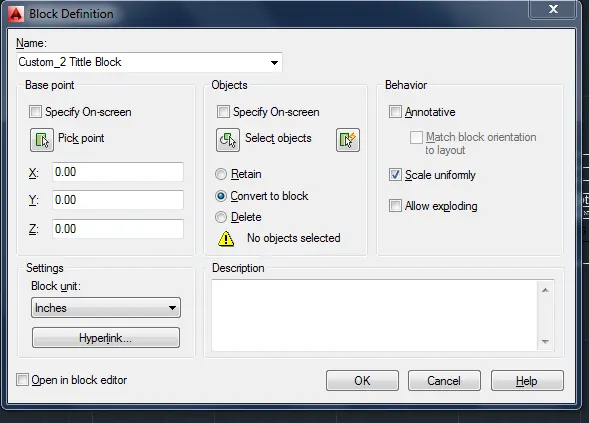
Step 9: Command block assign the figure to the block and name it as custom_1 Tittle block and custom_2 Tittle Block
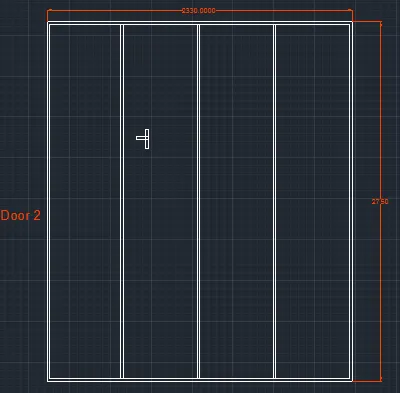
AIM : Creating the Door type for ware House
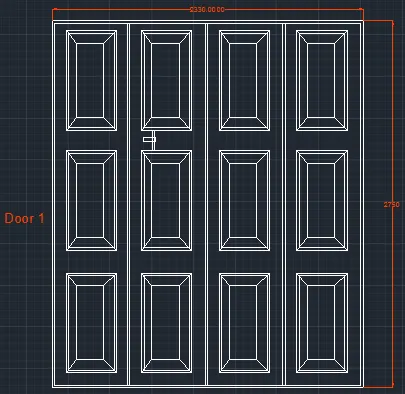
INTRODUCTION : Residental Door are having width of 2330 and heigth of 2750 with plane door plan
PROCEDURE:
Step 1: First draw the line to horizontal of distance 2330 in X Direction
Step 2: Then draw the line Perpendicular to x line or vertical line of distance 2750
Step 3: command D Dimension setting set the text dimension height to 40
Step 4: Command Offcet and Specify the offcet distance of 582 in X direction this is because of dividing the line 2330 into 4 parts
Step 5: Command Offcet 916 on the y axis line so that dividing the line 2750 into 3 parts
Step 6: command Rec draw the rec of dimeions of 200 X 555 for the innerbox
Step 7: Command offcet and specify theoffcet distance of 70 , 20
Step 8: Command line join all the diagonal line of the rec
step 9: Command Copy , Copy the rec box into 4 in X direction
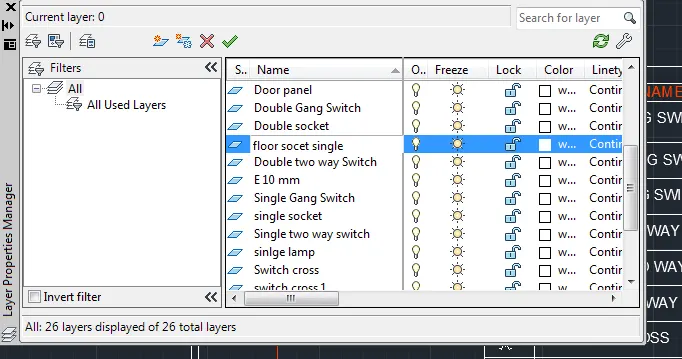
Step 10 : Command layer and assign the figure to the layer block
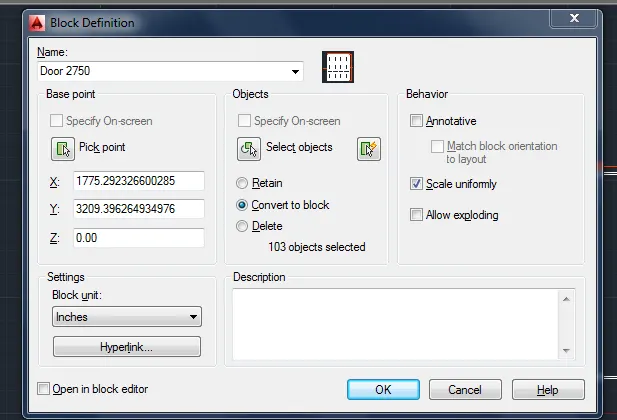
Step 11: command block assign the diagram to the block and name as door
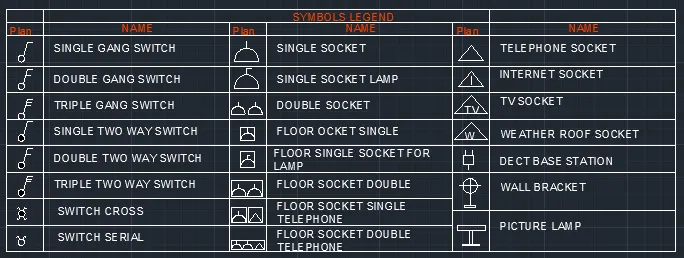
AIM : Creating each symbol as block with the name in the legend
INTRODUCTION : Legends are the symbolic from of object that are Drwan in the plan to show the presence of Electrical, Plumbing , Interior , civil , Architecture etc
Legend may consists of switchs , fans , power bord , telephonic bord etc .
PROCEDURE: Legends are the symbolic from of object that are Drwan in the plan to show the presence of Electrical, Plumbing , Interior , civil , Architecture etc
Legend may consists of switchs , fans , power bord , telephonic bord etc
AIM : Creating the Door type for ware House
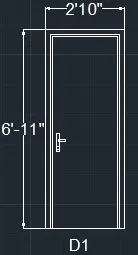
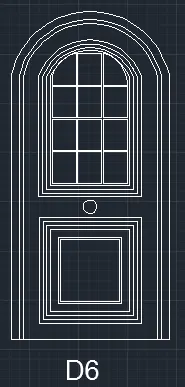
INTRODUCTION : Residental Door are having height of 6'11" and width of 2'10" with plane door planel and some are arc door panel at the top in arc shape
PROCEDURE:
Step 1: First draw the line to horizontal of distance 2'10"
Step 2: Then draw the line Perpendicular to x line or vertical line of distance 6'10"
Step 3: command D Dimension setting set the text dimension height to 6"
Step 4: Command Offcet and Specify the offcet distance of 2" for panel in X direction and y direction of 2" and again the distance of 1" for the inner panel
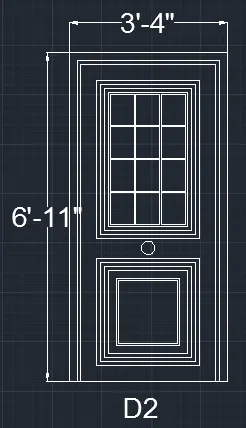
Step 1: First draw the line to horizontal of distance 2'9"
Step 2: Then draw the line Perpendicular to x line or vertical line of distance 6'11"
Step 3: command D Dimension setting set the text dimension height to 6"
Step 4: Command Offcet and Specify the offcet distance of 2" for panel in X direction and y direction of 2" and again the distance of 2" in x direction and y direction
Step 5: command rec and offcet of 2"
Step 6: command Hatch and hatch the inner rec
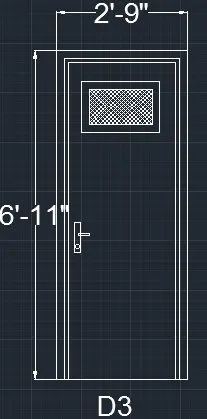
Step 1: First draw the line to horizontal of distance 2'9"
Step 2: Then draw the line Perpendicular to x line or vertical line of distance 6'11"
Step 3: command D Dimension setting set the text dimension height to 6"
Step 4: Command Offcet and Specify the offcet distance of 2" for panel in X direction and y direction of 2" and again the distance of 2" in x direction and y direction
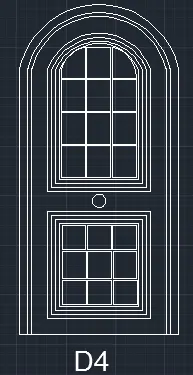
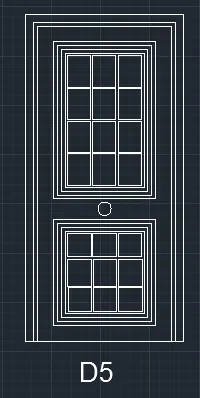
Step 5: The innner rectangle of dimensions 6" x 8" and copy the rectangle at 3 box in x direction and 4 in y direction
Step 6: Command arc and connect the arc
AIM : Creating each shape as a block as
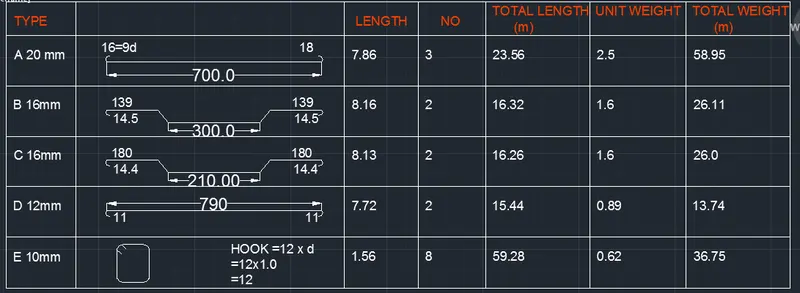
INTRODUCTION : Bar bending Schedule gives the detail about the reinforcement in particular manner that may contain the length , number of bars , total length , unit weigth, total weight
PROCEDURE:
Step 1: Command dtext and copy the command in horizontal at the 6 copy and the copy the text at 5 at the vertical distance
Step 2: Command line in x direction and y direction
Step 3: command D Dimension setting set the text dimension height to 6"
Step 4: Command line and draw the shape size
Step 5: Command dimensions linear