Creating Bar Bending schedule, Different Door types, and Creation of standard drawing templates using AutoCad
INTRODUCTION-Creation of bar bending schedule,with door types and creation of standard drawing templates using AutoCad.
AIM-To create bar bending schedule ,door types and drawing templates using block command feature.
COMMANDS USED-Units,limits,scale,layer,trim,erase,single text,block.
STEPS FOR PART-1
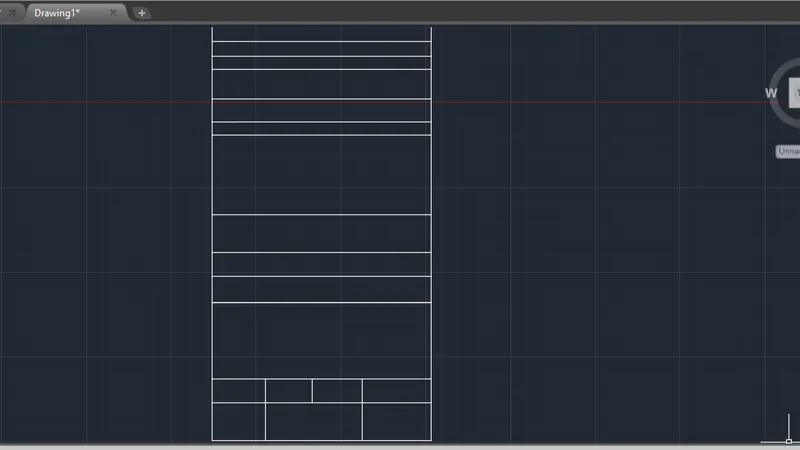
- Draw a rectangle and erase top width and draw 3 lines to create 3 rows with almost equal spacing,draw 2 more lines to draw next 2 rows above site row,to get architect and client row,create 2 rows upwards by sketching 2 lines to get 2 rows for title and description.
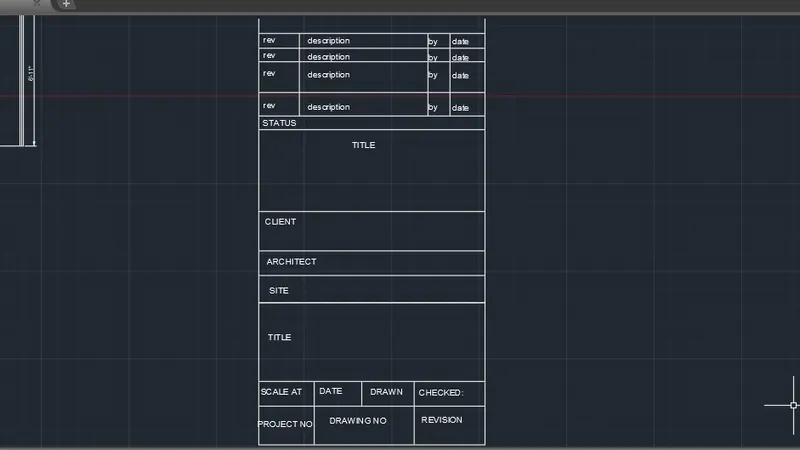
- Fill all the details.
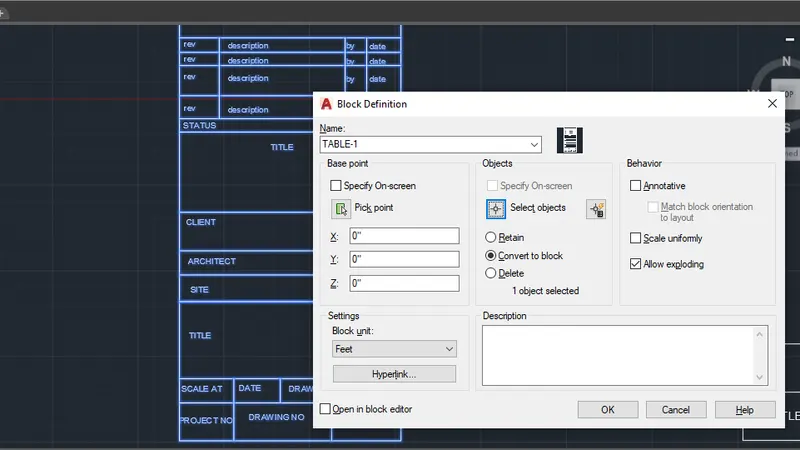
- Set whole figure in block command feature,to get the separate block for this particular figure.
STEPS FOR PART-2
- Create a rectangle ,sketch a length from bottom line to cover 1/3rd area to create 2 rows in,now bottom create 3 major columns and in middle column,create 3 more inner columns.
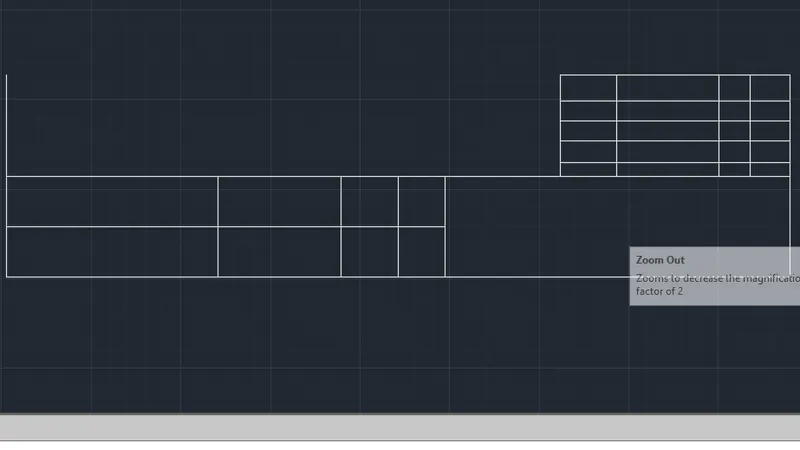
- Delete 2/3rd length of first row to get column at corner,now inside this sketch 3 vertical lines to get 4 columns such that 2nd column has most width sketch 4 horizontal lines to get 5 rows of equal space,Fill all the details.
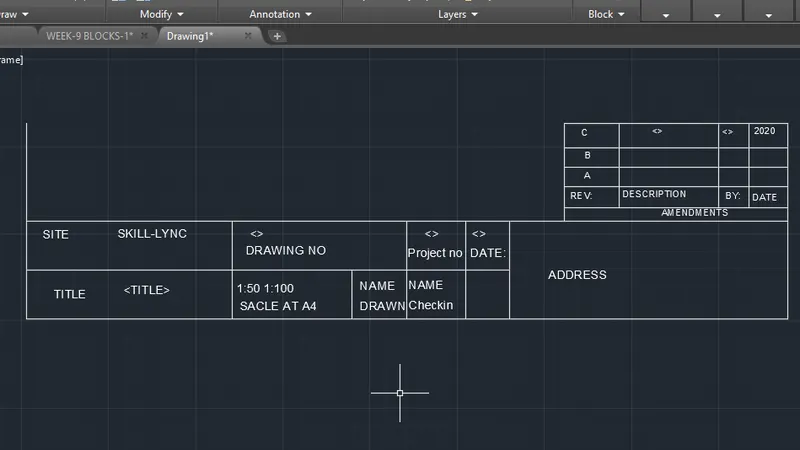
- Set whole figure in block command feature,to get the separate block for this particular figure.
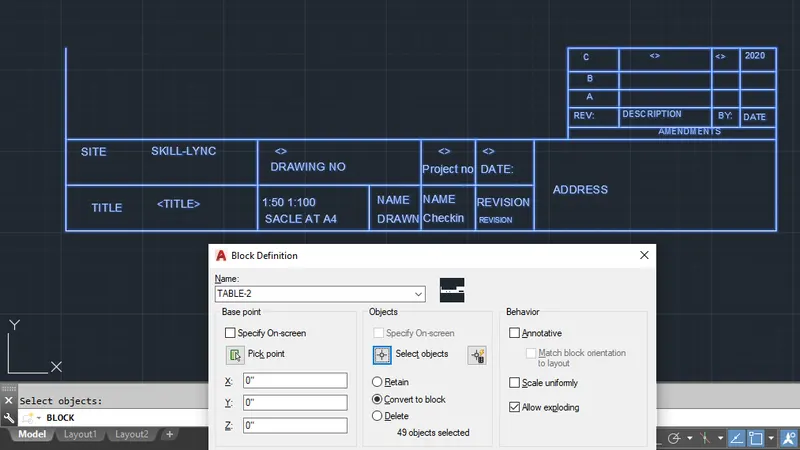
STEPS FOR DOOR-1
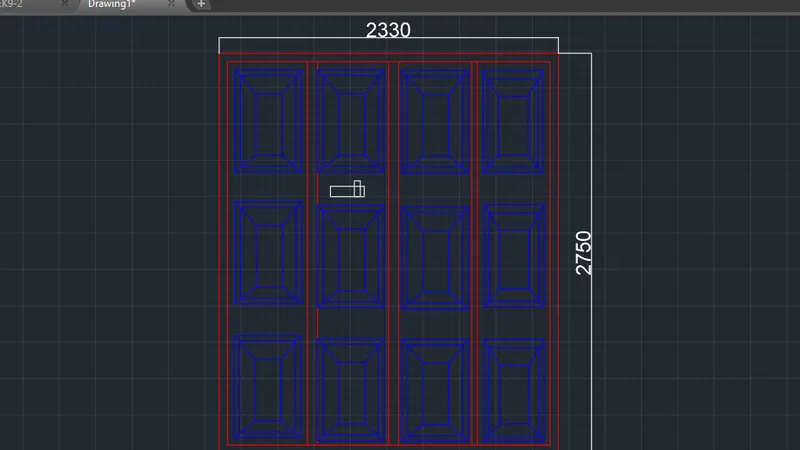
- Create 2330x2750 rectangle ,give offset to create inner rectangle,divide inner region by a line,again give offsrt.
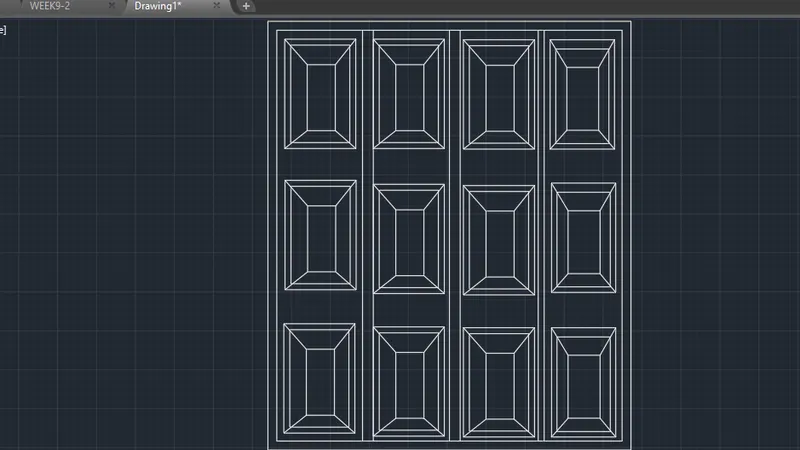
- Draw a small design of rectangle drawing diagonals and again draw inner rectangle,trim the diagonals in small rectangle,give offset to outer rectangle,specify the dimension,Use copy selection to copy the design in both section of door-1.
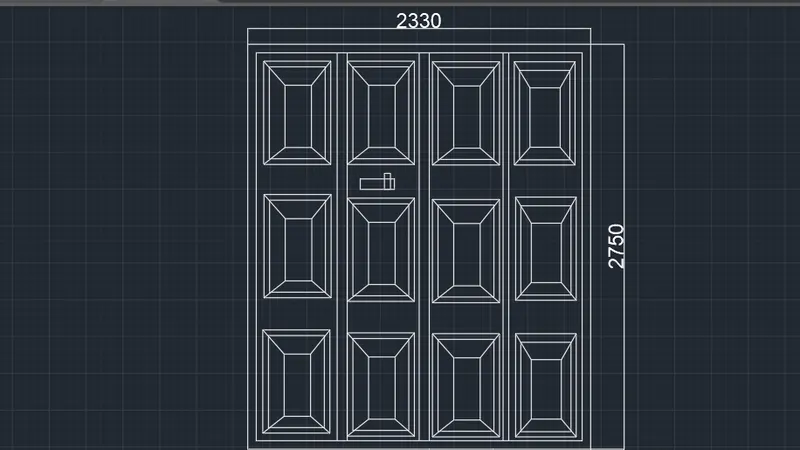
- Specify the layers to figure,give red for rectangles and blue for inner part.
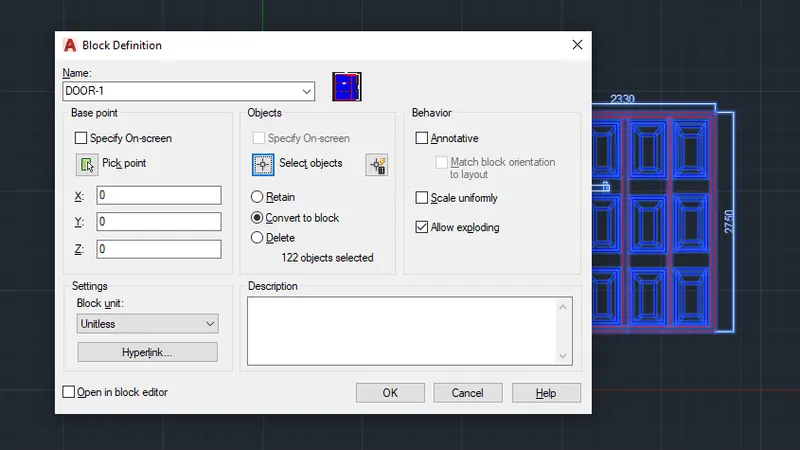
- Set whole figure in block command feature,to get the separate block for this particular figure.
STEPS FOR DOOR-2
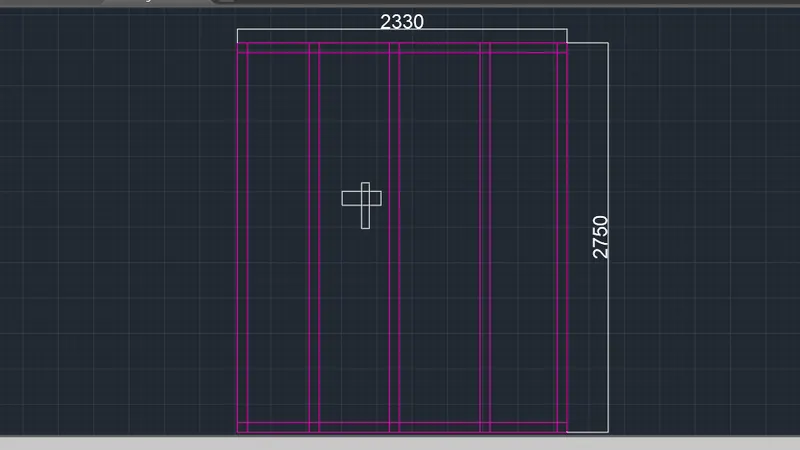
- Create 2330x2750 rectangle,give offset draw 3 vertical lines in inner rectangle to get 4 columns inside the inner rectangle give offset to them,Specify the dimensions.
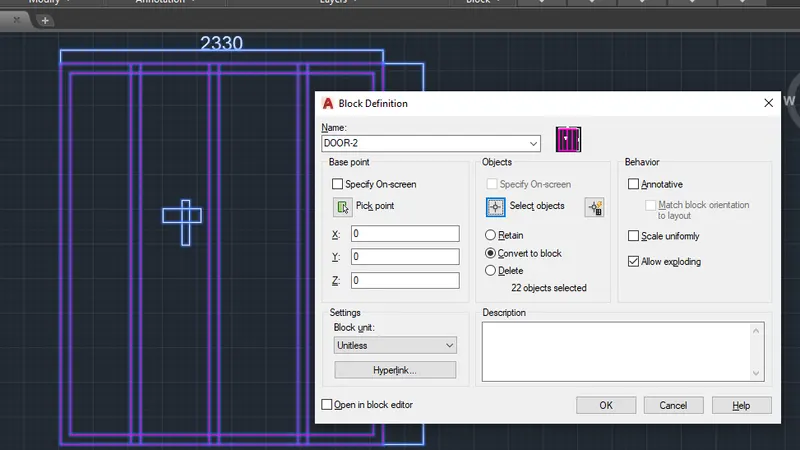
- Set whole figure in block command feature,to get the separate block for this particular figure.
STEPS FOR D-6
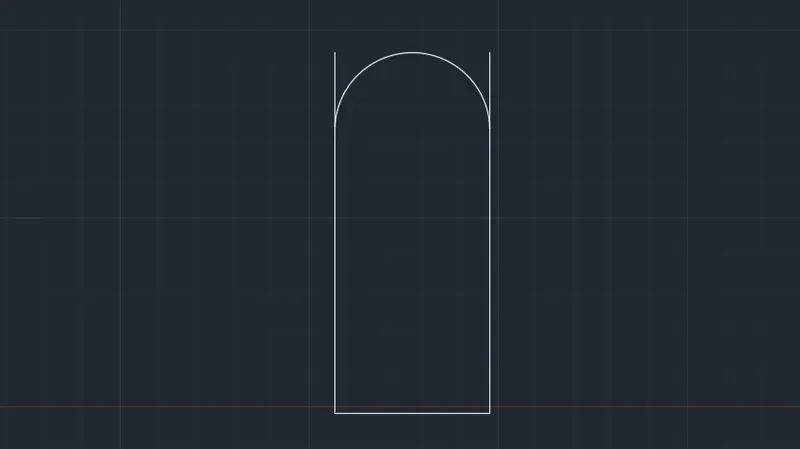
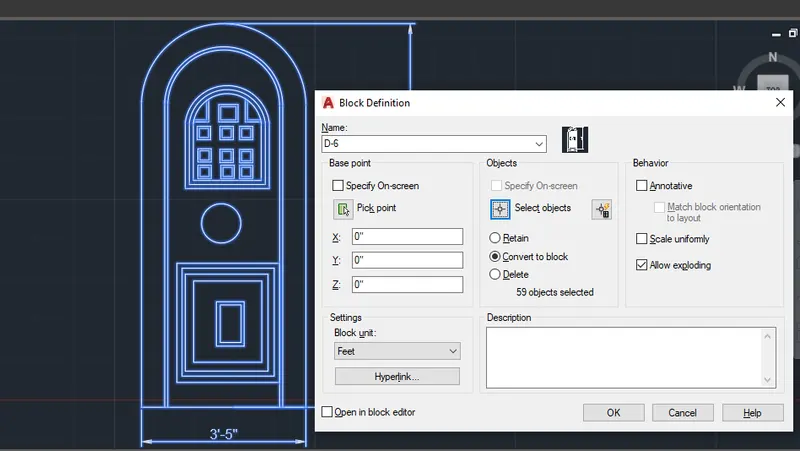
- Use polyline draw to get rectangle without top width,use arc to get semi-circular figure.
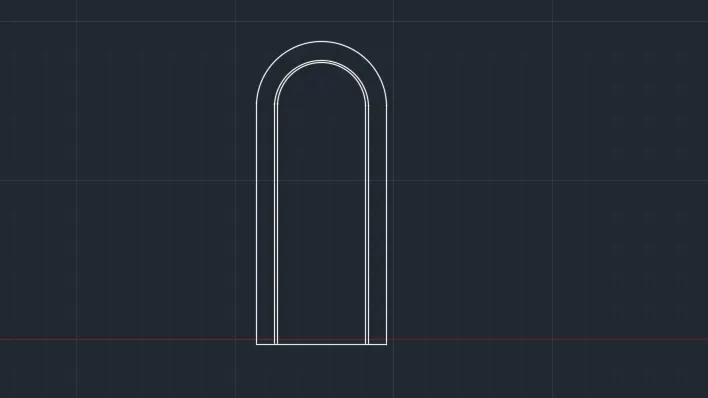
- Give 2 offsets to the figure ,similarly draw smaller size of this figure and create design of small inner rectangle and give offset to them too.
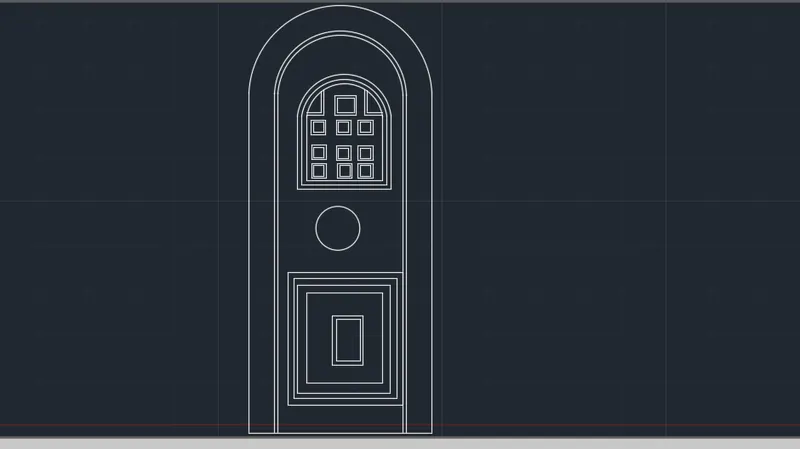
- Draw a small circle and then a rectangle below , in this draw inner rectangle,give 3 offsets to outer rectangle and one offset to inner rectangle.
- Specify the dimensions.
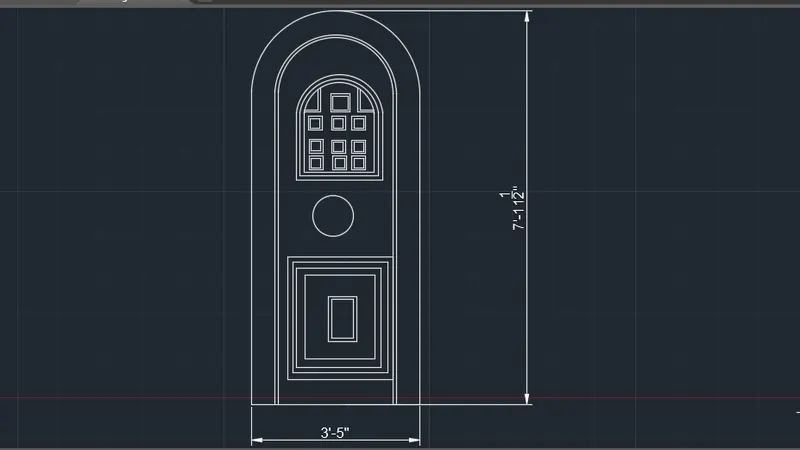
- Set whole figure in block command feature,to get the separate block for this particular figure.
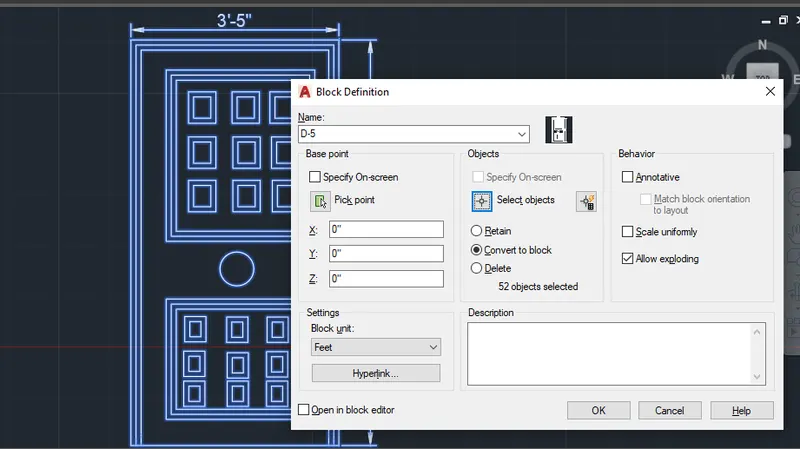
STEPS FOR D-5
- Draw rectangle of 3'-5" and 6'-8" give 2 conscutive offsets to get half of it.
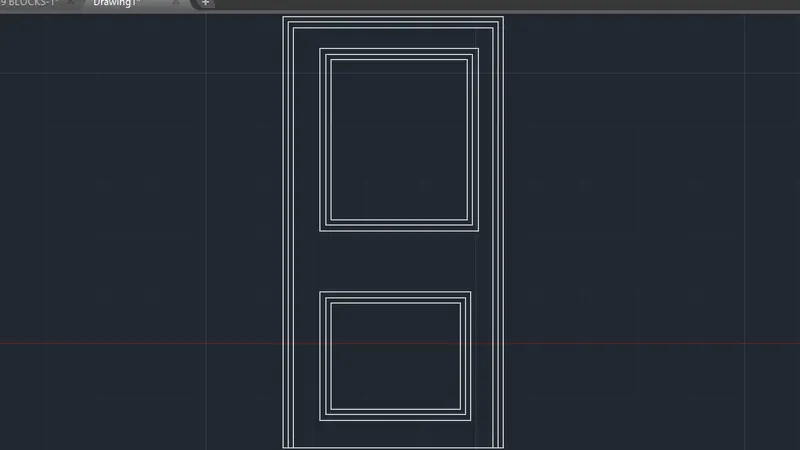
- Draw 2 rectangles ,1st rectangle bigger than 2nd one,now give 2 offsets to 1st rectangle bigger than 2nd one,now give 2 offsets to 1st rectangle and 2 offsets to 2nd one sketch square designs in both of them and offseting them also and in between them draw a circle.
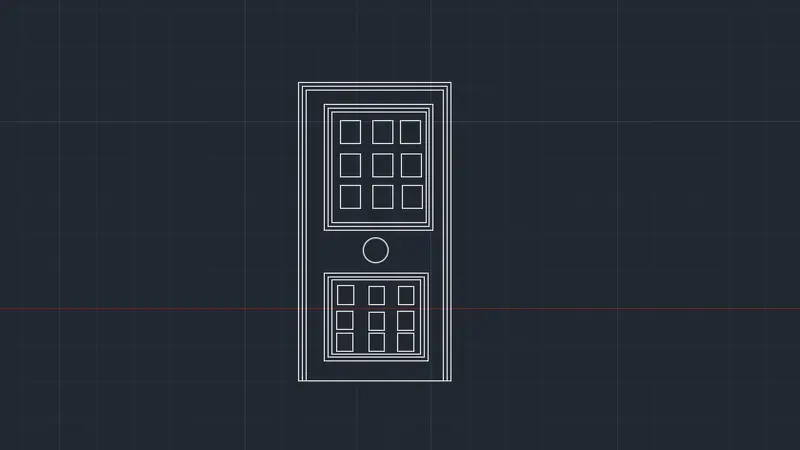
- Specify the dimensions.
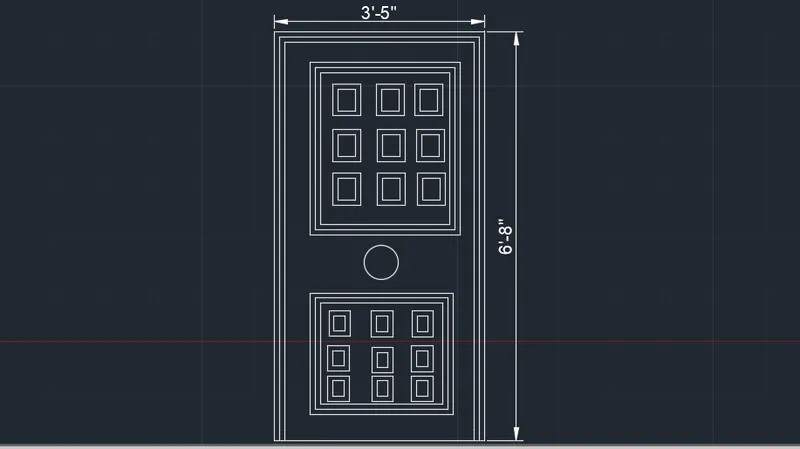
- Set whole figure in block command feature,to get the separate block for this particular figure.
STEPS FOR D-3
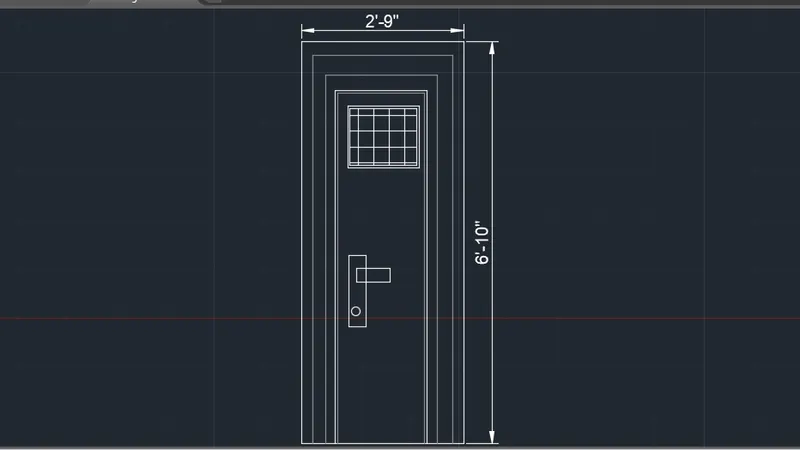
- Draw a rectangle of 2'-9"x6'-10",draw knob and net inside it by line and rectangle command.
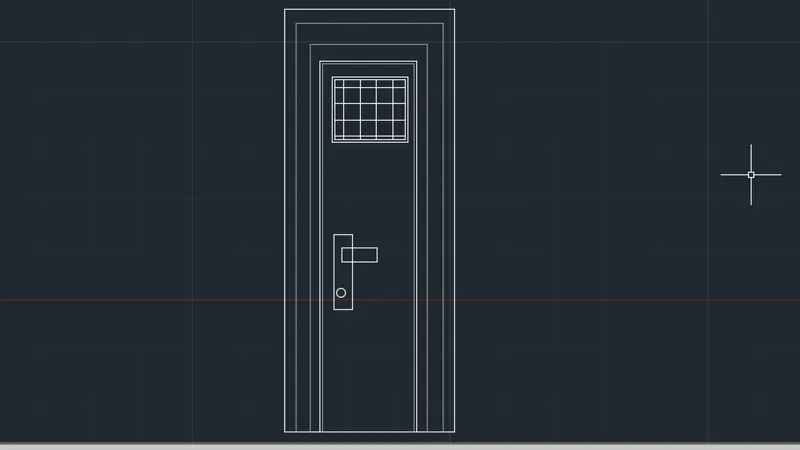
- Give 2 offsets to outer rectangle and make inner rectangle surrounding the net and knob part,use layers to distinguish its features and specify the dimensions.
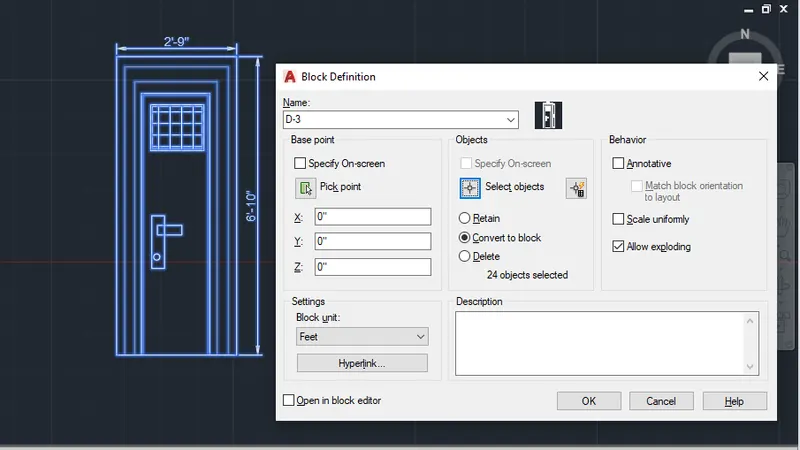
- Set whole figure in block command feature,to get the separate block for this particular figure.
STEPS FOR D-2
- Create a rectangle of 3'-4"x6'-10" give 2 consecutive offsets inside this,draw a rectangle and square in between them,draw a circle.
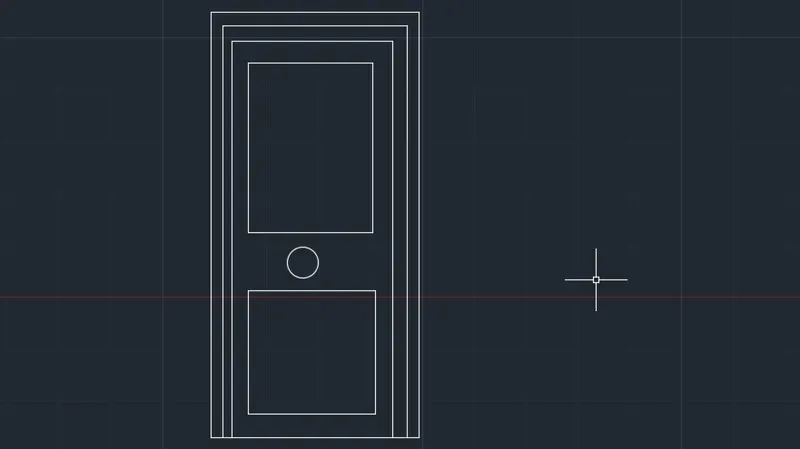
- Give 2 consecutive offsets to rectangle and draw square features inside of it,by using copy-selection.
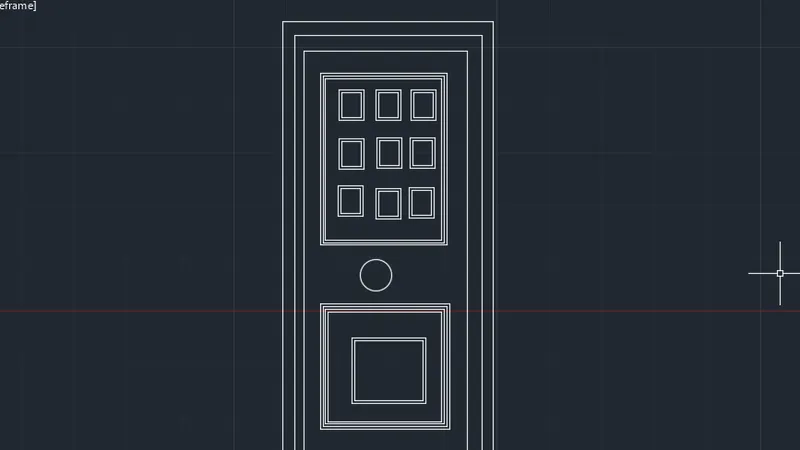
- In square draw inner square ,give offset to it,draw 3 squares of outer by offsets of 3 consecutives squares.
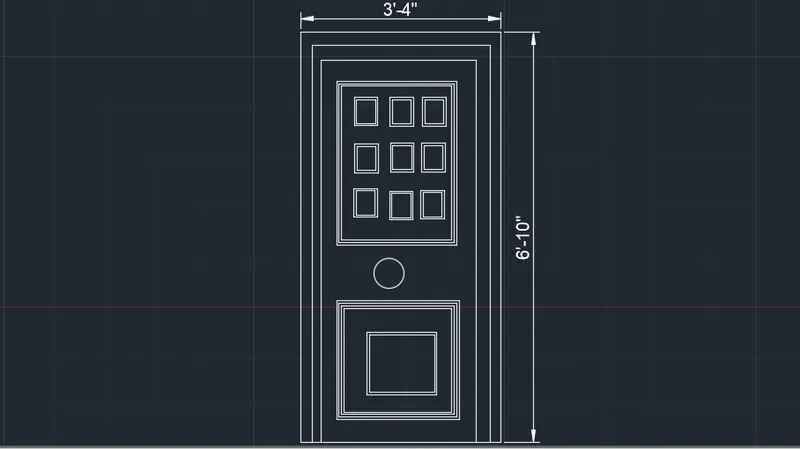
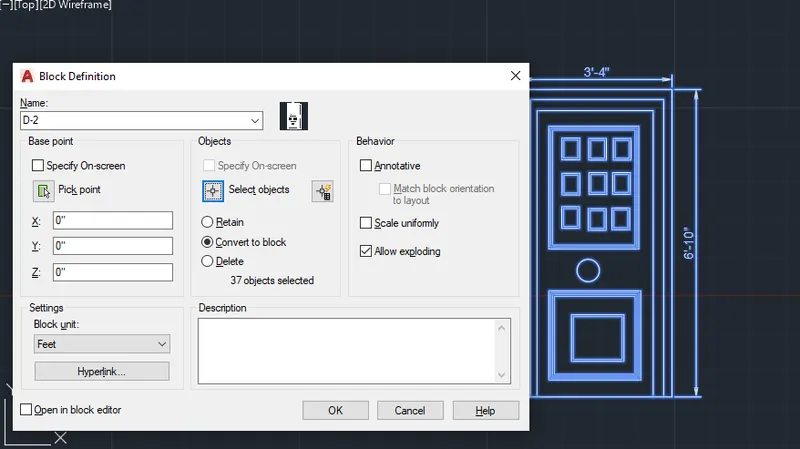
- Set whole figure in block command feature,to get the separate block for this particular figure.
STEPS FOR D-1
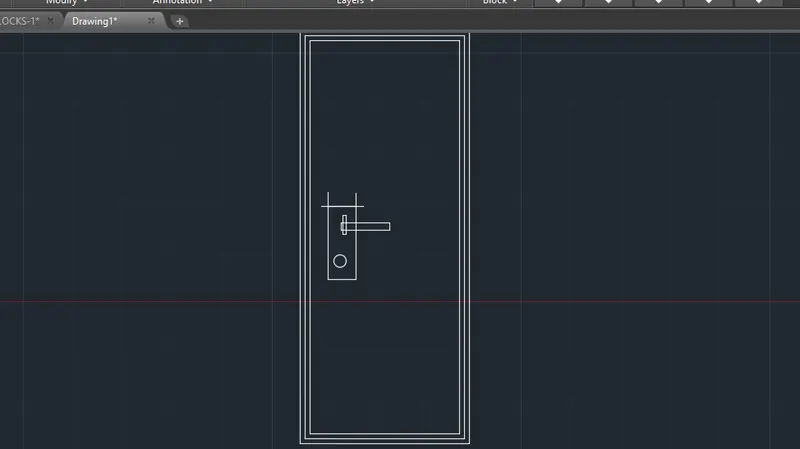
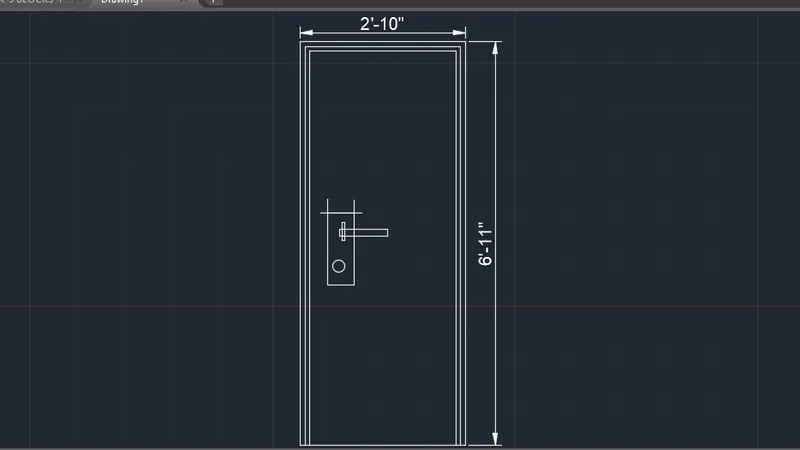
- Draw a rectangle of 2'-10"x6'-10" draw 2 more inner rectangles by 2 offsets of the 1st rectangle ,draw a knob inside it.
- Specify the dimension.
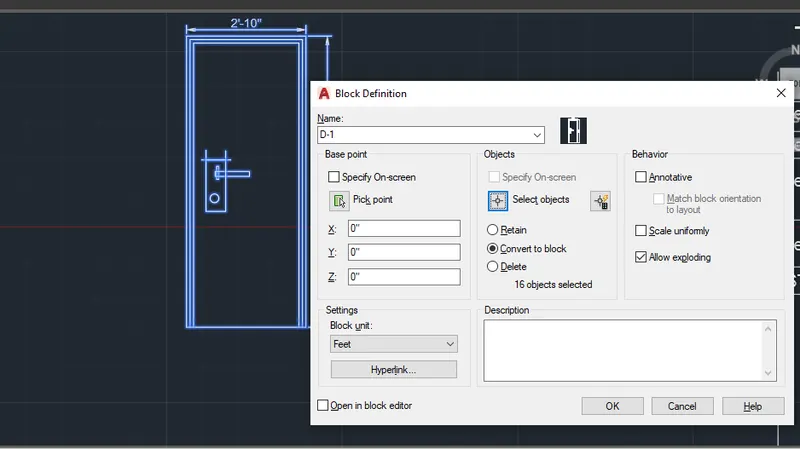
- Set whole figure in block command feature,to get the separate block for this particular figure.
STEPS FOR SYMBOLS LEGEND
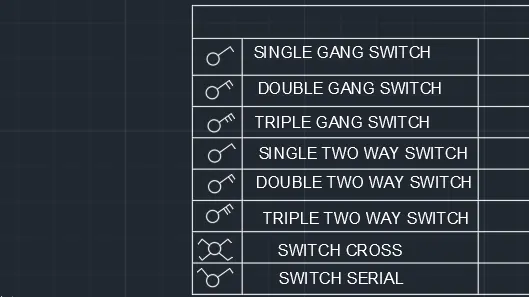
- Draw a rectangle,draw first row,type symbols legend,draw 3 columns inside the rectangle of equal widths and draw 2 inner columns in all 3 major columns.Type plan and name in both inner columns,now in 1st major column,type in name section following..Single gang switch,double gang switch,triple gang switch,single 2-way switch,double 2-way switch,triple 2-way switch,switch cross and switch serial,draw all the symbols assign them to separeate blocks.
- In 2nd major column type single socket,single sockett for lamp,double socket,floor socket single,floor single socket for lamp,floor socket double,floor socket single telephone,floor socket double telephone,draw the respective symbols of the names and assign blocks separately to them.
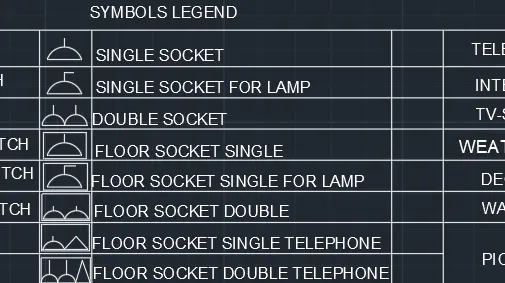
- In 3rd major column,type in name following:-Telephone socket,internet socket,T.V socket,weatherproof socket,dect base station wall bracket and picture lamp,sketch the symbols of the respective names and assign blocks to thgem.
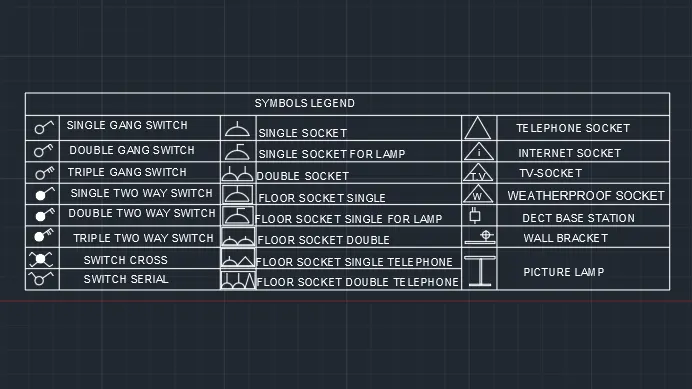 .
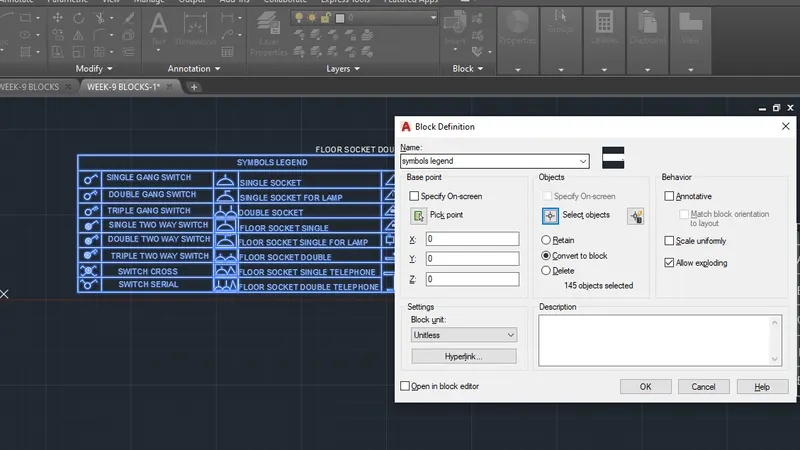
.- Specify the blocks to all symbols and and to the whole figure also.
STEPS FOR BAR BENDING
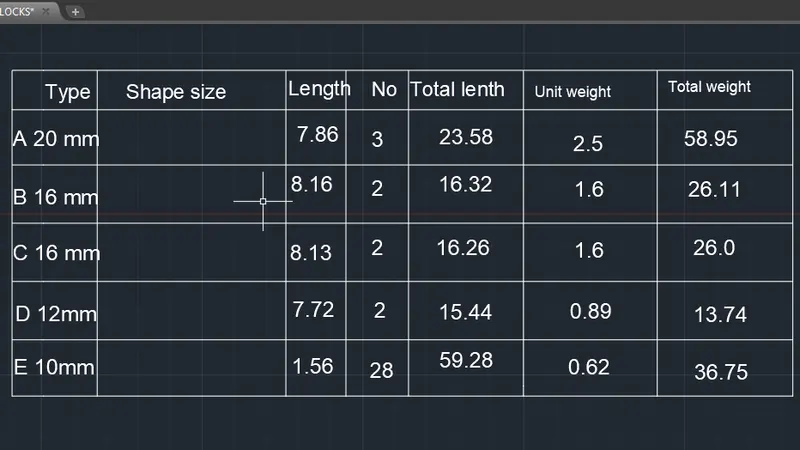
- Create a table consisting of 6 rows and 7 columns in which 2nd column has highest width of shape size,1st as type,3rd as length,4th,5th,6th and 7th as number,total length,unit weighjt and total weight respectively.
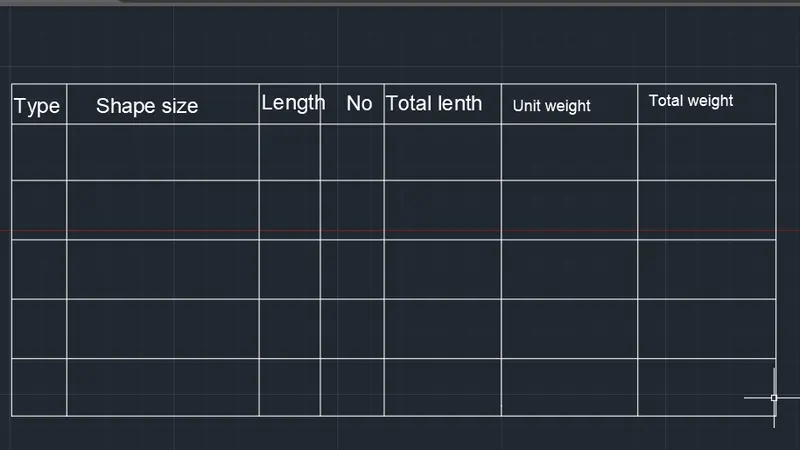
- Fill the details which comes under type,length,number,unit weight and total weight.
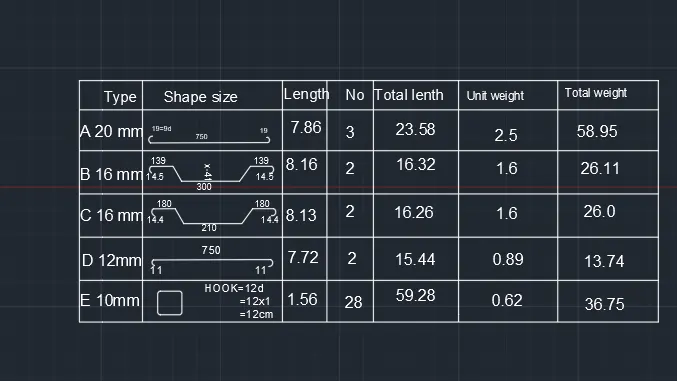
- Now in shape size column draw all the shapes of bars and speify dimensions to each shape,to complete the figure.
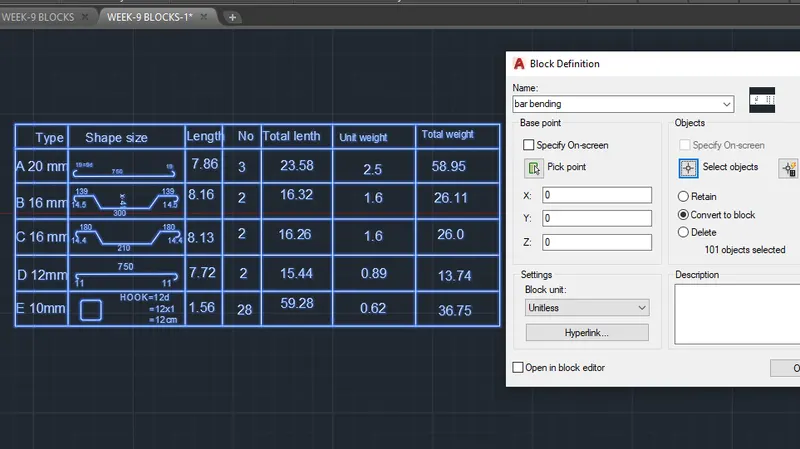
- Specify the block to the figure.
 .
.
RESULT
- We have successfuly completed our challenge and have shown the block usage in each figures of the challenge.
-
-