Creating Bar Bending schedule, Different Door types, and Creation of standard drawing templates using AutoCad
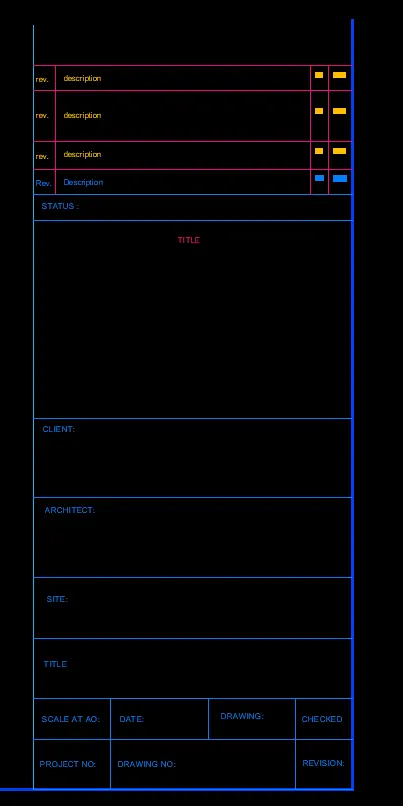
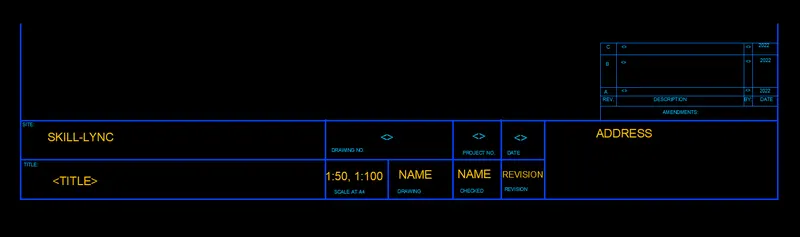
1) AIM: Create the templates as shown in Figures.
INTRODUCTION : Assume the size of the paper. Use text and attributes wherever required. After creating the title block you need to save it as a block with names: Custom1_titleblock and Custom2_titleblock, respectively.
PROCEDURE :
(a)
- First create a table of assumed dimension.For that you use different layers to differentiate between boundary and other components of this template.
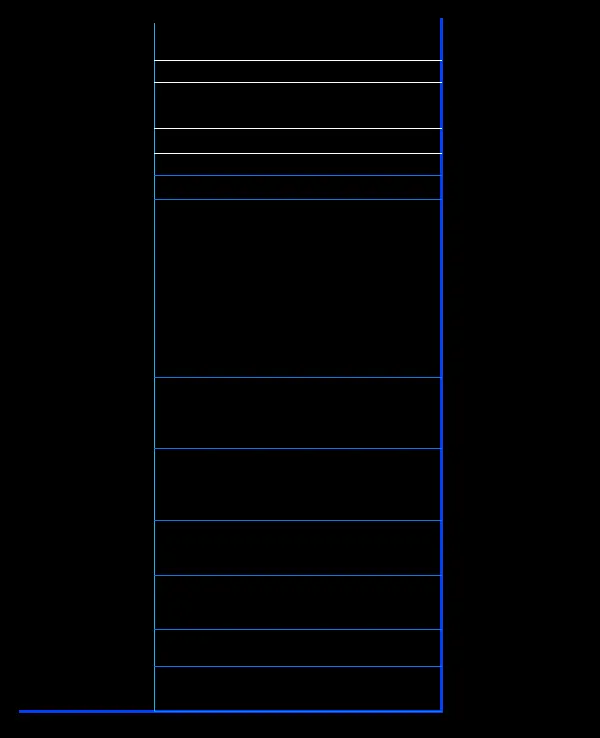
- Here i use only text not attributes. Name the box as per required.
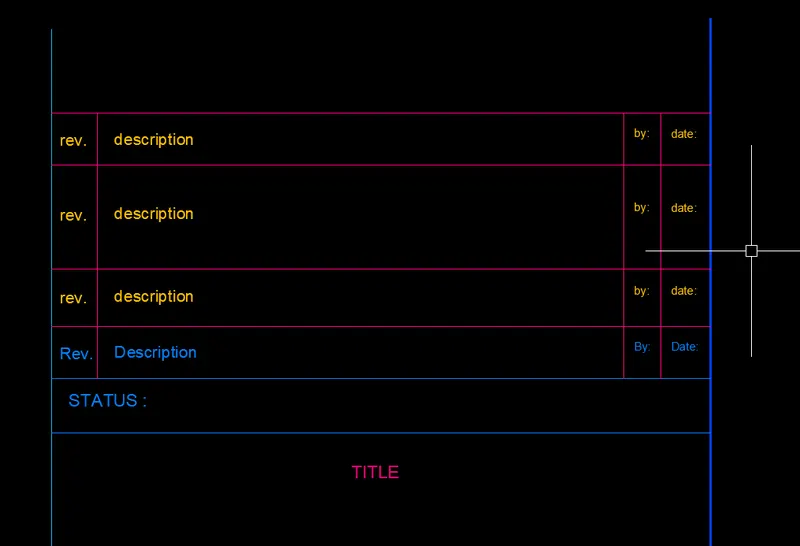
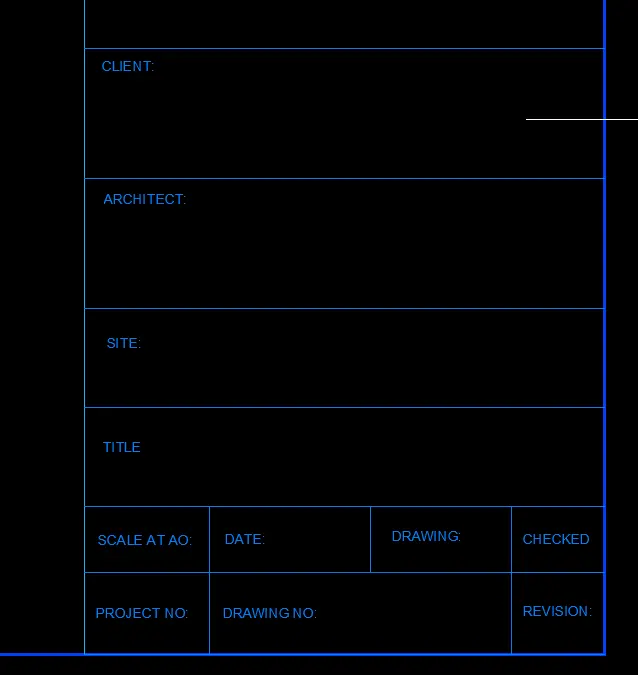
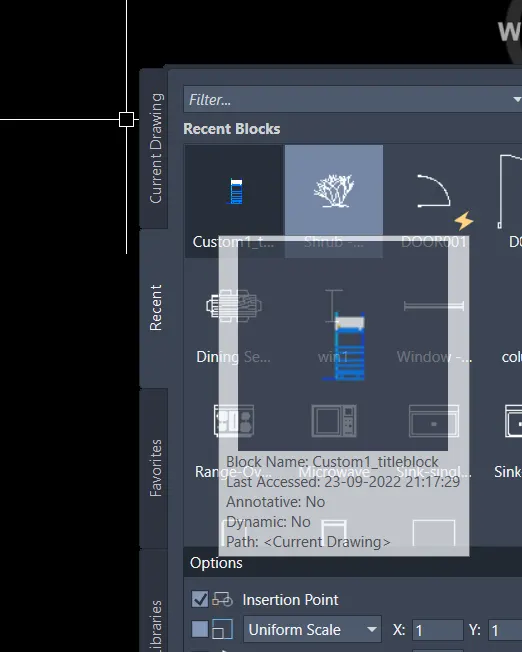
- after creating this template now type "b" for block
- name it Custom1_titleblock and choose pick point and after that select the object.
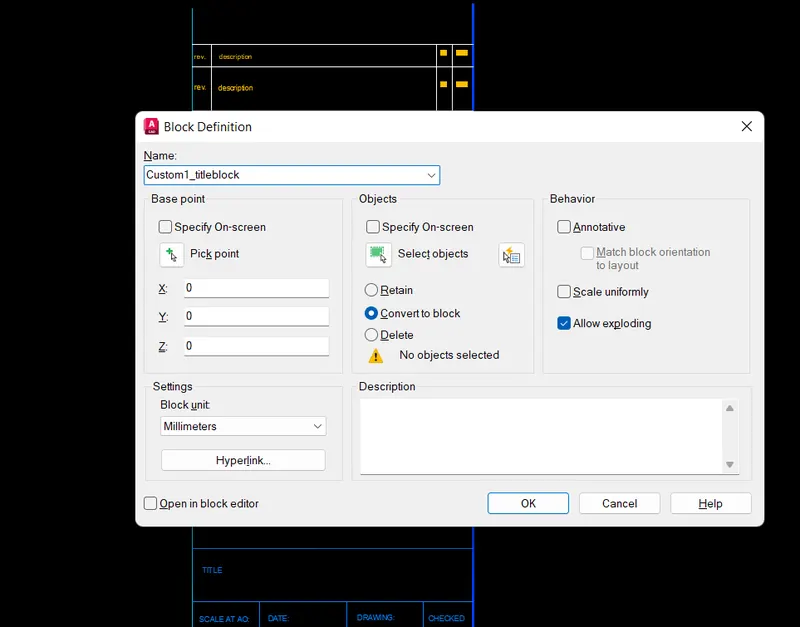
- now type I for insert then you see a block names as "Custom1_titleblock" appeared it.
(b)
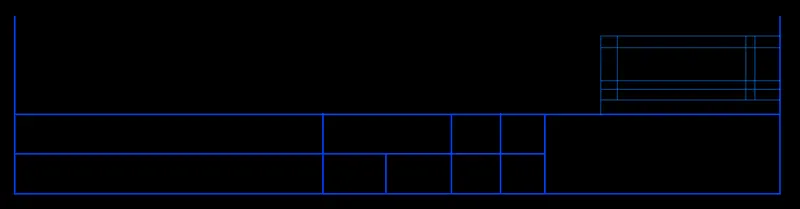
- First create a table of assumed dimension.For that you use different layers to differentiate between boundary and other components of this template.
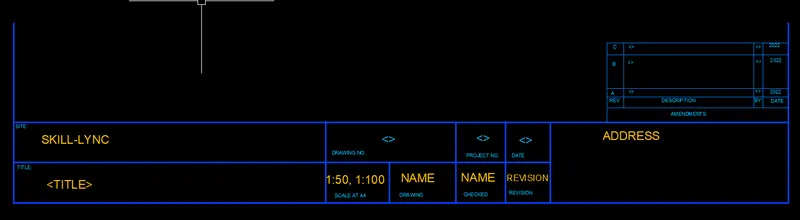
- Here i use only text not attributes. Name the box as per required.
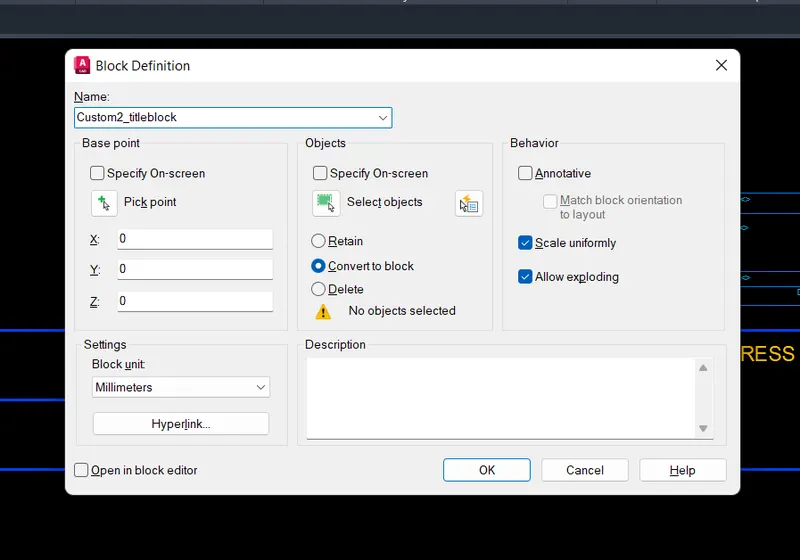
- after creating this template now type "b" for block
- name it Custom2_titleblock and choose pick point and after that select the object.
- now type I for insert then you see a block names as "Custom1_titleblock" appeared it.
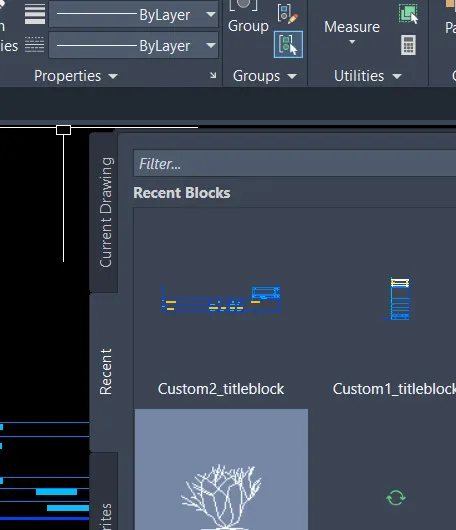
RESULT :
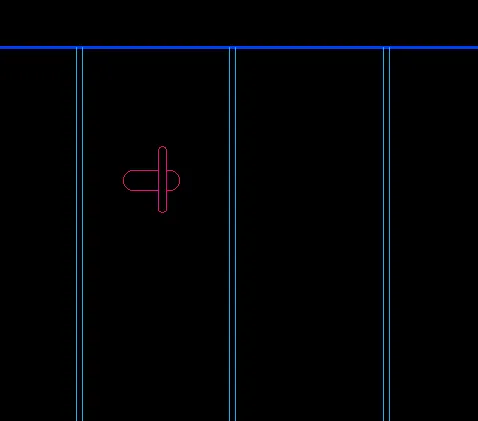
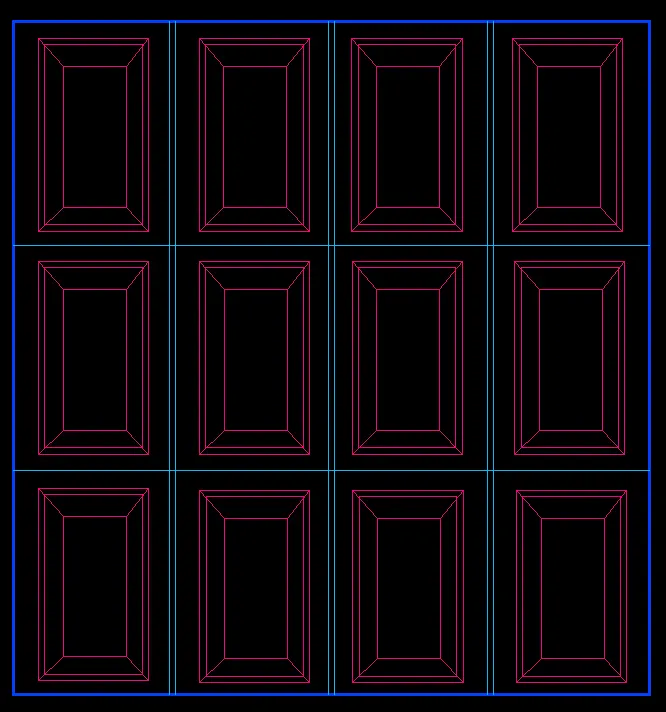
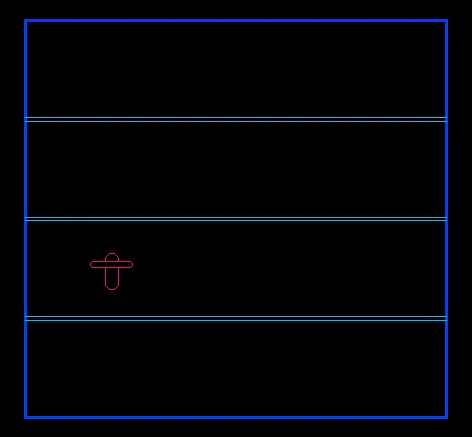
2) AIM: Create the doors type for warehouse as shown in the Figure.
INTRODUCTION : You need to create each door type as per standard size or given dimensions. Create the blocks of this door type after creating them.
PROCEDURE :
(a)
- first create layers for panal,text and boundary.
- First create outer boundary for door
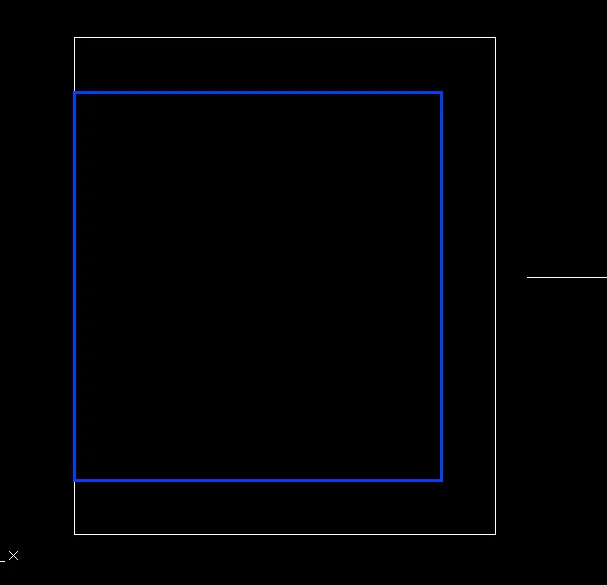
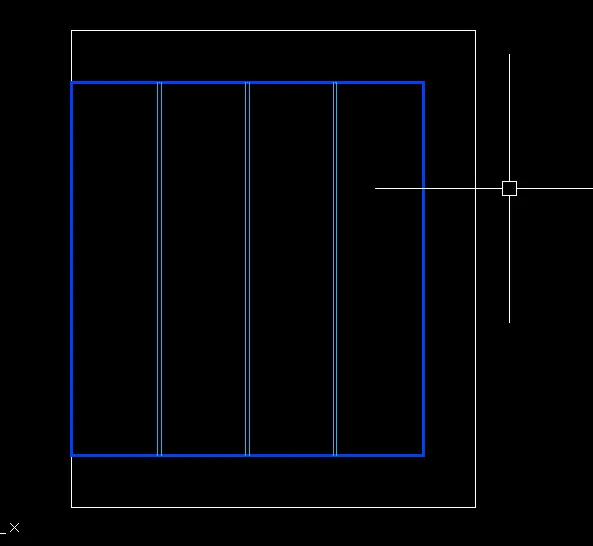
- now creating interior small panal for door. Here its dimension is assumed.
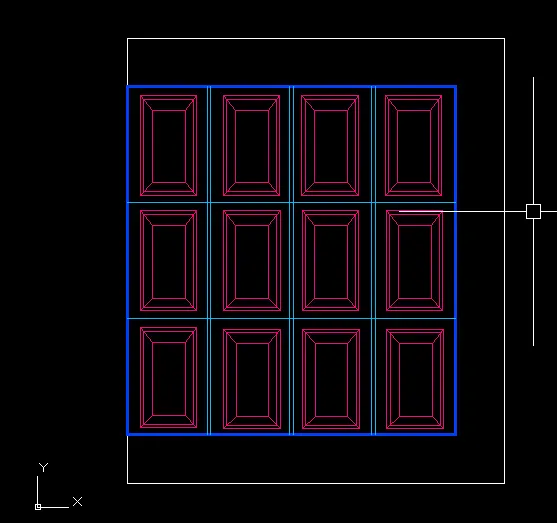
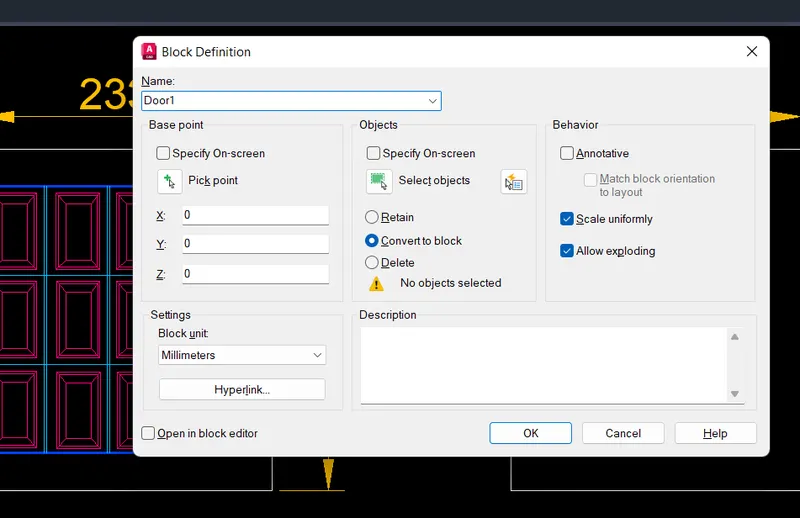
- now after creating the object then type "b" to make this object block.
- name this block Door 1 and select pick point and select object.
(b)
- first create layers for panal,text and boundary.
- First create outer boundary for door
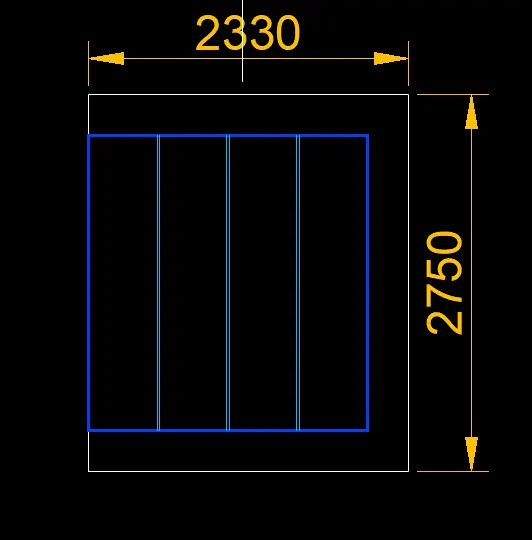
- now creating interior small panal for door. Here its dimension is assumed.
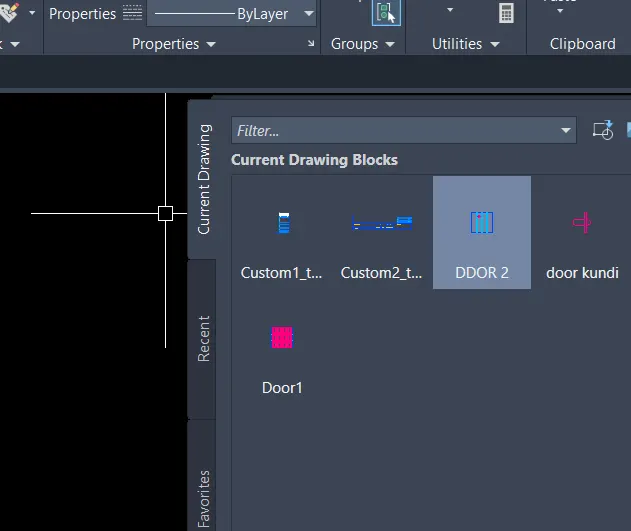
- now after creating the object then type "b" to make this object block.
- name this block Door 2 and select pick point and select object.
RESULT :
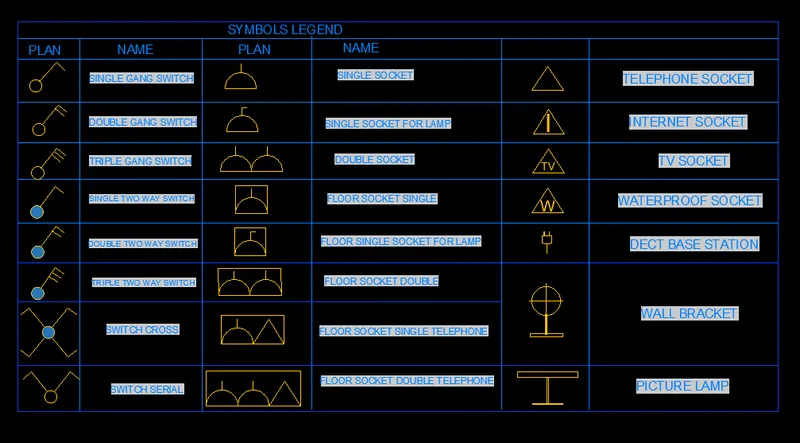
3) AIM:Create each symbol as a block with the name given in the legend.
INTRODUCTION :First create block after that given name as a legend.
PROCEDURE:
- first create different blocks that is given in figure
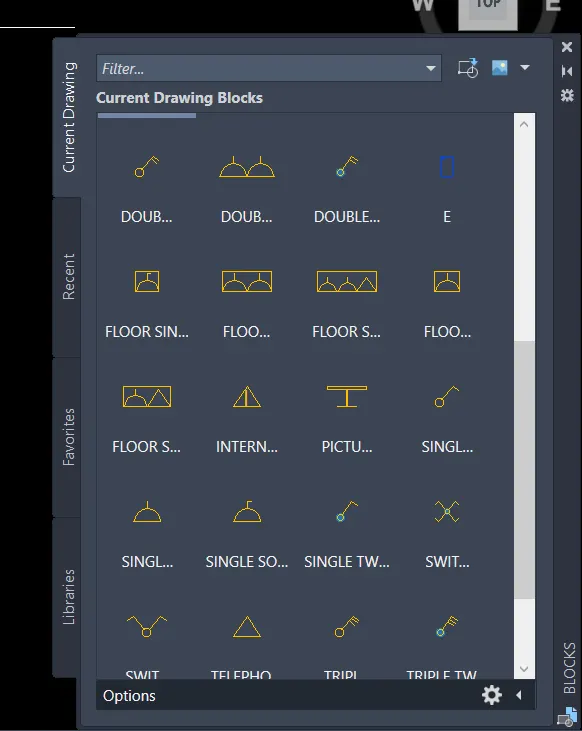
- now create table for legend
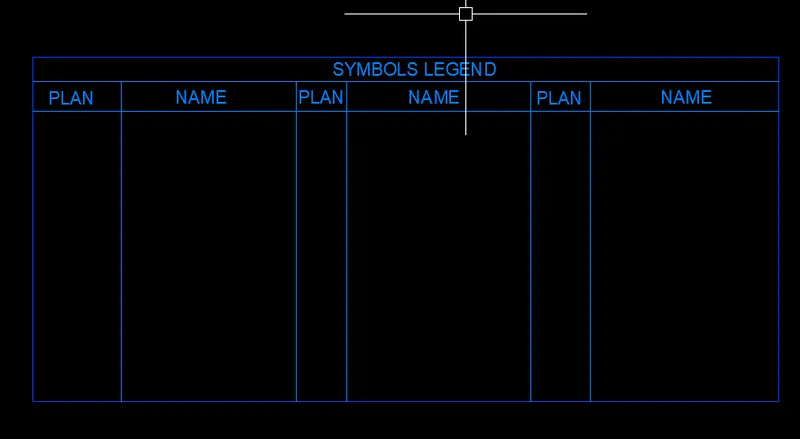
- now arrange all blocks in it as shown in figure.
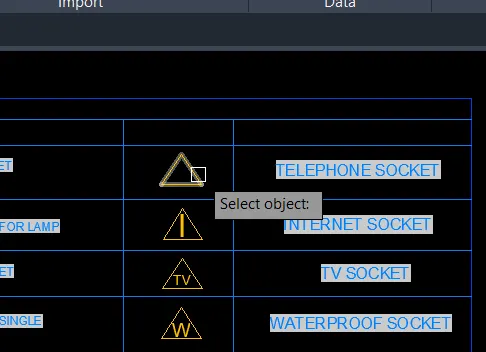
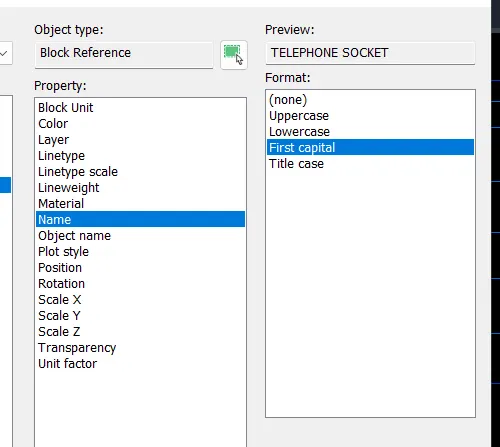
- Now go to filed command and select object and name it
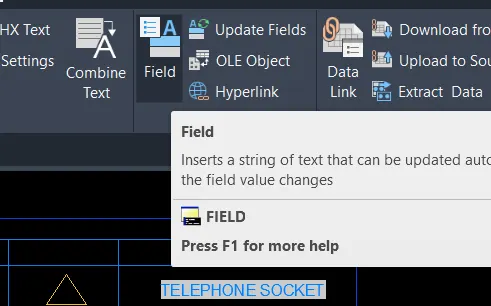
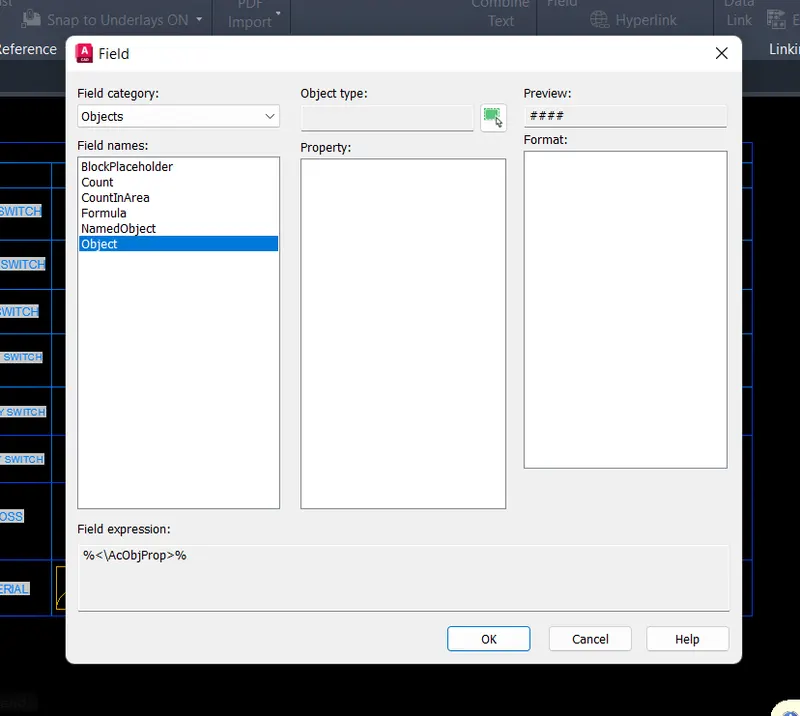
- now select it and assign property to shown in the legend.
RESULT :
4) AIM : Create the door type for residential building as a block.
INTRODUCTION : Save the name of the blocks as type. Use given dimensions or assume dimensions as per industry standards.
PROCEDURE :
(a)
- first create layers for panal,text and boundary.
- First create outer boundary for door
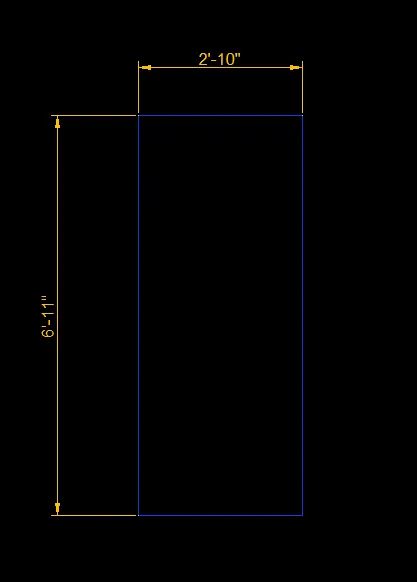
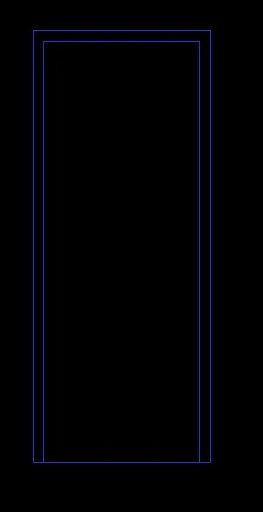
- now creating interior small panal for door. Here its dimension is assumed.
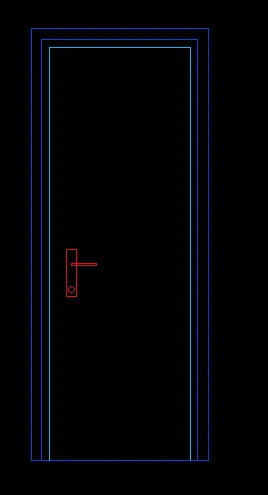
- now after creating the object then type "b" to make this object block.
- name this block D1 and select pick point and select object.
(b)
-
- first create layers for panal,text and boundary.
- First create outer boundary for door
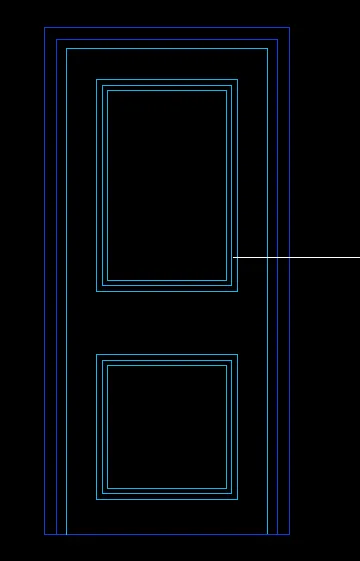
- now creating interior small panal for door. Here its dimension is assumed.
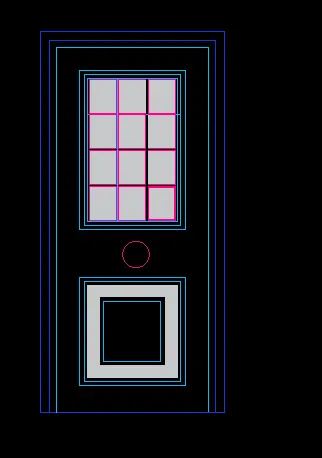
- now after creating the object then type "b" to make this object block.
- name this block D2 and select pick point and select object.
(c)
-
- first create layers for panal,text and boundary.
- First create outer boundary for door
- now creating interior small panal for door. Here its dimension is assumed.
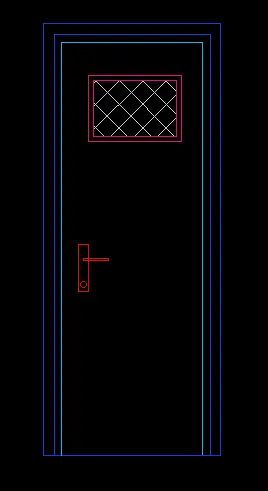
- now after creating the object then type "b" to make this object block.
- name this block D3 and select pick point and select object.
(d)
-
- first create layers for panal,text and boundary.
- First create outer boundary for door
- now creating interior small panal for door. Here its dimension is assumed.
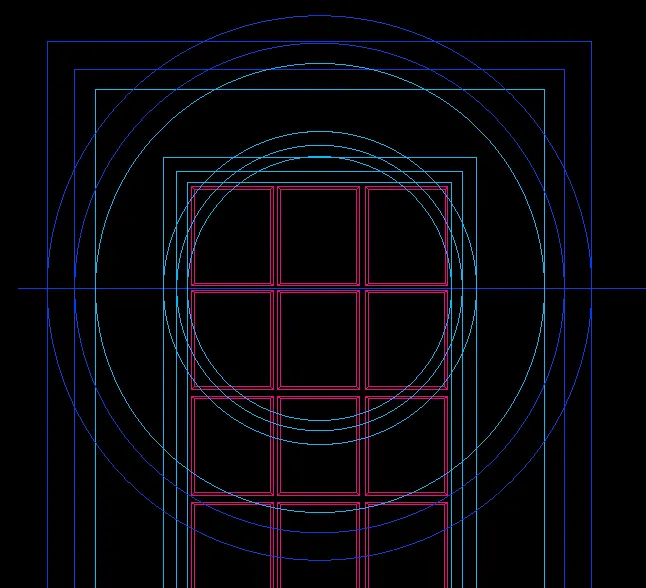
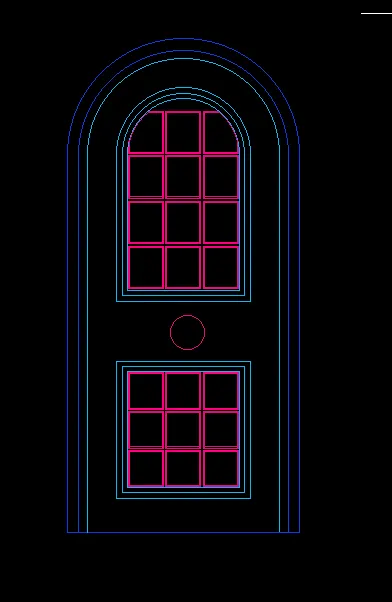
- now after creating the object then type "b" to make this object block.
- name this block D4 and select pick point and select object.
(e)
-
- first create layers for panal,text and boundary.
- First create outer boundary for door
- now creating interior small panal for door. Here its dimension is assumed.
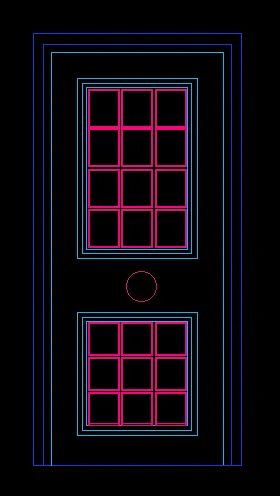
- now after creating the object then type "b" to make this object block.
- name this block D5 and select pick point and select object.
(f)
-
- first create layers for panal,text and boundary.
- First create outer boundary for door
- now creating interior small panal for door. Here its dimension is assumed.
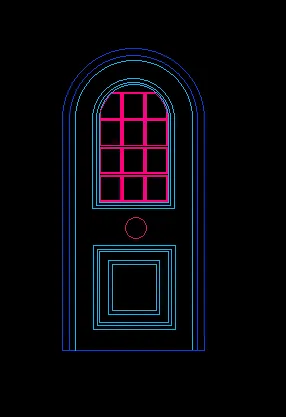
- now after creating the object then type "b" to make this object block.
- name this block D5 and select pick point and select object.
RESULT :
5) AIM : Create each shape as a block as shown in the Figure.
INTRODUCTION:Save the block and insert them on the table as shown in the Figure.
PROCEDURE :
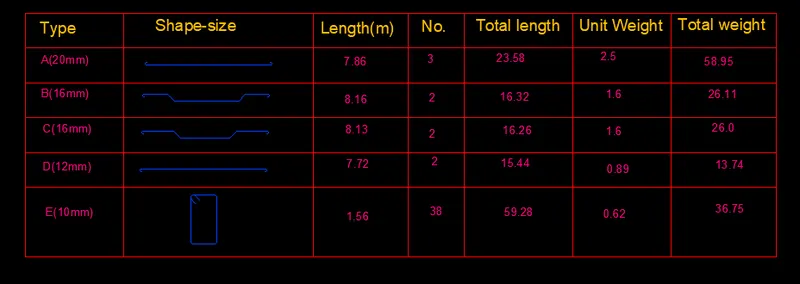
- first create shape as block
- after that create table and add title and block in it.
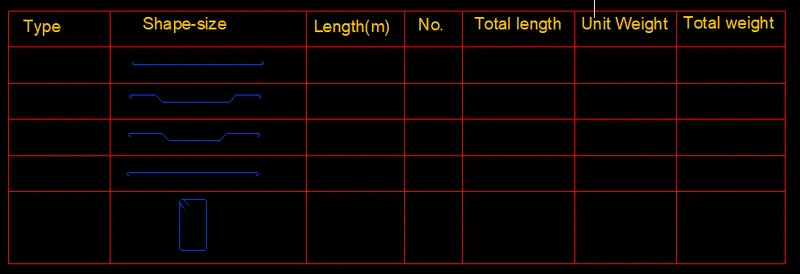
- now fill the property of each block in it.
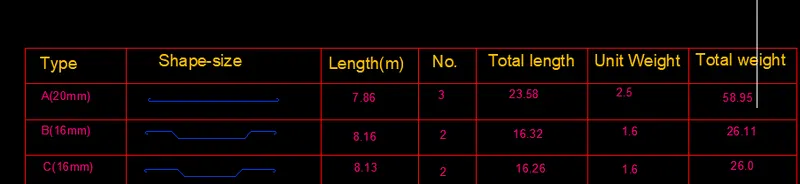
RESULT:
THANK YOU..