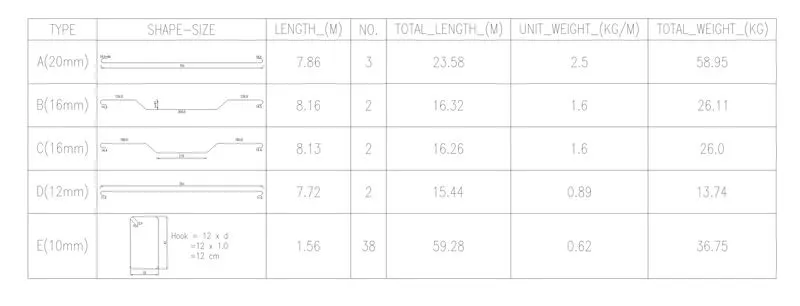
Creating Bar Bending schedule, Different Door types, and Creation of standard drawing templates using AutoCad
Aim 1:
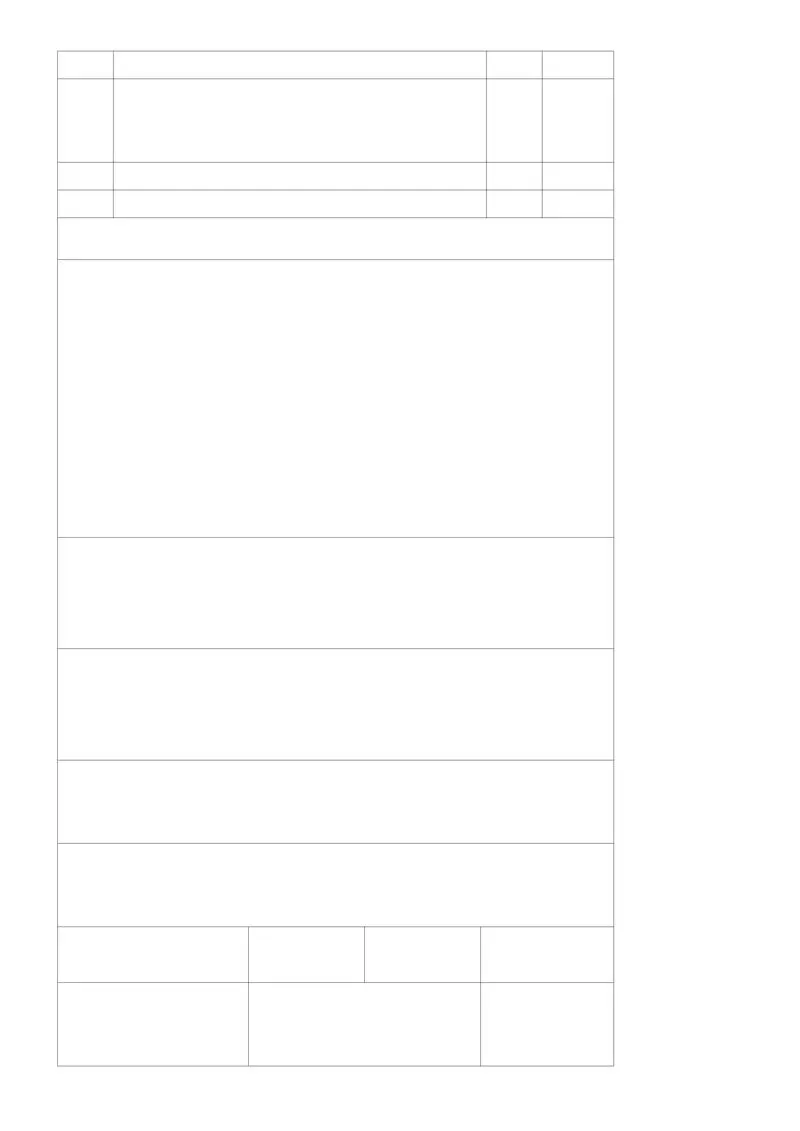
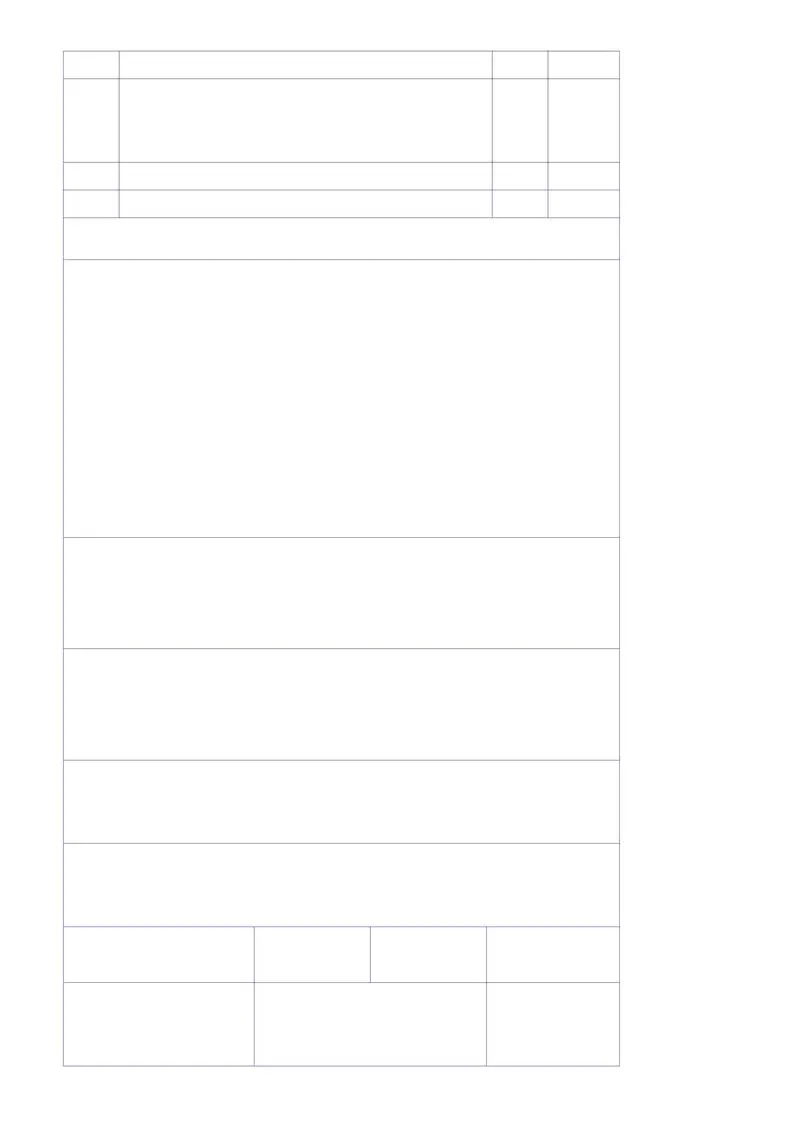
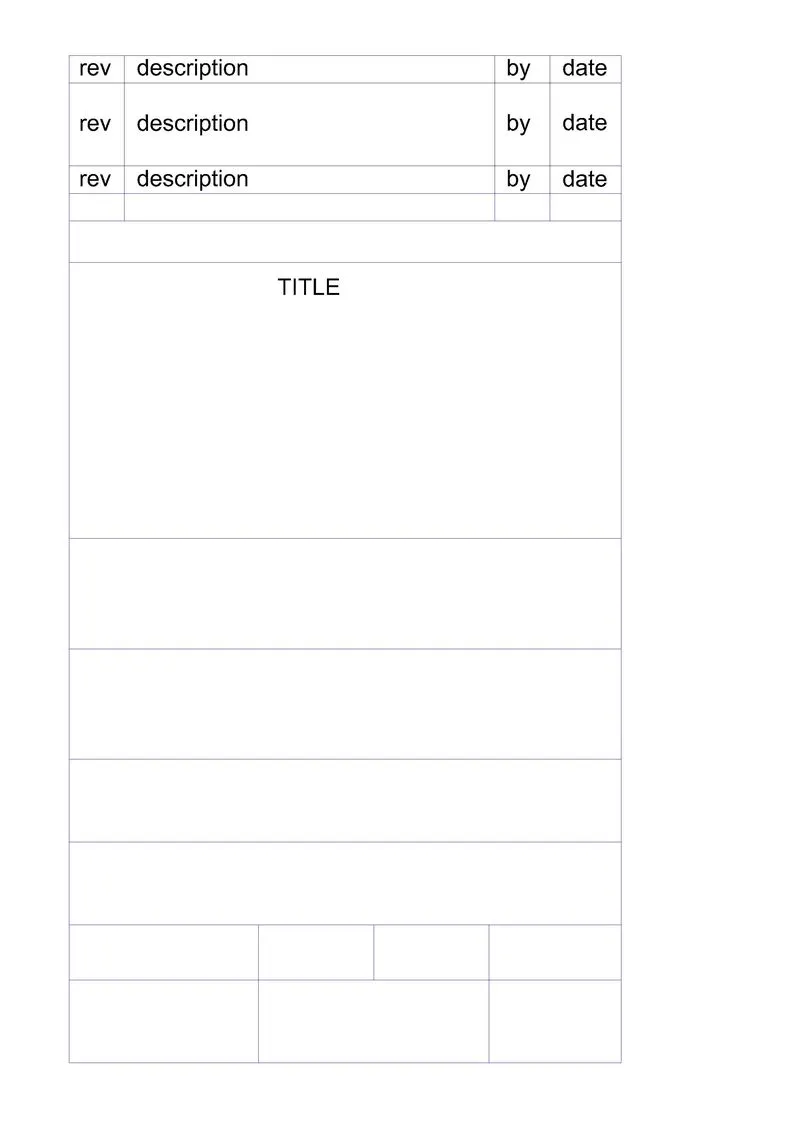
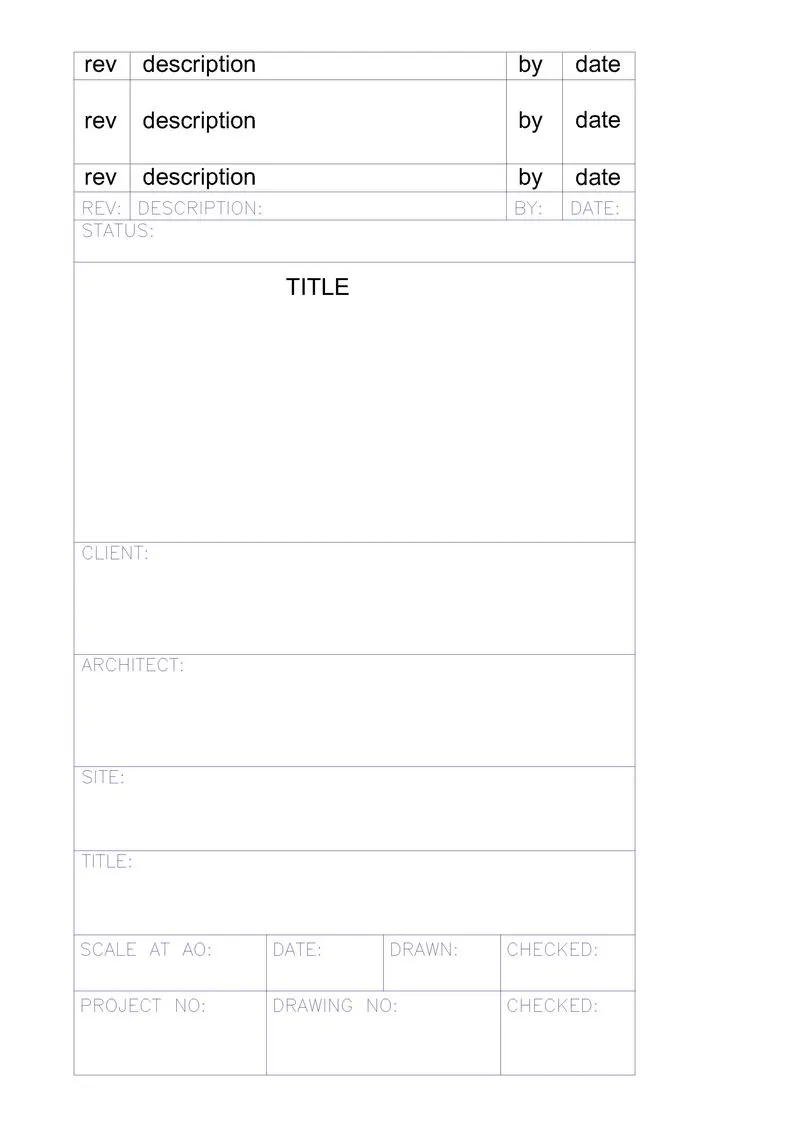
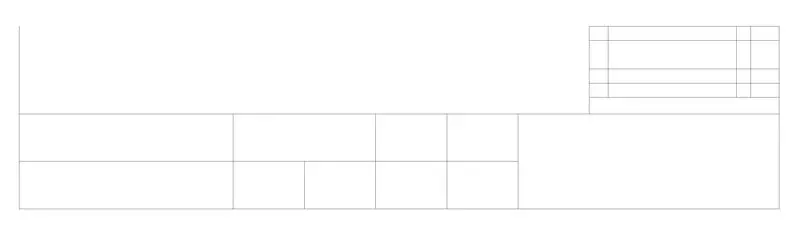
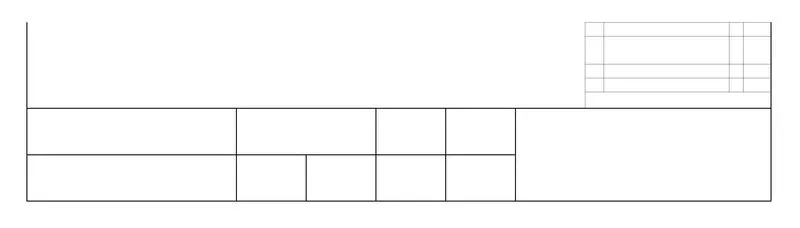
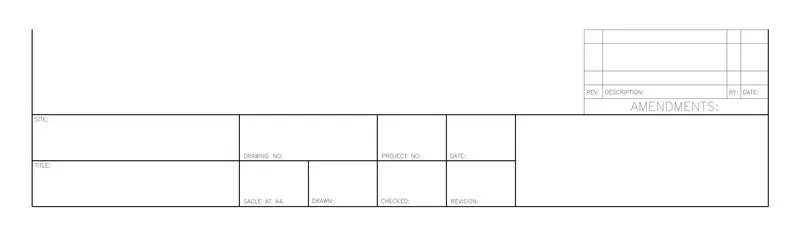
Create the templates as shown in Figures.
Introduction:
Take the size of the title block as per industry standards or you can assume it as per the size of the paper. Use text and attributes wherever required. After creating the title block you need to save it as a block with names: Custom1_titleblock and Custom2_titleblock, respectively.
Procedure:
- Draw the title block layout as given in the figure:
- Now edit the line color property as given:
- Write the Normal text using Mtext.
- Now with text write the remaining details titles and covert to block as name Custom1_titleblock.
- Now draw the another bottom title block layout.
- Now edit the thickness property of the lines as per the given figure.
- Enter text command and write the fixed text of the block.
- Now enter the details of the blocks as given, and convert it to block of name Custom2_titleblock.
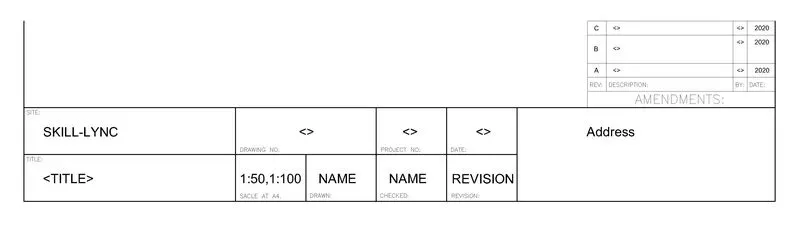
Result:
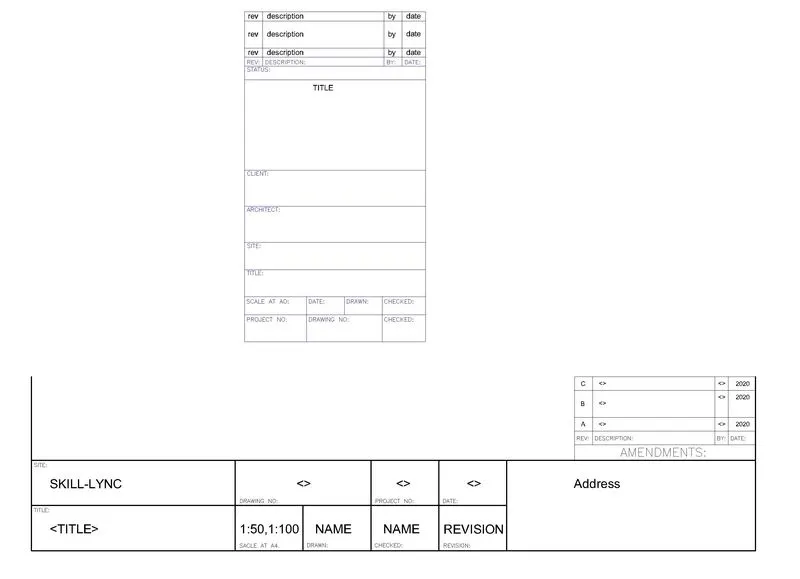
Aim 2:
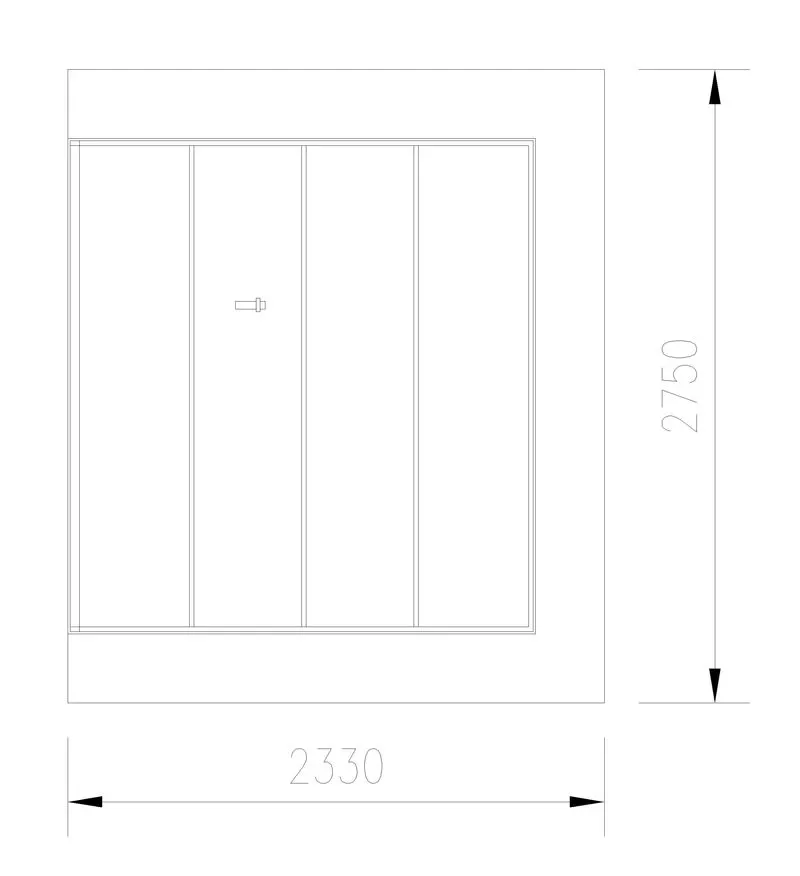
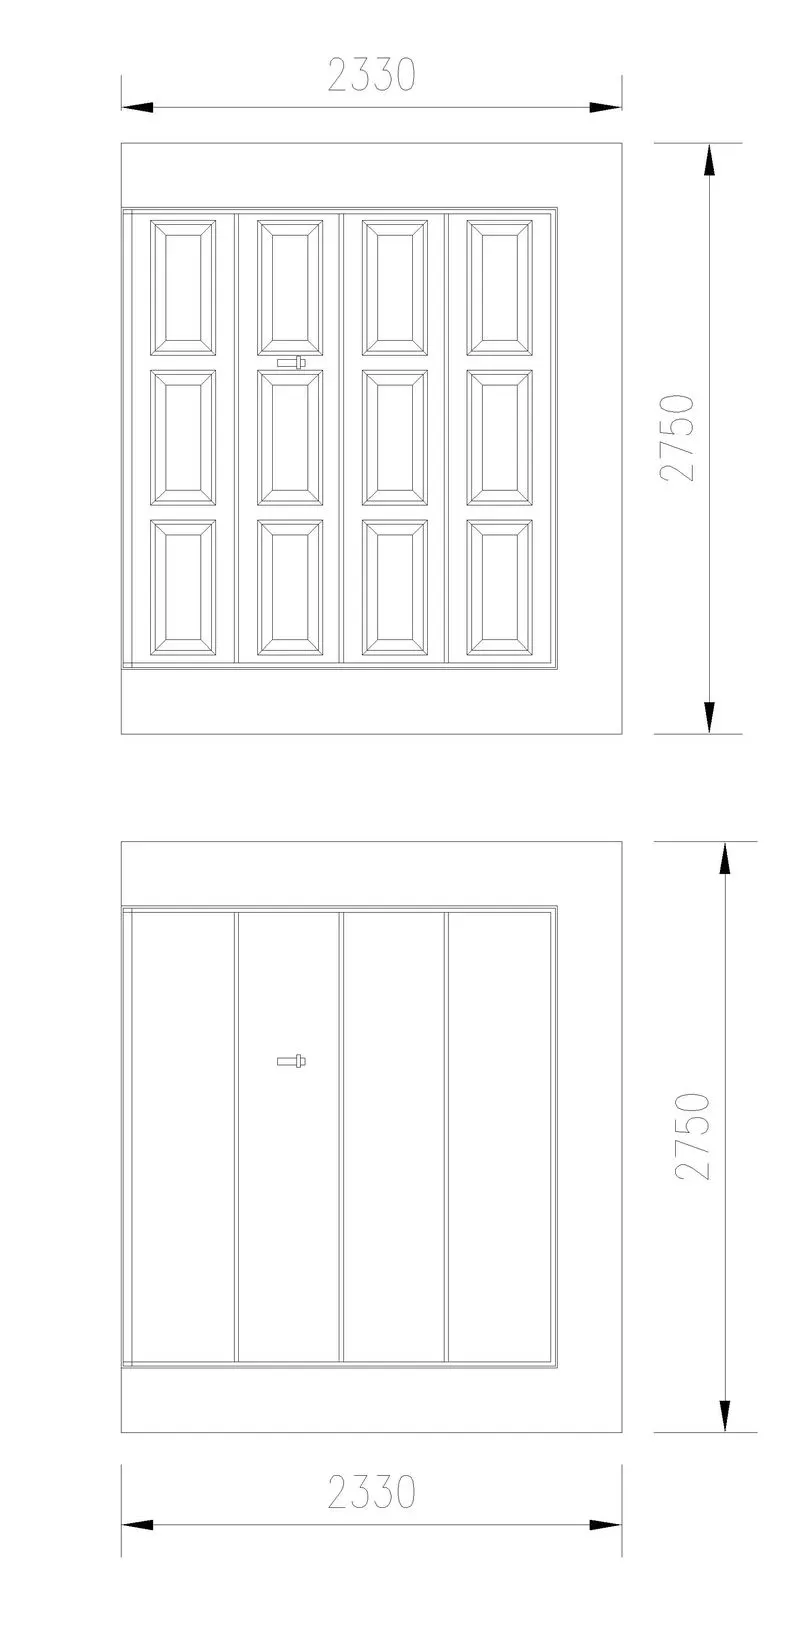
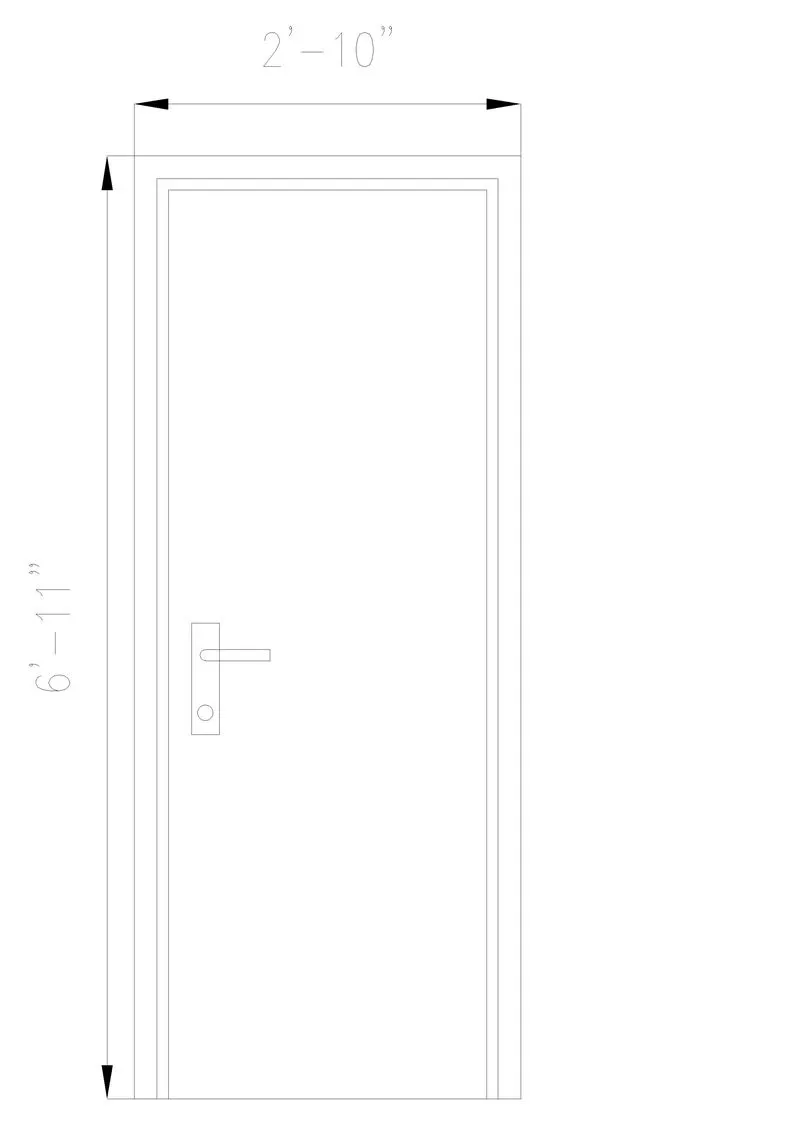
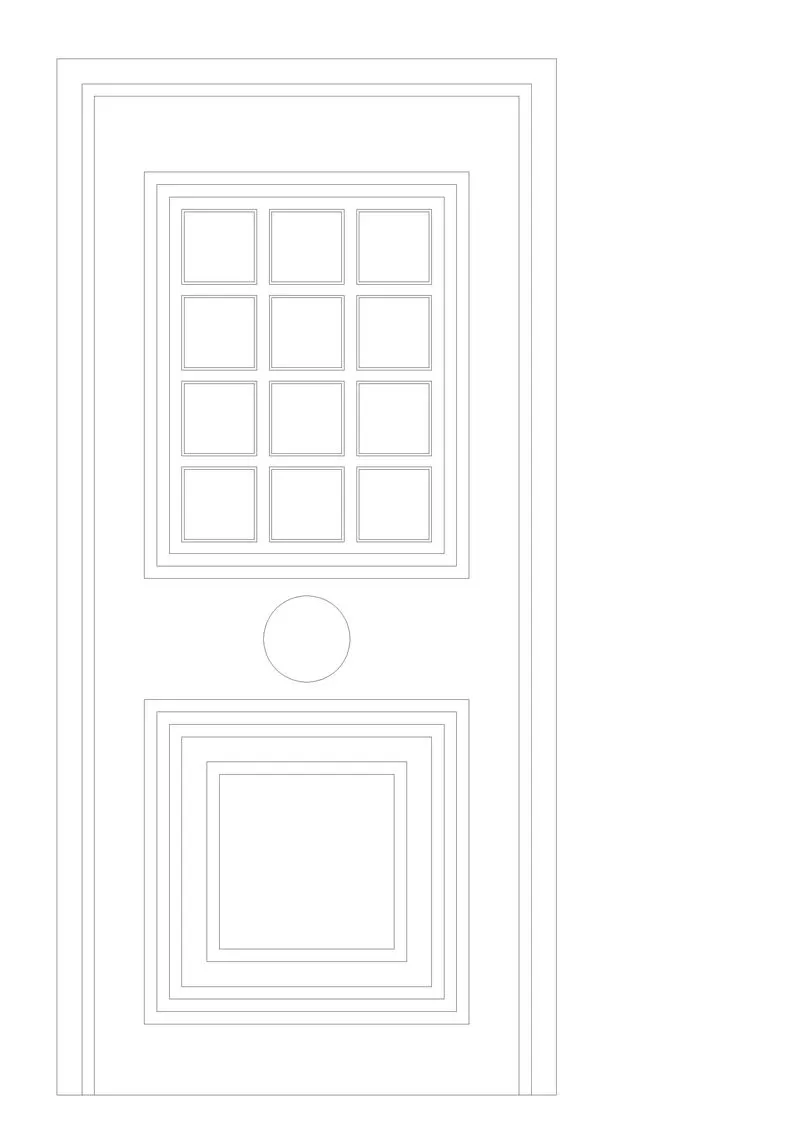
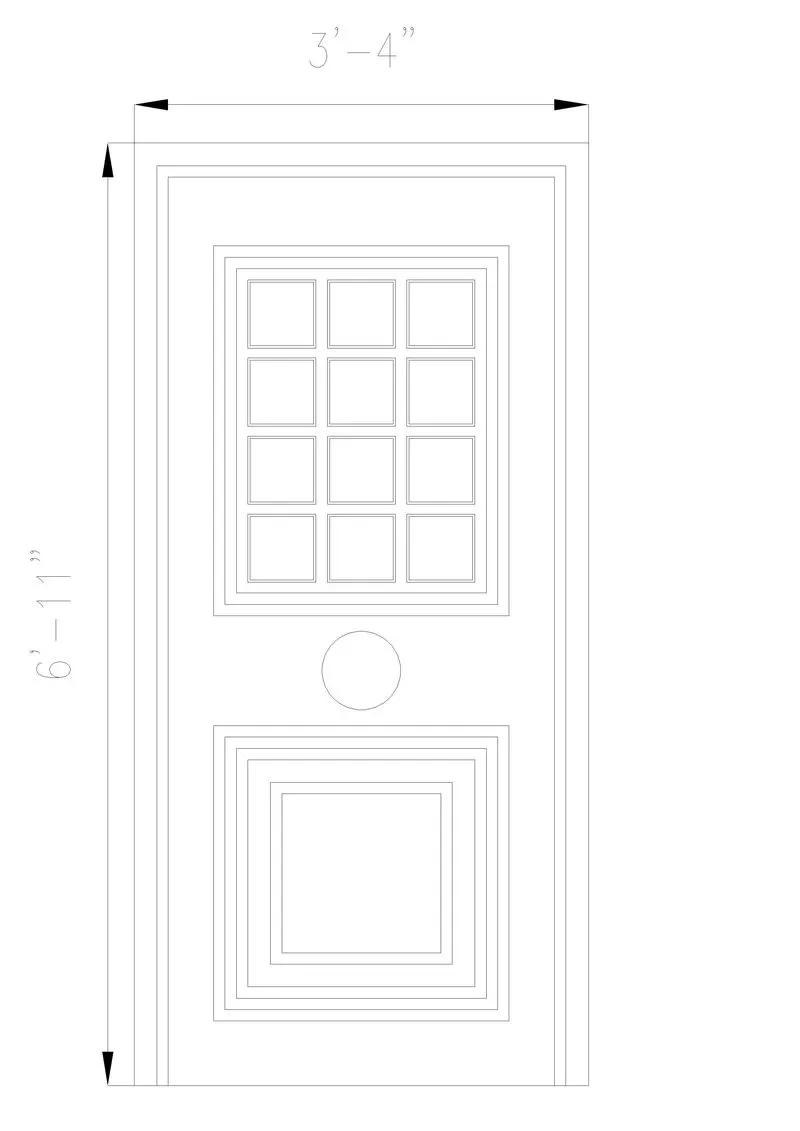
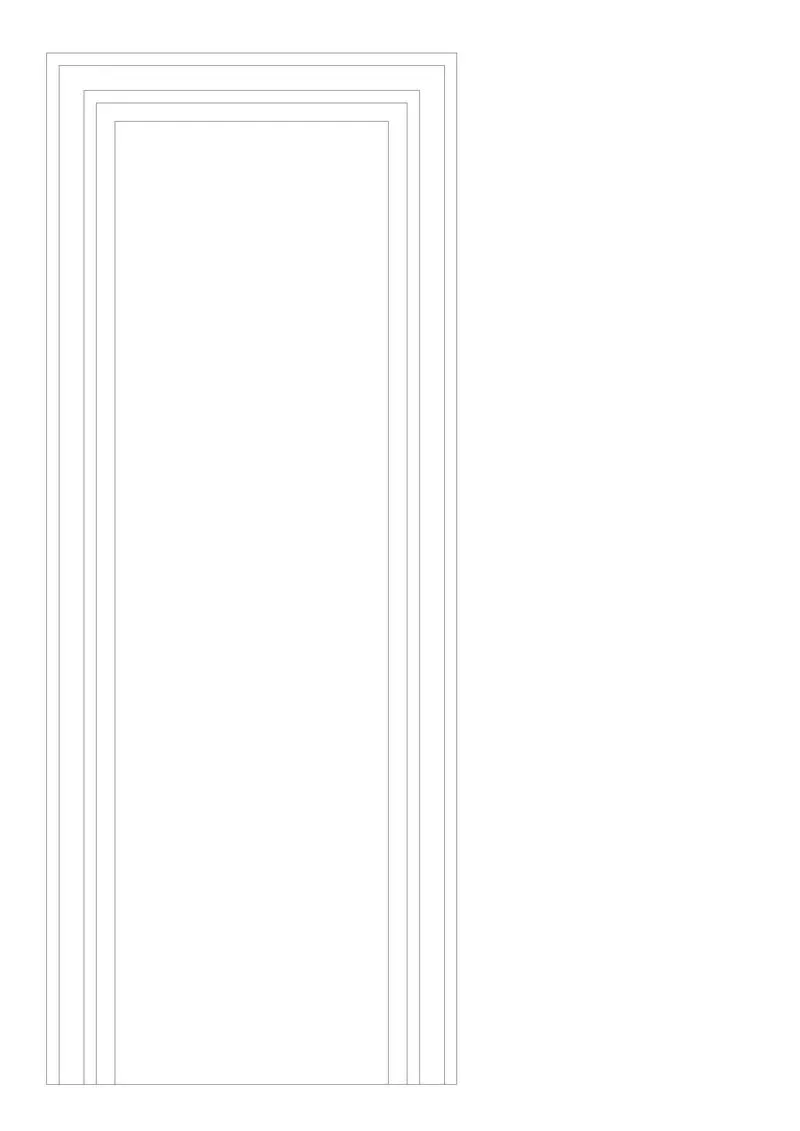
Create the doors type for warehouse as shown in the Figure.
Introduction:
You need to create each door type as per standard size or given dimensions. Create the blocks of this door type after creating them.
Procedure:
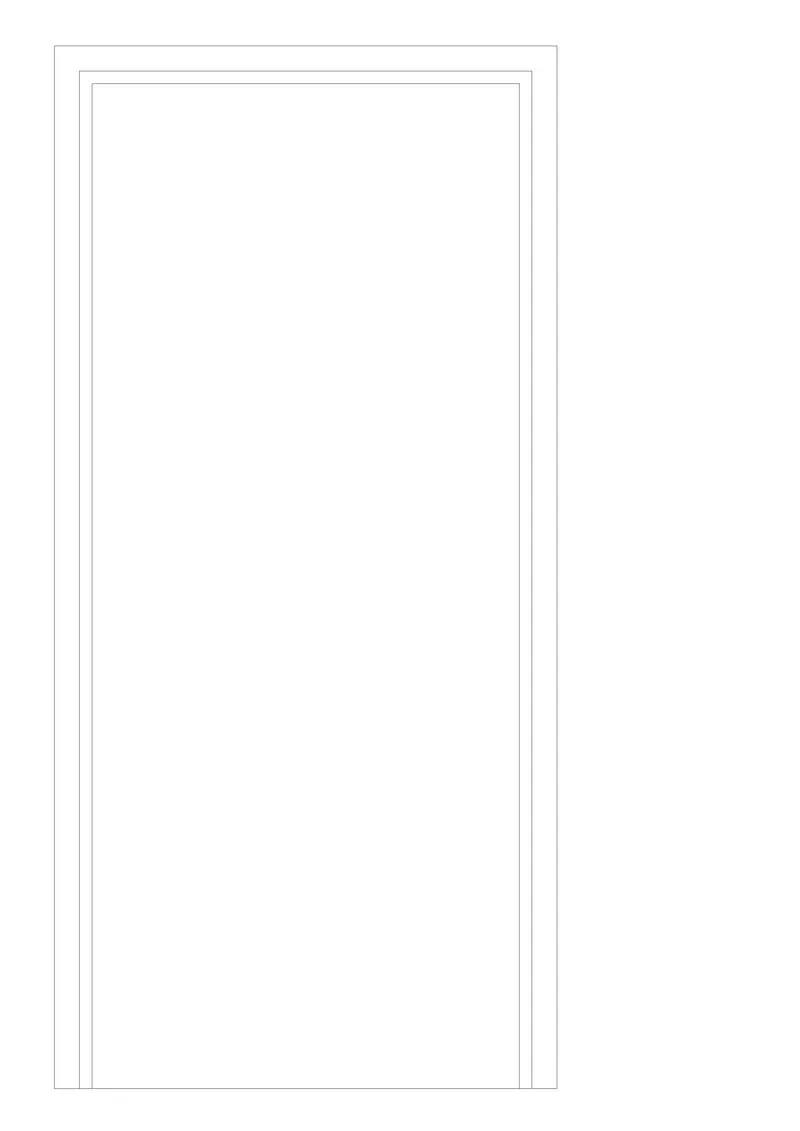
- Draw the Frame for Door 1.
- Draw the boundry of the door 1 gate.
- Draw the gate partitions of door 1.
- Draw the opening handle of the Door 1.
- Draw the Design of extrudes of the gate and make block of it.
- Copy this block pattern and Finalize the Door 1 as given in the figure.
- Dimensioning the Door 1.
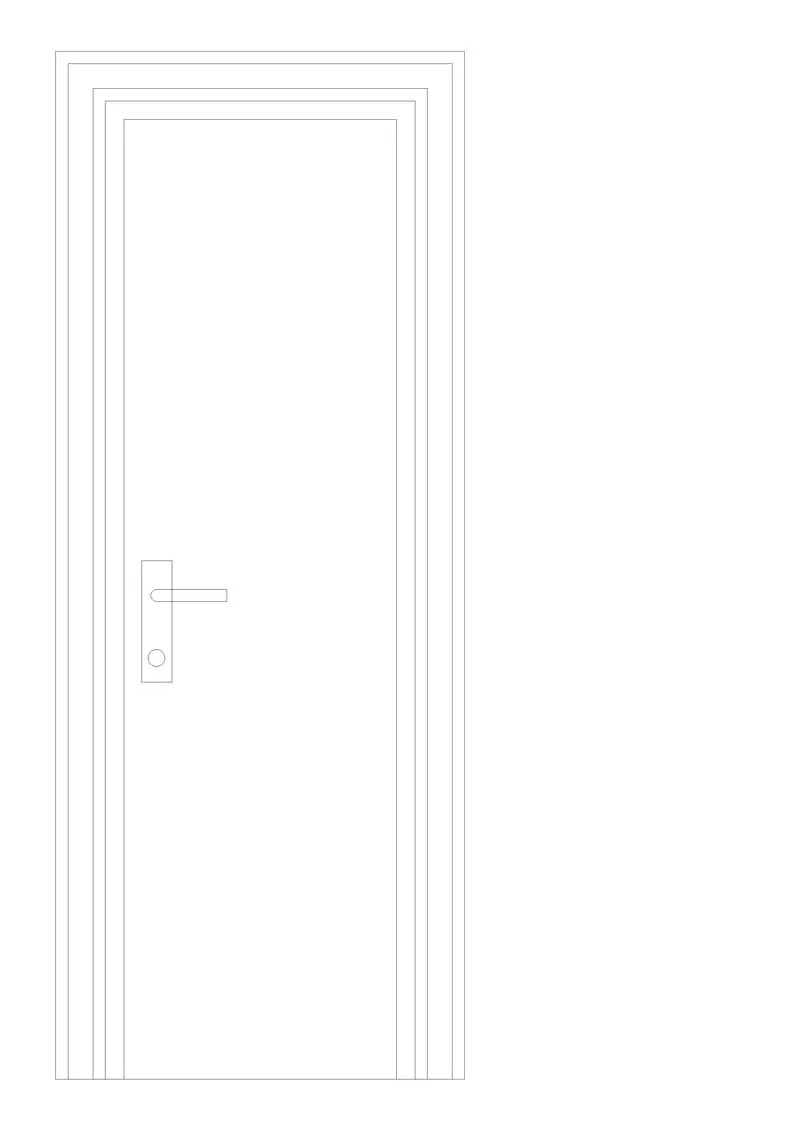
- Draw the Frame for Door 2.
- Draw the boundry of the door 2 gate.
- Draw the gate partitions of door 2.
- Draw the opening handle of the Door 2.
- Dimensioning Door 2.

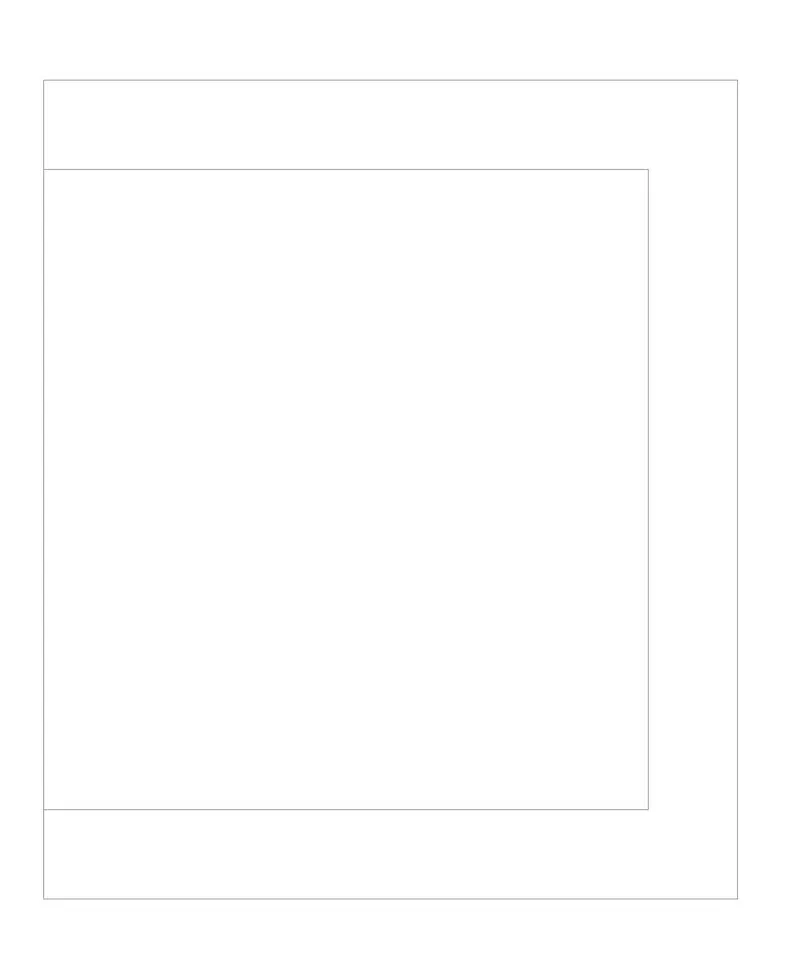
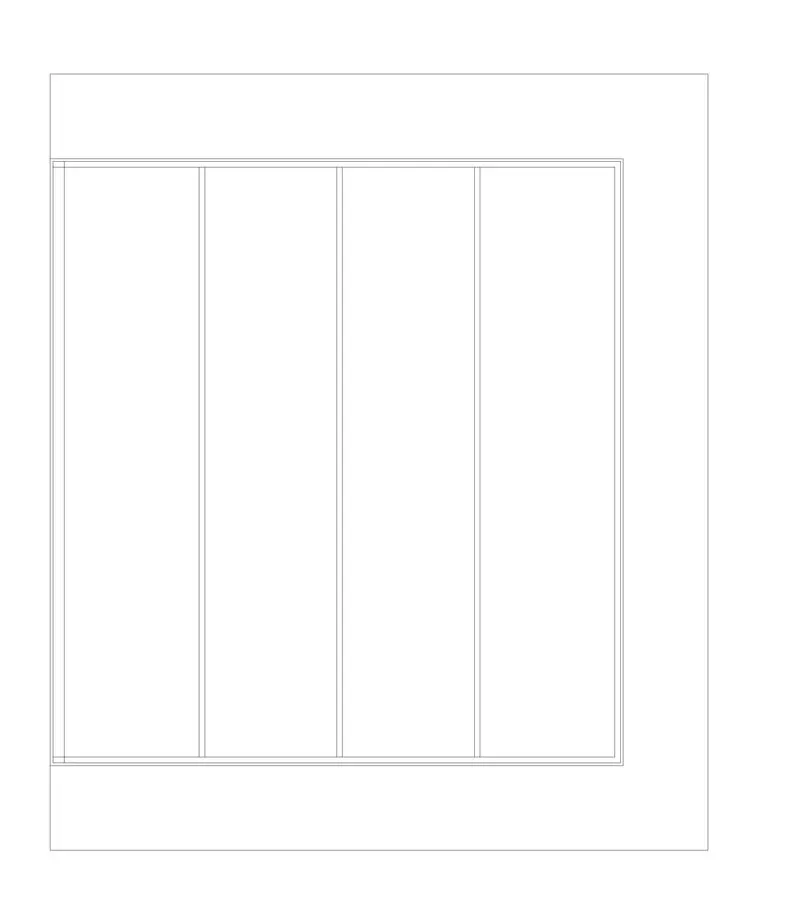
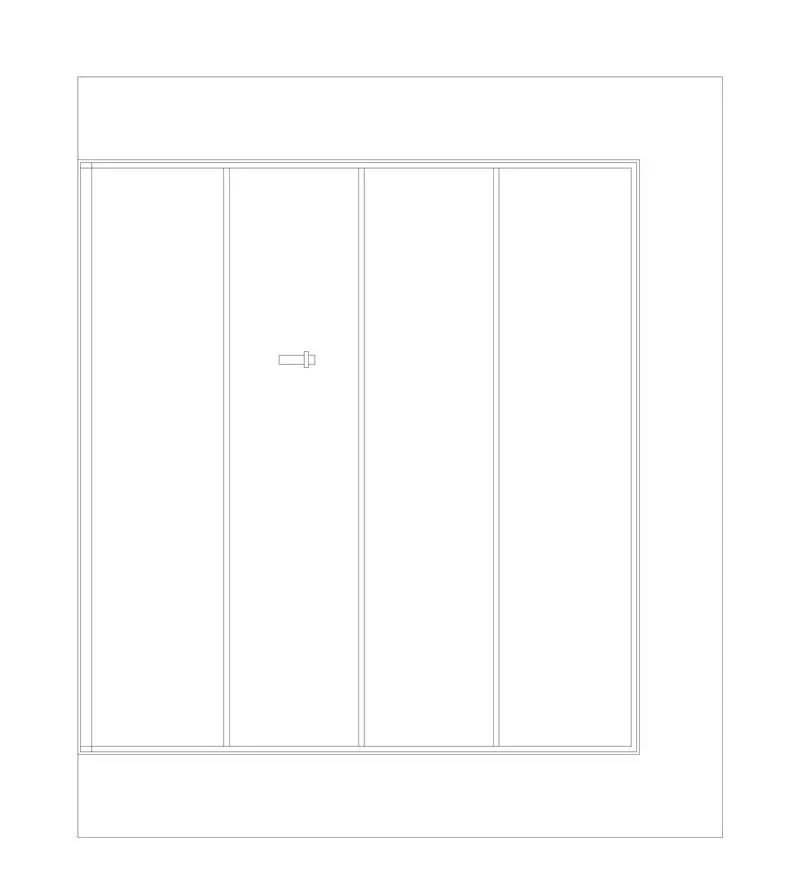
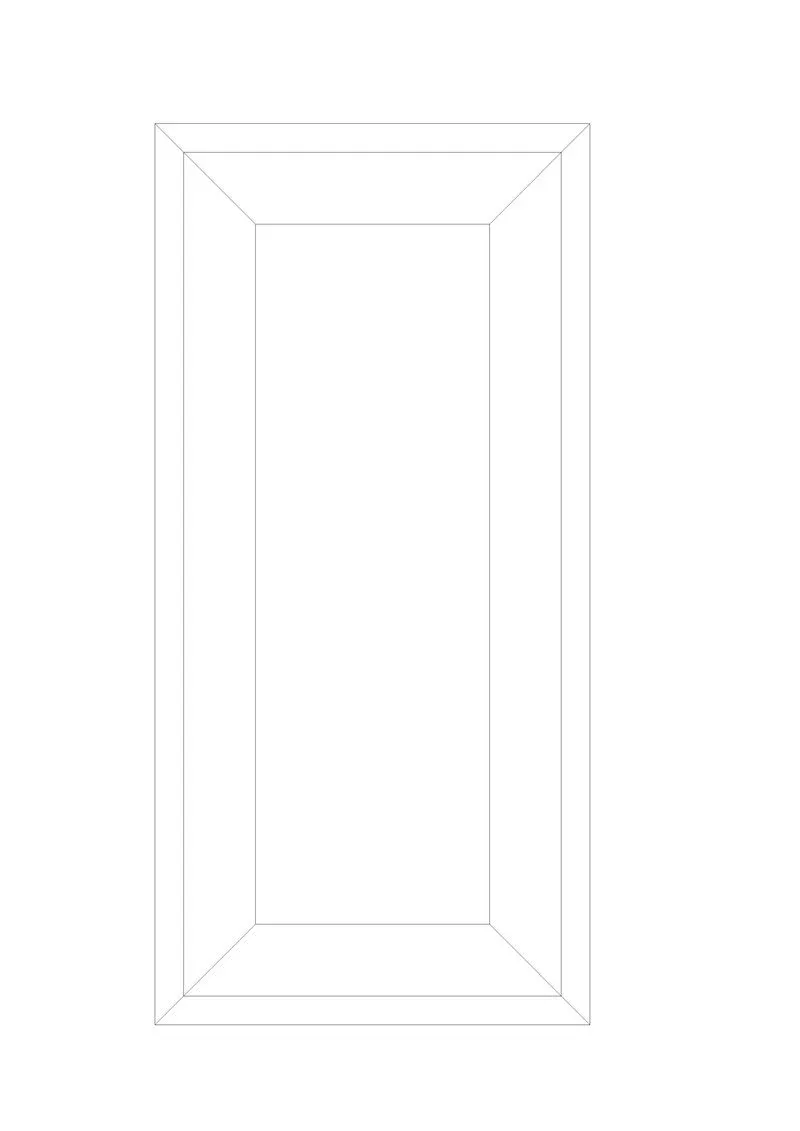
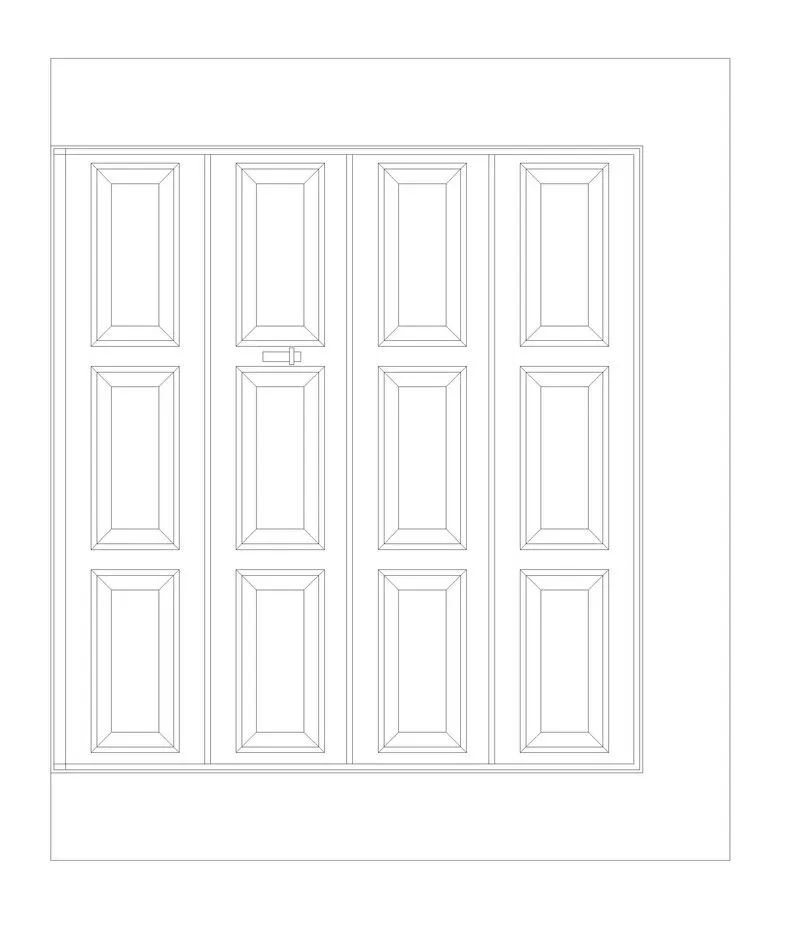
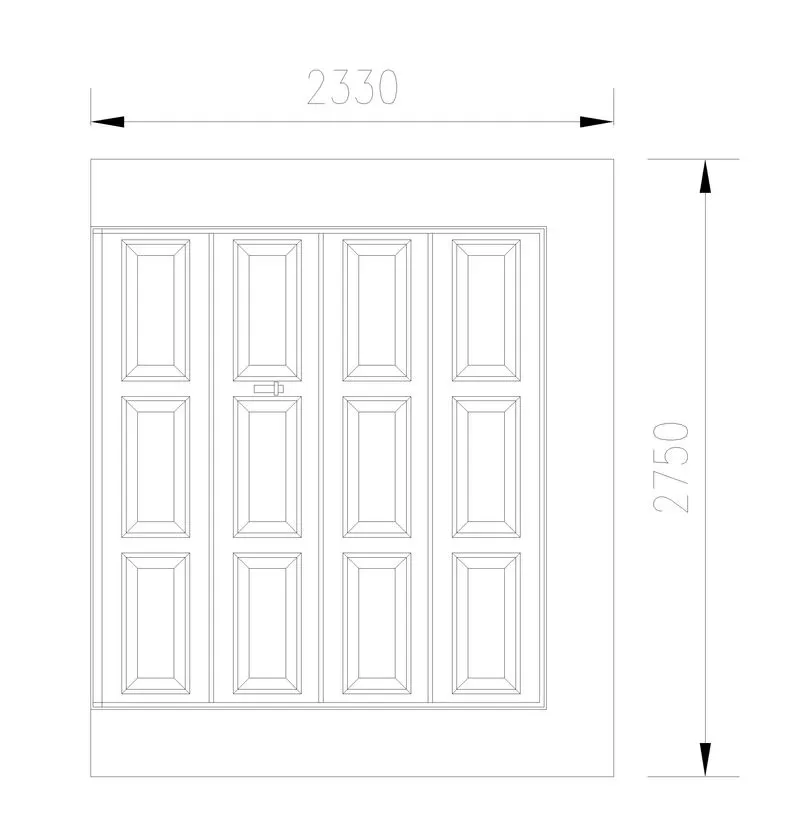
Result:
Aim 3:
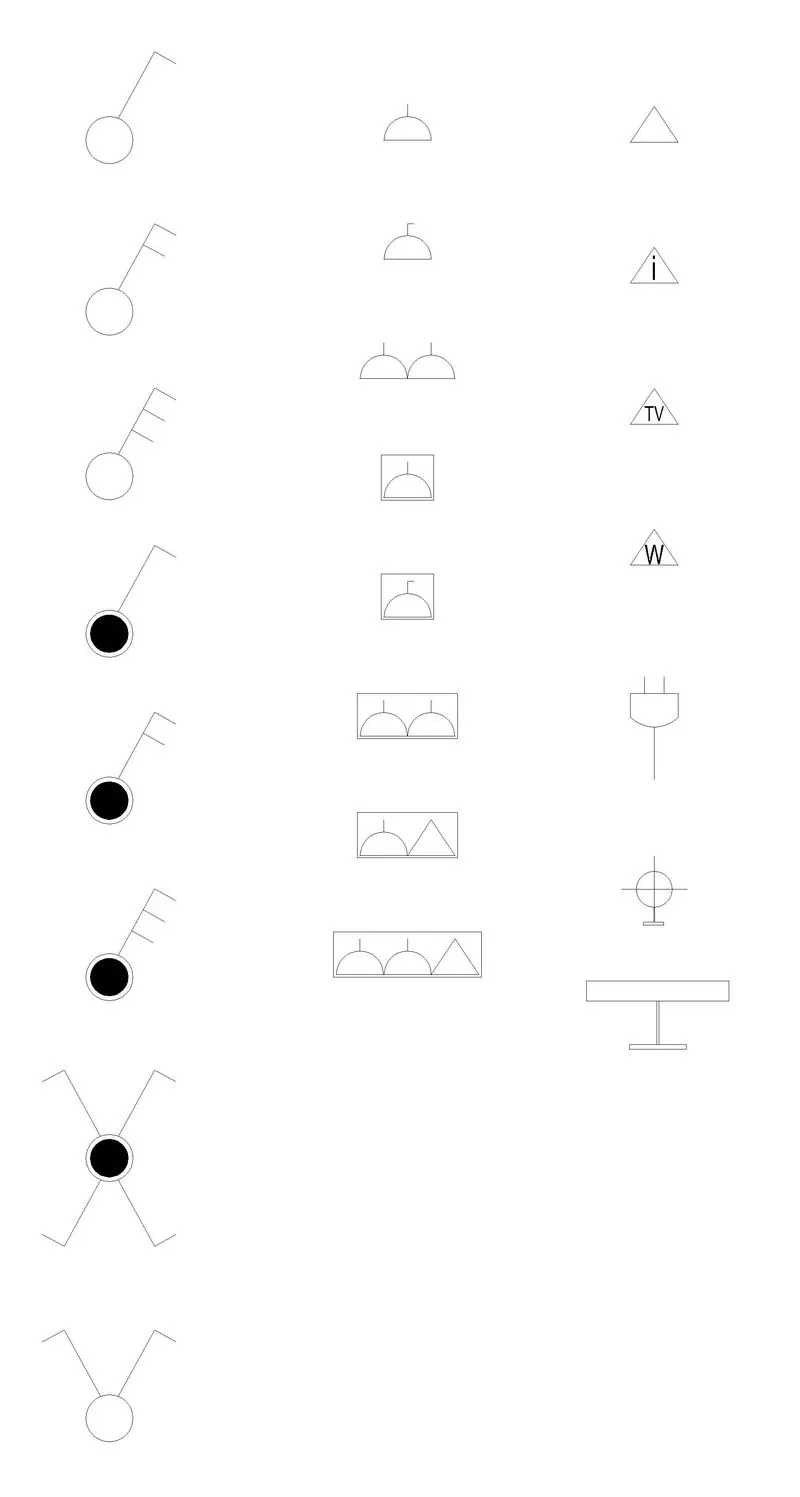
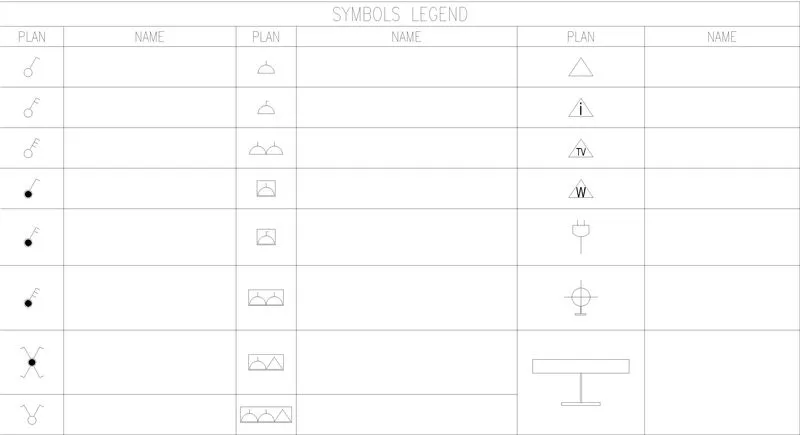
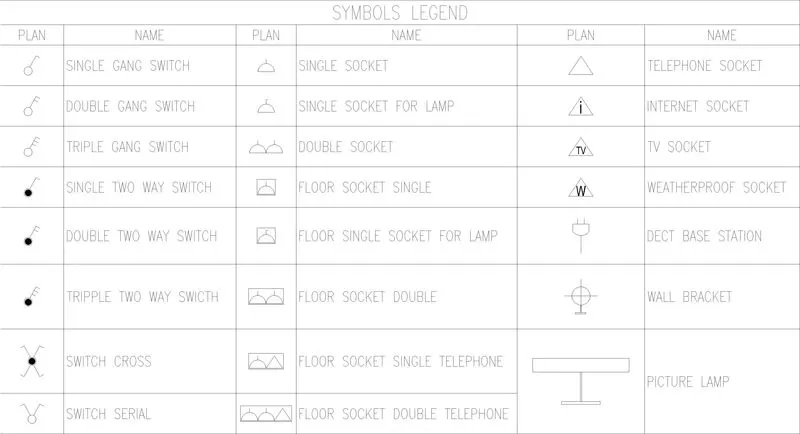
Draw the Electrical legend symbols.
Introduction:
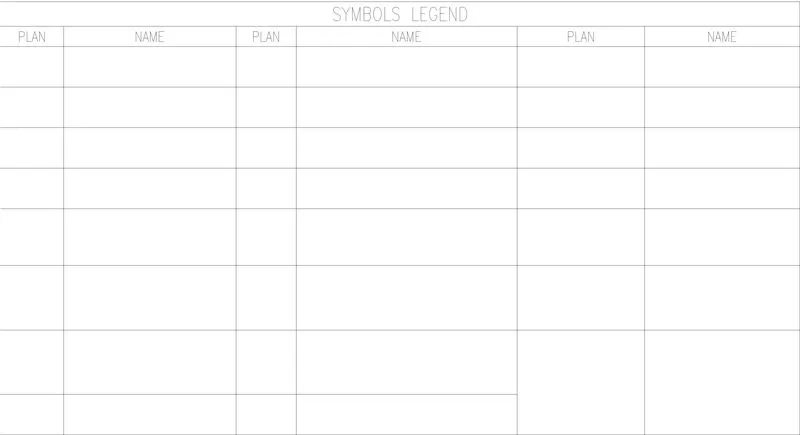
Create each symbol as a block with the name given in the legend. After creating the blocks arrange them in the legend as shown in the Figure.
Procedure:
- Draw all the Symbols of the legends given in the figure and Convert then into Block as per the name given.
- Now Draw the table using Table Command.
- Enter the headings in the table.
- Select the cell and select the block to insert in the cell and fill the plan columns.
- Now enter the names of the block by selecting the cell and insert field option to insert the block name.

Result:
Aim 4:
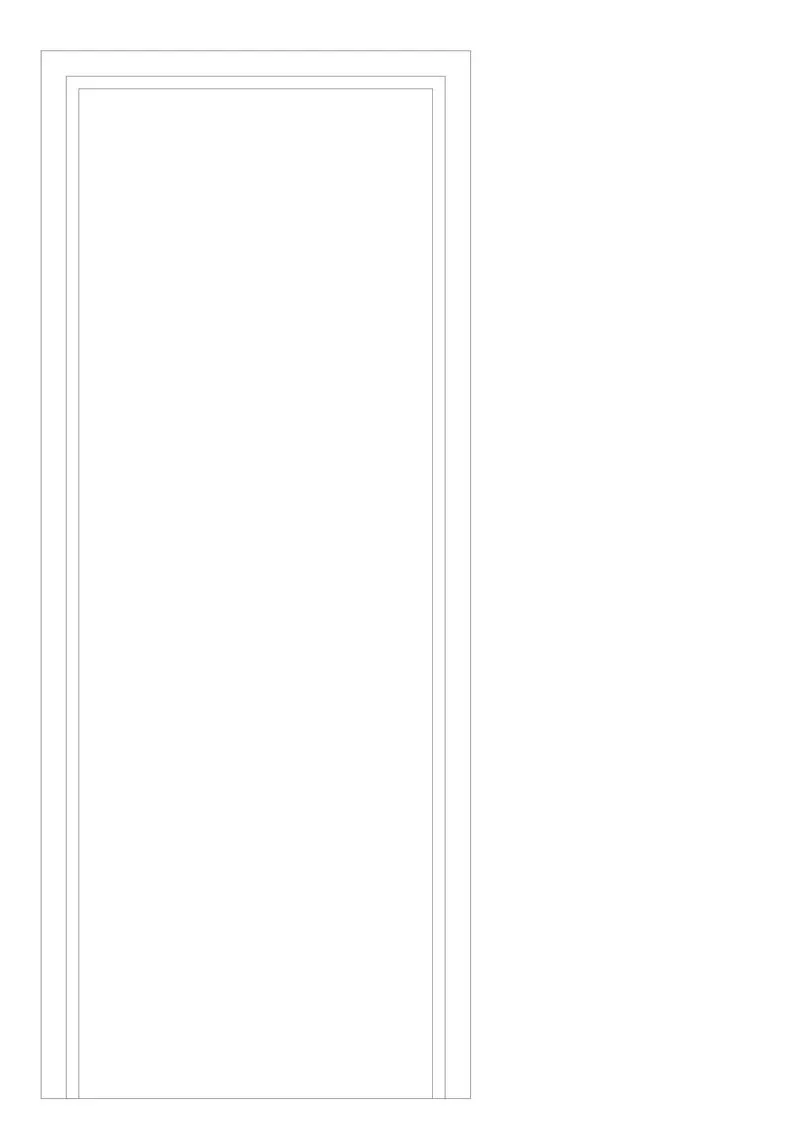
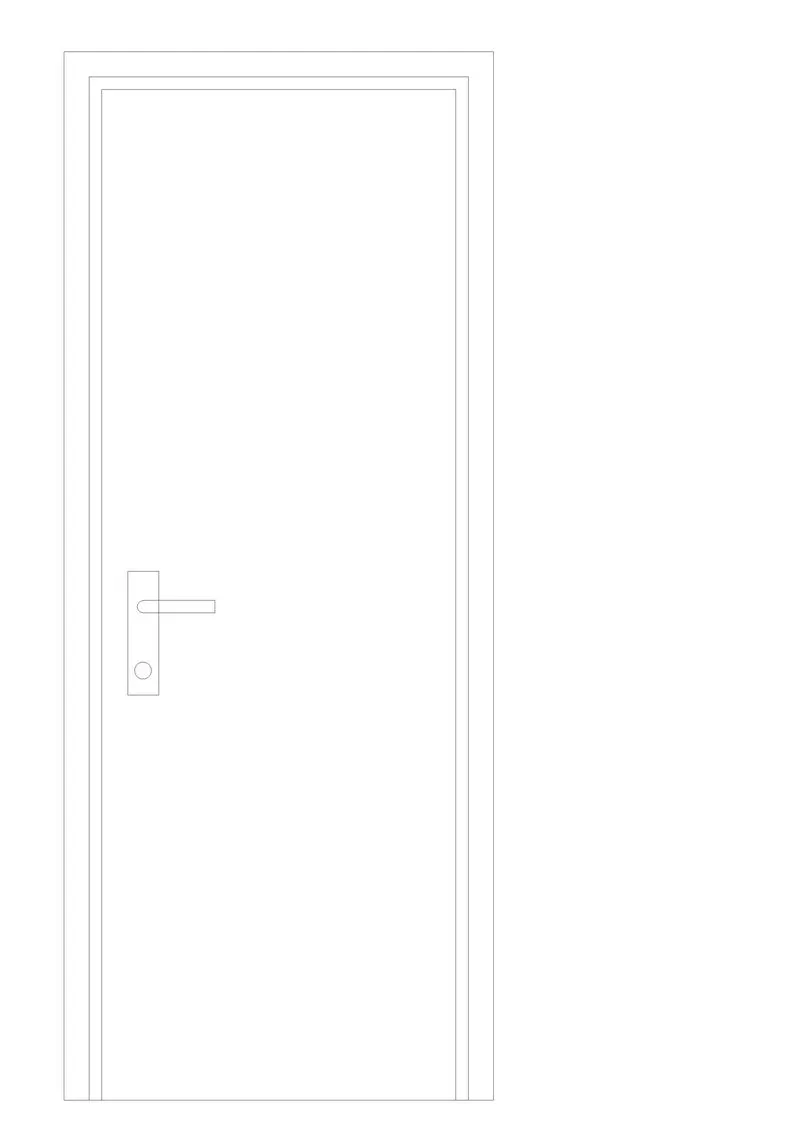
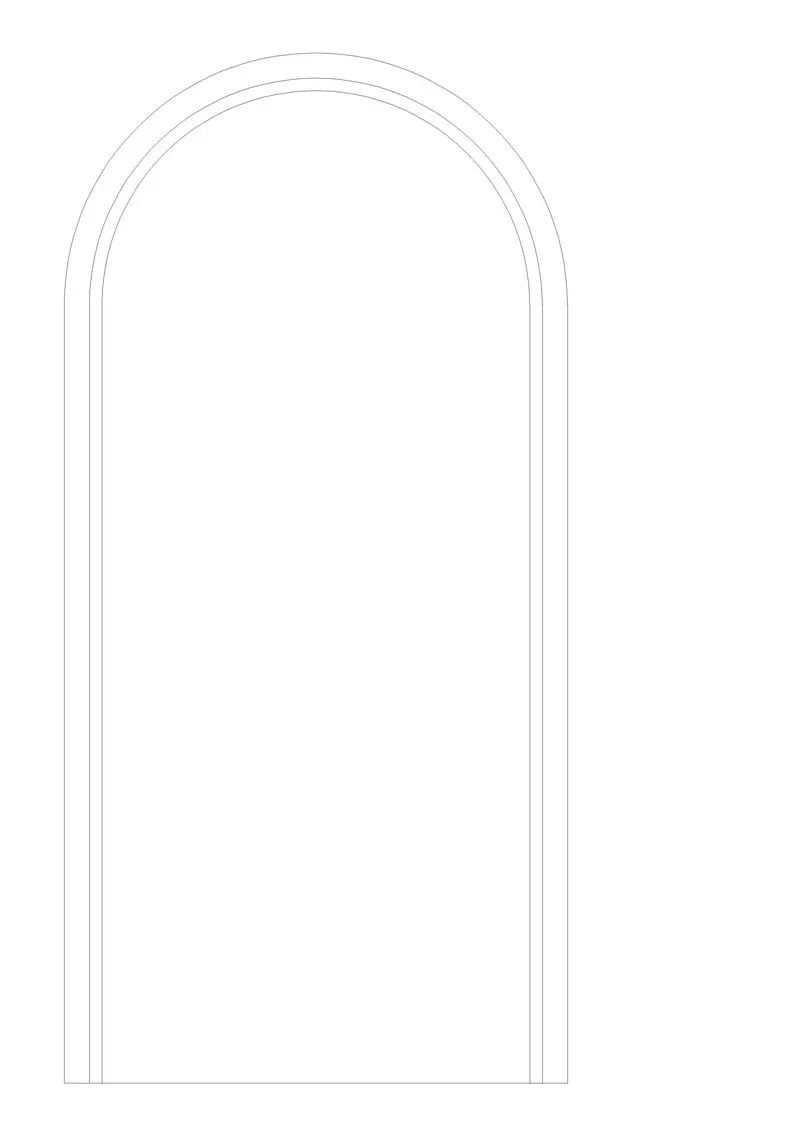
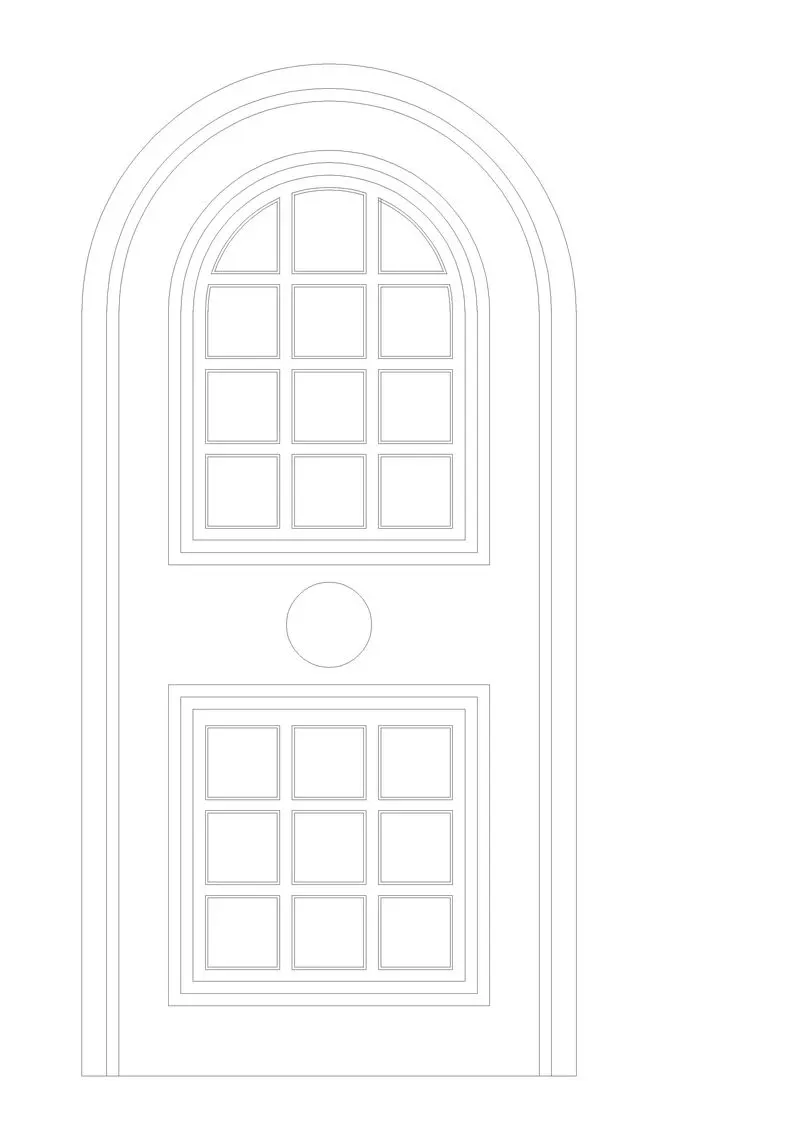
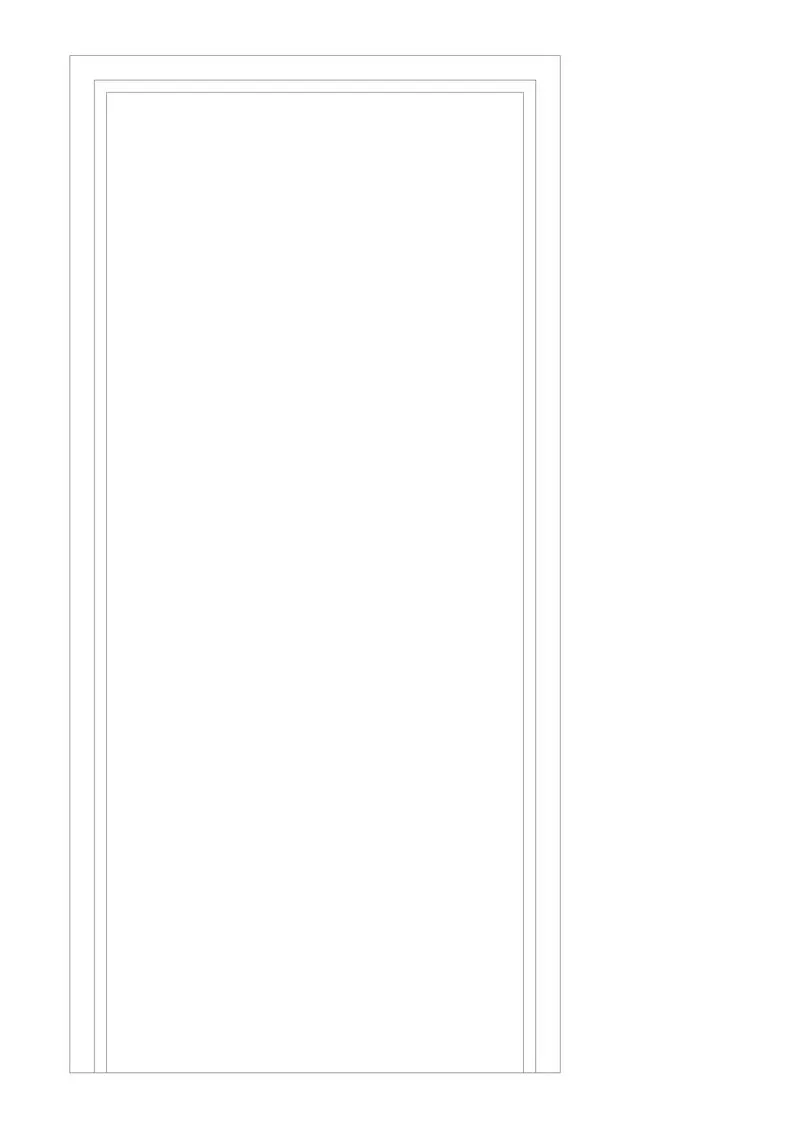
Create the door type for residential building.
Introduction:
Create the door type for residential building as a block. Save the name of the blocks as type.
Procedure:
- Draw the border of D1.
- Draw the frame of the D1.
- Draw the handle of D1 and make Block of D1.
- Dimensioning the D1 as given.
- Draw the border of D2.
- Draw the frame of the D2.
- Draw the design of D2 and make Block of D2.
- Dimensioning the D2 as given.
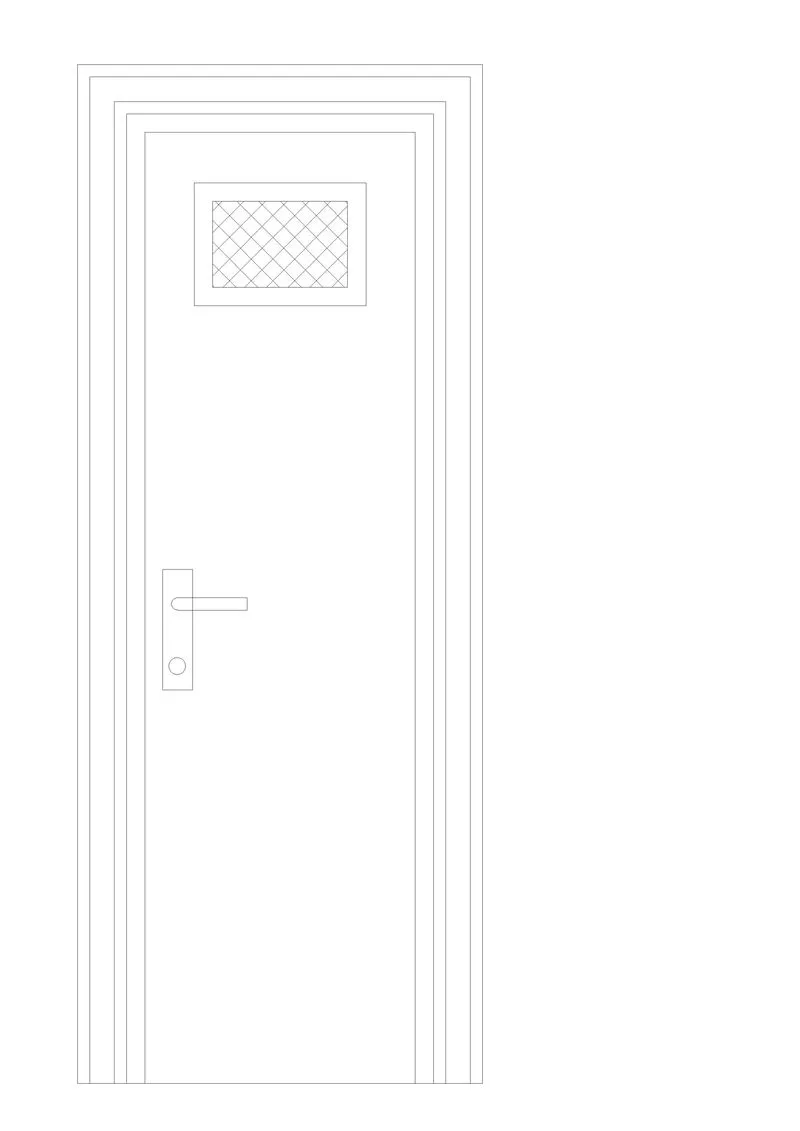
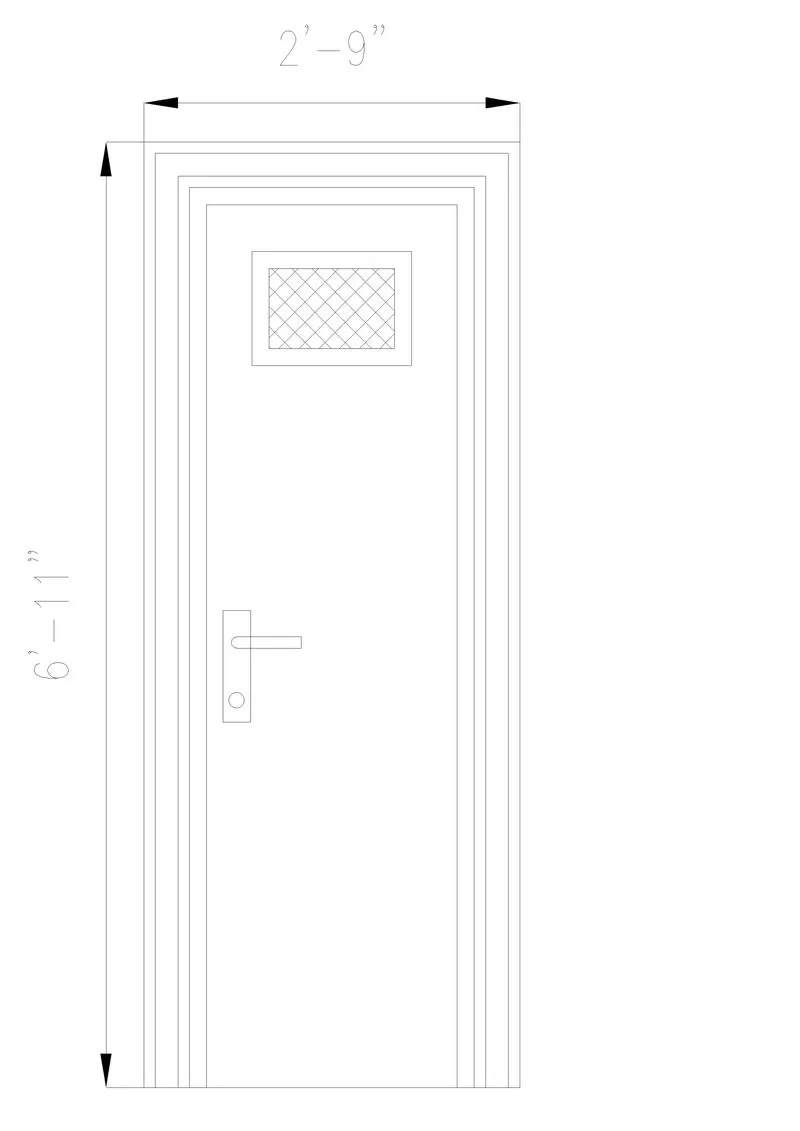
- Draw the border of D3.
- Draw the frame of D3.
- Draw the handle of D3.
- Draw the vent of D3 and make the block of D3.
- Dimensioning the D3.
- Draw the border of D4.
- Draw the frame of D4.
- Draw the design of D4 and make block of D4.
- Draw the border of D5.
- Draw the frame of D5.
- Draw the design of the D5 and make block of D5.
- Draw the border of D6.
- Draw the frame of the D6.
- Draw the design of D6 and make block of D6.




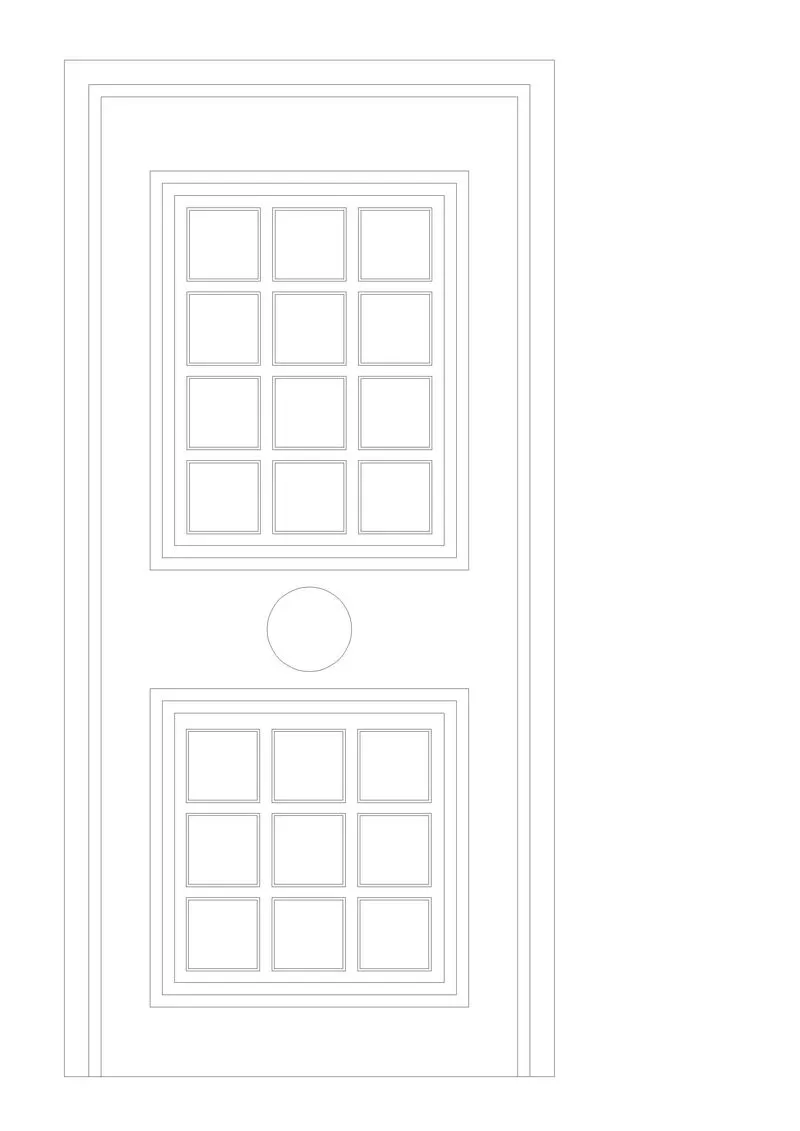

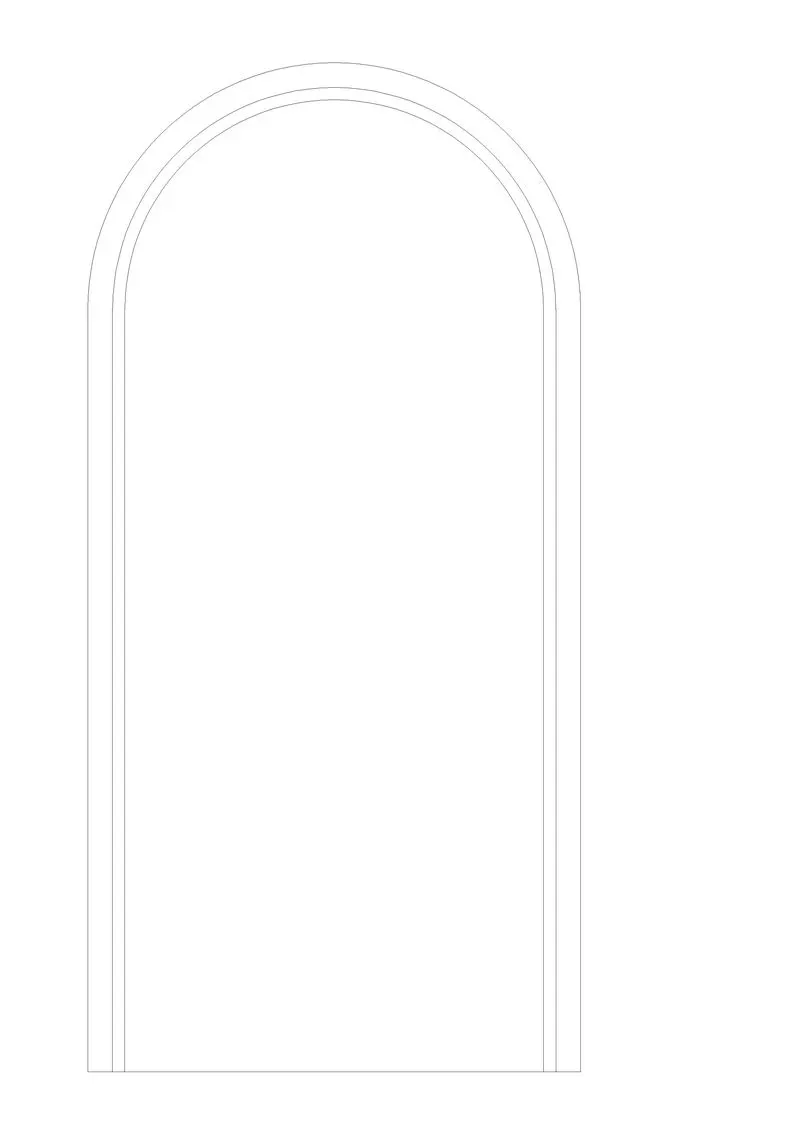
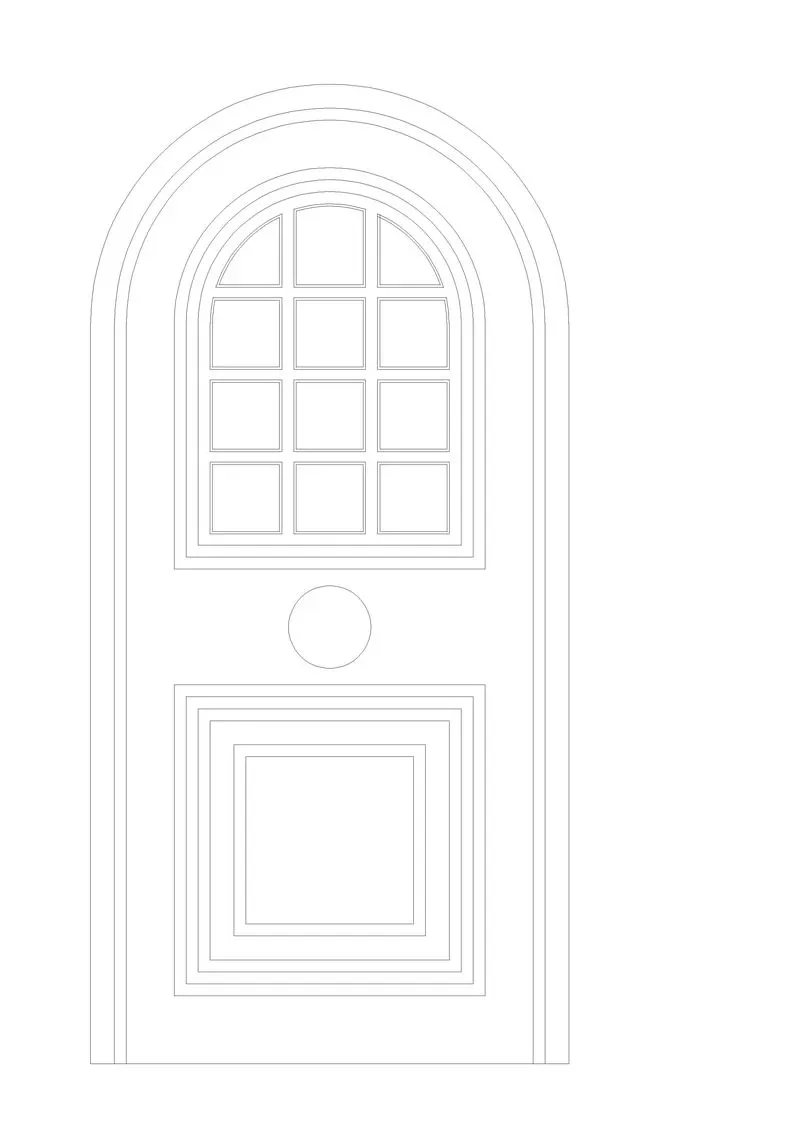
Result:
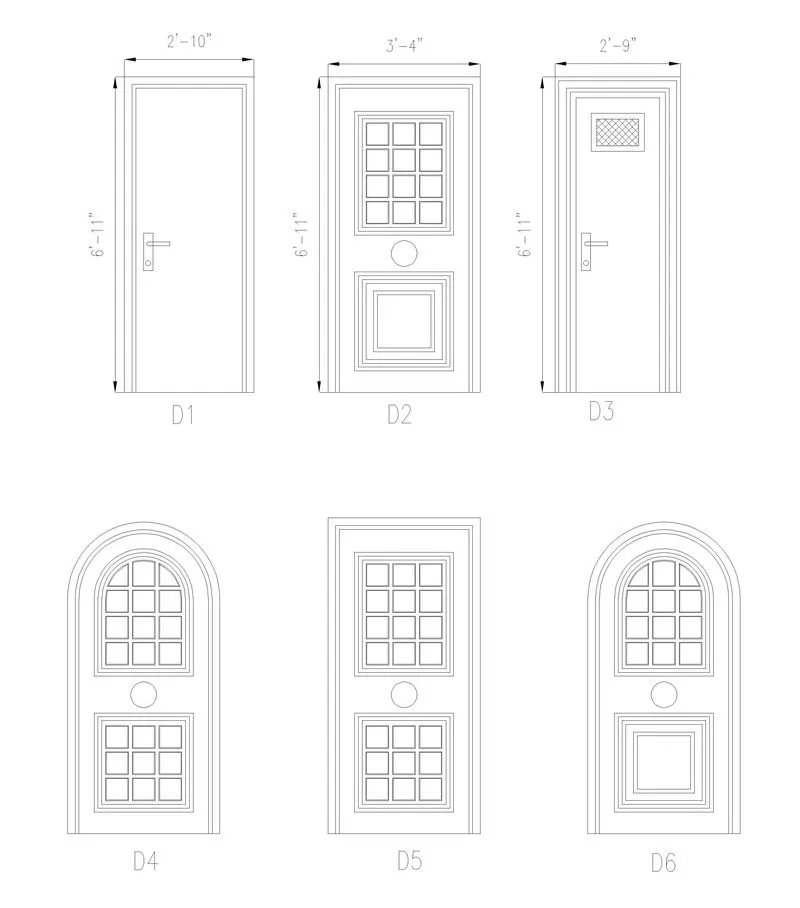
Aim 5:
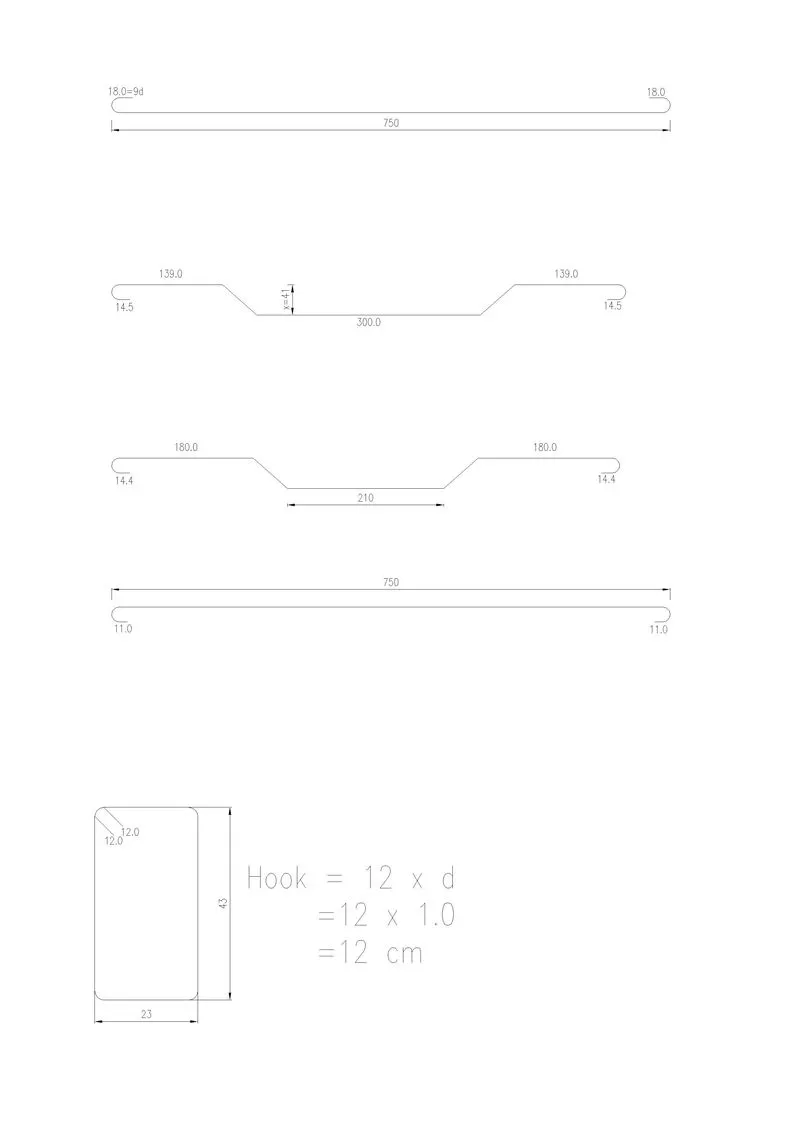
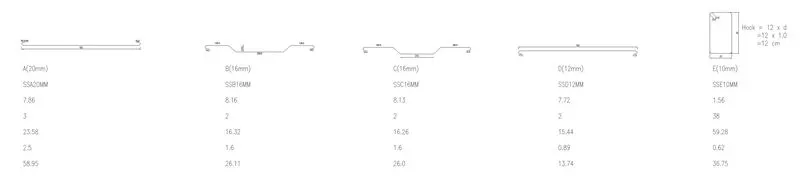
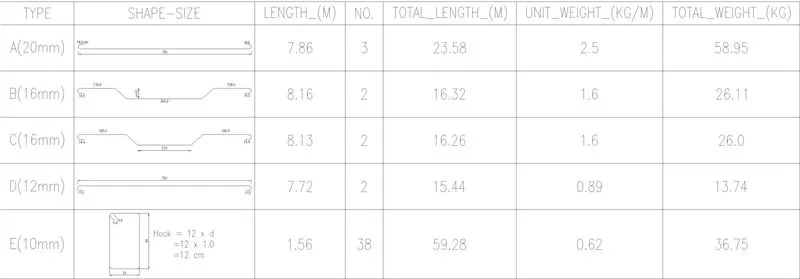
Create Table as shown in the Figure.
Introduction:
Draw the figures and convert them to block and generate the table using data extraction.
Procedure:
- Design all the shapes and convert them into blocks.
- Define the attributes as per the given table.
- arrange all the shape blocks and attributes in a sequence and create then another separate block and edit the data as given .
- With the help of data extraction extract the data and generate the table.
- Now delete the data of shape.
- Enter the shape blocks in the cells.



Result: