Creating Bar Bending schedule, Different Door types, and Creation of standard drawing templates using AutoCad
Aim-To create template and save it as a block with name: Custom1_titleblock and Custom2_titleblock.
Introduction:All dimensions are in mm. Assuming sizes for this according to paper size.
Procedure-
-Set unit, limit and dimension style. Here am creating new dimension style with text font:Time New Roman CE.
-Start drawing take line command and draw as per given figure
-Take ofset and trim extended lines
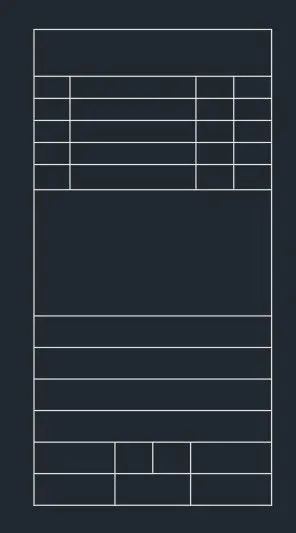
-Using Mtext command to write required text, takinf same font i.e. Time New Roman CE.
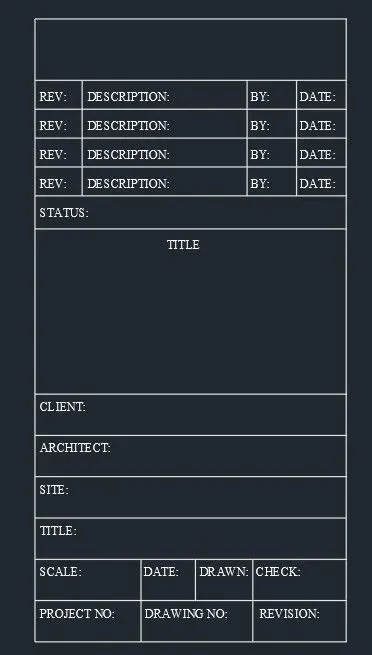
-B enter for making it block with name Custom1-titleblock , pick point, select object and then ok.
-Create template by using drafting tools
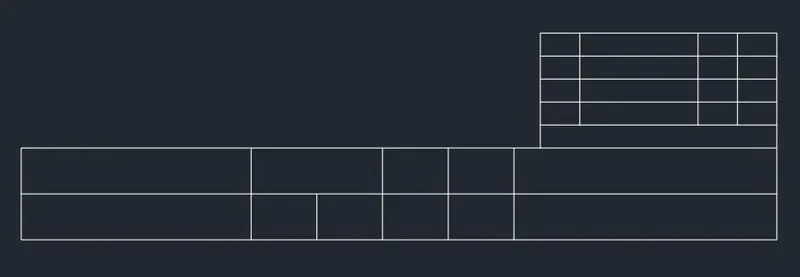
-Add text by mtext command using same font,
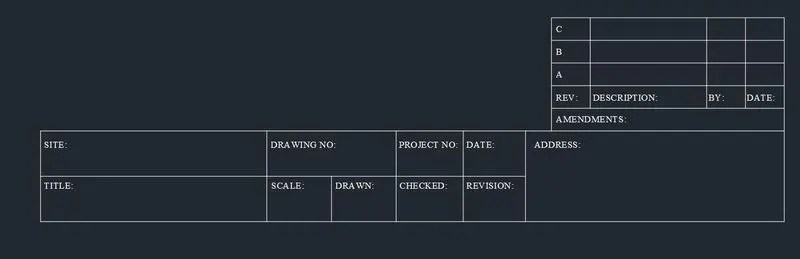
-B enter for making it block with name Custom2-titleblock , pick point, select object and then ok.
Result-
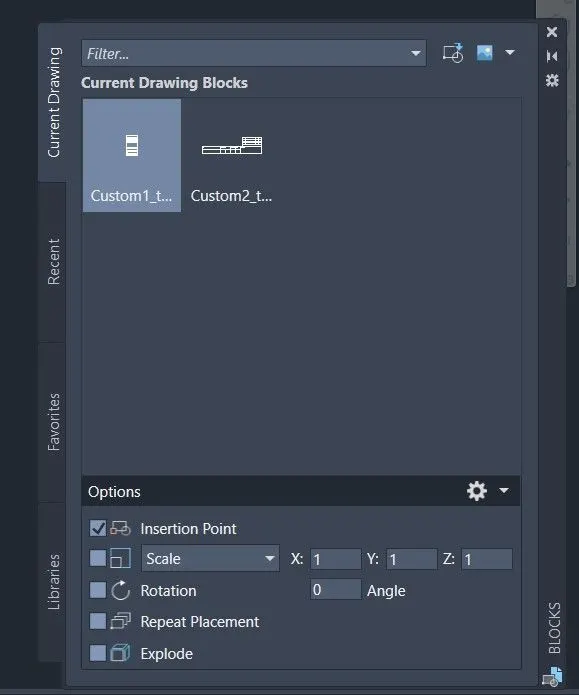
The foolowing two templates can be inserted as block with their respective name
Aim-To create doors for warehouse and make it as a block
Introduction-All dimension are in mm.
Procedure-
-Set unit, limit and dimension style. Here am creating new dimension style with text font:Time New Roman CE.
-Draw rectangle @2330,2750
-To draw panels use polyline and give it lineweight, to make visible LW enter
-Draw rectangle inside the panels and array it as per given diagram
-Draw lines as per given drawing of door, and handle also
-Mark the dimension
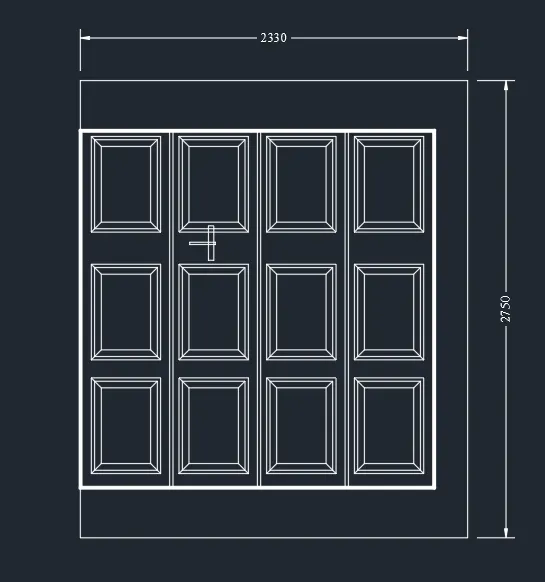
-Make this drawing as a block with name Door_1
-Similarly follow the steps to draw a Door 2 as per given diagram
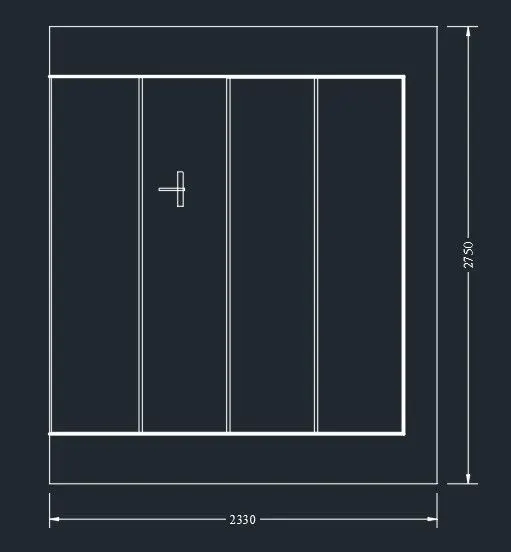
-Save it as a block with name Door_2
Result-
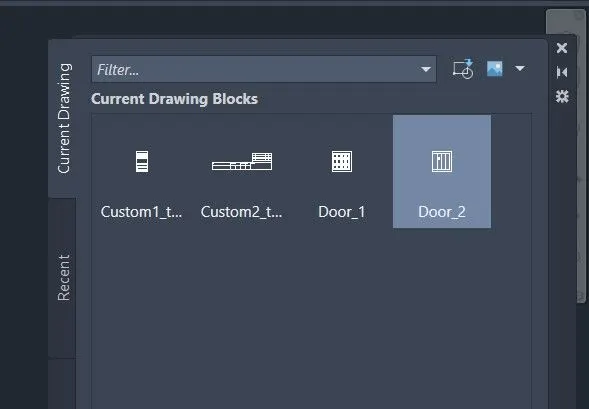
This two door is ready to use as a block, so we can insert it.
Aim-To create a symbol and make them as block and arrange it in table
Introduction-All dimensions are in mm.
Procedure-
-Set unit, limit and dimension style. Here am creating new dimension style with text font:Time New Roman CE.
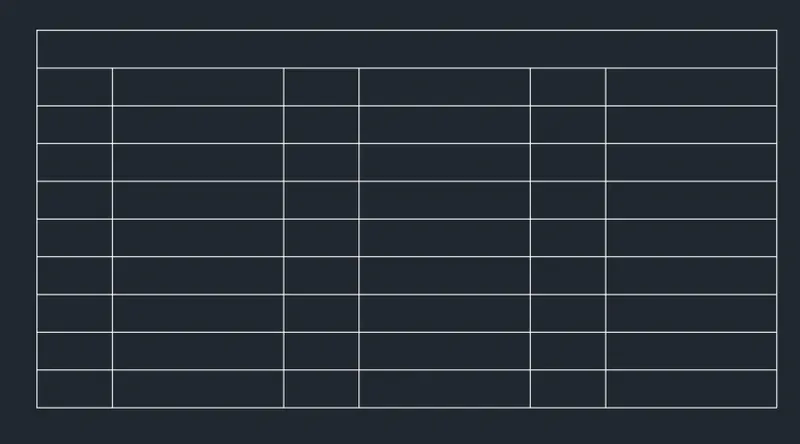
-Make following table by using line command, trim extended lines
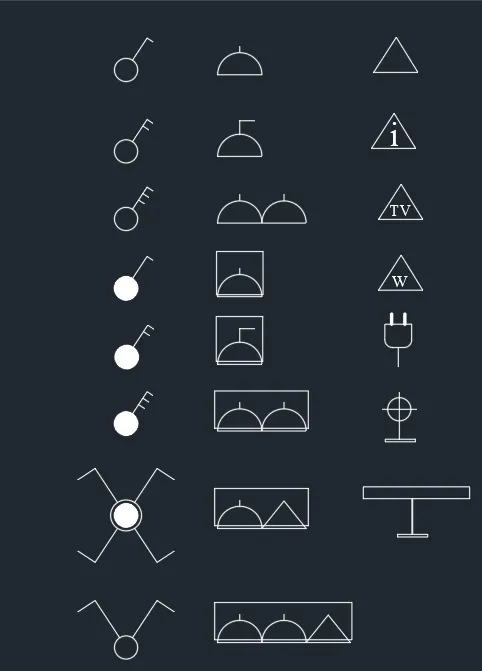
-Draw all symbols and block them seperately with their respective names
-b enter for block, type name, pick point, select object , ok.
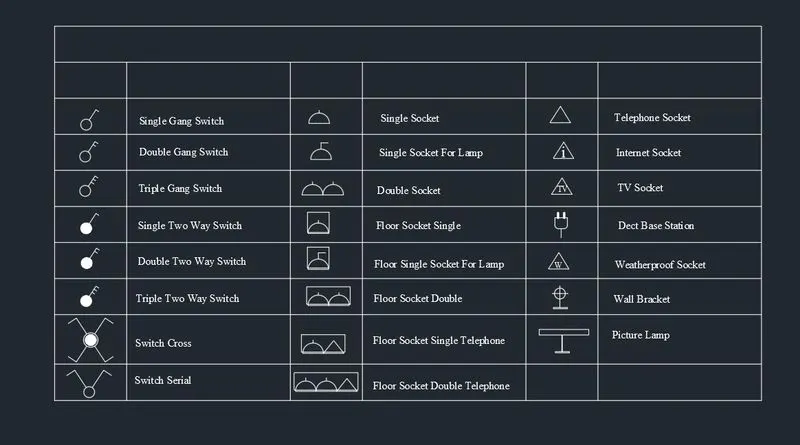
-Insert symbols in table at thier respective positions
-Now by using FIELD command insert their name respectively, expode that text to remove highlight
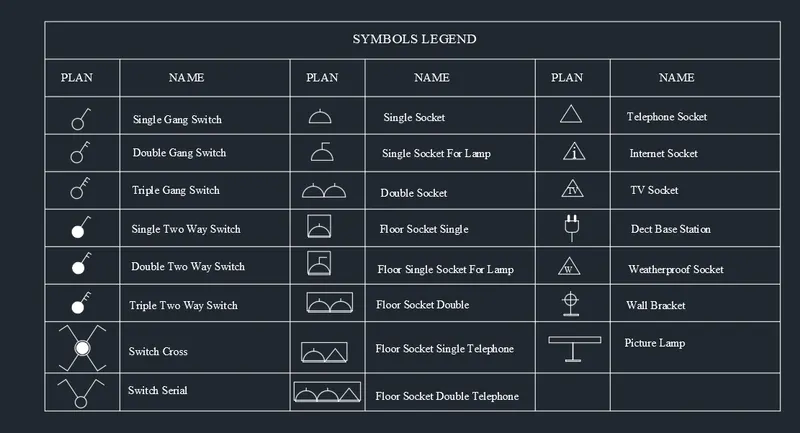
-Add text at heading of table.
Result-
Aim-To create door type for resedential building as a block.
Introduction-All dimension are in feet & inches
Procedure-
-Draw door as per given dimension, offset it inside, draw handle also
-Give dimension
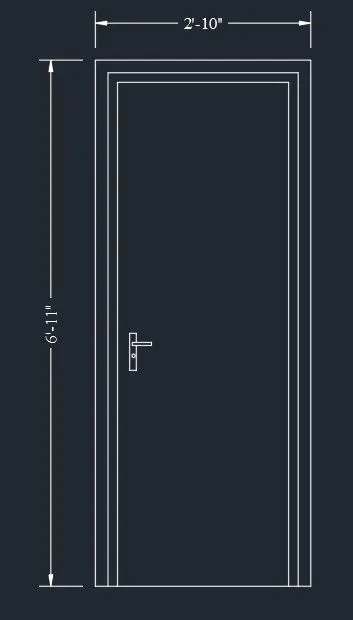
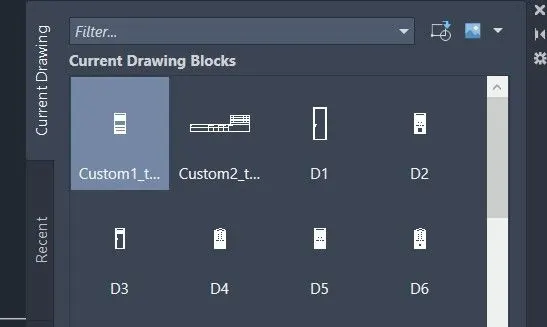
-Make it as a block with name D1.
-Draw next door with given dimension
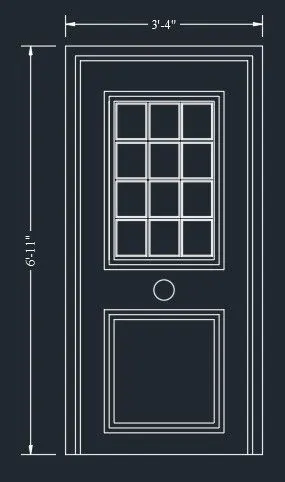
-Make it as a block with name D2.
-Draw next door with given dimension
-Hatch inner rectangle, draw handle
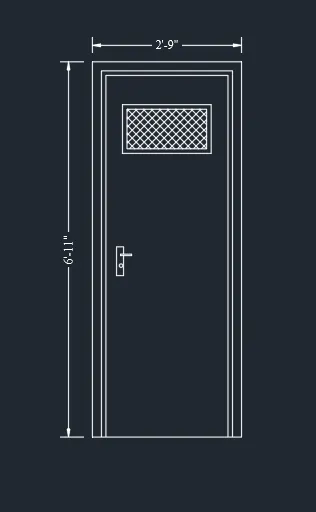
-Make it as a block with name D3.
-D4 door similar to D2 except the arc portion so draw as per given digram.
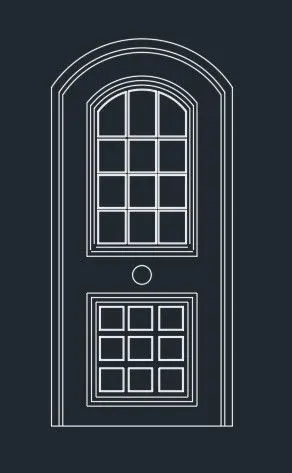
-Make it as a block with name D4.
-D5 is also similar to D2 except some rectangle so draw according to that.

-Make it as a block with name D5.
-D6 is similar to D4 except some rectangle so draw according to that.
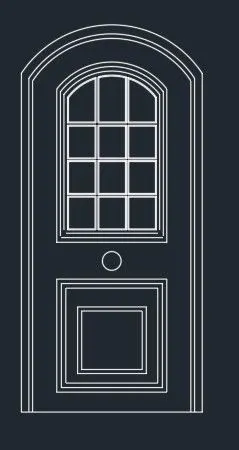
-Make it as a block with name D6.
Result-
The doors are ready as a block for residential building with their respective names.
Aim-To create a block and reinforcement scedule as shown in figure.
Introduction-In this attribute command will be use to show the details of reinforcement in table format
Procedure-
-Set unit, limit and dimension style. Here am creating new dimension style with text font:Time New Roman CE.
-Start drawing by line command with given dimension
-Draw semicirle
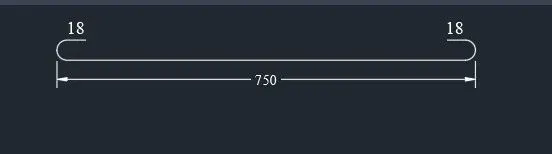
-similarly draw other details with given dimension
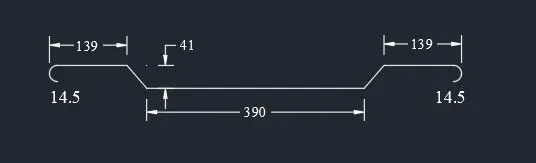
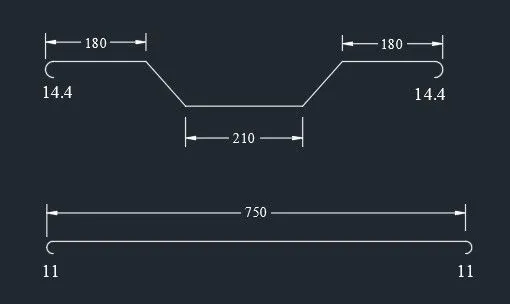
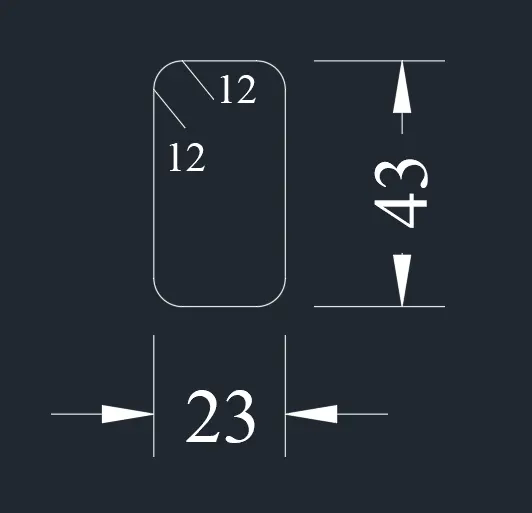
-ATTDEF enter set mode as lock, tag=Type, prompt=What is the type of rebar, default=A (20mm), justification at left, text style as per taken Time New Roman CE , press okay and place it below the 1st detail of rebar
-Follow this procedure for remaining attribute like length, no, total length, unit wt, total wt, by selecting Align below previous attribute defination
-After creating for 1st rabar copy it and paste beside of each rebar
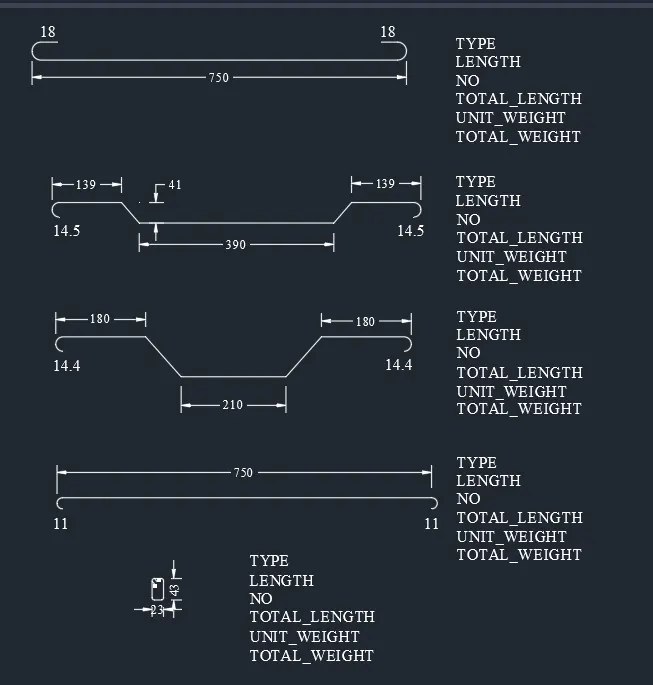
-Now give each rebar their respective values by editing each attribute
-Create a block with specific name and while selecting object select with all attribute
-After inserting block each rebar has their own values respectively
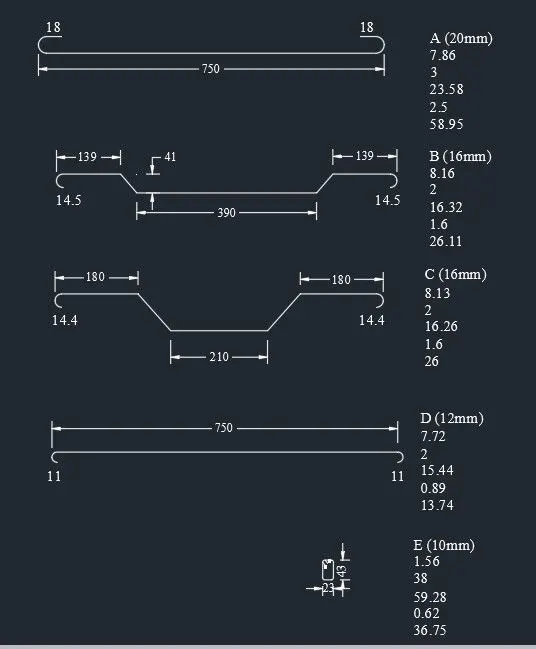
-Go to insert tab select Extract data
-Click on create new extraction
-Set location of data extraction
-Clicl on select object in current drawing select all block and click next
-Select only that need to be extracted click next
-Click on only attribute and click next
-Check preview and click next
-Click on insert data in drawing and click next
-Make table setting click next and finish
-After inserting table in drawing scale it and then explode and make changes according to given figure
-Add shape of rebar with their respective value
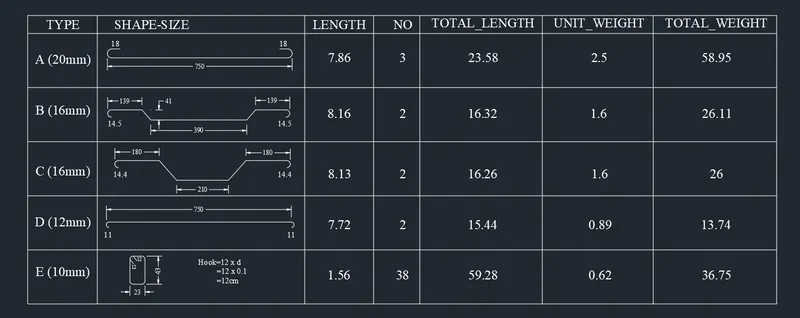
-This data we can extract in excel sheet also just by clicking extract in other folder.
Result-
This is details about reinforcement in table format by using attribute command