Creating Bar Bending schedule, Different Door types, and Creation of standard drawing templates using AutoCad
1.)
Aim :-
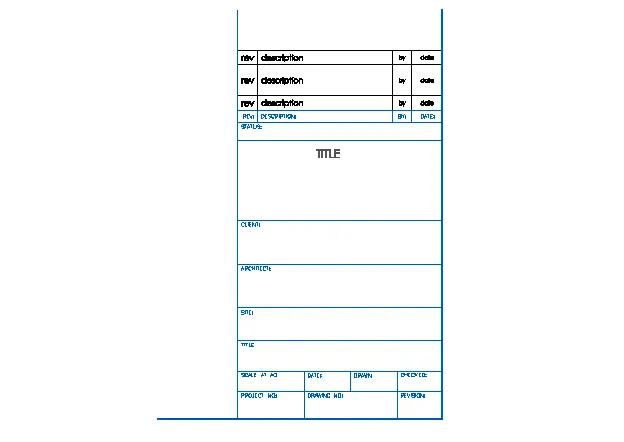
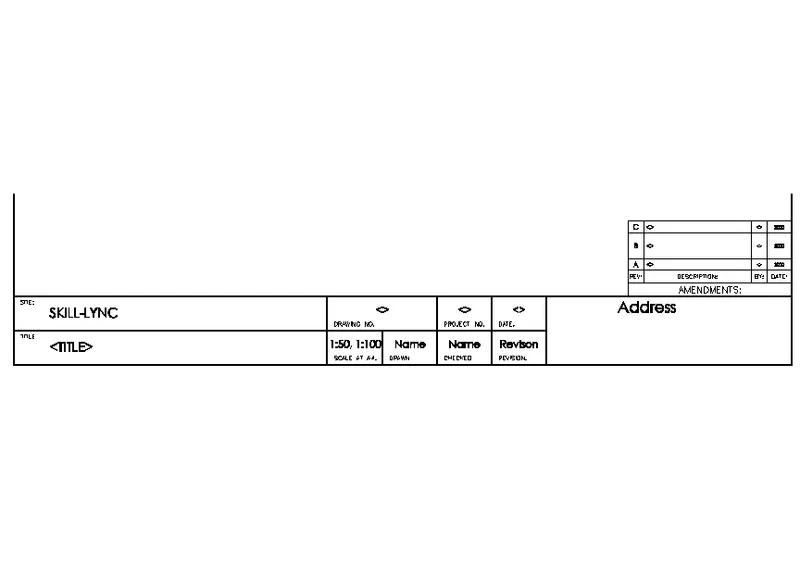
- To Create the templates as shown in Figure.
Procedure :-
Custom2_title block :-
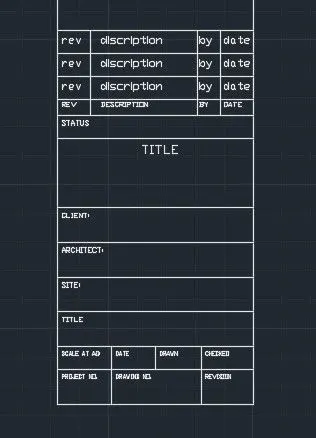
- Create the rectangle of size 70 mm and 158mm.
- Draw the block as per given in the drawing by line and offset command.
- Add text as per given in the drawing.
- For making block, Type B in coomand line and select BLOCK command.
- Then select Pick Point the select the object and name the block.
- So the block is created.
- Name the block as Custom1-title block.
Result :-
Custom2_title block :-
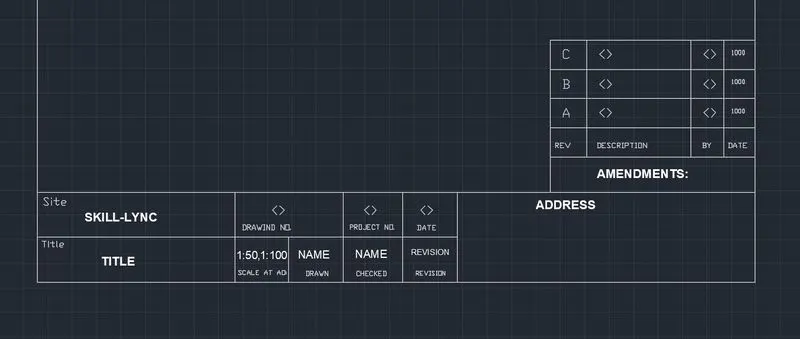
- Create the rectangle of size 250 mm and 60mm.
- Then create the drawing as per the drawing using line and offset coomand.
- Use MTEXT command to insert the text in the drawing.
- Use diffrent text size for different texts.
- Then create the block named custom2_title block.
2.)
Aim :-
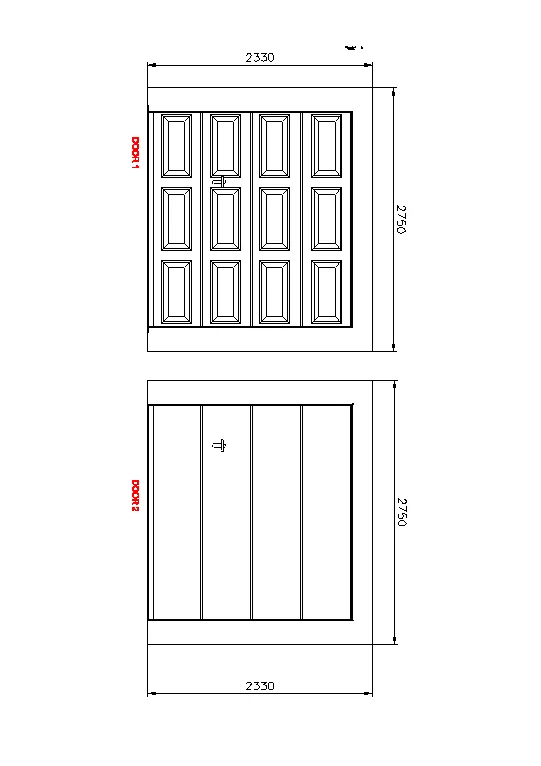
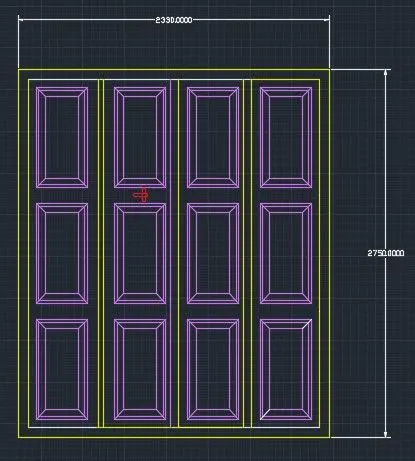
- Create the doors type for warehouse as shown in figure.
Procedure :-
Door-1 :-
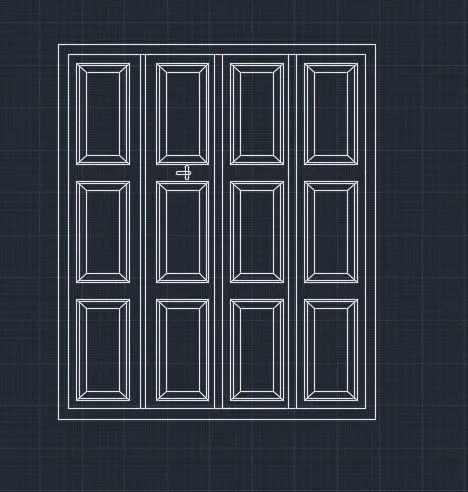
- Draw the rectangle of size 2330 X 2750 mm.
- Then offset the lines with 50 mm.
- After dividing the line in 4 parts, create the frames of the drawings.
- Then create the panels in between the panels.
- Then copy the panels in different frames.
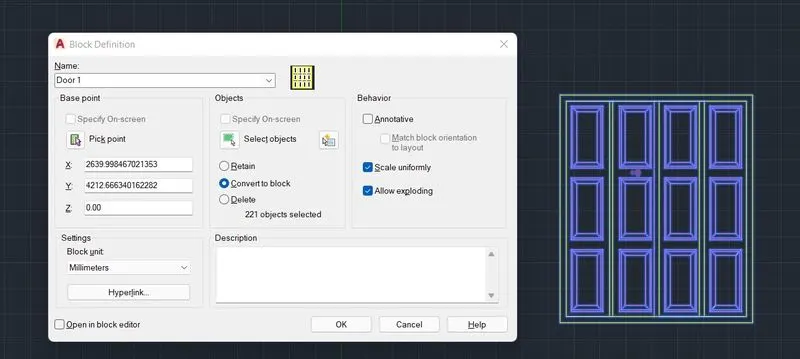
- For making block, Type B in command line and select BLOCK command.
- Then select Pick Point the select the object and name the block.
- So the block is created.
- Name the block as D1.
Result :-
Door-2 :-
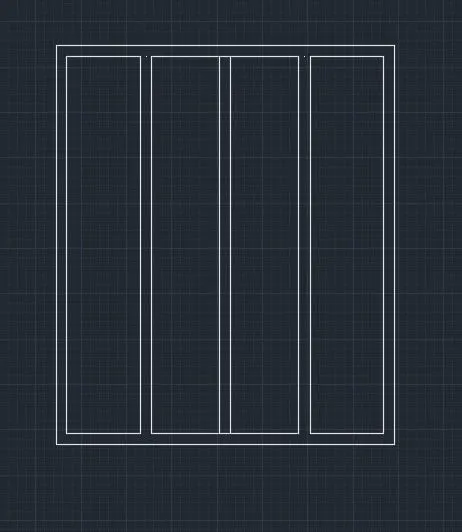
- Draw the rectangle of size 2330 X 2750 mm.
- Then offset the lines with 50 mm.
- After dividing the line in 4 parts.
- For making block, Type B in command line and select BLOCK command.
- Then select Pick Point the select the object and name the block.
- So the block is created.
- Name the block as Door 2.
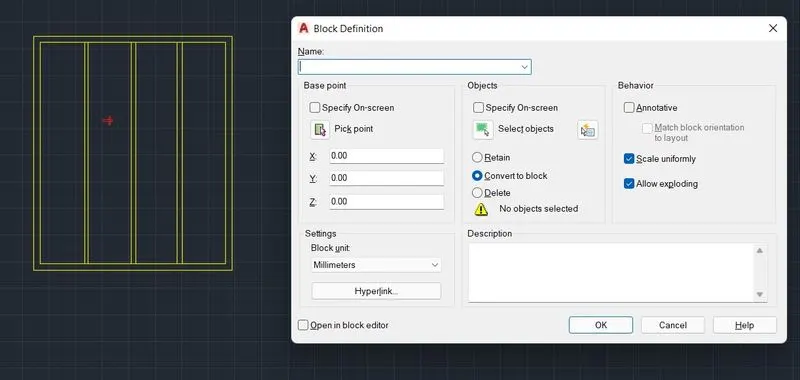
These are the drawings of doors.
3.)
Aim :-
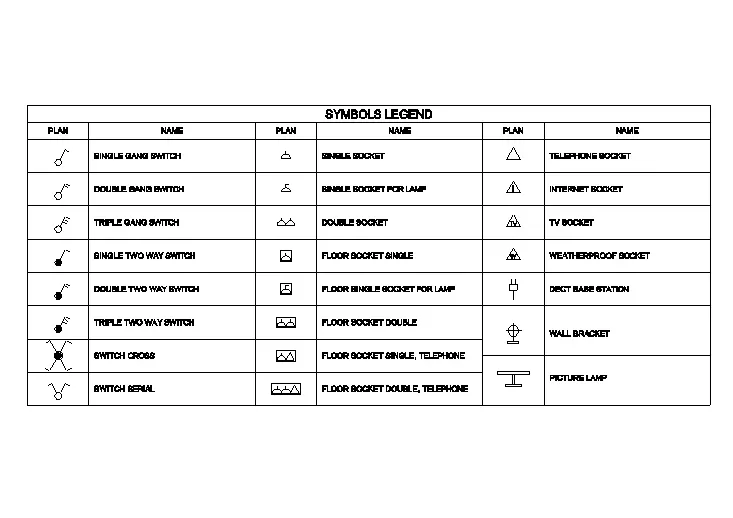
- To create the Electrical Legend.
Procedure :-
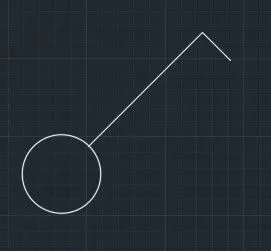
- To create electrical legend, firsty we have to make different blocks of every electrical signs.
Single Gang Switch:-
Double Gang Switch:-
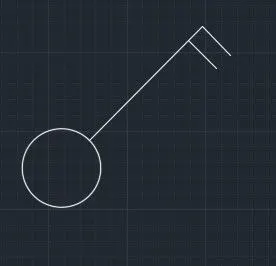
Triple Gang Switch:-

Single Two Way Switch:-

Double Two Way Switch:-

Triple Two Way Switch:-
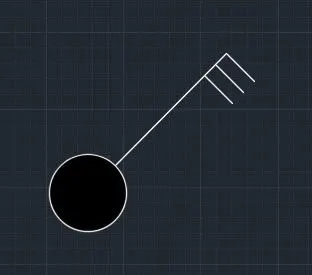
Switch Cross :-
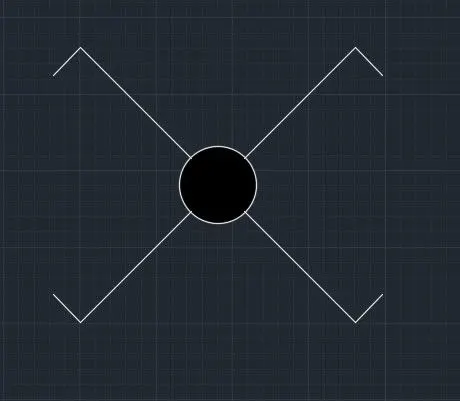
Switch Serial :-
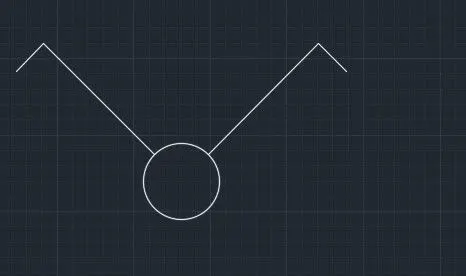
Single Socket :-
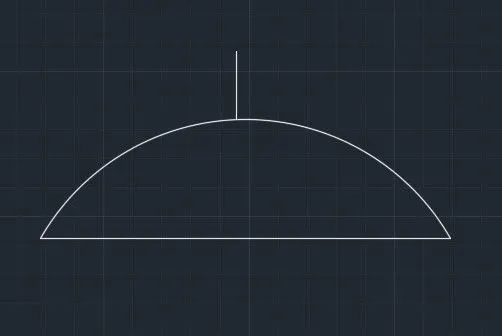
Single Socket for lamp :-
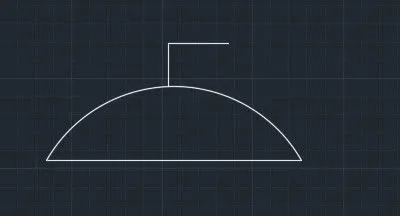
Double Socket :-
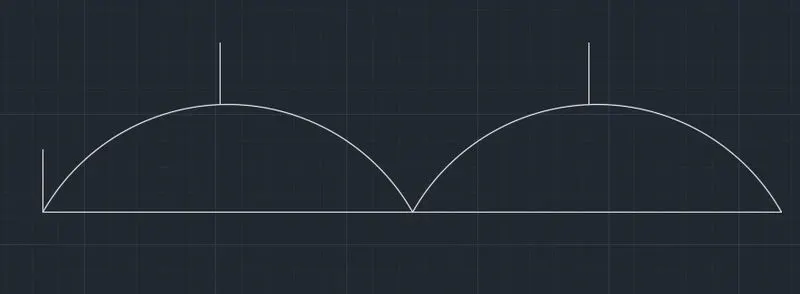
Floor Socket Single :-
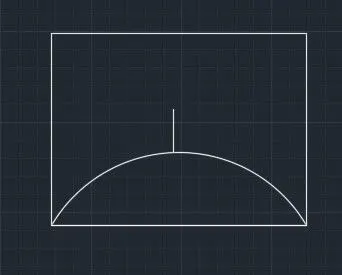
Floor Single Socket for lamp:-
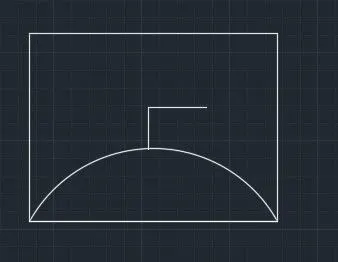
Floor Socket Double :-
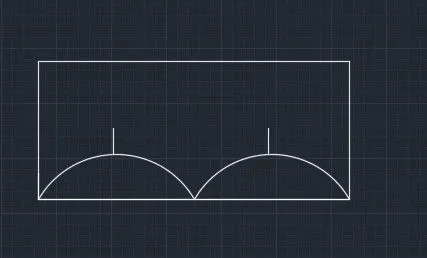
Floor Socket Single Telephone :-
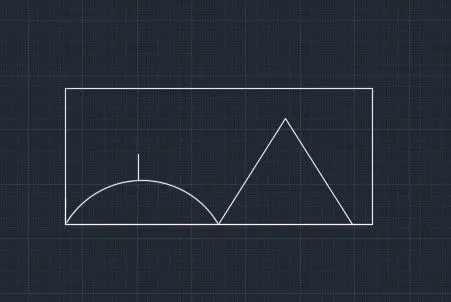
Floor Socket Double Telephone :-
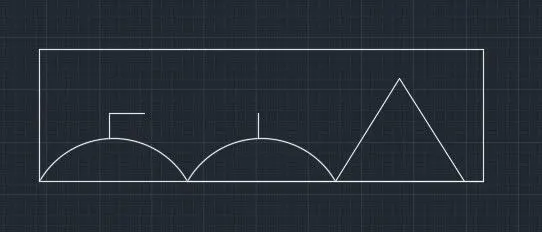
Telephone Socket :-
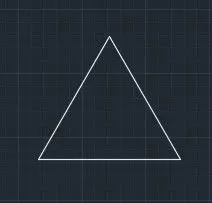
Internet Socket :-
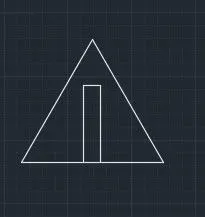
TV Socket :-
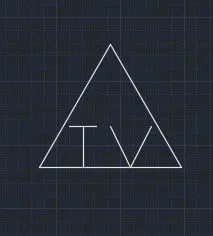
Weatherproof Socket :-
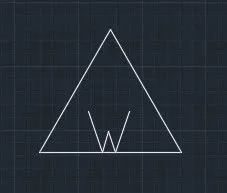
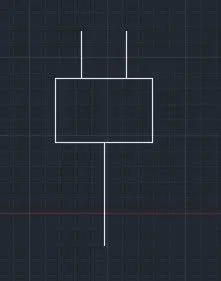
Duct Base Section :-
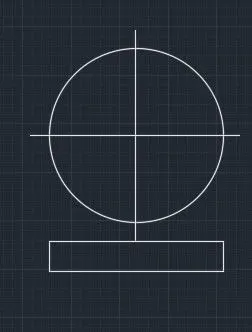
Wall Bracket :-
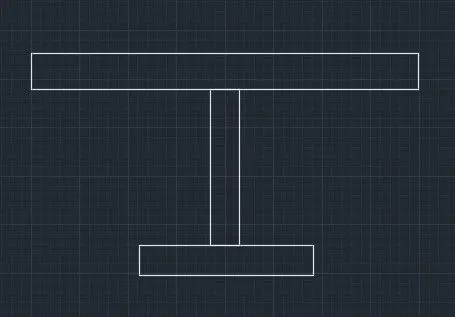
Picture Lamp :-
- Now create the rectangle of 10 rows and 6 columns.
- Place each blocks in respective rows and columns.
- To place the name, Select Fields the select object and choose name option and then OK.
- Place the TExt in respective Rows.
Result :-
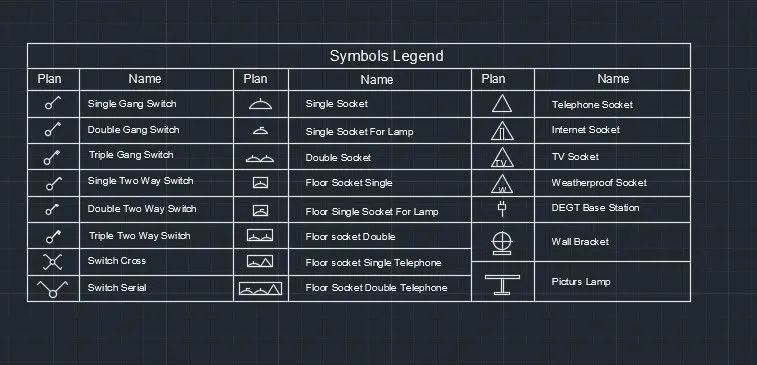
Above Picture is the Electrical Symbol Legend.
4.)
Aim :-
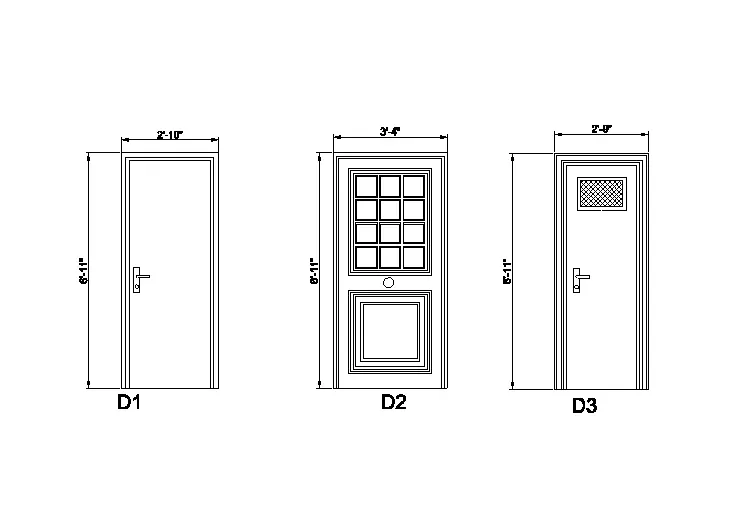
- To draw the doors and make the blocks of doors.
Procedure :-
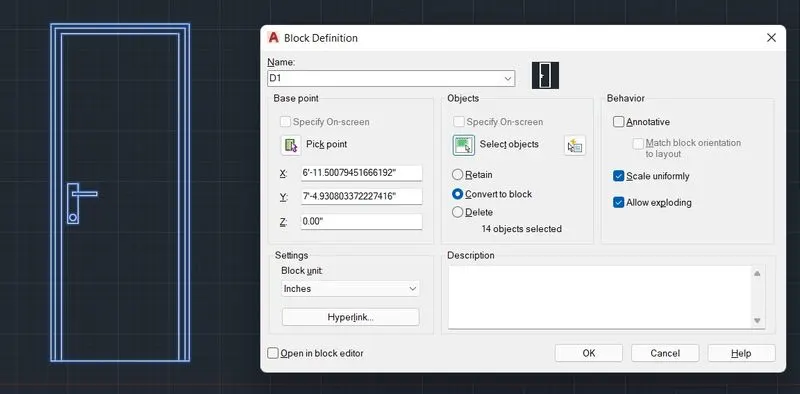
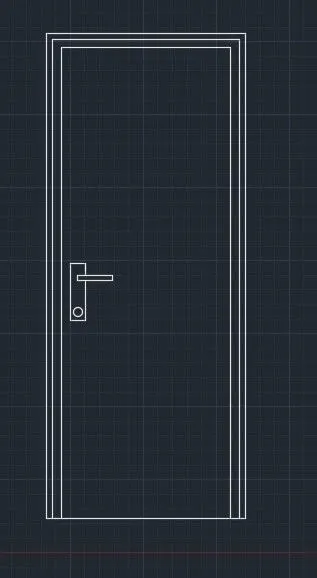
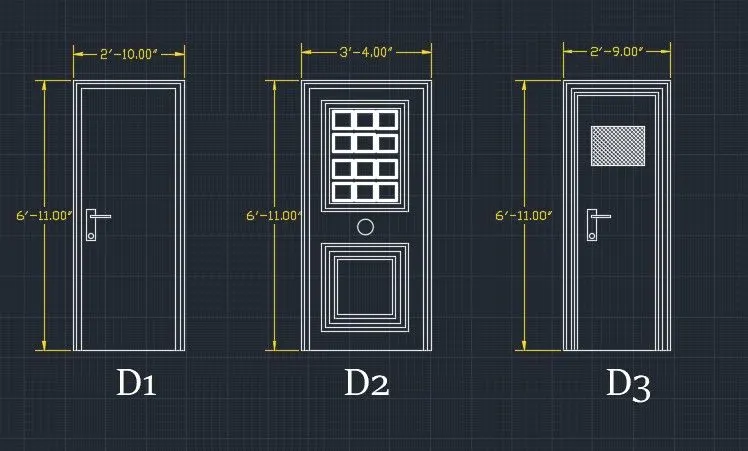
D1 :-
- Draw the Rectangle of size 2'10" X 6'11".
- offset the lines with 1.5" and 1" to make the Frame.
- Draw the lock by Rectancles and Circle.
- Annotate it with dimensions.
- Create the Block of the door.
- Name- D1, Select the Object, Pick Point, OK.
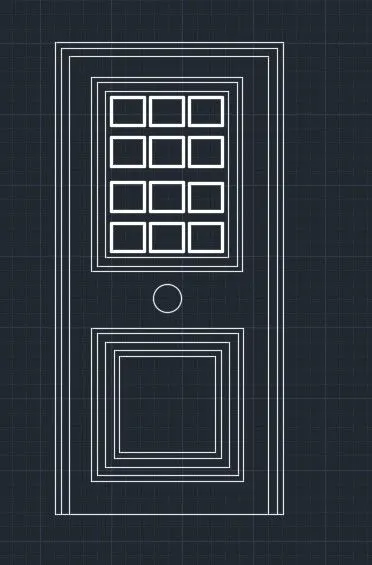
D2 :-
- Draw the Rectangle of size 3'4" X 6'11".
- Then draw the rectangle panel and offset it with 1" and 1.5".
- Draw the squares in the panel and increase the lineweight of squares.
- Draw the Rectangle below the rectanular panels.
- and offset the rectangles.
- Place the circle of 3" in between both the panels.
- Annotate it with dimensions.
- Create the Block of the door.
- Name- D2, Select the Object, Pick Point, OK.
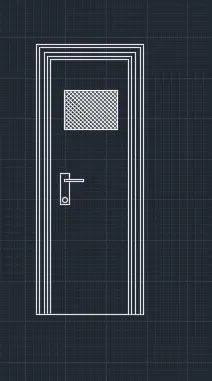
D3 :-
- Draw the Rectangle of size 2'9" X 6'11".
- Offset the lines with 1" and 1.5" and make Panels.
- Draw the rectangle of 1.5" and 9".
- Hatch the rectangle by relative scale.
- Draw the lock by Rectancles and Circle.
- Annotate it with dimensions.
- Create the Block of the door.
- Name- D3, Select the Object, Pick Point, OK.
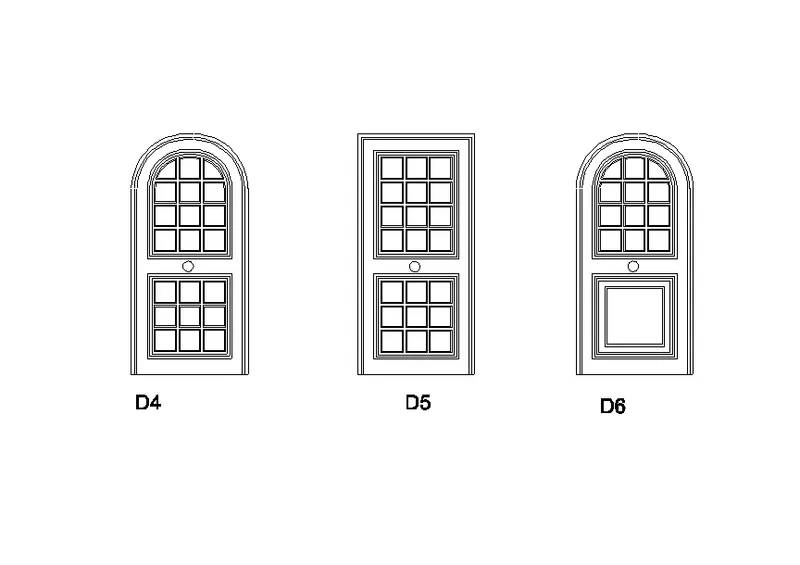
D4 :-
- Draw the line of size 3'9.5" X 8'3.6".
- Draw the Arc of length 3'9.5".
- Offset the arc by 1" and 1.5" for panels.
- Draw the Rectangle below the rectanular panels.
- Place the rectangles in the rectangle.
- And offset the rectangles.
- Place the circle of 3" in between both the panels.
- Annotate it with dimensions.
- Create the Block of the door.
- Name- D4, Select the Object, Pick Point, OK.
D5 :-
- Draw the Rectangle of size 4' X 8'3.6".
- Offset the lines with 1.5" and 1" to make the Frame.
- Draw the squares in the panel and increase the lineweight of squares.
- Draw the Rectangle below the rectanular panels.
- and offset the rectangles.
- Place the circle of 3" in between both the panels.
- Annotate it with dimensions.
- Create the Block of the door.
- Name- D5, Select the Object, Pick Point, OK.
D6 :-
- Draw the line of size 3'9.5" X 8'3.6".
- Draw the Arc of length 3'9.5".
- Offset the arc by 1" and 1.5" for panels.
- Draw the Rectangle below the rectanular panels.
- And offset the rectangles.
- Place the circle of 3" in between both the panels.
- Annotate it with dimensions.
- Create the Block of the door.
- Name- D4, Select the Object, Pick Point, OK.
Result :-
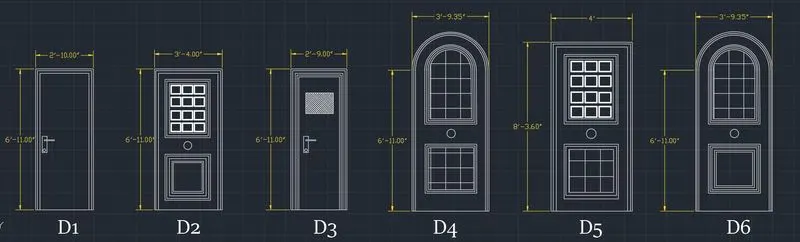
These are the Blocks of Doors.
5.)
Aim :-
- To create the bar bending schedule and insert it as a block.
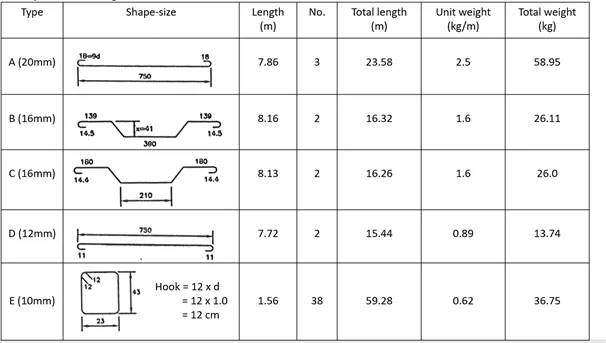
Procedure :-
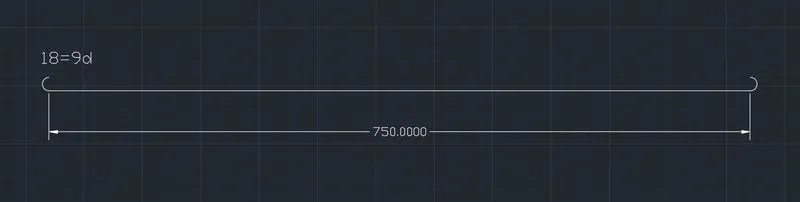
1. A(20 mm)
- Draw the line of 750 mm in length.
- Create the arc bend at 1 side and mirror it at another side.
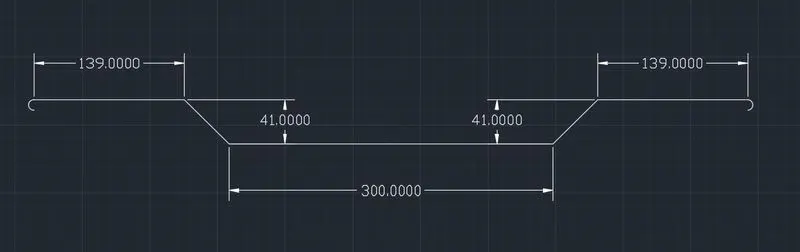
2. B(16 mm)
- Draw the straight line of 150 mm.
- Then draw the line at 45 degree and 41 mm in size.
- Then draw the line of 139 mm from 41mm line.
- Create the arc bend at 1 side.
- Mirror whole drawing at another side at 180 degree.
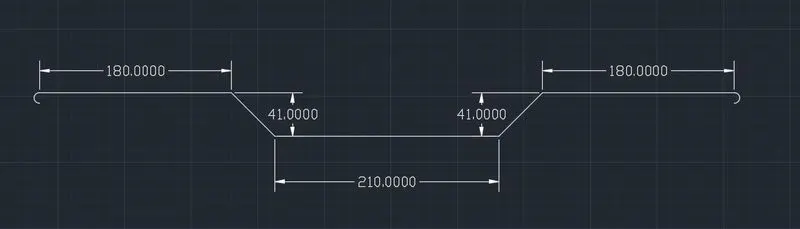
3. C(16 mm)
- Draw the straight line of 105 mm.
- Then draw the line at 45 degree and 41 mm in size.
- Then draw the line of 180 mm from 41mm line.
- Create the arc bend at 1 side.
- Mirror whole drawing at another side at 180 degree.
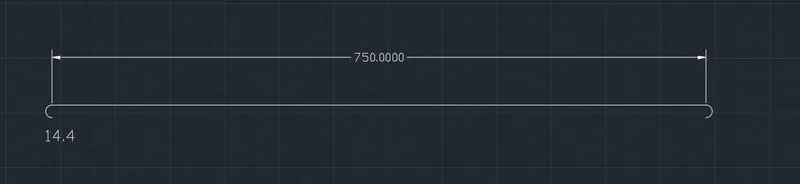
4. D(12 mm)
- Draw the line of 750 mm in length.
- Create the arc bend downward side at 1 side and mirror it at another side.
5. E(10 mm)
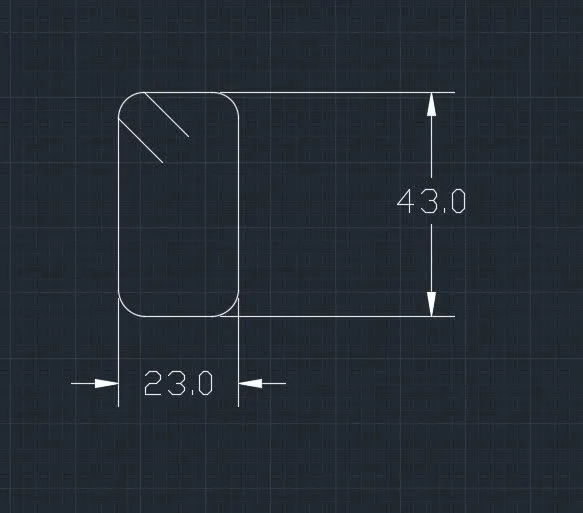
- Draw the rectangle of 23 mm X 43 mm.
- Fill the fillet of radius 5 mm.
- Draw 2 lines of 12 cm.
Result :-
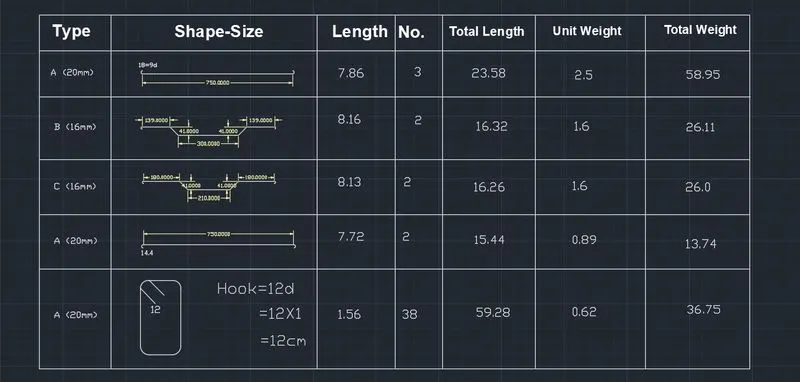
This pic. is showing the bar bending schedule.