Creating Architectural and Structural model with 3D rendering using REVIT
CHALLENGE 7
Q1)
ANS: As per the given question I am opting for a multi-unit residential apartment.
Q2)
Aim: To assume reasonable geographic and location details assumptions for the project
1)Road width in front of my apartment is 60feet
2)My project is in the plain area (geographical)
As per NBC
Height limit as per FAR calculations and as per NBC table 5 V-1
Min length and width of rooms as per NBC V-1
Fire and safety from NBC part IV
Q3)
Aim: Make a project using the structural model and include the following components
Procedure:
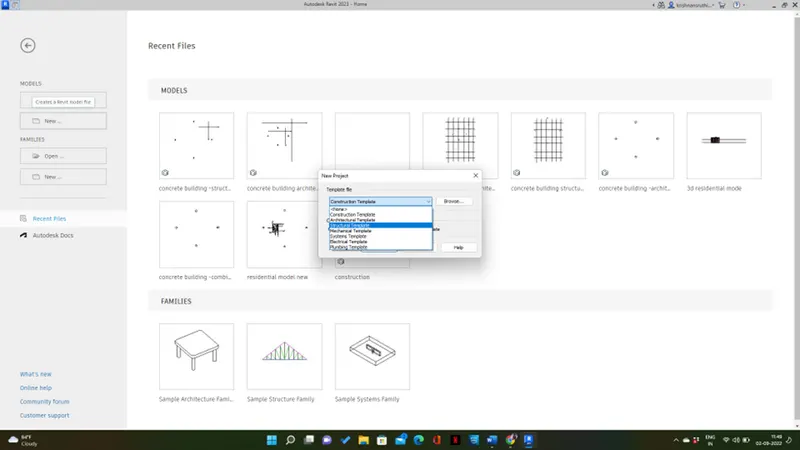
Step1: Open a new structural template file and save it with an appropriate name
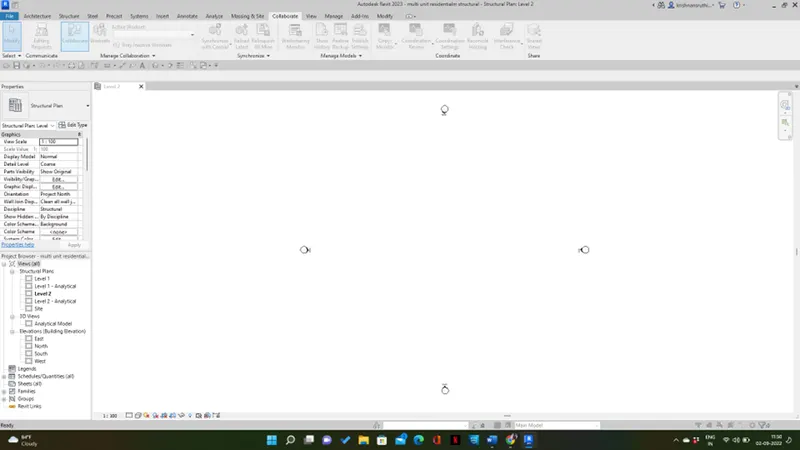
Step 2:Select collaborate and click collaborate and make it a central file
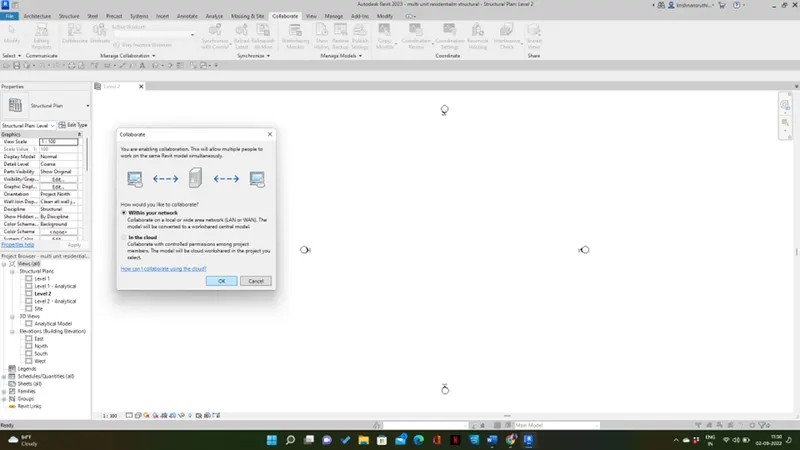
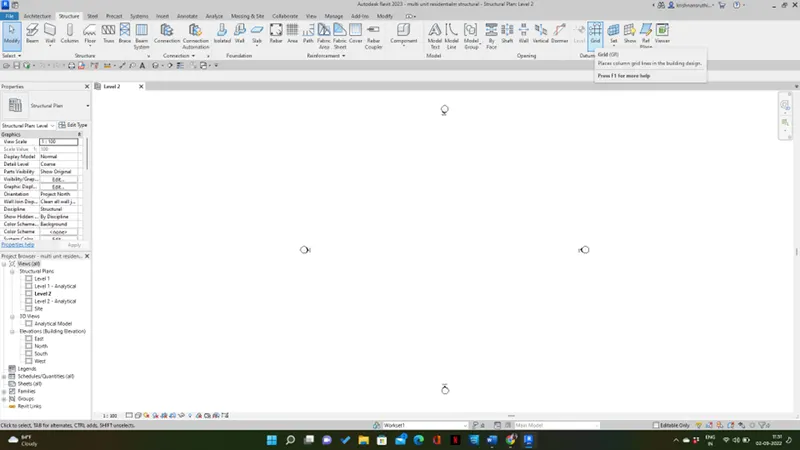
Step 3: Go to the structural tab and select grids and draw horizontal and vertical grids
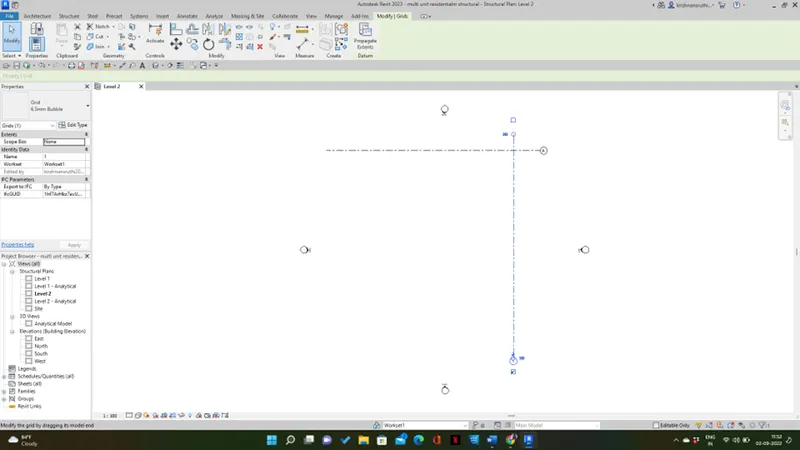
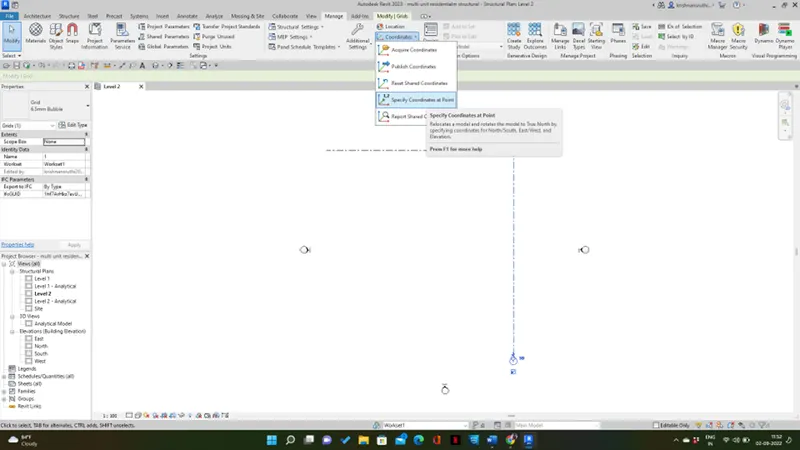
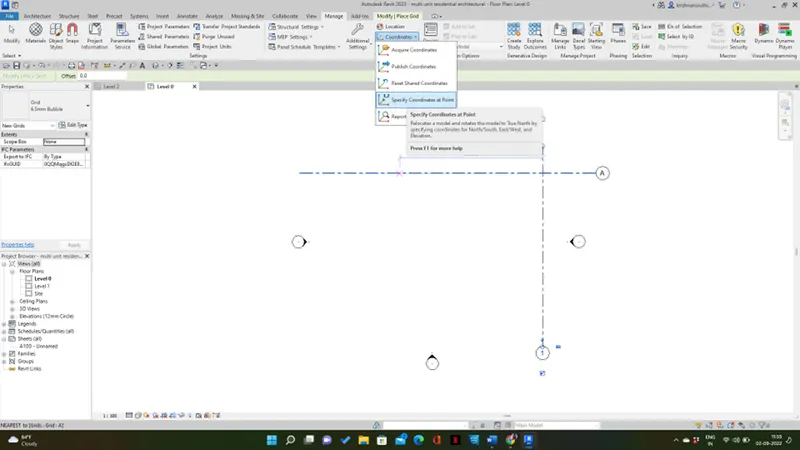
Step 4: Go to the manage tab and select project coordinates and click specify coordinates at points
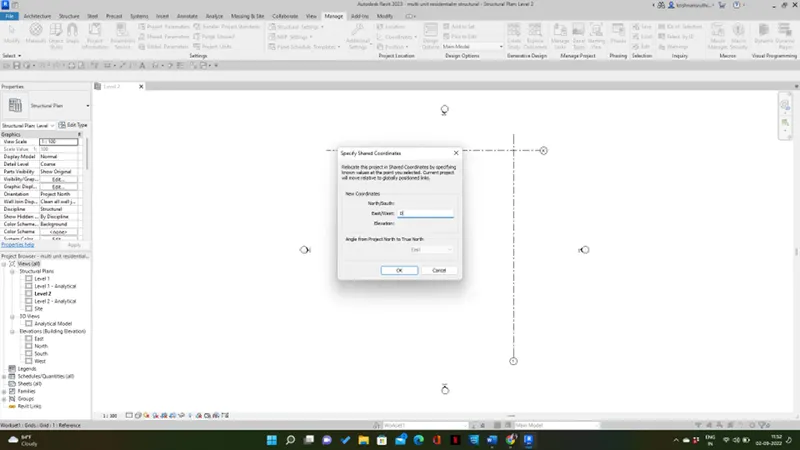
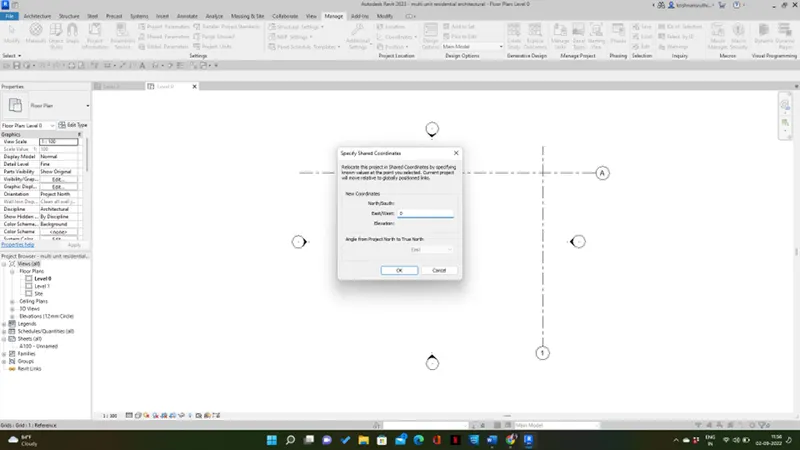
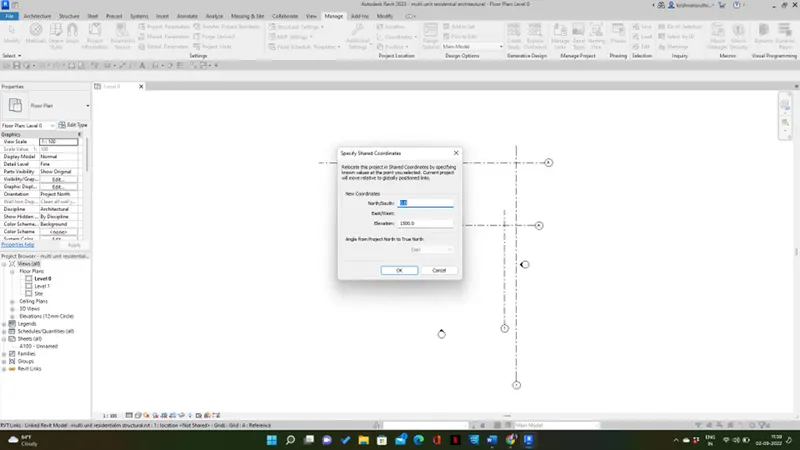
Step 5: Specify the coordinates as 0 and save it
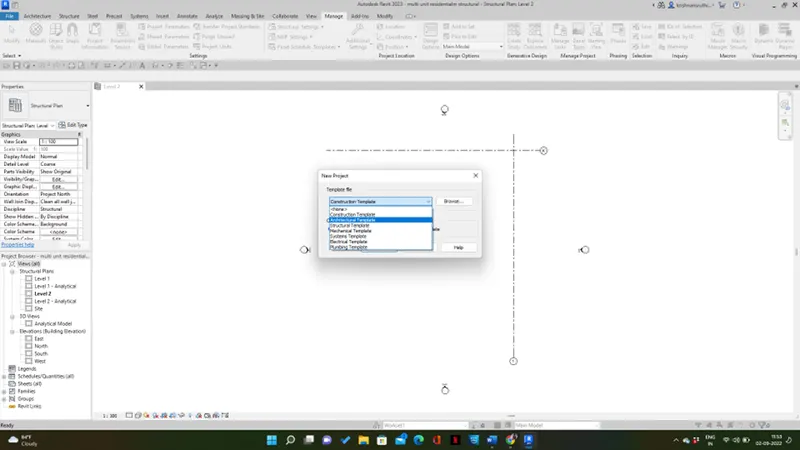
Step6: Open a new architectural template file and save it with an appropriate name
Step 7:Select collaborate and click collaborate and make it a central file
Step 8:Go to the architecture tab and select grids and draw horizontal and vertical grids
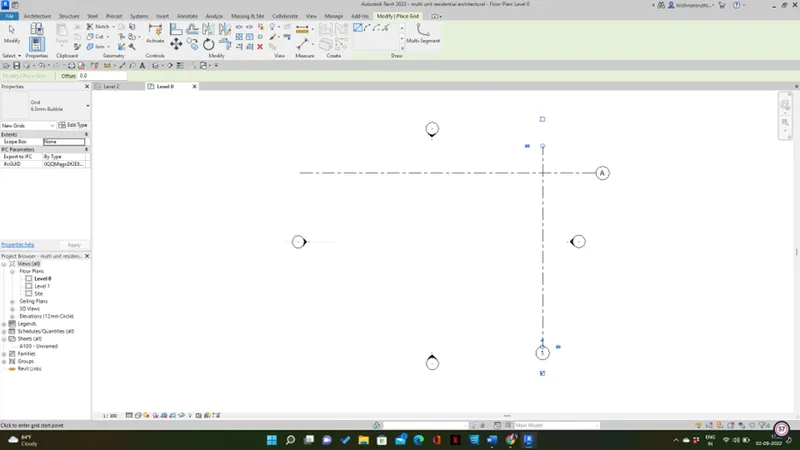
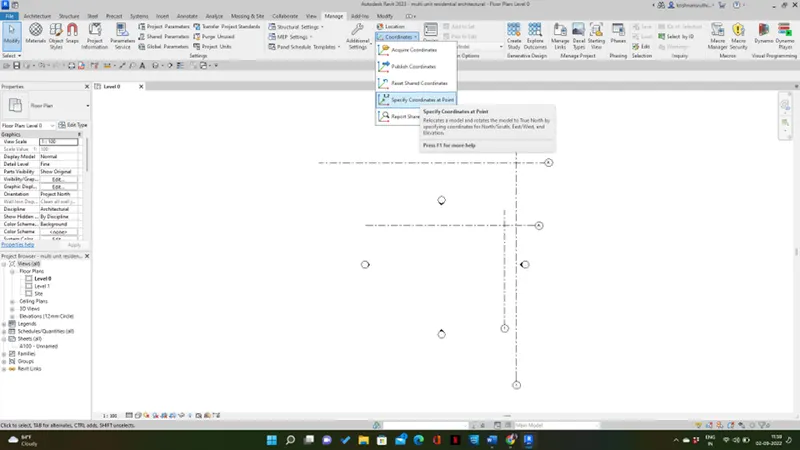
Step 9: Go to the manage tab and select project coordinates and click specify coordinates at points
Step 10: Specify the coordinates as 0 and save it
Step 11: Go to the manage tab and Select the manage link
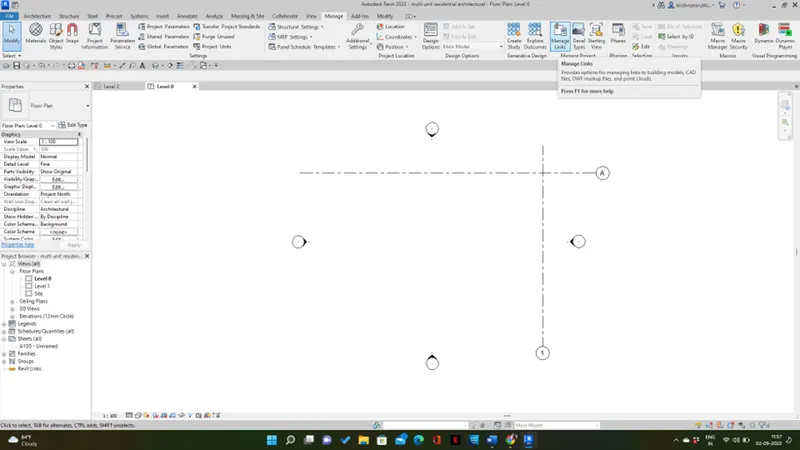
Step 12: A dialog box will appear then click on add then it takes to projects made by oneself then open the required project and ok
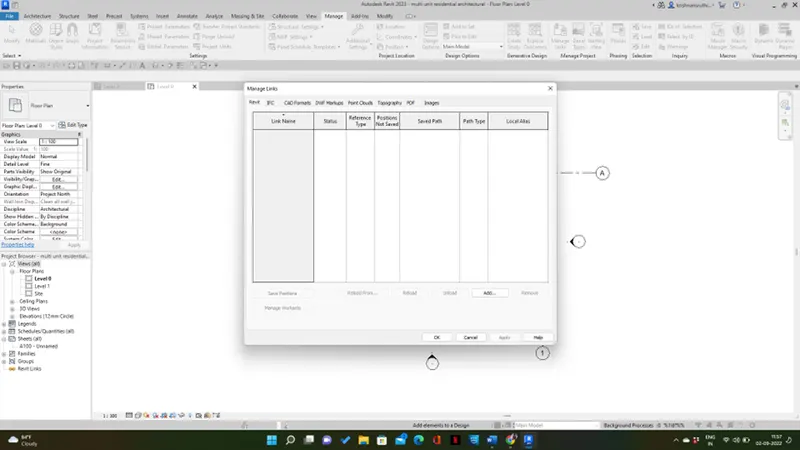
Step 13: Both the template in one template
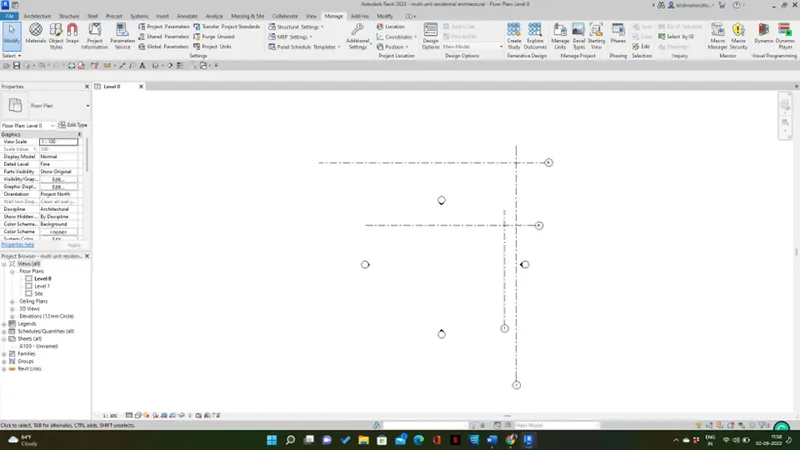
Step 14: Go to the manage tab and select project coordinates and click specify coordinates at points
Step 15: Specify the coordinates as 0 to all grids and save it
Step 16: Open the structural template and draw both vertical and horizontal grids in equal intervals
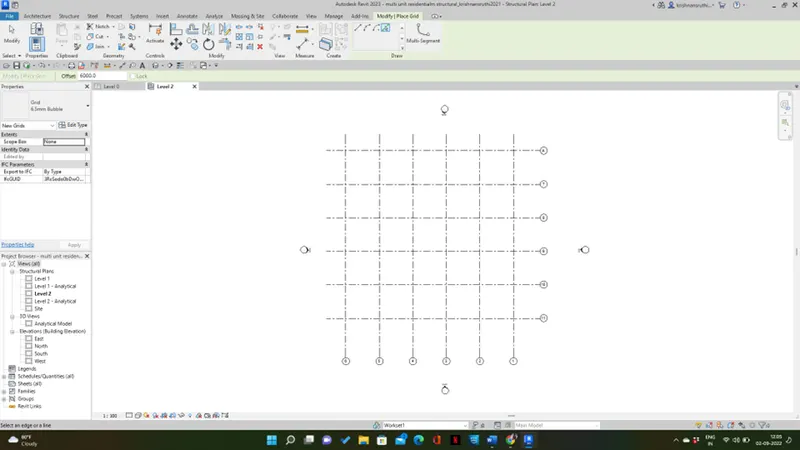
Step 17:Go to the structural tab and choose columns and footings and place them in the appropriate location
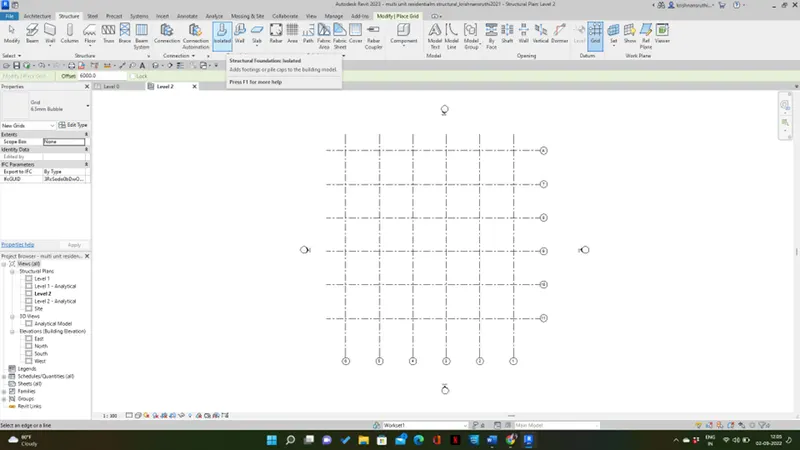
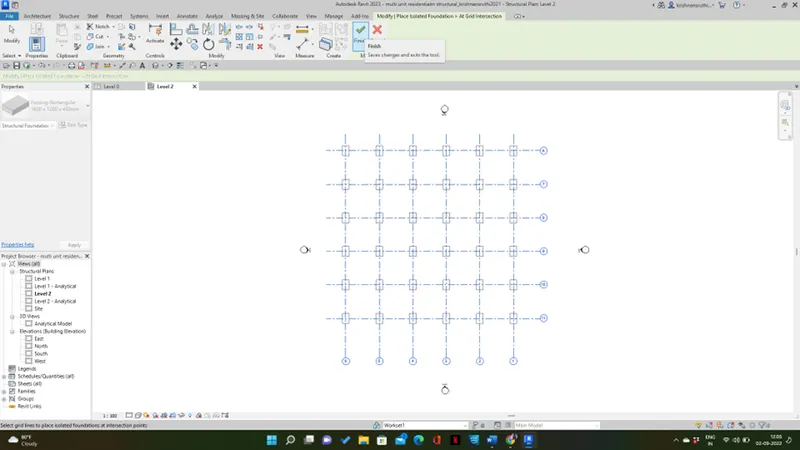
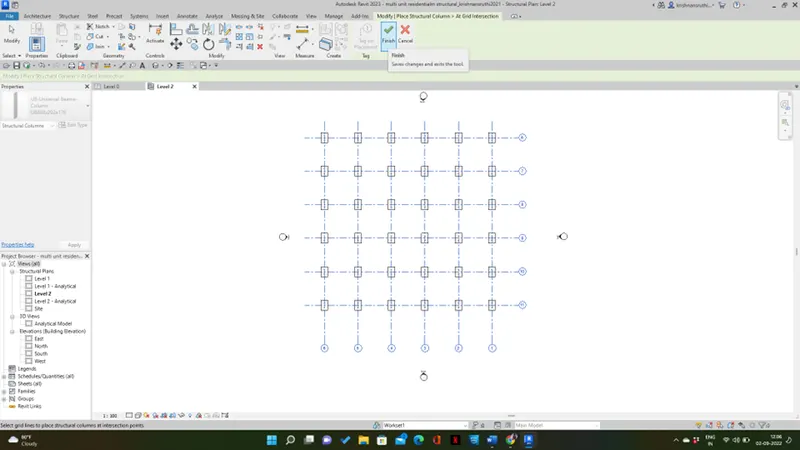
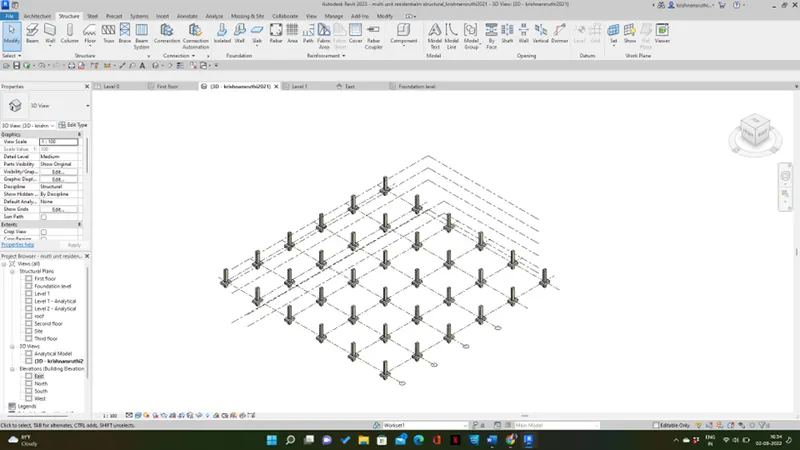
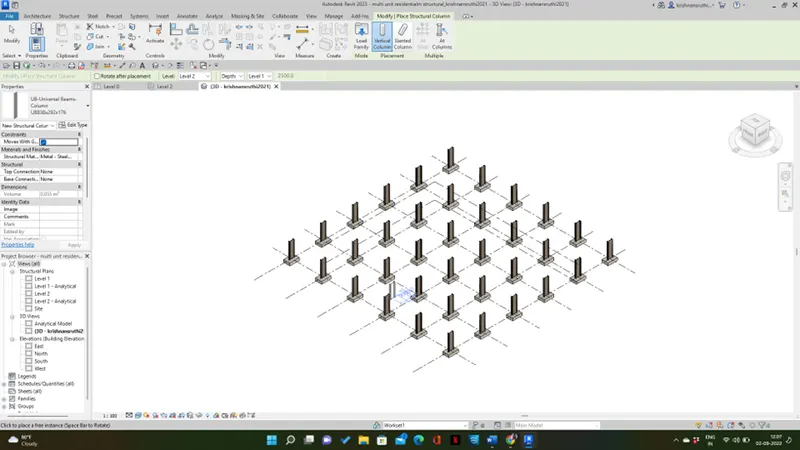
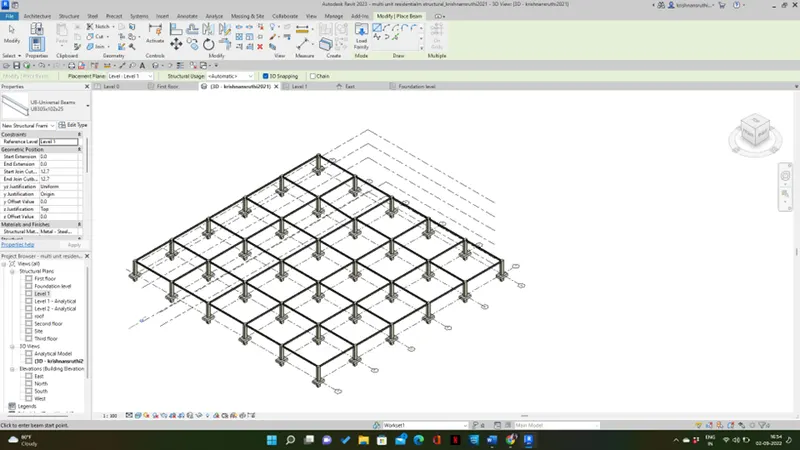
Step 18: Go to the structural tab and choose beams and place them in the appropriate location
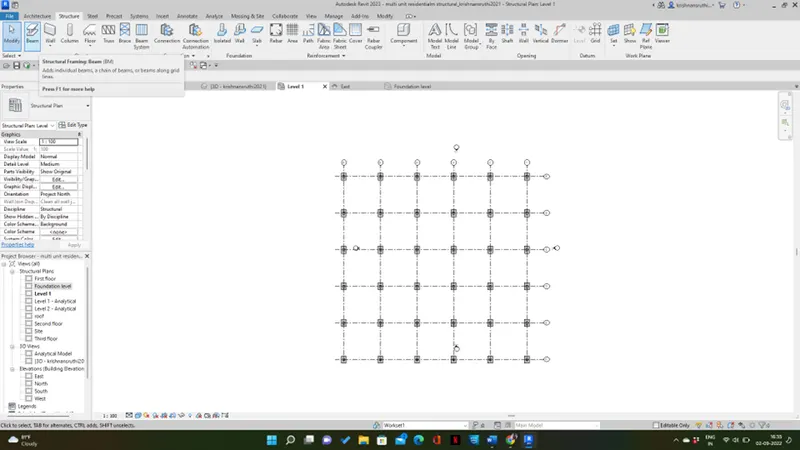
Step 19: Select the entire layout and attach it to the different levels by selecting copy icon
Step 20: Select slab and first select the layout then click right then the slab is obtained to first floor then now attached to different levels
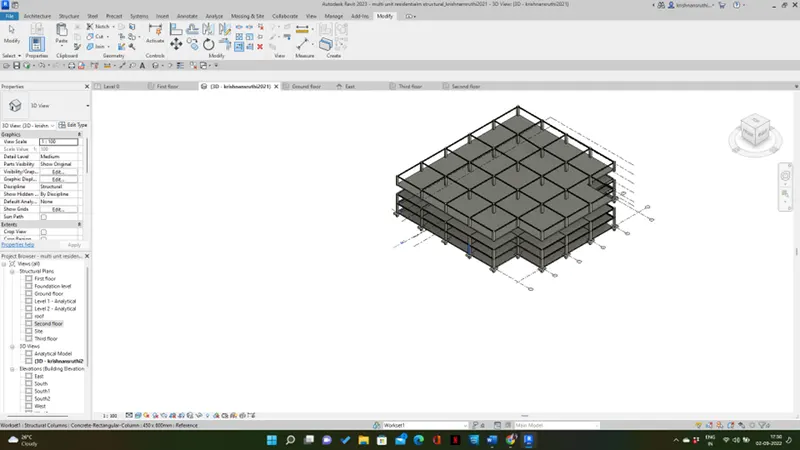
Result: All the structural components like beams, footings, and slabs are placed successfully.
Q4)
Aim: To include a few components in the architectural model
Procedure :
Step1: Open a new architectural template file and save it with an appropriate name
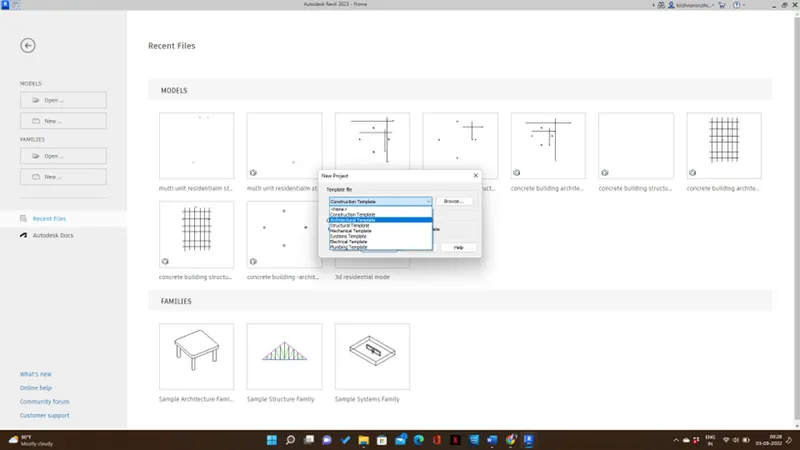
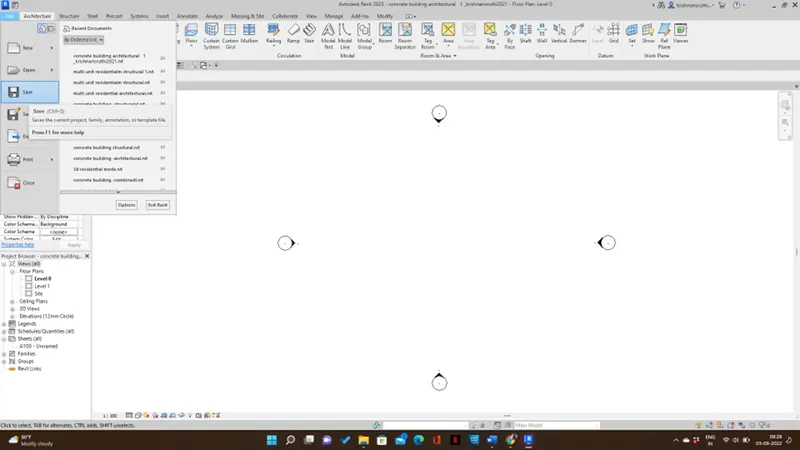
Step 2: Go to the architectural tab and select grids and draw horizontal and vertical grids
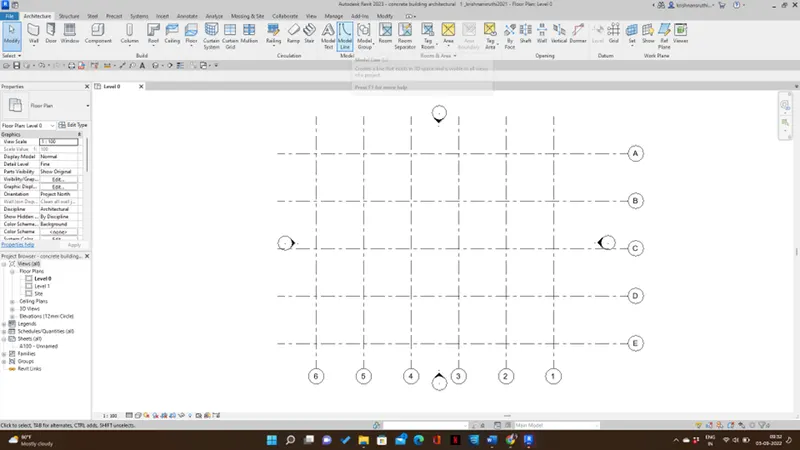
Step 3: Go to the architectural tab and select the wall
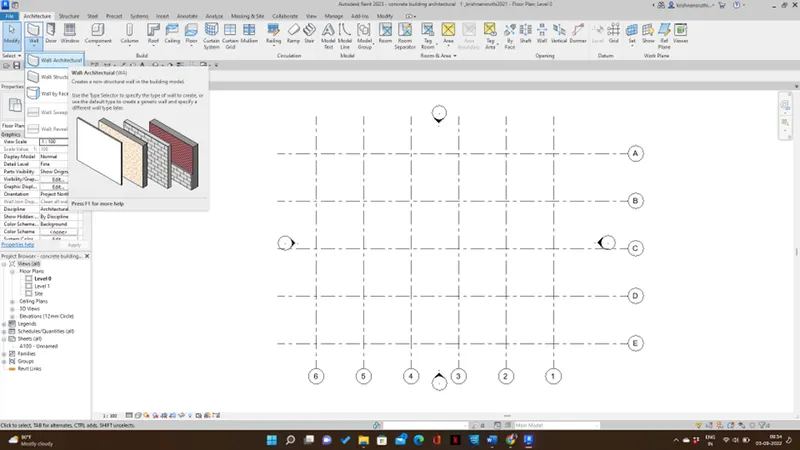
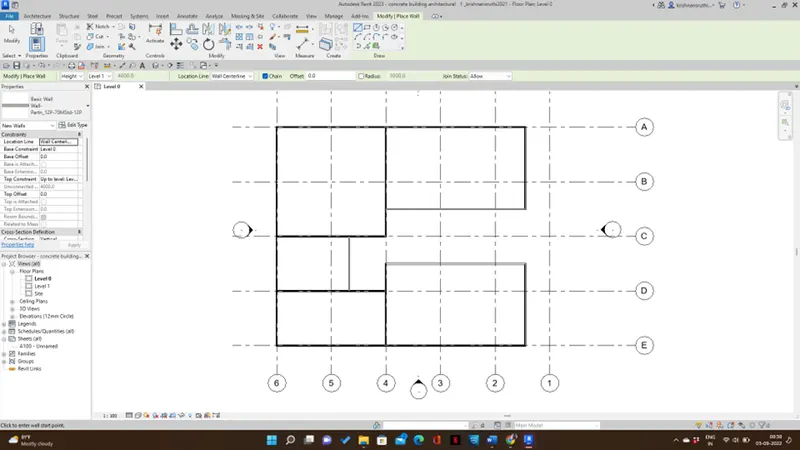
Step 4: Draw the rooms with convenient sizes by choosing the interior partition wall
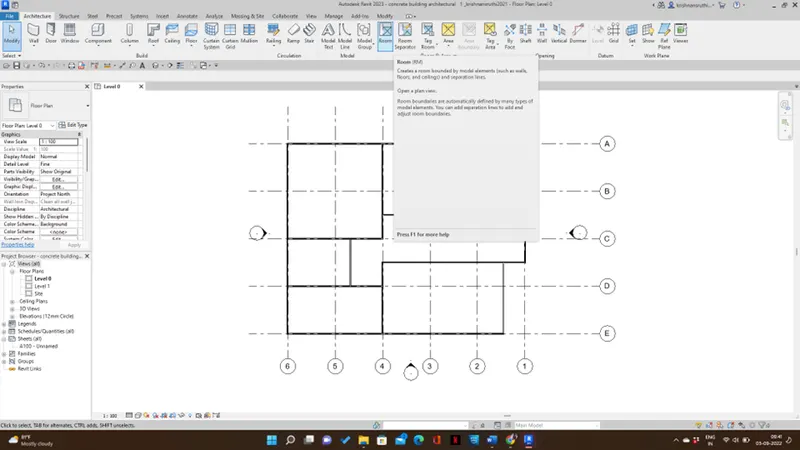
Step 5: Go to the architectural tab and select room tag and name it
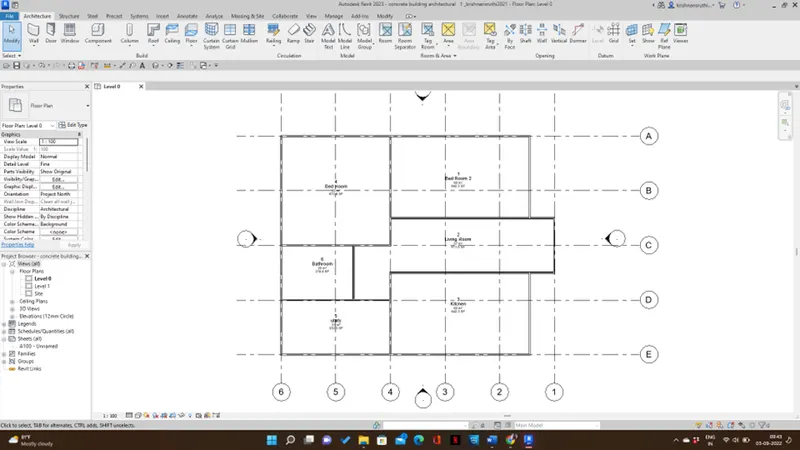
Step 6: Go to the architectural tab, select floor, draw the entire layout, and choose the floor materials, edit the thickness if required from the property browser.
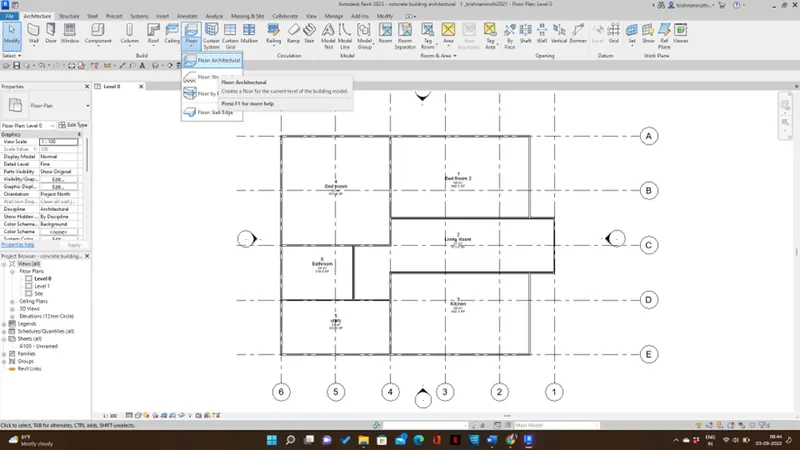
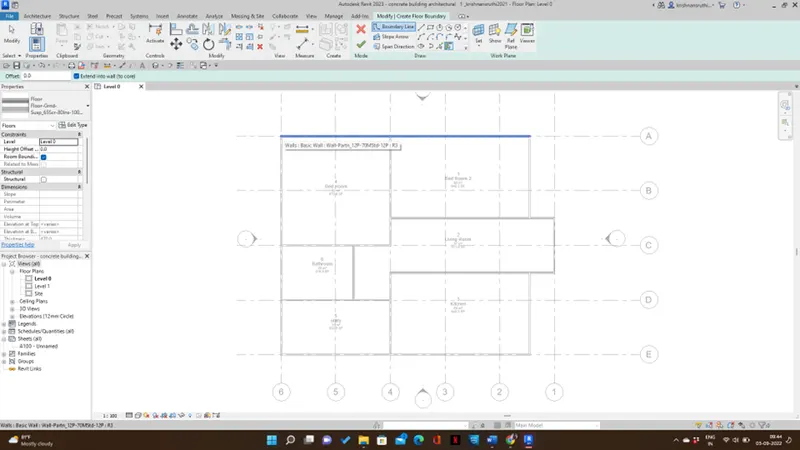
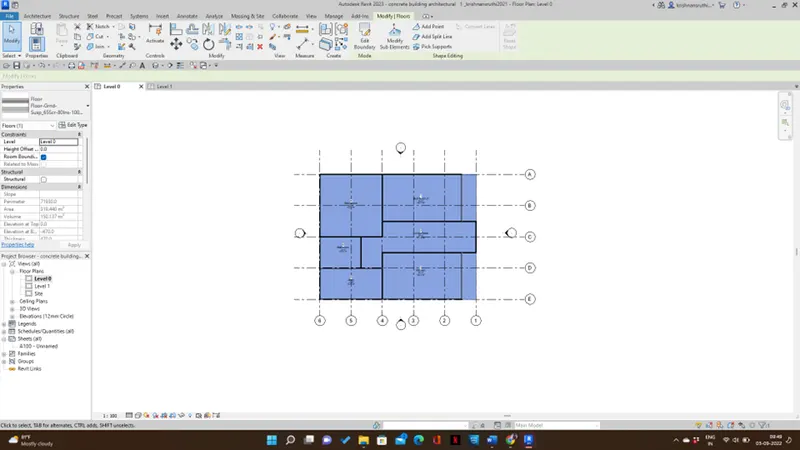
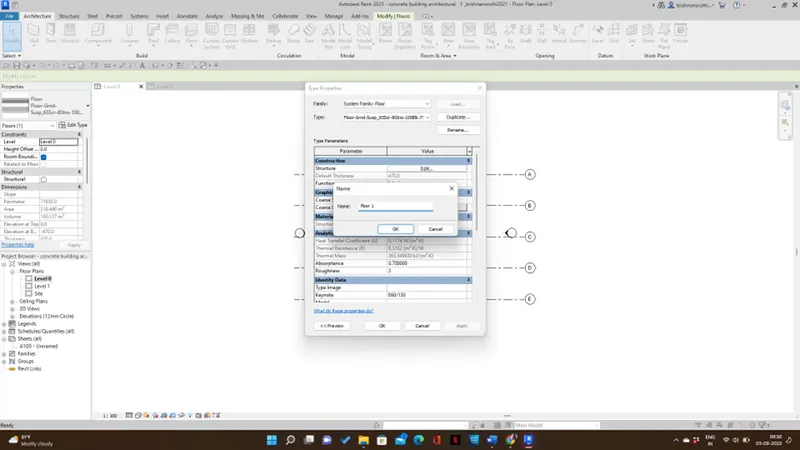
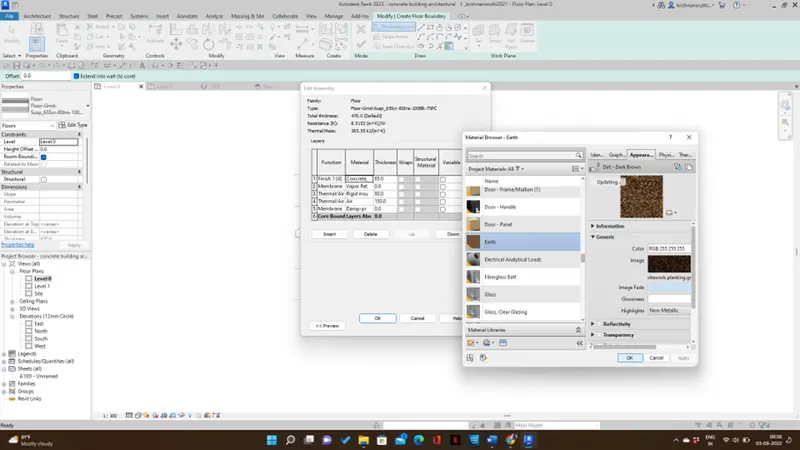
Step 7: Select walls, then change the material from the properties browser
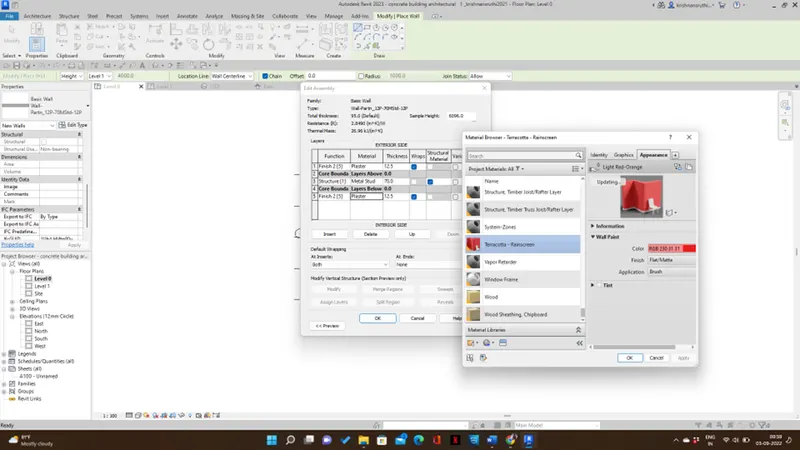
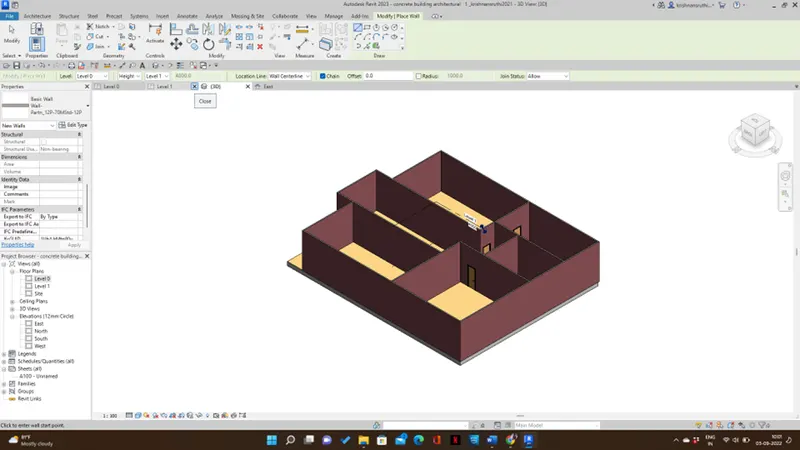
Step 8: Go to the architectural tab and select place a component and click load family and select and place required components
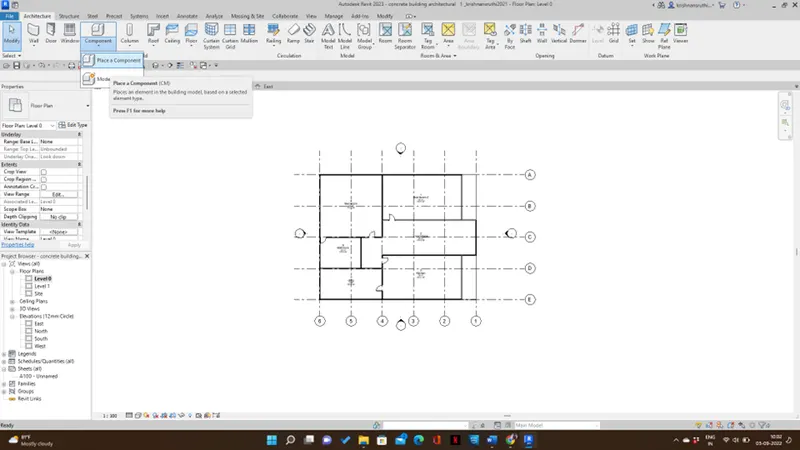
Step 9: Select the layout and copy the elements and paste them to aligned levels
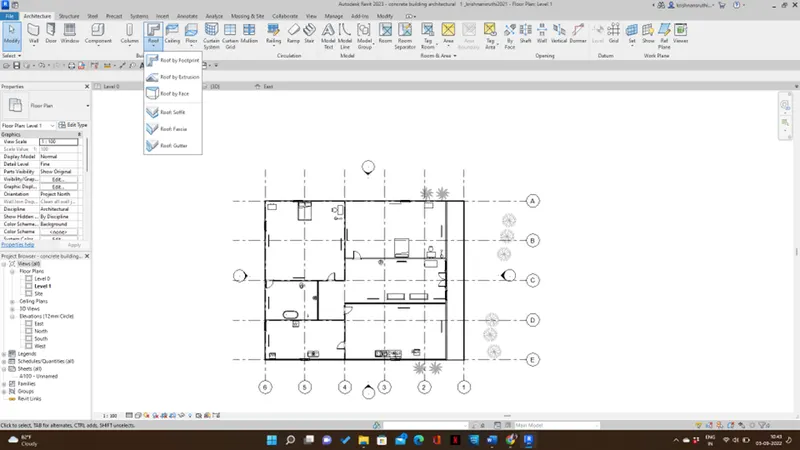
Step 10:Go to the architecture tab ad select roof and place the roof
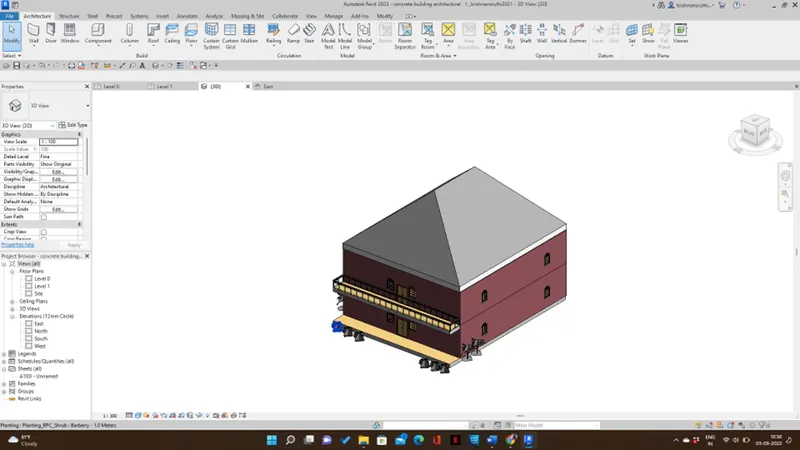
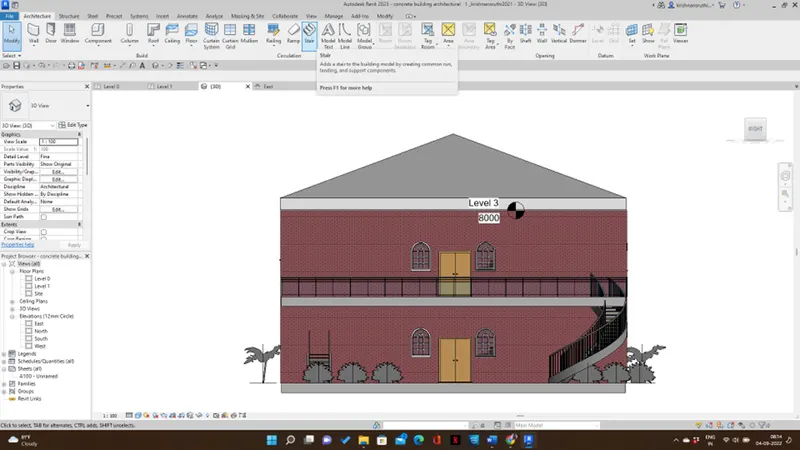
Step 11:Go to the architecture tab ad select stairs and place the stairs
Step 12: Copy stairs to different levels
Step 13: View all the components by using cameras from the view tab
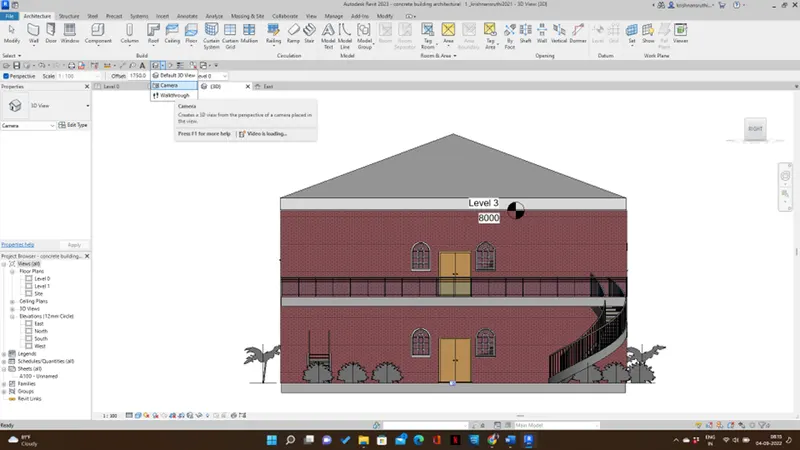
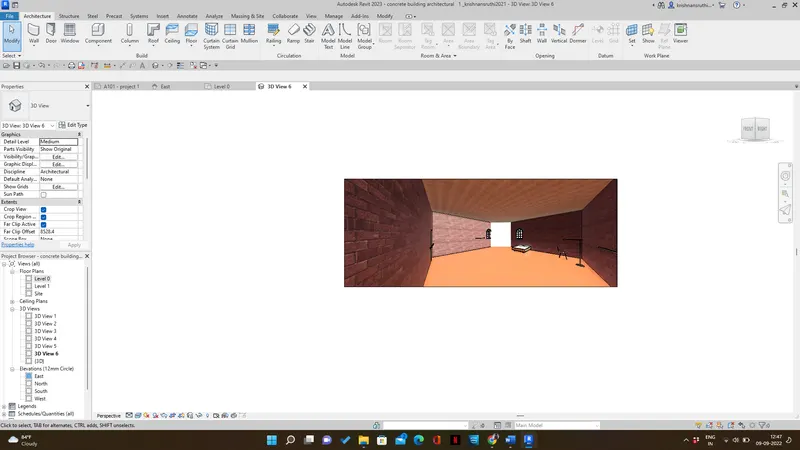
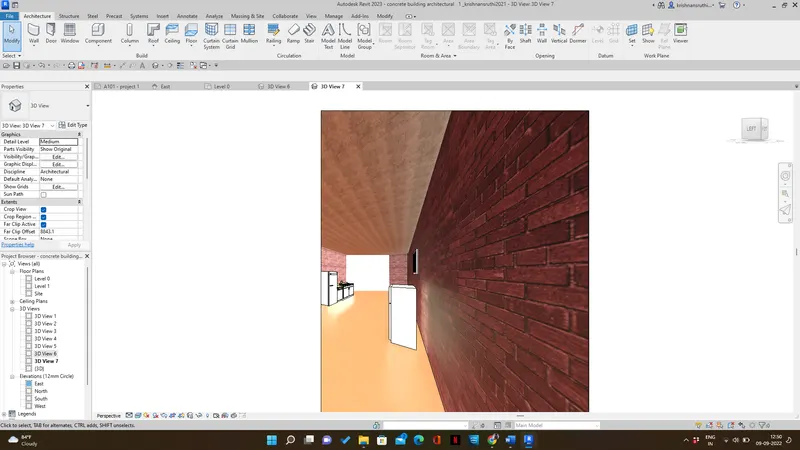
Result: All the components like sofas, lighting, plumbing, floors, etc to the model are successfully added.
Q5 )
AIM: To provide a set of drawings in architectural and structural model to list a few details with categories and appropriate sheet
Procedure :
Step 1: Go to the Revit file and select sheet tool from the view tab
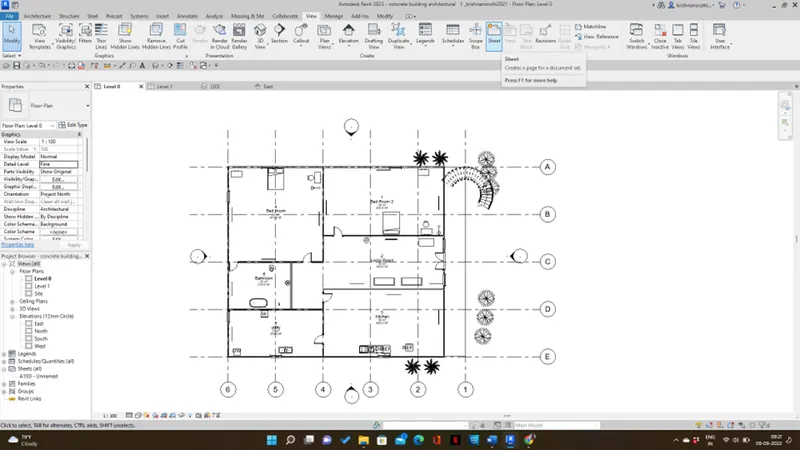
Step 2: Select the required sheet and click ok
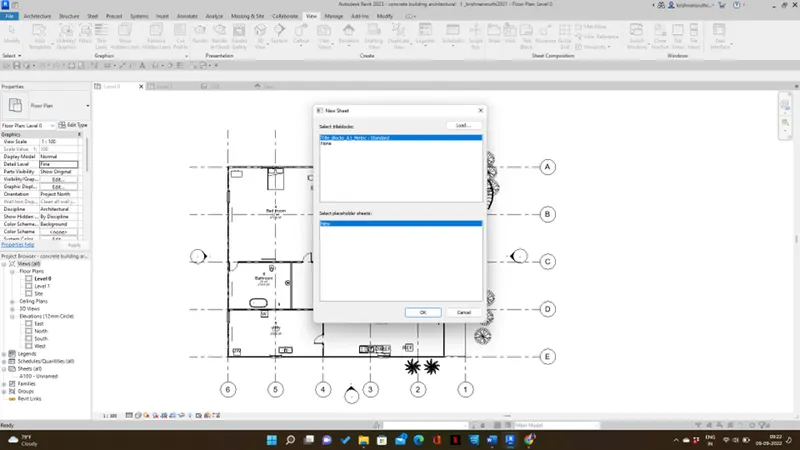
Step 3: The sheet appears by double-clicking on the screen and making the required changes on the sheet
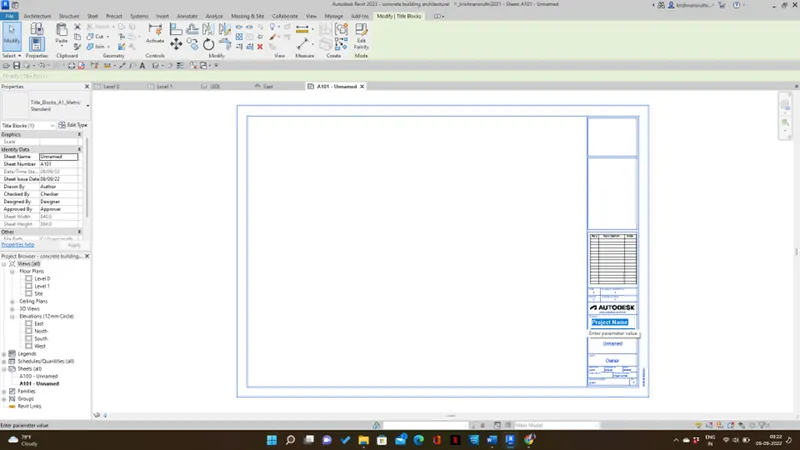
Step 4:Go to the view tab and select view tab
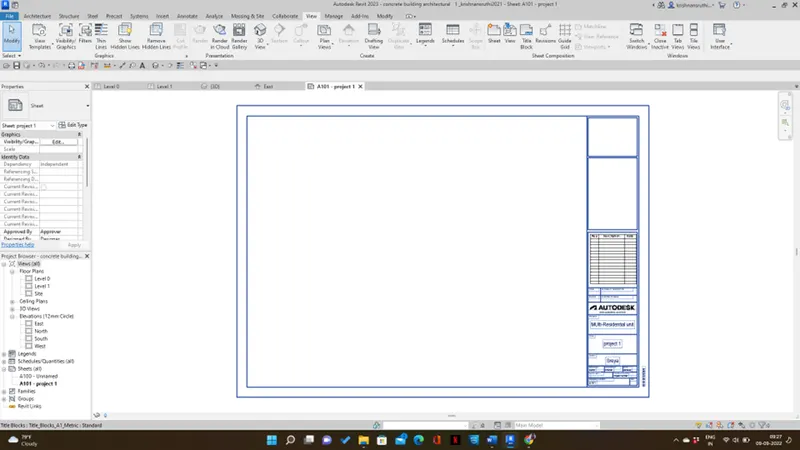
Step 5: A dialog box will appear then choose a required view to be placed in the sheet
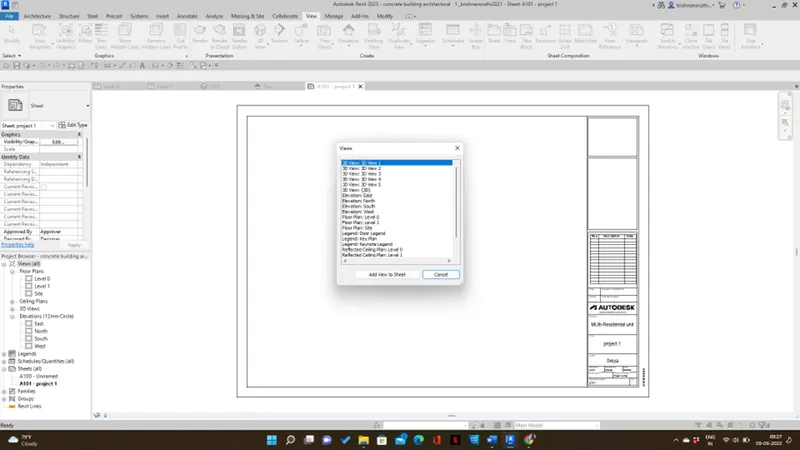
Step 6: Click on add view to sheet and select stand click to add to the sheet
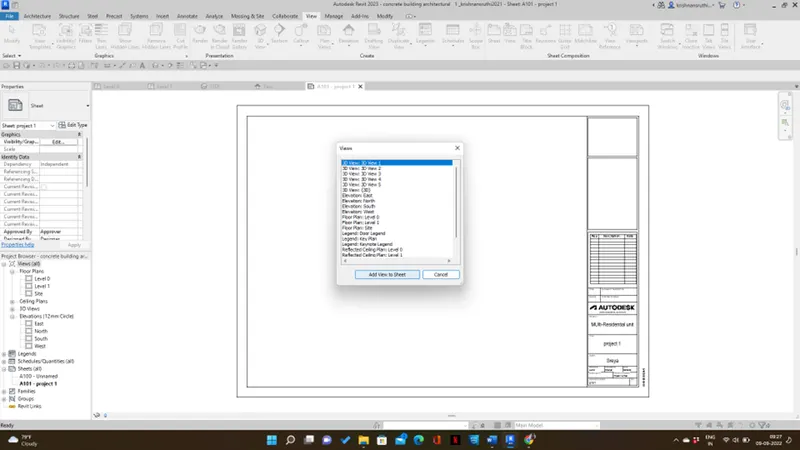
Step 7: Do the same for all the views
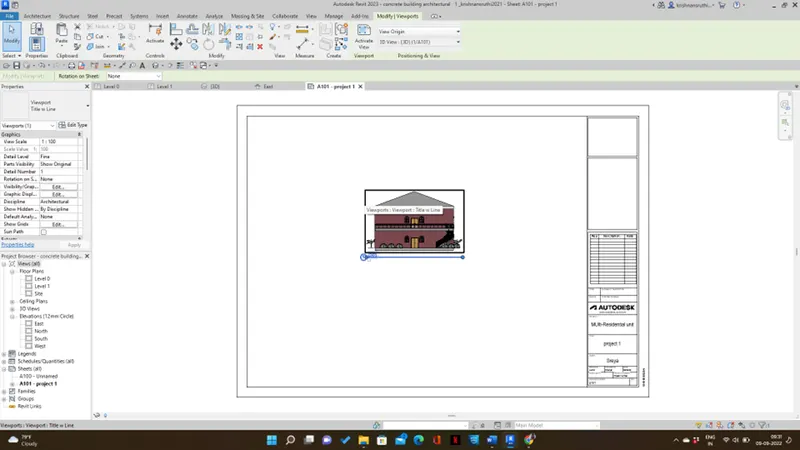
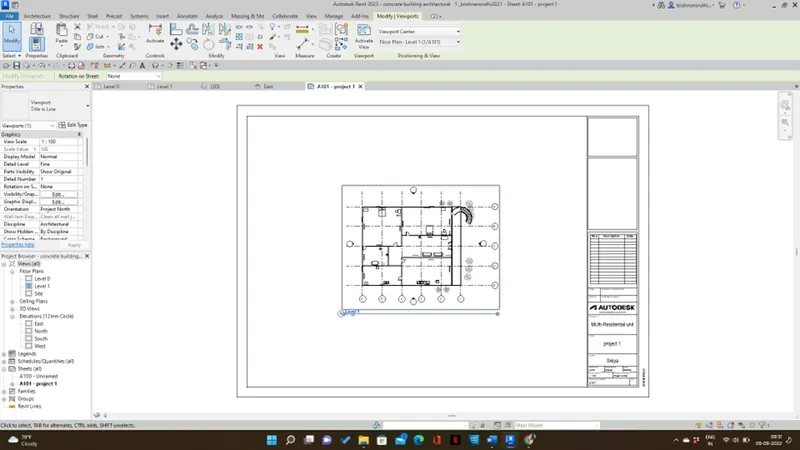
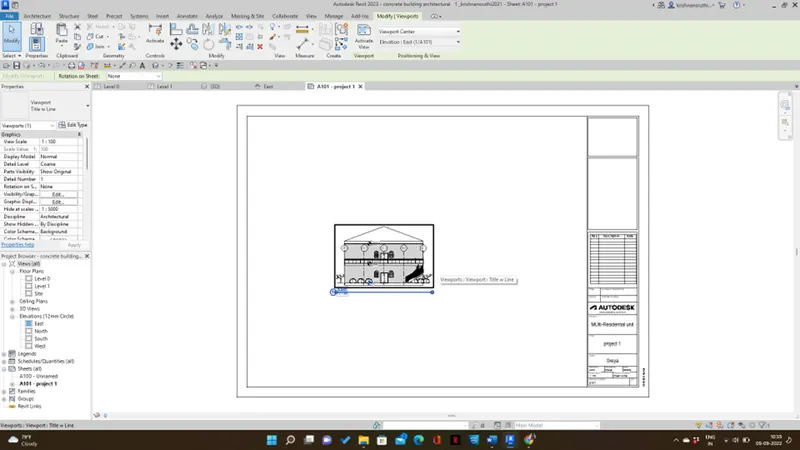
Result: All views section view of structural and architectural model placed in sheet properly using view tab
Q6 )
AIM: To render the images of 3D models produced and included images to the drawing sheets
Step 1: Go to the Revit file and view the file in 3D
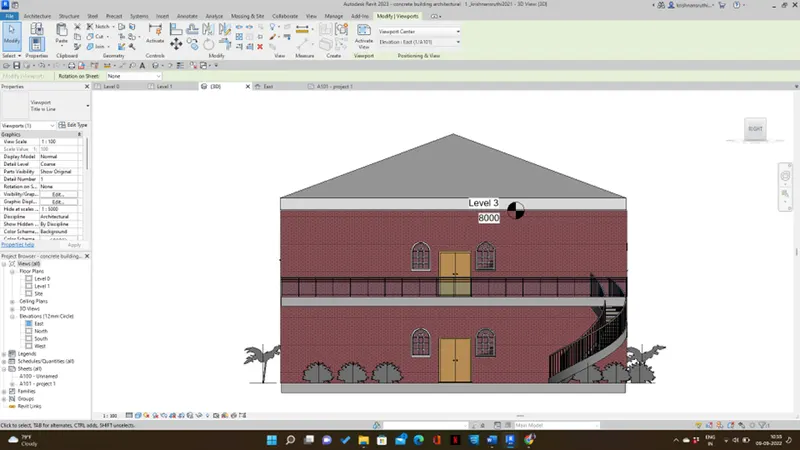
Step 2: Go to the view tab and click on the render option
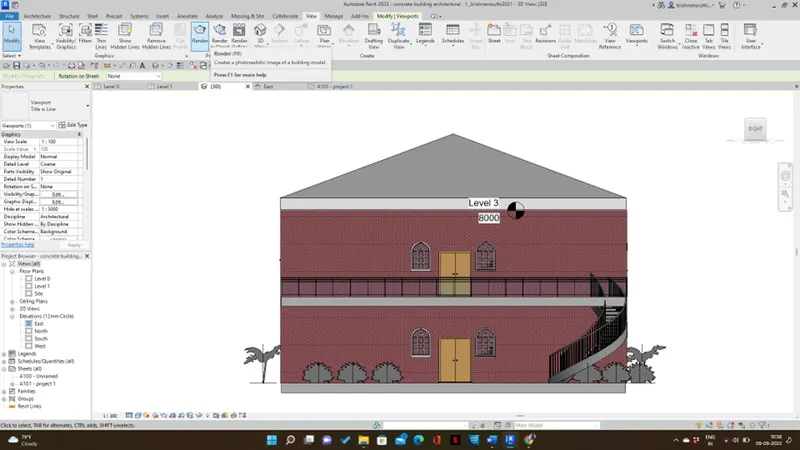
Step 3: A dialog box will appear and select any camera 3D view
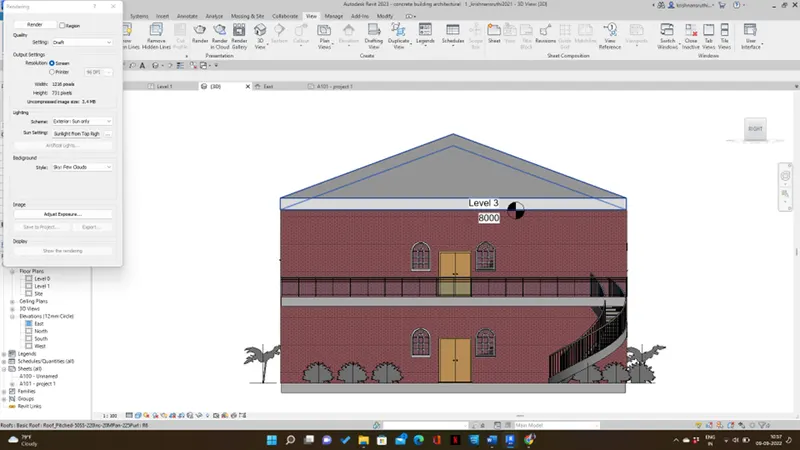
Step 4: Select the render option and make necessary changes to that render dialog box
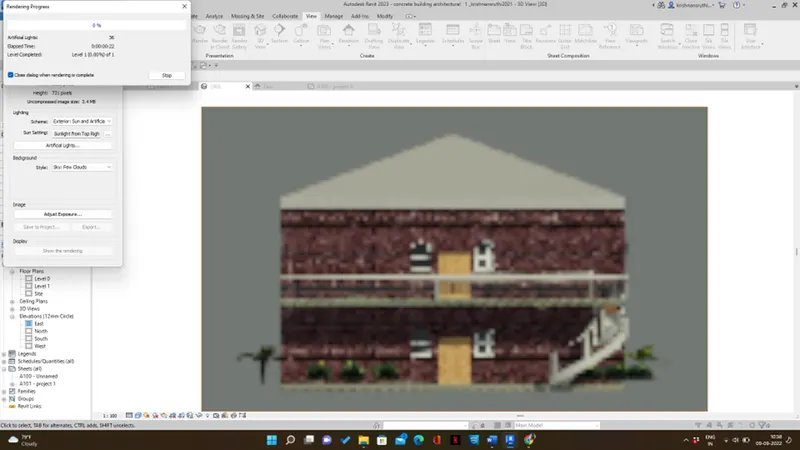
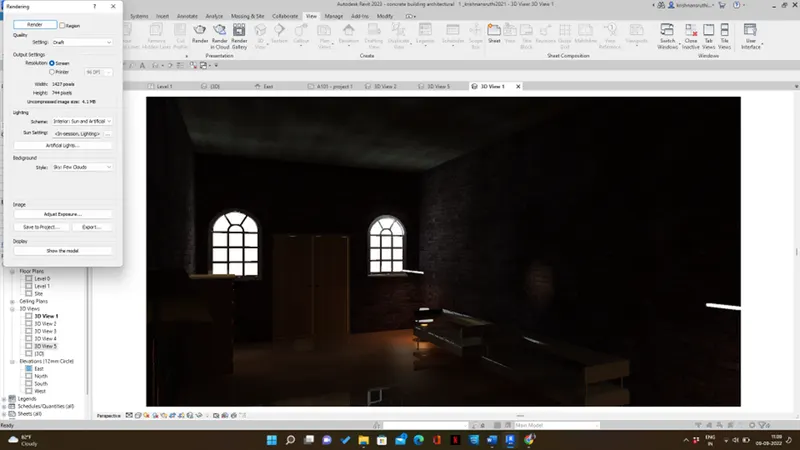
Result: Rendering images successfully
Q7 )
AIM: To print the set of drawing sheets created and submit the drawings from the architectural and structural model
Step 1: Go to the Revit file and select view to be printed
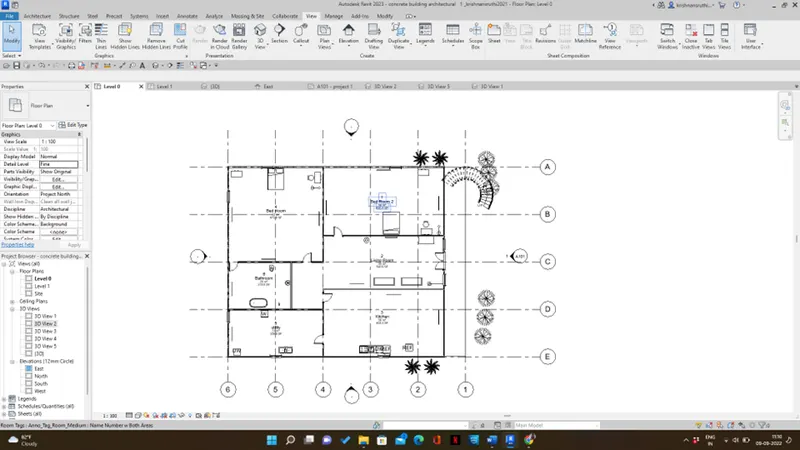
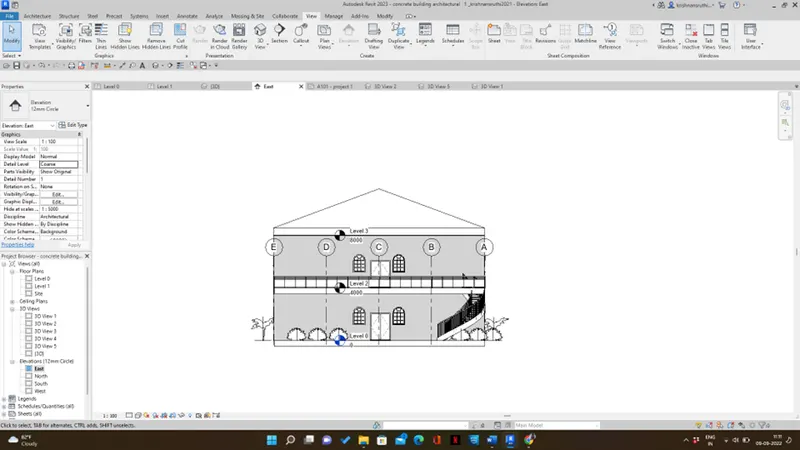
Step 2: Go to the file menu and click on print
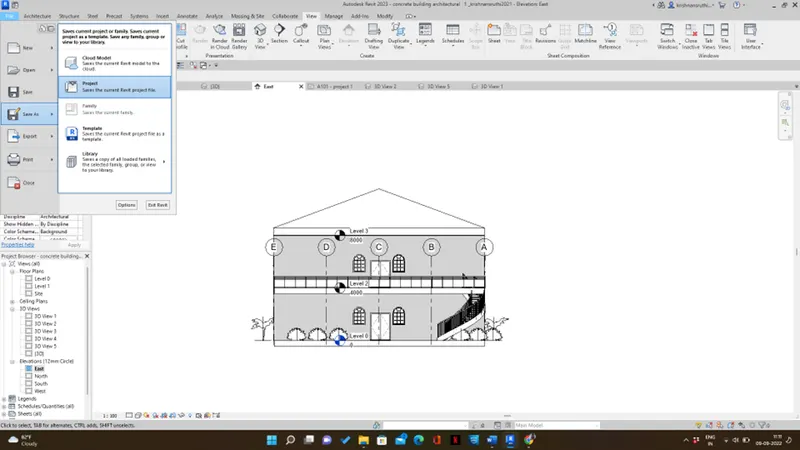
Step 3: A dialog box will appear and change the settings on how we want the sheet to be printed
and click to print option
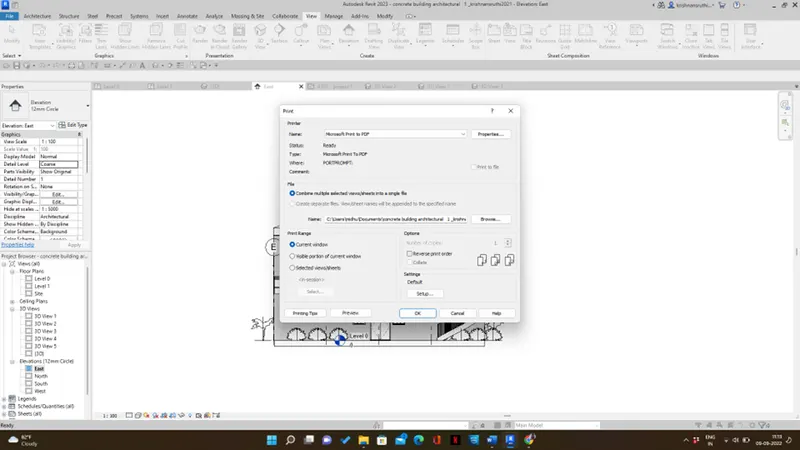
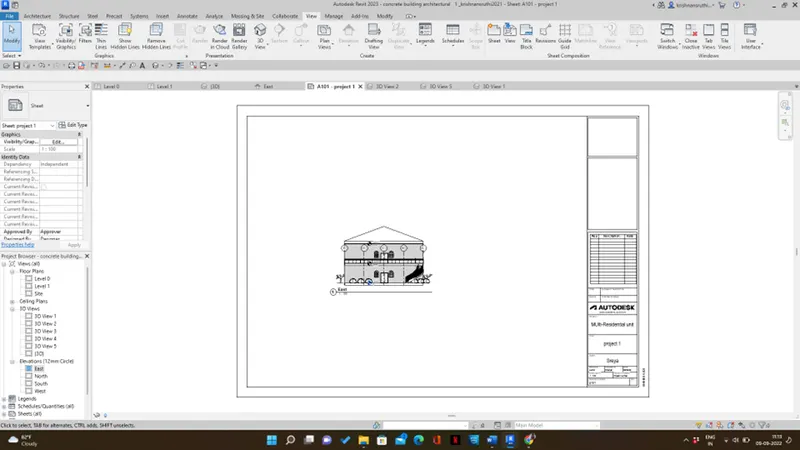
Result: All views are placed in the sheet and ready to print