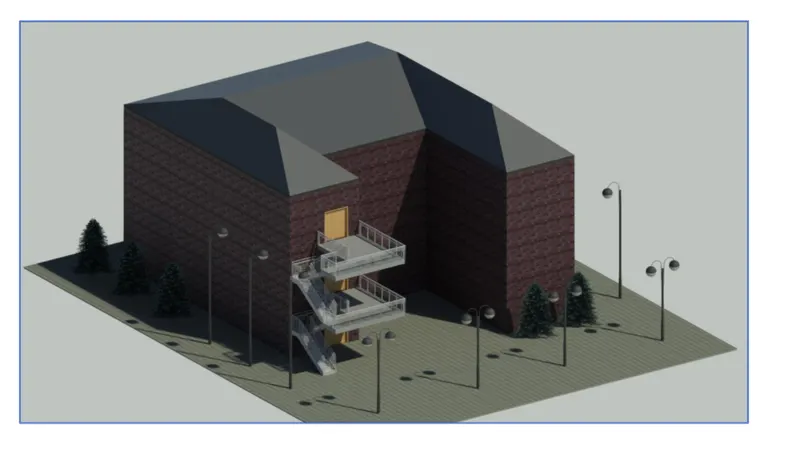
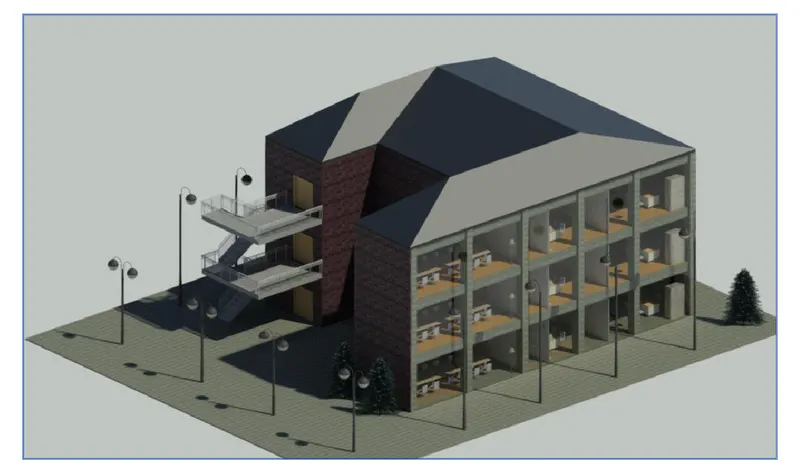
Creating Architectural and Structural model with 3D rendering using REVIT
AIM: Creating Architectural and Structural model with 3D rendering using REVIT
1) Select the type of structure you want to build from one of the three below:
a. Multi-Unit Residential Apartment
b. Office Buildings
c. School
Ans: The type of structure i want to build is a office building
2) Assume reasonable assumptions for geographic and location details for your project modeling. Based on assumptions and type of structure selected identify the modeling requirements from NBC
Ans:
The geographical and location details for my project modelling, based on assumptions of multi-unit residential Apartment.
selected identify the modelling requirements from NBC.
- As above mentioned by the building comes under the residential category and it can be suituated in center of the city.
- The project is located in the highway nearest.
- The height, area limitation and safety measure are followed by the NBC.2005.
- The height of project is 44'.
- In case of building height is not exceed, so it is suitable for construction.
3) Using the structural model, include the following components based on the type of structure selected
a. Foundation – Isolated / Wall/Matt Foundation
b. Columns
c. Beams Connected to Columns
d. Roof Framing/ Truss
e. Floor / Decks
f. Floor Openings for Elevators and Stairs
Procedure:
Steps:
- Open revit software and create a structural template
- save the template named Structure 001
- Next draw grid lines and specify coordinates as 0'0" for both north/south and east/west
- Collaborate the project within the network and save the project
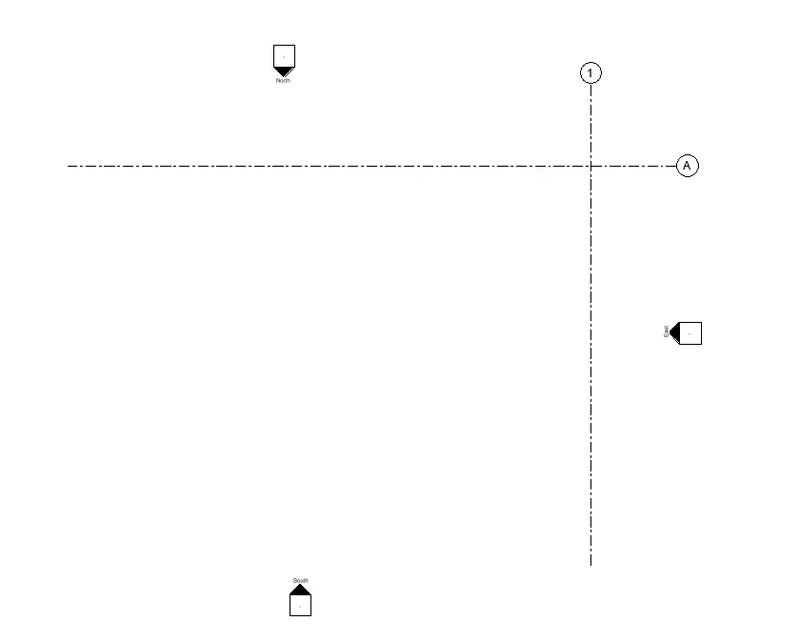
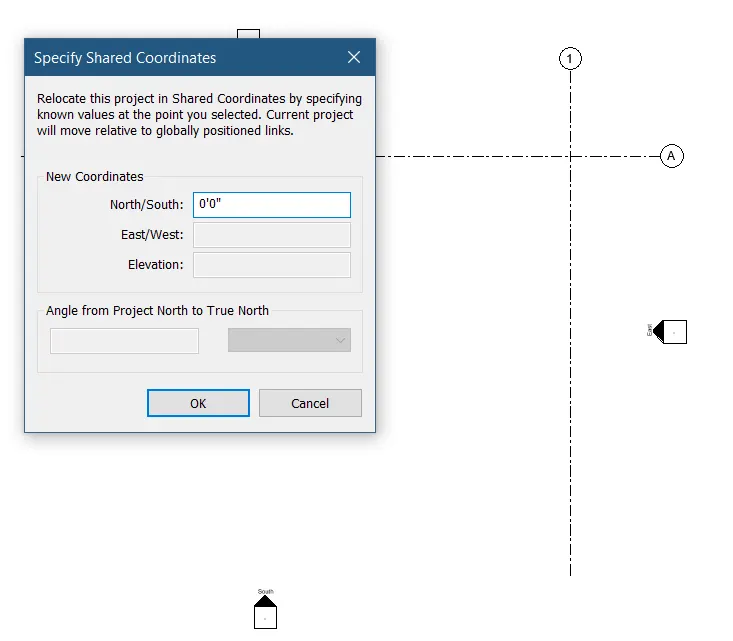
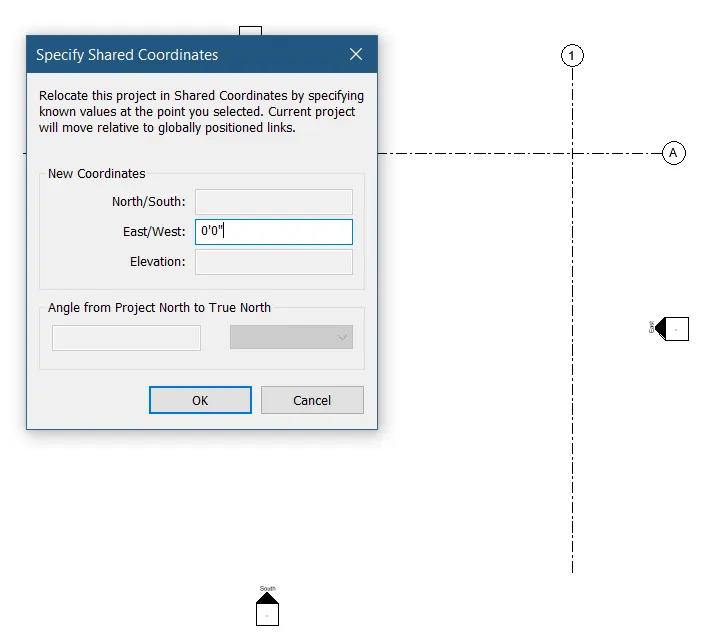
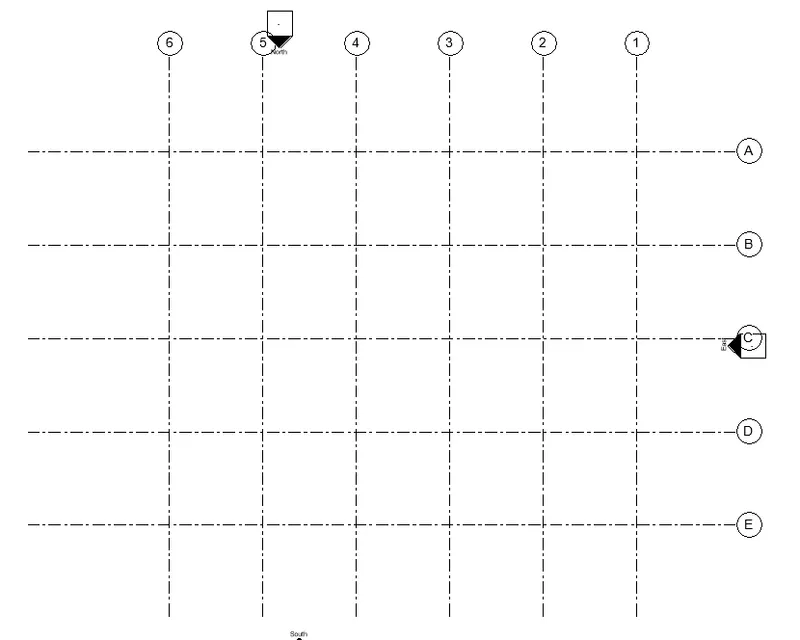
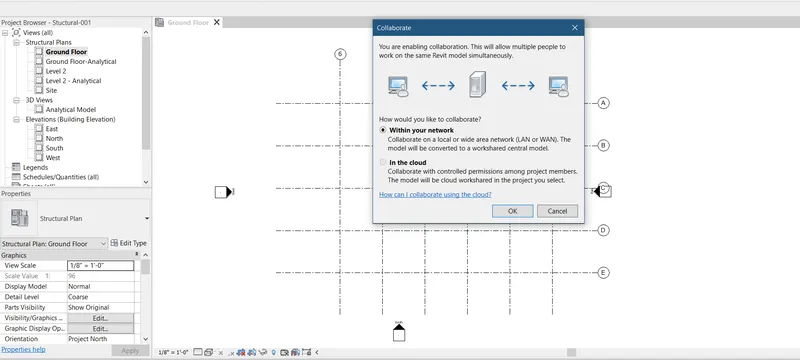
- Now create the architectural template and follow the same procedure as done for the structural one
- Now link the structural template to architectural and use copy monitor option to copy the grids to architectural tab
- Use acquire coordinates option
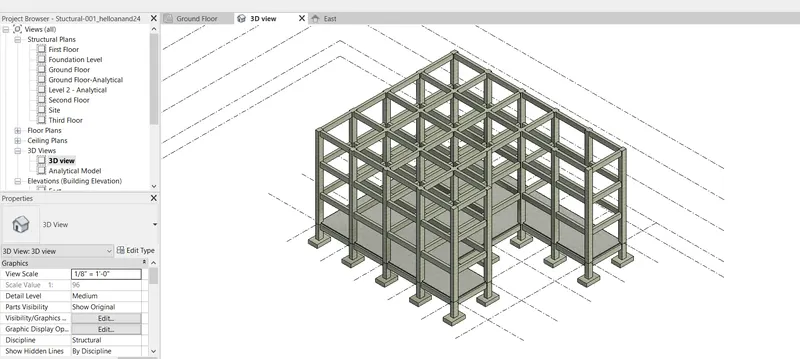
- Now open the sturctural template and create different levels
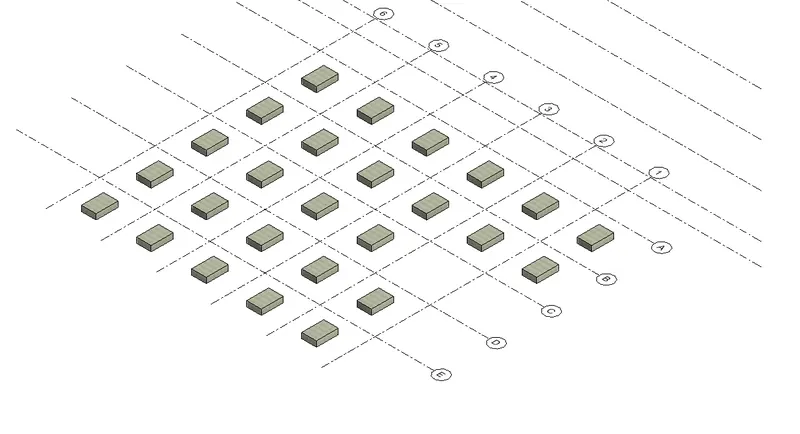
- Now Create foundation level at a depth of 6'
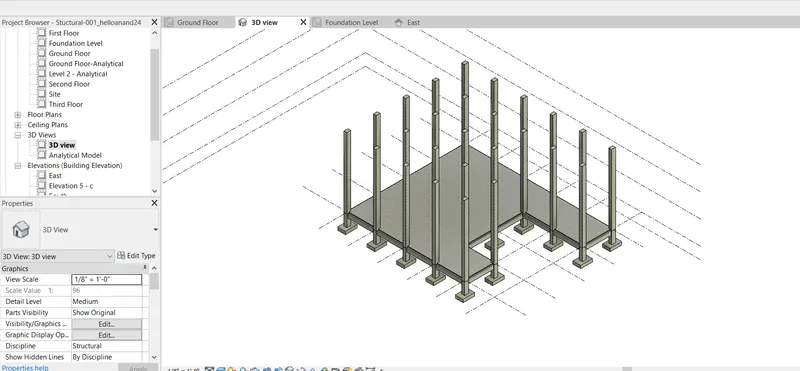
- Create First, Second and Third floor at a height of 12'
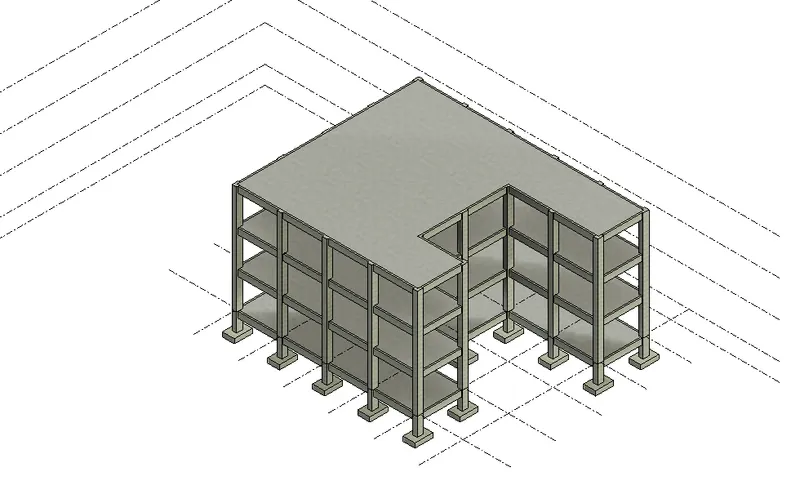
- Create isolated foundation 72"x 48" x 18"
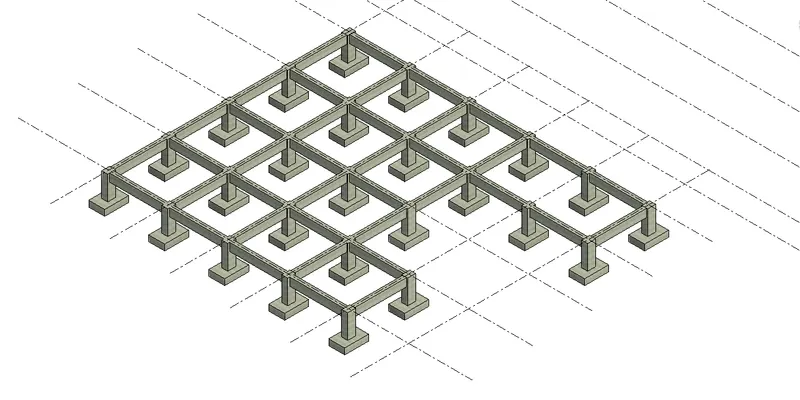
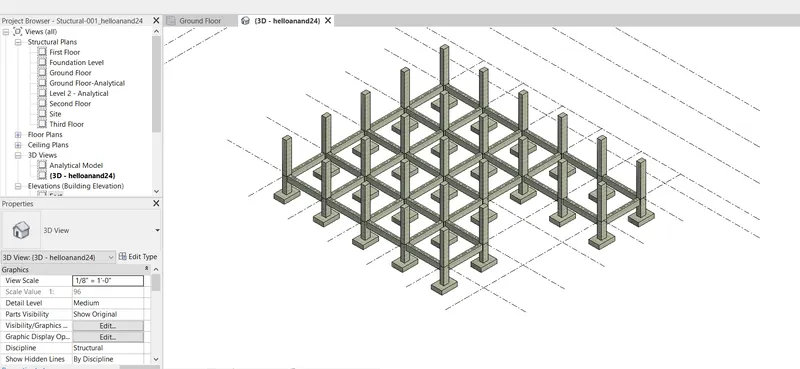
- Create columns and footing column at respected levels
- Next create beams and floors
4) Using the architectural model, include the following components based on the type of structure selected
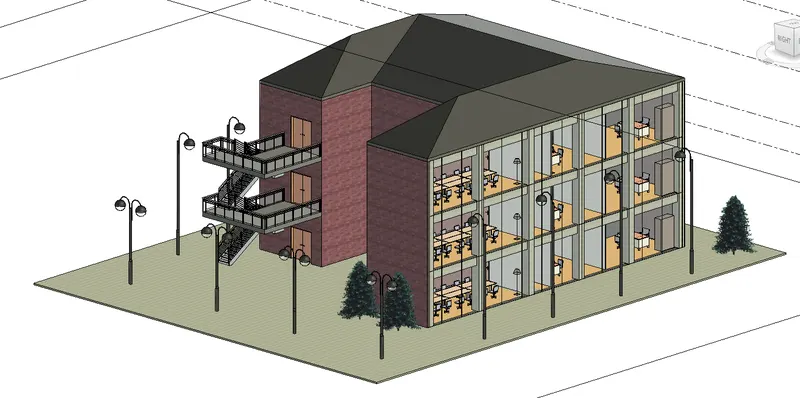
a. Wall Layout with appropriate material and finishing
b. Exterior façade with fancy finish
c. Interior partition walls to size rooms
d. Components to add details to a room ( Desk, Chair, Lighting, Plumbing fixtures)
e. Add components such as stairs Elevators
f. Have at-least one side of the building with curtain walls and glass panels
g. Include interior and exterior lighting fixtures
h. Place proper topographic components from outside ( Trees, Parking, Plants) to add details to the model
Procedure:
Steps:
- Now open the architectural tepmlate created above
- We can see the structure created
- use copy monitor option to copy grids and levels
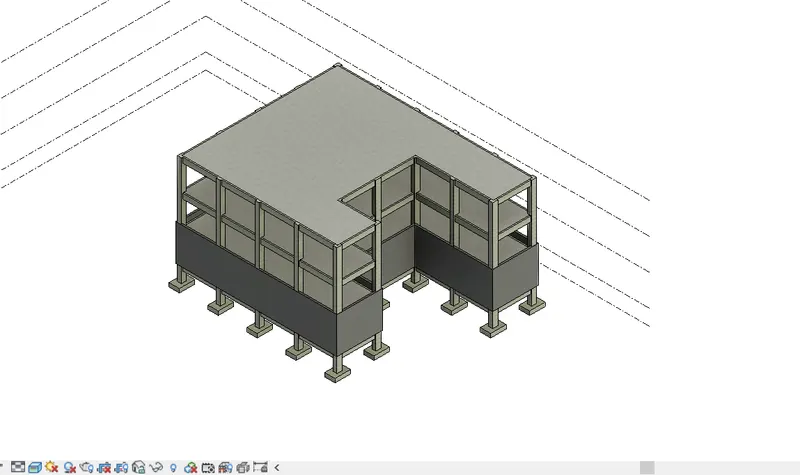
- Now create walls from architecture tab and connect the wall upto roof level
- Create Partition walls
- Adding components to add details to a room like chair, table, plumbing fixtures etc.
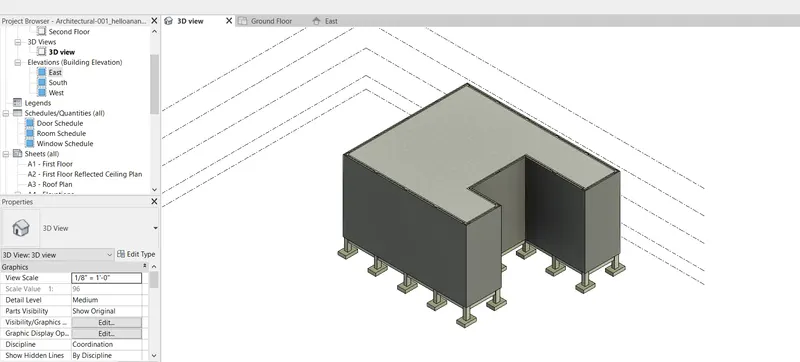
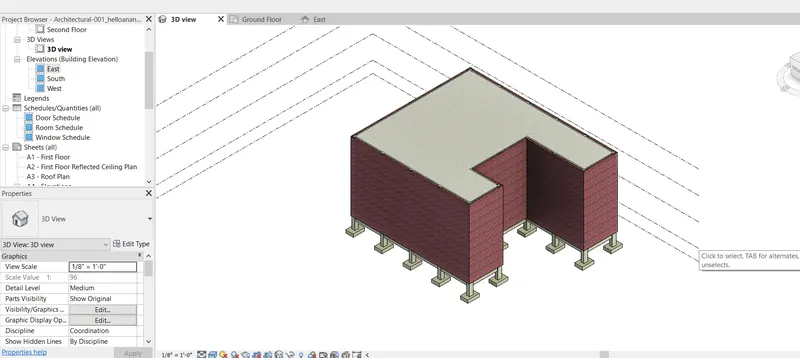
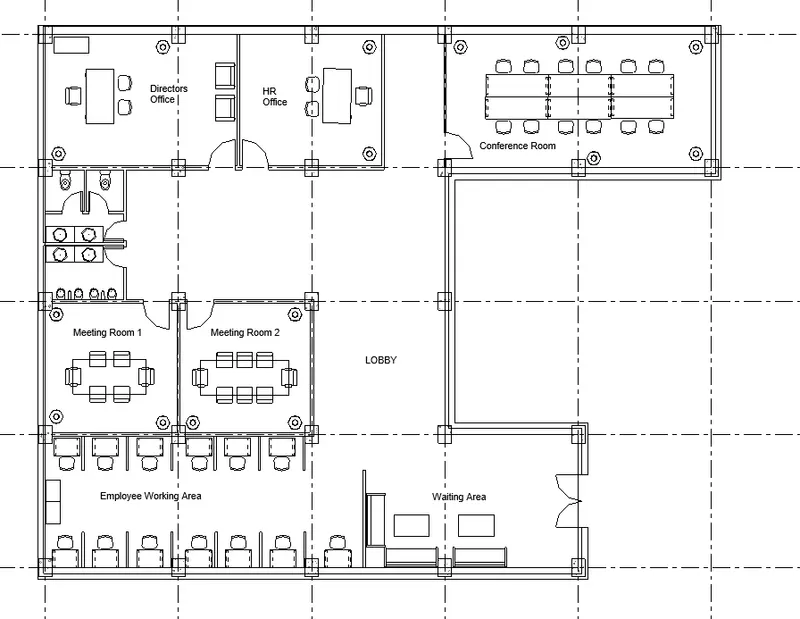
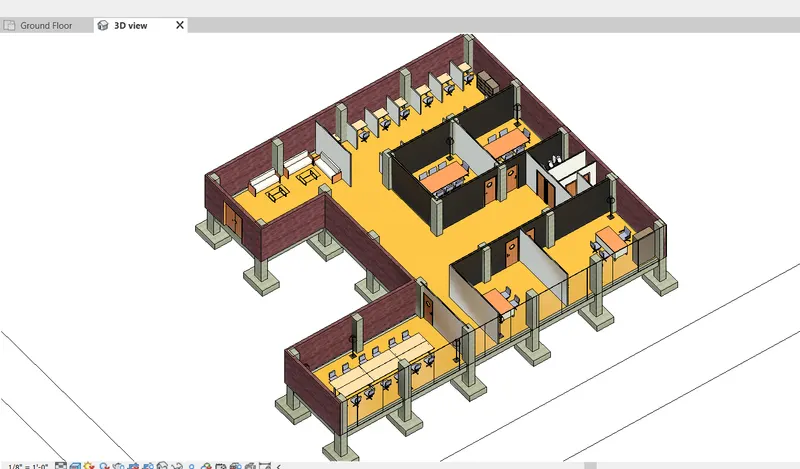
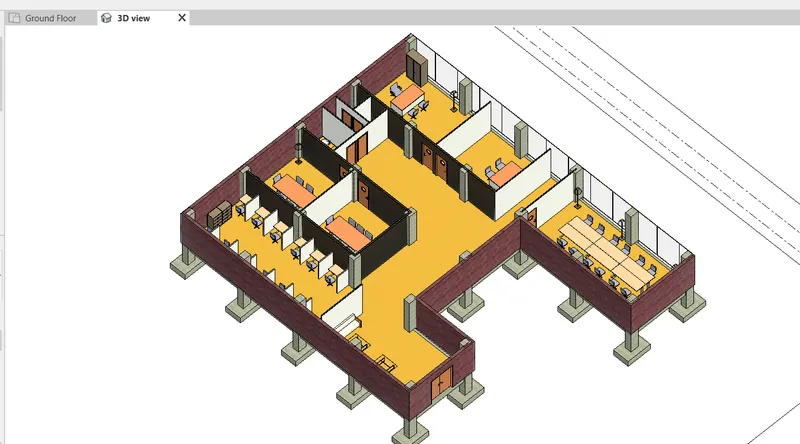
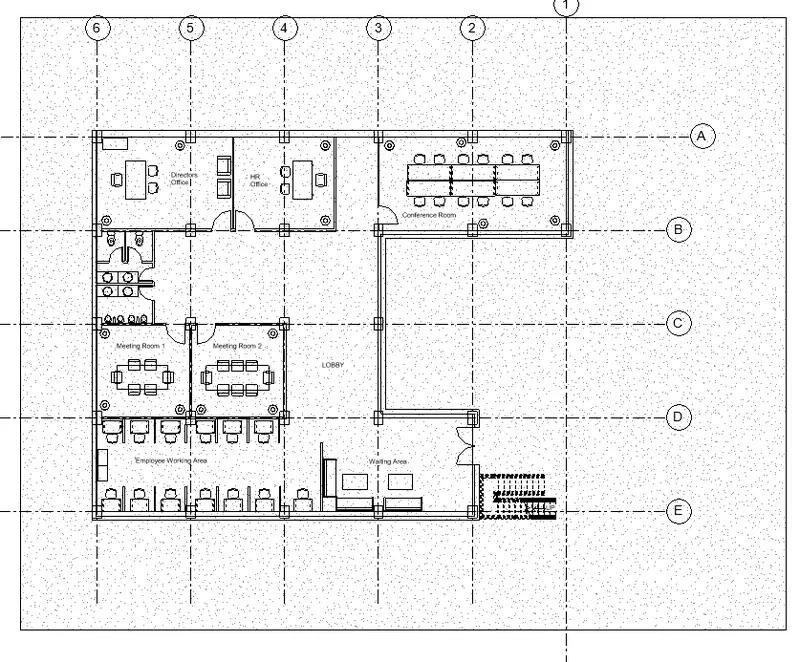
- Now we add lights and roof to the building
- Also we add stairs and External components like trees and cars
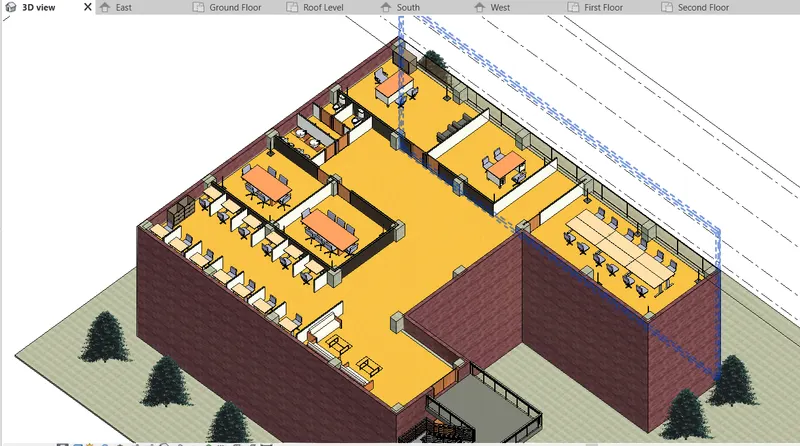
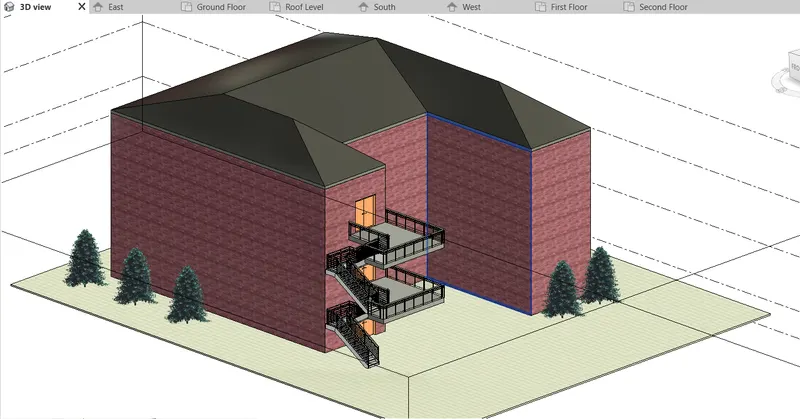
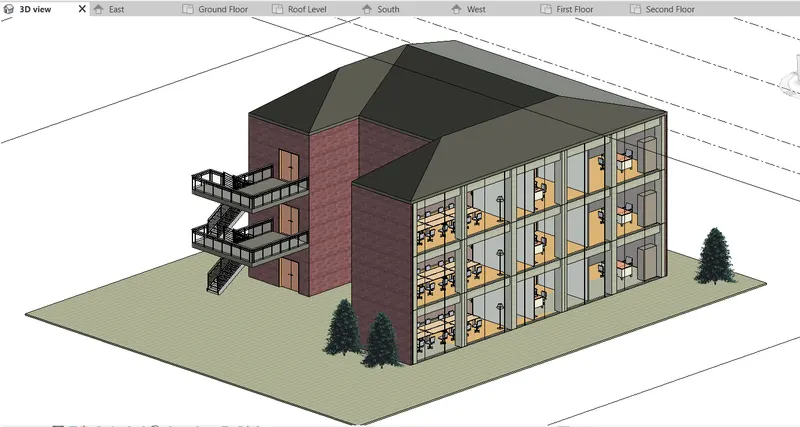
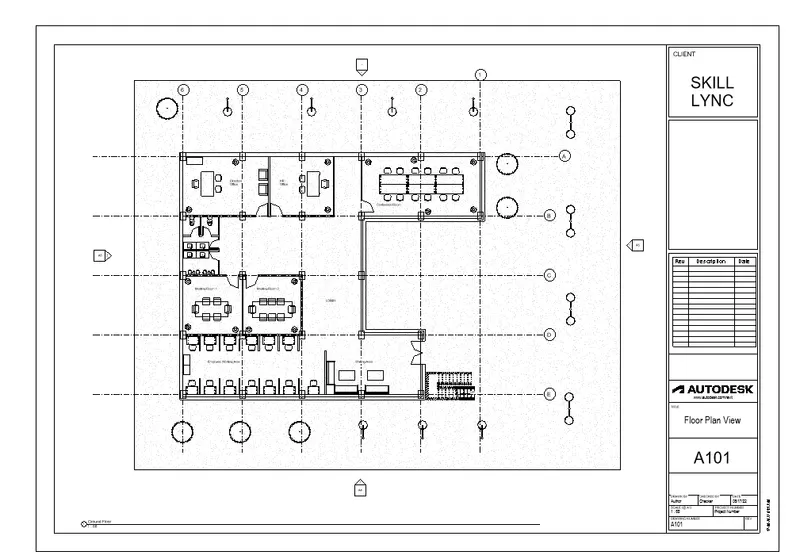
5) Provide a set of drawings in an architectural and structural model to list the following details with categories and appropriate sheet templates included
a. Floor Plans with Annotations
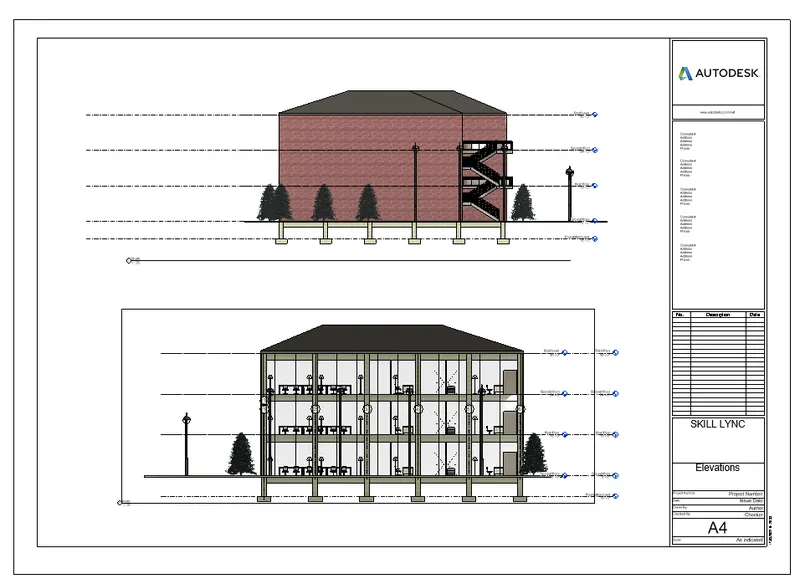
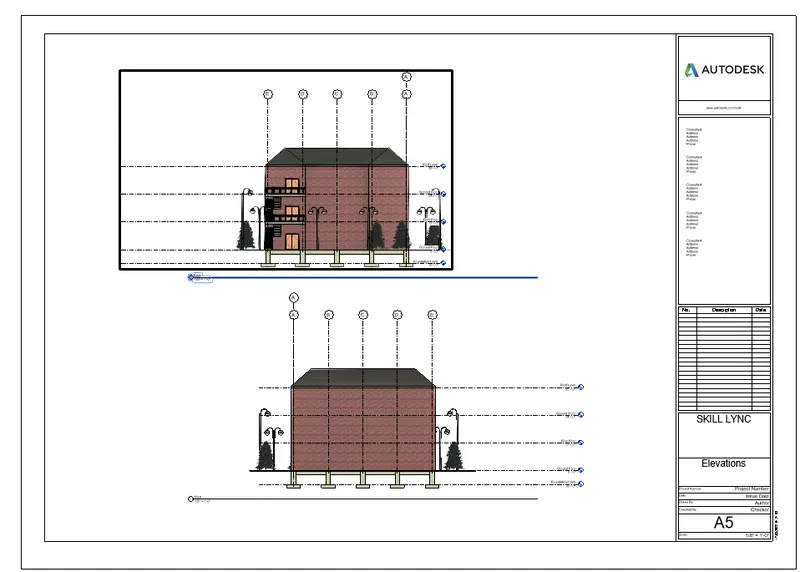
b. Elevations
c. Sections
Procedure:
Steps:
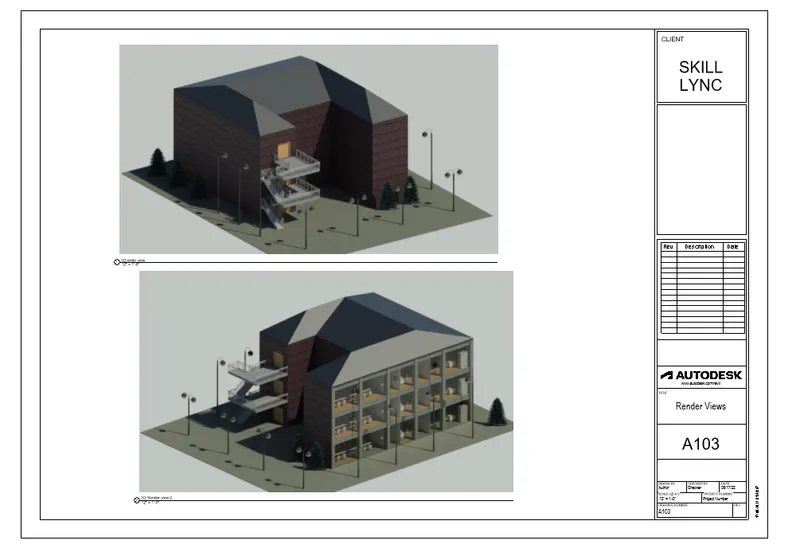
- Goto to view tab and select sheets option
- Select the sheet template u want to add
- Sheet template will appear, then go back to view tab to add views to the sheet
- Add Floor plan view iin a sheet
- Create another sheet and add elevation views and section views so on
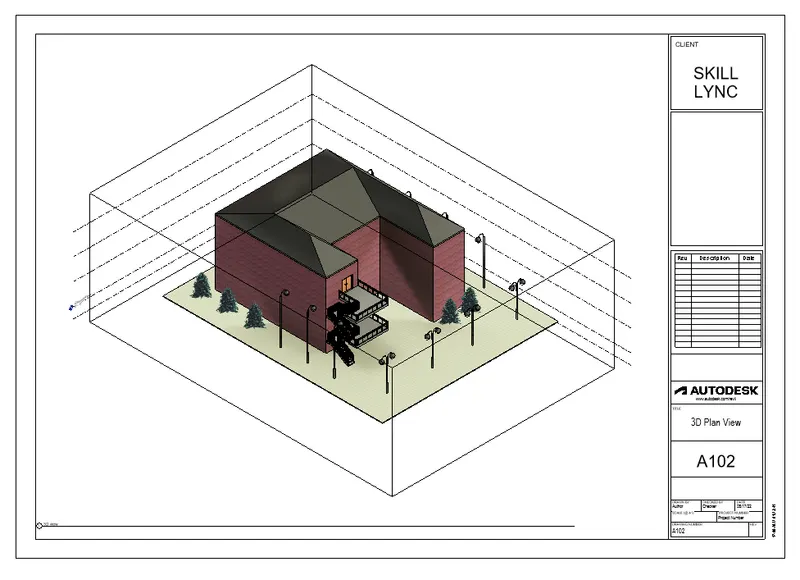
6) Using the Rendering settings, Render images of the 3D model produced and include the rendered images to the drawing sheets
a. Rendering from interior rooms
b. Rendering from out showing topographic features
c. Rendering through structural framing
Procedure:
Steps:
- Now use rendering option from the view tab to render the views
- Create specific views to render