Creating Architectural and Structural model with 3D rendering using REVIT
Question 1:
Select the type of structure you want to build from one of the three below:
a. Multi-Unit Residential Apartment
b. Office Buildings
c. School
Answer:
The type of Structure is Multi - Unit Residential Apartment.
Question 2:
Assume reasonable assumptions for geographic and location details for your project modeling. Based on assumptions and type of structure selected identify the modeling requirements from NBC.
Answer:
The type of the structure is Residential Building Which Belongs to Group A
The location detail of My project is Chennai.
My project is Located near the Highway.
The Width of the Road is 60' and Height of my building is 40'
With reference to NBC the Height of the Building should not be higher than 1.5 time the Width of the road.
In this case My project is situable for construction under the Preferred Location.
Question 3:
AIM:
Using the structural model, include the following components based on the type of structure selected
a. Foundation – Isolated / Wall/Matt Foundation
b. Columns
c. Beams Connected to Columns
d. Roof Framing/ Truss
e. Floor / Decks
f. Floor Openings for Elevators and Stairs
PROCEDURE:
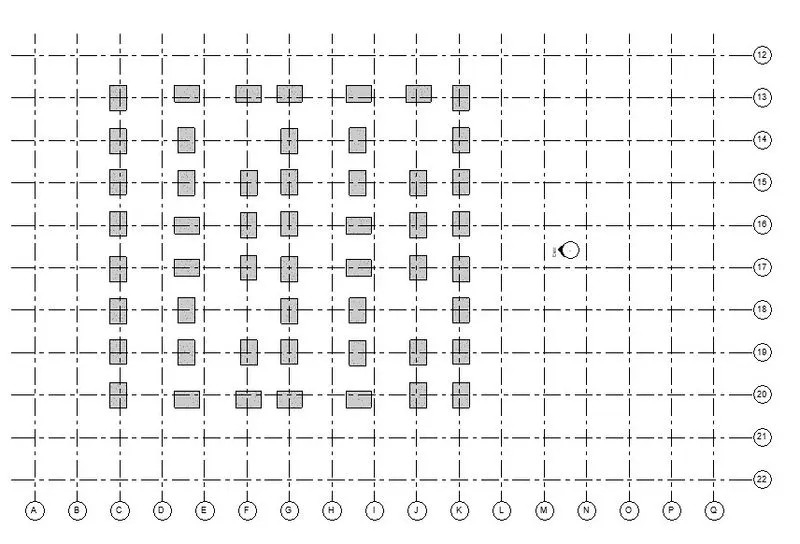
a. Foundation – Isolated / Wall/Matt Foundation
- By using the Challenge 6 - Project 2. Open the Structure Project.
- The Grids are already Placed in the Structural Project itself, We can directlty Place the Isolated Footings on the grids. (Foundations)
- On the Structure Tab Click Isolated Footing and Click on the Grids.
- After Clicking on the grids Drag the Cursor on the Grids.
- Thus the Footing will be placed on the respective grids.
b. Columns
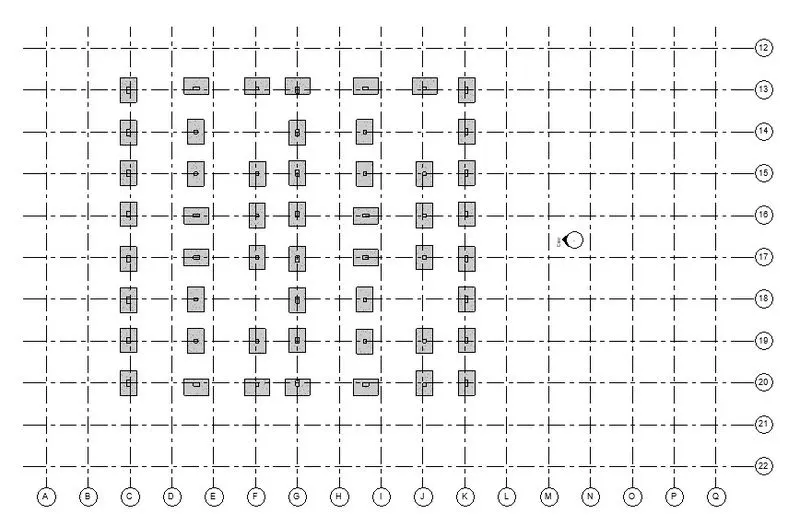
- On the Structure Tab Click Columns, check column Size in the Properties and Click on the Grids.
- After Clicking on the grids Drag the Cursor on the Grids.
- Thus the Columns will be placed on the Footings.
c. Beams Connected to Columns
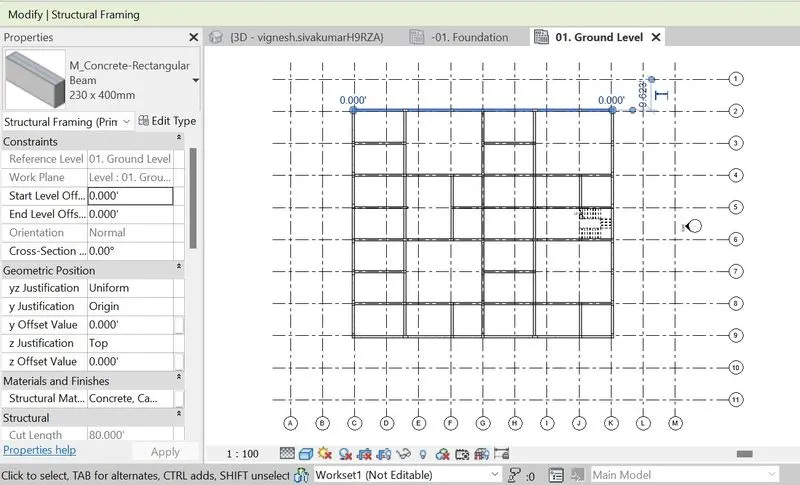
- Like we placed Columns Click on the Beams, Select the Beam Size and Click on the Grids.
- After Clicking on the grids Drag the Cursor on the Grids.
- Thus the beams will be placed.
d. Roof Framing/ Truss
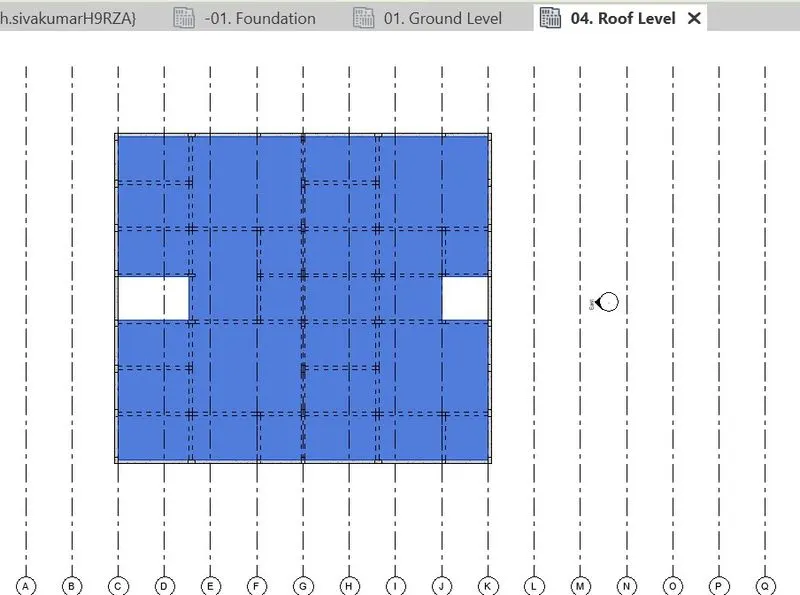
- Open the Roof from Structural Floors in the Project Browser.
- Click the Slabs/Structural Floor in the Ribbon tool bar.
- Using the Draw Toos connect all the beams of the outer boundary / builtup area.
- After checking for Closed Loops and intersecting of lines Click the Finish Edit Mode.
- Thus the Creation of Roof is completed.
e. Floor / Decks
- Open any of the Floor plan from Structural Floors in the Project Browser.
- Click the Slabs/Structural Floor in the Ribbon tool bar.
- Using the Draw Toos connect all the beams of the outer boundary.
- After checking for Closed Loops and intersecting of lines Click the Finish Edit Mode.
- Thus the Creation of Floor is completed.
- Now repeat the Same procedure for Other Levels also. / We can use Copy to Clipboard option to place the typical Floors.
- After copying Click the Paste to Clipboard option and select to Aligned to Selected Levels.
- Select the Floors to place the Floors and Give OK.
- Thus the Floors has been created to all the required floors.
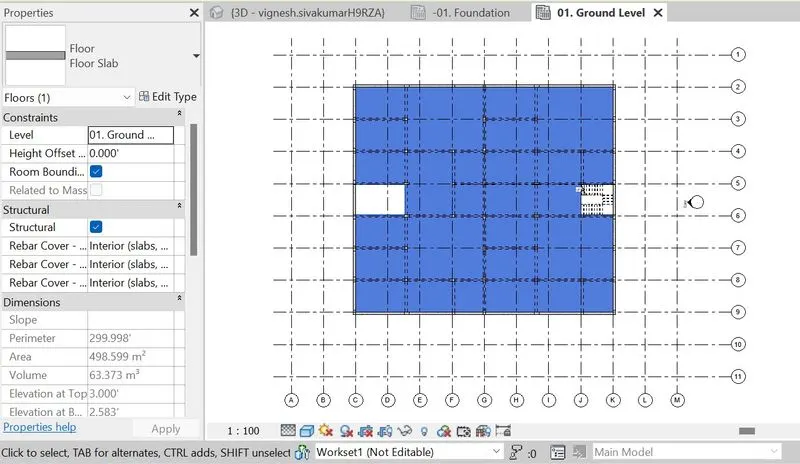
f. Floor Openings for Elevators and Stairs.
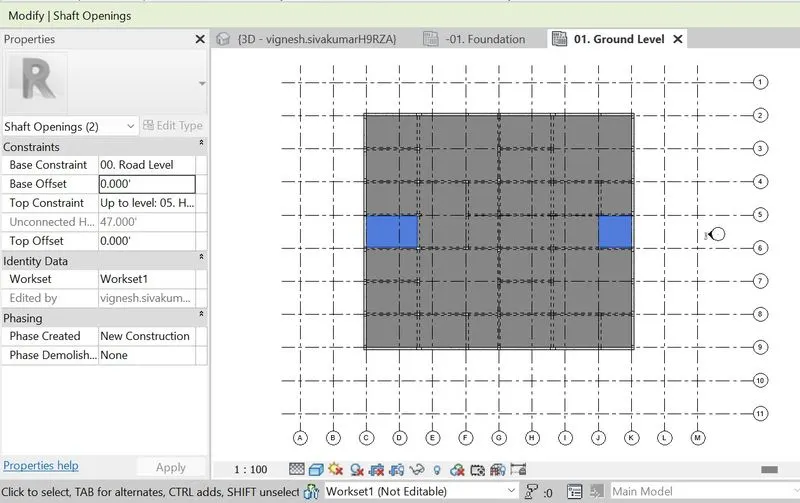
- After creating the floors we should have Openings for the Staircase and Elevators.
- We can use Shaft openings for opening the floors.
- On the Structure tab click shaft openings.
- Draw the OPening on the floor by using the draw tools of the Shaft openings.
TASK 4:
AIM:
Using the architectural model, include the following components based on the type of structure selected
a. Wall Layout with appropriate material and finishing
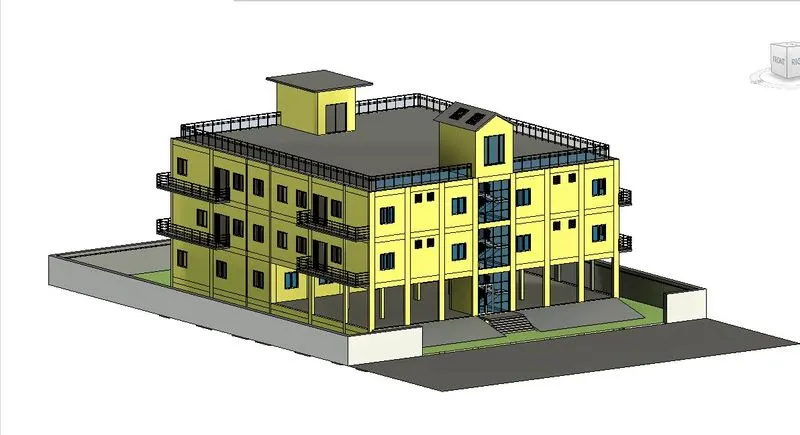
b. Exterior façade with fancy finish
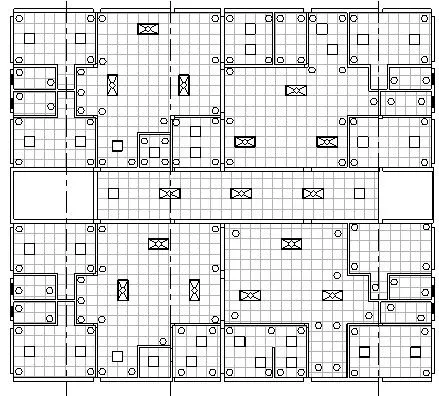
c. Interior partition walls to size rooms
d. Components to add details to a room ( Desk, Chair, Lighting, Plumbing fixtures)
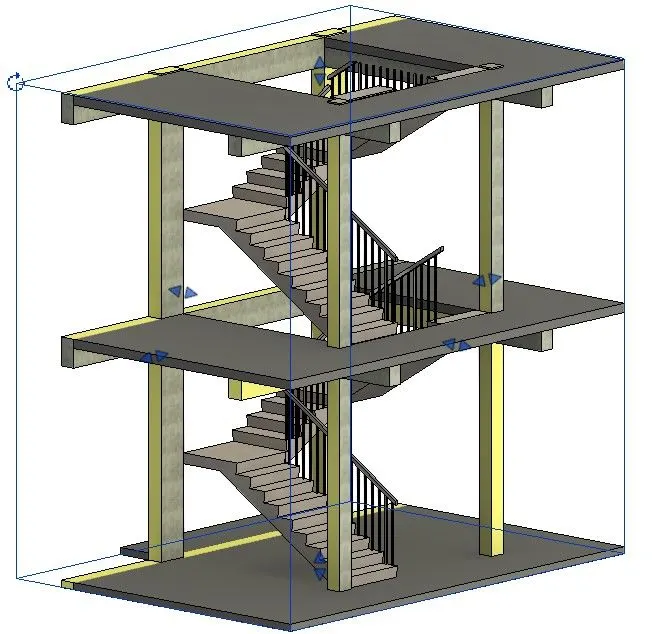
e. Add components such as stairs Elevators
f. Have at-least one side of the building with curtain walls and glass panels
g. Include interior and exterior lighting fixtures
h. Place proper topographic components from outside ( Trees, Parking, Plants) to add details to the model.
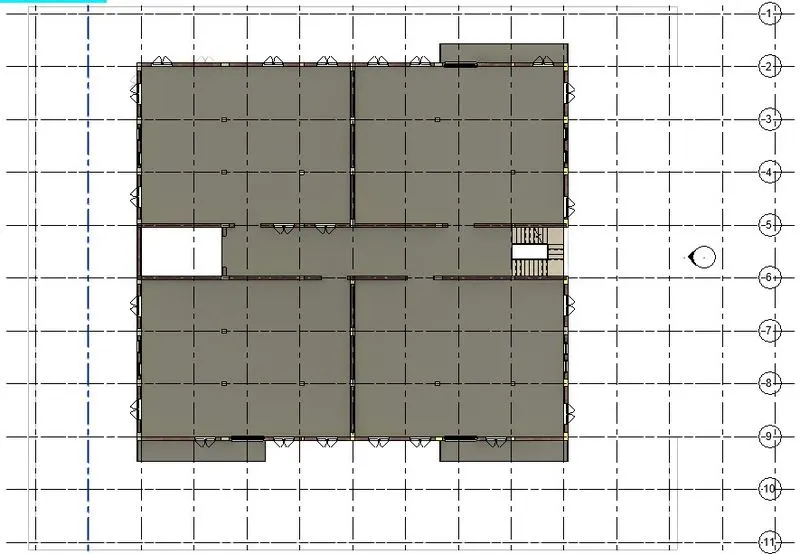
a. Wall Layout with appropriate material and finishing
b. Exterior façade with fancy finish
c. Interior partition walls to size rooms
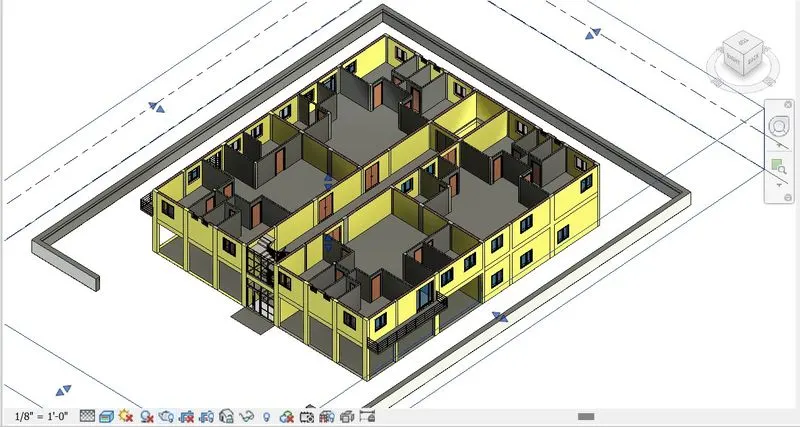
d. Components to add details to a room ( Desk, Chair, Lighting, Plumbing fixtures)
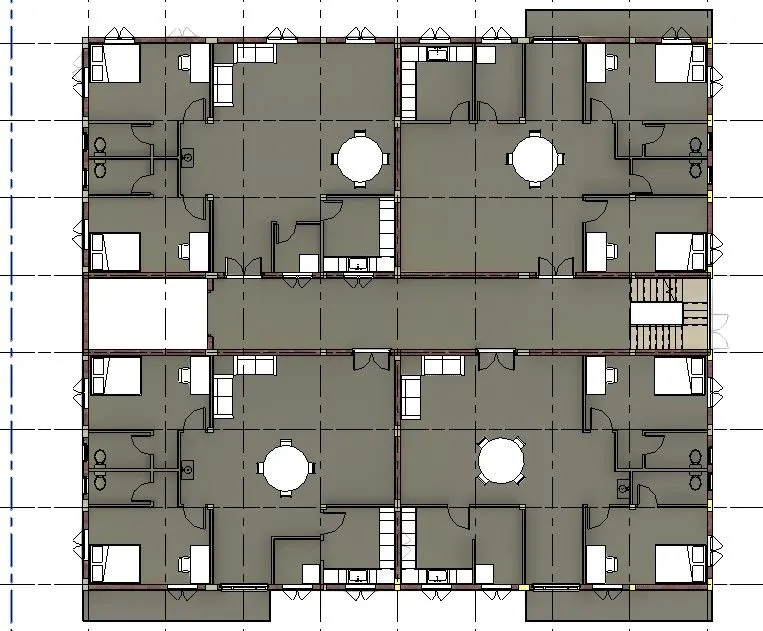
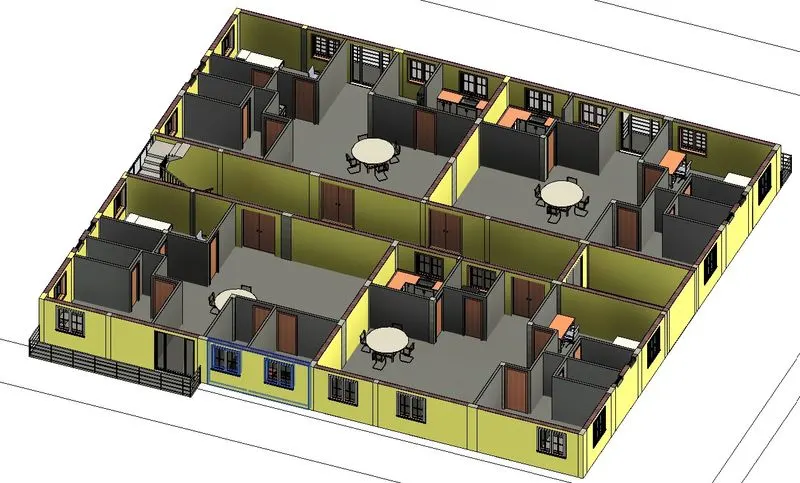
e. Add components such as stairs Elevators:
f. Have at-least one side of the building with curtain walls and glass panels
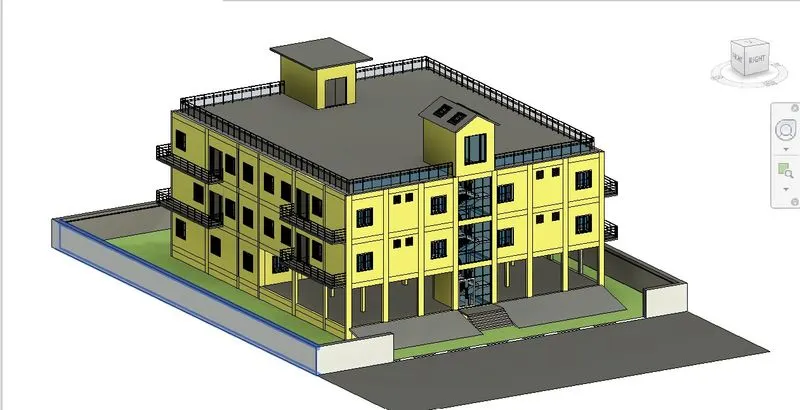
Include interior and exterior lighting fixtures
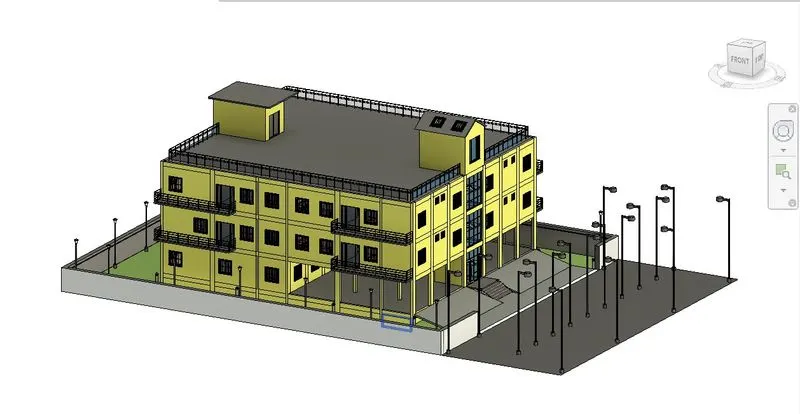
h. Place proper topographic components from outside ( Trees, Parking, Plants) to add details to the model
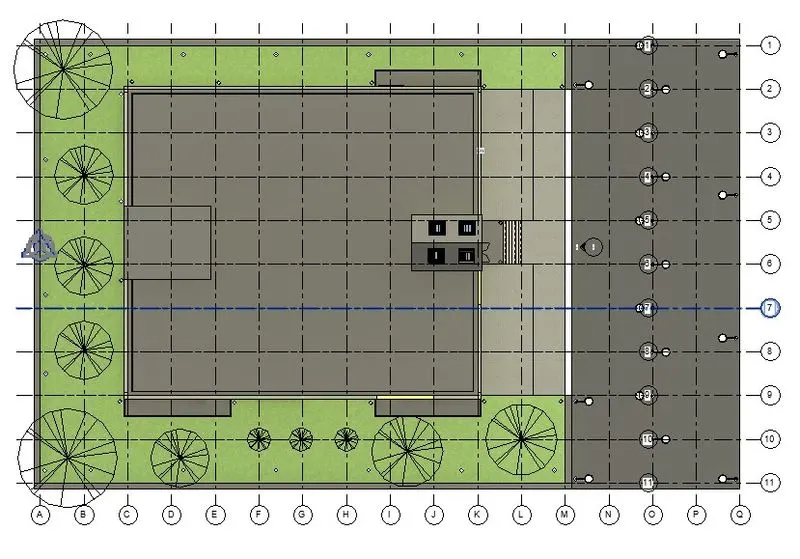
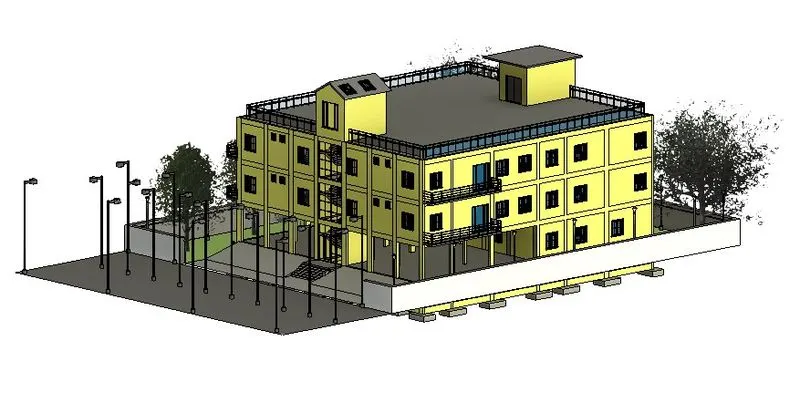
TASK 4:
AIM:
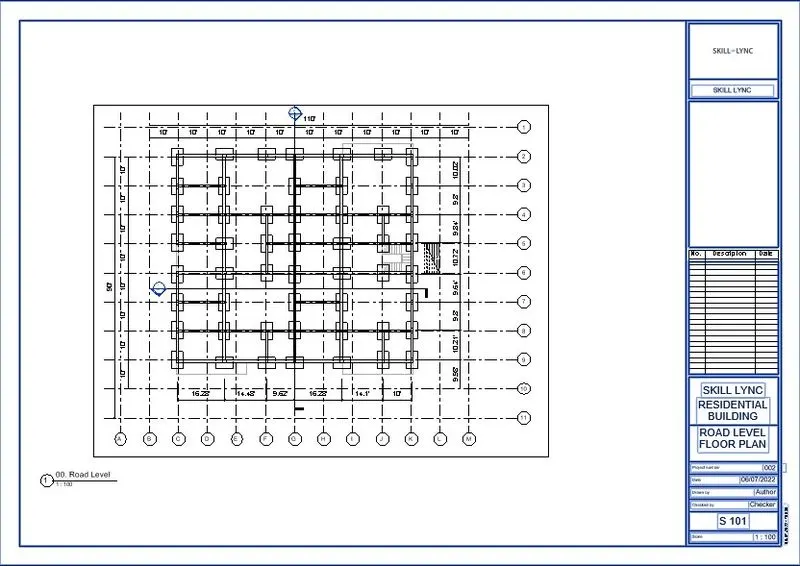
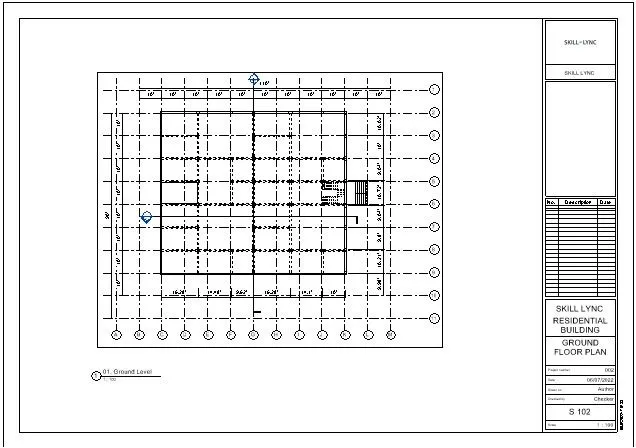
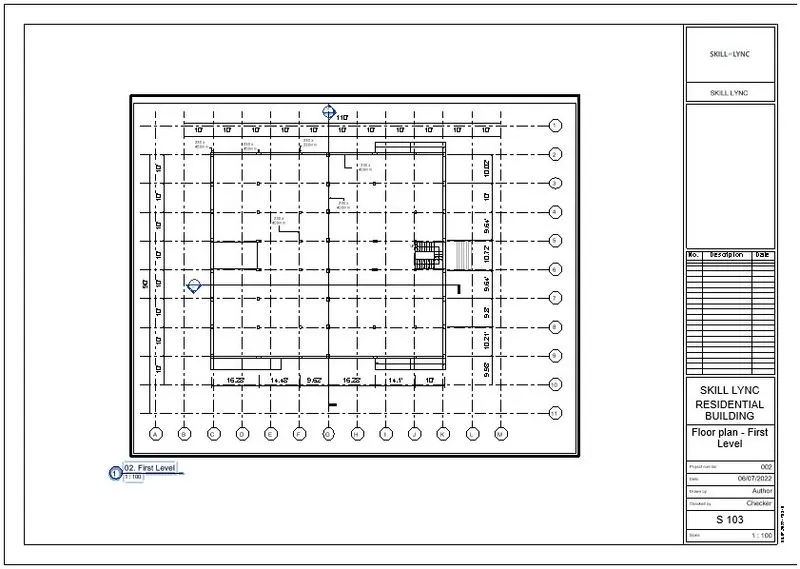
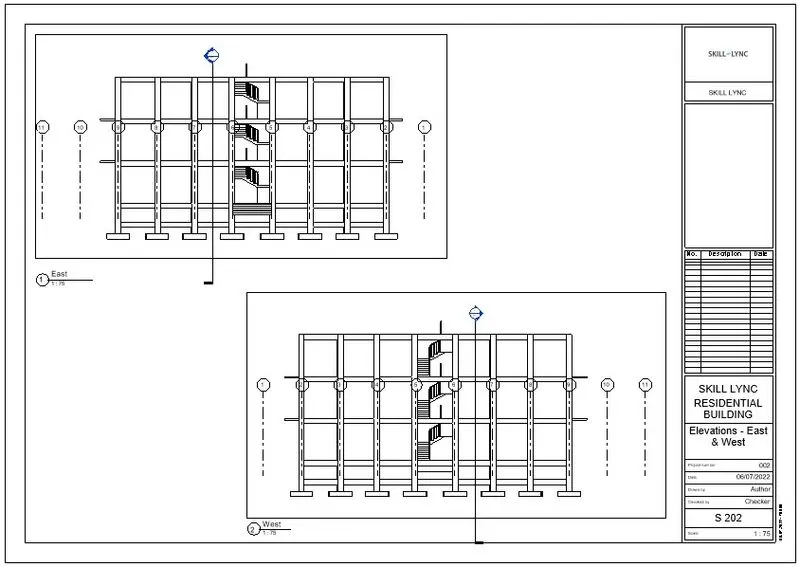
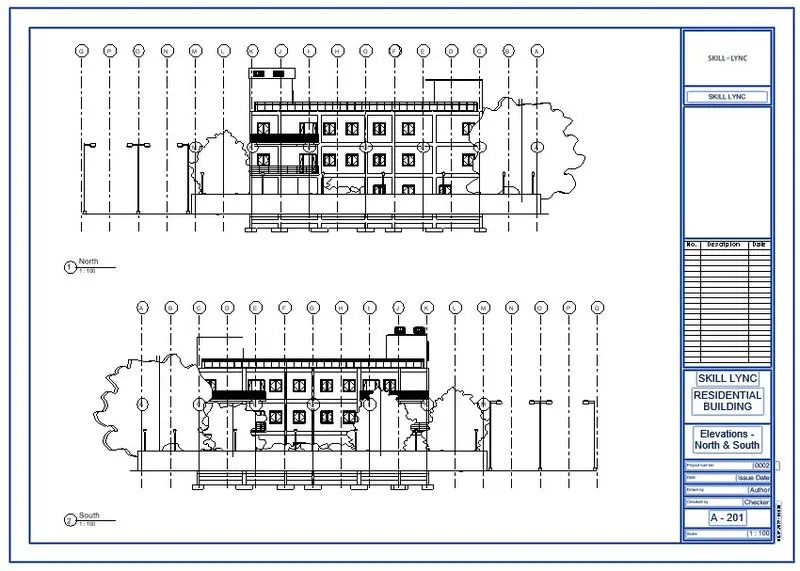
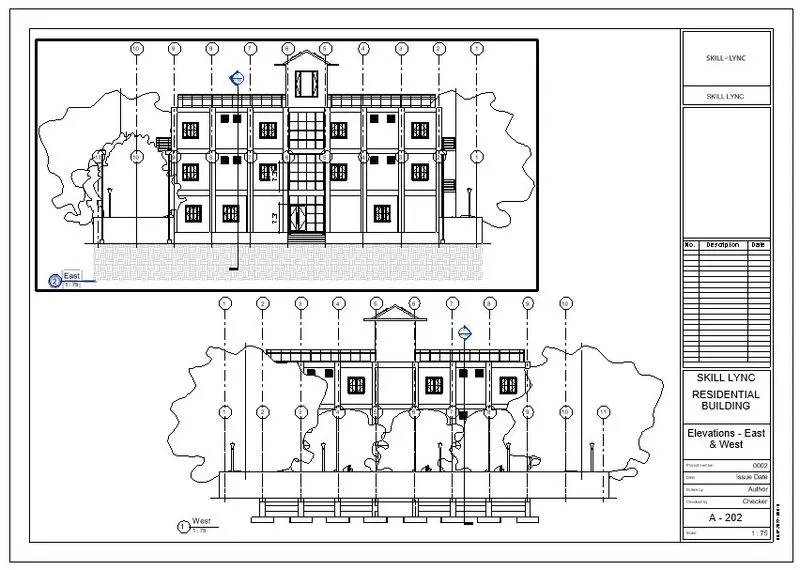
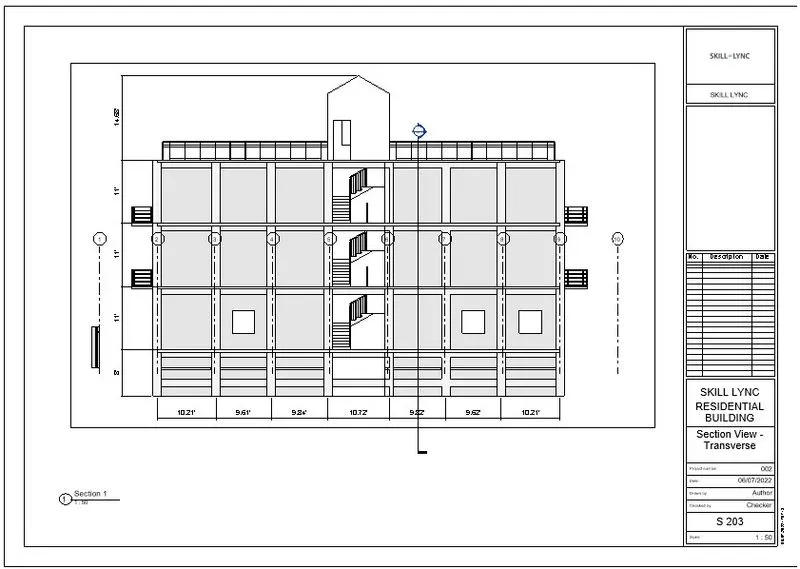
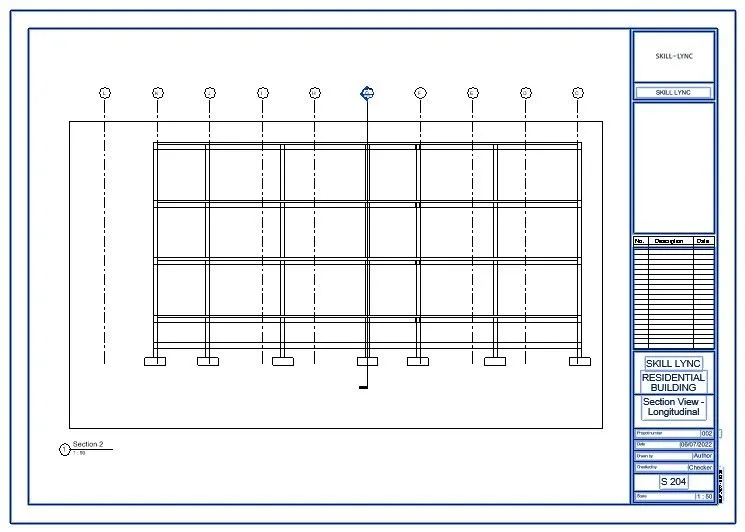
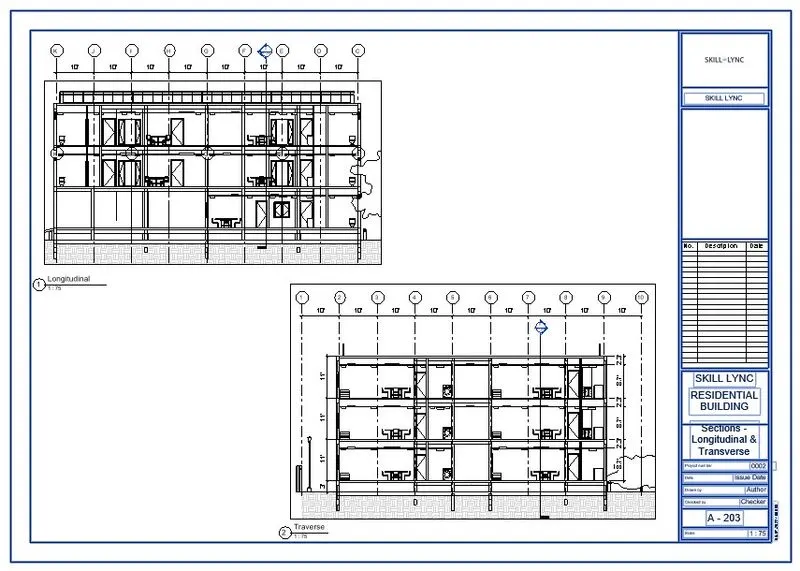
Provide a set of drawings in an architectural and structural model to list the following details with categories and appropriate sheet templates included
a. Floor Plans with Annotations
b. Elevations
c. Sections
PROCEDURE:
a. Floor Plans with Annotations
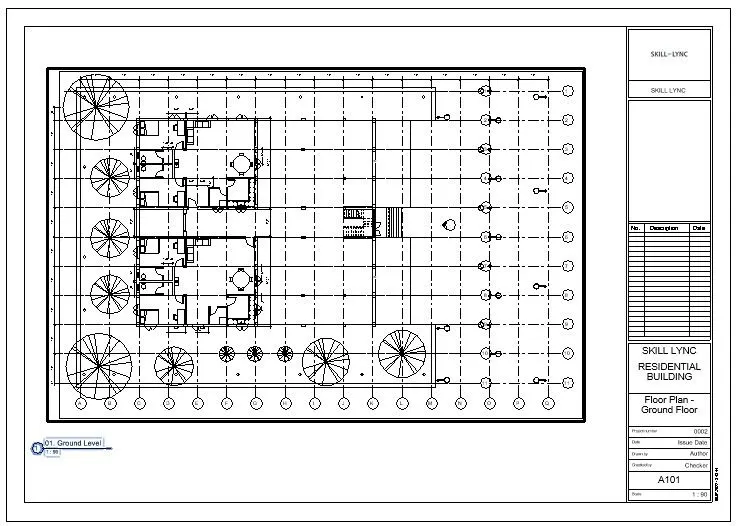
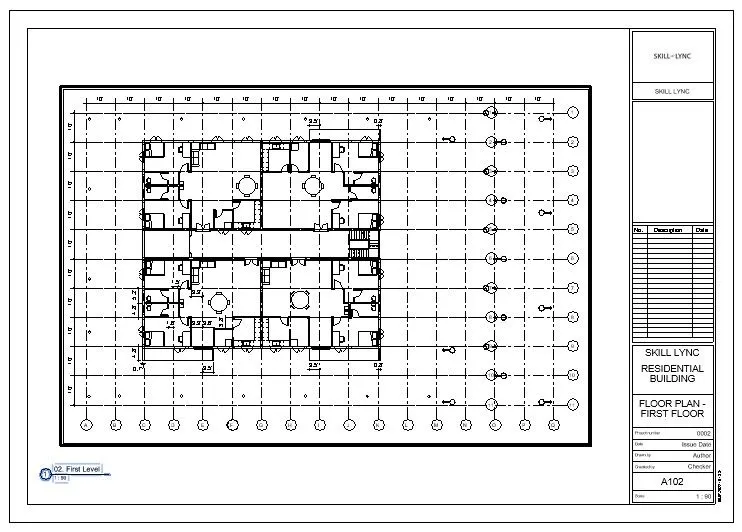
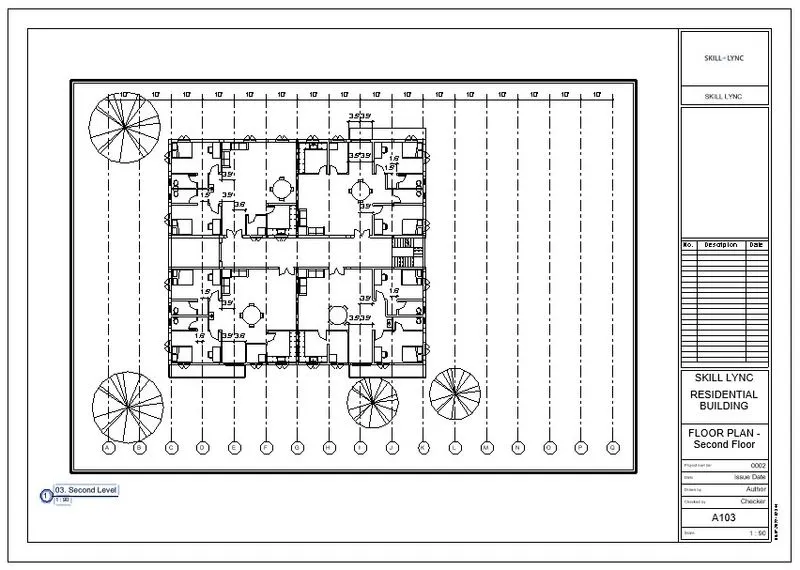
b. Elevations
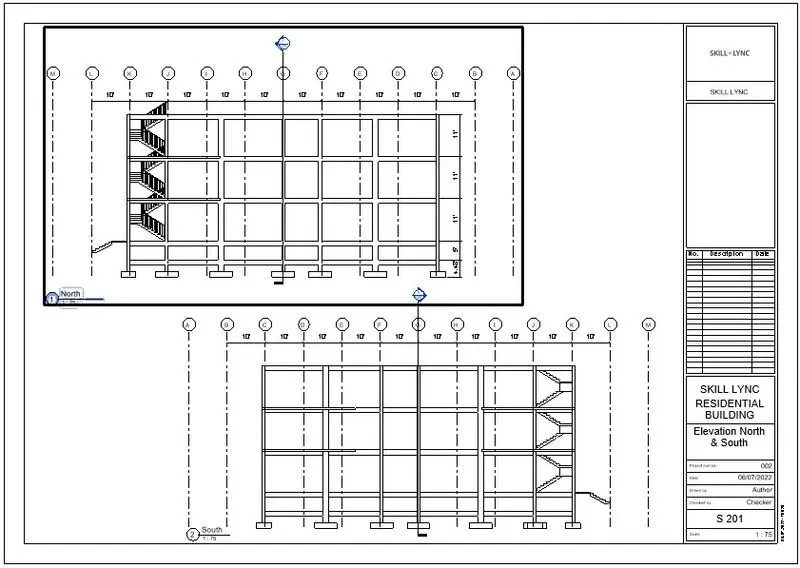
c. Sections
TASK 6 :
AIM:
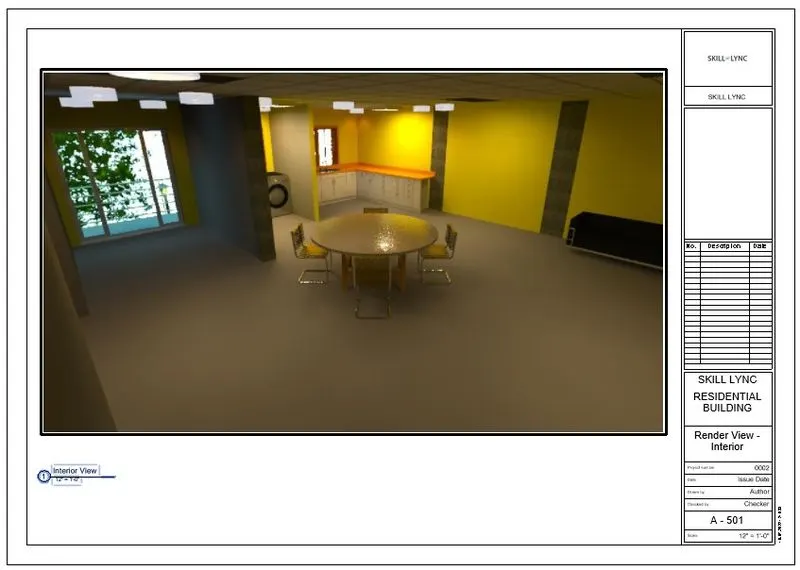
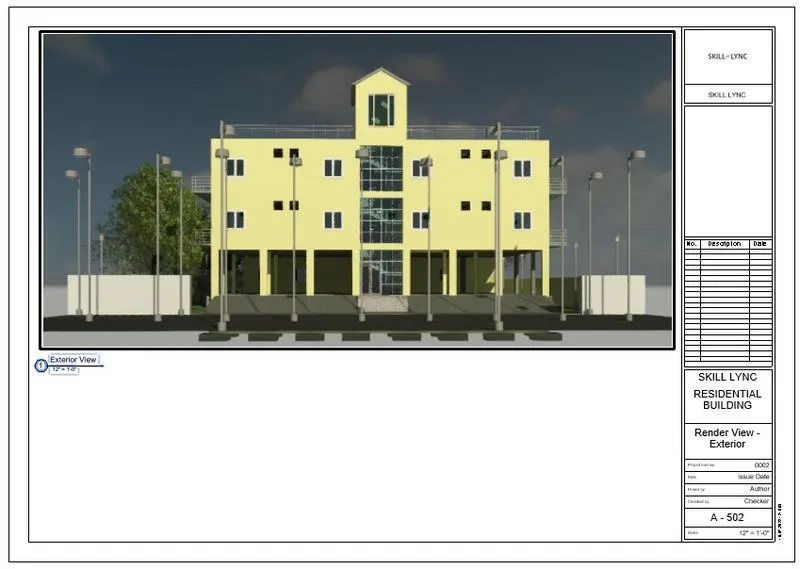
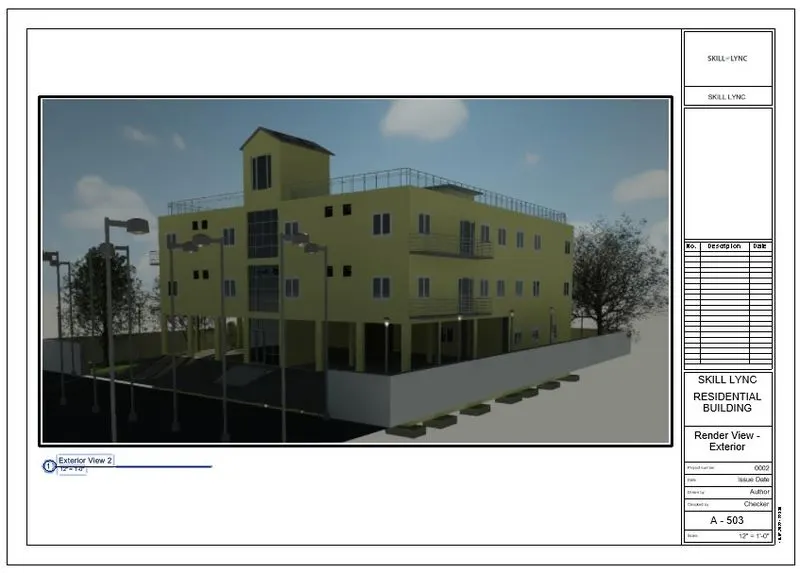
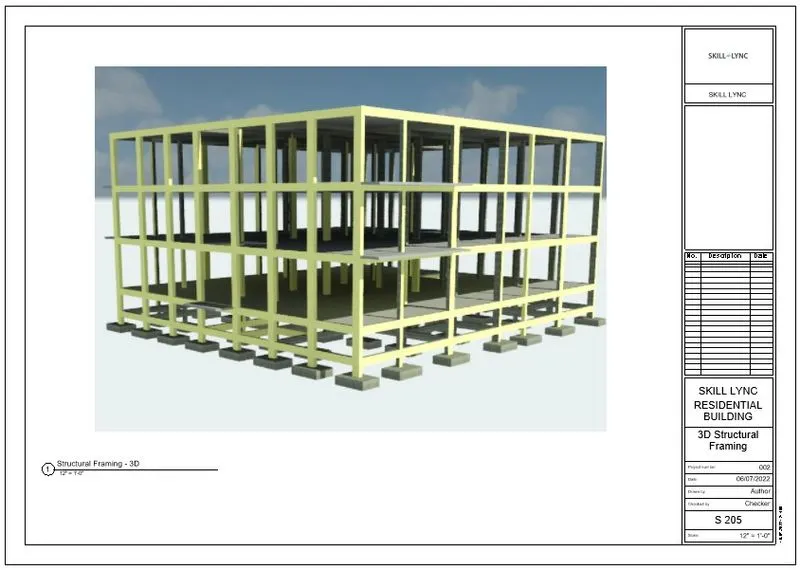
Using the Rendering settings, Render images of the 3D model produced and include the rendered images to the drawing sheets
a. Rendering from interior rooms
b. Rendering from out showing topographic features
c. Rendering through structural framing
PROCEDURE:
a. Rendering from interior rooms
b. Rendering from out showing topographic features:
c. Rendering through structural framing:
TASK 7 :
AIM:
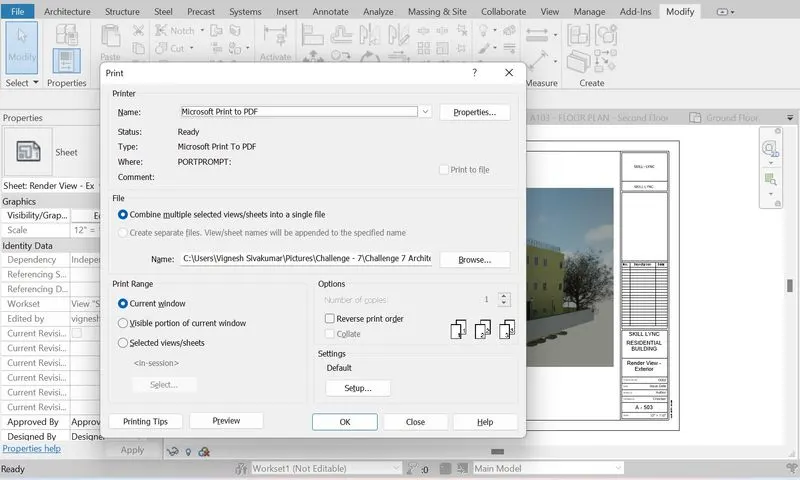
To print the set of drawing sheets created and submit the drawings from the architecture and structure model.
PROCEDURE:
Thus the Challenge has been Completed.