Creating a Wardrobe detailed drawing, Floor Plan, Kitchen Layout and Column Detail using AutoCad
Aim 1 :
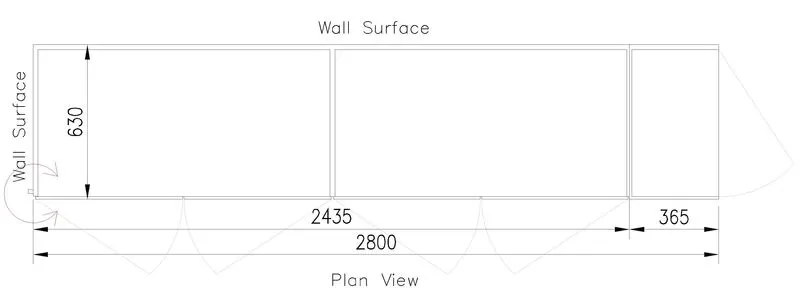
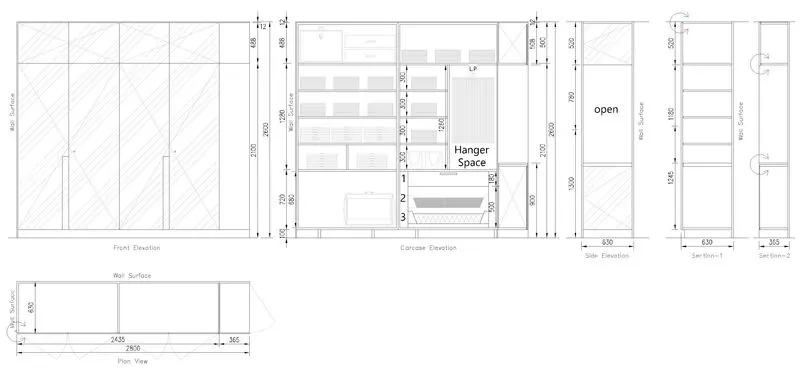
Draw the elevation and details of a wardrobe.
Procedure :
- Use Commands:
- Line
- Fillet
- Offset
- Trim
- Mirror
- Dim
- Mtext
- Steps:
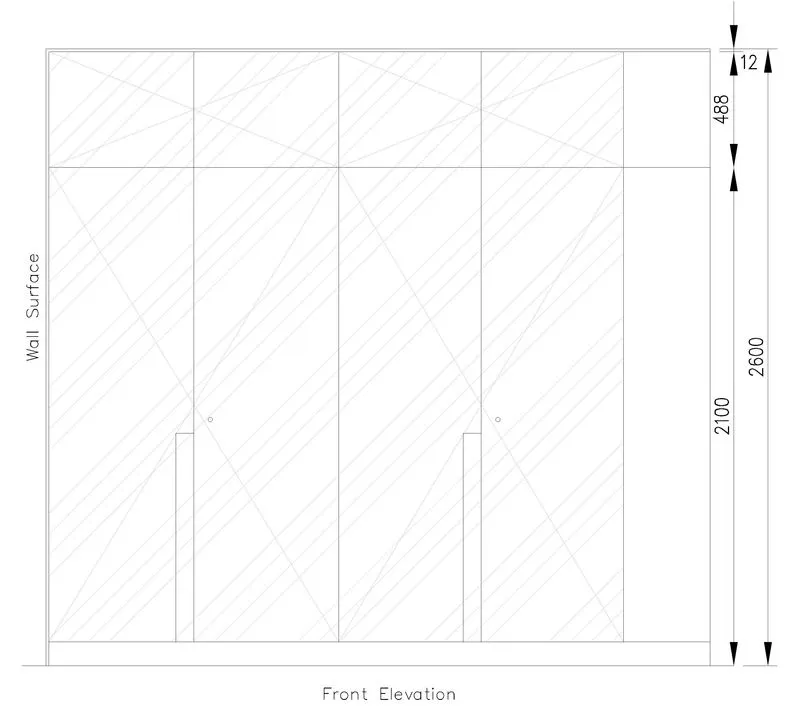
- Using all command first Draw the Front Elevation as given.
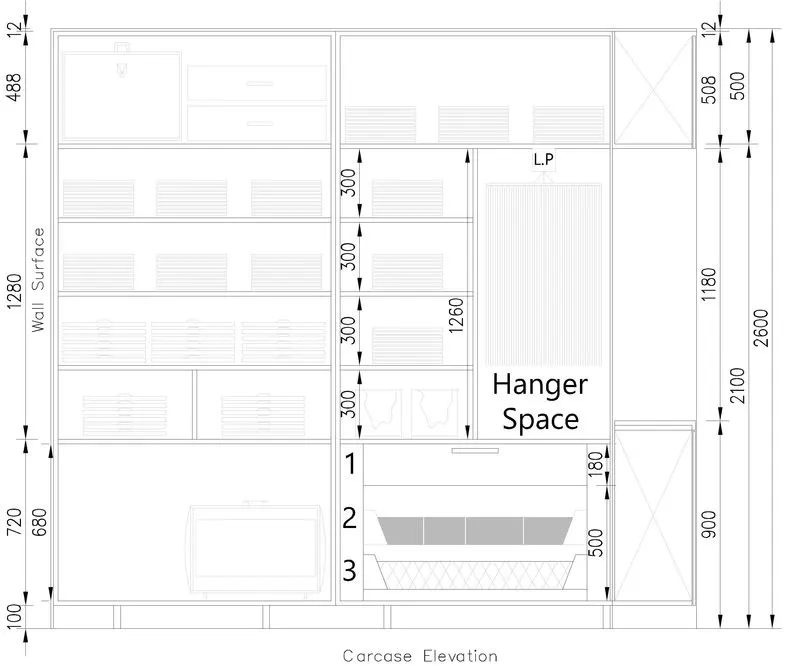
- Now Draw the Carcase Elevation as given.
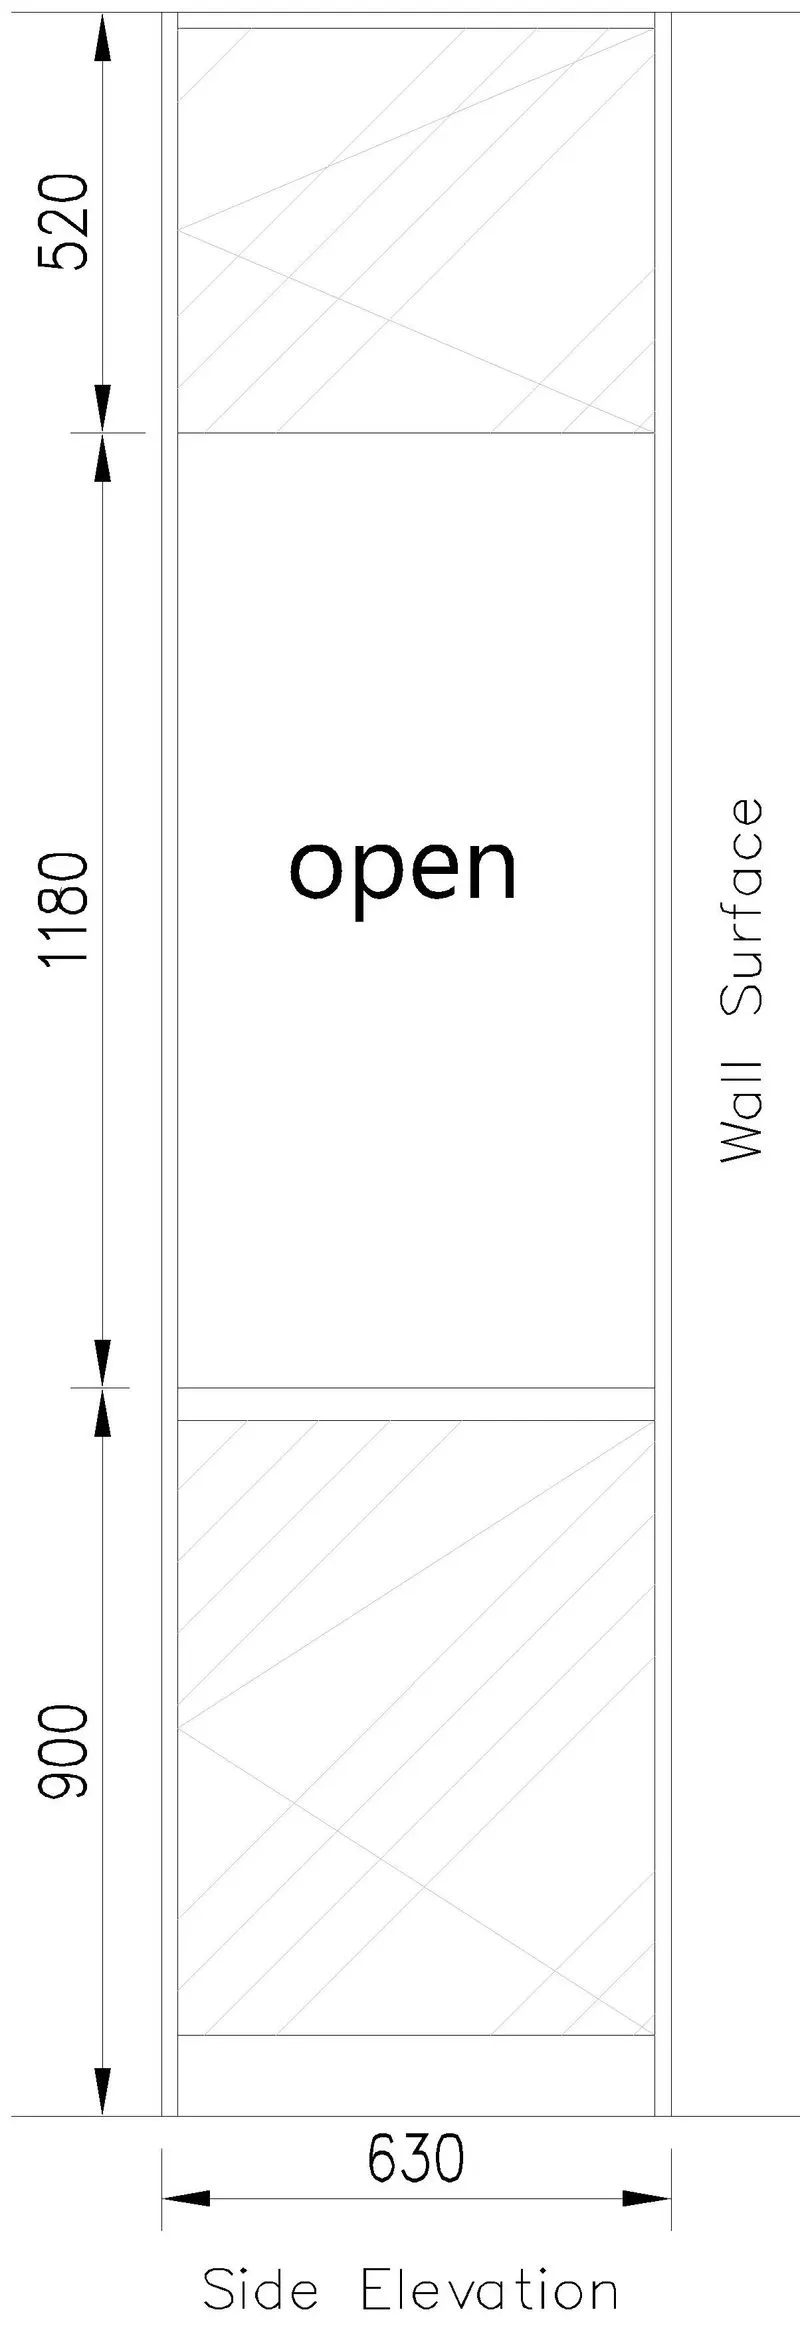
- Draw the Side Elevation as given.
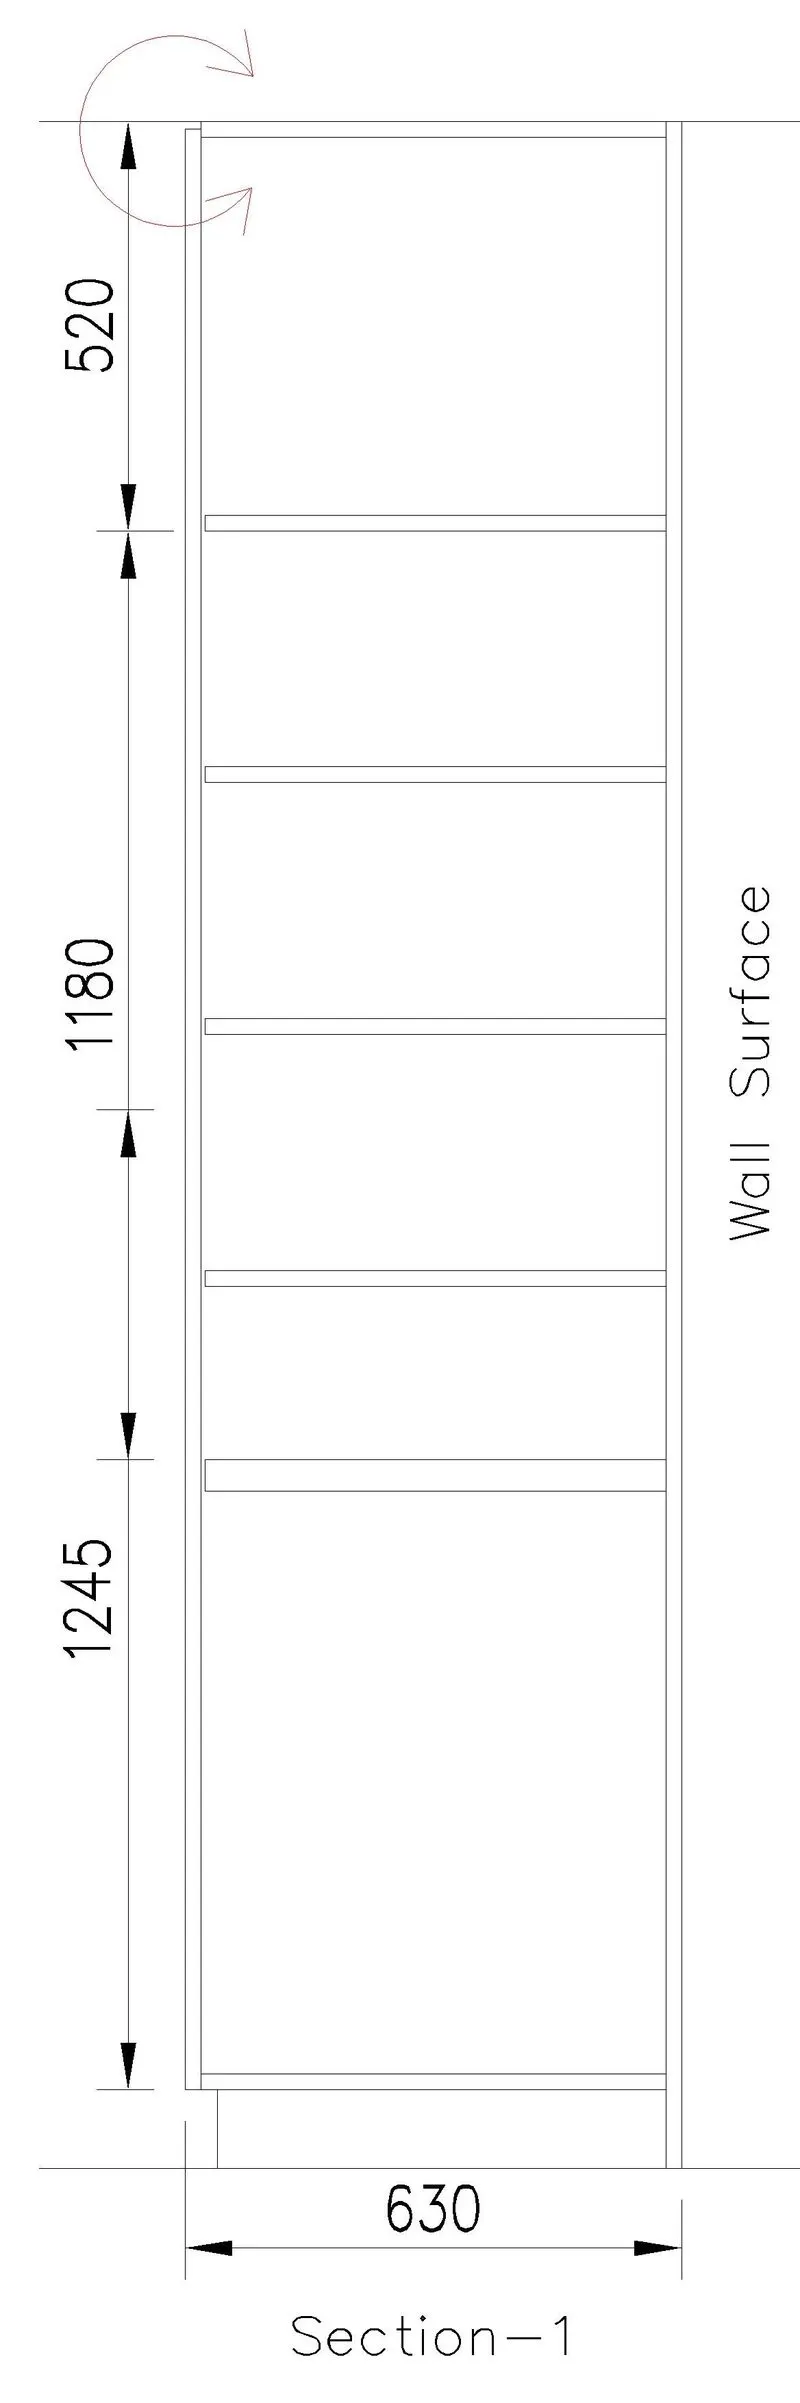
- Draw Section-1 as given in the figure.
- Draw Section-2 as given in the figure.
- Draw Plan View as given in the figure.
- Using all command first Draw the Front Elevation as given.

Result:
Aim 2 :
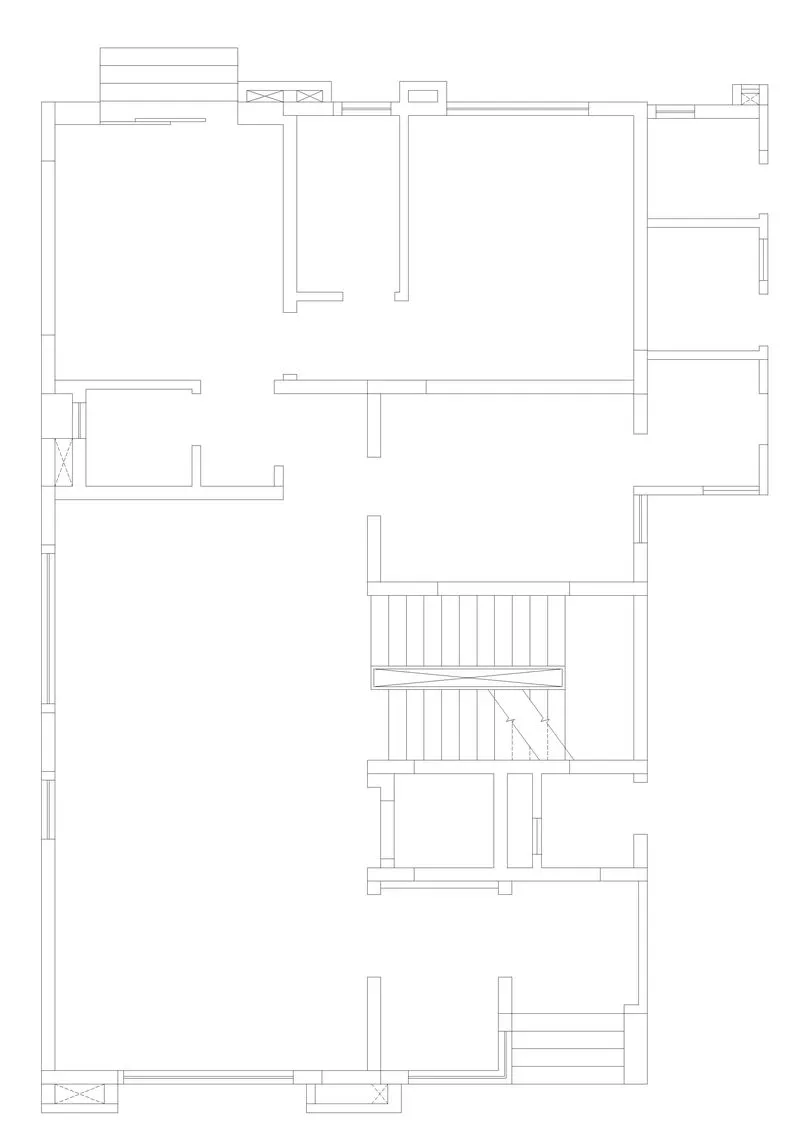
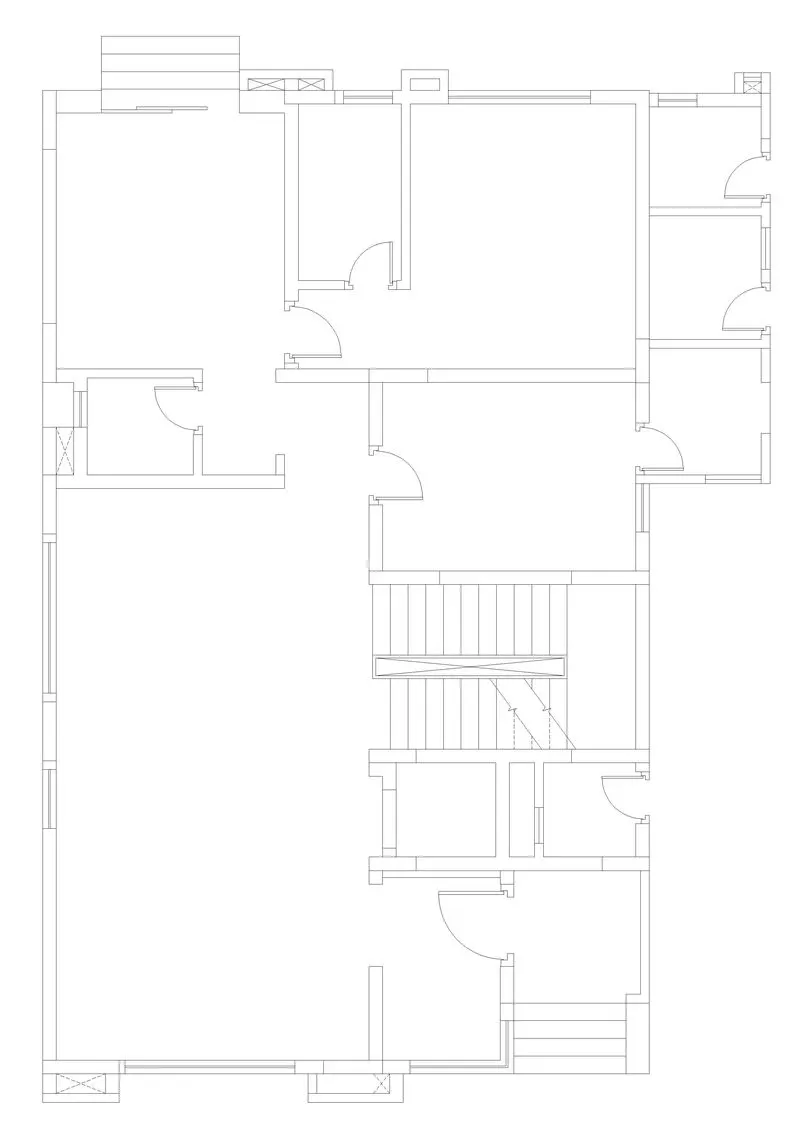
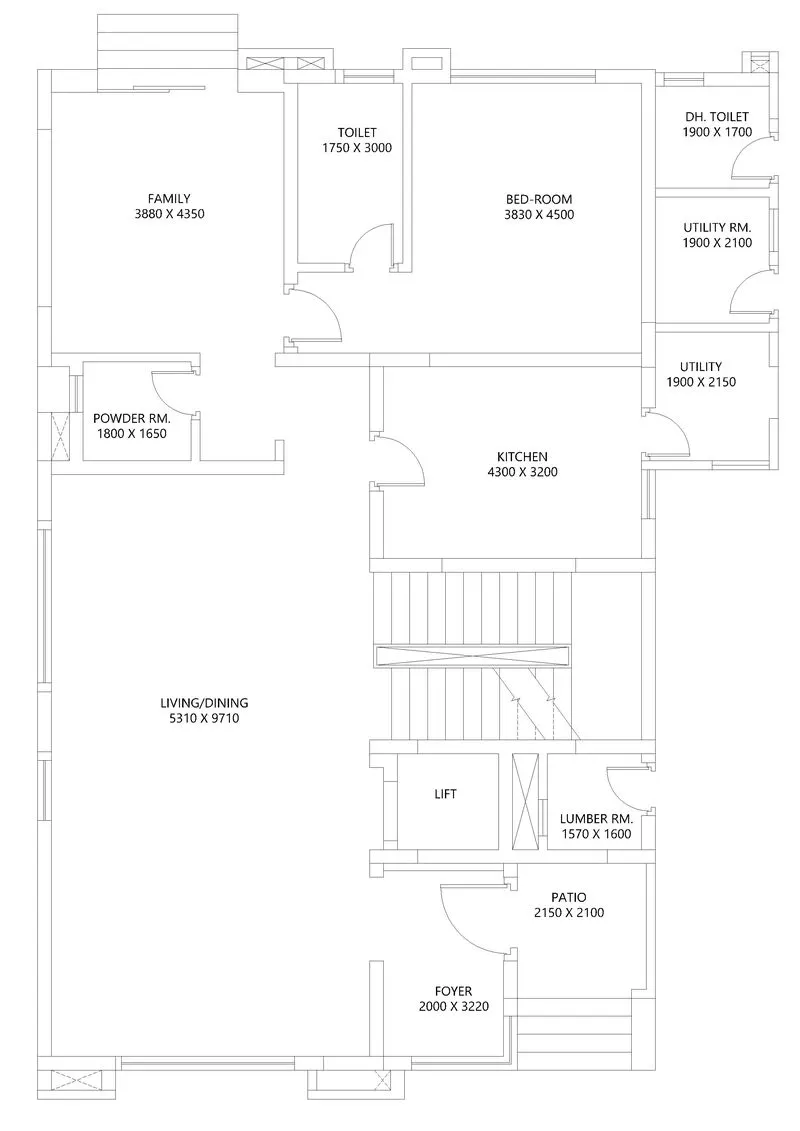
Draw the floor plan as shown in the Figure.
Procedure :
- Use Commands:
- Line
- Xline
- Fillet
- Offset
- Trim
- Dim
- Mtext
- Steps:
- Using all command first Draw the given plan.
- Now draw the door as per the given plan.
- Now Dimensioning all the areas of the plan.
- Annotating all the areas using Mtext.
- Using all command first Draw the given plan.
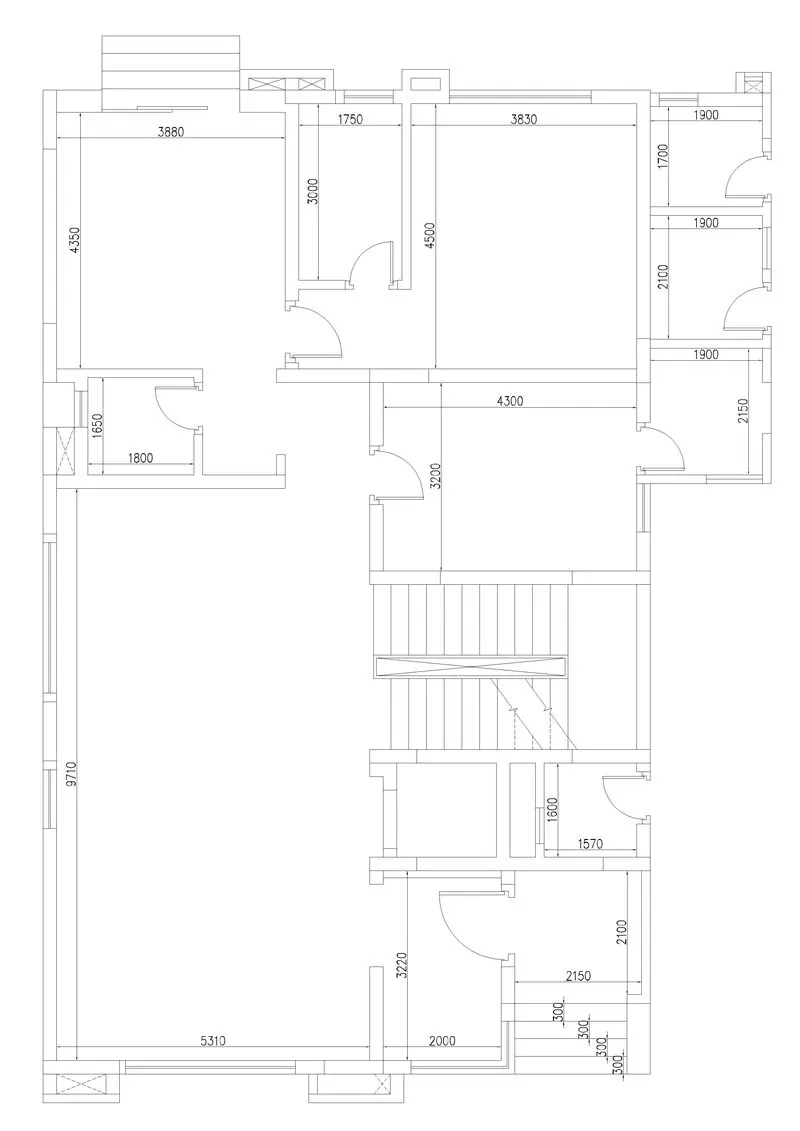
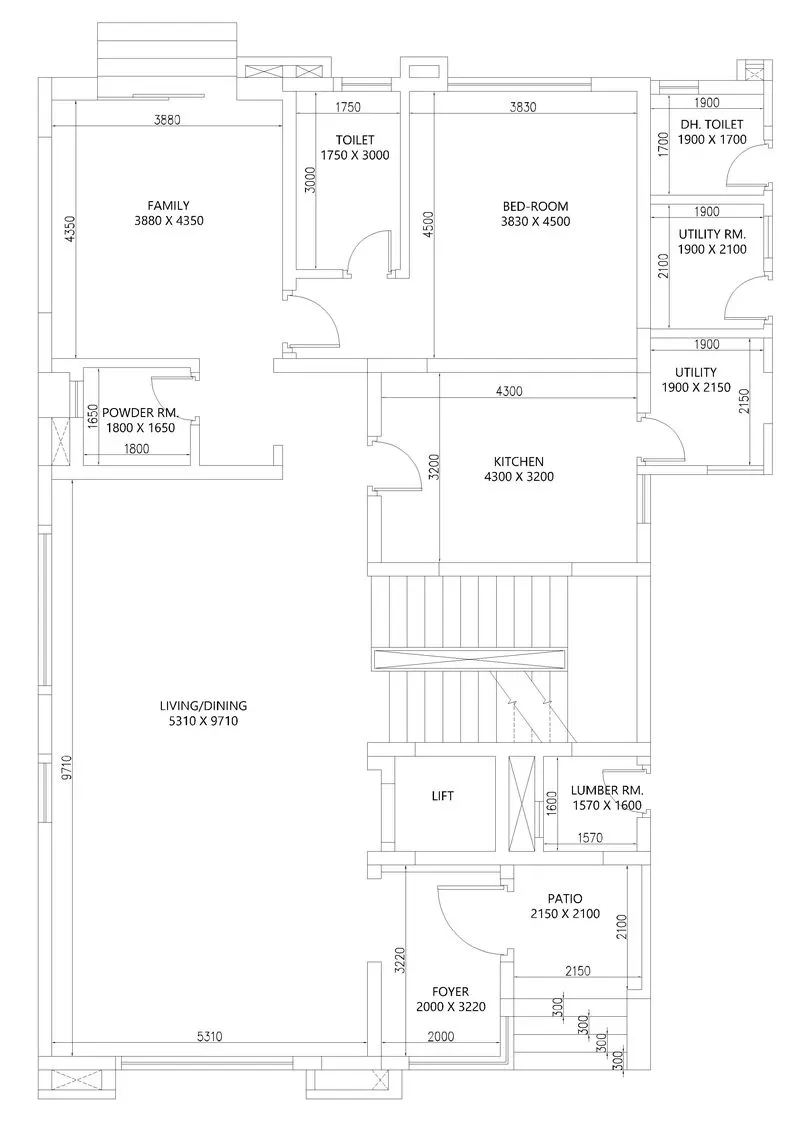
Result:
Aim 3 :
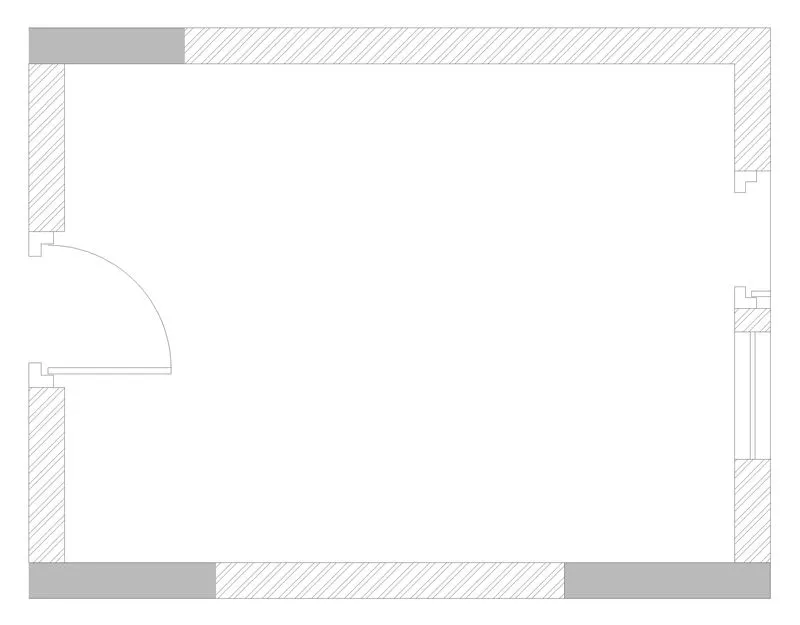
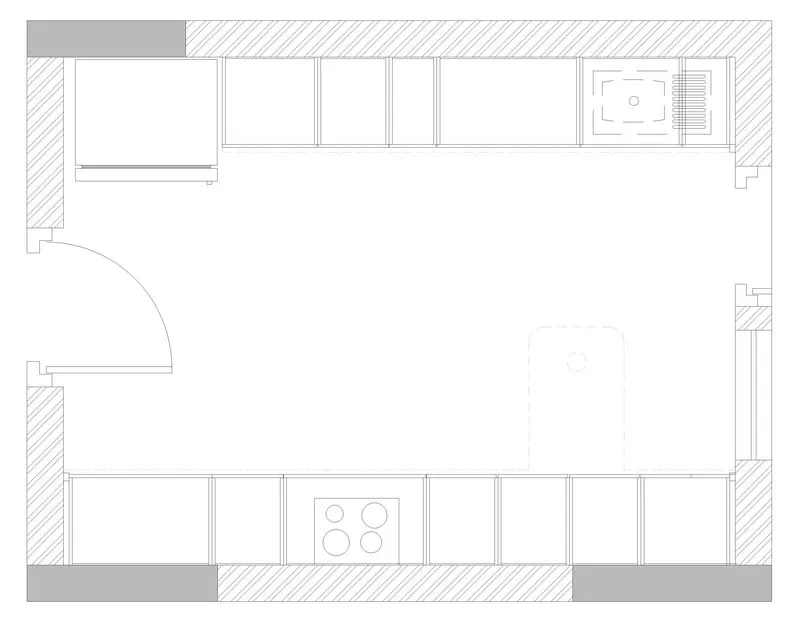
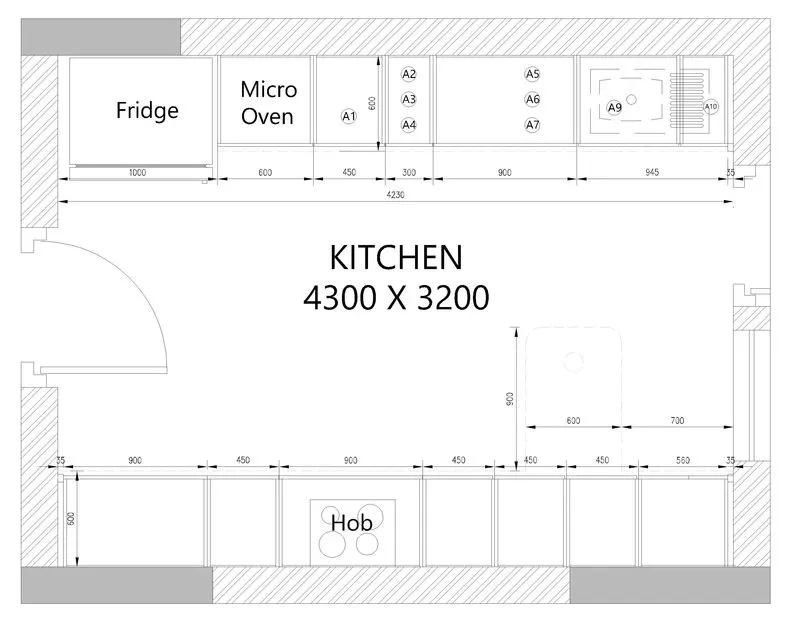
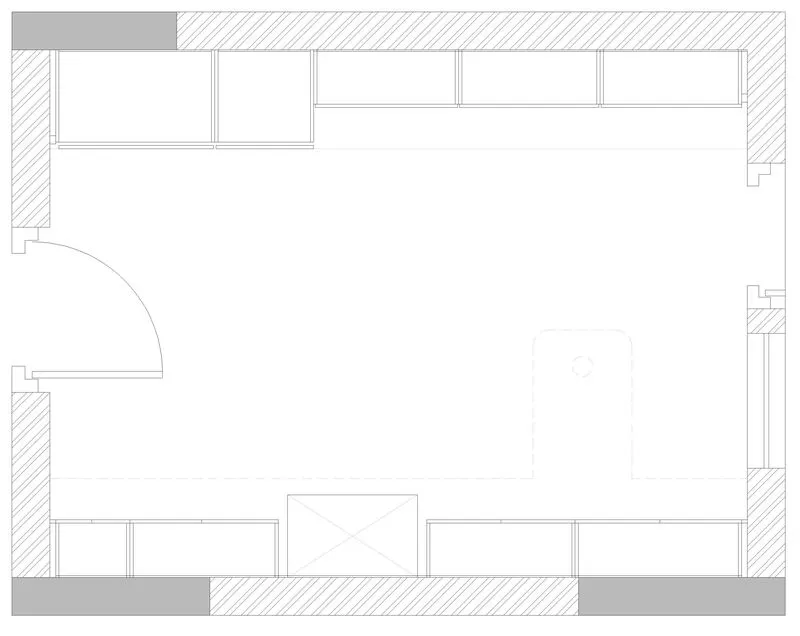
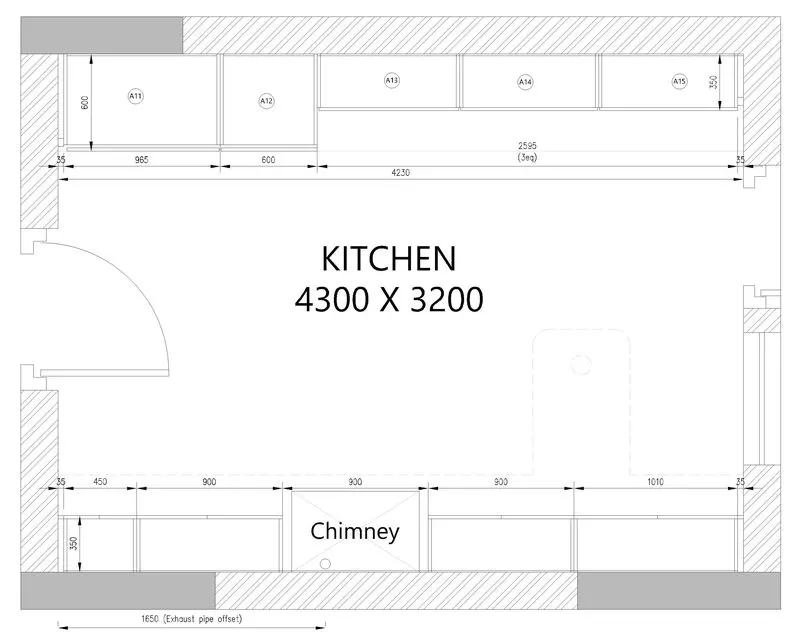
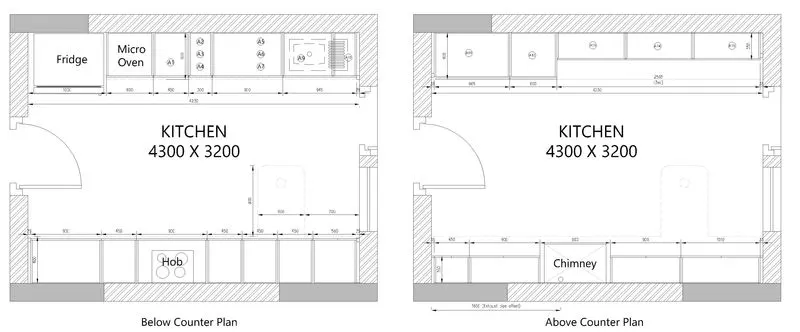
Create the Kitchen Layout as shown in the Figure.
Procedure :
- Use Commands:
- Line
- Fillet
- Offset
- Trim
- Dim
- Mtext
- Steps:
- Using all command first Draw the Kitchen plan.
- Hatch the wall & draw the door as given.
- Now draw Below counter plan furniture layout of the kitchen.
- Dimensioning the kitchen as given and annotating the text required.
- Using all command first Draw the Kitchen plan.
- Hatch the wall & draw the door as given.
- Now draw Above counter plan furniture layout of the kitchen.
- Dimensioning the kitchen as given and annotating the text required.
- Using all command first Draw the Kitchen plan.
Result:
Aim 4 :
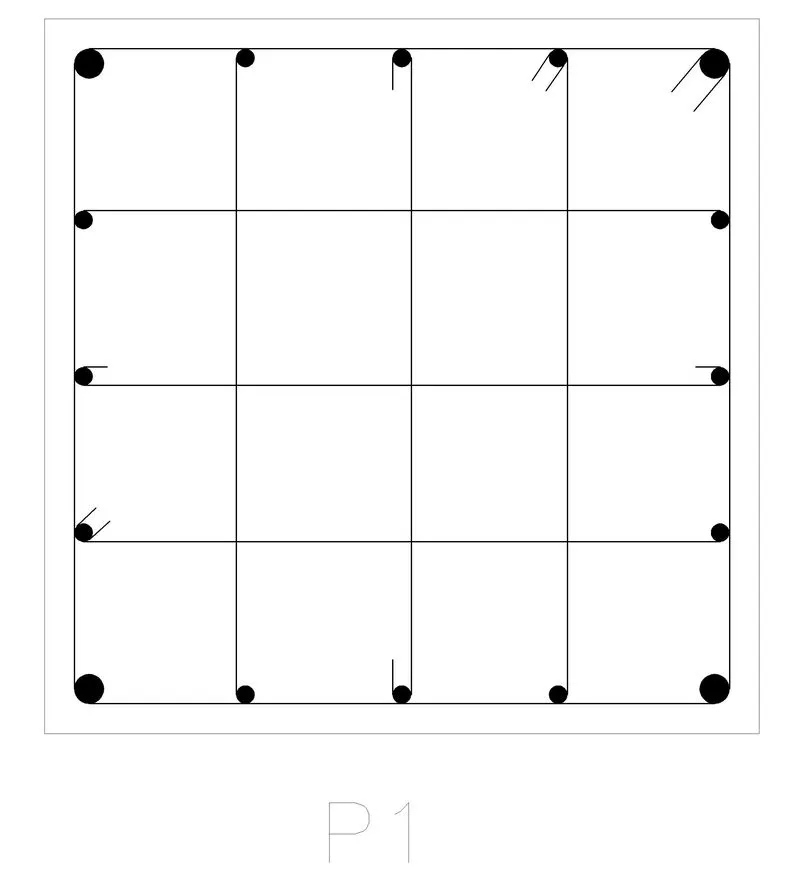
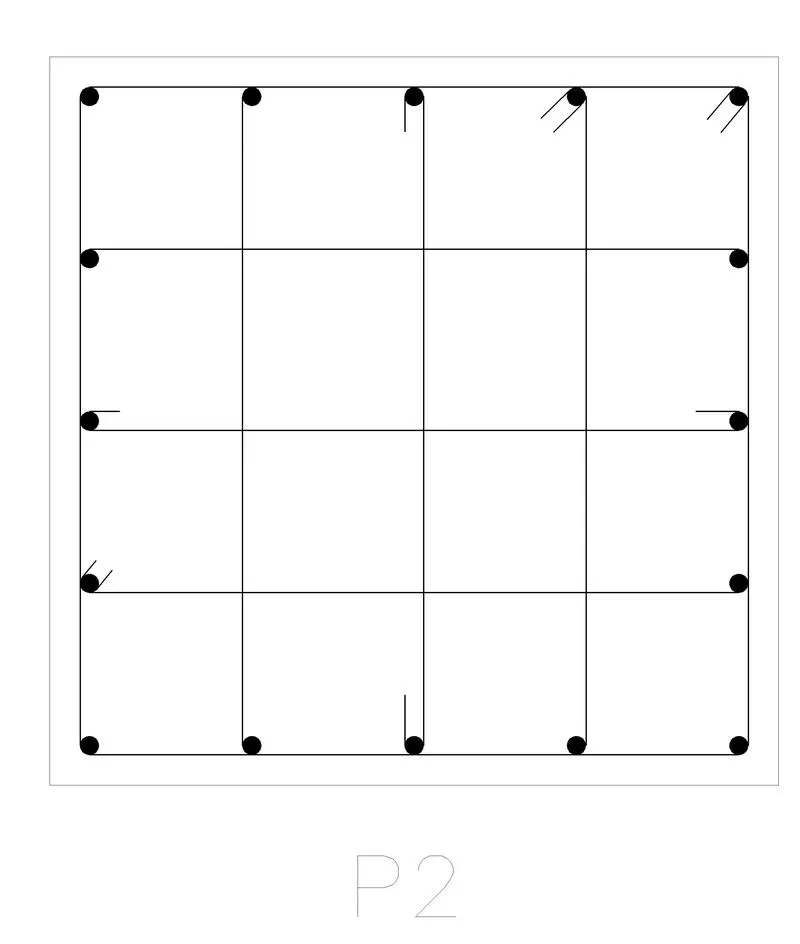
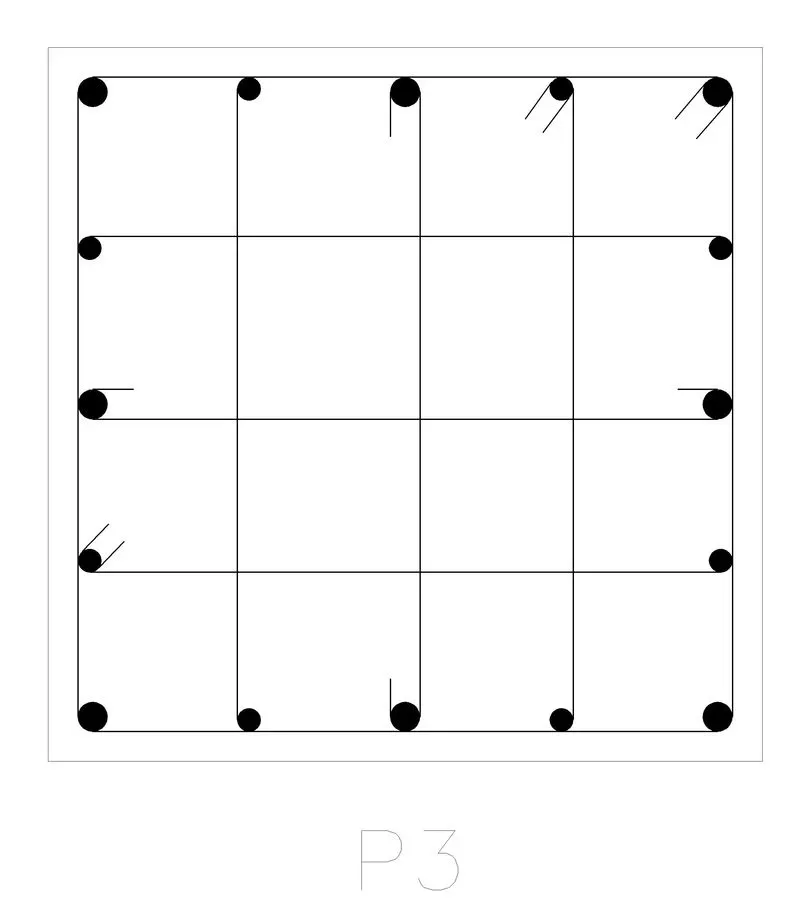
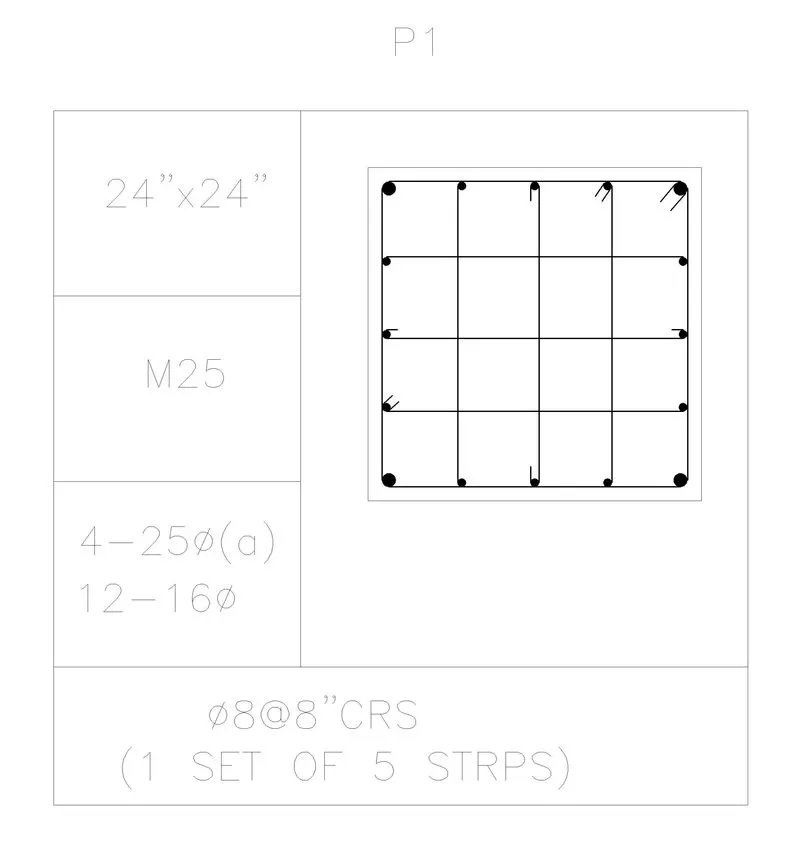
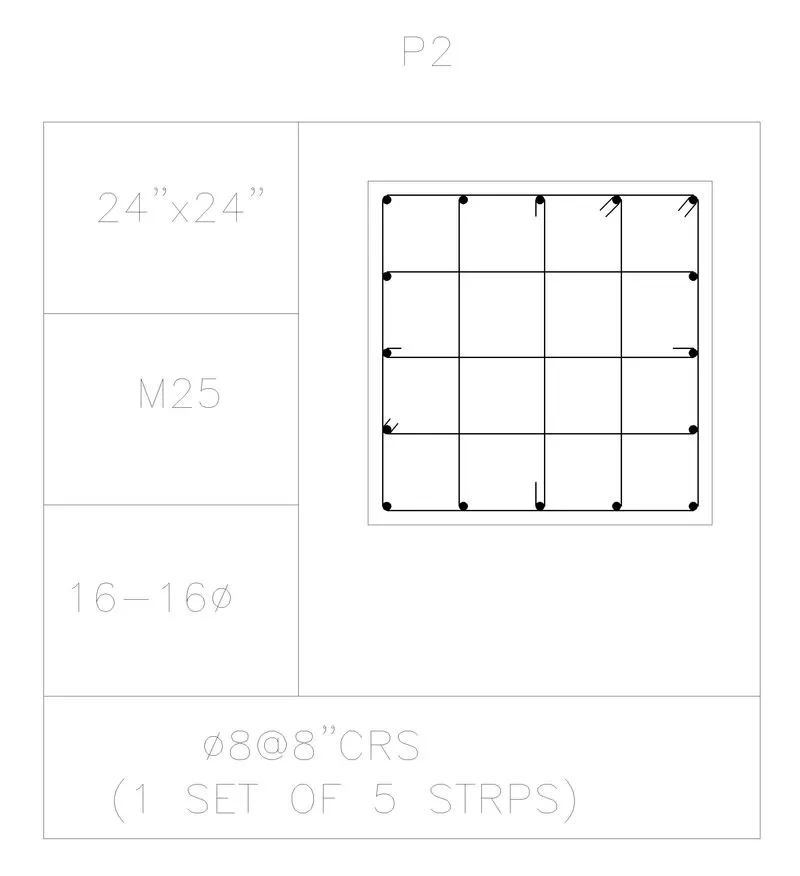
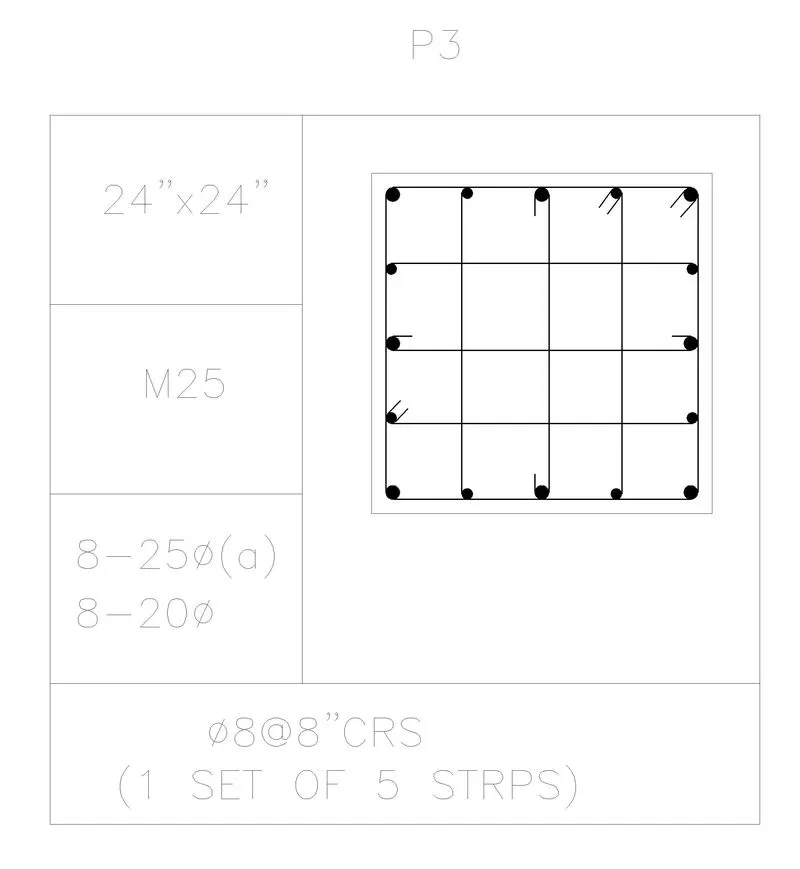
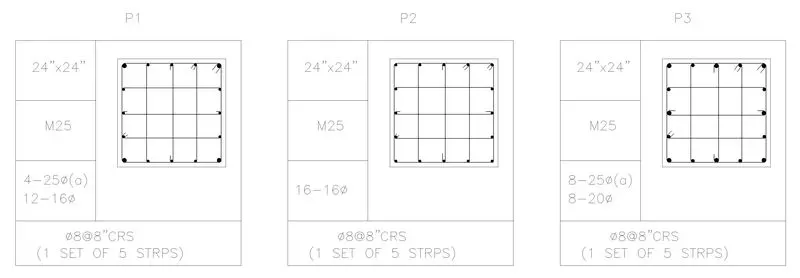
Sketch the column details as shown in Figure.
Procedure :
- Use Commands:
- Line
- Fillet
- Offset
- Trim
- Dim
- Mtext
- Steps:
- Draw the column design given.
- Draw the table format given in the figure.
- Now enter the details and column drawing in the format given.
- Draw the column design given.

Result:
Aim 4 :
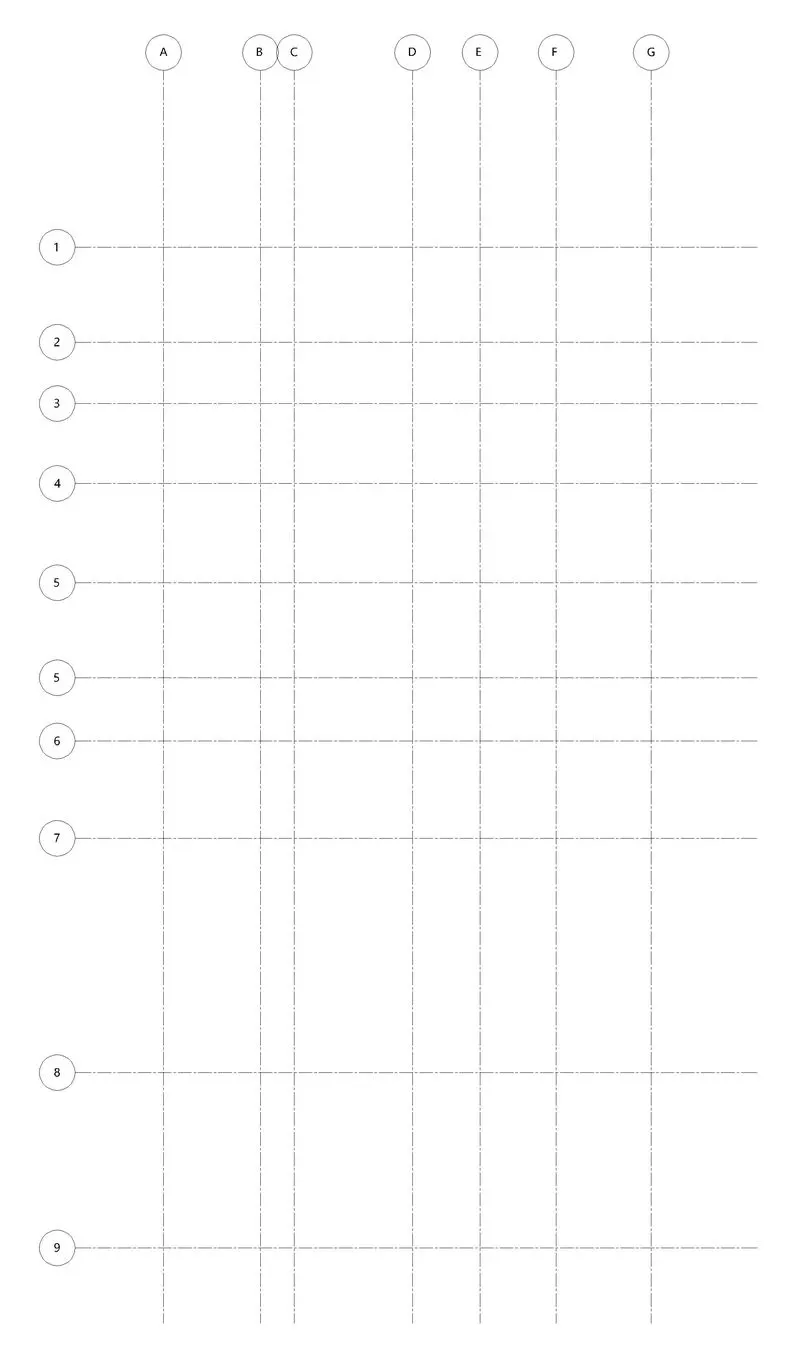
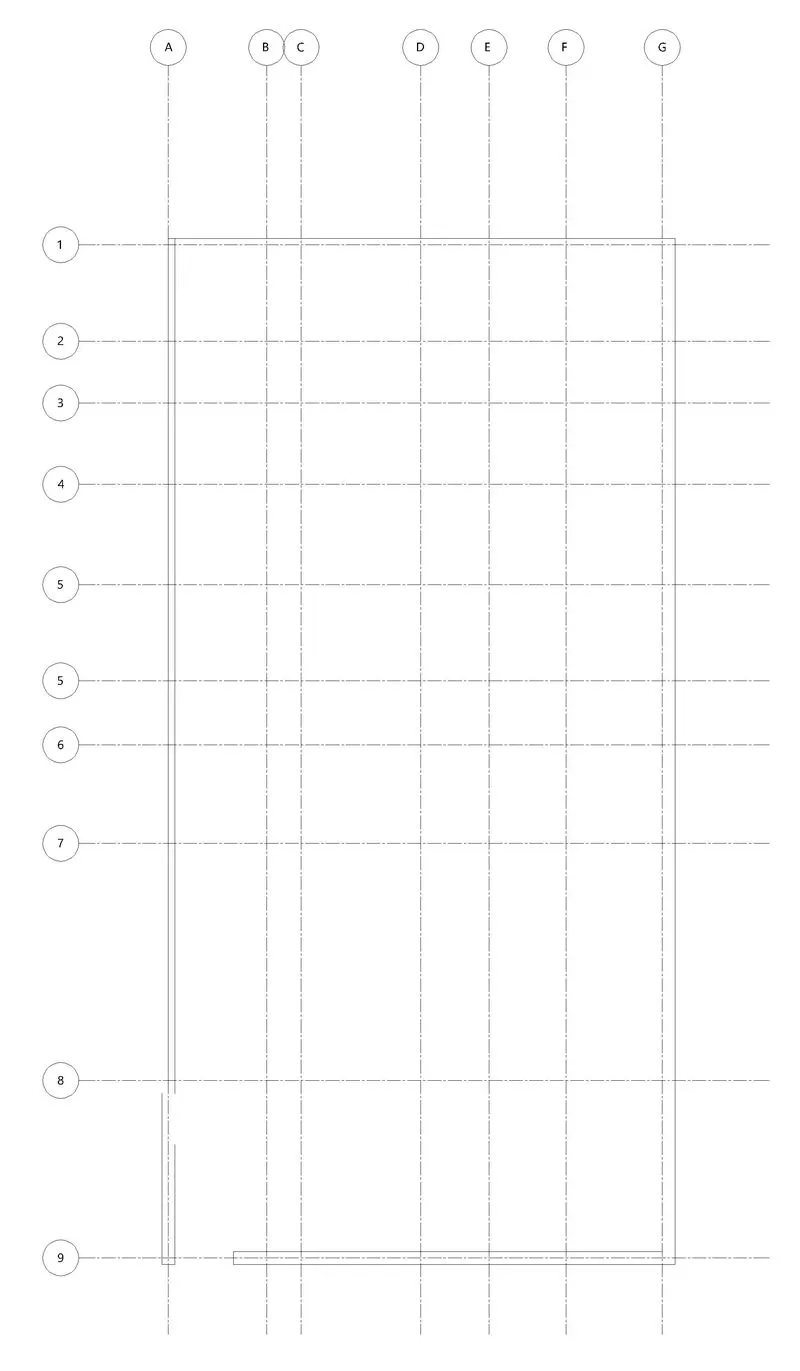
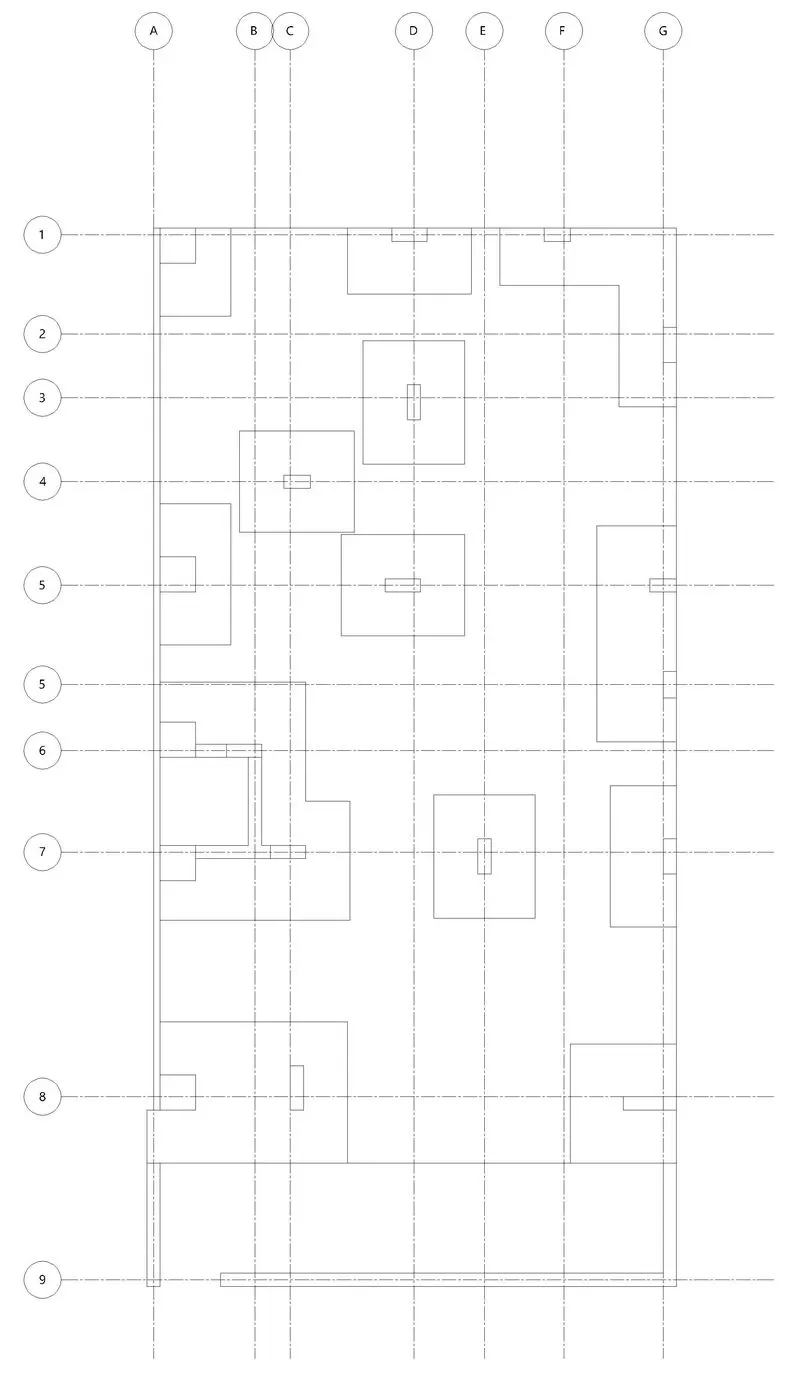
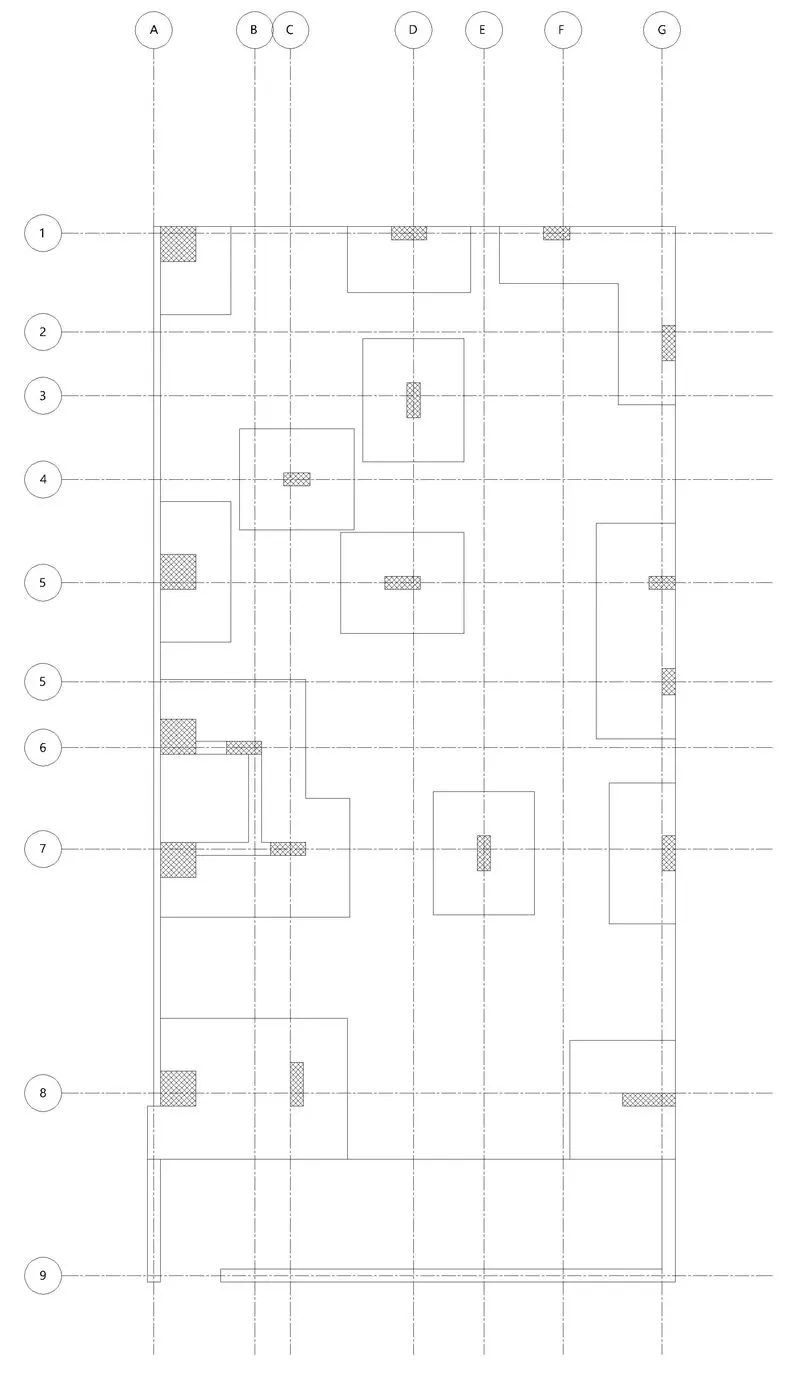
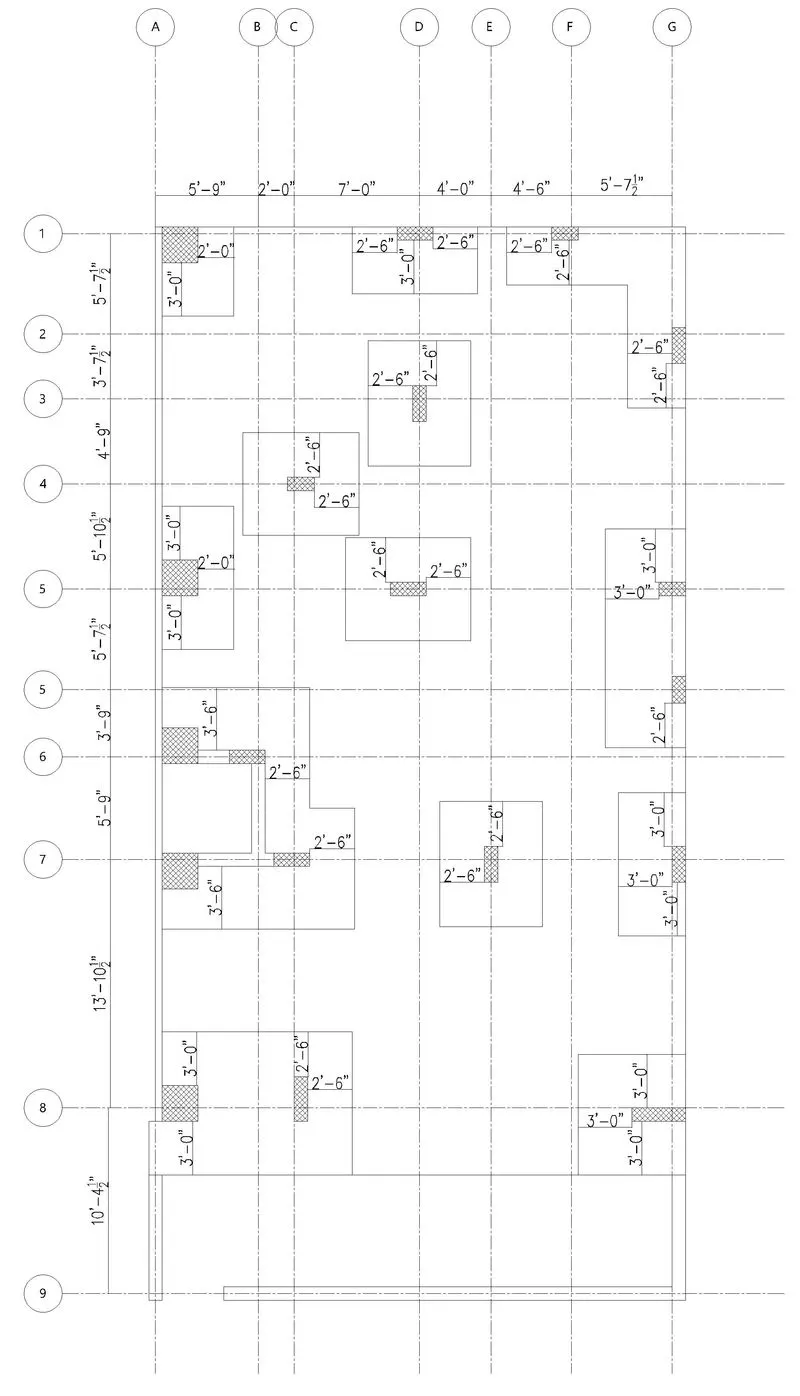
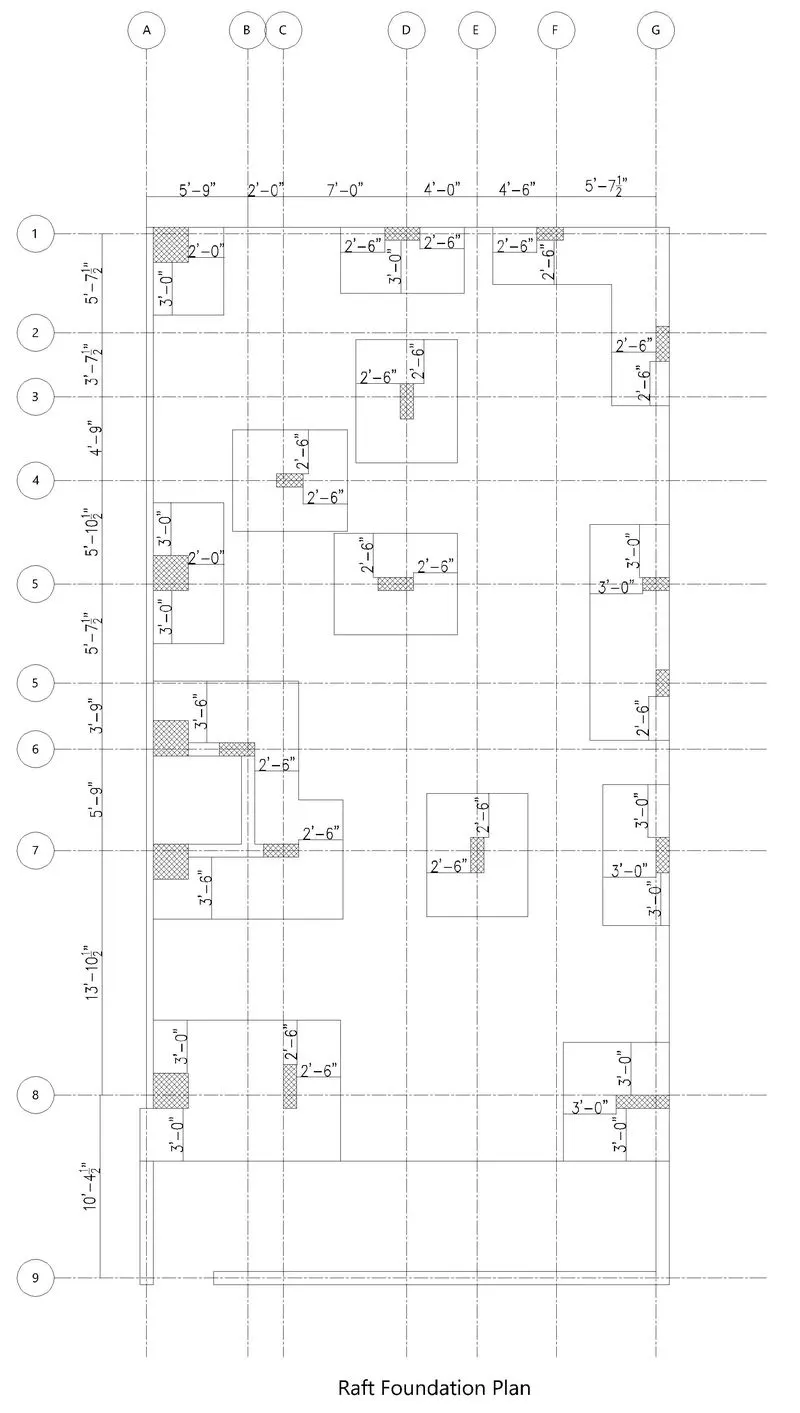
Draw the Raft Layout as shown in the Figure.
Procedure :
- Use Commands:
- Line
- Fillet
- Offset
- Trim
- Dim
- Mtext
- Steps:
- Draw the center line for x-axis and y-axis as per the given distances.
- Draw the Wall boundry as given.
- Draw the Column and footing outlines as given.
- Now hatch the columns as given.
- Draw the dimension as provided.
- Draw the center line for x-axis and y-axis as per the given distances.
Result:
**All the given plans drawn successfully**