Creating a Wardrobe detailed drawing, Floor Plan, Kitchen Layout and Column Detail using AutoCad
1.
Aim :-
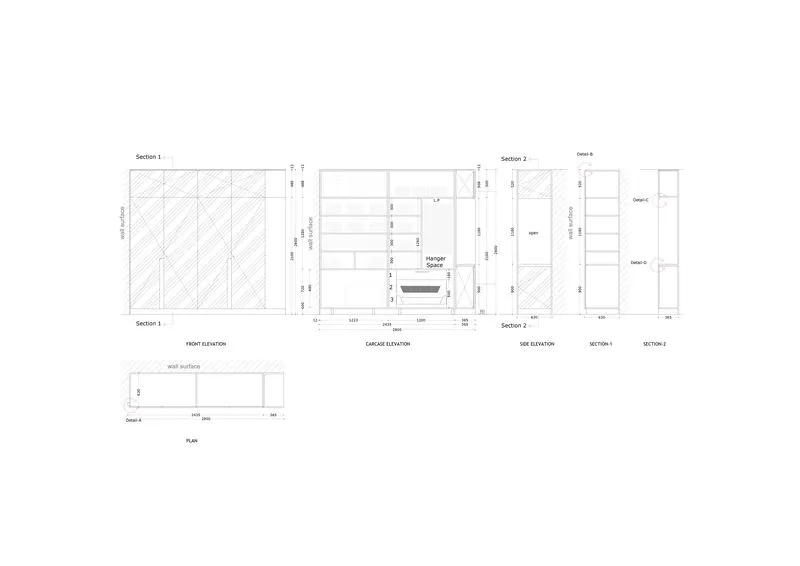
- To draw the elevations and deatails of wardrobe as shown in figure.
Procedure :-
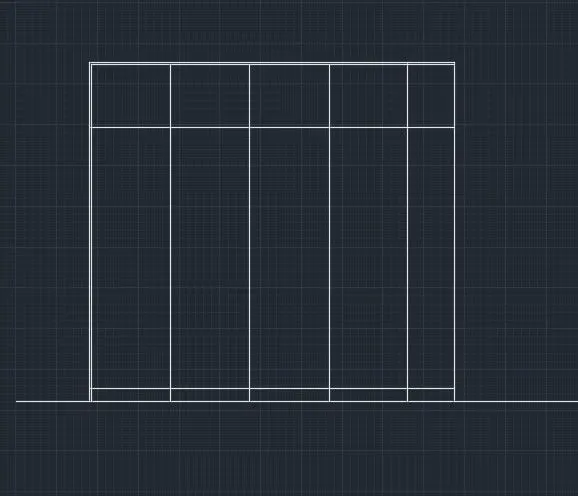
- Draw the rectangle of size 2800 X 2600, then offset it with 12 and 488 mm from upper side.
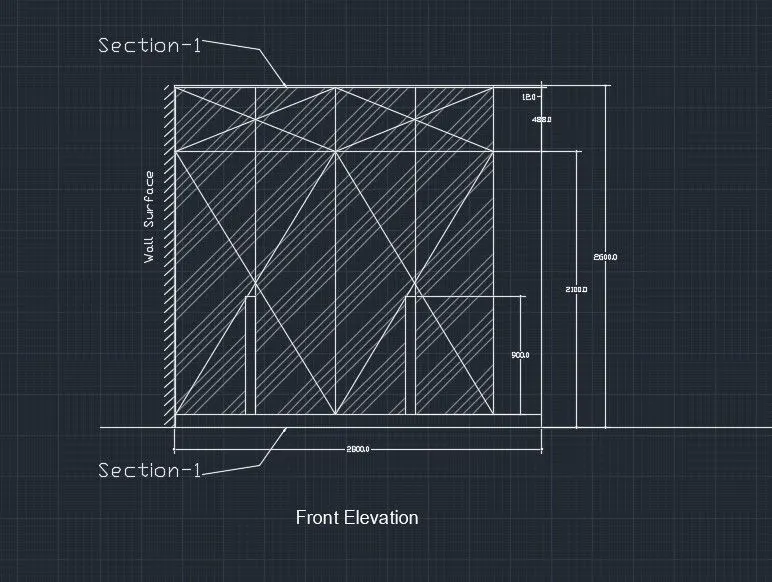
- For Front elevation use line command and offset command as per the dimension.
- After making the wardrobe box, use hatch command and do dimension a per drawing.
- In the command line thpe Qleader to annotate the section-1.
- For Carcase Elevation, Make rectangle of size 2800 X 2600.
- And offset it as per the front elevation size.
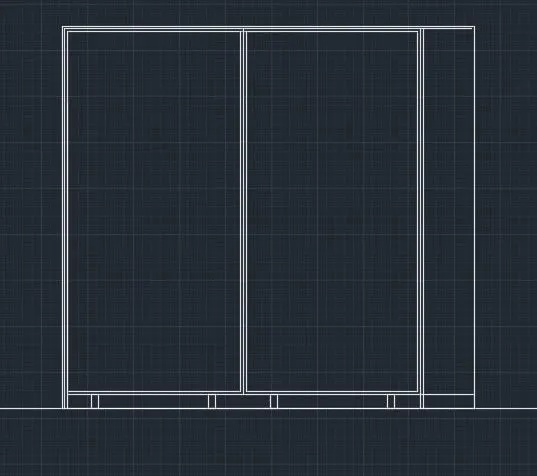
- After this, draw the different cabinets in the wardrobe using line and offset command as per drawing.
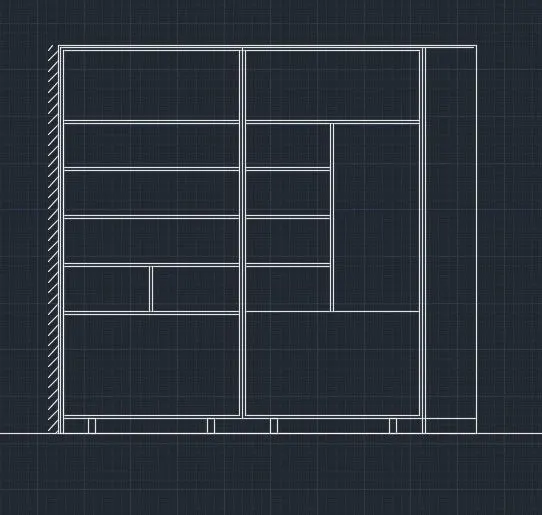
- Draw different components like television and books, briefcase and More.
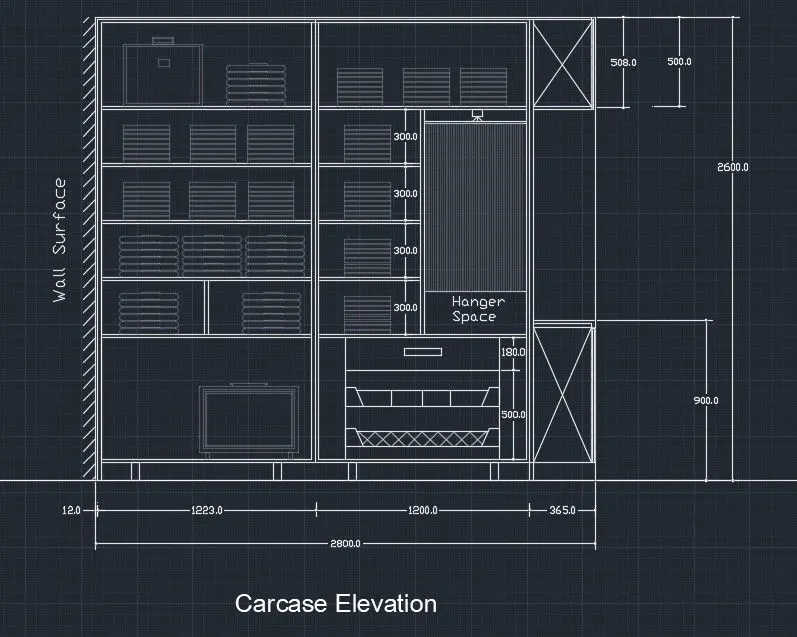
- Do dimmesioning as per the drawing.
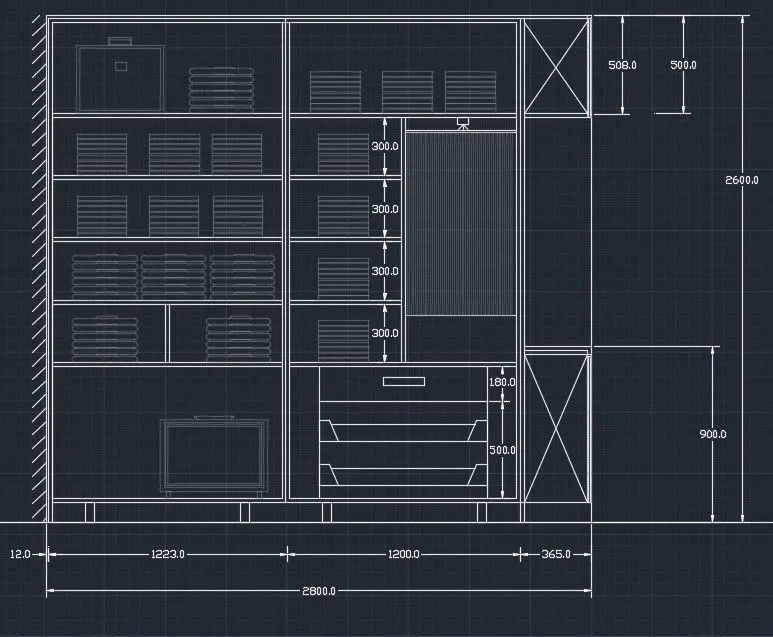
- Place the text as per the drawing.
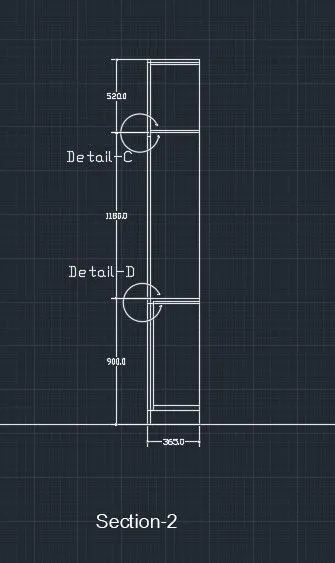
- For Side Elevation, Use the line and offset it with size of 520, 1180 and 900 mm from above with command as per drawing and specify the dimensions.
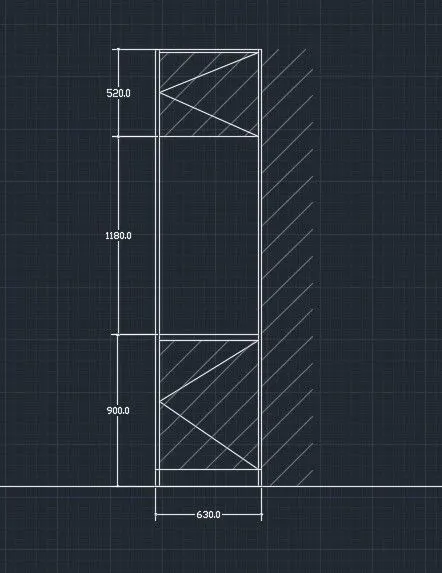
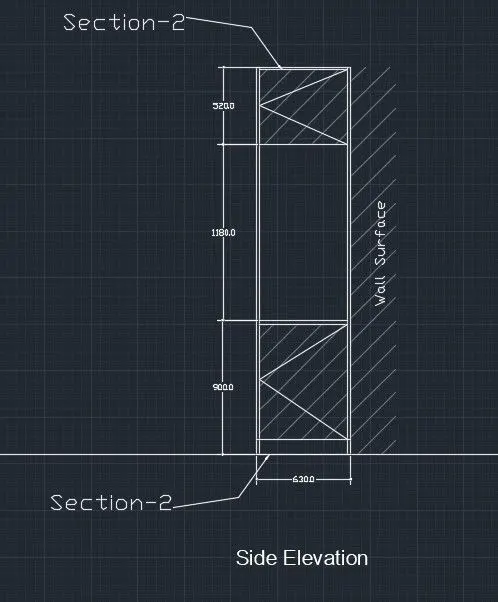
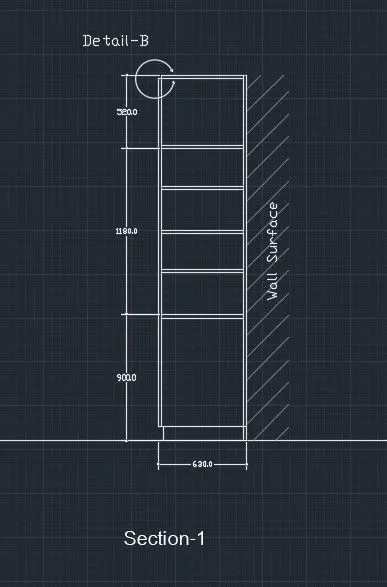
- For Section-1, copy the side elevation and do editing in the different middle components in the drawing.
- Use QLEADERS command to show the section.
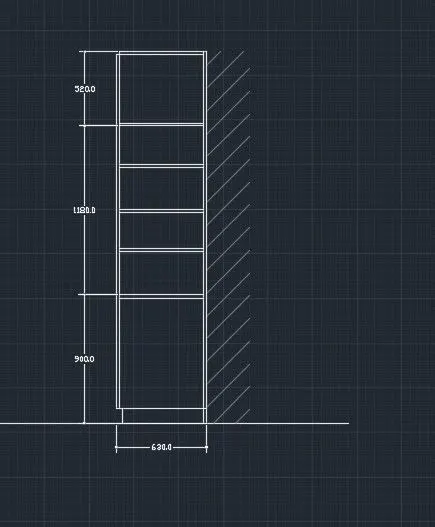
- Section-2 :-
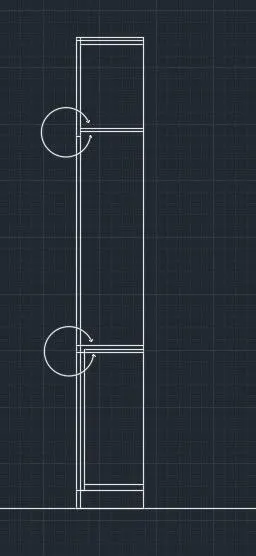
- For plan view, Take rectangle sizes 630 X 2800.
- do the dimensioning as per the drawing
- In the command line type Qleader to annotate the section-1.
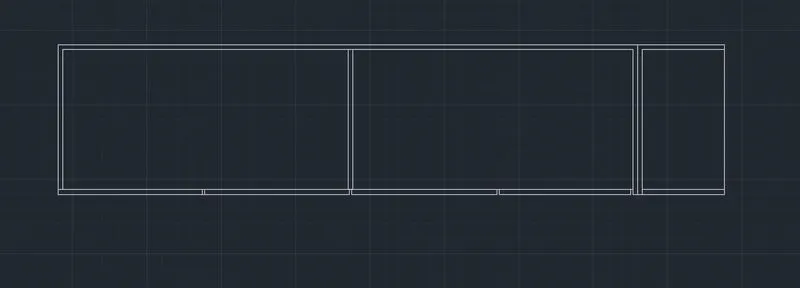
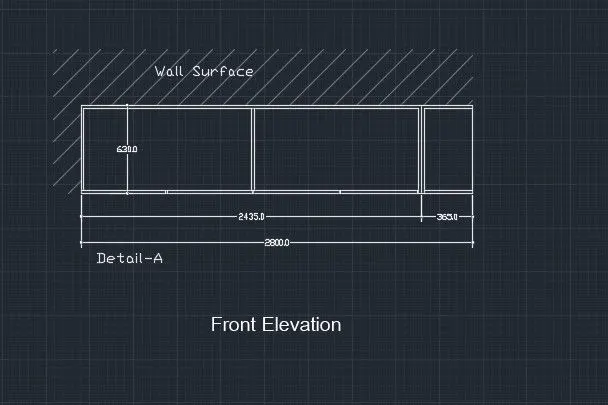
This Is the Plan View Of wardrobe. (Above Image)
2.
Aim :-
- Sketching the floor plan as shown in the Figure. Using the proper drafting tools to sketch the plan.
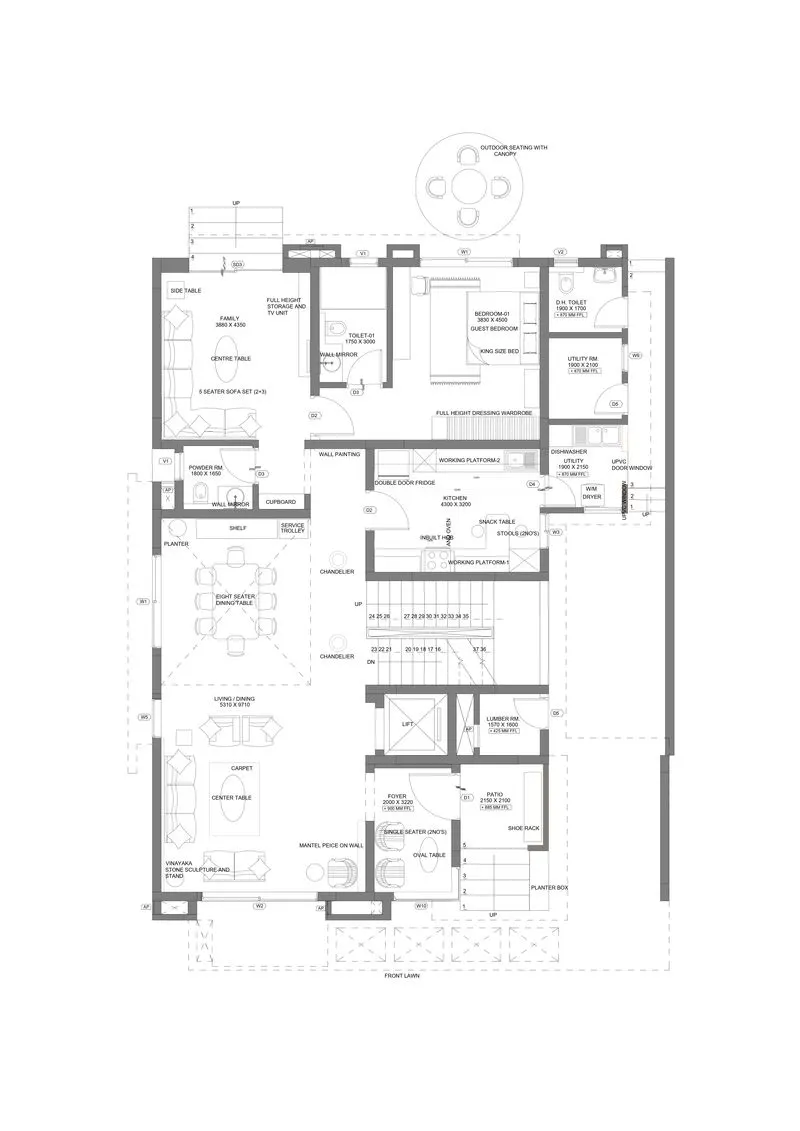
Procedure :-
- Units are set in mm.
- Type Xline in command line and offset it with particular distances like 9" of wall, living, toilet etc.
- Draw the doors with line and arc command.
- Draw the window with line and offset command.
- Use dotted line to show lawn area.
- The Procedure of drawing is shown below.
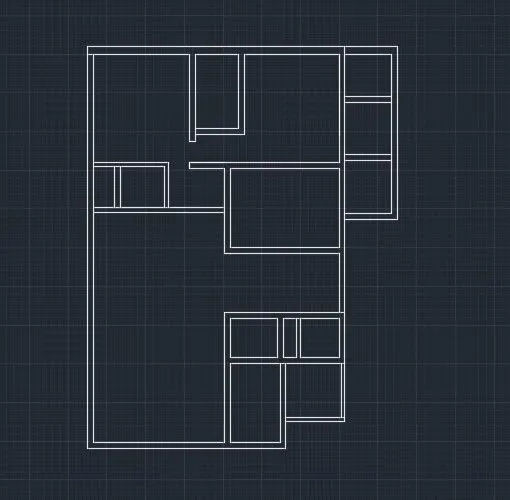
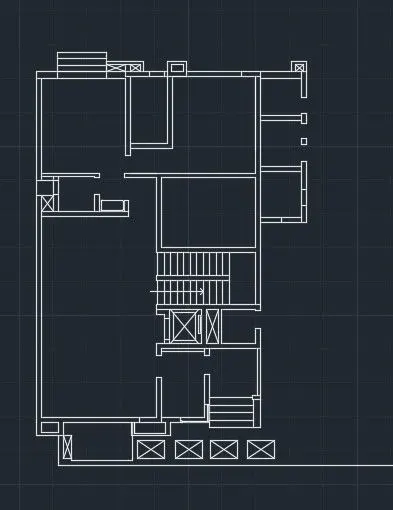
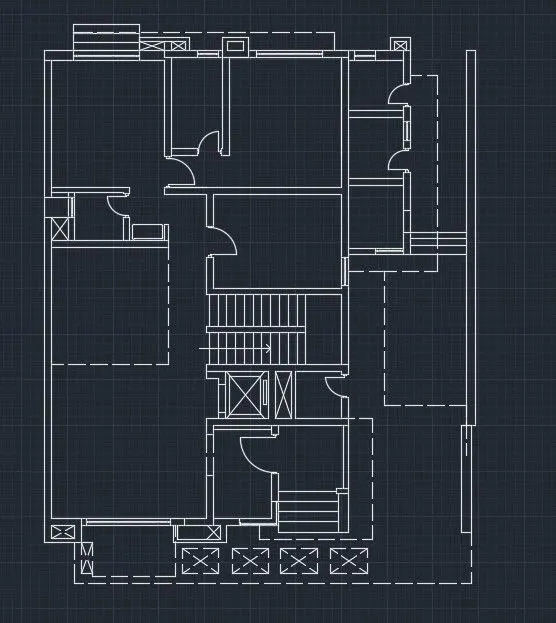
- Now, use text command to show text in the drawing.
- Use layer command to provide different layers in the drawing.
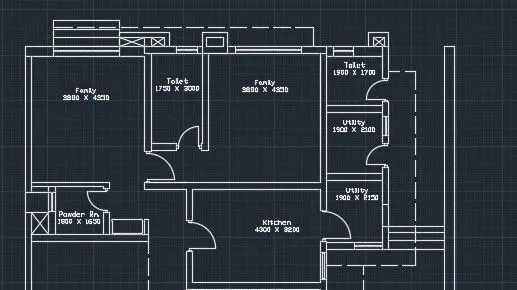
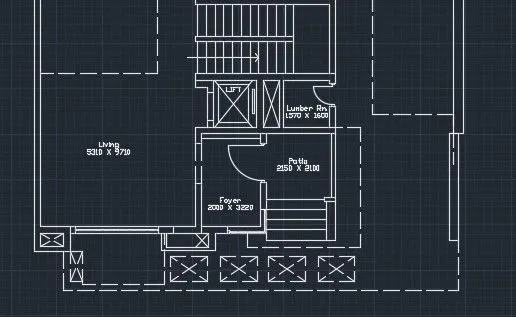
- Give the dimensions in text and Annotate the drawing with text.
Result :-
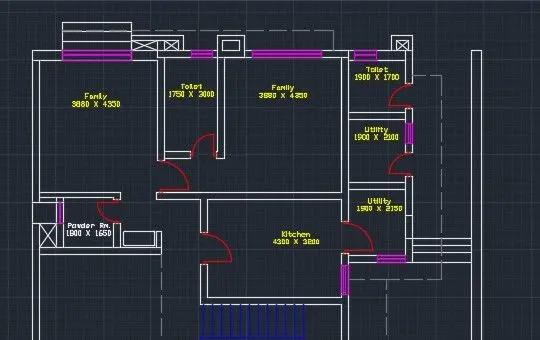
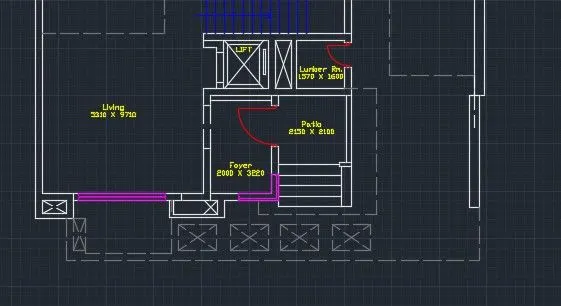
This is the final drawing of the Floor Plan.
3.
Aim :-
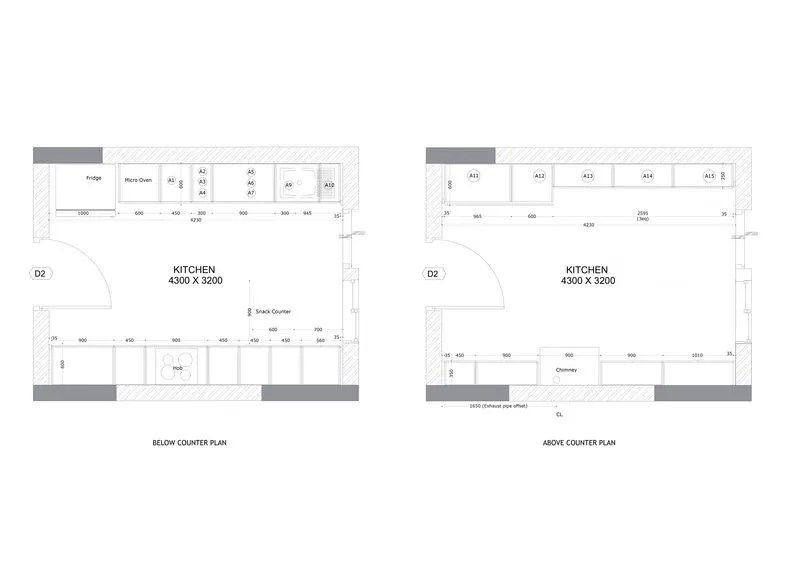
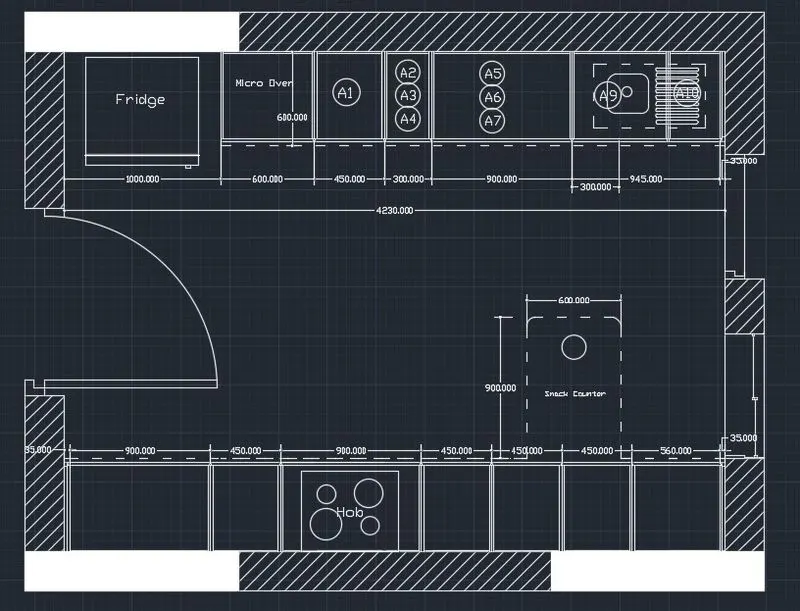
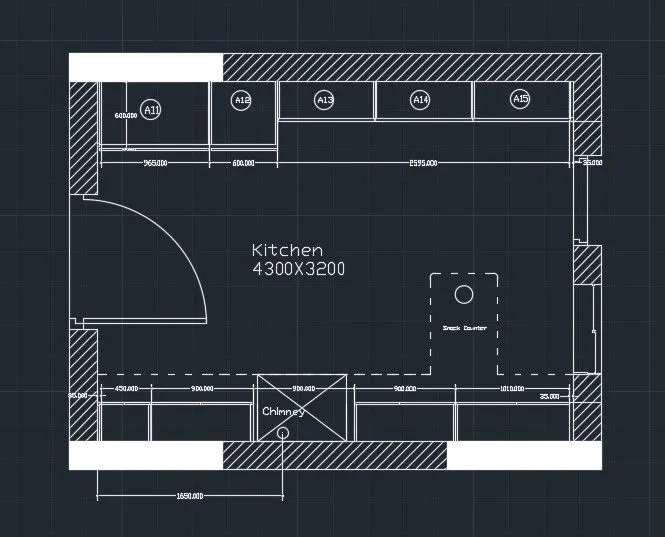
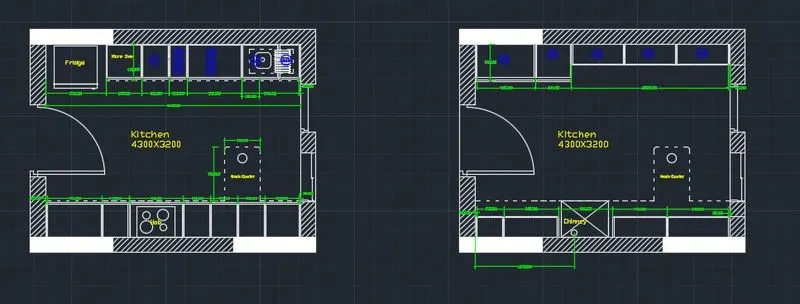
- Creating the Kitchen Layout as shown in the Figure below. Also, using proper dimension techniques to dimension the kitchen layout.
Procedure :-
- Type Line command and draw rectangle of size 4700 X 3700.
- Type offset command of size 250 mm inside the rectangle.
- Draw the door using line and arc command.
- Draw the window as per the drawing.
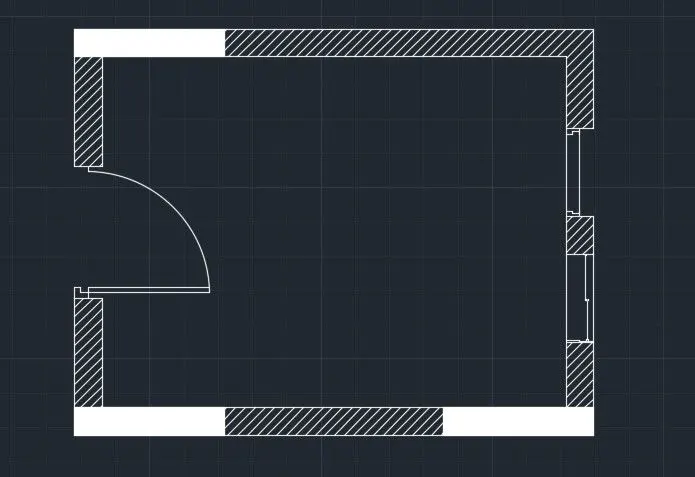
- Then Offset the lines with size of 1000, 600, 450,300, 900, 945, 35.
- And make the Platform and Fridge.
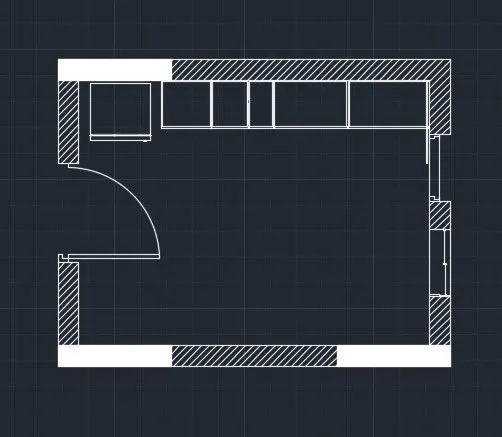
- Draw the same platform at the other side.
- Type offset command of size 35, 900, 450, 900, 450, 450, 450, 560, 35 .
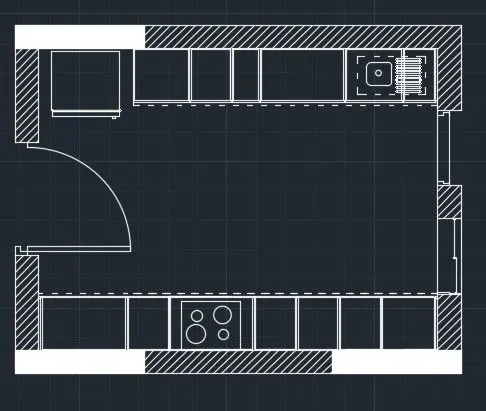
- using dotetd line draw snack counter of size 600 X 700.
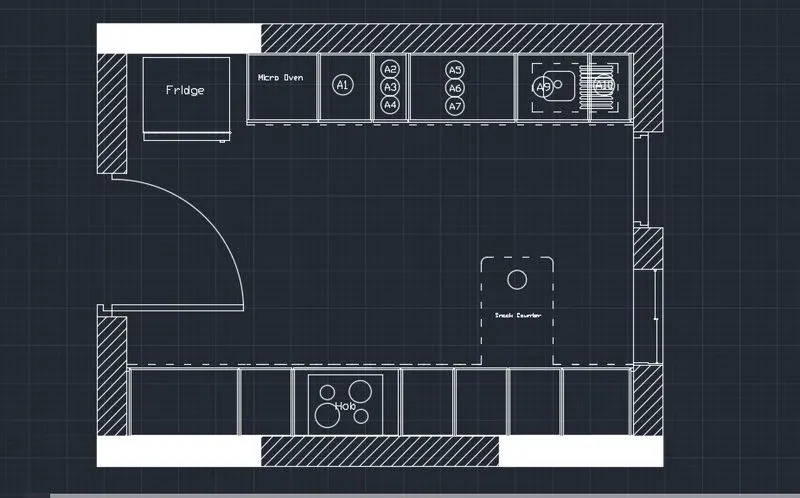
- Do the Proper dimensionig as per the drawing.
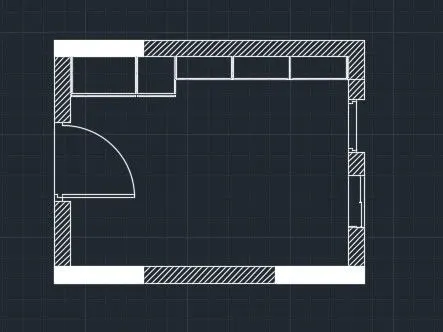
- For above counter plan, use same rectangle box as used before.
- Use line and offset command to make proper platform.
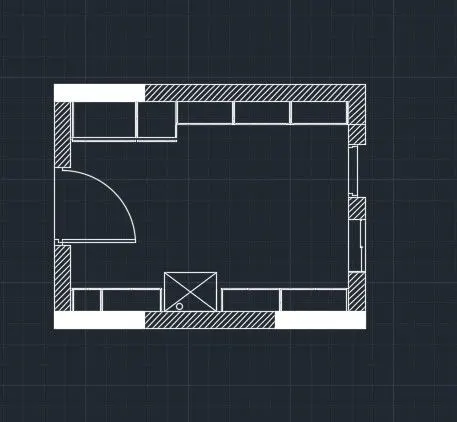
- Draw the same at other side.
- But the sizes are different with compared to below counter plan.
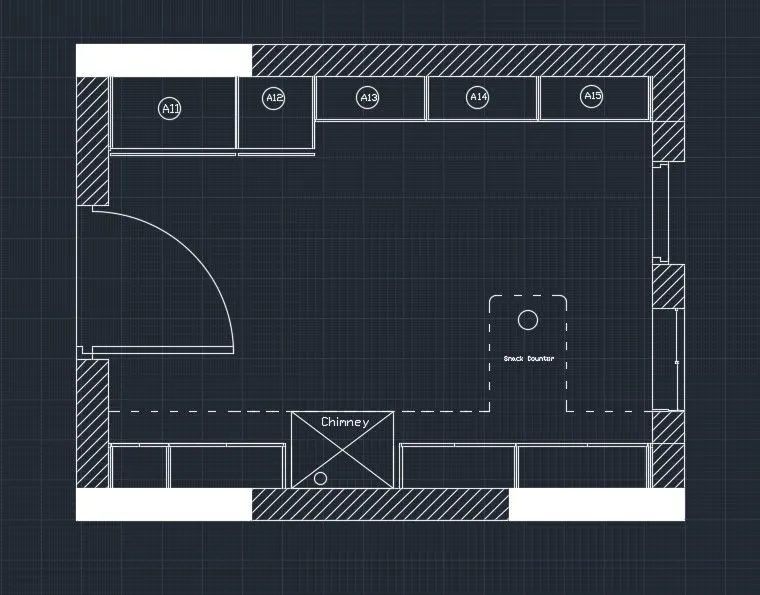
- Annotate proper text and dimensions as per drawing.
- use layer command to show different layers that are used in the drawing.
Result :-
4.
Aim :-
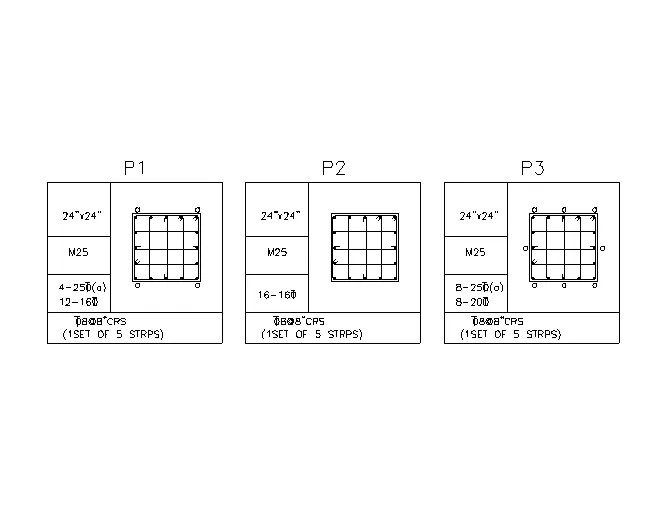
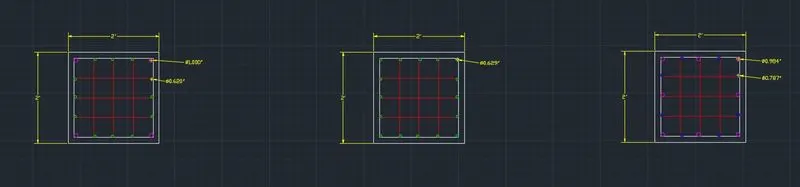
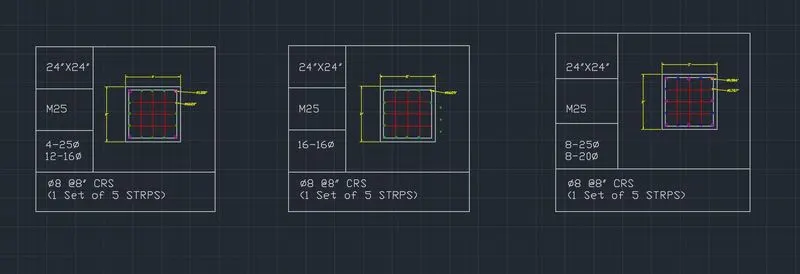
- Sketching the column details as shown in Figure.
Procedure :-
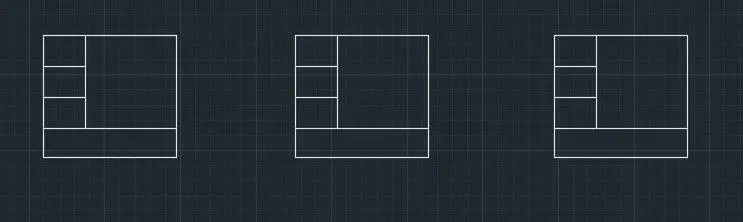
- Using rectangle and Line commannd, draw table as per drawing.
- Draw the columns as per the sizes given in the drawing.
- Use the line, rectangle and circle command.
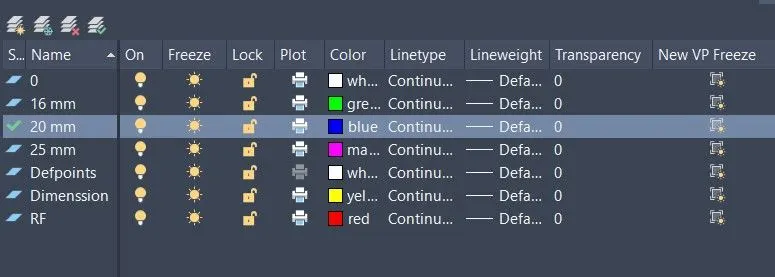
- Use different layers that are used in the drawing.
- Shown the layers which are used in the drawing.
Result :-
5.
Aim :-
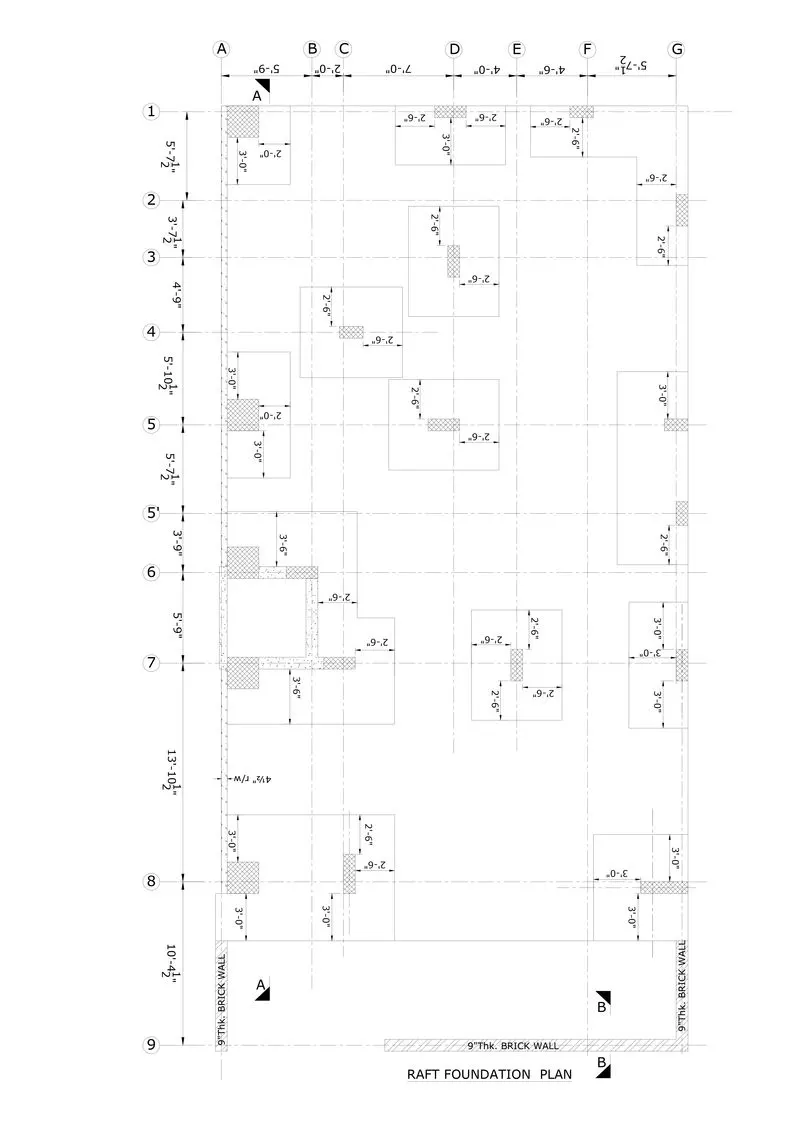
- To draw the raft layput.
Procedure :-
- Draw the rectangle of size 29' X 60'.
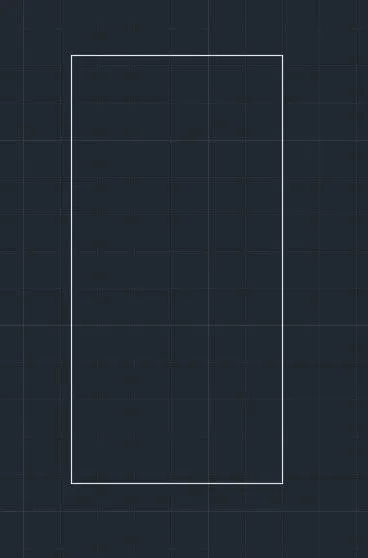
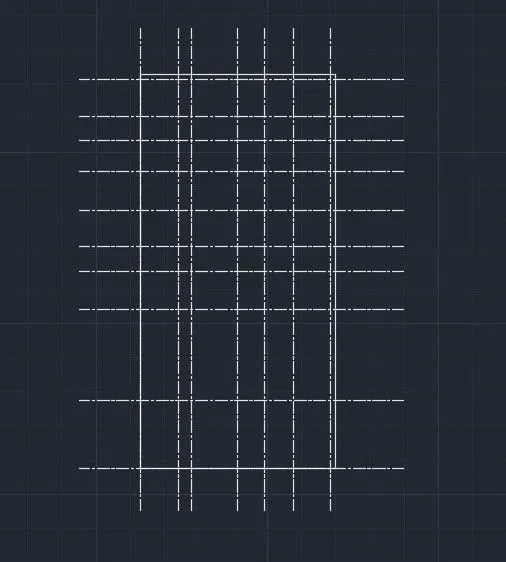
- Use ISO Long dash- Short dash line to show the grids.
- Offset the lines as per drawing.
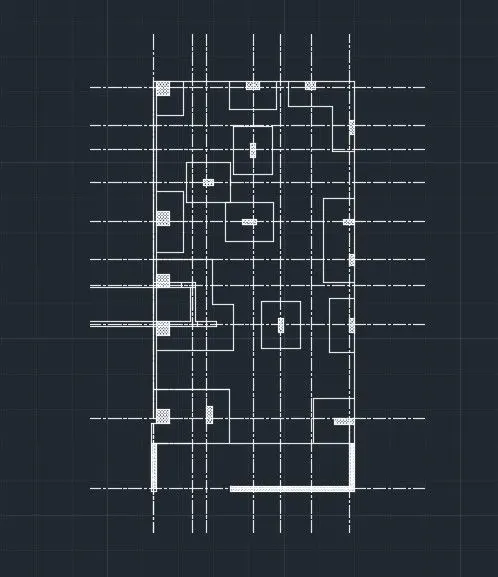
- Draw the column placements given in the drawing and draft the column.
- Use Hatch command as shown in drawing.
- Mark the name of grids.
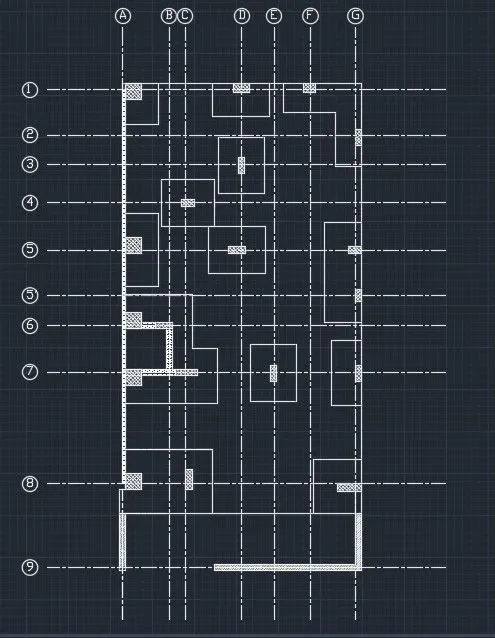
- Use layers command to sshow the different layers in the drawing.
- Annotate wit hproper dimensioning in the drawing.
Result :-
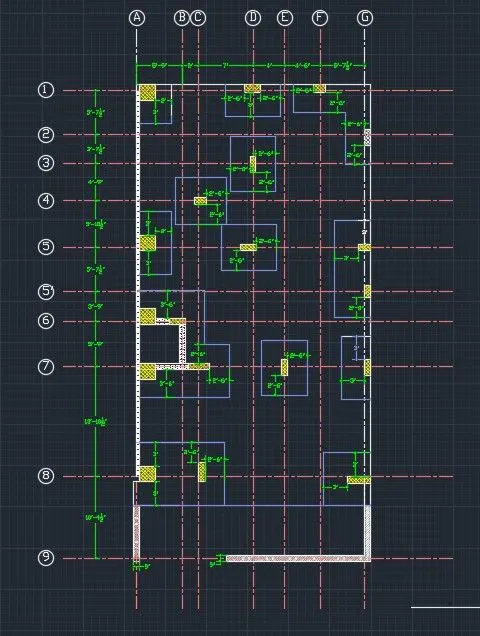
These are the Drawings in the Chellenge-5.