Creating a Residence Layout, Seating plan, Toilet and Utility room plan using AutoCad
1. Residence Plan:
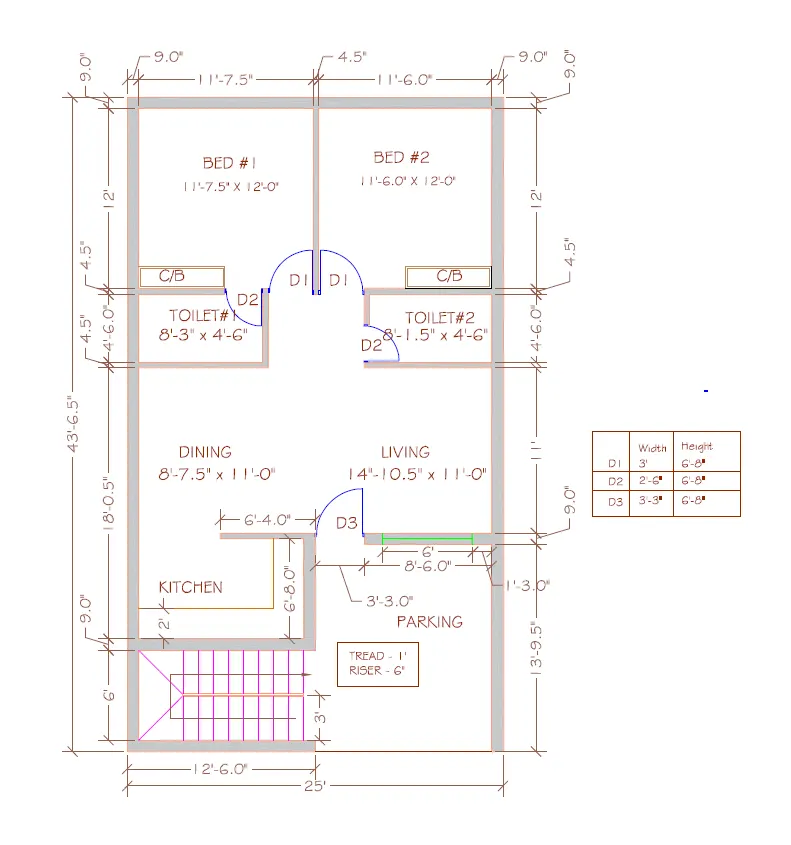
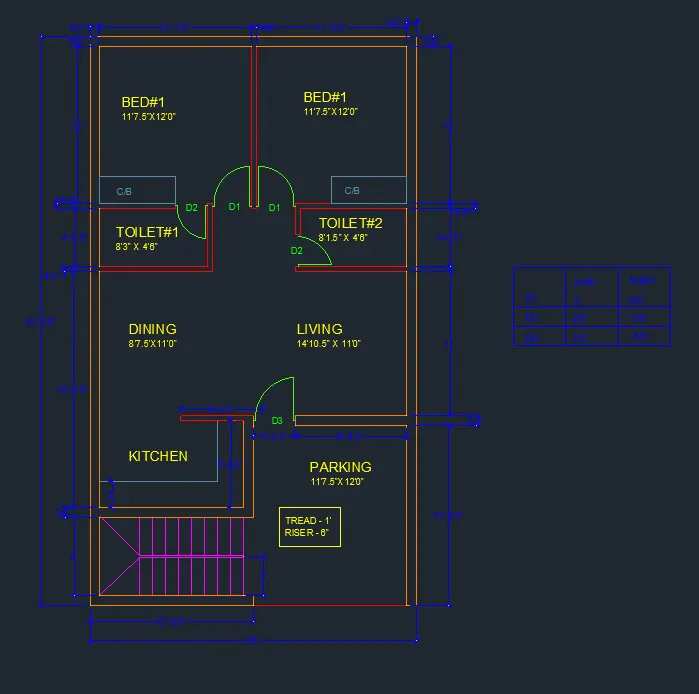
Sketch the layout of a residence as shown in the Figure 1. Consider all dimensions as reference to sketch the unit plan. Also the text in the layout are only for reference. Assume the missing dimensions. Also, refer the schedule for size of the doors.
AIM :
Sketch the layout of a residence as shown in the Figure 1. Consider all dimensions as reference to sketch the unit plan. Also the text in the layout are only for reference. Assume the missing dimensions. Also, refer the schedule for size of the doors.
INTRODUCTION :
the plan of building gives the genral alignment and location of different rooms. in this plan we are locating different room, giving detail dimensions by using various tools in autocad.
PROCEDURE :
step-1 -
- start the autocad
- choose imperial feet and inches
- type UN command for units, set engineering units
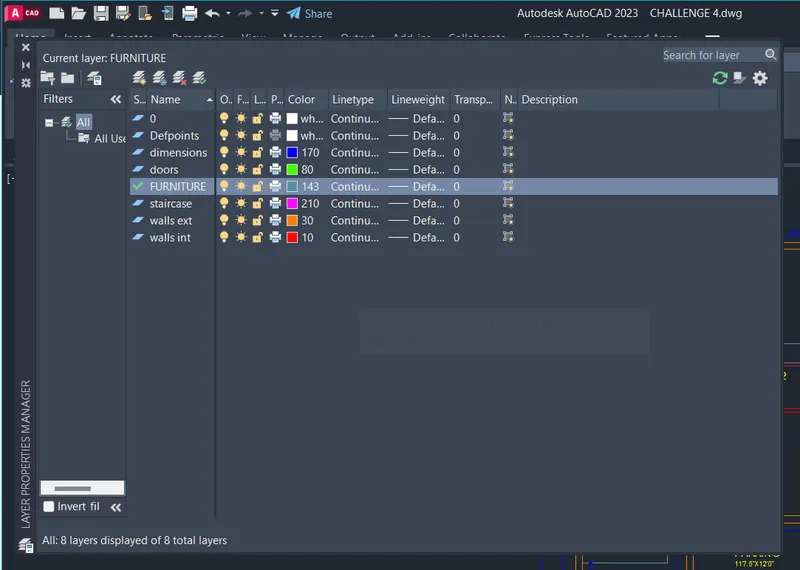
- go to layer properties set the layers as name exterior wall, interior walls, doors, staircase, dimensions etc
step-2 -
- type xline command for construction line make vertical line y-direction and horizontal line in x-direction
- take intersection point as a start point of both the lines
- make 9" offset of both the lines as they are going to be exterior walls
- take 9inches for exterior walls and 4.5 inches for interior walls
- using fillet and offset command set the drawing as per dimensions provided in given diagram.
- set each room dimensions as given in diagram.
- use trim command for unwanted line cutouts.
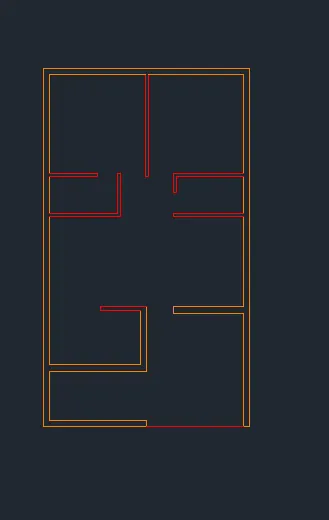
- we will reach to following drawings.
- make opening for rooms for bedrooms= 3 feet, toilet= 2 feet 6inches, main entrance= 3feet 3 inches
step-3-
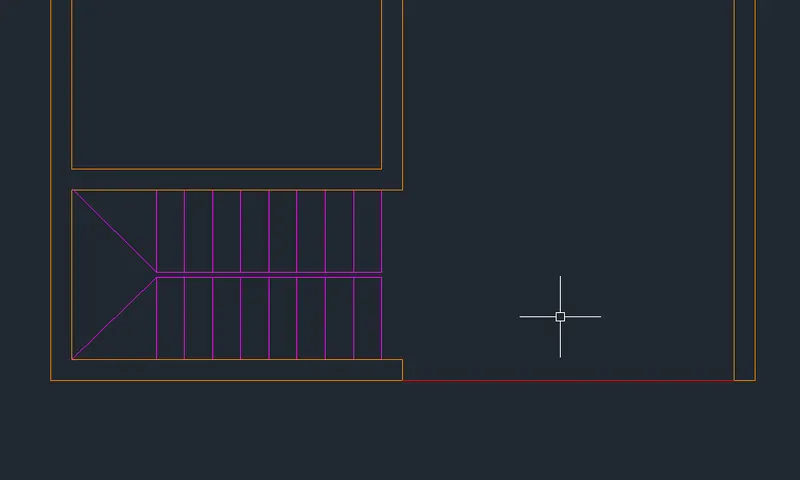
drawing staircase
- take width of staircase as 3 feet, landing as 3' x 6'
- using offset command take offset of 6 feet exterior wall make first offset at 3 feet and after that take 1 feet offset and number of lines will 9.
- take centre of 6 feet and draw middle line out of it.
step-4
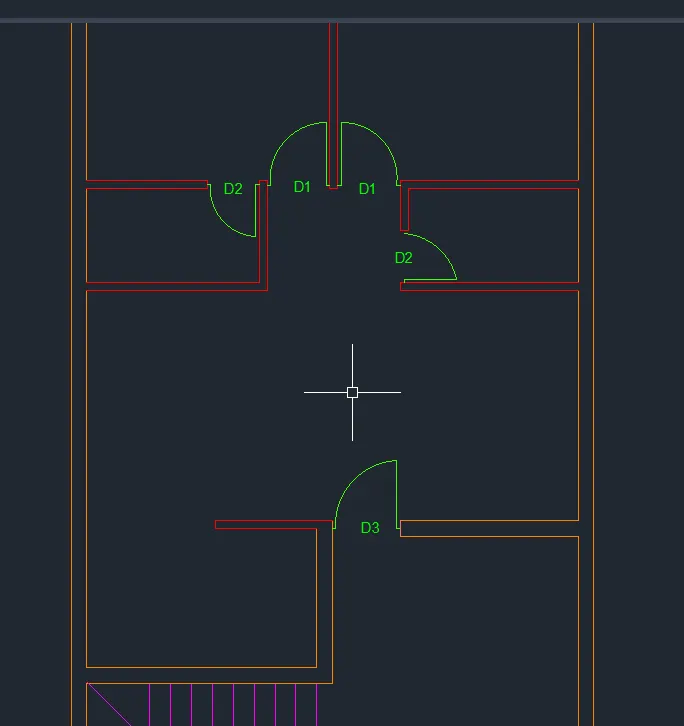
drawing doors.
- draw doors D1, D2, D3
- using line and arc command make doors for rooms.
- dimensions of doors given in scheddule table
step-5 :
- for dimensions and text, use dimstyle and mtext command for editing.
- show the dimension as per given drawing and names.
RESULT :
thus we sketched the given drawing as per specified.
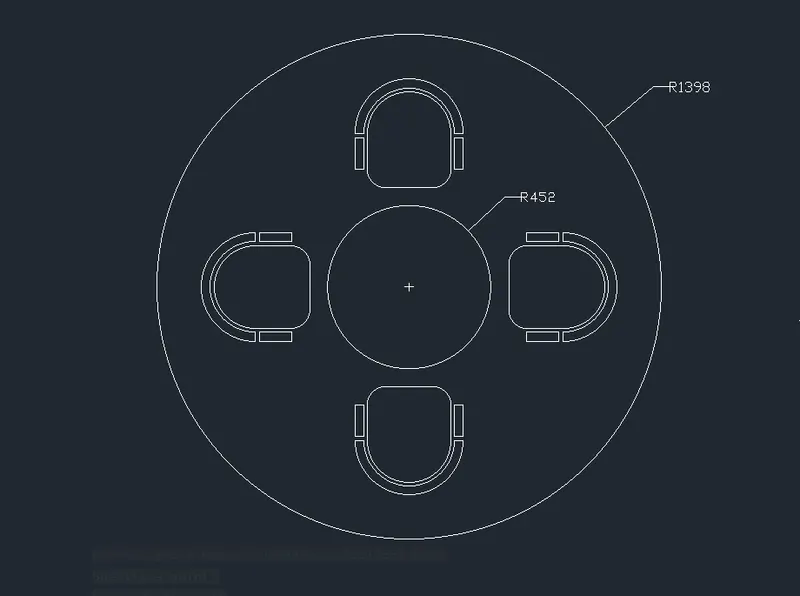
2. Sketch the seating plan for an outdoor canopy. Assume the dimensions for the seating. Also, consider the dimensions in mm.
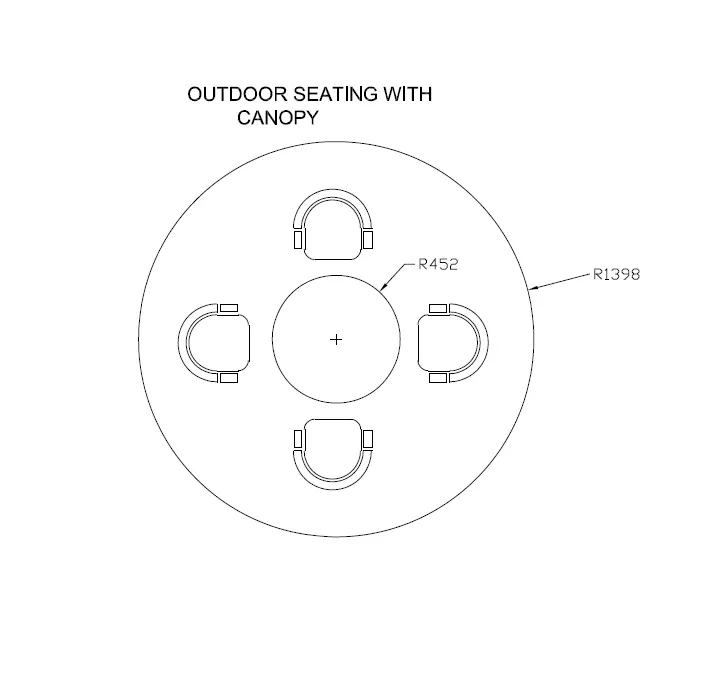
AIM : Sketch the seating plan for an outdoor canopy. Assume the dimensions for the seating. Also, consider the dimensions in mm.
INTRODUCTION : in this sketched we haved used array option which is perfect for such type of sketches.
PROCEDURE :
step-1 -
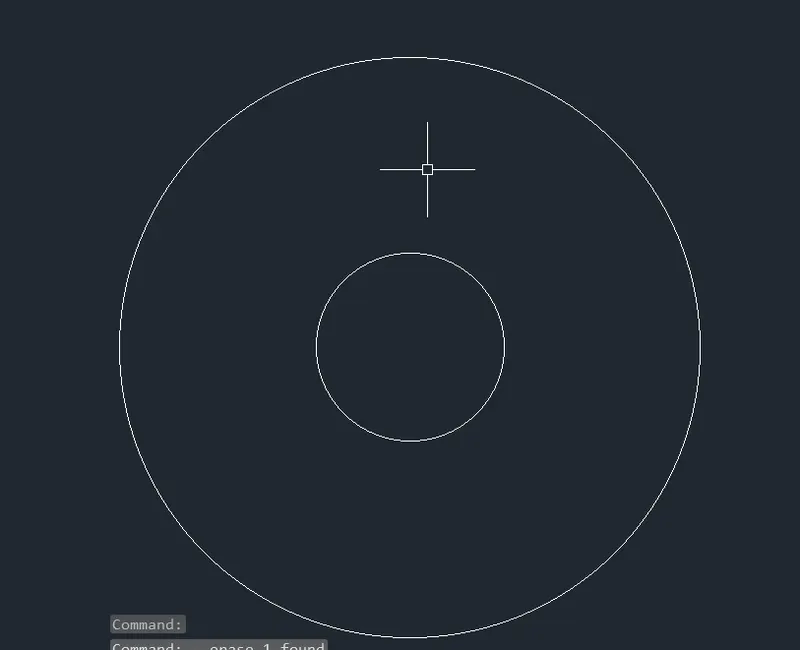
- type UN command for units change it to decimal units
- type circle command specify center and specify radius of 452 press enter
- make other circle of radius of 1398
step-2 -
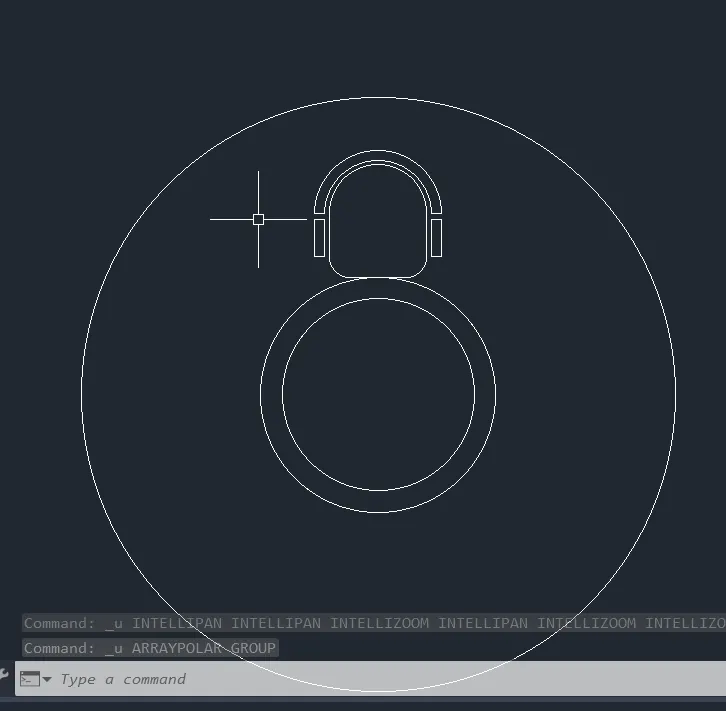
- make chair using line command and fillet command giving radius of 100.
- use trim command to remove unwanted lines
step-3 -
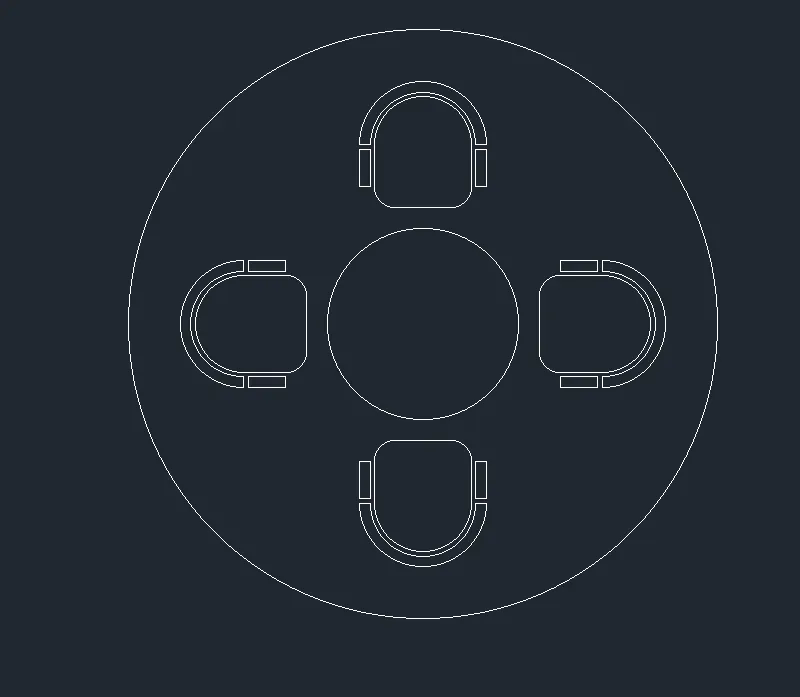
- type polar array command
- select object of chair
- select center point of circle press enter
- select items option in command bar
- type number items 4.
RESULT :
hence, we sketched outdoor space with canopy as per specification.
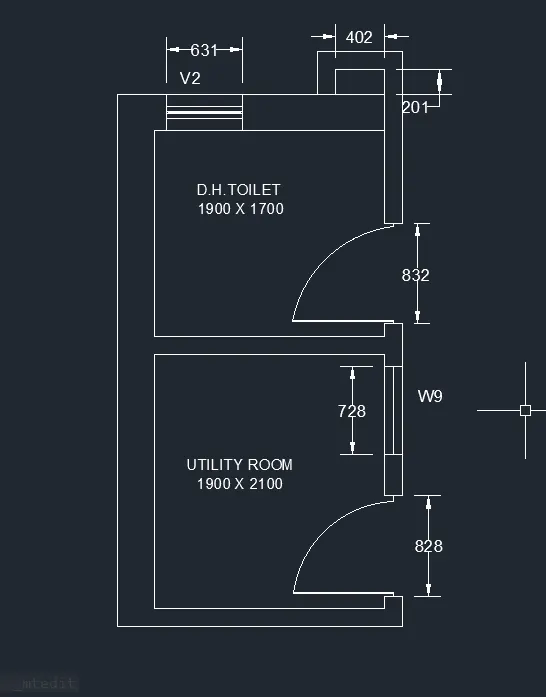
3. Sketch the part plan for the toilers and utilities room. Consider the outer wall thickness as 300mm and inner wall thickness as 150mm. Also, assume the missing dimension, Texts, dimensions, and hatches are only for references. Also, symbols for toilets and w/c are also for references.
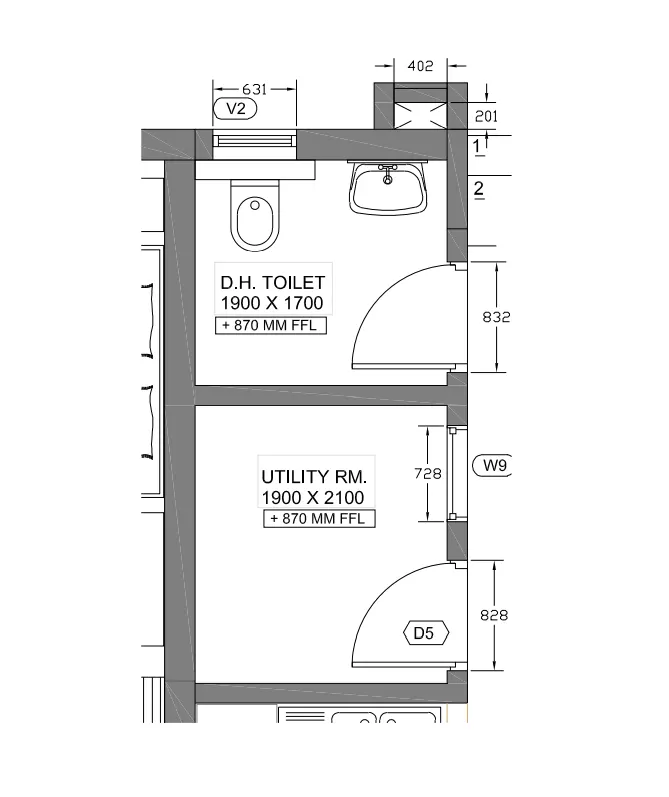
PROCEDURE :
Step-1-
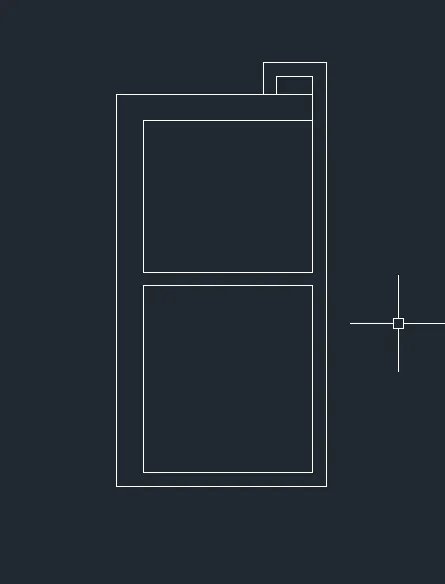
- type UN change unit to decimal and select mm on insertion scale
- type XLINE command for construction line
- make horizontal and vertical construction line
- select starting point as a intersection point of both the lines
- type offset and make offset of 300mm for vertical construction line
- make offset of 150mm for horizontal construction line
- make other offset as per room specification
- trim unwanted lines
step-2 :
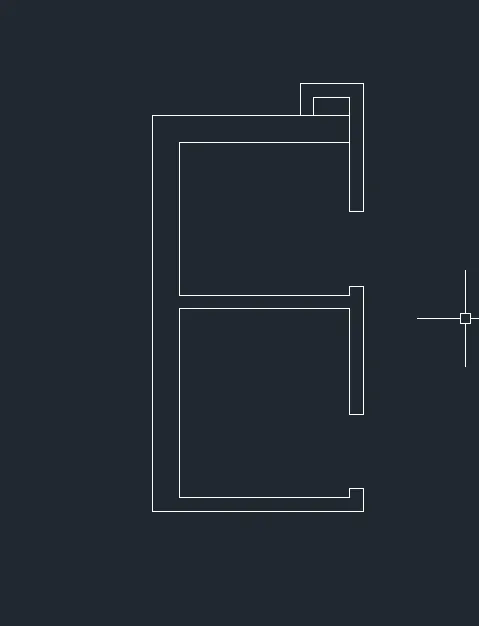
- make opening for both the rooms
- utility room opening width 828mm and toilet 832mm width
- use trim and offset for opening
step-2-
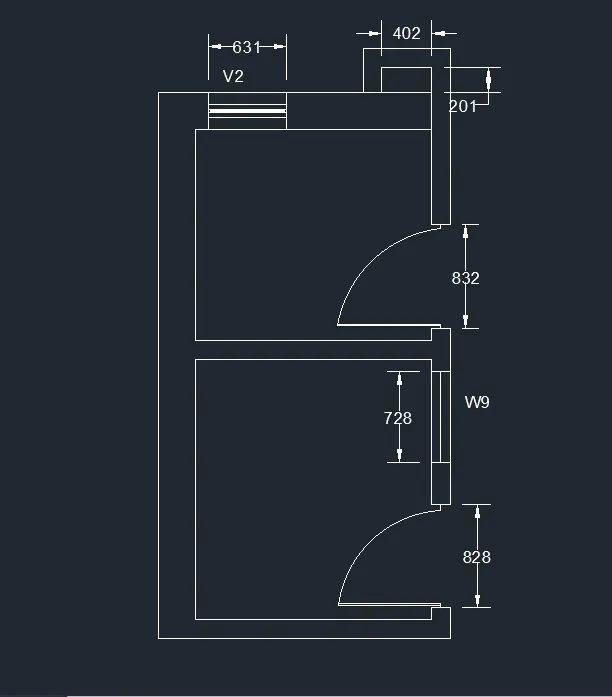
- use line and arc command to make doors using width 828 and 832 width
- make window W9 of having 728MM widdth
- make ventilator V2 having width 631 mm
step-3-
- use dimlin command for measurement and dimstyle for dimension editing
- use multiline text for naming the rooms
RESULT :
hence, sketched the part plan for the toilets and utilities room.