Creating a Layout, Section and Elevation with dimensions using AutoCad
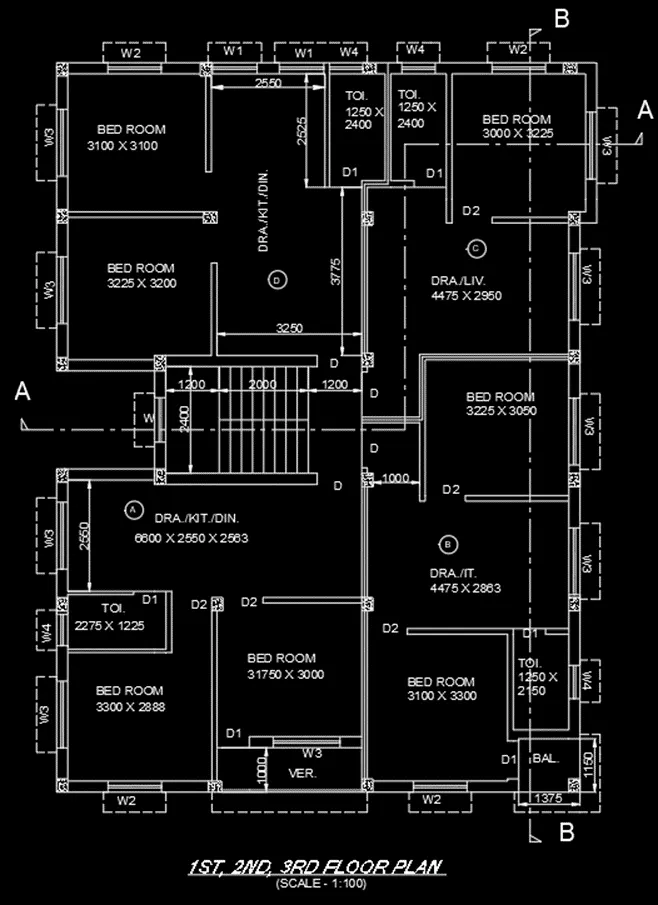
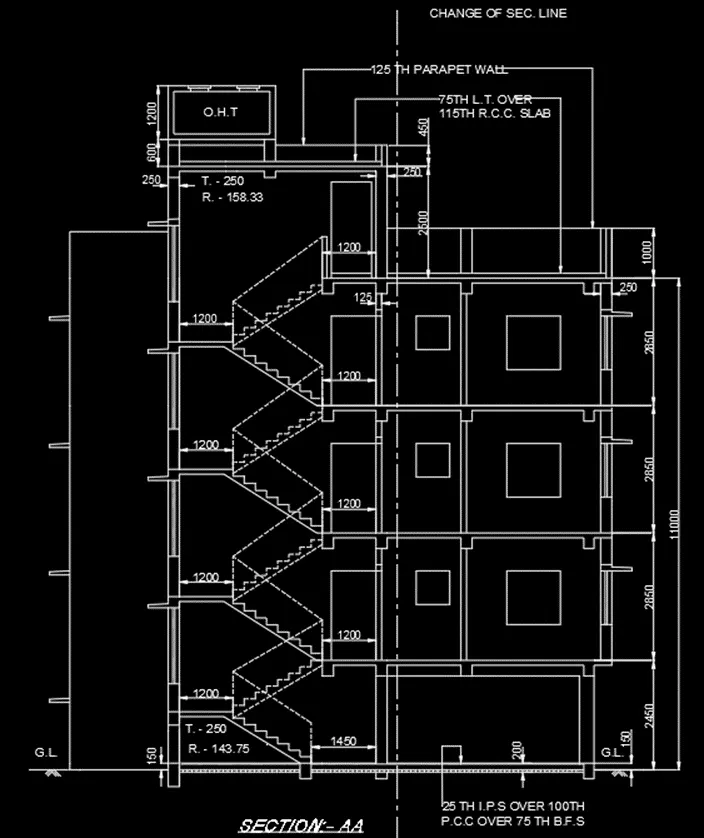
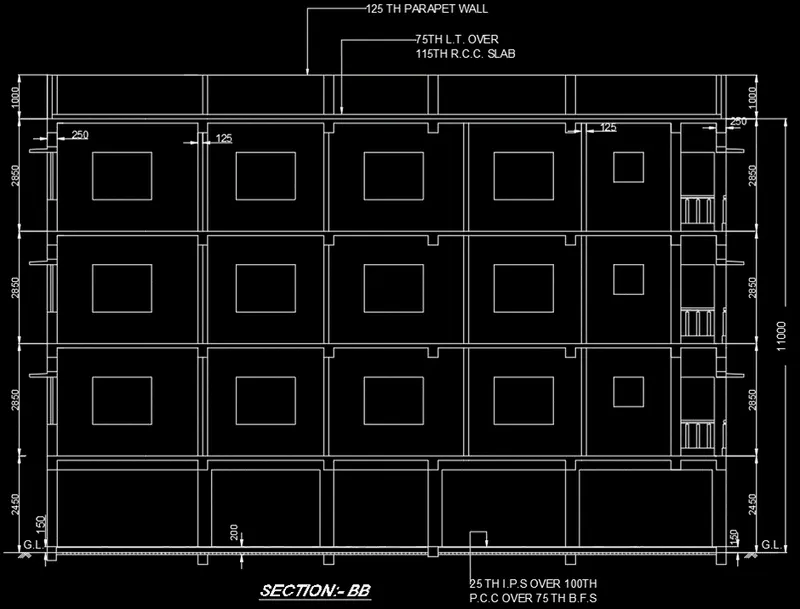
- Create the Plan and Sections as shown in the Figures. Use proper dimension techniques and dimension styles to document the project. Assume the sizes of the doors and windows as per construction standards. Refer to sections for stair details if required.
AIM:
To create the plan for G+3 storied building and sketch the sections of the building and using proper dimension techniques and dimension styles by using drafting tools in AutoCAD.
INTRODUCTION:
Floor plan is a technical drawing to scale, showing a view from above of the relationships between the rooms, spaces, traffic patterns and their physical features at one level of a structure.
section drawing are specific type of drawing architects use to illustrate a building or portion of a building. A section is drawn from a vertical plane slicing through a building this is as if you cut through a space vertically and stood directly in front looking straight at it.
PROCEDURE:
Plan for 1st, 2nd, 3rd floors.
STEP-1:
- First, we take the command XLINE, draw the horizontal and vertical lines.
- Then use the command OFFSET, draw the thickness of external wall and draw the interior walls of the plan as per given dimensions.
- Use the command LINE and columns where it required.
- Use the command TRIM and erase the all the external excessive lines.
- After completion of external walls, now we have to sketch the interior walls properly by using the command LINE.
- After completion of interior walls, now we have to sketch the space for doors, windows, ventilators as per given dimensions by using the command LINE.
- Use the command TRIM to create the space for doors.
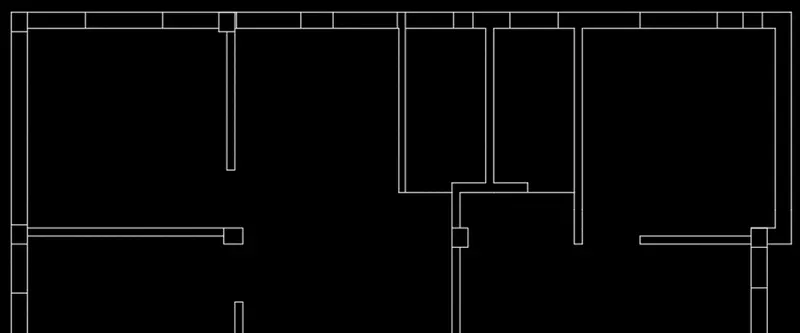
- After completing the sketch of the first part, the procedure is followed for second part of plan.
- To draw the interior walls and to sketch the space for doors, windows, ventilators as per given dimensions by using the command LINE.
- To sketch staircase, we use command OFFSET, command LINE to complete the works.
- After complete the sketch, use command TRIM to erase the unwanted lines and crate the space for doors.
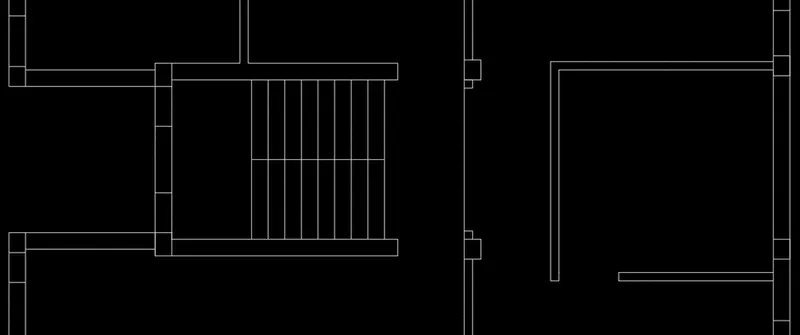
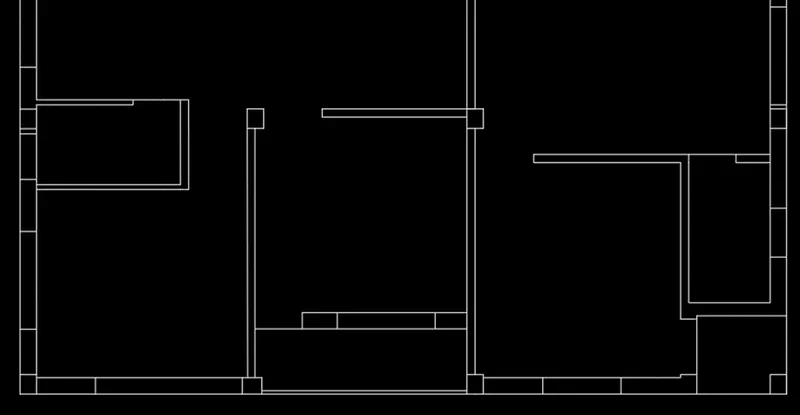
- After completing the sketch of the second part, the procedure is followed for third part of plan.
- To draw the interior walls and to sketch the space for doors, windows, ventilators as per given dimensions by using the command LINE.
- After complete the sketch, use command TRIM to erase the unwanted lines and crate the space for doors.
STEP-2:
- After completing the sketch of the floor plan, we should have to give the text, dimensions to the floor plan.
- Firstly, give the dimensions for the plan and representing them by using command
- Then place the text between the lines as table by using the command
- After that use the command MOVE to place the sketch between the table.
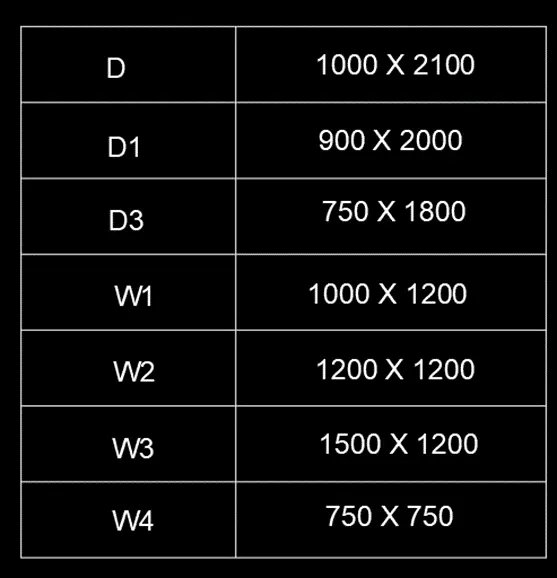
- Select the command LINE, command OFFSET to complete the sketching of doors, windows, steps etc.
- After completed the sketch of all the parts of plan, then we have to label and give dimensions to them.
- Select the command DTEXT and labelling the plan as per required places as rooms, toilets, doors, windows, ventilators etc.
- Use command DIMLIN to specify the dimensions by using the options Continue and Baseline for required dimensional specifications.
- Select the command HATCH for highlighting the columns where they placed by using the pattern AR-CONC.
- Use layers for sunshades and section defining lines (AA, BB) for proper understanding.
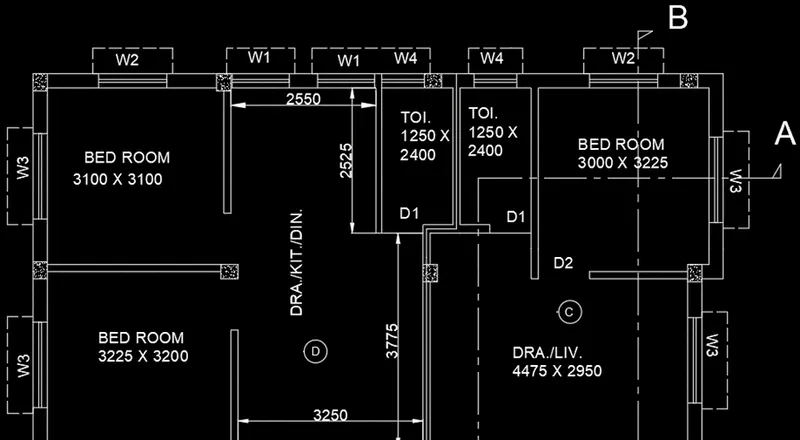
- Continue the same process for completing the plan.
SECTION :- AA
STEP-1:
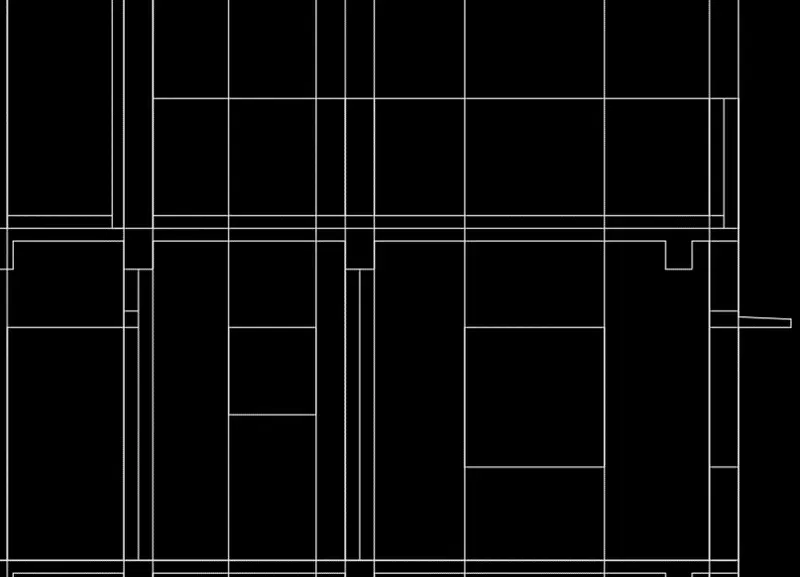
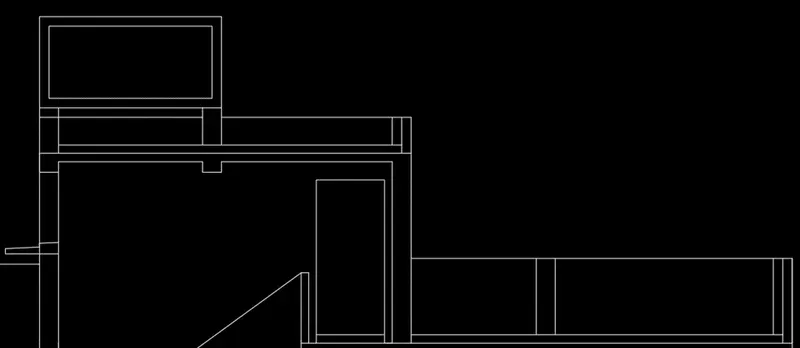
- After completing the G+3 floor plan, now we have to sketch the section AA.
- For sketching the section AA, we have to draw the continuous lines from the plan by using the command XLINE horizontally and vertically.
- Select the command LINE and draw the slab, column, windows, sunshade, interior walls etc.
- Use the command TRIM to eliminate the unwanted lines.
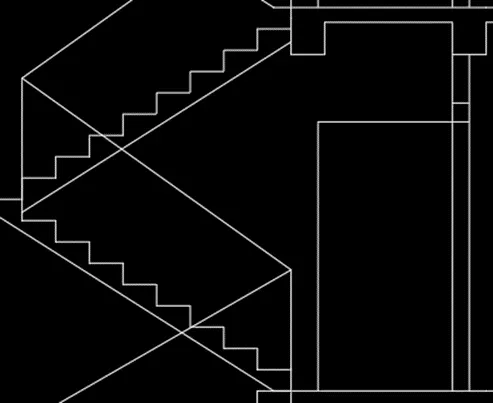
- Draw the section sketch of the stairs and the door by using the command LINE with given dimensions of thread and raiser.
- Use the command TRIM to eliminate the unwanted lines.
STEP-2:
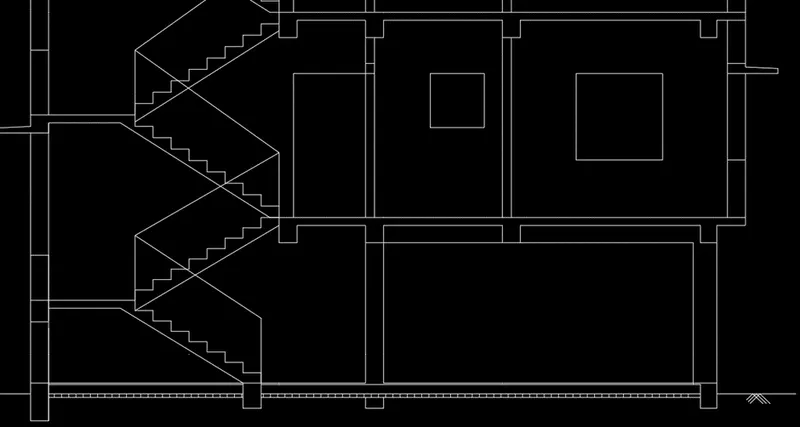
- After completing the drawing of one floor then draw the ground floor.
- Use the command LINE and command OFFSET for completing the sketch of ground floor.
- Use the command COPY to copy the staircase.
- Use the command TRIM to eliminate the unwanted lines.
- After completing the drawing of one floor and the ground floor.
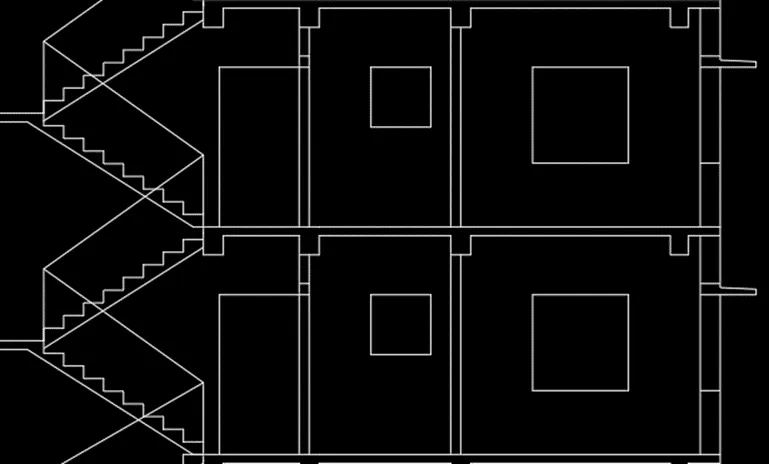
- Now we have to copy the 1st floor sketch to place it as 2nd and 3rd
- Use the command TRIM to eliminate the unwanted lines.
- After completing the g+3 floor building, then draw the sketch of parapet wall and over head tank by using the command LINE and command OFFSET to complete the sketch.
- Use the command TRIM to eliminate the unwanted lines.
STEP -3:
- After completing the sketch of section AA, we should have to give the text and dimensions for section AA.
- Select the command LINE, command OFFSET to complete the sketching of doors, windows, sunshades etc.
- After completed the sketch of all the parts of section, then we have to label and give dimensions to them.
- Select the command DTEXT and labelling the section AA as per required places.
- Use command DIMLIN to specify the dimensions by using the options Continue and Baseline for required dimensional specifications.
- Use the command LEADERS for complete the labelling of section AA.
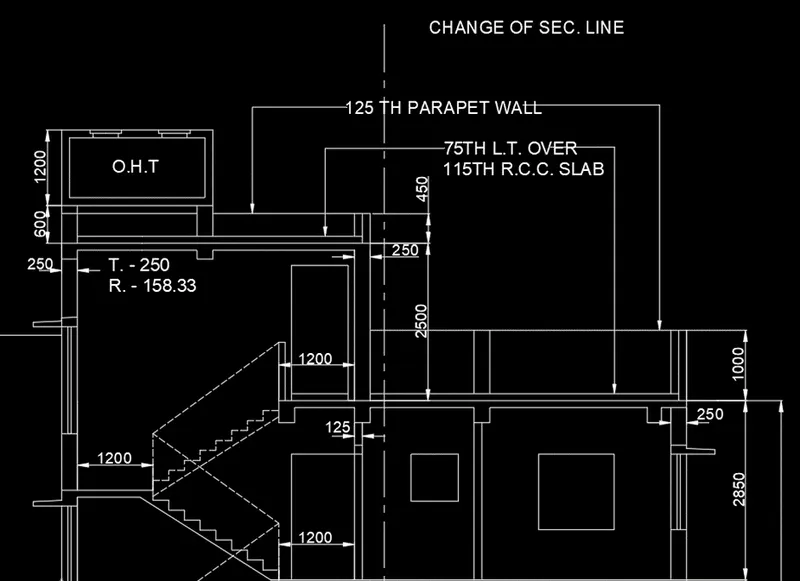
- Continue the same process for completing the section AA.
SECTION :- BB
STEP-1:
- After completing the drawing of section AA, now we have to sketch the section BB.
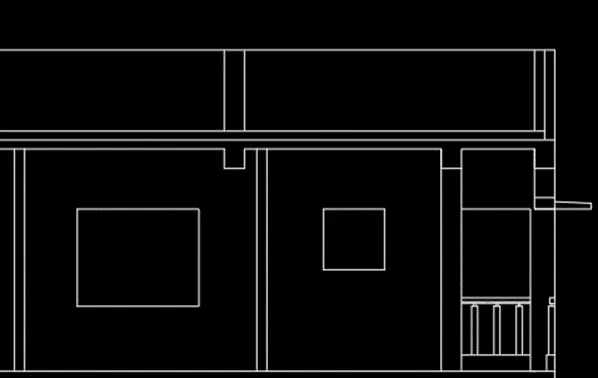
- For sketching the section BB, Select the command LINE and draw the slab, column, windows, sunshade, interior walls, parapet wall etc.
- Use the command TRIM to eliminate the unwanted lines.
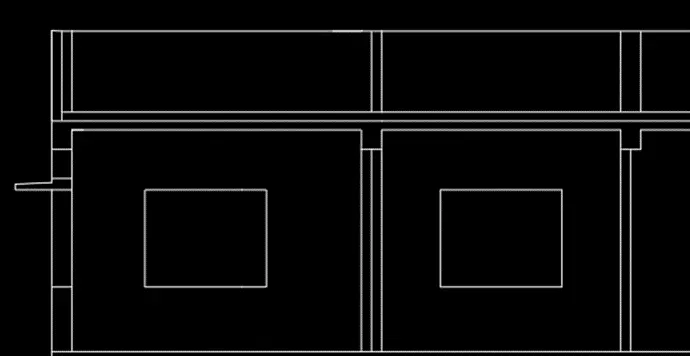
- Select the command LINE and draw the slab, column, windows, sunshade, interior walls, parapet wall and balcony.
- Use the command TRIM to eliminate the unwanted lines.
STEP-2:
- After completing the drawing of one floor then draw the ground floor.
- Use the command LINE and command OFFSET for completing the sketch of ground floor.
- Use the command TRIM to eliminate the unwanted lines.
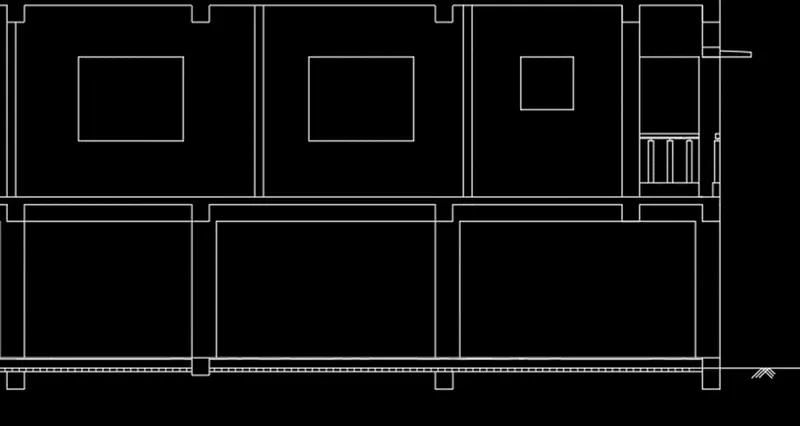
- After completing the drawing of one floor and the ground floor.
- Now we have to copy the 1st floor sketch to place it as 2nd and 3rd
- Use the command TRIM to eliminate the unwanted lines.
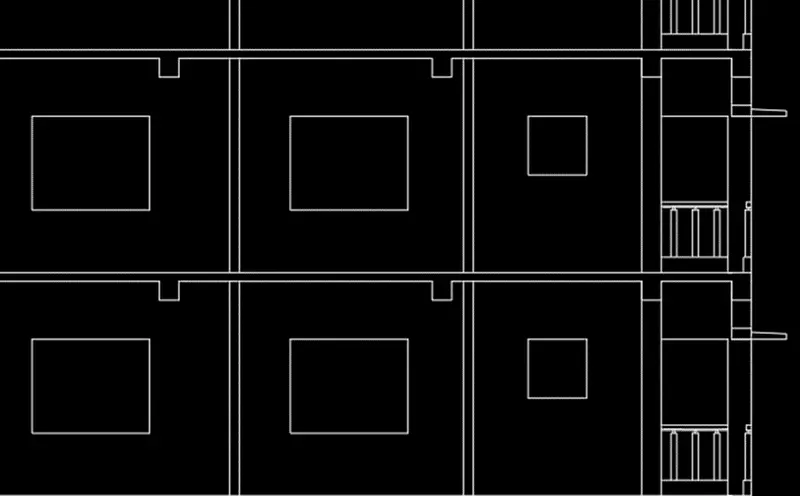
STEP -3:
- After completing the sketch of section BB, we should have to give the text and dimensions for section BB.
- Select the command LINE, command OFFSET to complete the sketching of doors, windows, sunshades etc.
- After completed the sketch of all the parts of section, then we have to label and give dimensions to them.
- Select the command DTEXT and labelling the section AA as per required places.
- Use command DIMLIN to specify the dimensions by using the options Continue and Baseline for required dimensional specifications.
- Use the command LEADERS for complete the labelling of section BB.
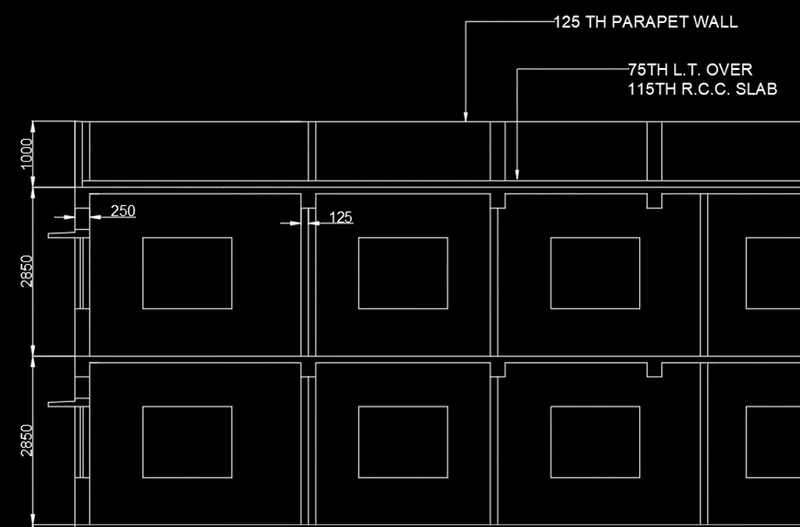
- Continue the same process for completing the section BB.
RESULT: