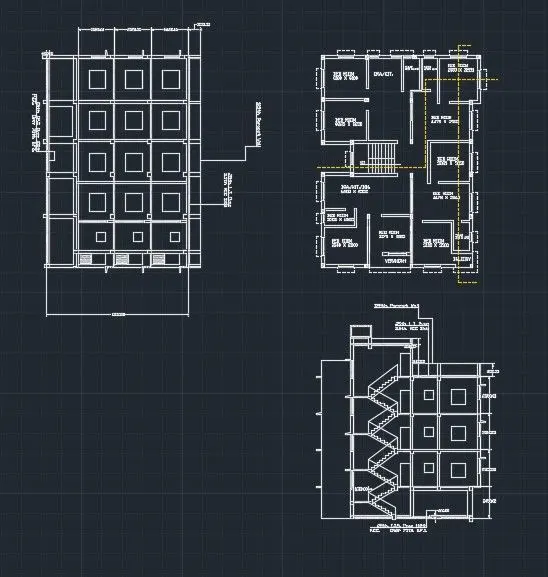
Creating a Layout, Section and Elevation with dimensions using AutoCad
Aim :-
-
To draw the Plan and Sections as shown in the Figures with Using proper dimension techniques and dimension styles to document the project.
Procedure :-
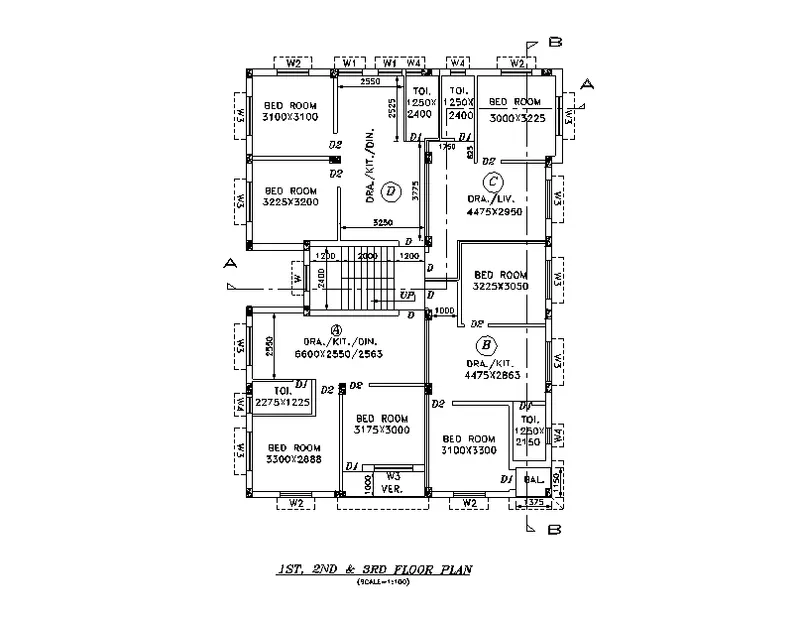
1st, 2nd and 3rd Floor Plan :-
- Plan drawing is drawing on a horizontal plane showing the view from above.
- Firstly, Set the limits and units as Decimal.
- Then draw the Xline vertically and Horizontally.
- Take the inner wall ize as 230 mm and inner wall size as 150mm.
- Then take the offset vertically of xline as per the size of bedroom1, Bedroom2, Bedroom3 and thean toilet and balcony as per the dimensions.
- And make box of outer wall.
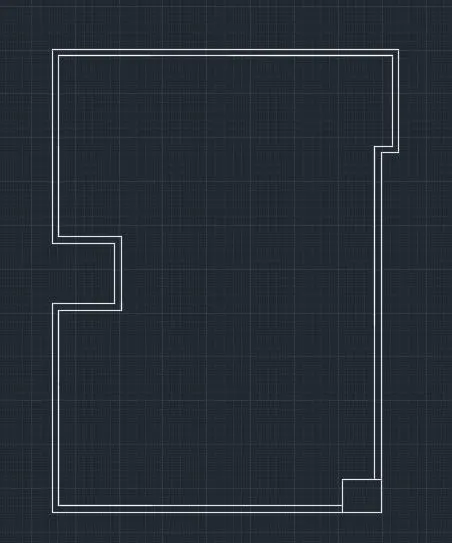
- Take offset horizontally as per the size showing in dimension.
- Take 230mm as Outer wall.
- Take offset of 2400 for stairs.
- Draw the stairs as the size of tread is 250 mm.
- Drawing Room size is 6600 X 2550 mm.
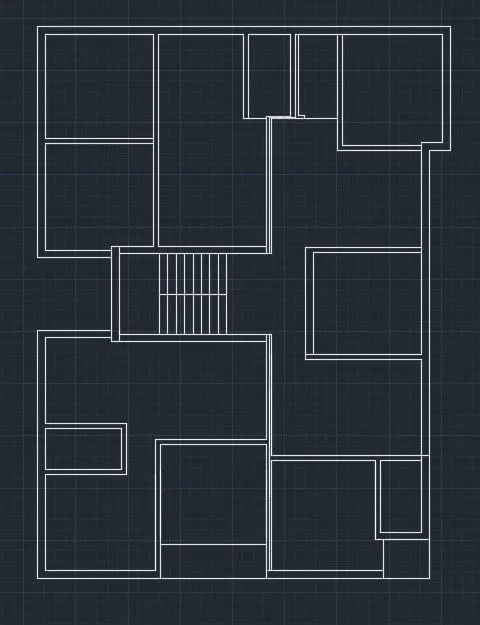
- Till this we have draw the plan as per the dimension in the drawing.
- Now we have to insert the doors and windows as per the taken size.
- D - 1000 X 2100 mm
- D1 - 700 X 2100 mm
- D2 - 900 X 2100 mm
- W - 600 X 1200 mm
- W1 - 900 X 1200 mm
- W2 - 1000 X 1200 mm
- W3 - 1500 X 1200 mm
- W4 - 500 X 500 mm
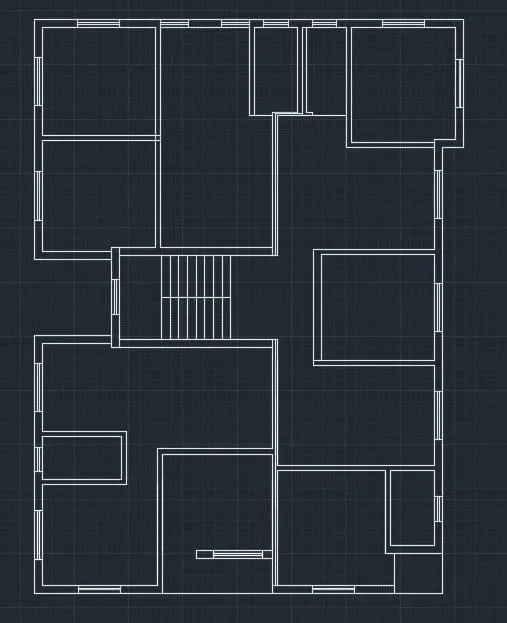
- Then we have to draw the column of size 250 X 350mm.
- The columns are placed where ever they required in floor Plan.
- Use Hatch command to show the hatching in the columns.
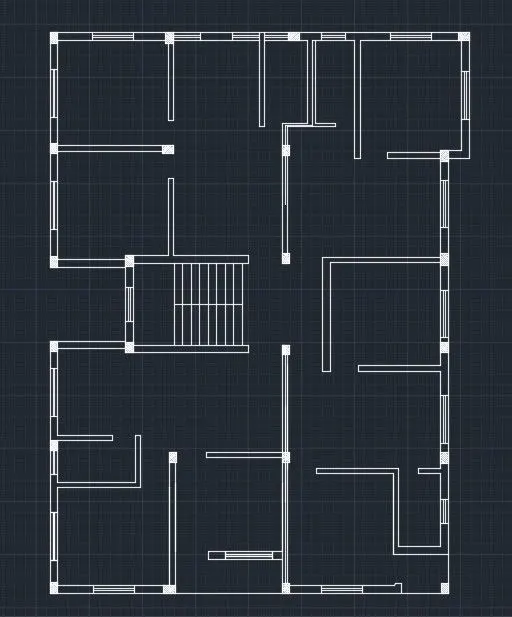
- Now add the chhajjas that ore projected above thw window.
- Use dotted line to show the chhajjas.
- Add Text in the drawing as per the name given in the drawing.
Result :-
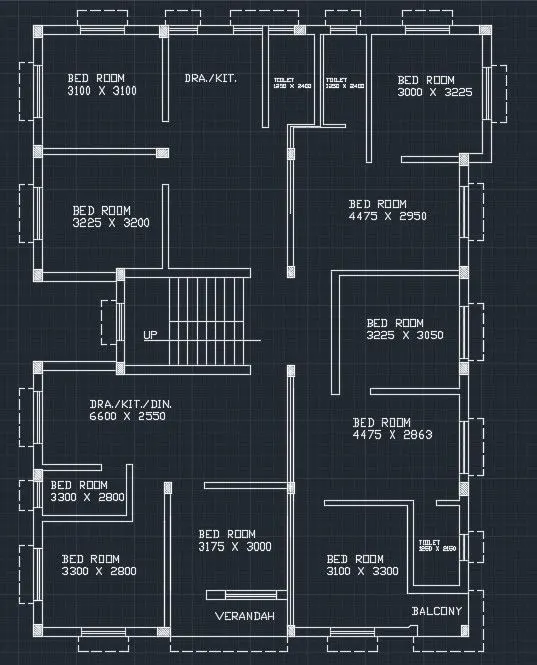
This is showing the Plan view of 1st, 2nd and 3rd floor.
Section A-A :-
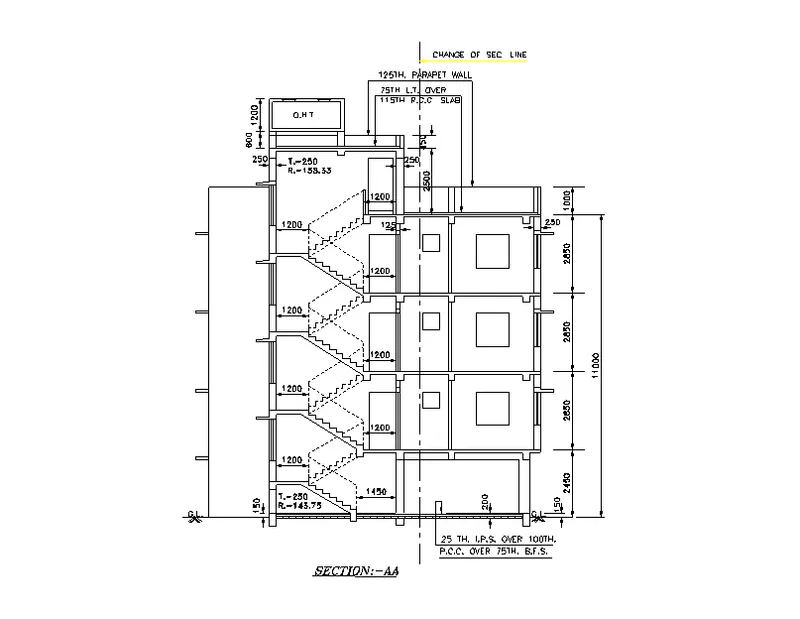
- Now we have to draw the line of 8900 mm horizontally.
- Now draw the line from the first line and lastline we draw previously.
- Ground level thickness is 200mm and 50mm.
- Now draw the stairs at ground floor with traed size 250 and riser size 143.75 mm.
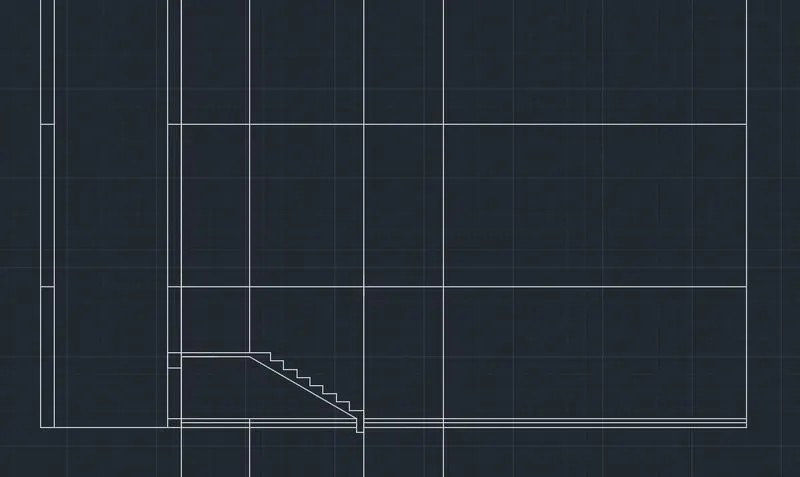
- Now draw the stairs at first, second and third floor.
- Tread size is 250 mm and riser size is 158 mm.
- Project the chajjas from the plan as per respective size.
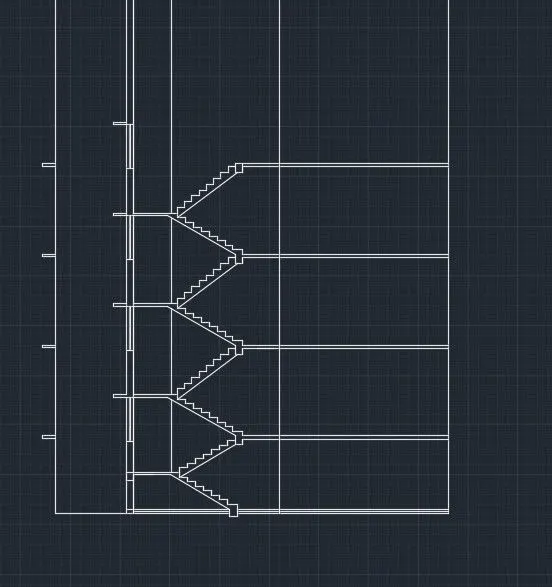
- Now draw the windows, doors and chhajjas i the section view.
- Draw the overhead tank above the parapet wall.
- Draw the parapet wall of 1000 mm.
- Floor size is 2850mm.
- Draw the 200 mm of flooring and hatch it.
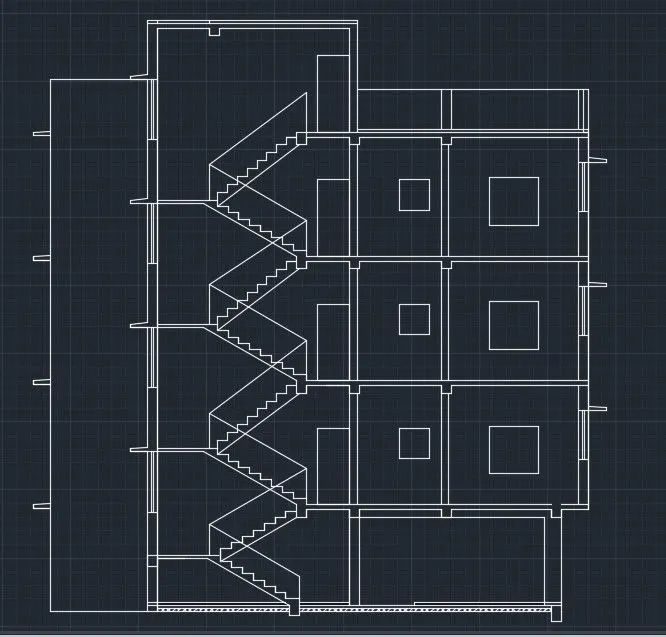
Result :-
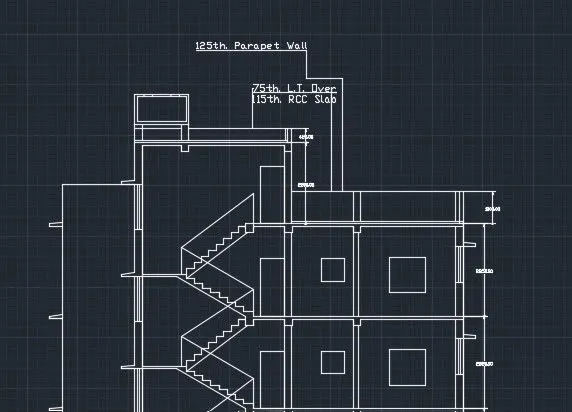
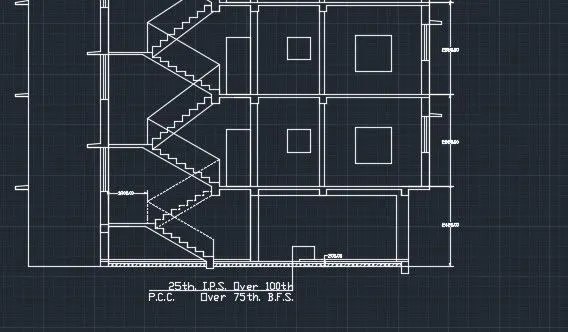
This is showing the section A-A.
Section B-B :-
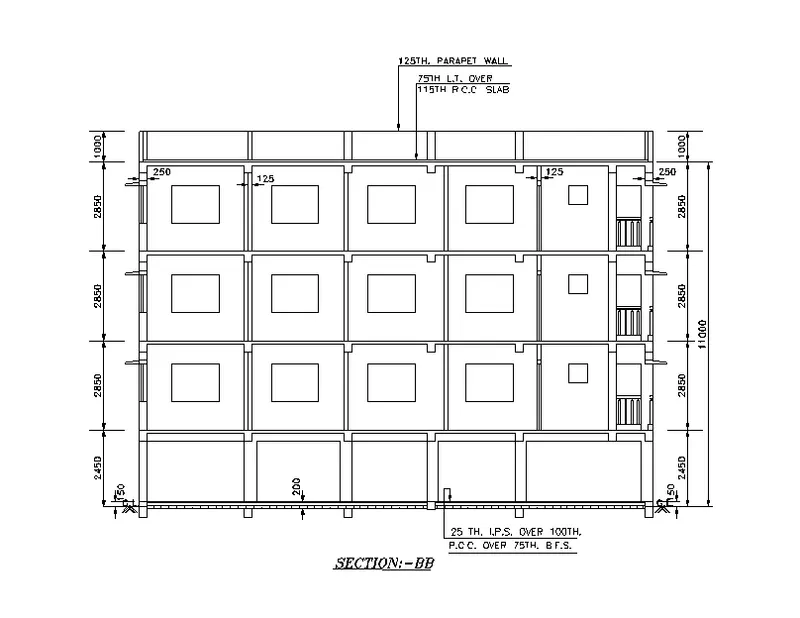
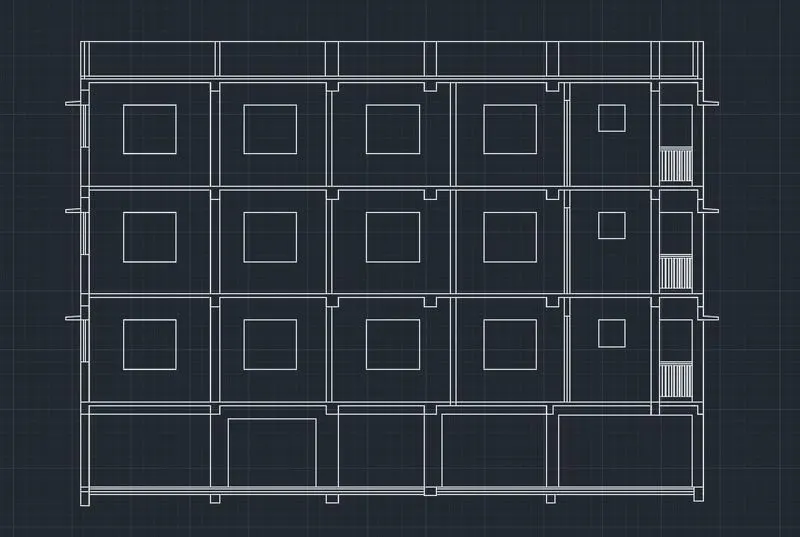
- Section B-B is covering all the sizes of bedrooms Horizontally and showing the balcony details.
- Use the Xline to stretch the sizes from the plan.
- Firstly draw the ground floor of mm and other floors of 2850mm.
- Then draw the parapet of 1000 mm.
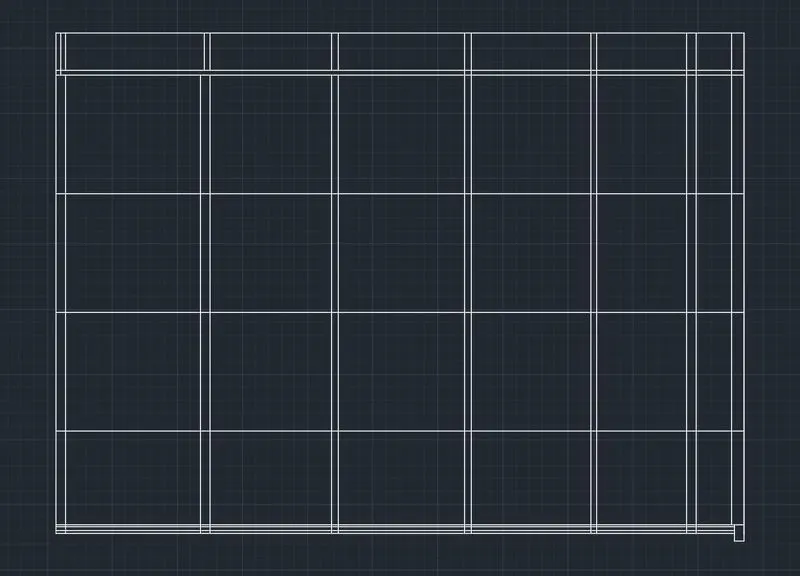
- Now project the chhajjas from the plan.
- Draw the window of every room of the plan.
- And Draw the Balcony Railings.
- Draw the Beams at every floors.
- Now insert the text in the drawing.
- And use the multileader to show the thickness of Flooring.
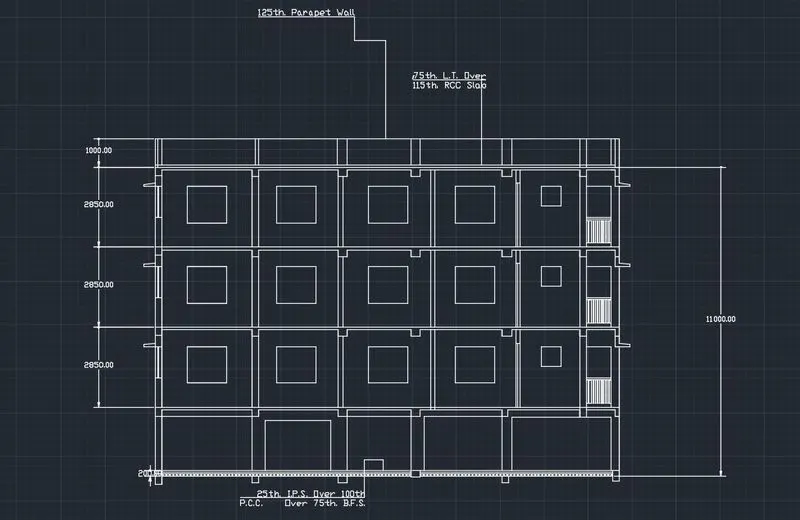
This is showing the section B-B.
Result :-
Final Drawing of Plan and both the sections are as per following.