Assignment 2-RADIOSS Engine File Editing & 3D Meshing Challenge
Questions:
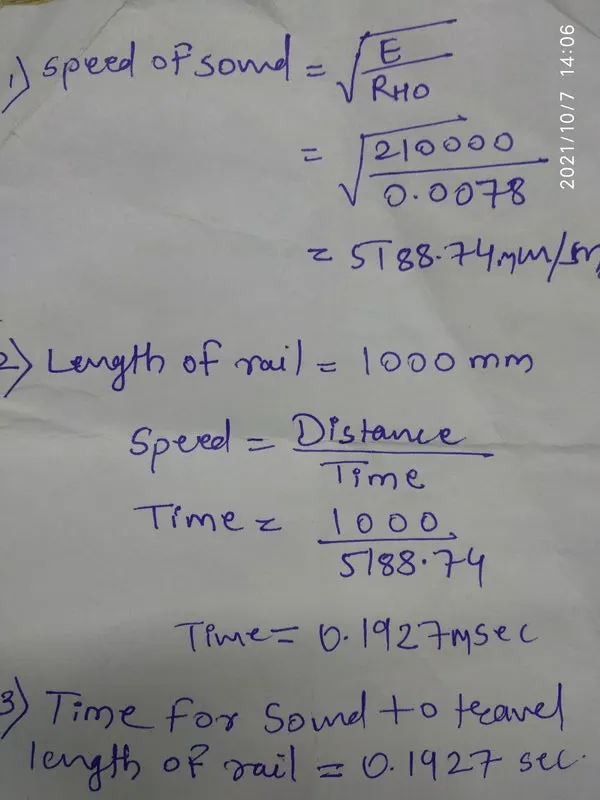
1. Check the material properties of the rail component and calculate the speed of sound in steel rail=_______
2. The length of the rail is about 1000 mm.calculate the time takes for a shock wave to travel from one end of the rail to the other.
3. Time for sound to travel length of rail=______
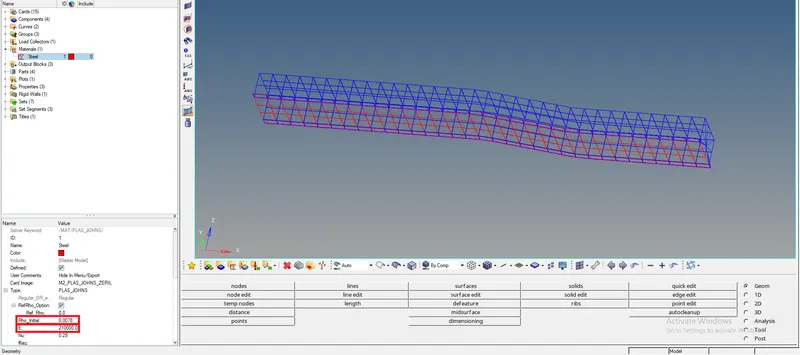
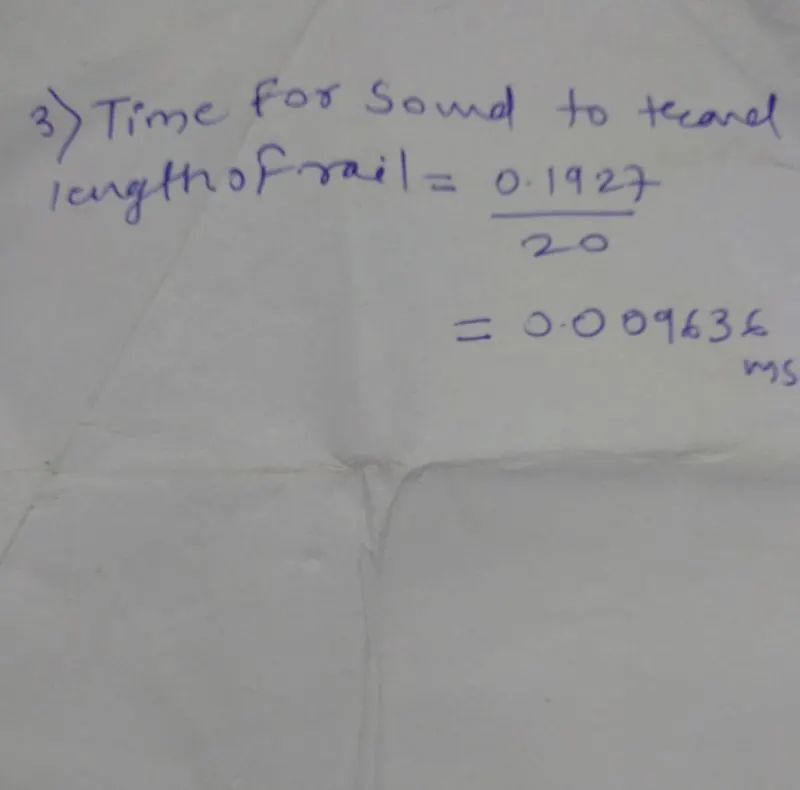
4. Edit the engine file so that the stress wave can be monitored, moving from one end of the rail to the other during impact -this will require a termination time equal to the time it takes for the sound to travel the length of the rail(set on/RUN card)
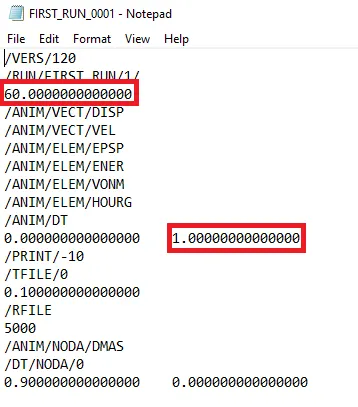
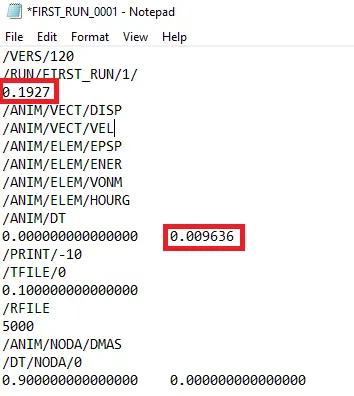
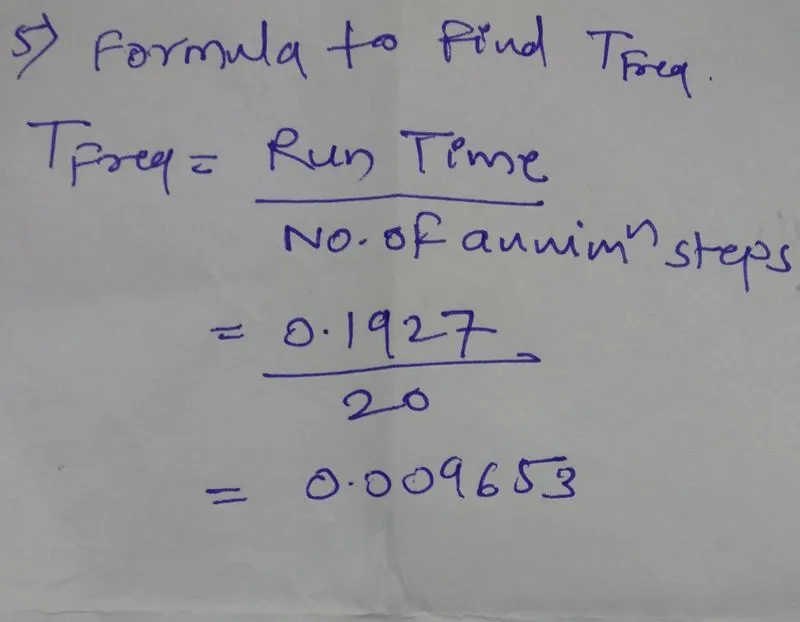
5. Set the frequency of animation output to a time that will give 20 animation steps(/ANIM/DT)
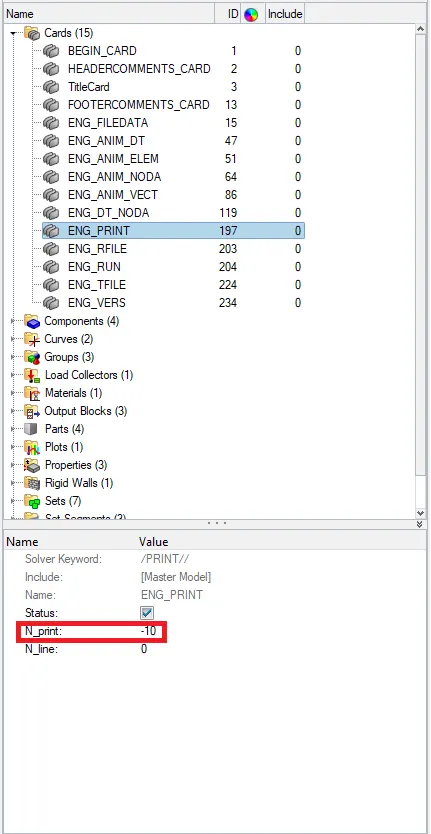
6.Change /print -10.
Here by default Print value as 10 has been seted.
7. 3d meshing tetra mesh and hex mesh
- Repeat class examples and, maintain the quality.
- Target tet size=5mm,hex size=10mm,tet collapse=0.15.
Part-1 Housing Model
Procedure :
- Import the given model with import option go to 'file' then 'import' and select 'model/geometry'
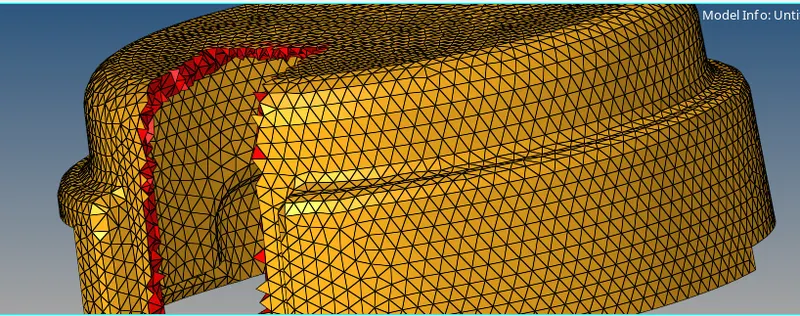
- Here we are going to use "Quick Tetramesh". For that we have to go for quick tetramesh method. in this method 2D mesh is genrated and convert it into 3D mesh automatically.
- Genrally this method is not preferred it will be gives bad mesh quality.
- For this method we have to go 'view', 'browsers', 'hypermesh' and tick 'utility'. after that select 'Geom/mesh' then click 'quick tetramesh'.
- In quick tetramesh tool first select given component then give mesh size and type of mesh and hit 'mesh'.
- After that need to check elements which are failing for tet collapse. similarly as previous method use 'check elems' in tool panel
- Resolve fail elemets by using 'tetra remesh'. perform remeshing till get 0 fail elements.
Procedure :-
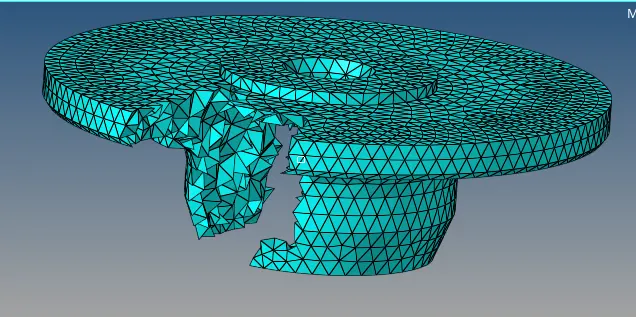
- First of all we have to import given model using import option. before strat this method need to clean up the geometry if any error found in geometry.
- Then go for 3D tetrameshing with volume tetramesh method. for that go to 'tetramesh' tool in '3D' panel, 'volume tetramesh' select solid, give mesh size and mesh type then hit 'mesh'
- After that we have to check elements which are fail using 'check elems' tool. rsolve it by remeshing using 'tetra remesh' option. performed remeshing till get 0 fail elements.
Part-2 Arm Bracket Assembly
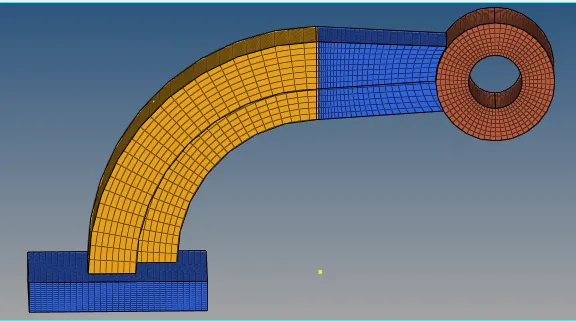
Its consists of 4 parts as follows
a) Base
b) Arm Curve
c) Arm Straight
d) Boss
a) Base
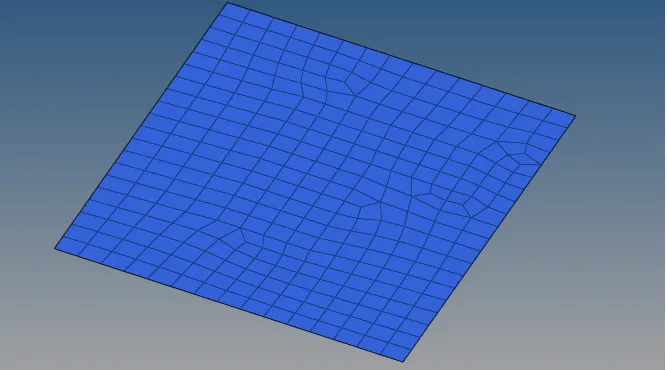
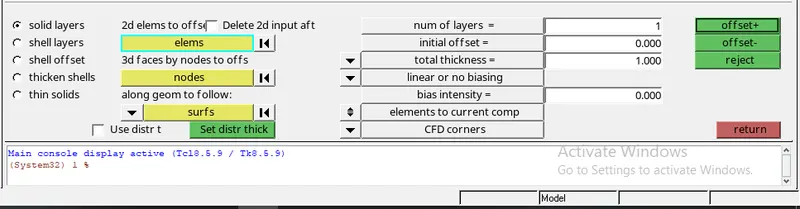
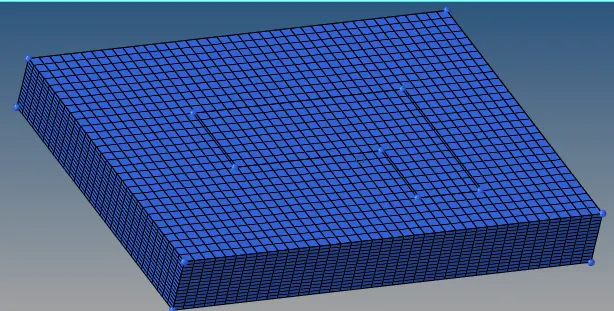
- First we have to mesh top surface ofthe base. then using 'element offset' tool in '3D' panel to create hexa mesh on base. select 2D elements on top surface, no of layers as 5 and put total thickness as 25 then hit 'offset+'.
b) Arm curve
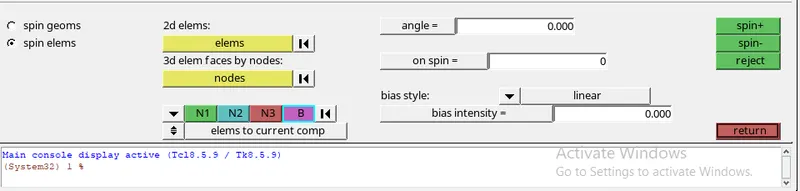
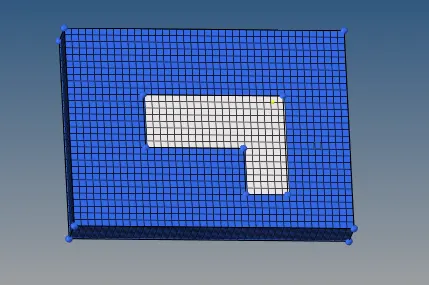
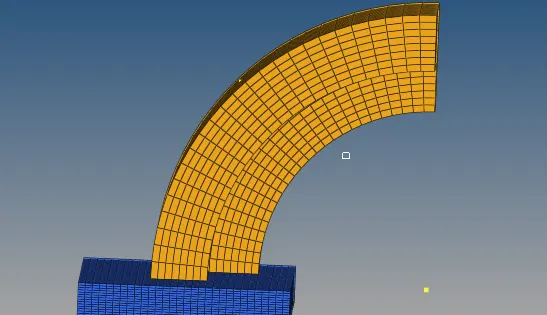
- To creating hexa mesh on Arm curve we have to use 'Spin' tool in '3D' panel. for that select 2D elements on top surface of base,then for direction and base center we have to create base node using 'arc center' option in 'nodes' tool' and select N1, N2, N3. as direction and base point as a center, then put spin angle as 90, on spin value as 25 and hit 'Spin+'.
c) Arm straight
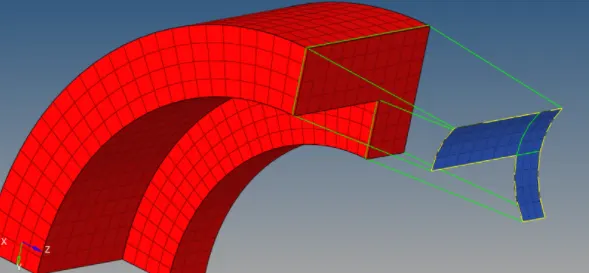
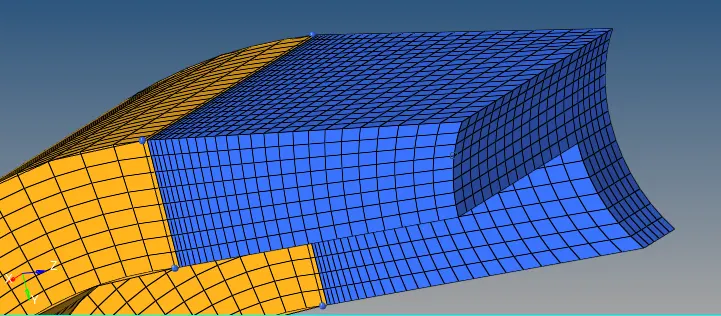
- To creating hexa msh on Arm straight we have to use 'Linear solid' tool in '3D' panel.
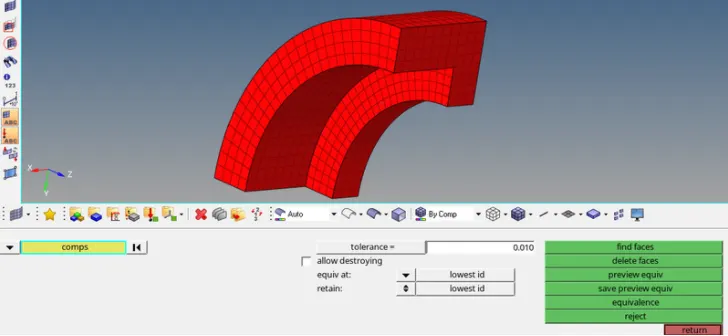
- for that need a source and destination elements on faces of either sides. so on either face of arm straight 2D elements should be create. 2D elemets on left side of Arm straight can be select by using 'Faces' tool in 'Tool' panel. And 2D elements on right side can be created by using 'automesh'.
- For linear solid elements on both sides should be equal. After confirming both sides elements are equal select nodes for alignment and hit 'solid' to getting hexa mesh on arm straight.

d) boss
- To creating hexa mesh on boss here we using 'Line drag' tool in '3D' panel. for that perform 2D meshing on top surface of boss using 'Automesh' tool.
- Select 2D elements on top surface of boss , line as direction of hexa elements, Put on drag value as 25 and hit 'drag' to get hexa mesh on boss.