Assignment 1-2D Meshing Challenge
OBJECTIVE:-
To Clean the geometry. Extract mid surface. Clean mid surface geometry. Ignore holes less than dia 5mm.
Create a 2D mesh with target length 5mm, min 3.5mm max 7mm. And assign proper thickness, by creating a generic
property for given parts by using Hyper works 2021.
CAD MODEL IMAGES:-
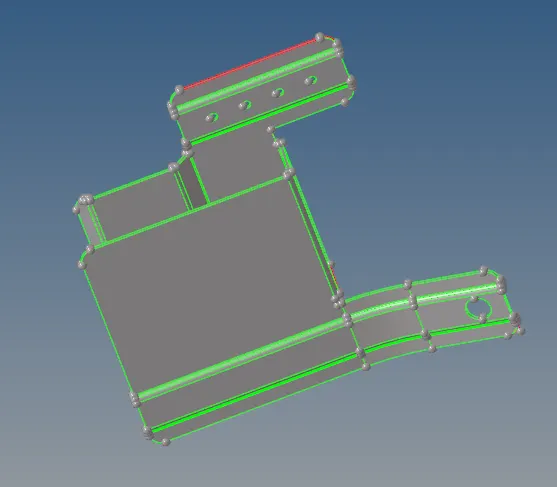
PRACTICE
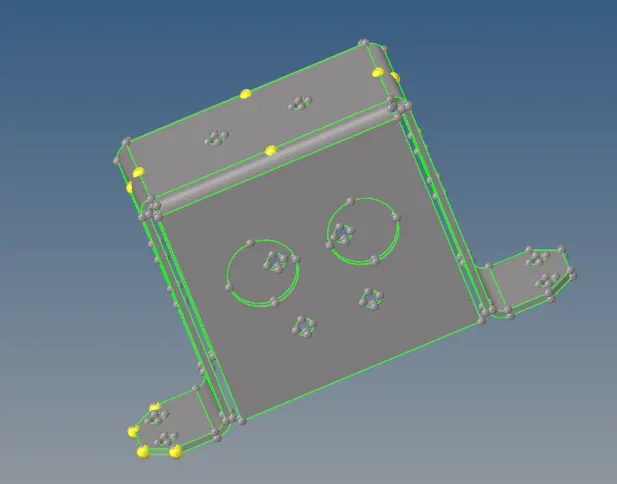
CLIP REPAIR
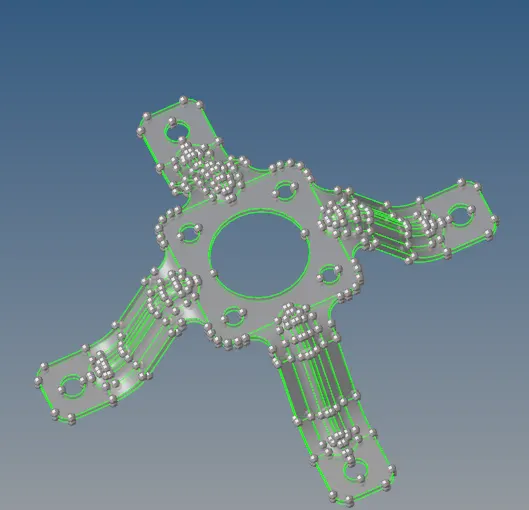
MOUNTING BRACKET
PROCEDURE:-
PART1→Practice
1.Import the file into hypermesh -select→import→import model.
2.Click on the files select model and click on import.
3.set the geometry colour mode to Topo.
4.Remove the yellow lines and red line by using Quick edit command tool.
5.See the model where it is failed as shown in the above fig as part1.
6. Those yellow lines want to be changed into green lines because that means there is another surface so delete the surface
so it converts into green lines.
7.Repeat the above steps to clear the other cleanups in the given model.
8.In the geometry clean the entire geomentry by using the quick edit tool.
9. By using delete the extra surface will be deleted.
10.Some red lines in the geometry clearing those lines by using quick edit and select toggle the lines by changing tolerance.
11.Completed the geometry clean up as mentioned above.
12.Then after completing the geometry clean up goto the mid surface option in the 2D section tool bar.
15.Then extract the mid surface create the new component automatically as shown below.
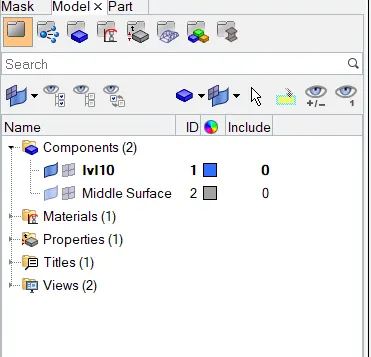
16. let us hide the parent geometry surface shows the mid surface on the graphical area.
17.Set the quality parameters in the criteria file min size 3.5, max size 7 and target element size is 5.
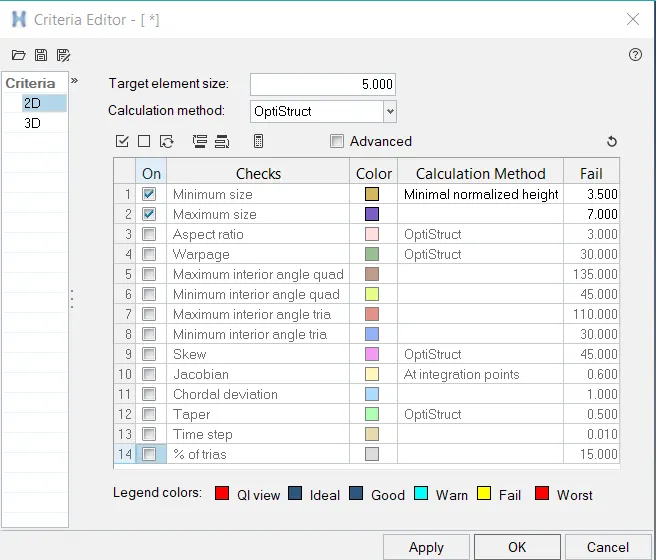
18.Next goto meshing the entire component by using 2D→Automesh.
19.By using the above steps mesh all the surfaces shown below.
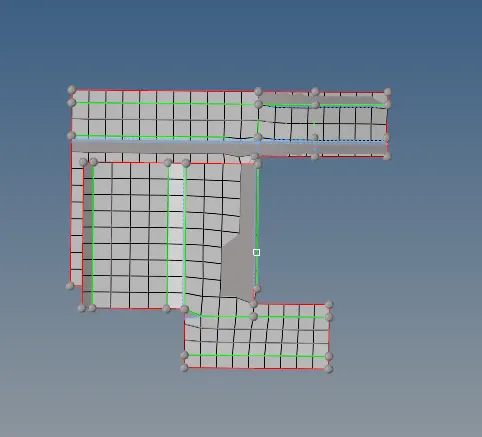
20.While doing meshing assign thickness create a new property and give the thickness.
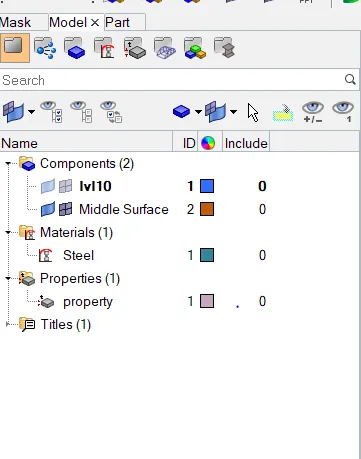
PART2→Clip Repair
20.In this geometry no issues with geometry cleanup.
1.So I am going to directly make it to the mid surface.
22.Goto main menu bar Select→Geom→Midsurface→Extraction options→Skin offset→Auto
extraction→Surf→Extract.
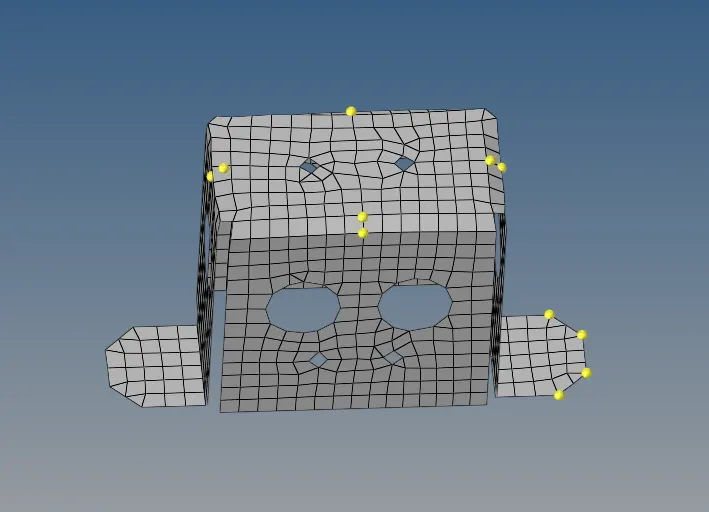
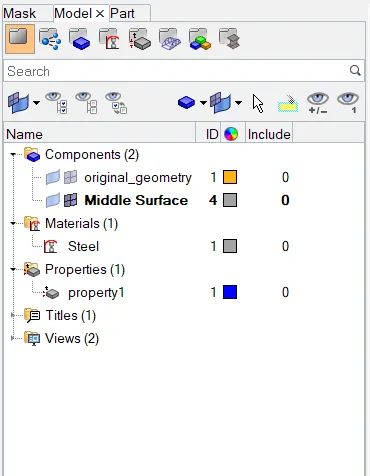
23.Then extract the mid surface and it will create the new component automatically as shown below.
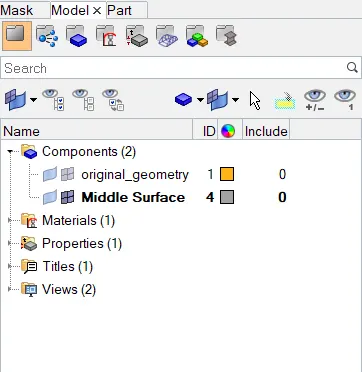
24.Lets hide the parent geometry surface shows the mid surface on graphical area.
25.By using Quick edit I am splitting into symmetric position while I am taking offside will mesh and reflect the mesh with
less time.
26.Next goto meshing the component we have already discuss in the above part.
27.Next go to the main menu bar Select→Tools→Reflect.
28.After reflecting the elements check the connectivity mandatory.
29.Select→Tools→Edges.
30.By using the edge tool elements are connected automatically.
31.Next assign the thickness to discuss the above as it is doing thickness will be assigned as shown fig.
PART3-Mounting Bracket
32. There is no geometry failure so I am directly going to mid surface as discussed above.
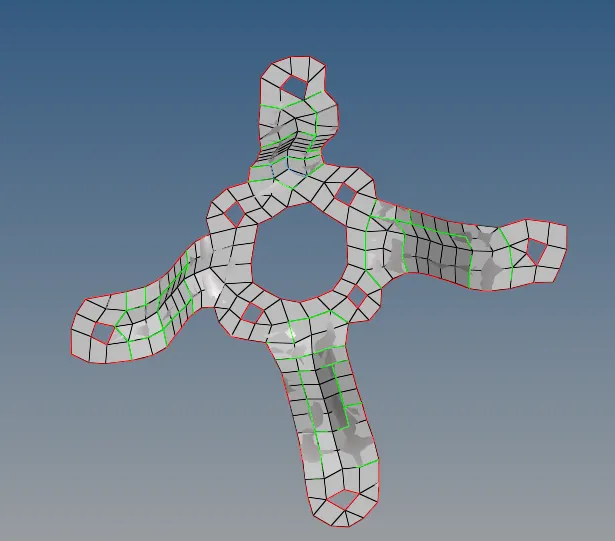
33.Next goto 2D by using automesh mesh the component.
34.Select→2D→Automesh→Surf→Element size→Mesh.
35.By the above process mesh the some of the surfaces of the component.
36.Next goto mesh on the remaining surface as shown below.
37.Next find the edges and equivalence the elements.
8.Create the property and assign the thickness.
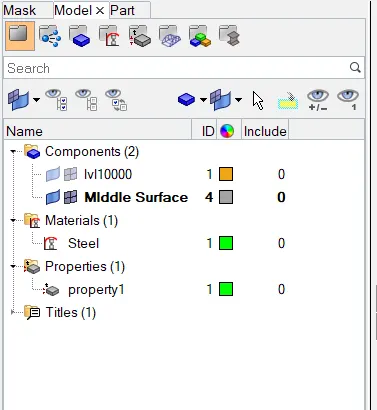
39.Next right click on the mid surface it shows assign and click on it to the visible dialogue box.
40.Set the property and click on apply and select ok as shown below.
41.I am seeing the thickness change the 2D traditional element representation into 2D detailed element representation as
shown below.
RESULT:-
PART1→Practice
Before meshing
After meshing
PART2→Clip Repair
Before
After
PART3-Mounting Bracket
Before
After
CONCLUSION:-
I understood all the meshing rules, how to use the tools on geometry and assign the thickness.