Week 9-Creation of 1D Connectors Challenge
Aim:
We want to connect the given geometry with the 1D connections by provided with the below given quality parameters.
Target Element size - 5 Units
|
S.N |
Quality Criteria |
Value |
|
1 |
Aspect Ratio |
5 |
|
2 |
Skewness |
45 |
|
3 |
Warping |
15 |
|
4 |
Taper |
0.5 |
|
5 |
Min. Length |
2 Units |
|
6 |
Max. Length |
8 Units |
|
7 |
Min angle Quad |
45 |
|
8 |
Max angle Quad |
135 |
|
9 |
Min angle Tria |
30 |
|
10 |
Max angle Tria |
110 |
|
10 |
Tria % |
15 |
Procedure:
1.Firstly import the model.
2.Select the import option on the toolbar menu and click on the imported geometry.
3.Click on the file sign,then it will be shown the model and then select it.
4.Click on the import button,then it will be shown on the graphic area.
5.After importing the model,hide all the components one by one because we had to made the connections between the two components.
6.The first connection is made between the Right_Rail_2 & Front_truss_1 with the Seam-Quad(angled+capped+L) connection.But before
the connection is made between the two components firstly we have automesh the two components with the mixed elements by giving the element
size as 5mm with the low tria concentration.
7.After the automesh is done,now go to the 1D option from the main tool bar and select the connections.
8.In the connections for the first connection we have to go with seam option and select the quad(angled+capped+L) and with the same select the
nodes and components which we have to make the connection.
9.By selecting all the required features then click on the create option.Then it will create the connection between the two components
i.e.Right_Rail_2 & Front_truss_1.
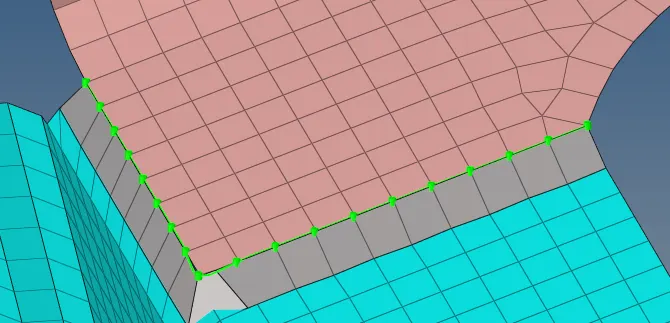
10.But remember that before we have to make the connections,we want to mesh the two components which we want to connect.
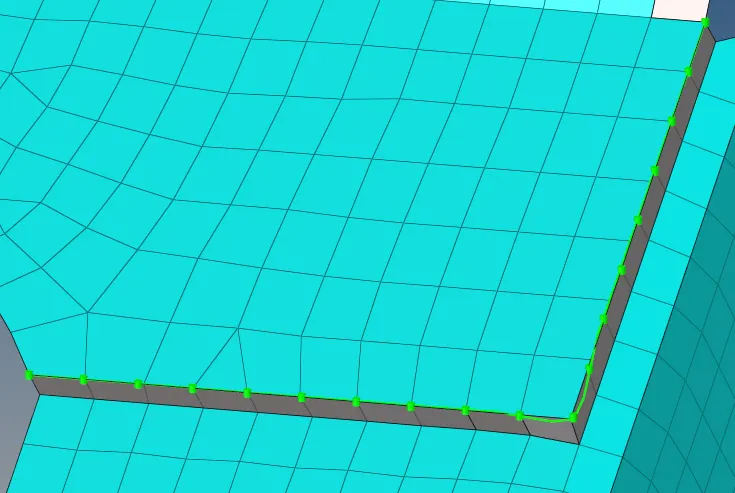
11.The next connection is made between the Left_Rail_2 & Front_truss_1 with the Quad elements connection.
12.By performing the automesh,then go to the 1D option from the main tool bar and select the connections.
13.For this connection we have to go with seam option and select the quad and with the same select the nodes and components which we have to
make the connection.
14.By selecting all the required features then click on the create option.Then it will create the connection between the two components
i.e.Left_Rail_2 & Front_truss_1.
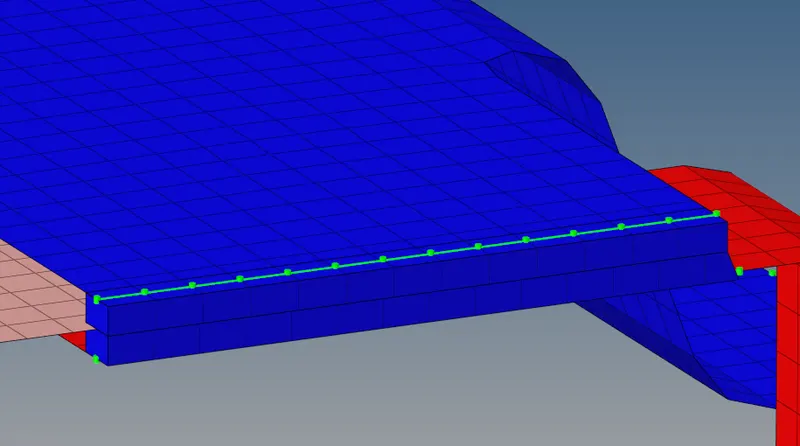
15.The next connection is made between the Front_truss_2, Front_truss_1 & Right_Rail_1 with the Spot weld with 2 Layers and 5 mm
Diameter connection.
16.By performing the automesh,then go to the 1D option from the main tool bar and select the connections.
17.For this connection we have to go with spot option and select the weld also with the given diameter as 5mm and with the same select the nodes
and components which we have to make the connection.
18.By selecting all the required features then click on the create option.Then it will create the connection between the two components
i.e.Front_truss_2, Front_truss_1 & Right_Rail_1.
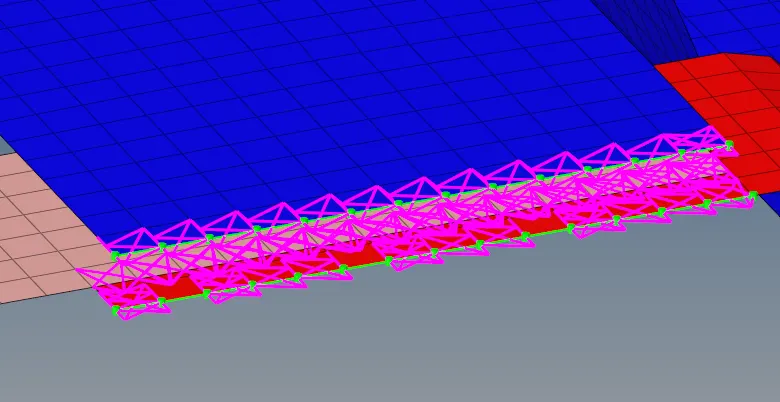
19.The next connection is made between the Front_truss_2, Front_truss_1 & Left_Rail_1 with the Hexa (Adhesive) connection.
20.By performing the automesh,then go to the 1D option from the main tool bar and select the connections.
21.For this connection we have to go with seam option and select the hexa(adhesive) and with the same select the nodes and components which
we have to make the connection.
22.By selecting all the required features then click on the create option.Then it will create the connection between the two components
i.e.Front_truss_2, Front_truss_1 & Left_Rail_1.
23.The next connection is made between the Rear_truss_2 & Right_Rail_2 with the Bolt Connector connection.
24.By performing the automesh,then go to the 1D option from the main tool bar and select the connections.
25.For this connection we have to go with bolt option and select the bolt(general) and with the same select the nodes and components which
we have to make the connection.
26.By selecting all the required features then click on the create option.Then it will create the connection between the two components
i.e.Rear_truss_2 & Right_Rail_2.
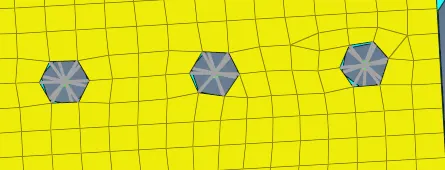
27.The next connection is made between the Rear_truss_2 & Left_Rail_2 with the Bolt Connector connection.
28.By performing the automesh,then go to the 1D option from the main tool bar and select the connections.
29.For this connection we have to go with bolt option and select the bolt(general) and with the same select the nodes and components which
we have to make the connection.
30.By selecting all the required features then click on the create option.Then it will create the connection between the two components
i.e.Rear_truss_2 & Left_Rail_2.
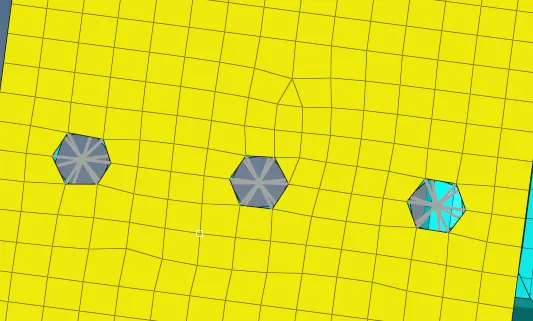
31.The next connection is made between the Right_Rail_1 & Right_Rail_2 with the Spot-weld with Rigid Elements connection.
32.By performing the automesh,then go to the 1D option from the main tool bar and select the connections.
33.For this connection we have to go with spot weld option and select the rigid and with the same select the nodes and components which
we have to make the connection.
34.By selecting all the required features then click on the create option.Then it will create the connection between the two components
i.e.Right_Rail_1 & Right_Rail_2.
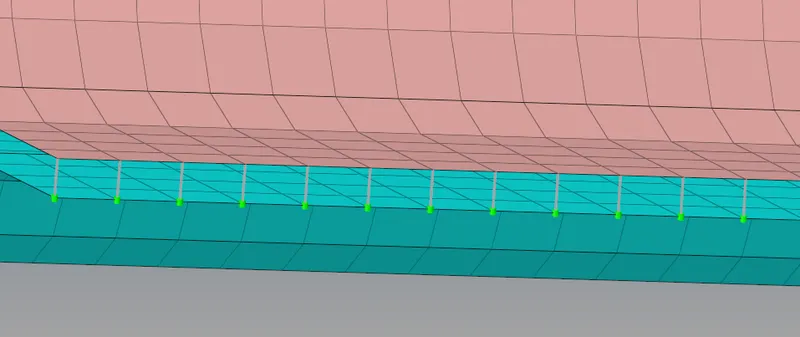
35.The next connection is made between the Left_Rail_1 & Left_Rail_2 with the Spot-weld with Spring Elements connection.
36.By performing the automesh,then go to the 1D option from the main tool bar and select the connections.
37.For this connection we have to go with spot weld option and select the spring and with the same select the nodes and components which
we have to make the connection.
38.By selecting all the required features then click on the create option.Then it will create the connection between the two components
i.e.Left_Rail_1 & Left_Rail_2.
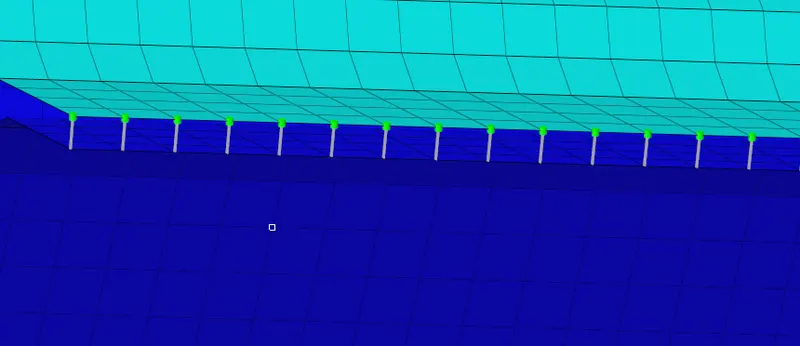
39.After all the given connections check the remaining components that are still left with no connections.Connect them with the suitable
connections.
Result:
Thus,i perfomed 1D connection on the given geomentry with the matching quality criteria.
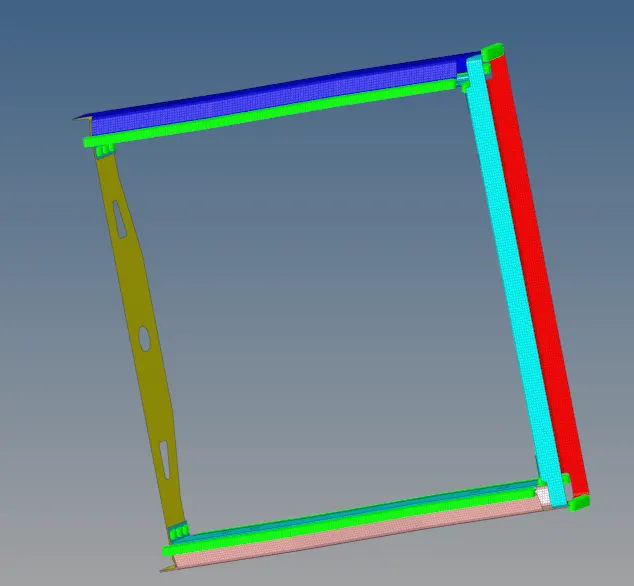
OUTPUT