Assignment 1-2D Meshing Challenge
AIM : 2D Meshing
OBJECTIVES : Geometry clean up, midsurface extraction, 2D mesh and assign proper thickness.
Given components
1. practice
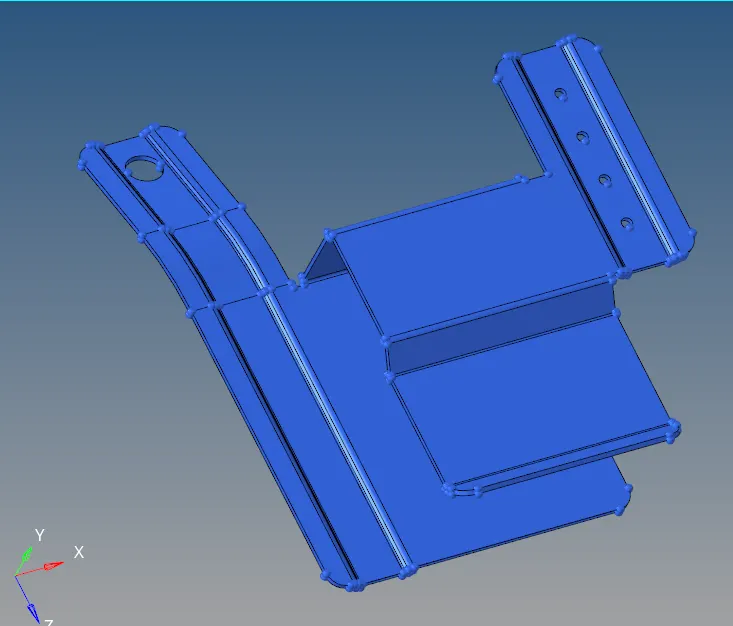
2. Clip repair
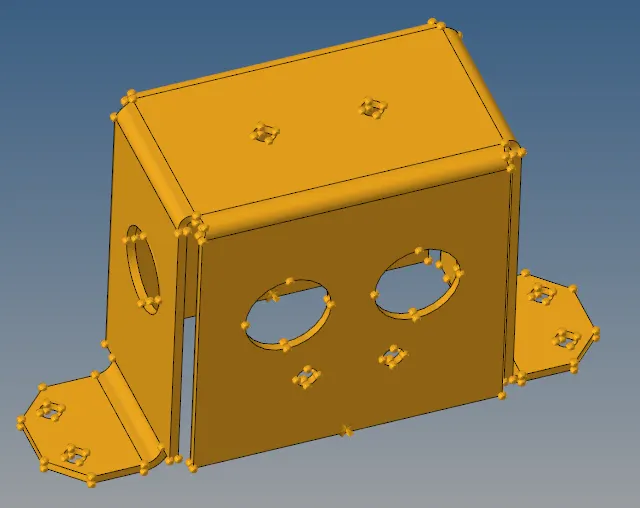
3. Mounting Bracket
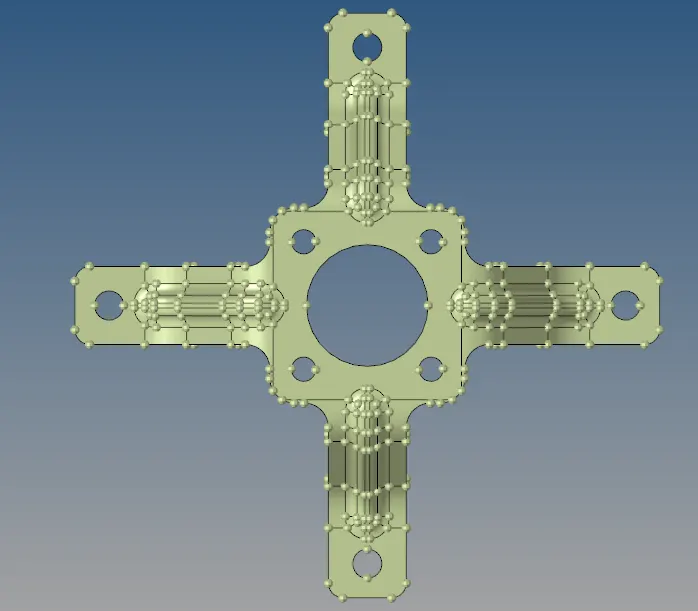
*DO's (These below steps has to be followed in each operation)
- Import the model
- Clean the geometry.
- Extract midsurface.
- Clean midsurface geometry.
- Ignore holes less than dia 5mm.
- Create 2D mesh with target length 5mm, min 3.5mm max 7mm.
- check with free edges and replace them manually/equivalance
- And assign proper thickness, by creating a generic property.
- Model 1
> After auto midsurface extraction, toggle the lines smartly so that a element can fit within the min/max size is alloted.
*F11 for quick edit, where many commands be founded like as toggle, split .
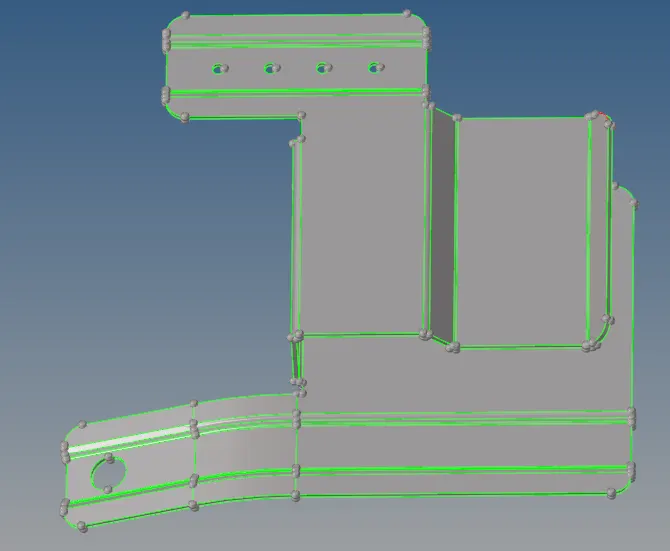
> Auto midsurface extraction (We can change options for it)
*geom--midsurf--surf--extract
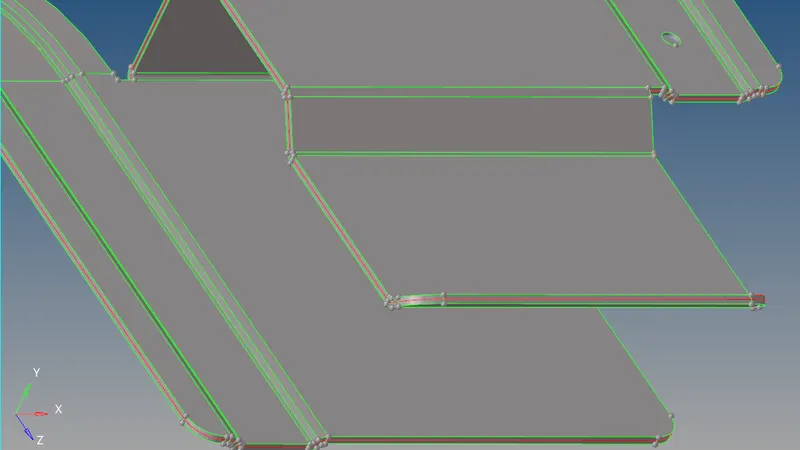
> 2D meshing
*F12 for auto meshing
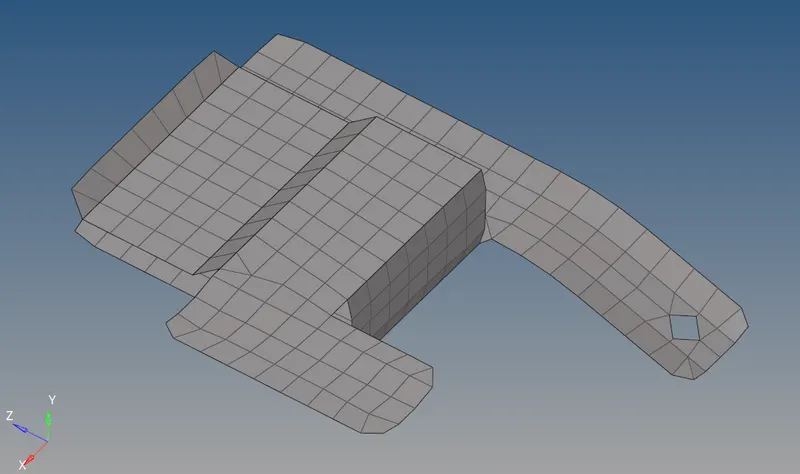
- After mesh we can observe some bad mesh, it can be rectified by remeshing.
- In this model, at bent surface more failure happens, so toggle them wisely.
- we can see the assigned thicknes by switching in toolbar
*Toolbar--2D detailed element representation.
> Final
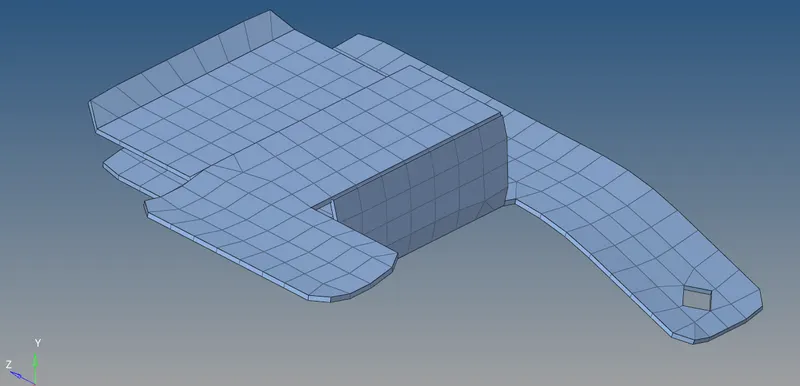
- Model 2
> After auto midsurface extraction, toggle the lines smartly so that a element can fit within the min/max size is alloted.
*F11 for quick edit, where many commands be founded like as toggle, split .
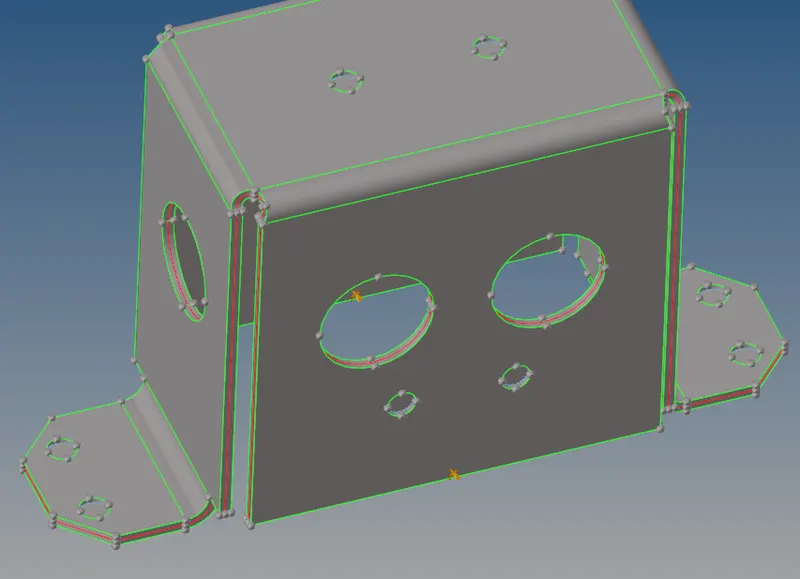
> 2D meshing
*F12 for auto meshing
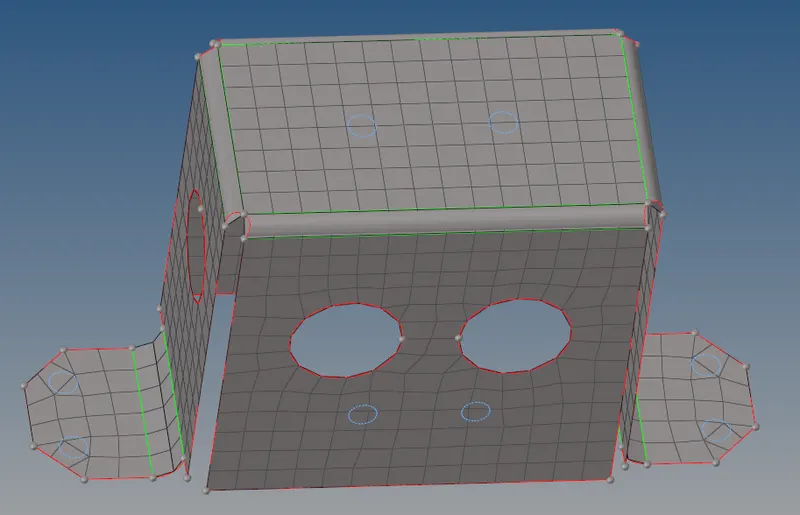
- After mesh we can observe some bad mesh, it can be rectified by remeshing.
- In this model, at bent surface more failure happens, so toggle them wisely.
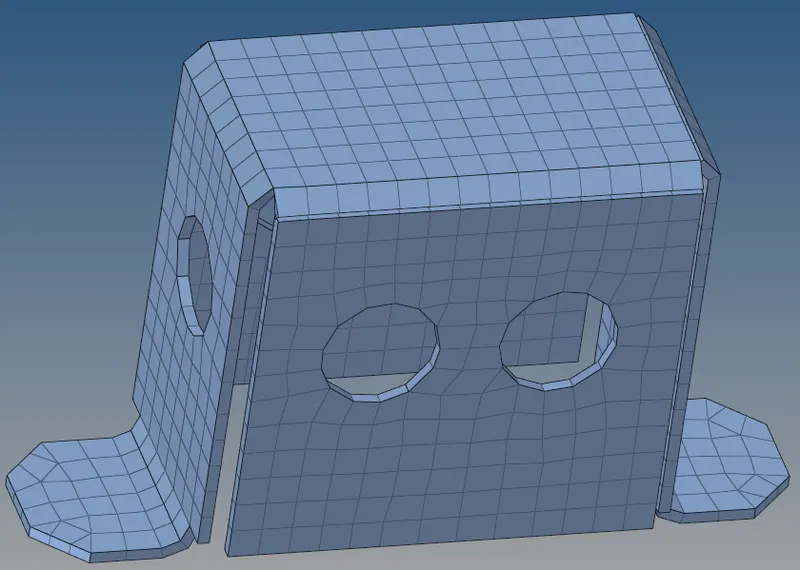
- we can see the assigned thicknes by switching in toolbar
*Toolbar--2D detailed element representation.
> Final
- Model 3
> After auto midsurface extraction, toggle the lines smartly so that a element can fit within the min/max size is alloted.
*F11 for quick edit, where many commands be founded like as toggle, split .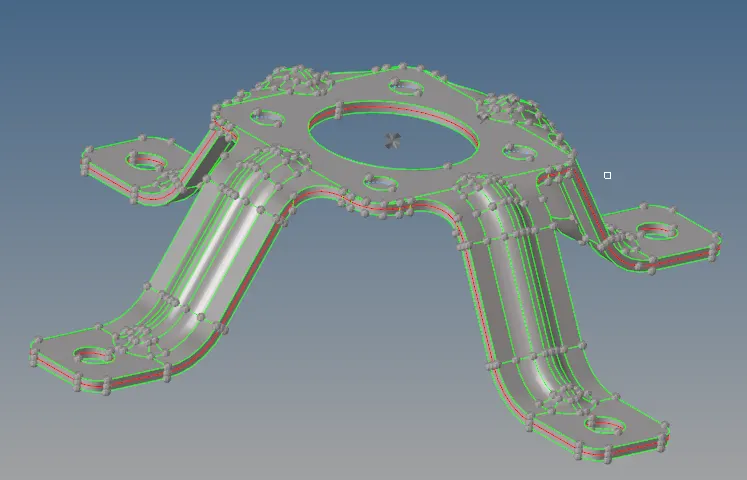
> 2D meshing
*F12 for auto meshing
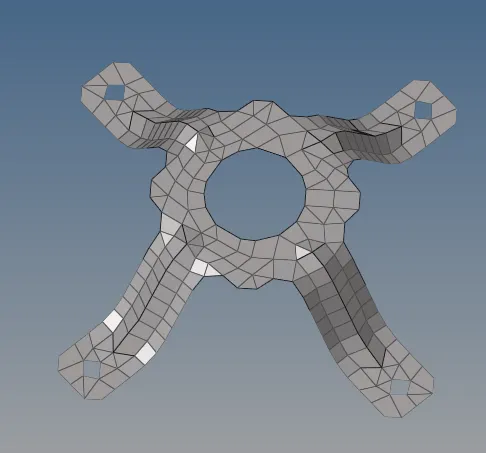
- After mesh we can observe some bad mesh, it can be rectified by remeshing.
- In this model, at bent surface more failure happens, so toggle them wisely.
- Here we can mesh at one part and rotate those elem by dulpicating them to other side by 90 degrees.
*Tools--rotate--elem--rotate+/-.
- we can see the assigned thicknes by switching in toolbar.
*Toolbar--2D detailed element representation.
> Final
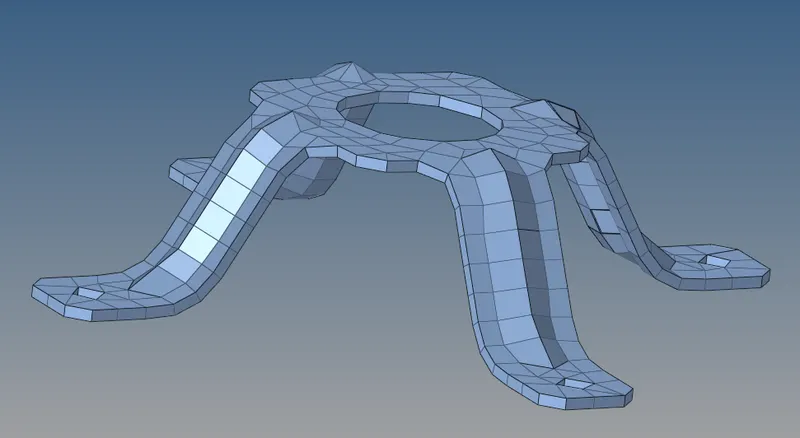
CONCLUSION :
- Geometry clean up
- Midsurface extrtaction
- Meshing at small areas
- Mesh clean up
- Connectivity
- Thickness assigning.