Assignment 1-2D Meshing Challenge
Assignment – 1. Geometry clean-up and meshing
Aim :- To clean-up all geometric errors of given model and meshing it with given quality criteria.
Given quality criteria :-
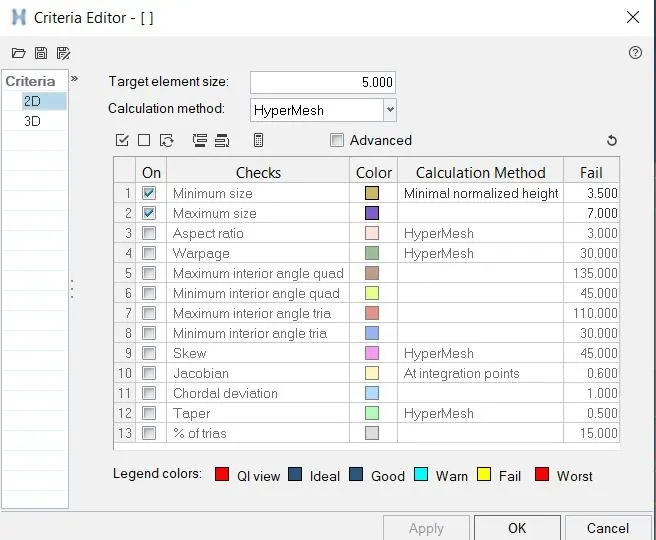
Target Element Length = 5 Units
Min. length = 3.5 Unit
Max. length = 7 Unit
Software used :- Altair hyper-works student version 2020
Objectives :-
- To clean the given geometry of model.
- To extract mid surface and clean geometry of it.
- To mesh the mid-surface with given quality criteria.
- To assign the thickness to shell elements.
Procedure :-
- Import given model in to hyper-works GUI under radioss profile.
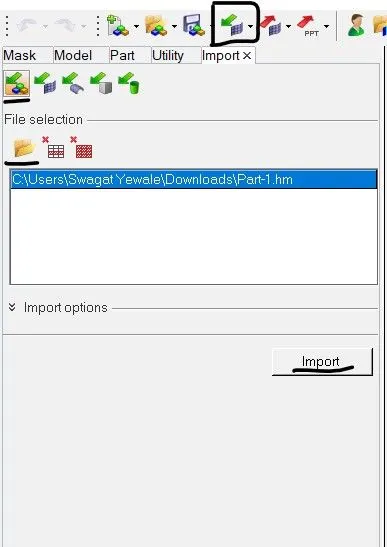
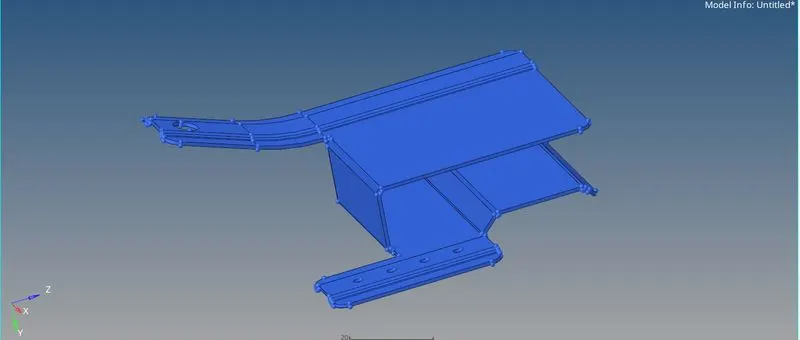
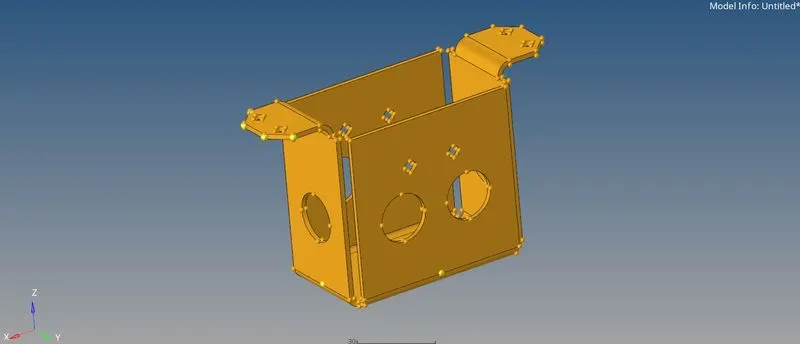
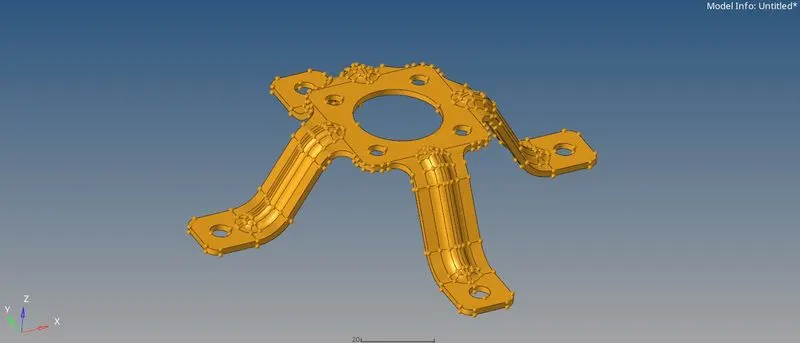
2. Once model is imported change the visualization to TOPO mode for geometry clean-up.
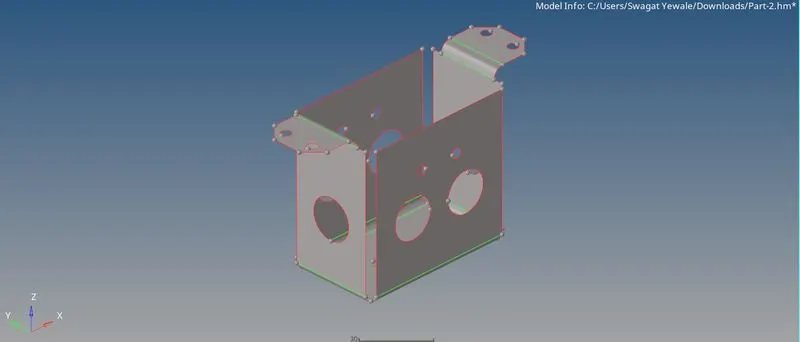
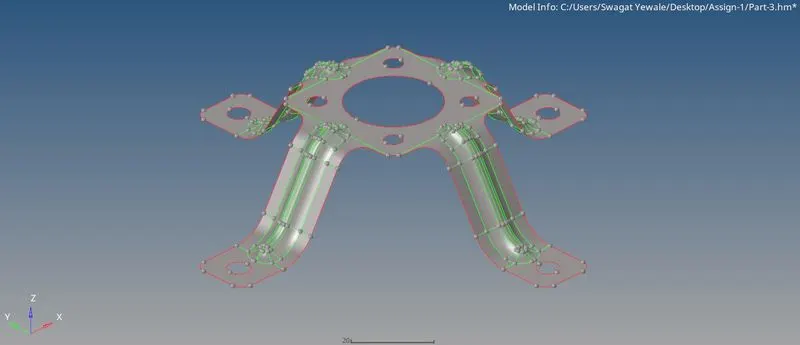
3. Here, we can see that lots of surfaces gets distorted and forms single edge which is in red colour, missing surfaces which forms red colour edge in perimeter which can be rectified by using Geomety > Quick edit > Toggle edge option. and doubled surfaces are formed which indicates by yellow colour edge need to eliminate these errors manually by deleting doubled surface and missing surfaces can be generated by using surface > Ruled > select lines > Create option. Here, geometric errors are present in only part 1 model other models are errors free. Before and after of these geometric errors are shown in below images.
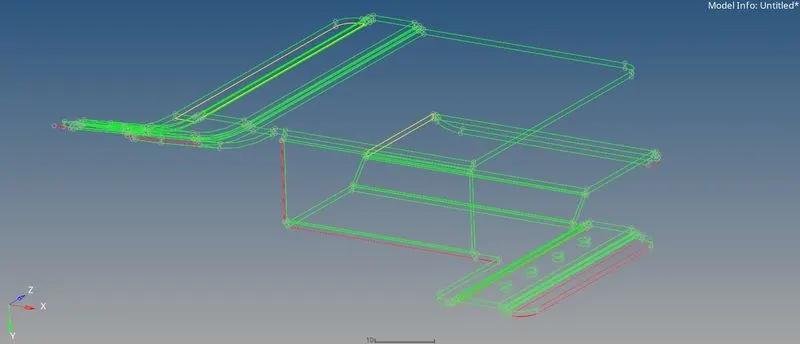
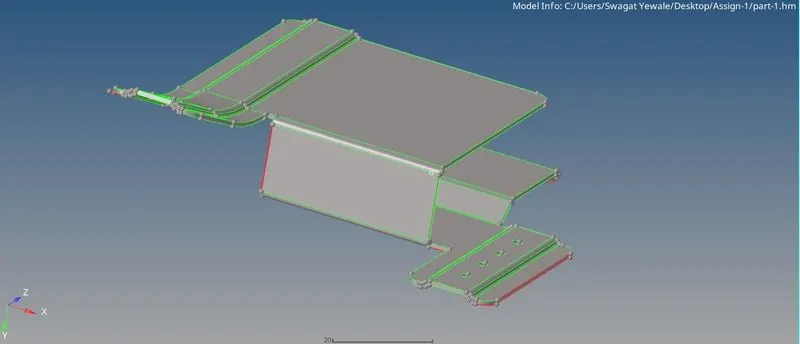
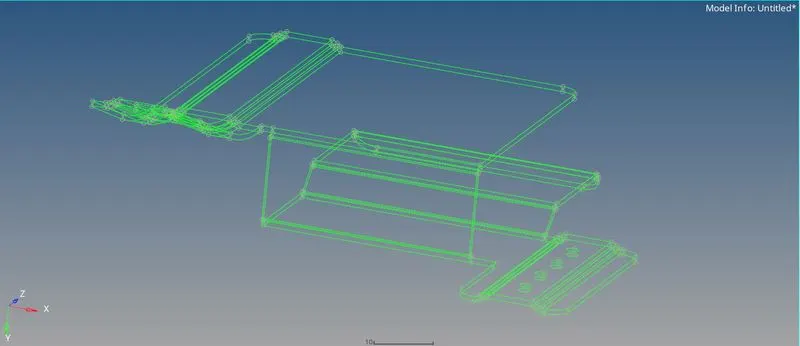
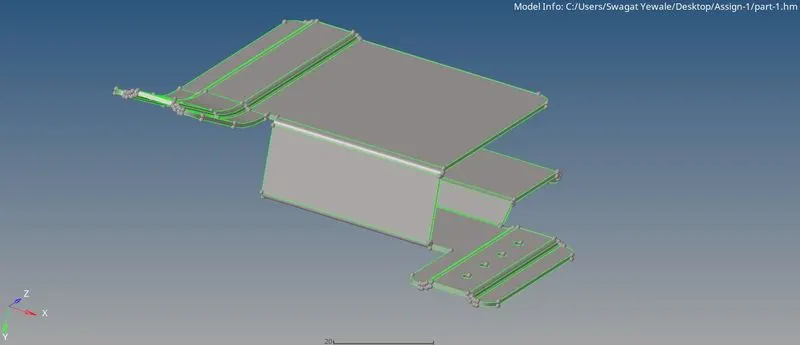
4. After fixing all geometric errors manually extract mid surface automatically by using Geometry > Mid-surface > extraction option > offset + planes + sweeps > auto extraction > Select closed surface > Extract option as shown in image below.

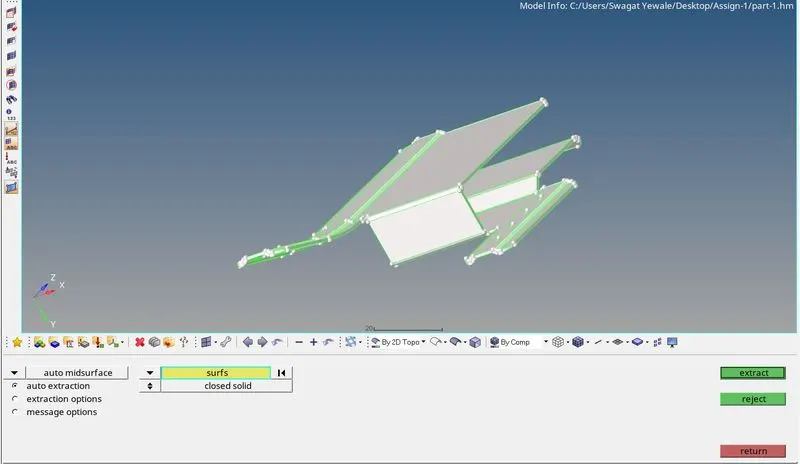
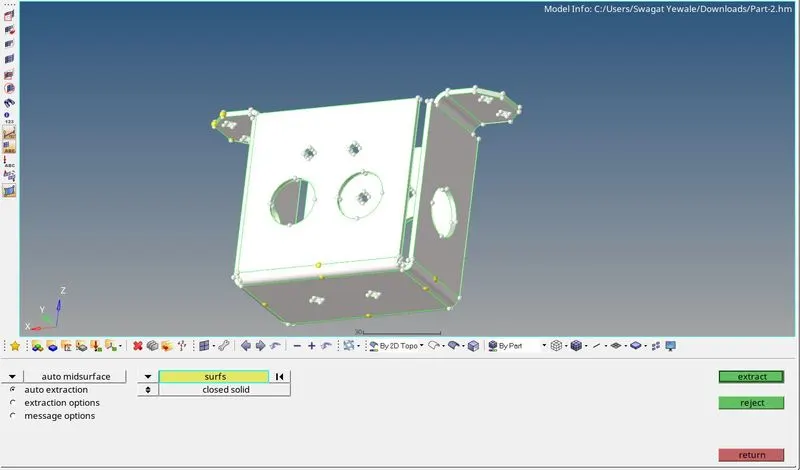
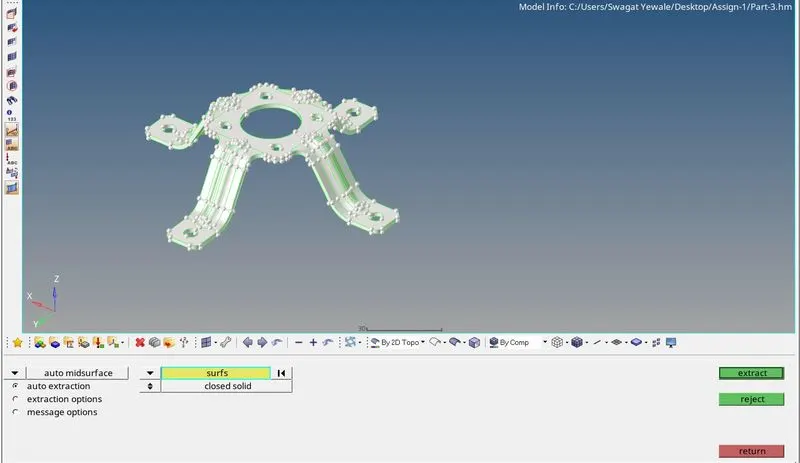
It will extracted mid-surface as shown in image below.
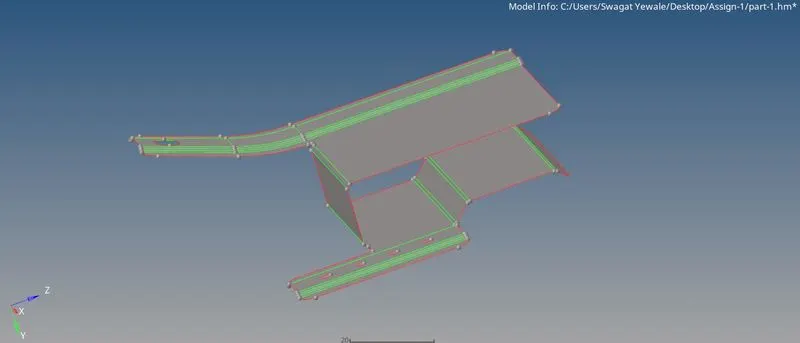
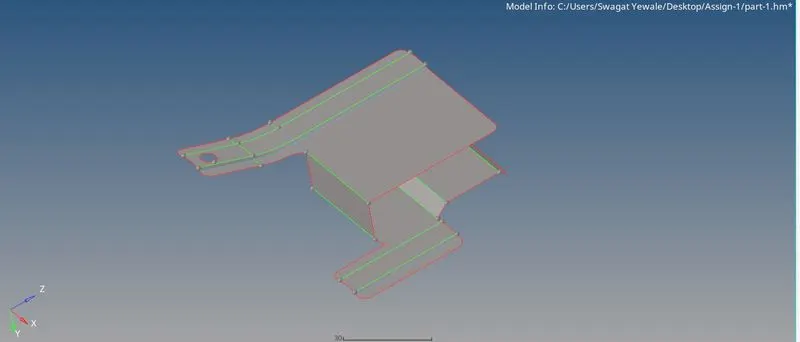
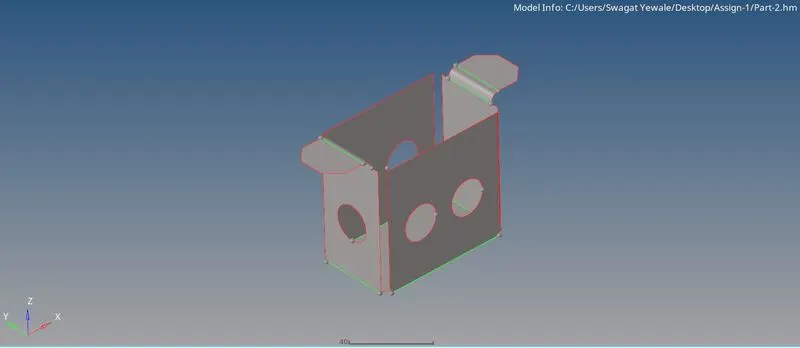
- Before proceeding to meshing clean all geometric errors manually of mid surface and defeature the fillets and lines which are having less than 3.5mm distance in between them by using Geo > quick edit > Toggle option. Also find the holes which are having less than 5 mm diameter and fill the holes by using Geo > quick edit > filler surface option. The below images shows after geometry clean-up of mid-surface.
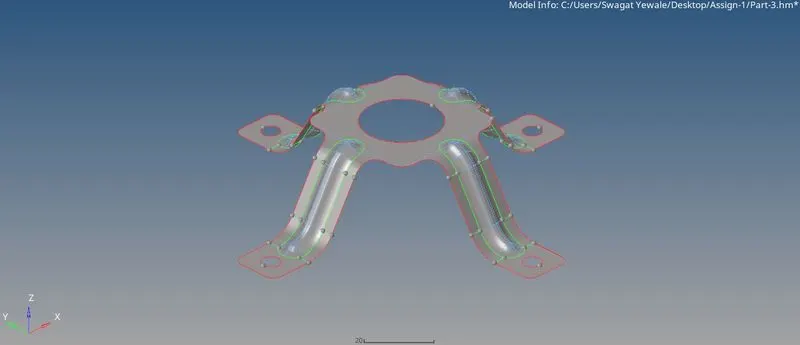
- After that, assign quality parameters in Toolbar > preference > Criteria file setting > assign given quality parameters value > apply > OK. As shown in image below.
- For auto mesh, Select surface by surface and do meshing all over the parts Mesh the surface by using 2D > Automesh > select surface > select mesh size 5 mm > mesh option as shown in images below.
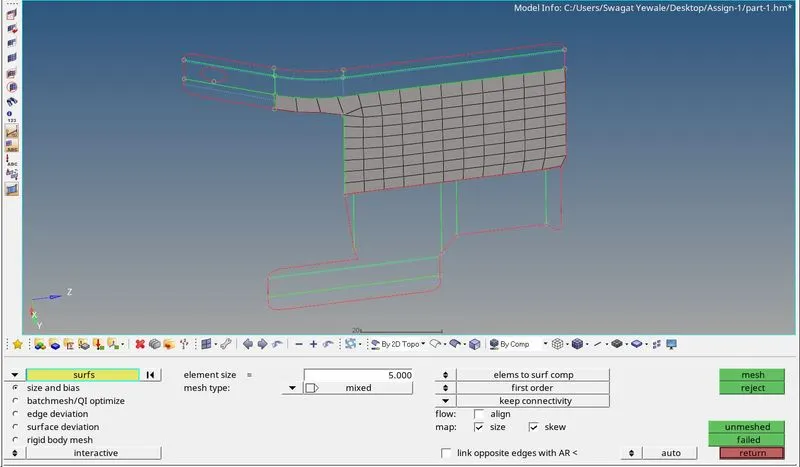
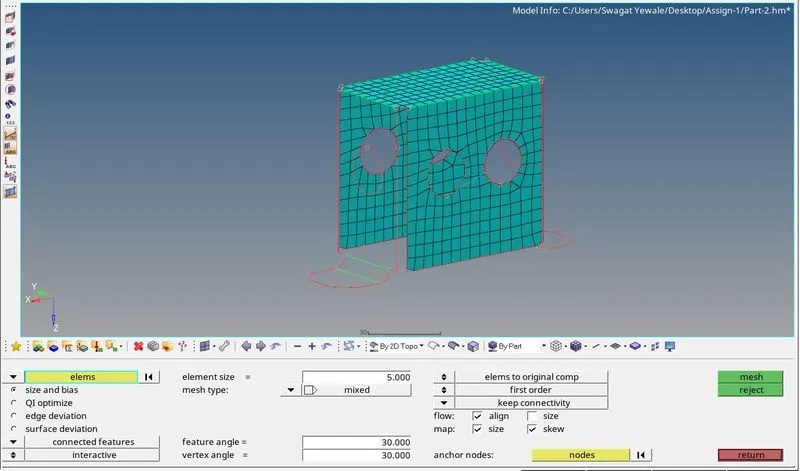
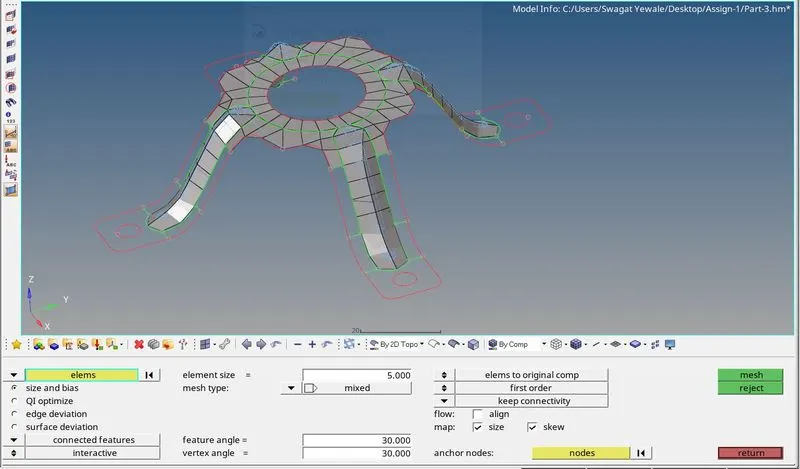
- Mesh flow improvement and eliminating quality fail elements. :- After meshing need to check elements which are violating thresholds, for that go to 2D > Quality index option it will highlight the elements which are not as per assigned quality criteria. For eleminating these elements need to use 2D > Quality index > Cleaning tool option in that we can use smooth, element optimization, node optimization, place node, drag tria element, combine tria element, etc options as shown in image below also we can try remeshing again and again in order to get better mesh flow pattern.

- For better mesh flow pattern following practices need to followed :
a.Tria should not face to each other as shown in below image also back to back tria element should be avoided.
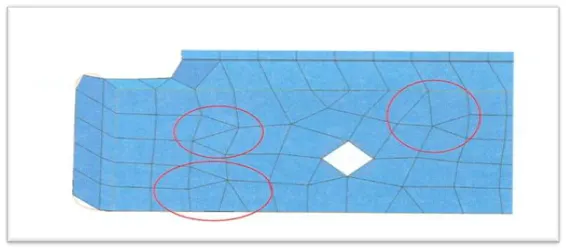
Fig. 1 Back to back tria should be avoided
b.On a plane surface tria should be avoided.
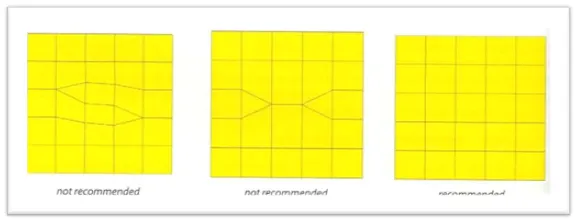
Fig.2 On plane surface tria should avoided
c. Avoid tria at outer perimeter and near to holes.
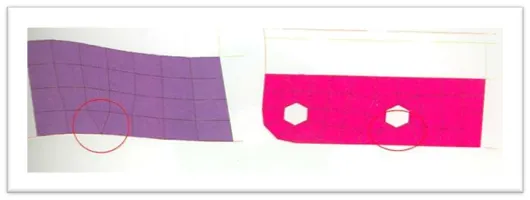
Fig.3 Tria should not present on perimeter and holes
d. Nodes should lie on surface no kinks,raise or deep present in model.
e. Avoid zig-zag mesh flow pattern
f. No rotating mesh flow patteren present near holes.
g. Holes should be even number of nodes and its edge should be parallel to nearest parameter.
h. Divide the surface in smaller parts by cut option and after meshing remove it by join option for better mesh flow pattern.
i. Defeature the area where quality parameters fails.
- Check edges: - By using Tools > edges > Find edges option we can find free edges in FE model it will highlight the edged. check manually edges should be on perimeter as shown in image below.
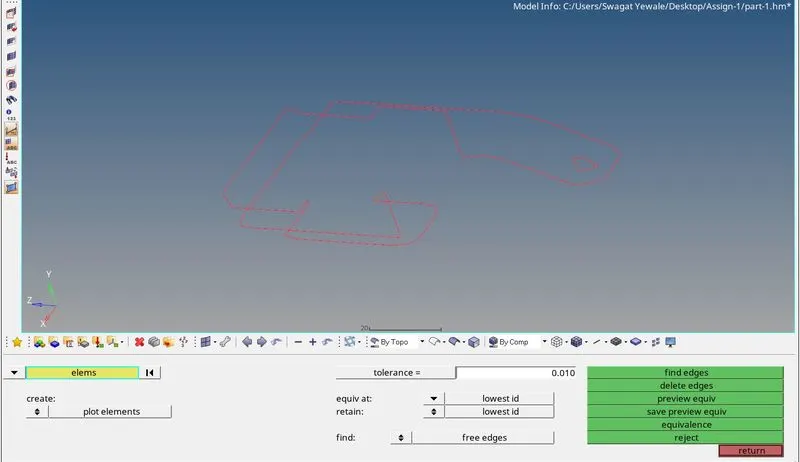
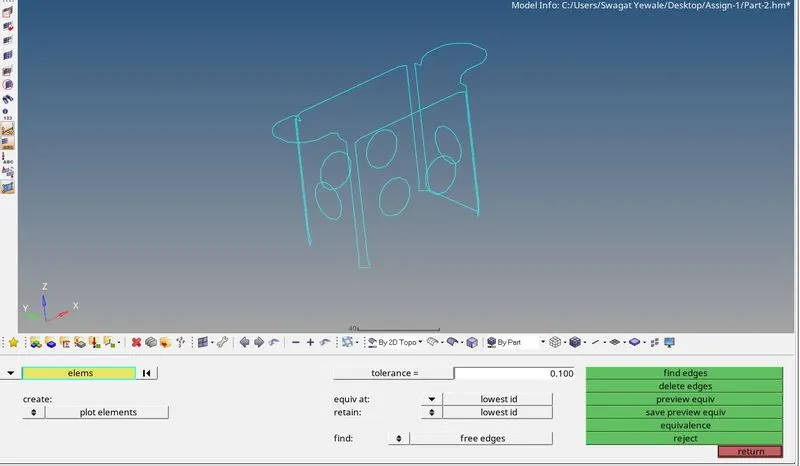
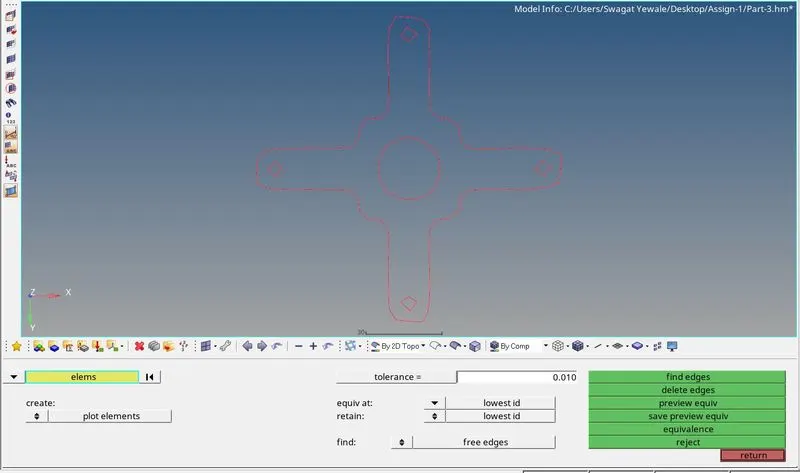
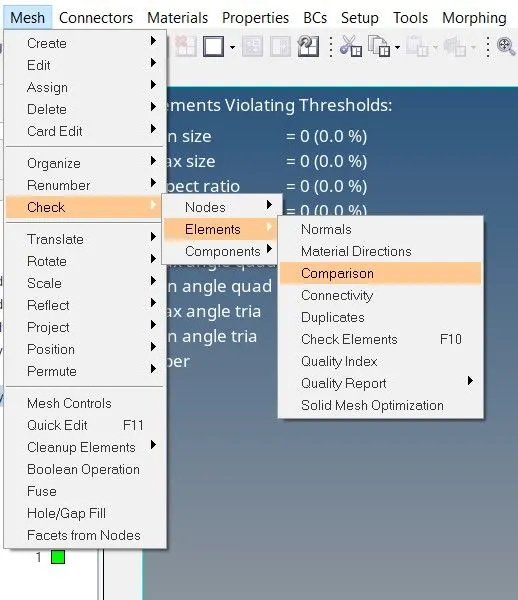
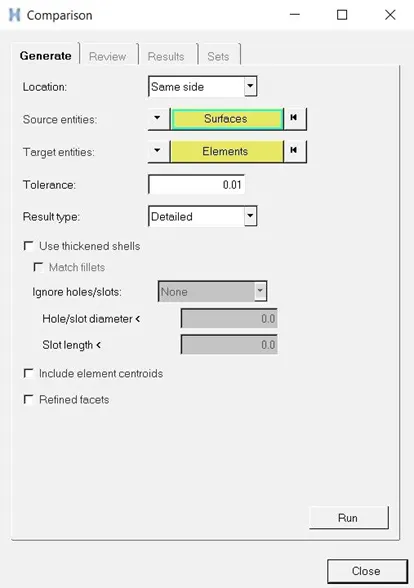
- Check elements to surface :- For checking elements are captured geometry properly or not this option is used for using this check use Toolbar > Mesh > Check > Elements > comparison > Select element > Select surface > run option as shown in below image. It will shows colored element, red elements means elements are not captured geometry properly we can project these elements by using Tools > Project option, yellow means fine, pink means fine and blue means element captured geometry properly.
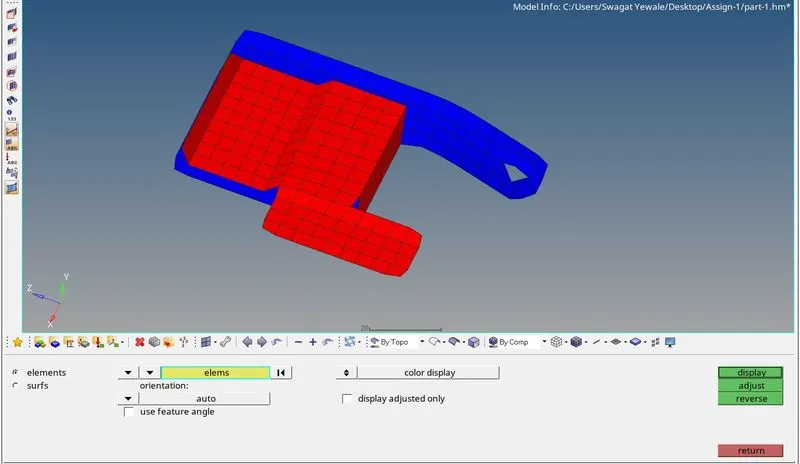
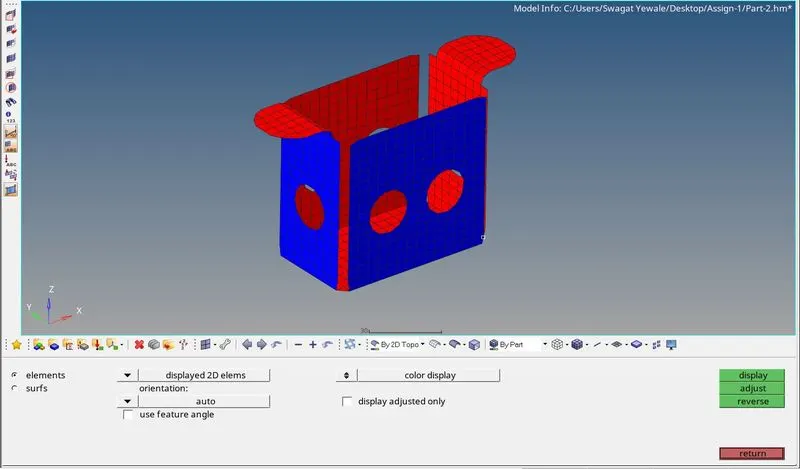
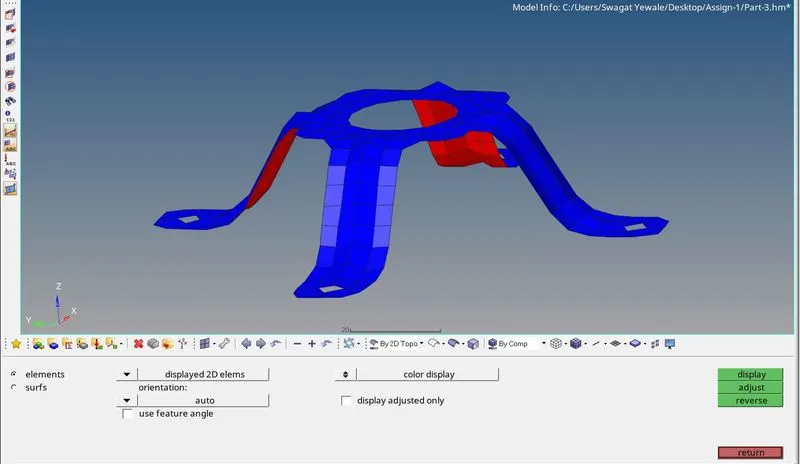
- Check elements normal :- In this check we check the direction of elemements because during simulation if any external force apply it should simulate in proper direction if normal of element is wrong it will not give proper results so this check is very much important. For using this check go to Tools > Normals > Display it will shows elements in green color of red color as per its orientation as shown in below image. If it is different in color according to its orientation then need to change its direction by selecting that elements and clicking on reverse option.
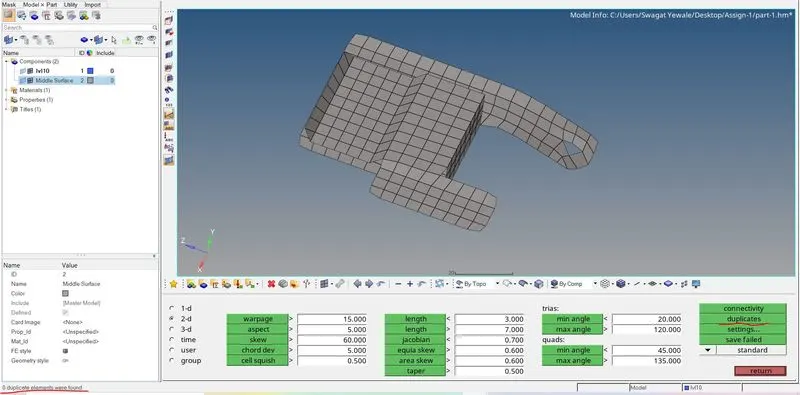
- Check for duplicates element :- This checks the duplicate element generated during meshing for using this option go to tools > Check elemenet > Duplicates option it will highlight number of duplicate elements at status bar if duplicates element found click on save failed and go to delete option click on elements select retrive and delete elements.
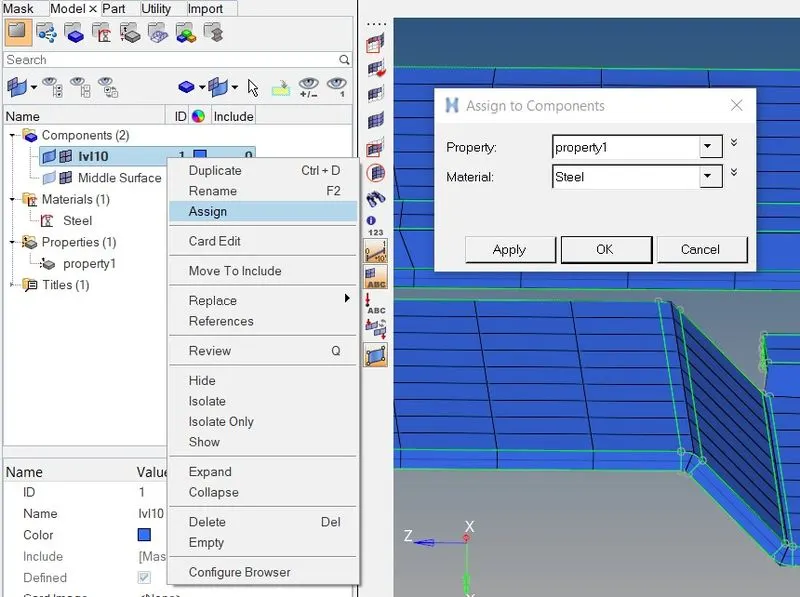
14.Assigning properties and material :- Create new properties and material with right click in model window and apply it to given components as shown in image below, also assign thickness to the components as per original components.
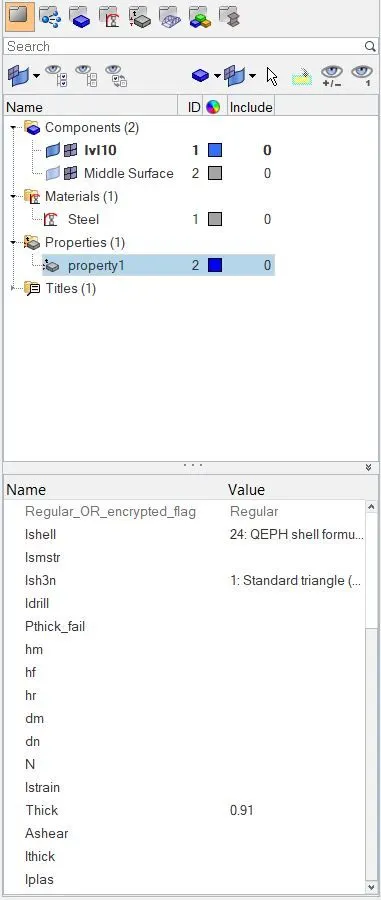
Below images shows that before and after applying thickness.
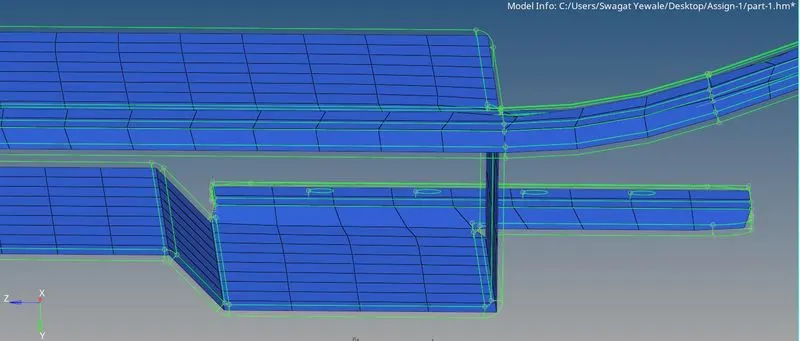
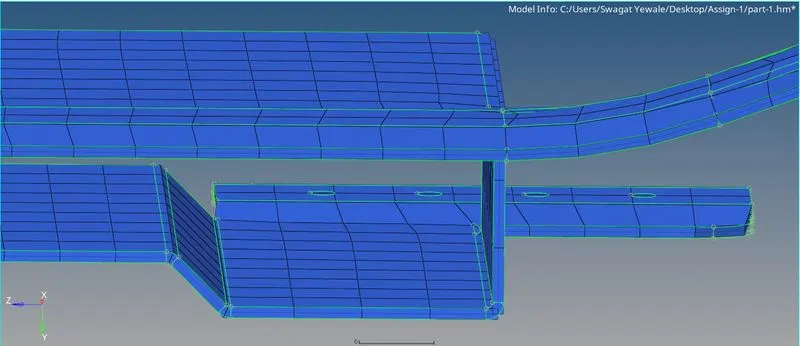
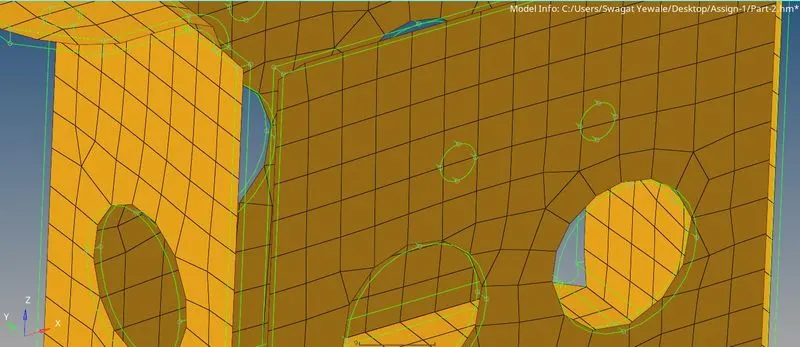
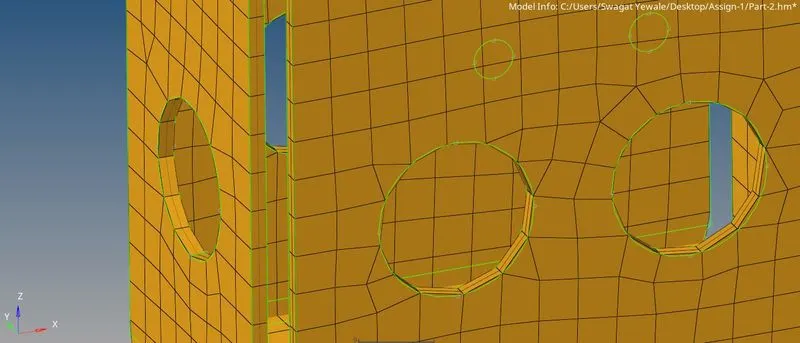
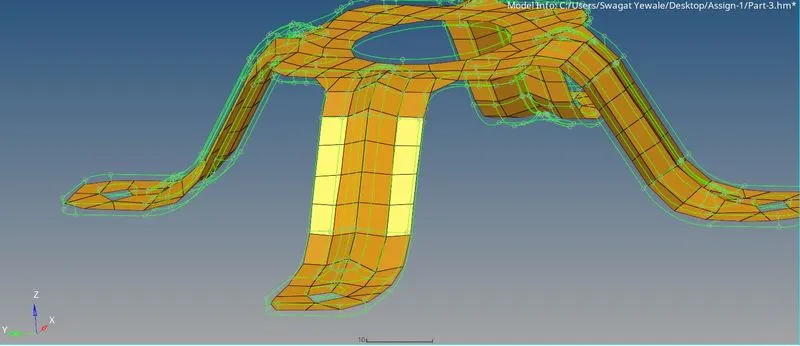
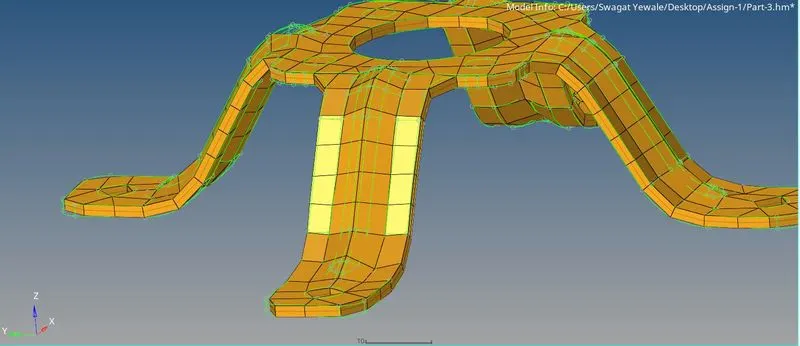
Final View of model :-
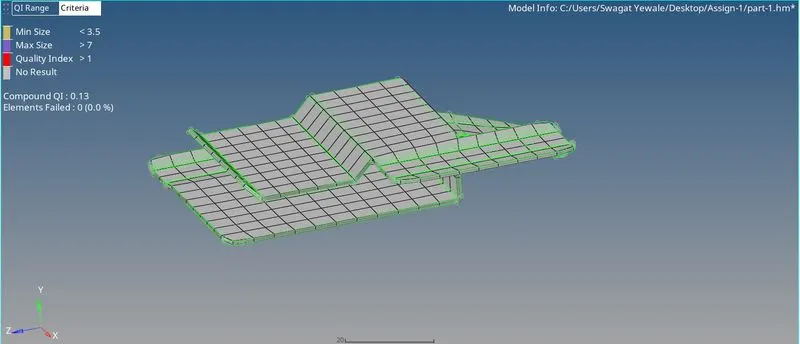
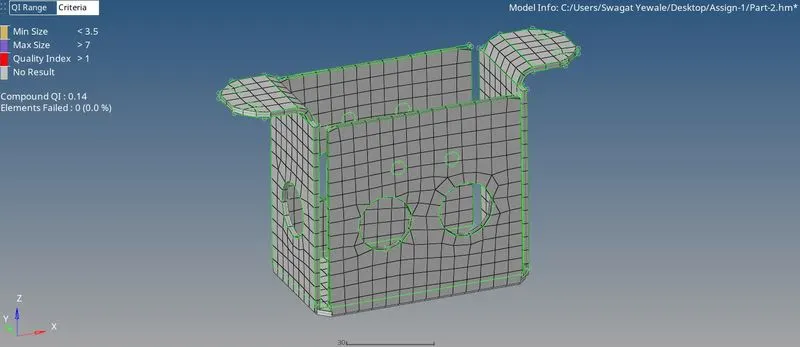
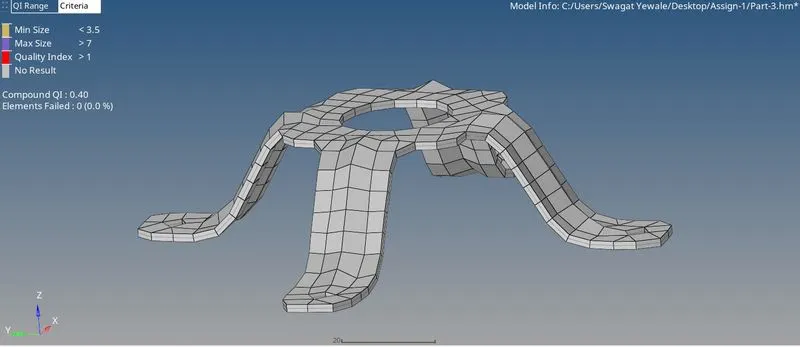
Result :- Thus, the geometry clean-up, mid-surface extraction and 2D meshing is done properly with better mesh flow pattern and as per given quality criteria and all three models are ready for further solving and post-processing.