Assignment 1-2D Meshing Challenge
1. AIM: Carry out the geometry cleanup operation on the given.
2. OBJECTIVES OF THE PROJECT:
Do the following exercise
- Clean the geometry.
- Extract midsurface.
- Clean midsurface geometry.
- Ignore holes less than dia 5mm.
- Create 2D mesh with target length 5mm, min 3.5mm max 7mm.
- And assign proper thickness, by creating a generic property.
- Then Save in .hm format.
3. BODY OF THE CONTENT:
- IMPORTING THE FILES:
Here the given model in .hm format. So we can import it using "File > Import > Model" (see below images).
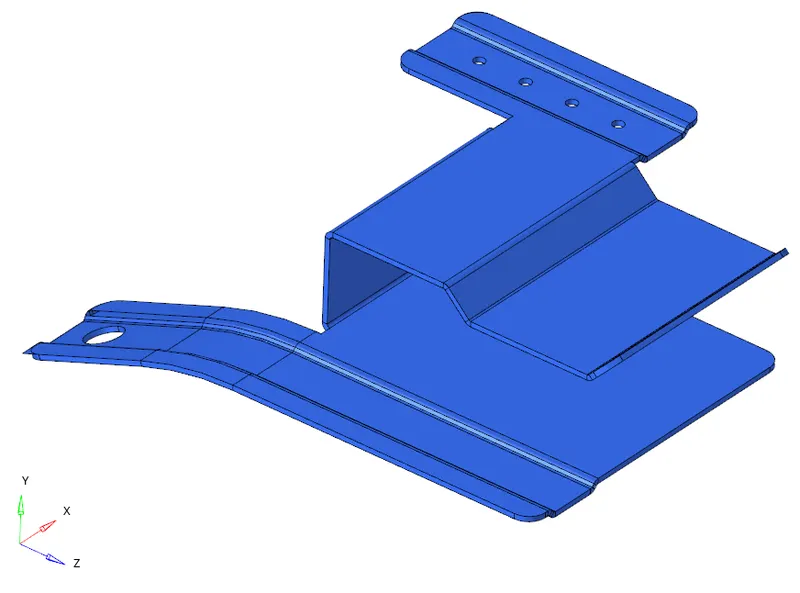
Part : 01
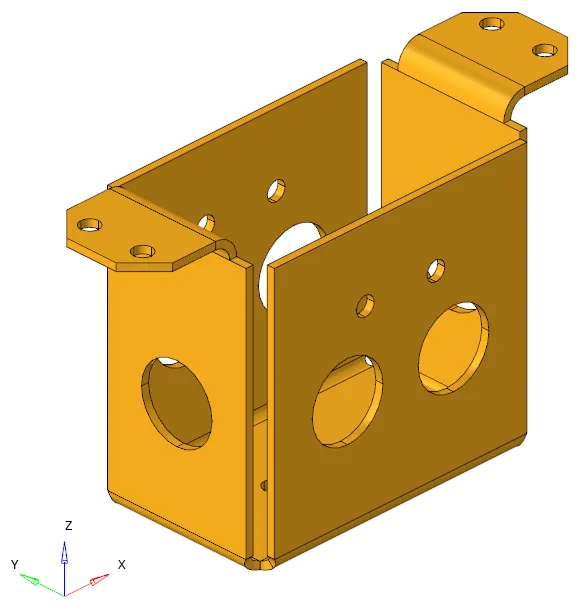
Part : 02
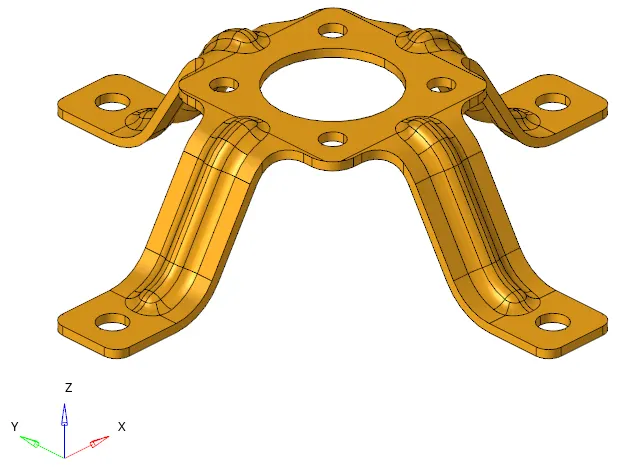
Part: 03
- Clean Up the geometry:
After Importing the geometry we have to clean up the geometry. For that we have to switch 'Geometry color mode' into 'By Topo' mode and we can also use 'Wireframe Geometry' to get a quick overview into the model. Let's see.
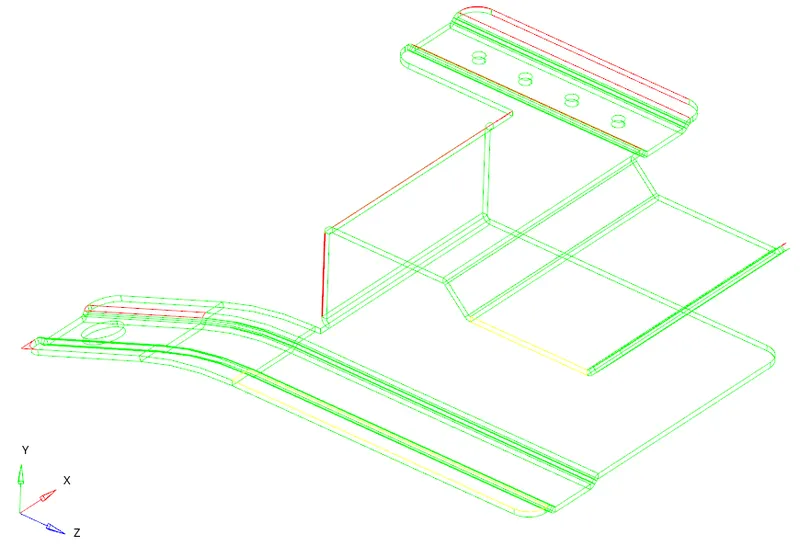
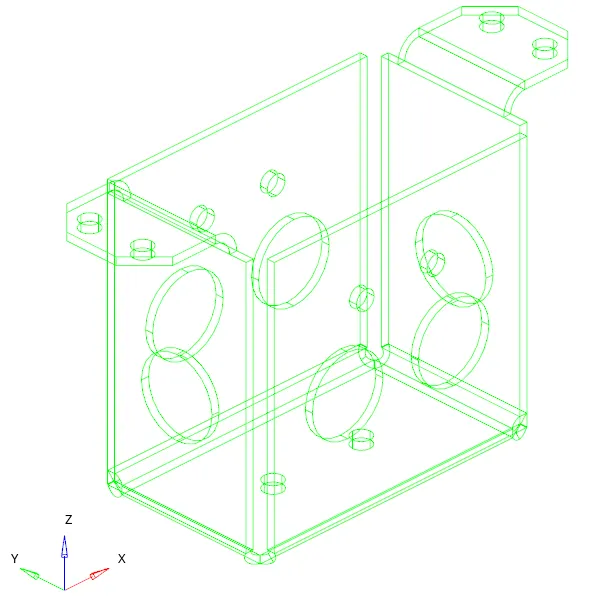
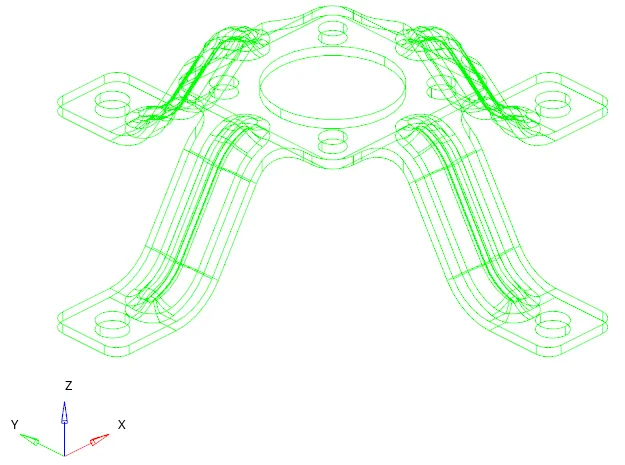
As we can see, we have to work on part no. 01 due to red and yellow cons and the rest of the two are looking good.
Using the 'surface edit' command the gap between surfaces are filled-up.
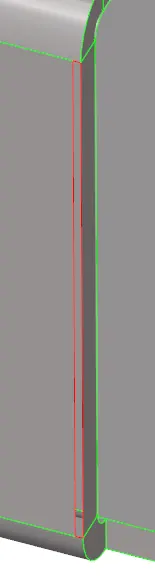 > after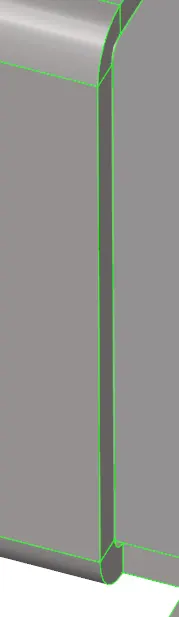
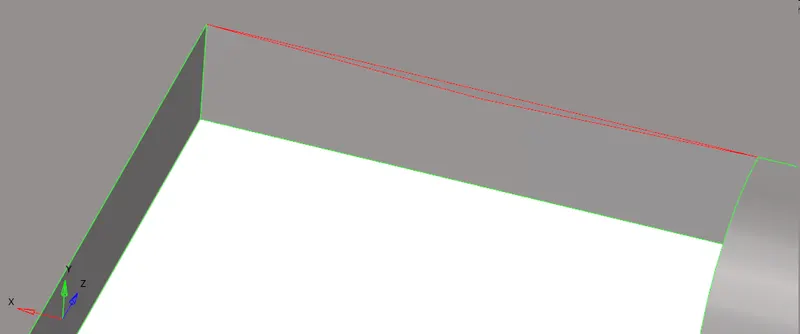 > after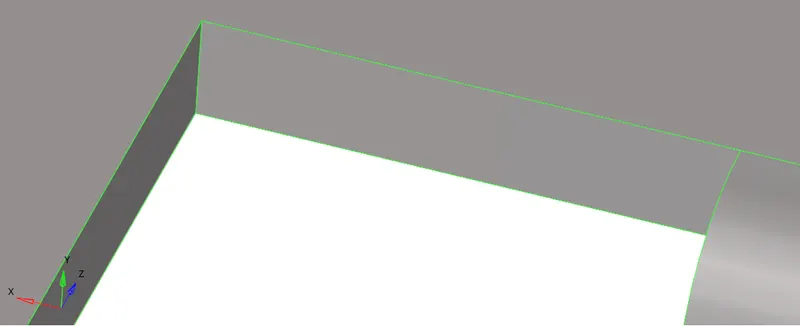
Using a 'toggle edge' command we can stitch edges who have a little gap. see the below image.
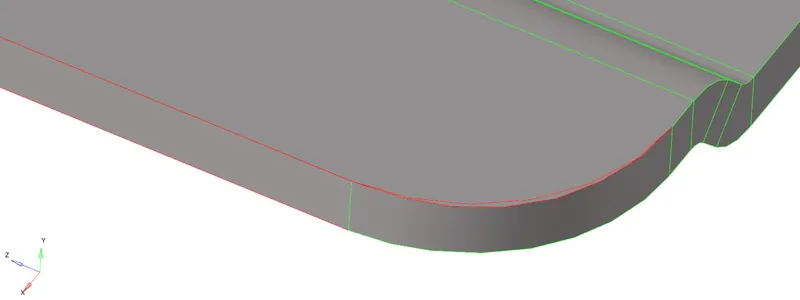 > after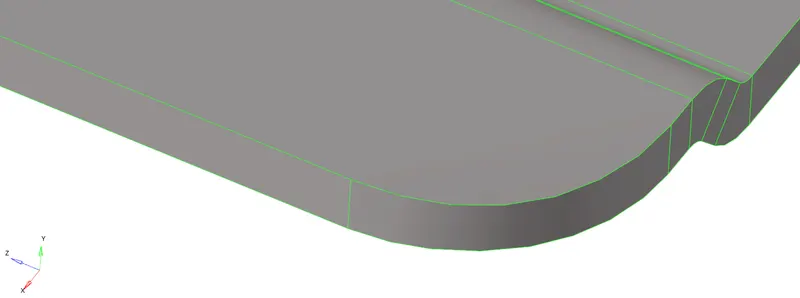
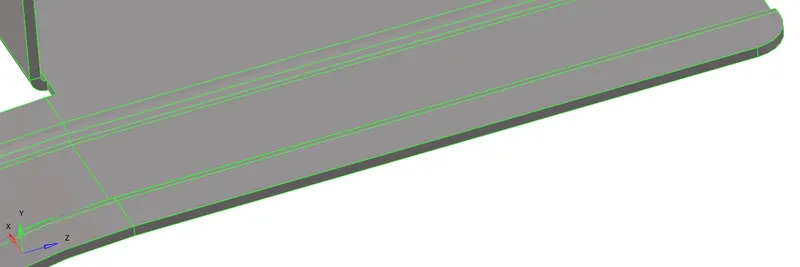
When the two cons are joined together its showup into yellow cons, can see the image. It looks like there are duplicate surface. SO, using 'delete entities > surface' can delete it. see image.
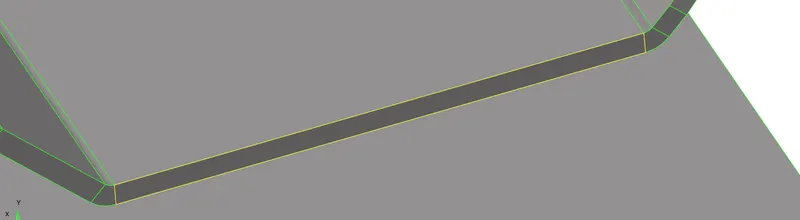 > after
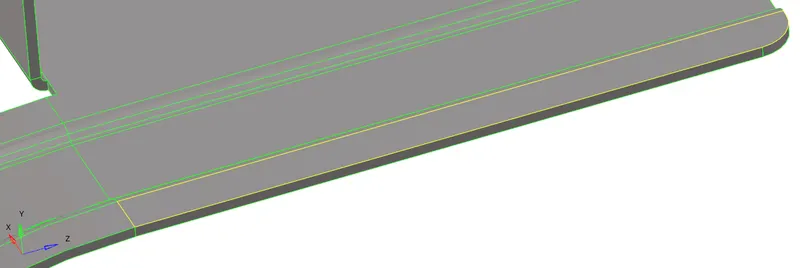 after
after
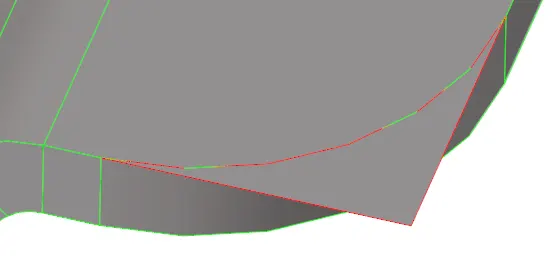
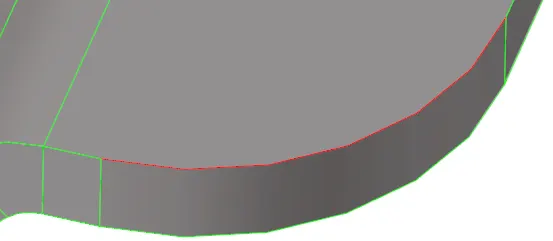
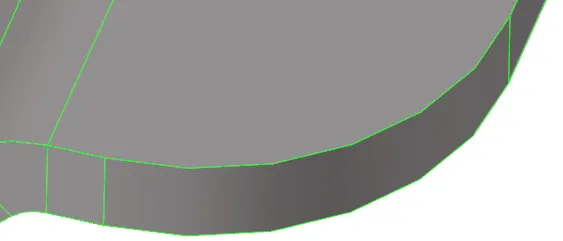
Some surfaces are outside the geometry can see the image. For that we have to perform a multiple command. Like, First we split it, then we delete the extra portion, then toggle it using (surface edit > trim with surface > with surface, delete entities, Quick geometry edit > toggle edges)
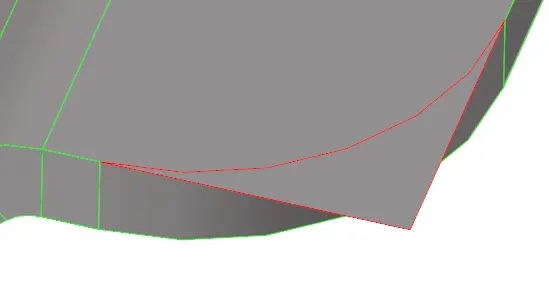 >
>  >
>
 >
> 
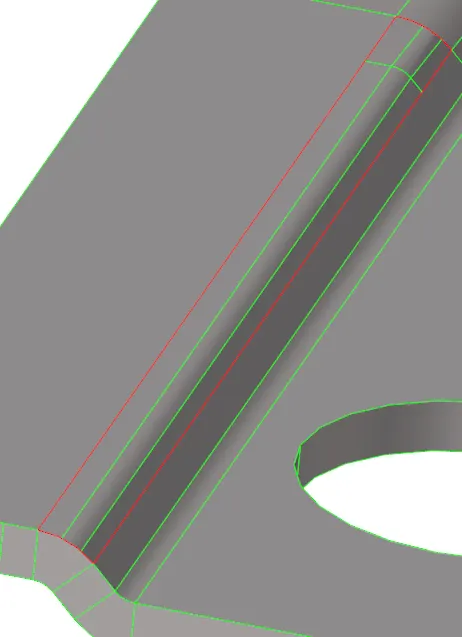
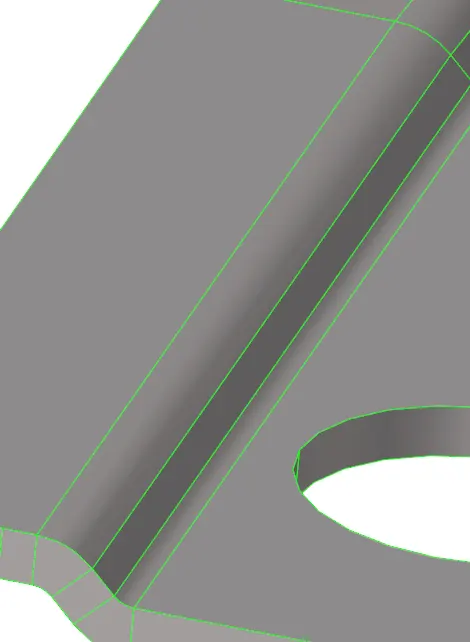
Sometimes we have to create a new surface to close the geometry (see the below image). where using 'surface > spline/filler' the surface was generated.
 >
> 
- Extract midsurface:
In Hypermesh to extract a midsurface of a simple geometry there is a command called 'midsurface'. So, let's use it.
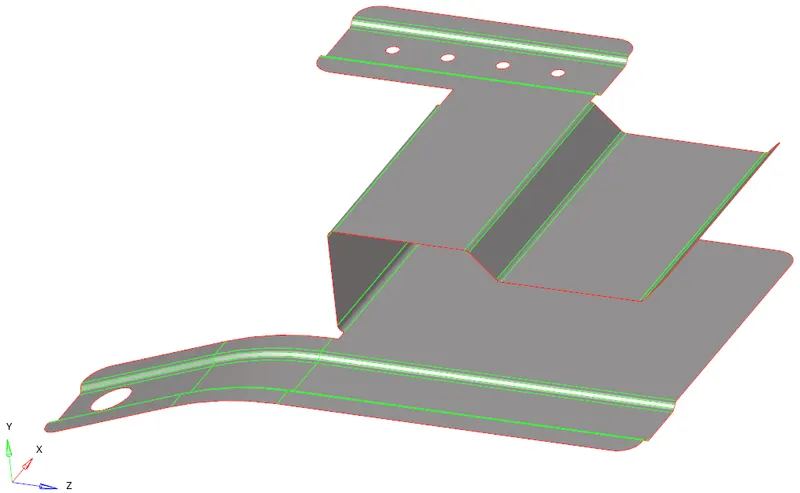
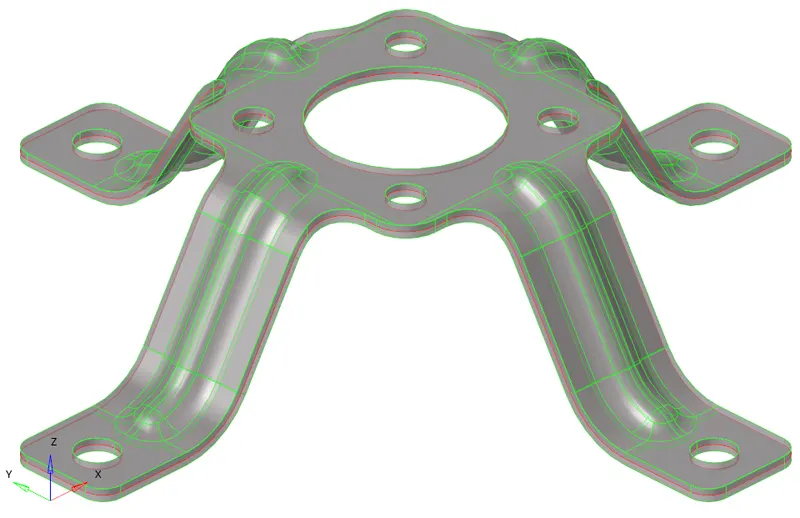
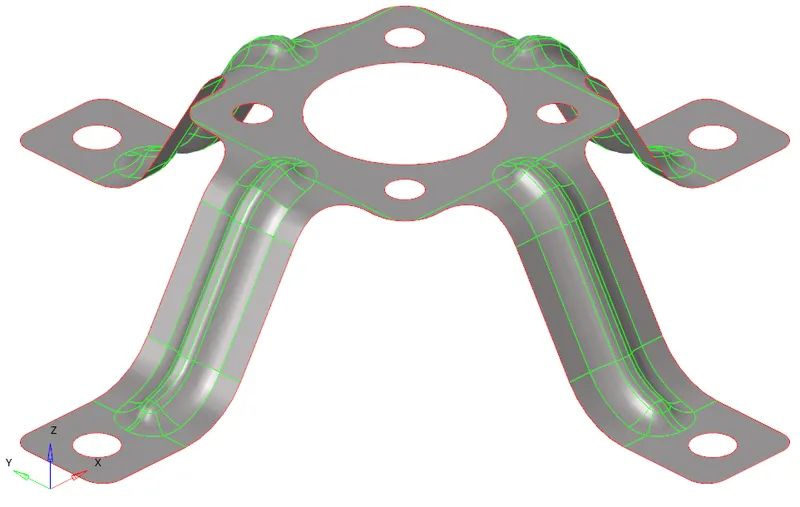
As there are fillets In geometry in extraction option we have used an 'offset+planes+sweeps' and 'result in Middle Surface comp'. see the generated surface as below.
- Clean midsurface geometry:
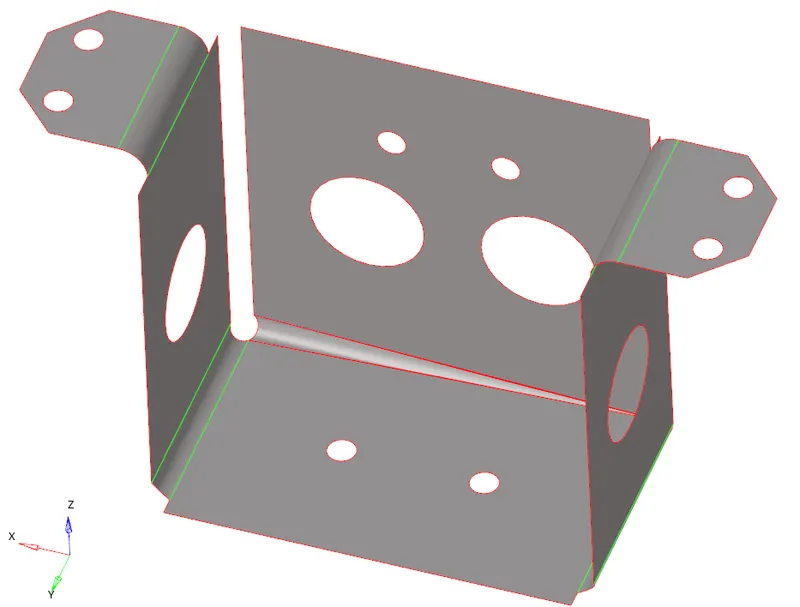
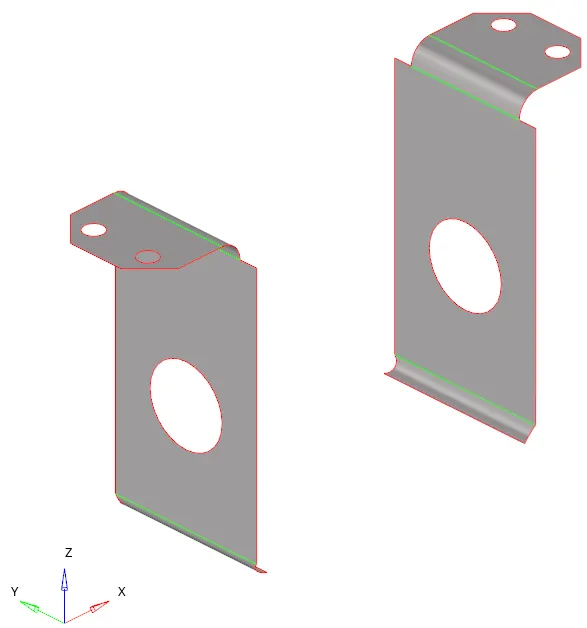
As we know, for complex geometry the 'auto midsurface' option will not work properly. Sometimes we need to correct the midsurface. See the below image. Where the both sides surface not properly generated.
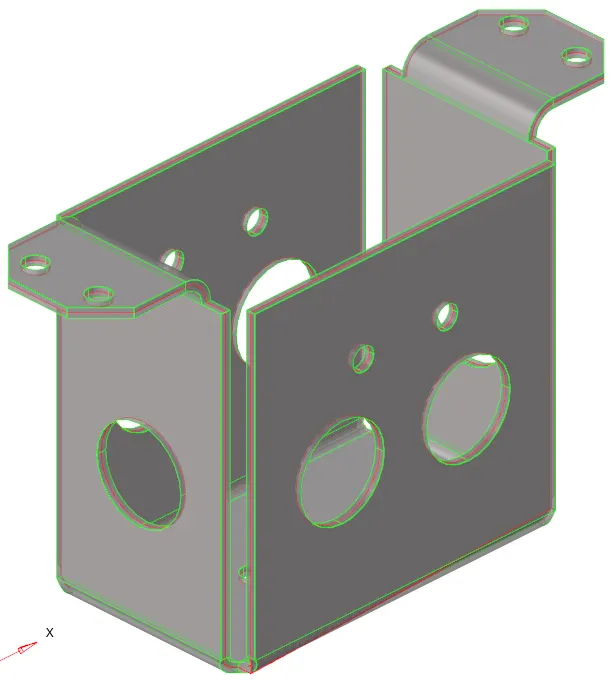
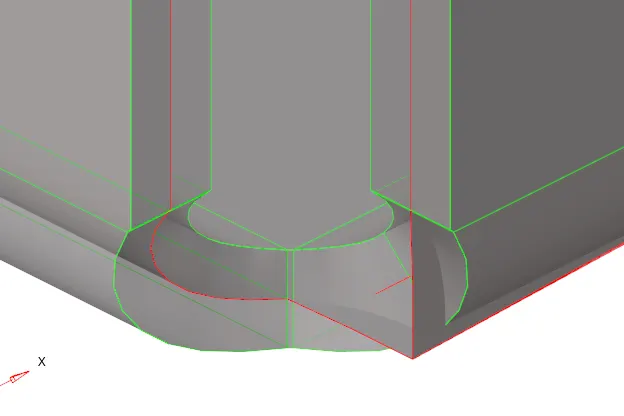
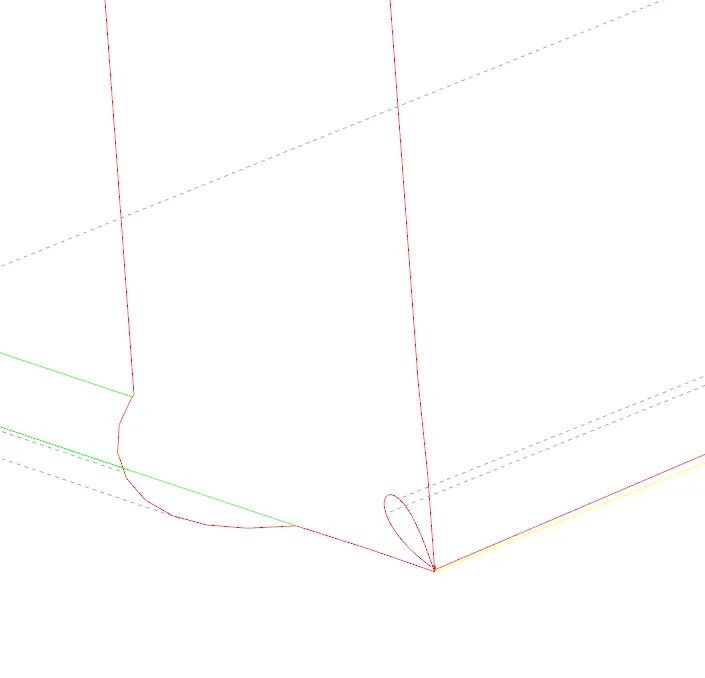
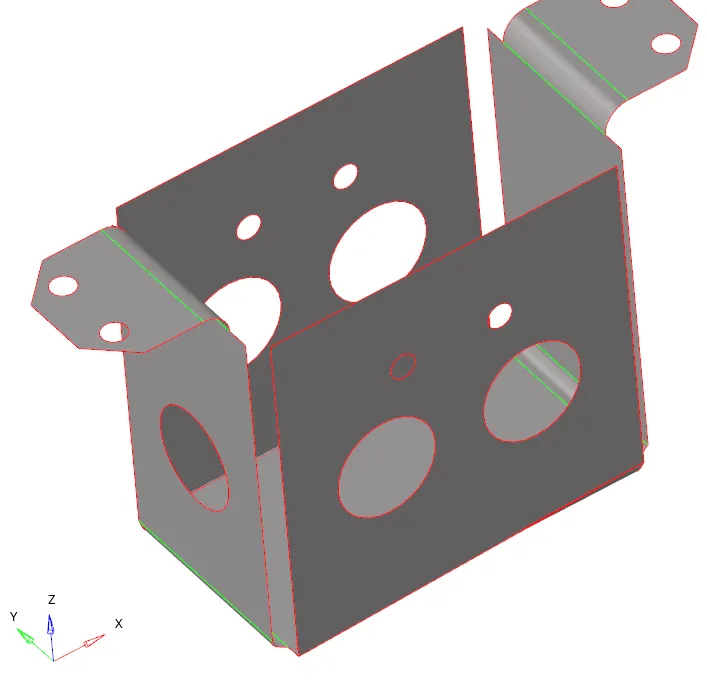
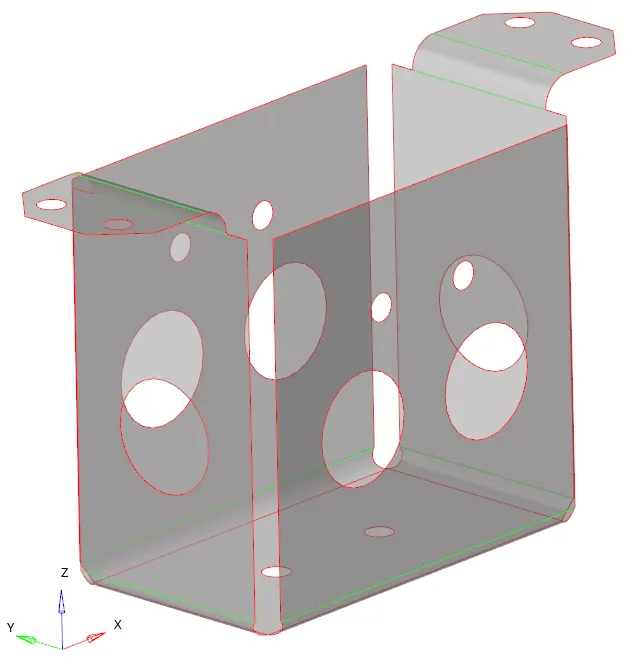
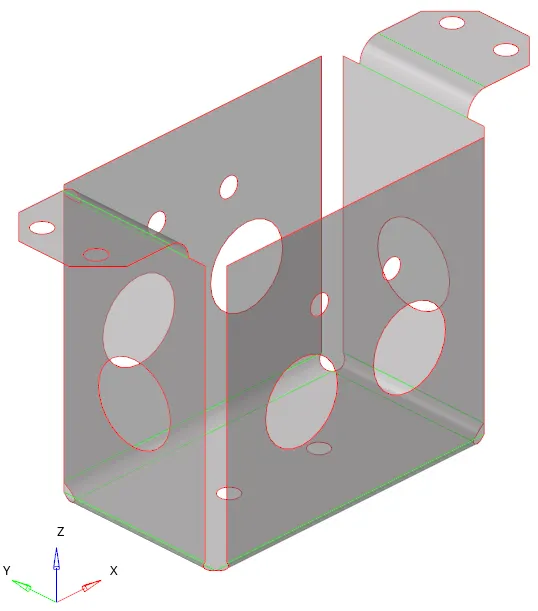
To correct it We delete those affected surface and will create a new one using offset command. Where the thickness of the model is 2mm. So, will offset face by 1mm by 'surface edit > offset'. Then we toggle it using 'toggle edge'. see the below images.
- Ignore holes less than dia 5mm:
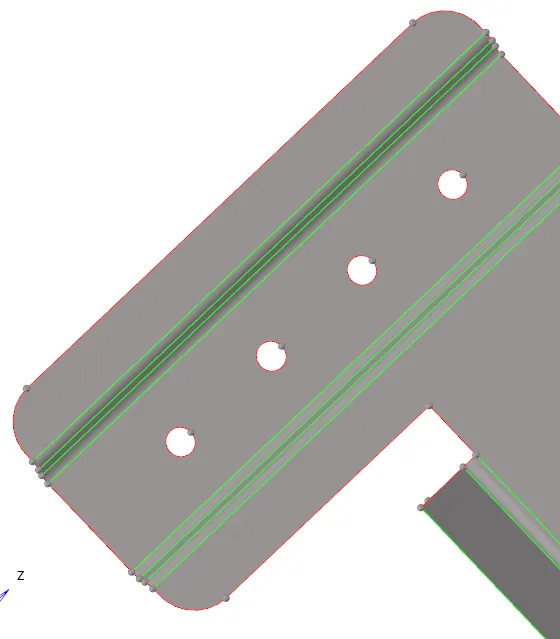
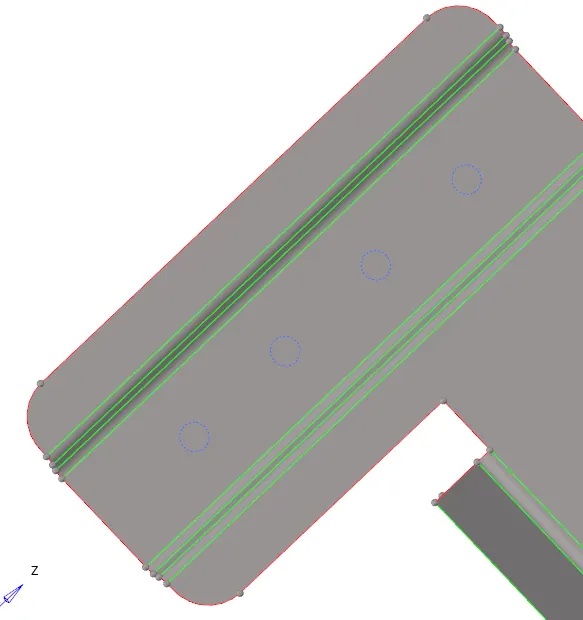
As stated, in one model the size of the hole is less than 5mm around 2mm. So those hole we can cover using 'surface > filler' option.
 >
> 
- Generating Mesh:
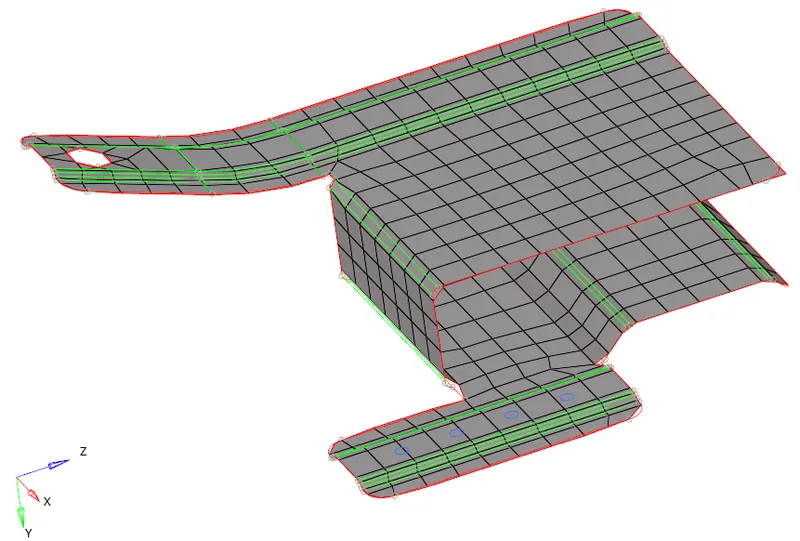
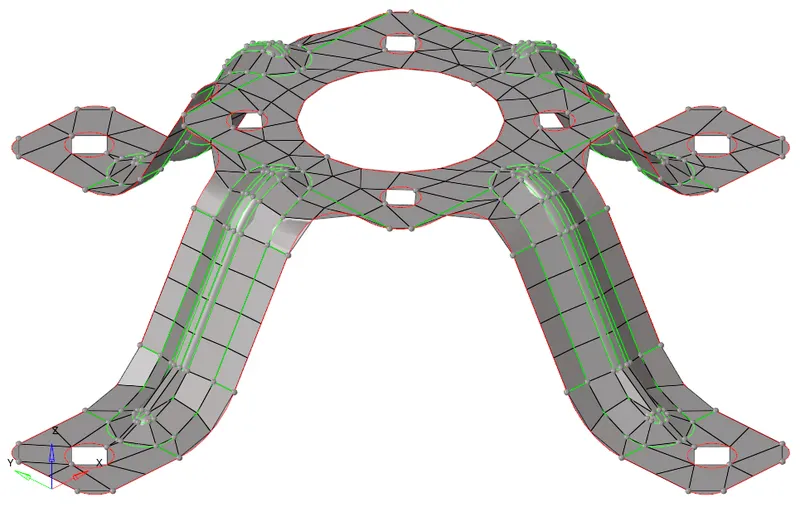
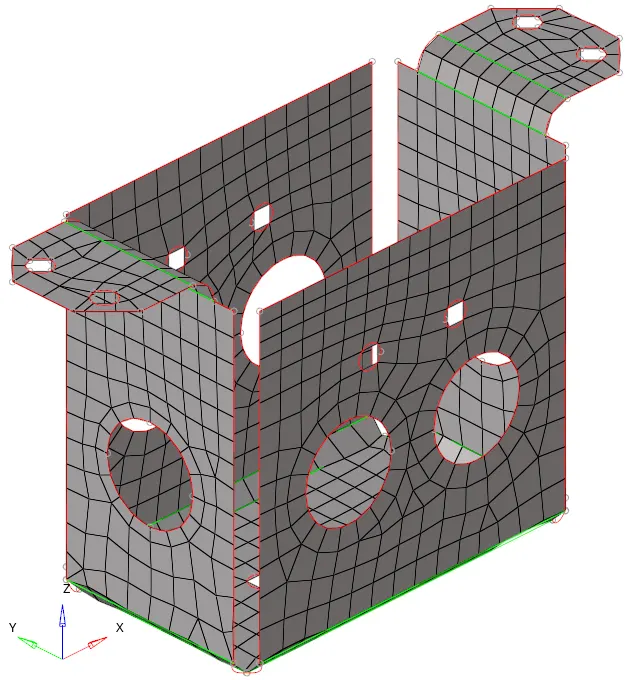
Generating mesh as per given quality criteria. Where, Target length 5mm, Min 3.5mm, Max 7mm. see below image.
- Assigning Thickness:
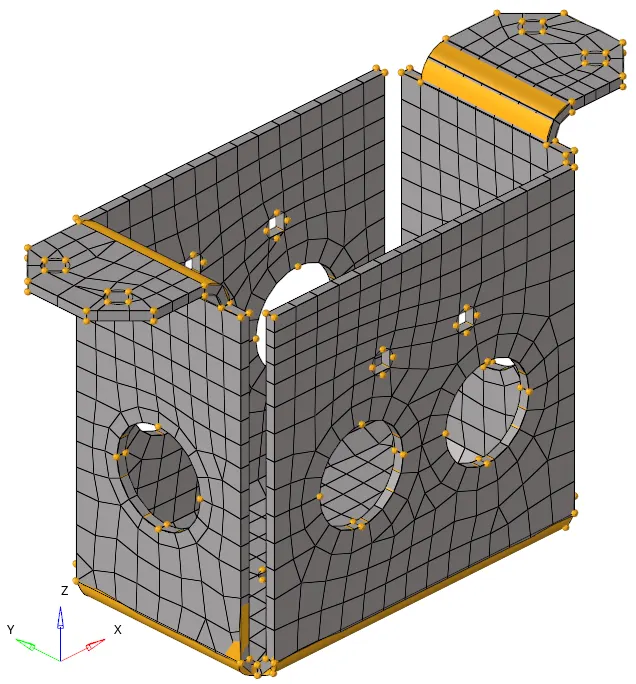
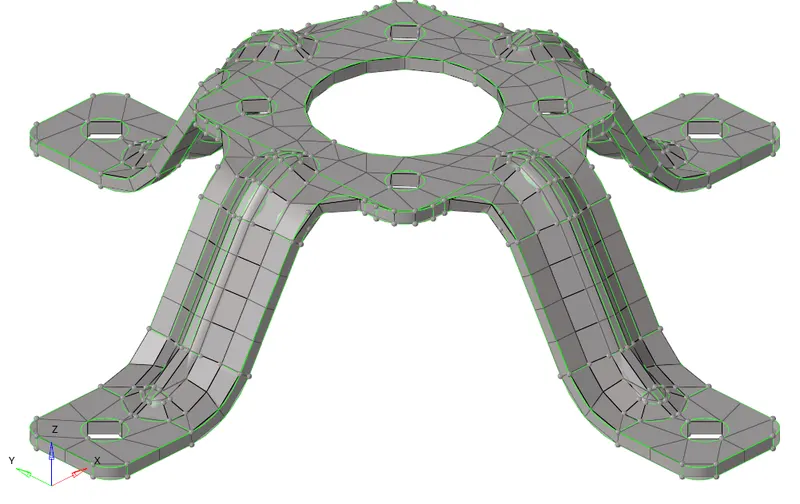
So, as per model thickness, the properties with 0.9, 2, 1.8 thk are assigned to the model respectively.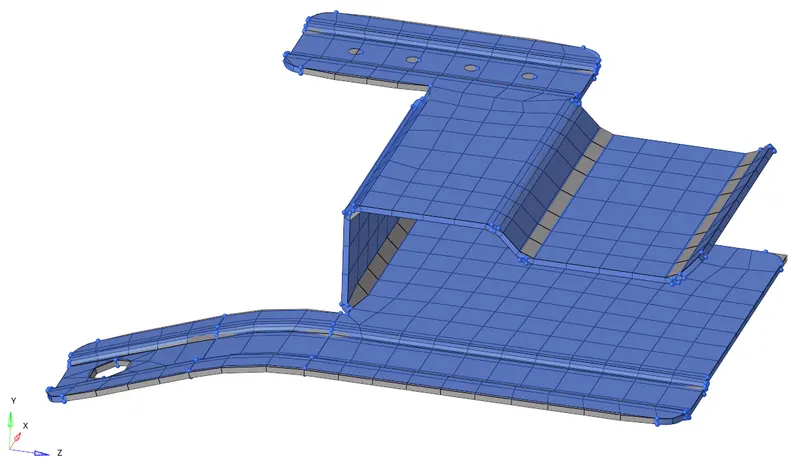
4. CONCLUSION:
This is a practice challenge for me. With this, I recalled my previous experience in Hypermesh.
End of the Challenge