Assignment 1-2D Meshing Challenge
OBJECTIVE :
- To Clean up the given geometries and extract midsurface and mesh them with 5mm 2D shell elements and assign proper thickness to them
PROCEDURE :
- 1. Firstly Import the geometry which is provided in the Hypermesh windows. Now, keep the view in By topo mode to see the geometry clearly and observe any errors in it. Delete the solids, If there are any since we would work on the surface rather than the solids.
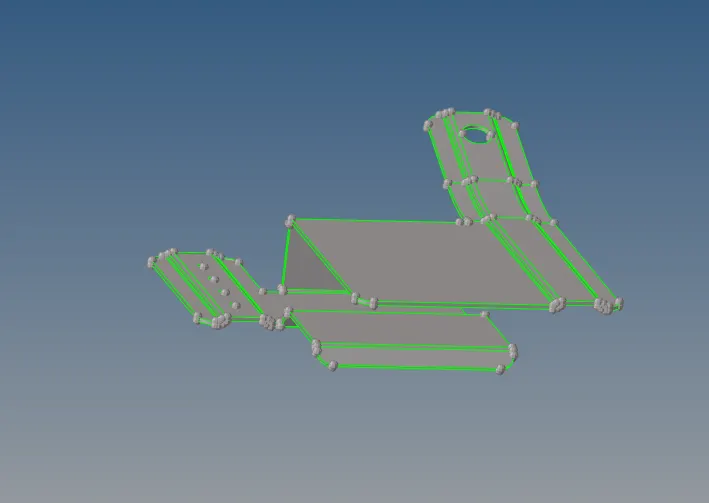
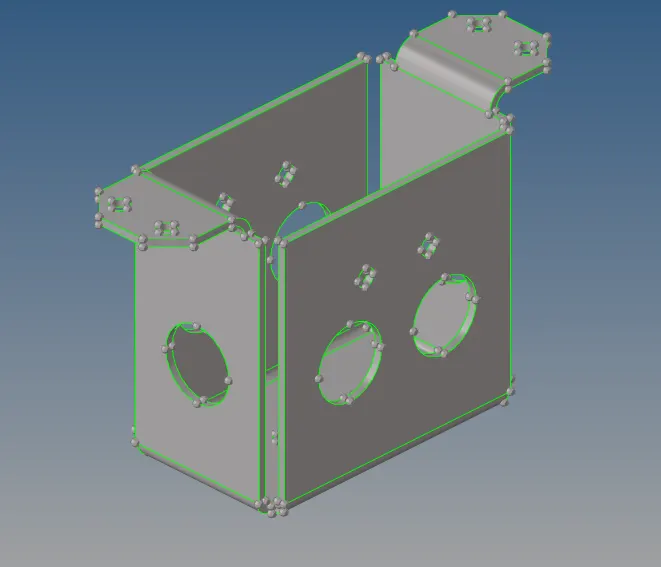
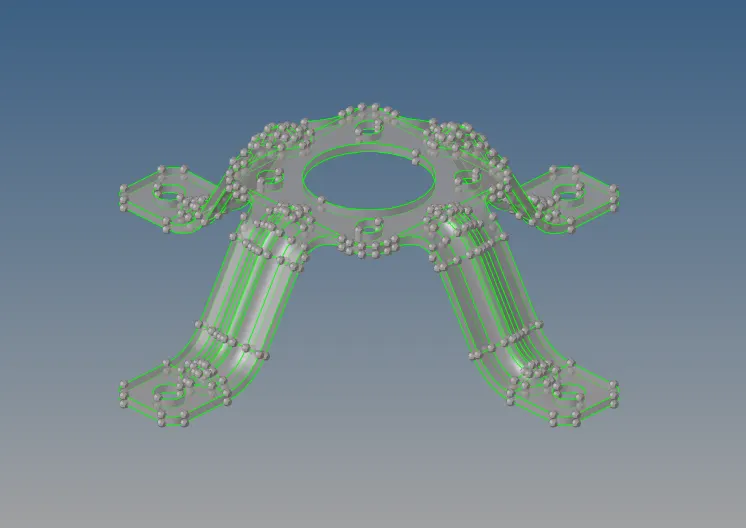
- . Now, We can see several yellow and red edges in the given models which is not desirable. So, those free edges (red lines) and yellow edges
(Duplicated surfaces) has to be removed by using Toggle edges option and deleting the duplicate surface and using Surface (spline / ruled) option we can fill the missing edges or create new surface on the deleted portion. Here are the pictures of repaired geometry which can be used for midsurface extraction. 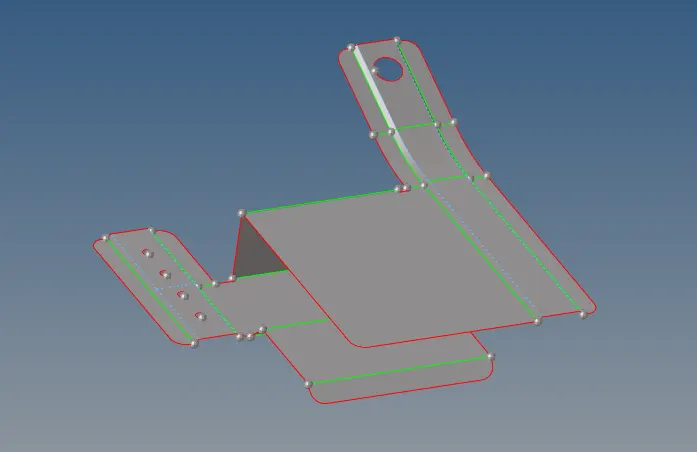
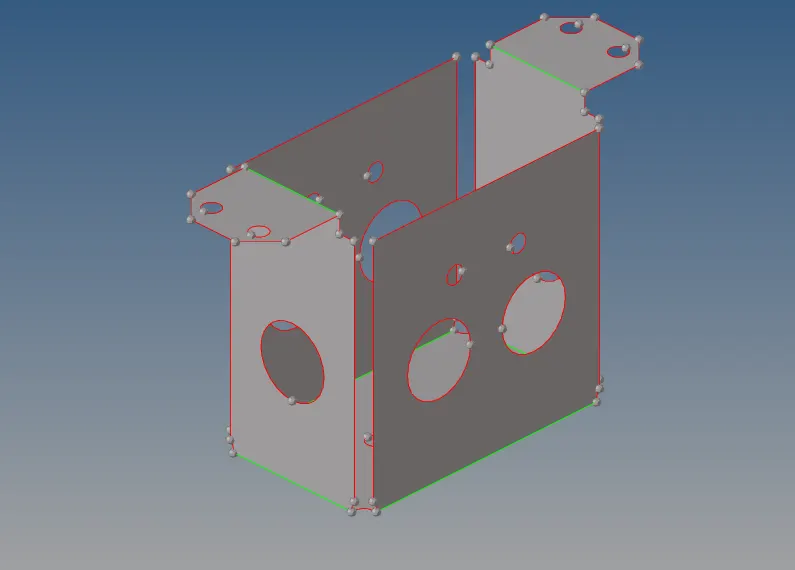
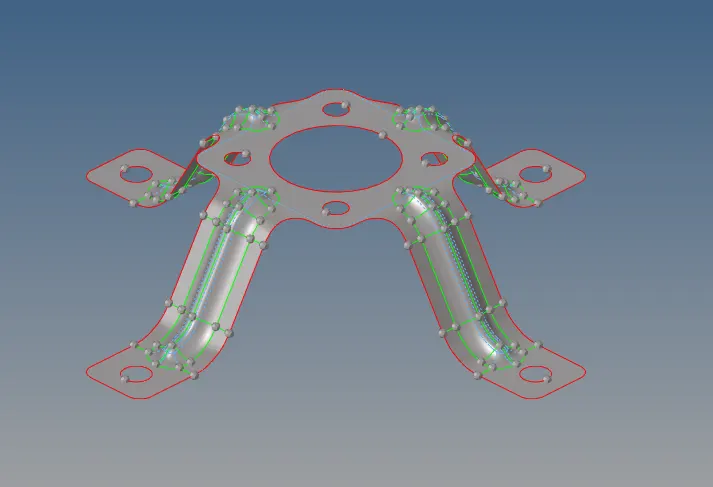
- Now, the midsurface can be extracted by manual midsurfacing (surface offset method) or Auto midsurface since all the given components were of uniform thickness. Here for one shot and best feature capturing we use manual method. Go to Surface edit >> Offset >> Select the Surface to be offset >> Duplicate the selected surface >> Enter Offset distance >> Check for the Vector normal to offset in proper direction and press Offset to extract the midsurface. Make sure to create separate Collector for the middle surface in case of using Manual midsurfacing. Here are the middle surfaces extracted :
- Now, there are conditions provided which states that defeaturing of holes can be done for holes which are less than 5mm dia. Measure the Diameter and then defeature the smaller holes by filling the surface using Fill Surf in the Quick edit panel and Toggle the edges to defeature the holes. But due to geometrical constrains, some larger holes in the clip repair model has also been defeatured. Other than the holes, Features like Fillets which fails for minimum element length can also be defeatured to avoid any elemental errors
- Now, there are conditions provided which states that defeaturing of holes can be done for holes which are less than 5mm dia. Measure the Diameter and then defeature the smaller holes by filling the surface using Fill Surf in the Quick edit panel and Toggle the edges to defeature the holes. But due to geometrical constrains, some larger holes in the clip repair model has also been defeatured. Other than the holes, Features like Fillets which fails for minimum element length can also be defeatured to avoid any elemental errors
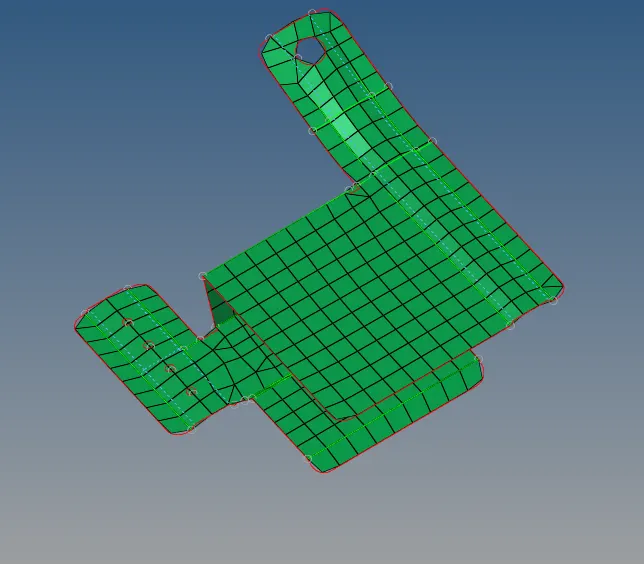
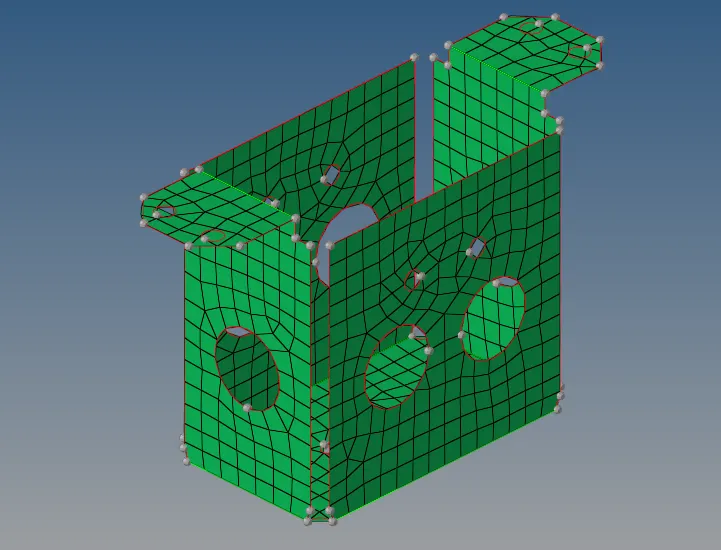
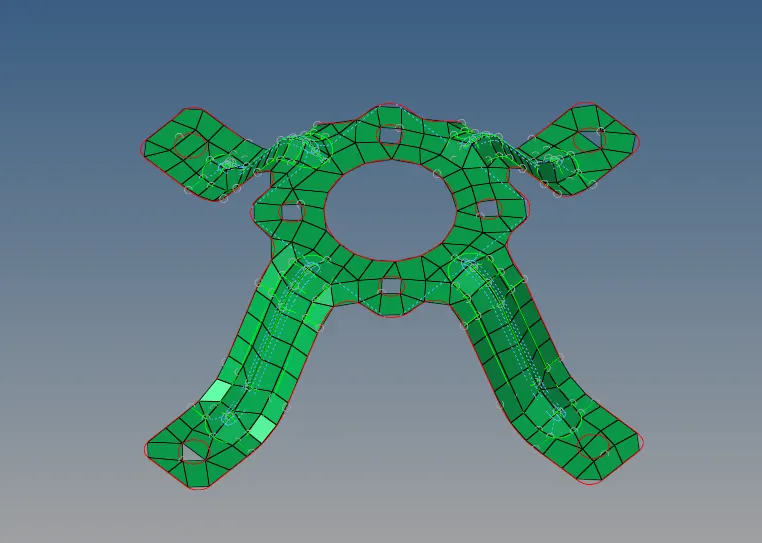
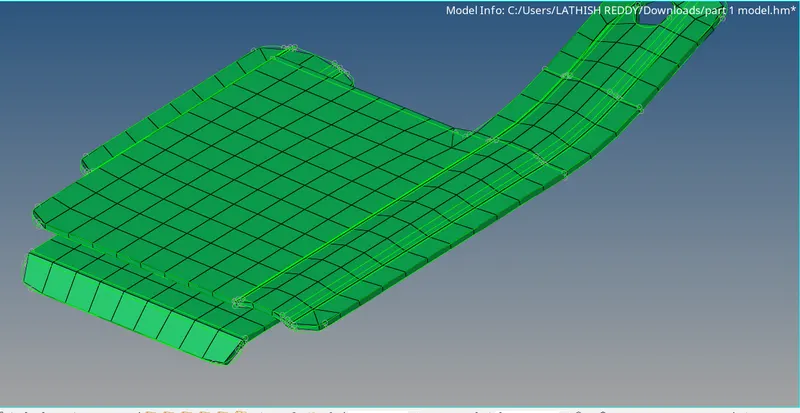
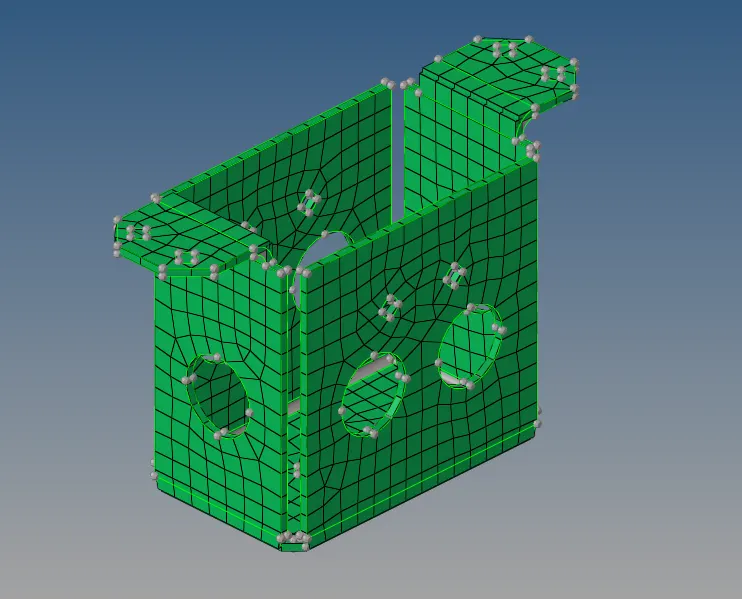
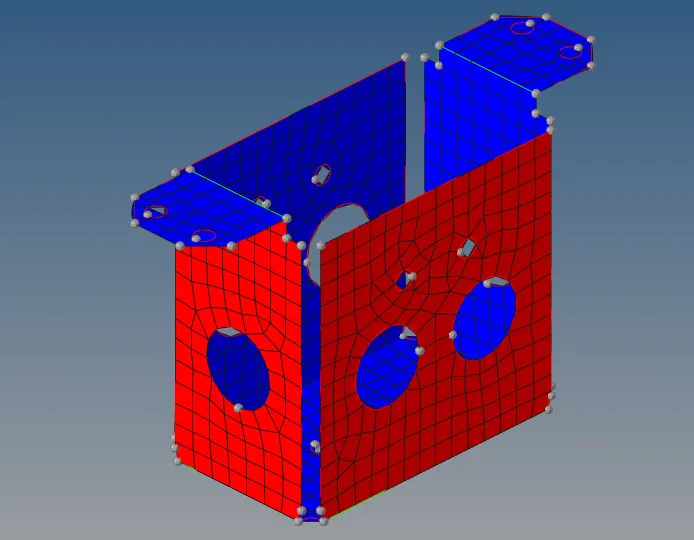
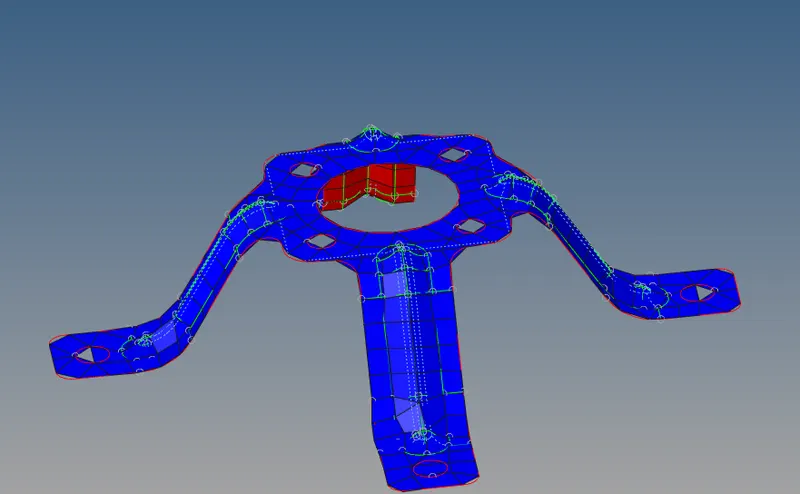
- Now, we can start meshing the midsurface by using 2D Automesh >> Target element size as 5mm and Element type as Mixed. The Criteria file setting can be done with Minimum element length as 3.5mm & Maximum element length as 7mm. All the other parameters were kept as usual default value and meshing can be done by starting off from the center surface such that it gives us flexibility to match the no.of nodes throughout the span. For Holes, since there are geometrical constrains, the smaller holes and the holes in mounting brackets were meshed with 4 nodes (square like). Those elements would be found squeezed while creation. They can be rectified to match the nearest feature line by rotating those nodes using Rotate command present in the Tools tab.
- In the practice model, there is an element which fails for Minimum element length due to geometrical constrain. In order to capture the feature properly, there the quality parameter has been traded off which provokes this failure element.
In the Mounting Bracket model, the hump like structure has been captured by creating center point all along those humps and creating center line using those points and rest of the lines has been defeatured to allow the elements to have a balance between quality and feature capturing. 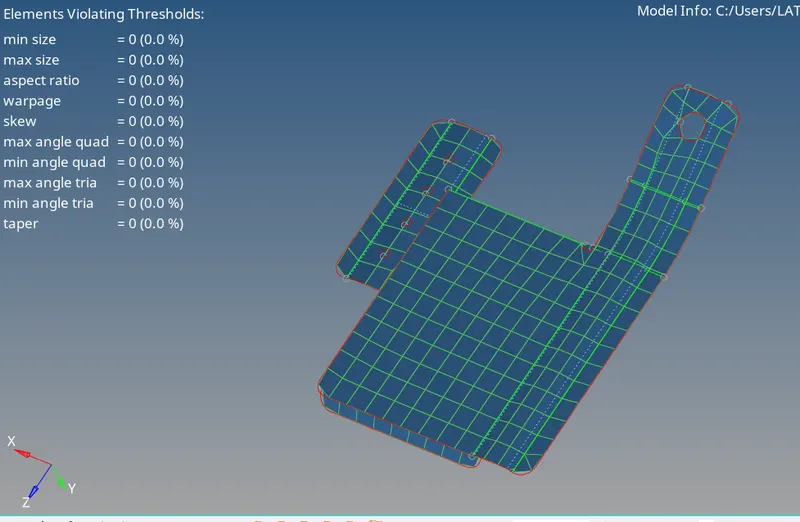
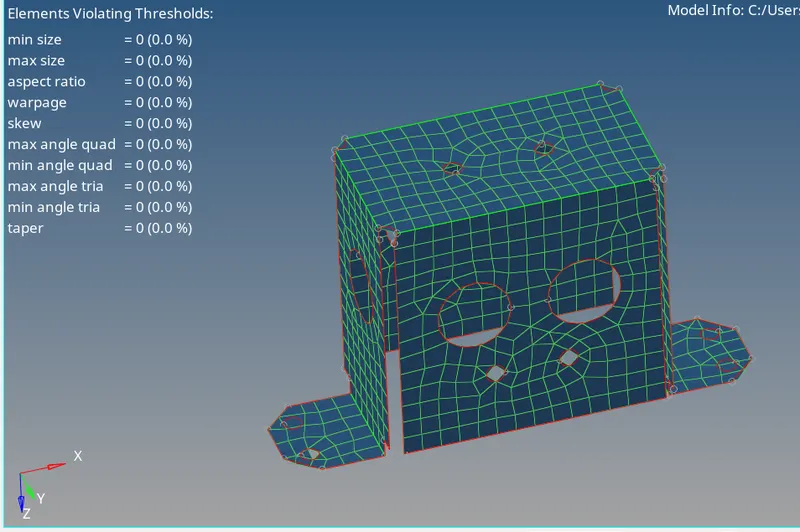
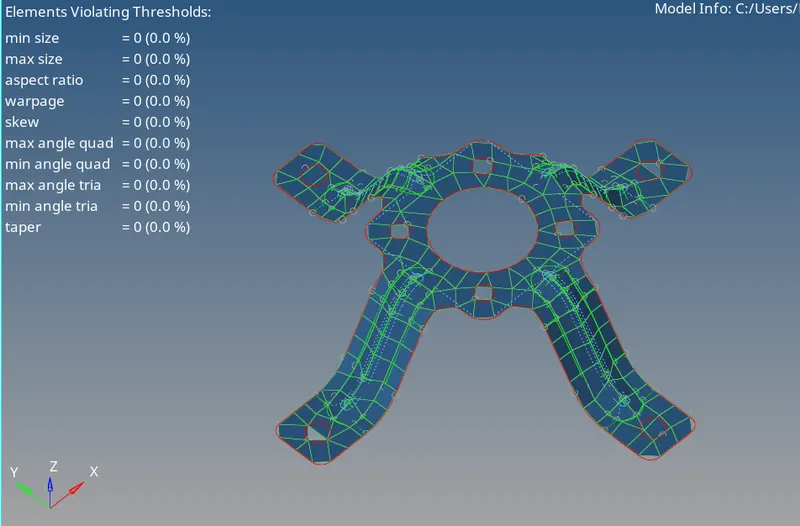
- There are tria elements in which they were touching each other which help in capturing the feature thus trading off the mesh flow condition.
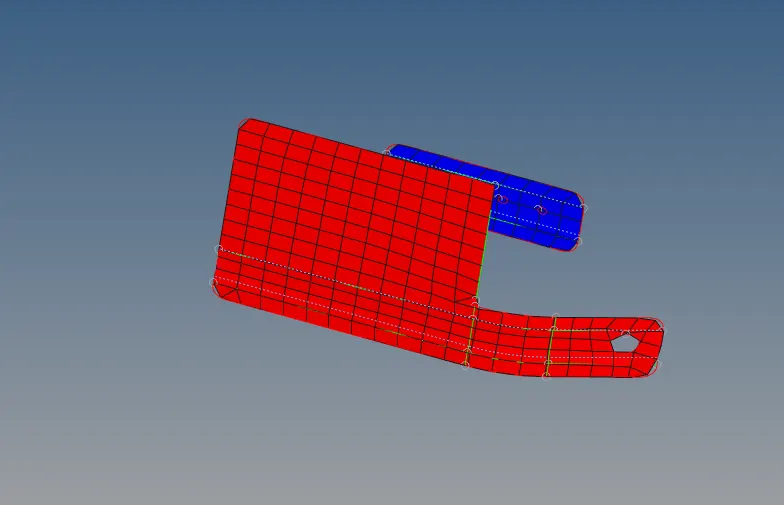
In the Clip Repair component, the free edges has 2 trias which provides better feature capturing. - Once all the meshing has been carried out, the quality criteria can be checked in the 2D quality tab by pressing F10 key. Once all the elements were passing the criteria entered, we can reflect the elements to the symmetry plane in case of mounting bracket and for the others, we can create the property card by right click on the collector area and create property with card as PSHELL and assign appropriate thickness value.
- Right click on the collector which has the meshed model and click assign to assign the property. Now go to 2D element visualization option below the graphics area and click on 2D detailed element representation to check the mesh with proper thickness.
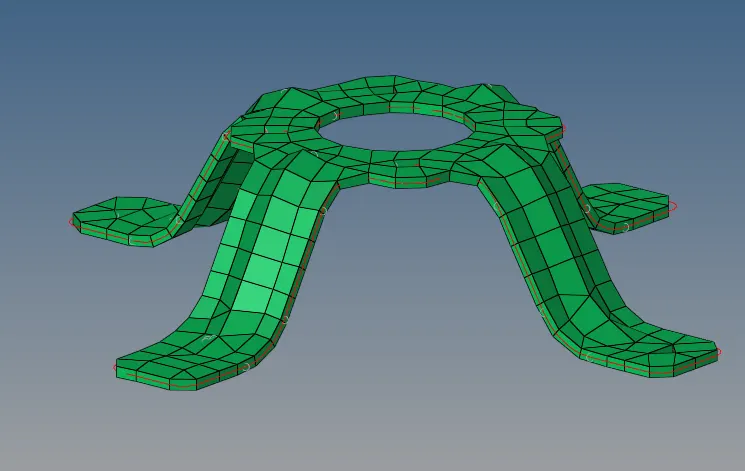
- For the Symmetry, go to Tools >> Reflect >> Select the Elements >> Duplicate them in the current component >> Select the N1,N2 ( As vector used in Trimming the surface ) and select the base for reflection as the center node. Hit reflect and click return. It is important to check for the equivalence of these reflected elements since they seem to appear as they are fixed with each other but they have some minimum tolerance level of disconnection.
- Go to Check edges tab in Tools bar >> Select the Elements displayed >> Change the tolerance value accordingly and Check equivalence and fix it if there are any. Checking of free edges would give a proper visual on the presence of any unwanted equivalence issues.
- Also the normals need to be checked for the meshed models. Go to Tools tab >> Checks >> Normal >> Elements >> Select the elements >> Click Display normals. If there are any errors, adjust and set the normals properly
RESULT :
Thus all the three models have been meshed with 2D shell elements with 5mm element size. In this challenge the following tasks were learnt :
1. Topology repair
2. Mid surfacing
3. Meshing and Passing quality criteria
4. Assinging Property and thickness
5. Mirroring symmetrical components