Assignment 1-2D Meshing Challenge
# Assignment 1
Aim: To mesh the given component with target element size of 5 units and assigning the thickness to the component, also, it should have to be follow the quality criteria as mentioned below.
Target Element length: 5 units
Minimum Element length = 3 units
Maximum Element length = 7 units
Theory:
Why we do Geometrical cleanup?
While we importing any geometry data it generally come up with little errors, some geometrical issues are
Surfaces are not stitched together.ie. (there is a gap present between the surfaces)
Very small surfaces are squeezed between the surfaces.
Sometimes duplicate surfaces are present
The junction between the two surfaces also contains the gaps, overlaps and misalignments.
In order to remove that issues and errors we do geometry cleanup.
Mid-Surfacing:
Why we create the Mid-surface?
While doing 2D meshing we extract the mid-surface from the model. Mid-Surface means the surface between the two surfaces. 2D meshing is carried out on the mid-surface, because mathematically element thickness we assigned half in +Z axis (element top) and half in -Z axis (element bottom). Hence for appropriate representation of geometry via 2-d mesh it is necessary to extract the mid-surface & generate nodes and elements on the mid-surface. We try to create the shell elements (one dimension i.e. thickness is significantly smaller than the other dimensions) which is 2D representation of 3D elements. Mid-Surface meshing is used when the geometry thickness is very small as compare to its length and width, so we are generally used in most of industries where structure is made up of sheet metals and plastic etc. In that case, we use 2D elements instead of 3D elements, hence by adopting Mid-Meshing number of nodes are decreases and also computational time decreases.
We can extract mid-surface in two ways
- Manual mid-surfacing
- Automatic mid-surfacing
During meshing we have to take care about
- Feature should be capture properly
- No back to back trias
- There should be element connectivity between the elements
- No opposite trias
- No rotational quads
- Quality check to ensure that all element are within good quality
Note: During meshing make sure to check for free edge option at regular interval. It will help us to show that where there is no element connectivity in the mesh
Model:
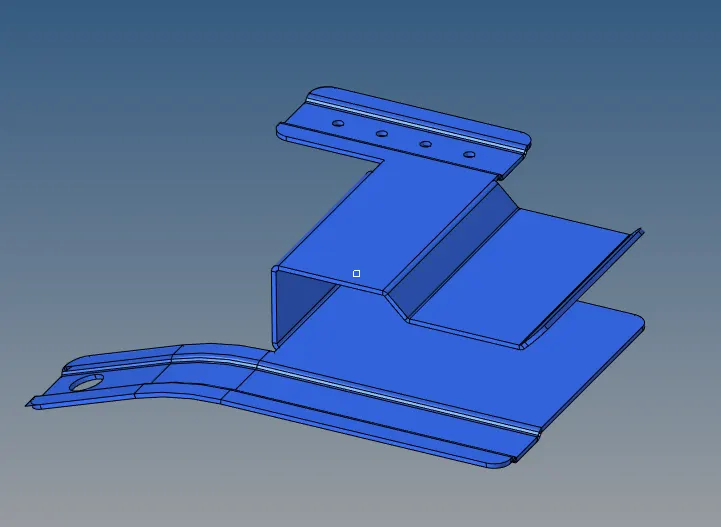
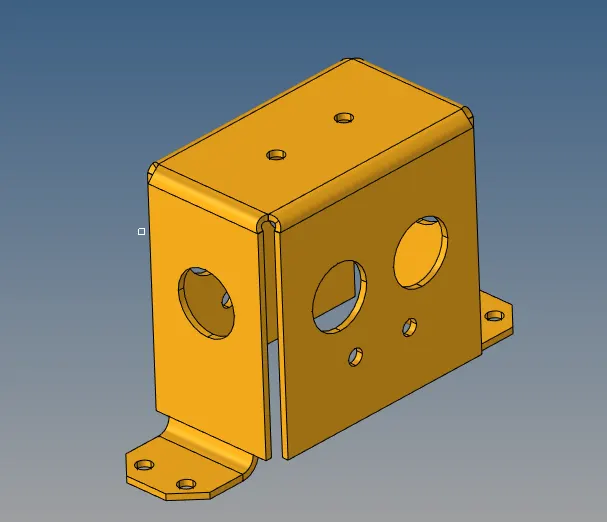
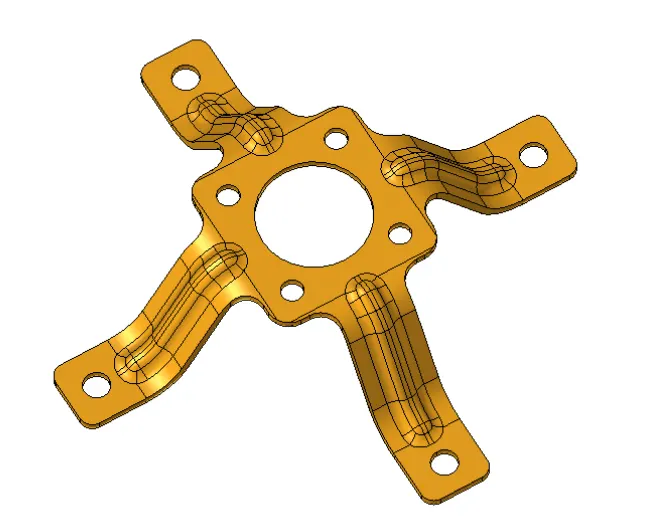
Procedure:
- Import the model in the Hyper-mesh by using Import option
- Now after importing the model, we have to check for the geometrical error, if it is present then we have to be removed that error.
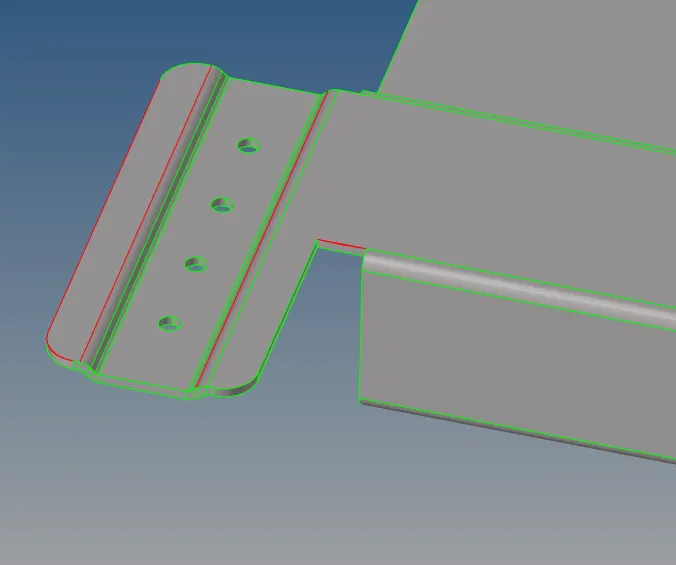
Missing surface and unproper connected surfaces
- Now we have to create the surface and also, we need to stich the edges where surfaces are not connected properly to each other, for creating the surfaces we using surface filler option and to stich the surface we use toggle option which is available in quick edit panel
- After cleaning the geometry, the next step is to create mid-surface for 2D meshing
We can create mid-surface in two ways
- By manual mid-surfacing
- By Automatic mid-surfacing
Here we are using manual option to create the mid-surface, for manual mid-surface we use offset command, and offset the surface to the middle. During offset option make sure to check the normal direction of the surface, so that you can’t offset the surface in wrong direction.
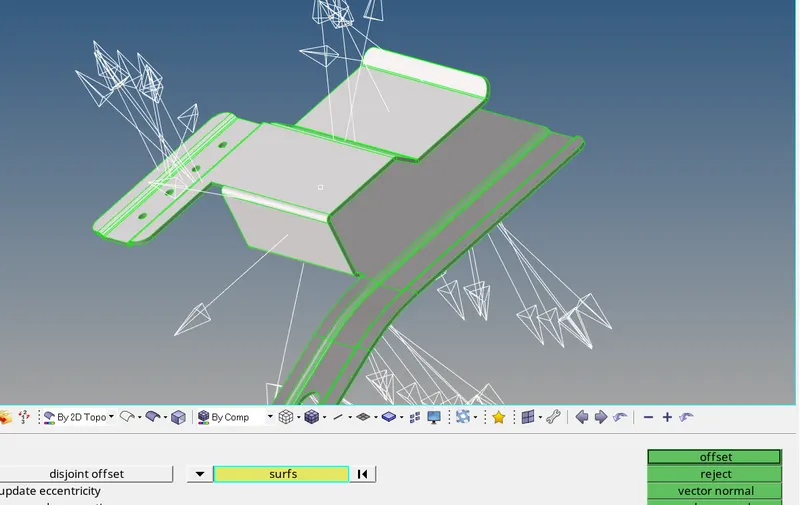
Checking vector normal during offset
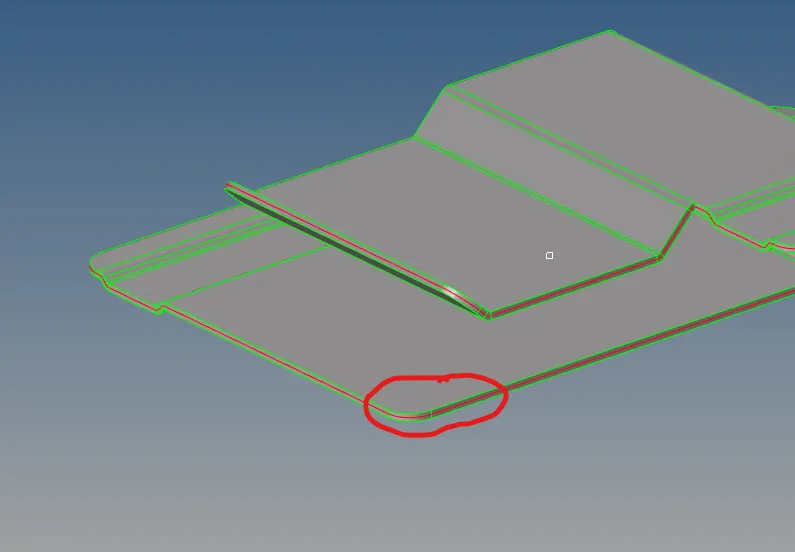
Mid-surface extraction by manual method
- After creating the mid-surface, now we can start the mesh, but before meshing we have to defeatures the fillets and then also we have to fill the pin holes, so that it does not cause our element to fail
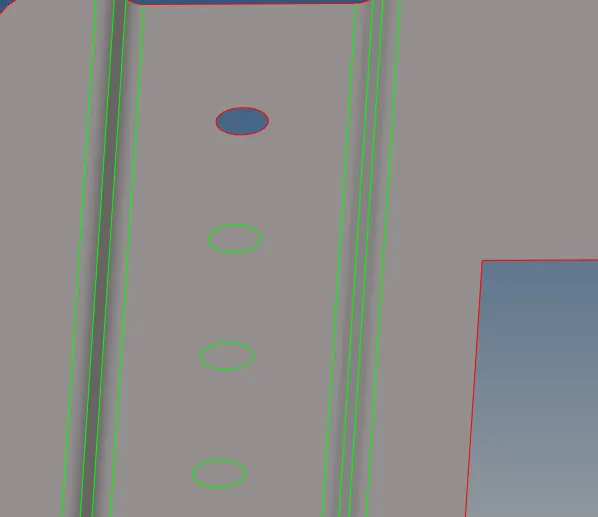
Filling the Pin-Holes
- After cleaning the geometry and removing the pin-holes and defeaturing the fillets, now we can start the mesh with Target element size of 5 units as mentioned above, for meshing go to auto-mesh option in 2D panel, Select the surface and mesh the component, also we need to define the quality criteria as well, to check the quality of the element
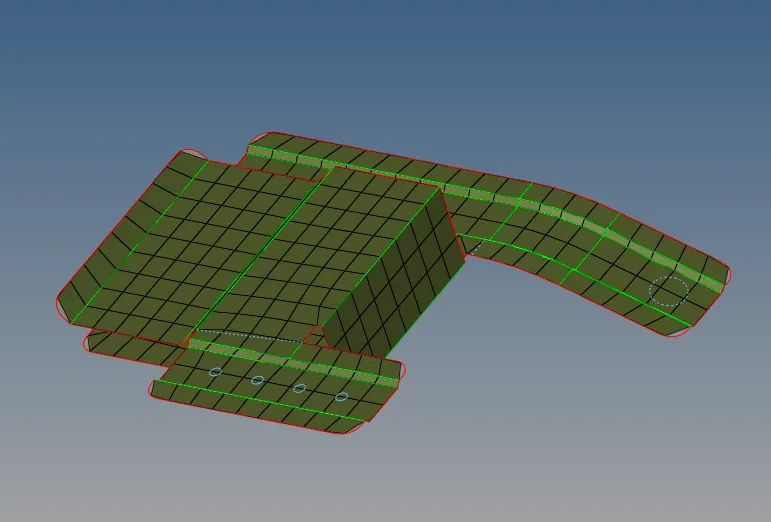
Meshed model of the component
Note: To check the element connectivity, we have to got to check free edge option in Tool panel, from this we can find-out whether our element is connected or not, for connecting the element go to equivalence option in tool subpanel
- After meshing we have to assign thickness to the component, for that we have to creating the property and in property we have to assign the thickness of the component, after that we have to assign that property to that component, also we have to create the material for the component as well and have to defined in a property.
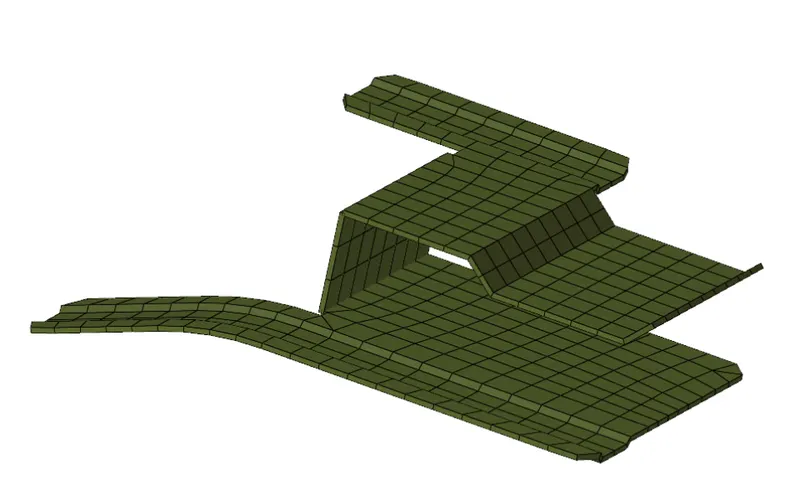
Thickness is assigned properly to the component
Note: To check whether thickness has assigned or not, we have to switch to the 2D detailed representation of mesh
- Now same step we have to be follow for the Model-2
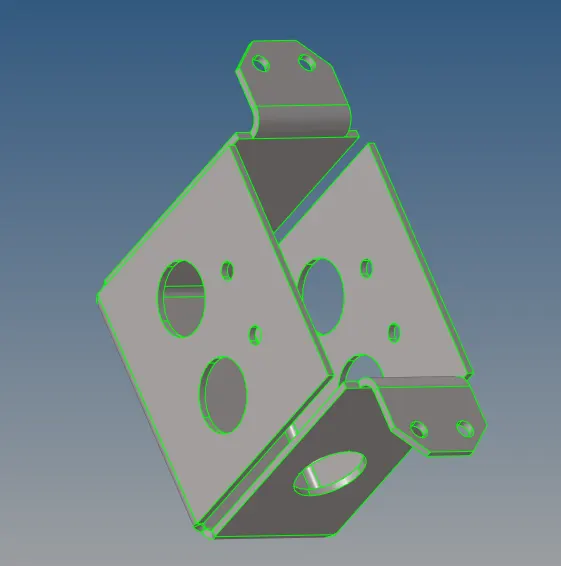
Importing Model
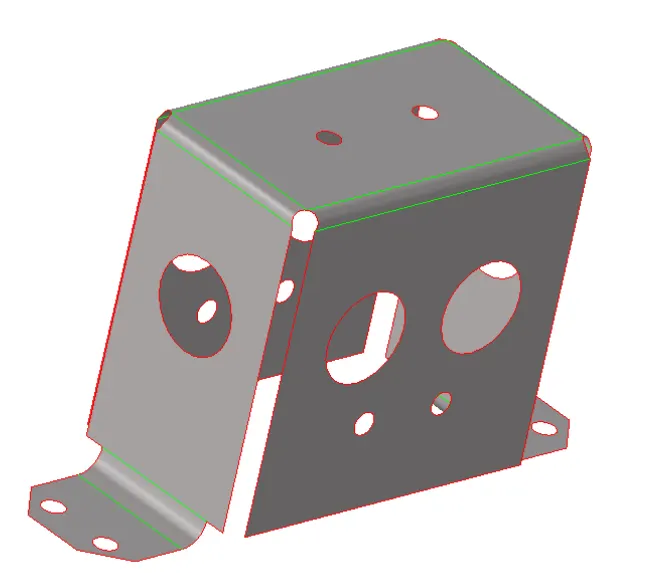
Mid-Surface extraction
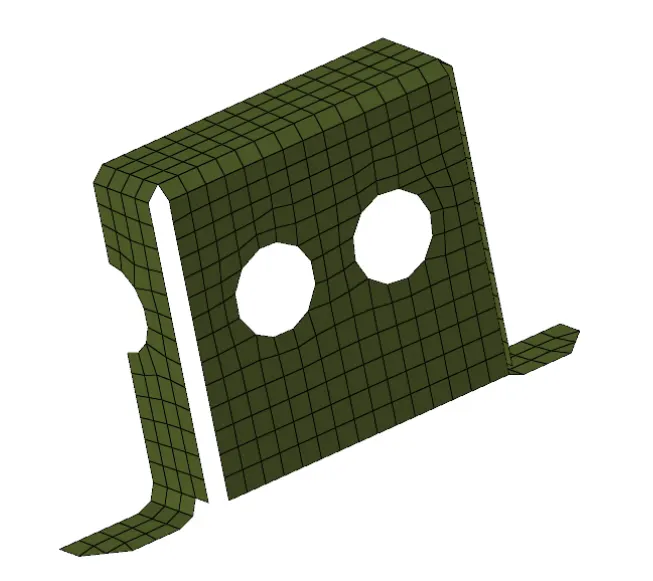
Meshing Half part of the component
- Here we have symmetrical component so we take advantage of it, we mesh only the half side of the component and for the other half we reflect the mesh.
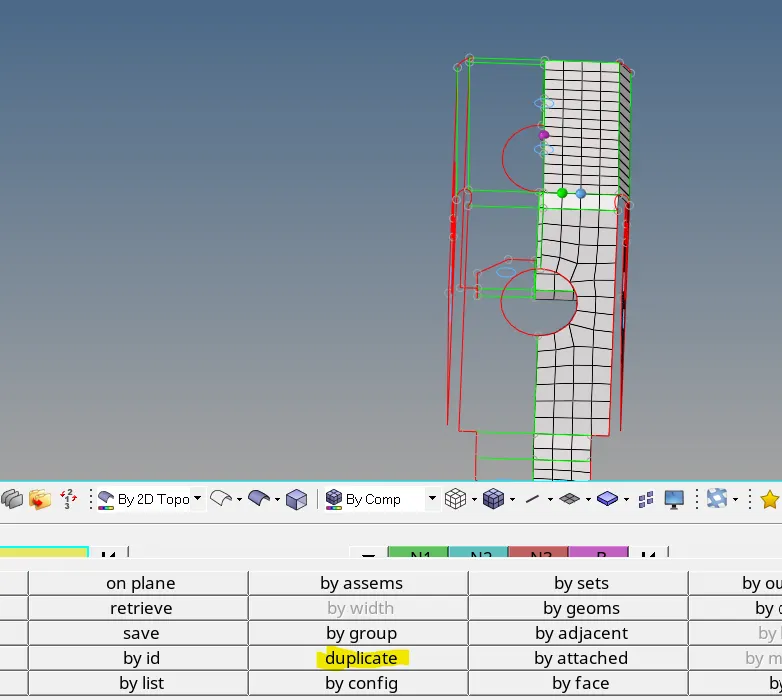
Duplicating the element during reflection
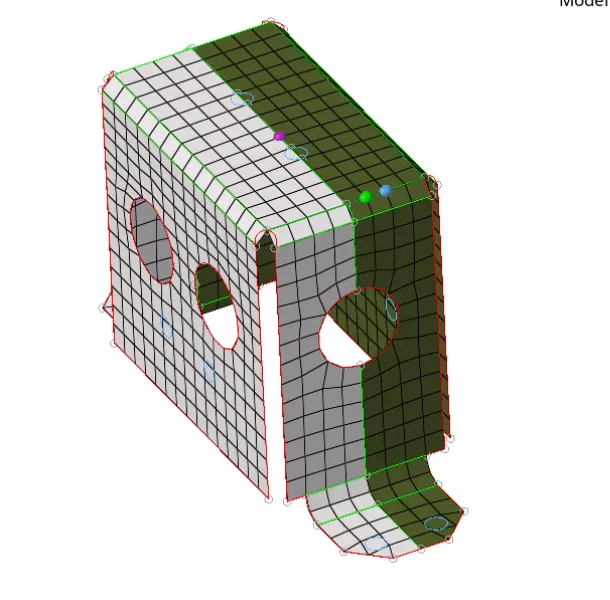
Reflection of mesh for others half side
- After reflection make sure to check the element connectivity, because most of time we don’t have element connectivity if we reflect the mesh to check that we can use the check free edge option to check the element connectivity.
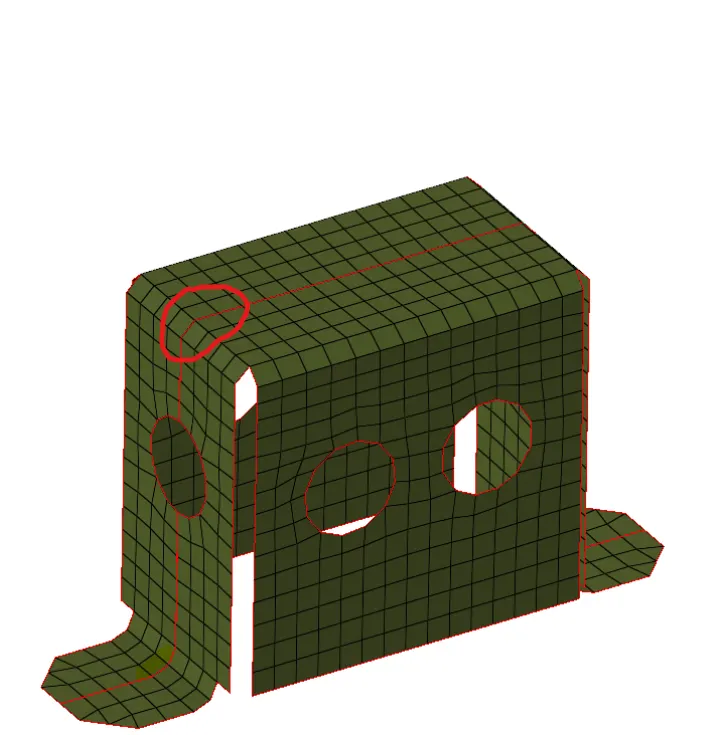
Element are not connected properly to each other
- Here we have free edges between the element, this is clear indication of missing element connectivity, so to join the elements we can use the Equivalence option
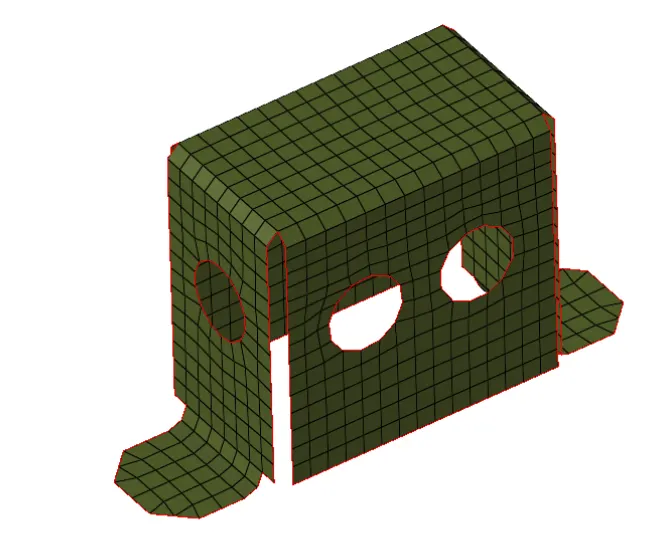
Final Meshed model (Proper Element connectivity)
- After that we have to create material and property of the component and assigning a proper thickness to it
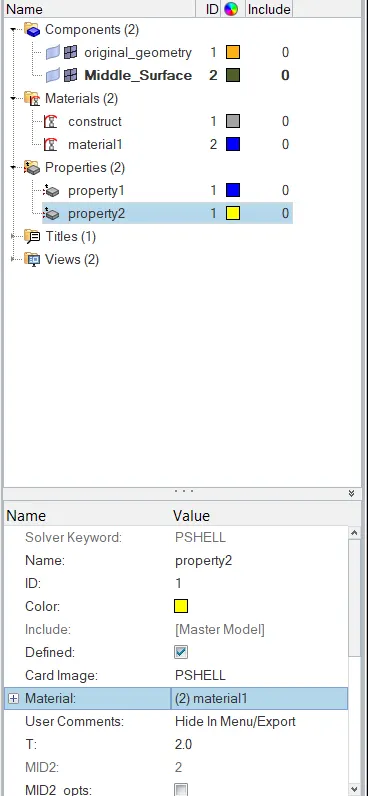
Property and material is assigned to the component
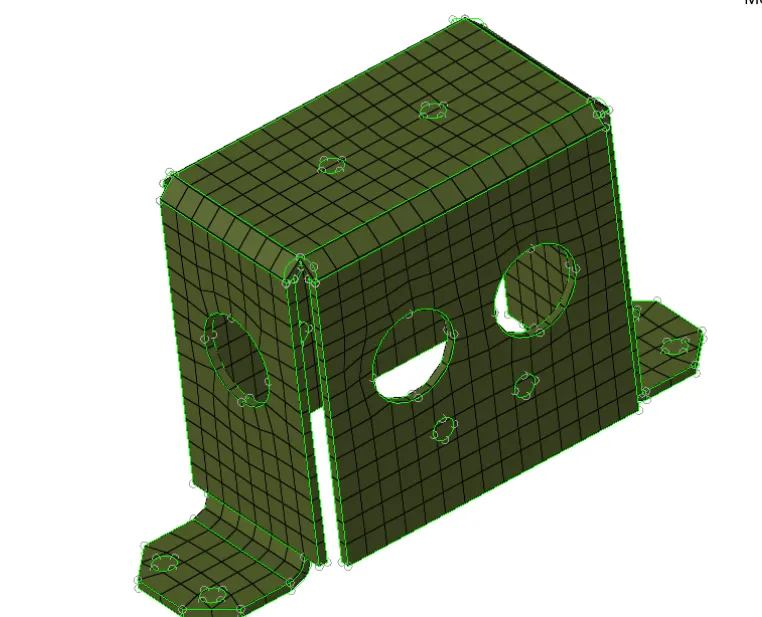
Thickness is assigned properly to the component
Model-3
Importing Model
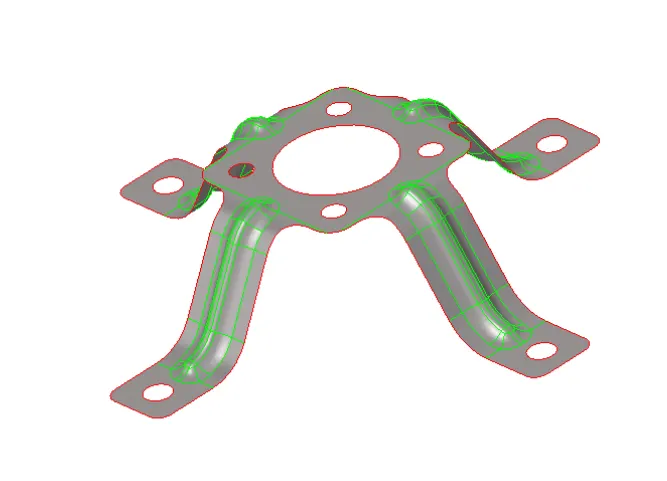
Mid-Surface Extraction
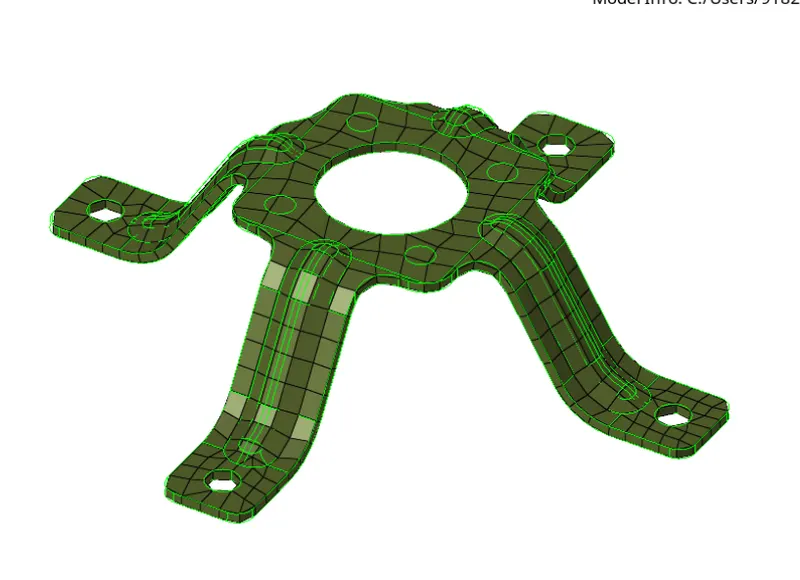
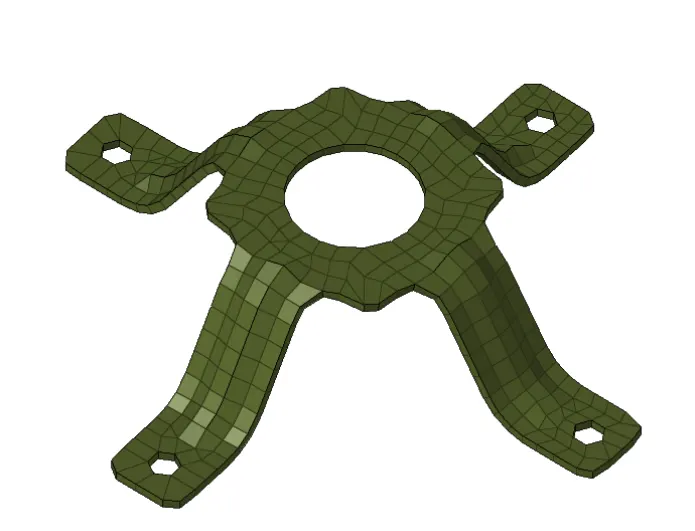
Final meshed model
Learning Outcomes:
- Able to Understand about geometry cleanup and its importance
- Able to understand about the method to extracting a mid-surface
- Able to understand about 2D meshing
- Able to understand about how material and properties is assigned to the component