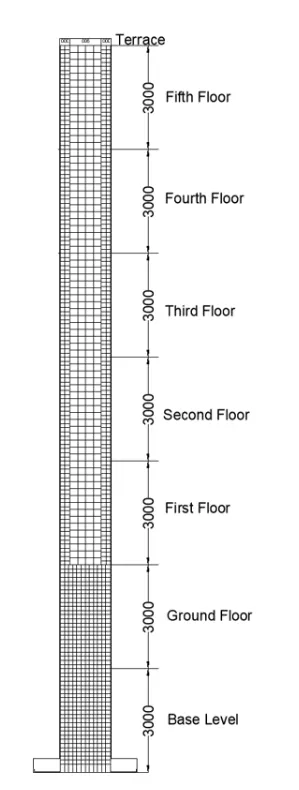
Analysis & Design of RCC shear walls in the model using ETABS
AIM:
To run the analysis and design the RCC shear walls shown in the ETABS model.
INTRODUCTION:
Reinforecement details of shear wall is provided acording to IS 13920:2016
STEP -1:
- open attachement file in ETABS.
- After opening the file the very first step that we are going to do is Run analysis.
- But before doing the run analysis first we have to check the model for any structural defects.
- And in oreder to check the model for ant structural defect we need to go the analysis tab there will be a drop down list and that list there will be an optin called check model just click on that option as shown in the below given image.
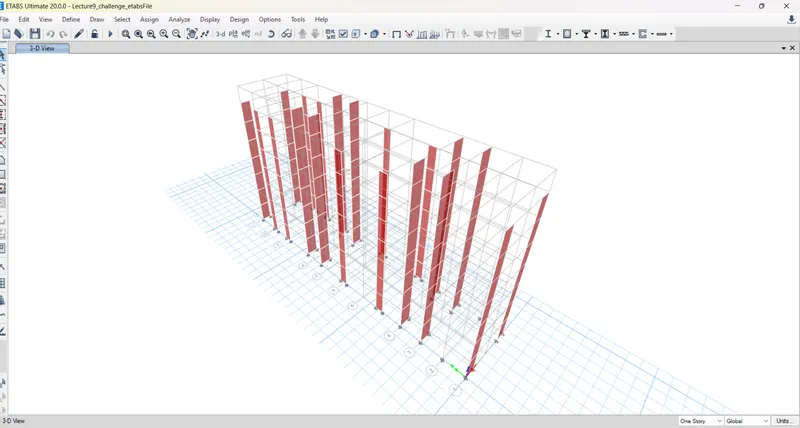
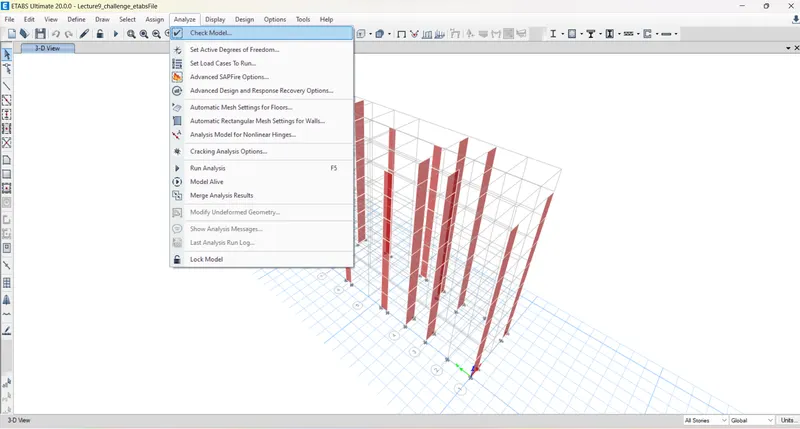
- After this a new dialouge box opens named as check models in thta dialouge box select all the options which is present in that dialouge box and then click ok and run the check just as shown in the belwow given image
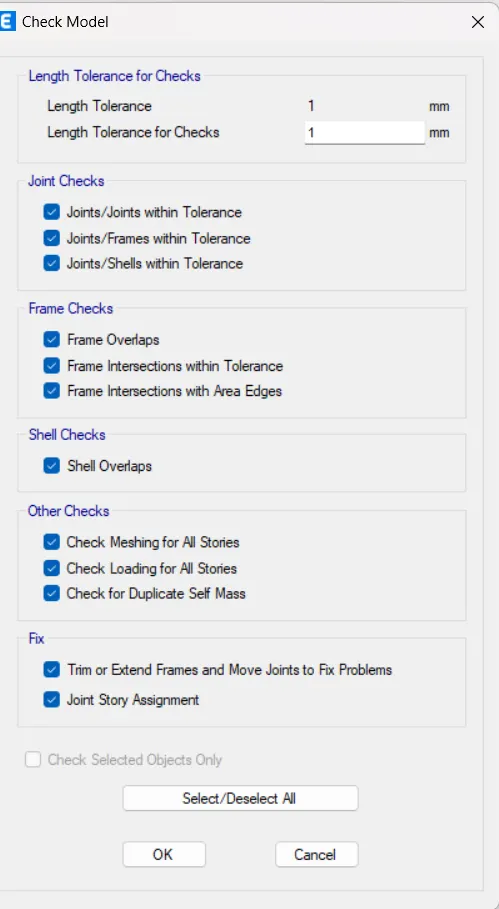
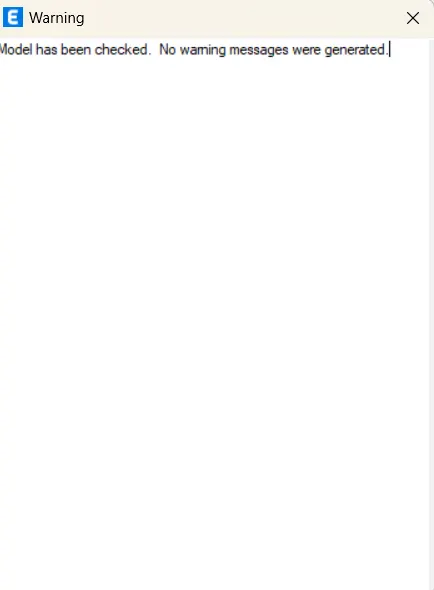
- So the check has been done and therre are no waringd shown in the below image and it aslo means that we can proceed further for the analysis of this G+6 builidng.
STEP - 2:
Selected Shear wall:
- Go to plant view and click the floor plan
- And Selected the shear wall
- Next the Selected the All stories
- Next selected the Shear wall
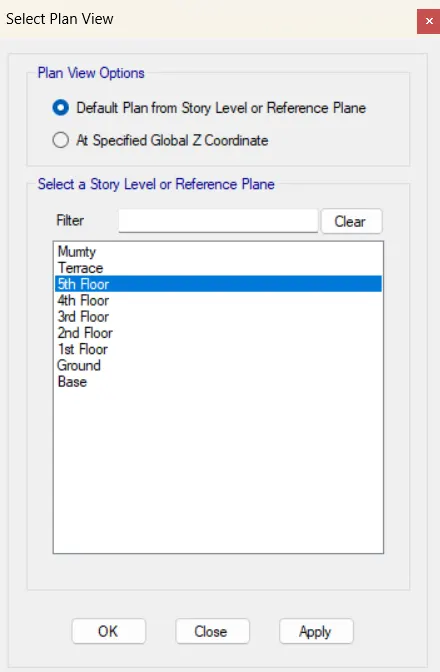
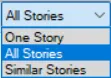
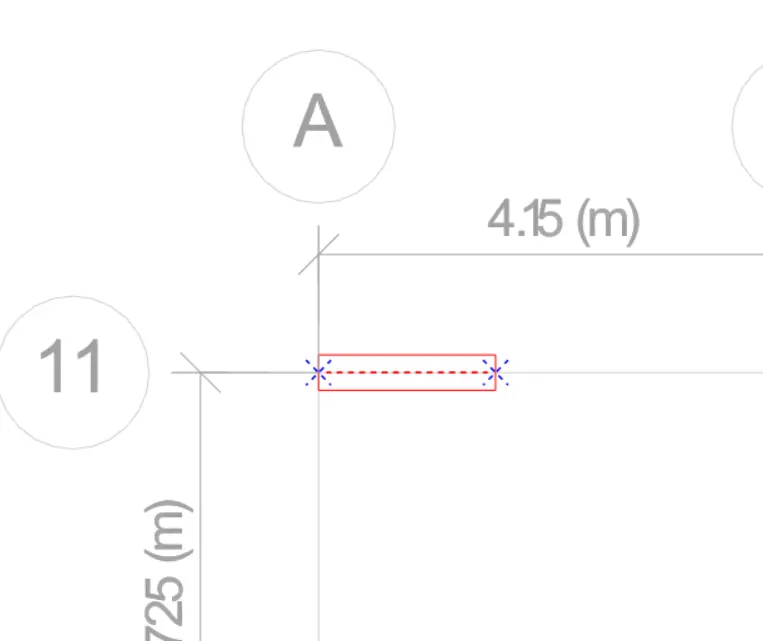
Right - click anywhere on the screen:
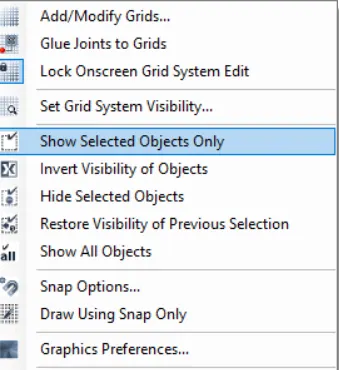
IN 3D view selected shear wall:
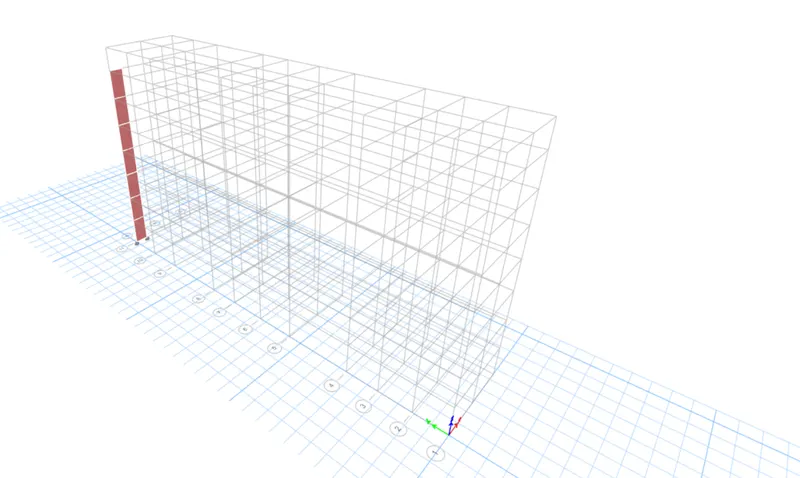
- So nowe after adjusting the view setting now we will have to make sure that the codes that we are using in desinging is correct or not.
- So in order to do that, just go to the shear wall design icon and click on that icon after clicking on that icon a drop - down list appears on the screen from list clikc on the option view / revise reference option just as shown in below given image
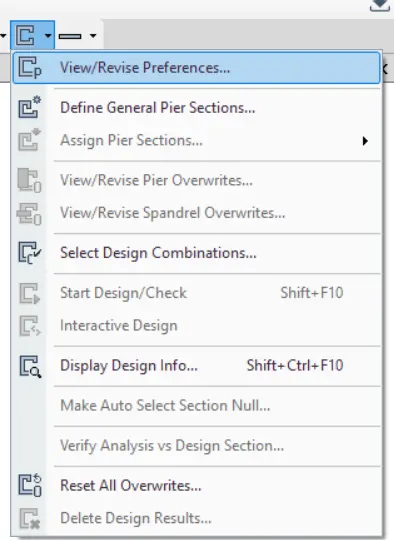
- After clicking on that optina a new dialouge box appears on the screen nameed as shear wall design preference for IS 456:2000 just as shown in the below given image
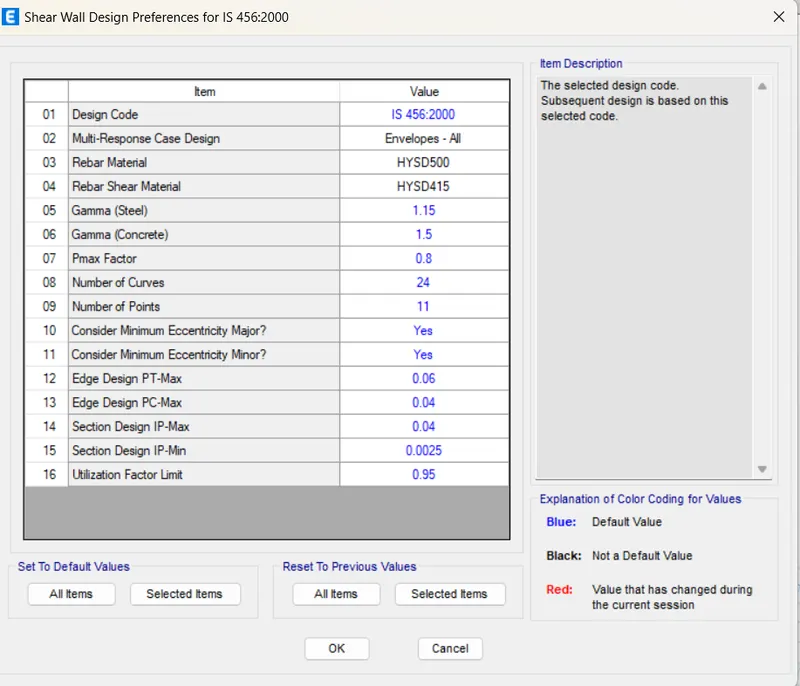
- In that dialouge box make sure that the desired codes are selected based on the country/ region where the project is located.
- After making sure that the codes that are selected are corrected now we can perform the run analysis
- In oreder to do just click on the shear wall design icon which isn present at the top - rignt corner of the screen as shown in the below given image
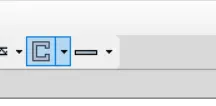
- Now click on that icon after clicking that icon the software start checking the design just as shown in the below given image
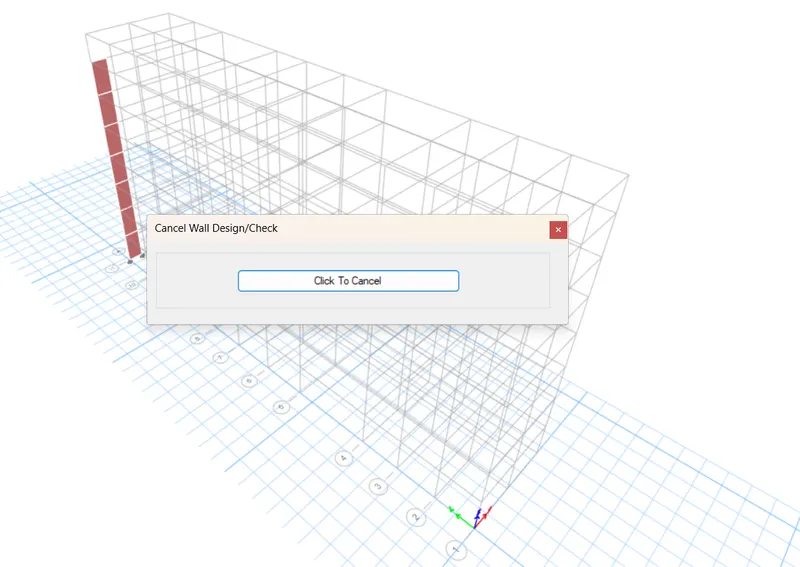
- Now that the designing process has been finished in the ETABS software, now we need to collect the all required data which will be helpful in the further detailing calculations
- So in order to design the shear wall we need three main data
- Logitudinal reinforcement
- Shear wall reinforcement
- Boundary Element width
- And all there above data can be extracted from the ETABS software itself
- An to extract these value from ETABS software go to optin shear wall Design and then there will be a drop down list and from that list choose option display Design info and click on that option just as shown in the below given image
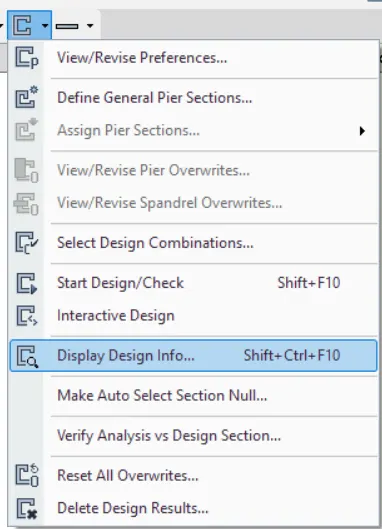
- Aftet this a new dialouge box open named as Display shear wall design results in that dialouge box change the design output to logitudinal reinforcing just
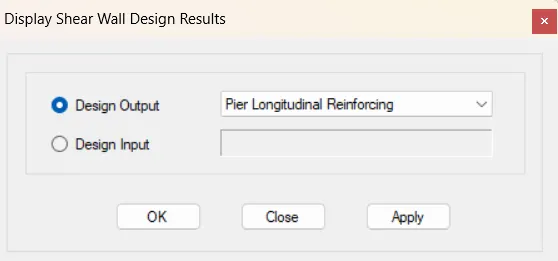
- MAXIMUM LONGITUDINAL REINFORCEMENT AT THE BASE:
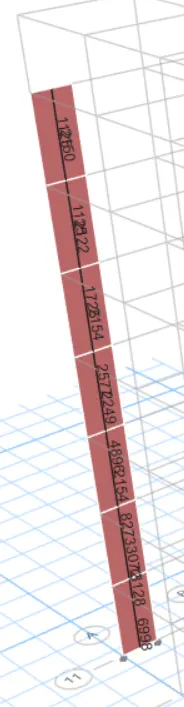
- Now in the same dialouge box open named as dispaly shear wall design result in that dialouge box again change the design output to shear reinforcing just as
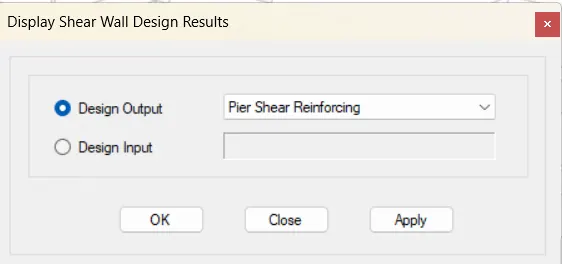
- SHEAR DEMAND THROUGHOUT THE WALL HEIGHT:
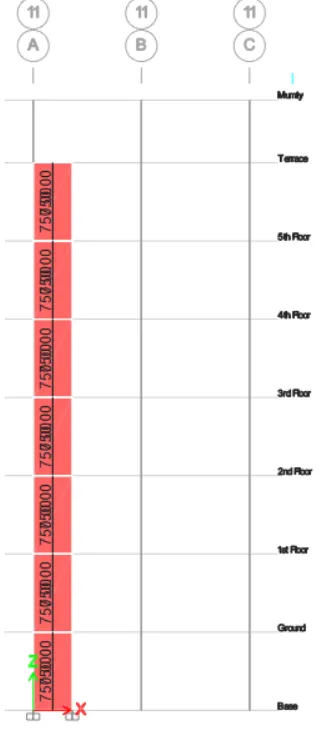
- Now in the same dialouge box open named as display shear wall design results in that dialouge box again change the design output to Edge/Boundary zone width just
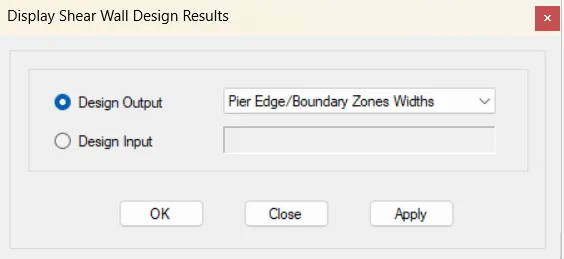
- BOUNDARY WIDTH DATA:
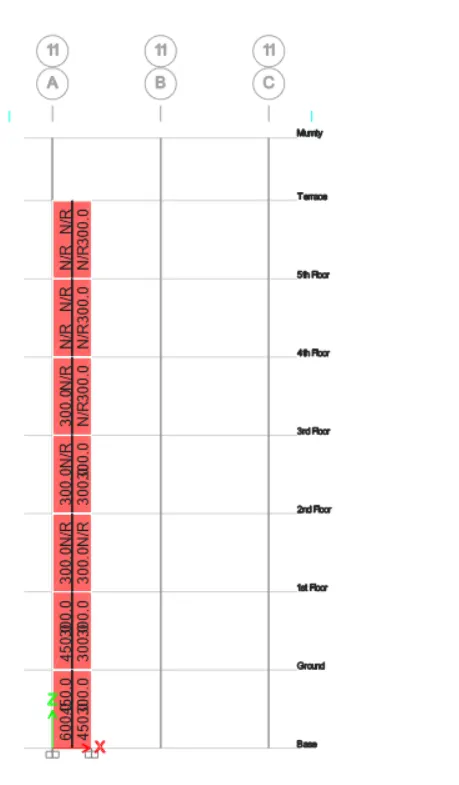
Calculations:
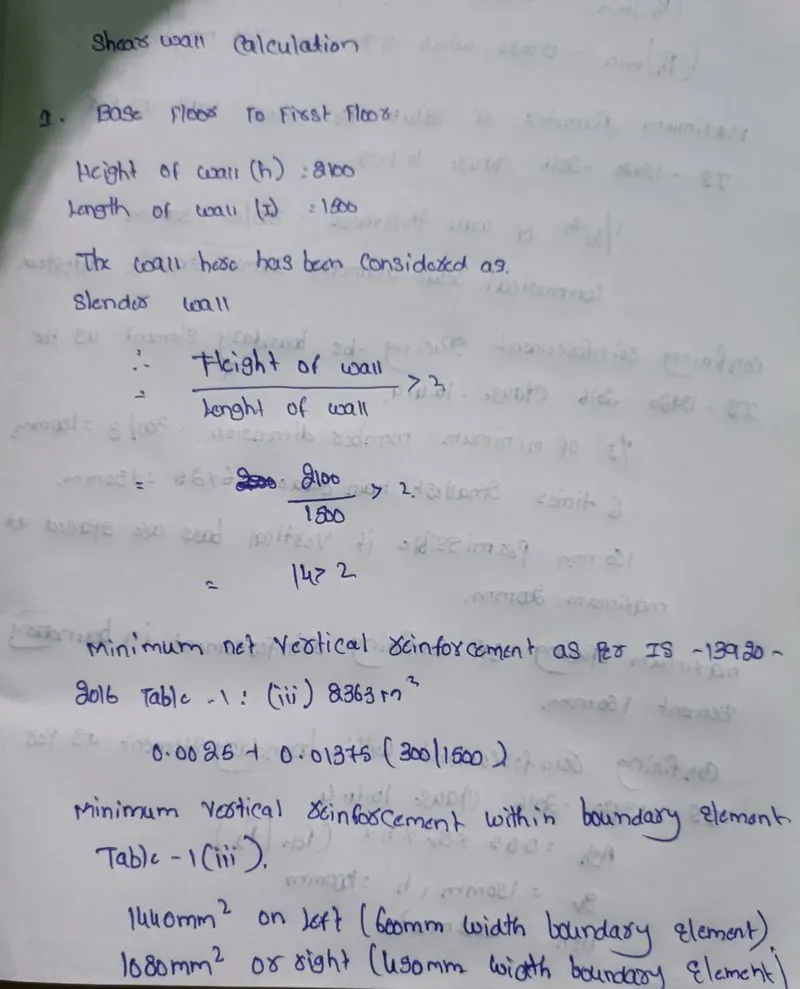
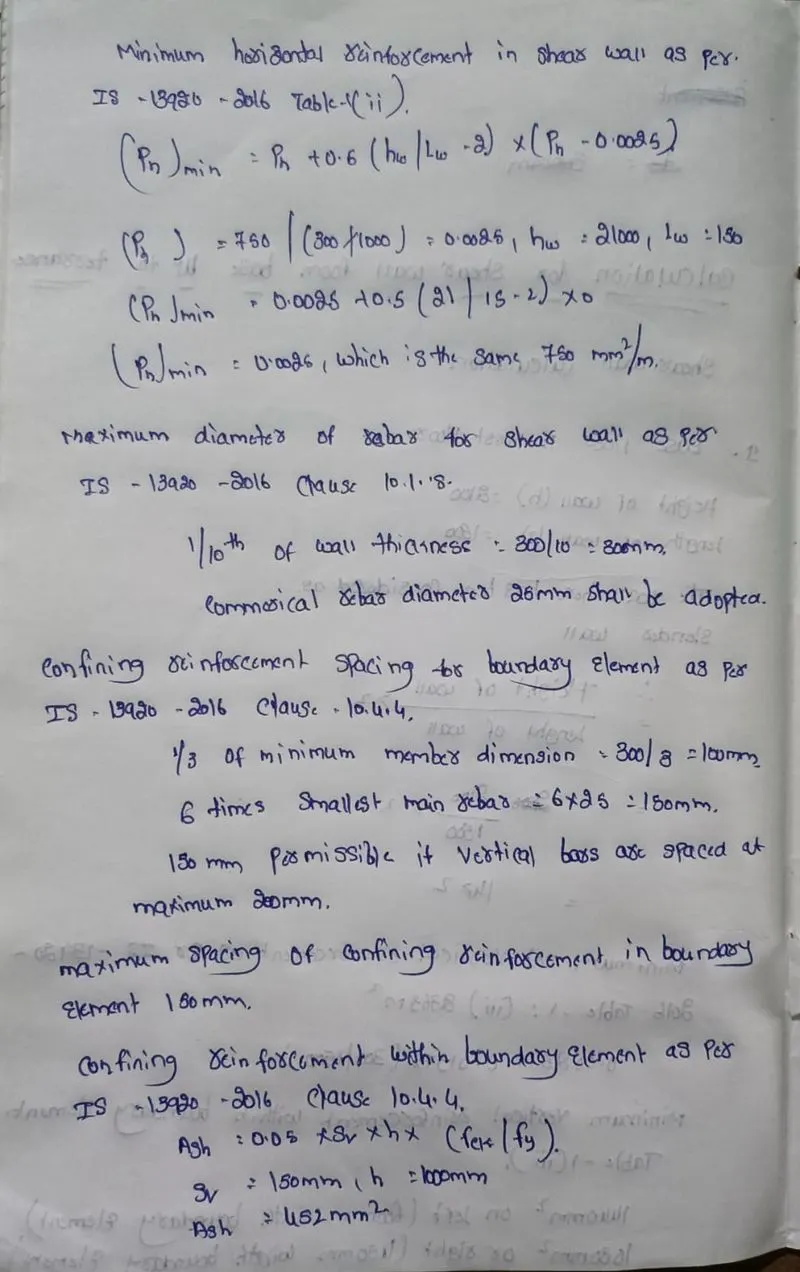
Reinforcement deatiling of the shear wall:
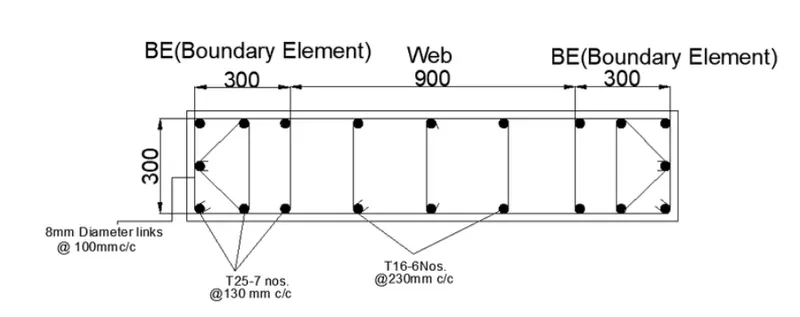
Elevation Drawing: