Analysis & Design of RCC shear walls in the model using ETABS
The etabs file for a G+6 building is provided. Run the analysis and design the RCC shear walls (show in the etabs model). The following challenge deals specifically with the shear wall of size 300x1500 at grid A-11 in the structural model.
- Extract values of longitudinal steel ratio, boundary element length and shear reinforcing ratio from the design results.
- Provide cross sectional steel arrangement of the shear wall from its base up to terrace, in compliance with provisions of IS 13920 – 2016. AutoCAD application can be used for this exercise. Alternatively, it can be drawn by hand as well.
- Provide elevation drawings of the reinforcement details of the shear wall from base up to terrace?
Aim:
To run the analysis for the given design and extract the values for the design.
Procedure:
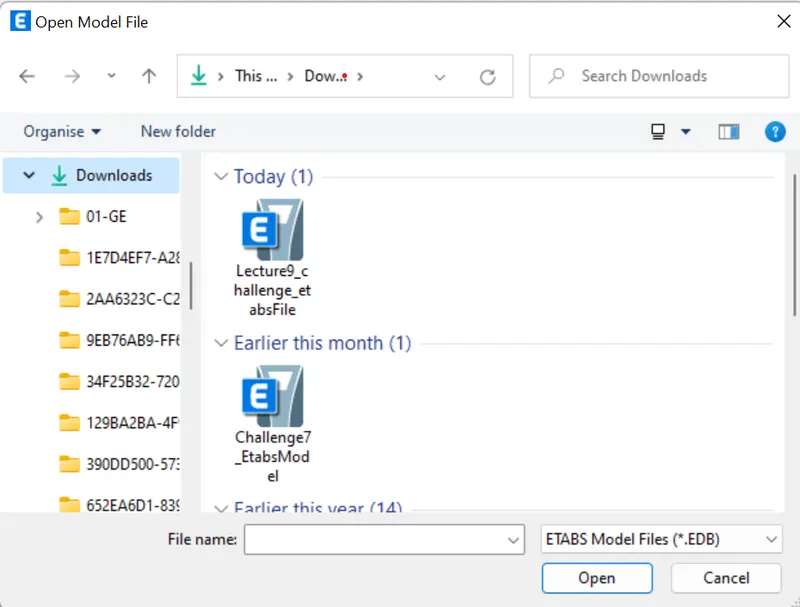
First we need to open the e tabs file by clicking on open. Then select the file and open.
Once the file is opened we can see that on the etabs.
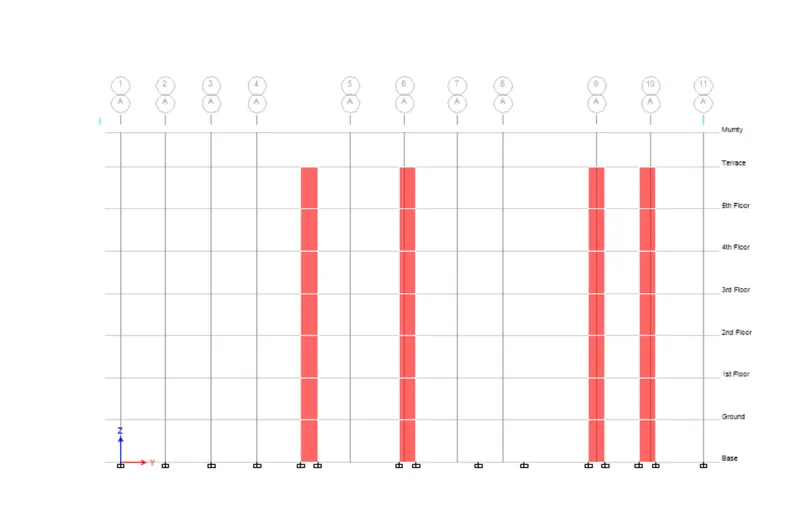
we need to create a perticular shear wall crossing A and 11
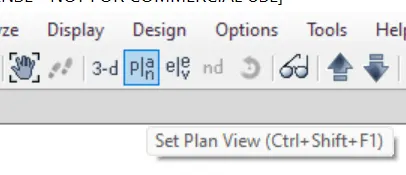
To see all the walls we need to click on the plan icon in the ribbon.
Now select the terrace so that we can see all the shear walls.
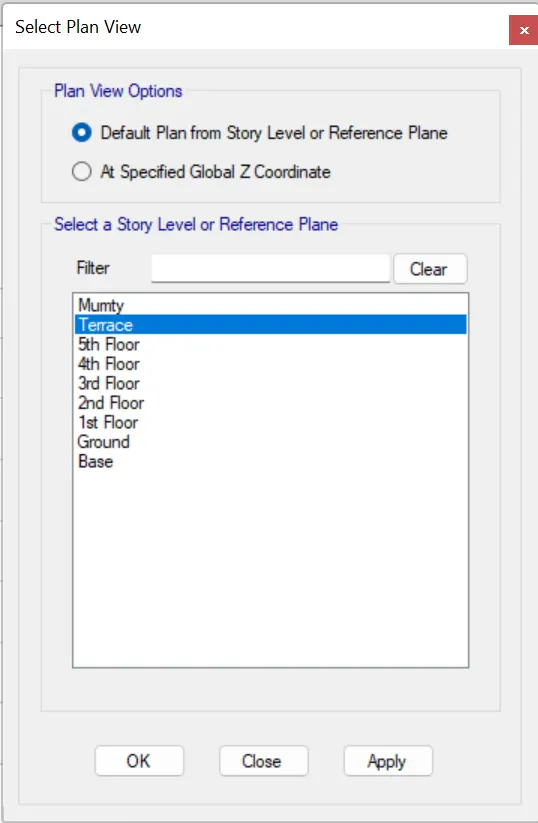
Now click on apply and then ok. We can see all the shear walls in terrace plan.
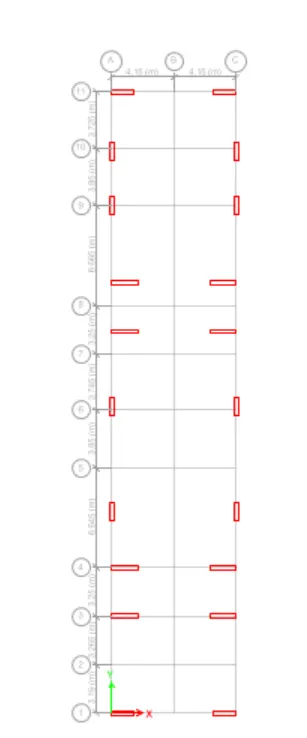
Now select the A-11 column by draging and selecting.
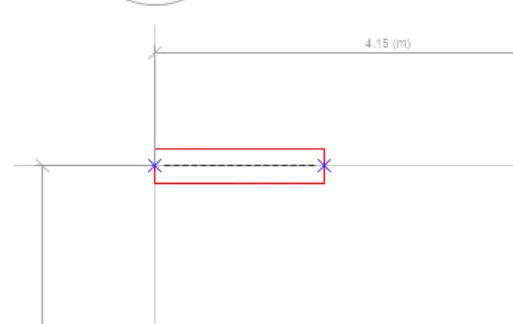
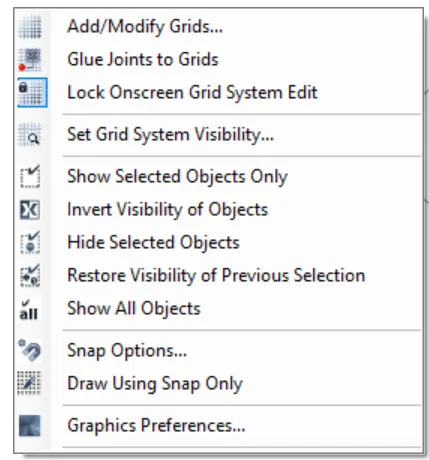
Left click on curser and the click on show selected objects only.
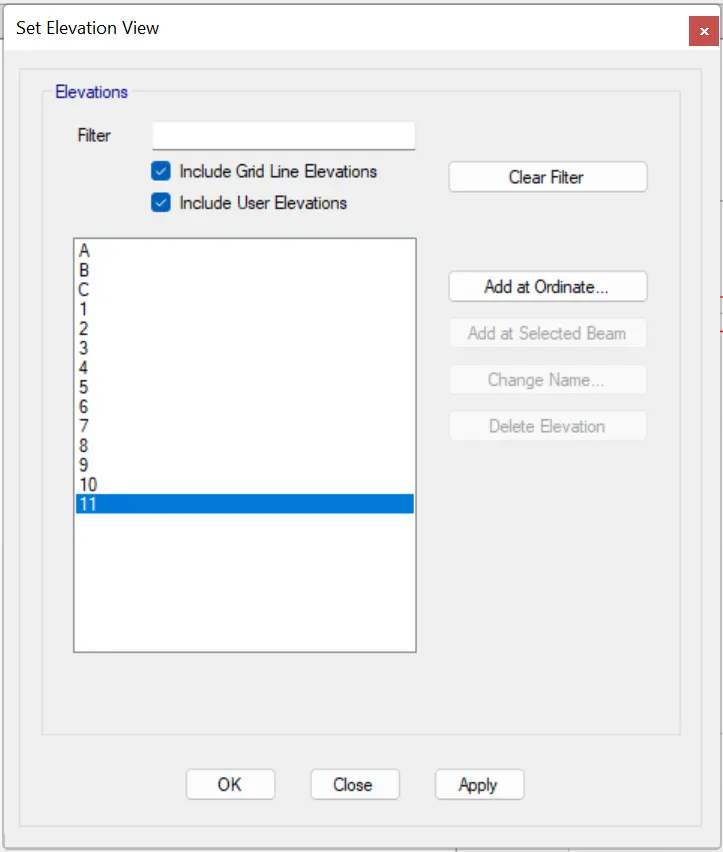
Now click on the elevation and click on the grid 11.
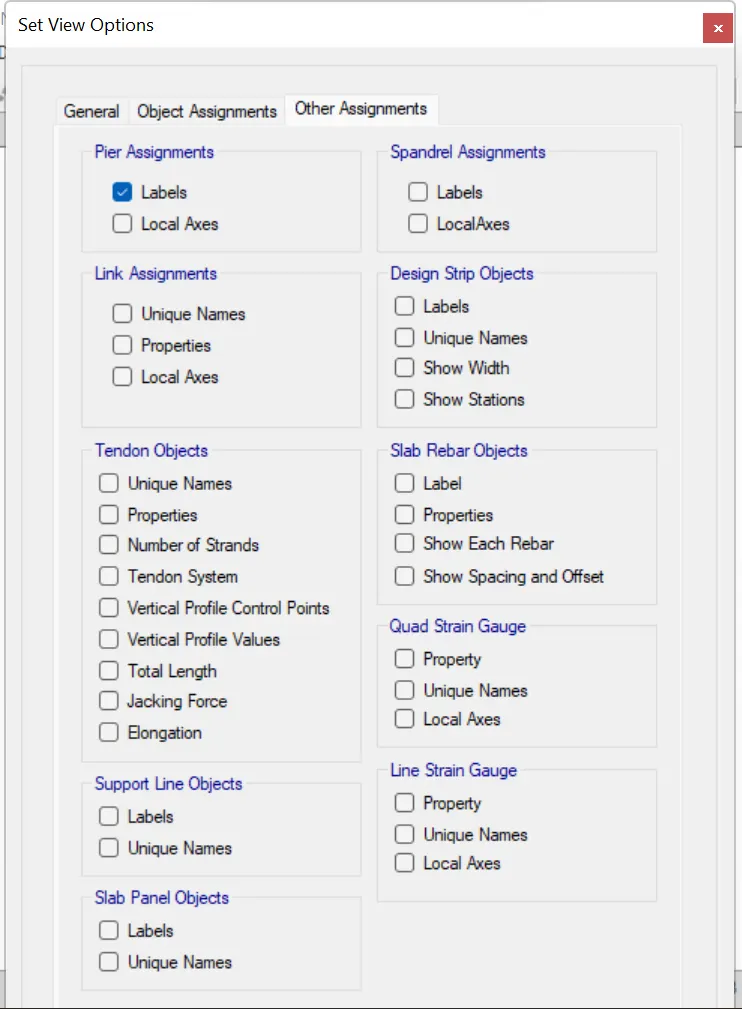
once the elevation is opened along that axis we must ensure that if pier assainment is dine for it or not. now click on the set display options.
select the labels and then click on ok.
Now click on run analysis on the home tab.
once the analysis id done click on shear wall design in the home tab.
Now we can see that analysis has been running in the screen.
Now we can see the Peir longitudinal reinforcement.
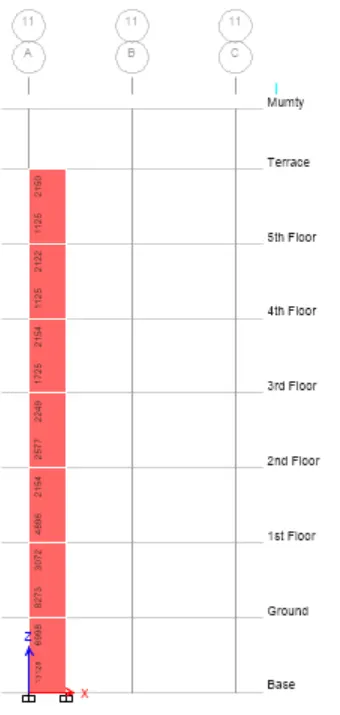
Now to het the peir shear reinforcement click on the dropdown button beside the shear.
Now click on display design info.
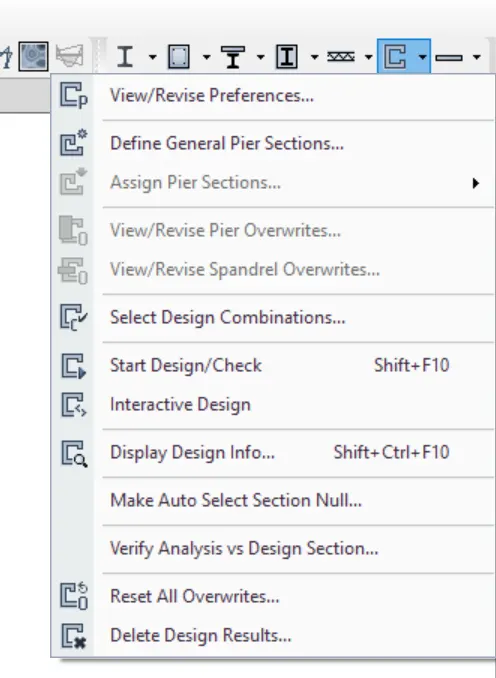
Now select the peir shear reinforcement then click on apply and ok.
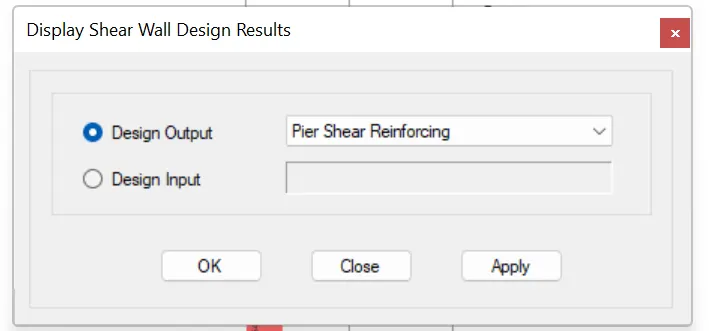
Now we can see the shear reinforcement.
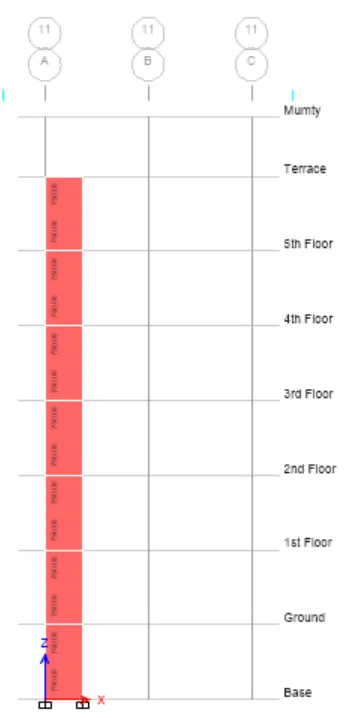
shear reinforcement can be called as horizontal reinforcement and the logitudianal reinforcement as vertical reinforcement. becouse it will be usefull when comparing ductily from IS 13920.
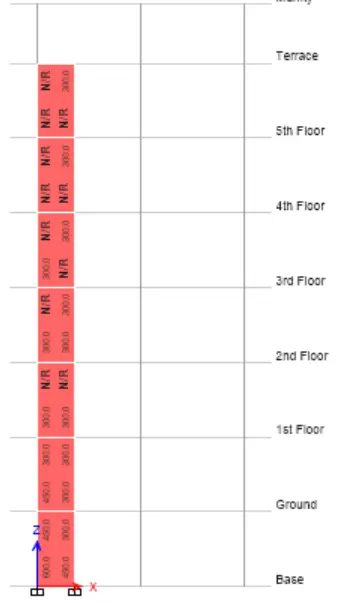
Now to get boundary zone width in the view select the boundary zone.
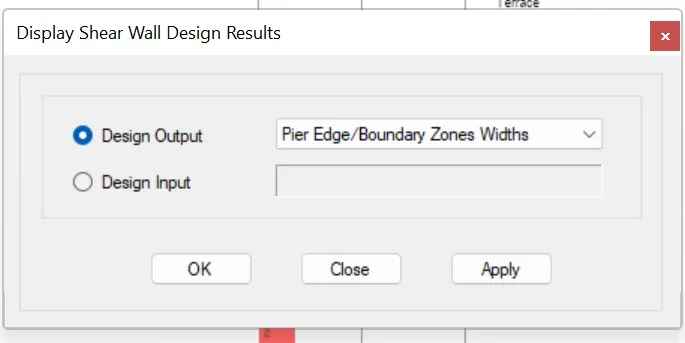
Then click on apply and OK we can see the zone width.
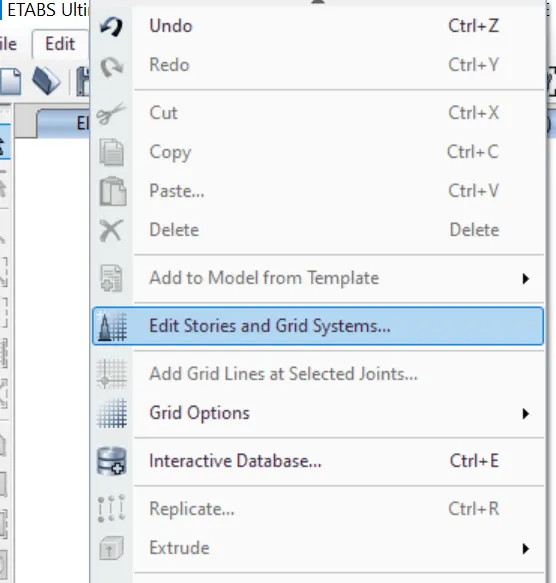
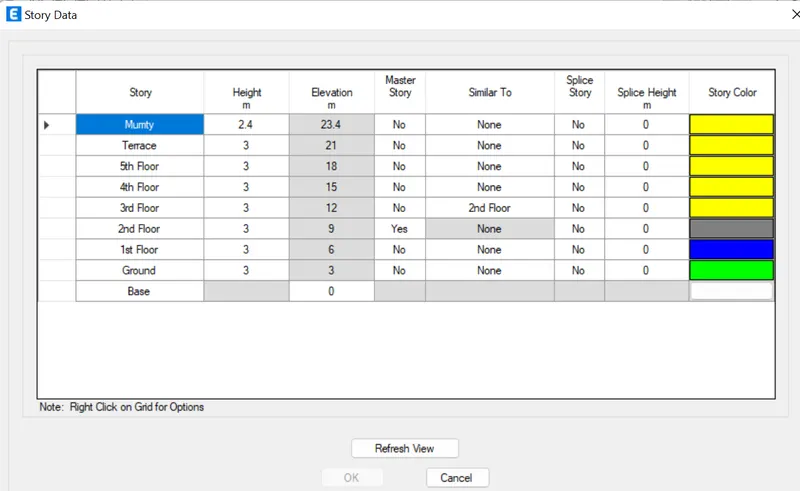
now take the elevation heights. click on the edit in home tab and click on the edit story and grid system.
now get the higths by clicking on edit.
Detailing guideline for Shear wall:
1. Minimum reinforcement for shrinkage & temperature
2. Ultimate limit state design rebar requirement
3. Ductility rebar requirement
Above, Whichever is greater,Should be drawn in RC shear wall detailing
• Classification of Shear wall as per IS-13920-2016 clause 10.1.4 Slender wall hw/ Lw = 21000/1500 = 14 > 2
• Minimum net vertical reinforcement as per IS-13920-2016 Table-1 (il) 2363 mm2= 0.0025 + 0.01375 (300/1500)
• Minimum vertical reinforcement within boundary element Table- 1 (ili)
1440 mm2 on left (600mm width boundary element
1080 mm2 on right (450mm width boundary element
• Minimum horizontal reinforcement in shear wall as per IS-13920-2016 Table-1 (iii)
Ph = 750/(300×1000) = 0.0025, h. = 21000, L. = 1500
(ph)min= 0.0025 + 0.5 (21/15 - 2) x 0.
(ph)min = 0.0025 which is the same 750 mm2/m
• Maximum diameter of rebar for shear wall as per IS-13920-2016 clause 10.1.8
1/10th of wall thickness = 300/10 = 30mm
Commercial rebar diameter 25mm shall be adopted
In shear wall reinforcement design:
we can provide the following details for reinforcement design.
- 28 number 25MM dia main bars + 2no 12MM dia additional boundry element bar.
- Overall stirrup 1link 8mm dia 250mm spacing.
- Boundary element stirrup 2link 8mm dia 150mm spacing.
- By providing the devoloping length 41times dia thats give additional strength vertical reinforcement.
- In the hook extension are the devolopment length for shear reinforcement.