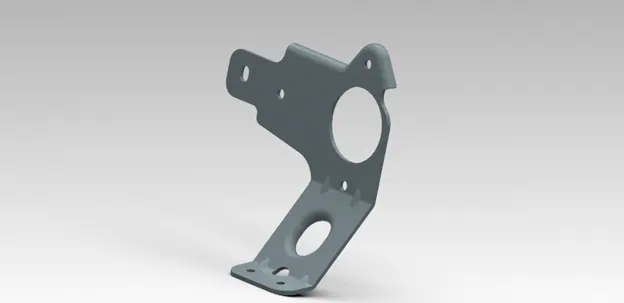
Flattening and Forming a Sheet Metal in NX
ADVANCED SHEET METAL DESIGNING OF A METAL BRACKET IN NX
OBJECTIVE
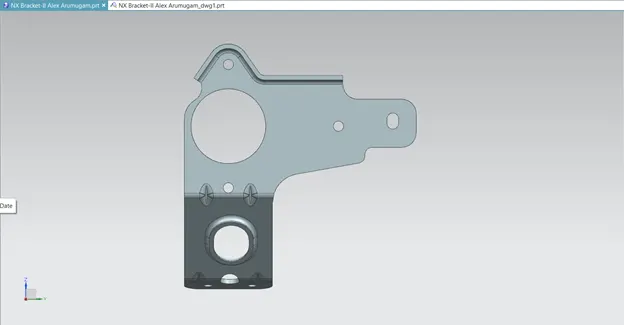
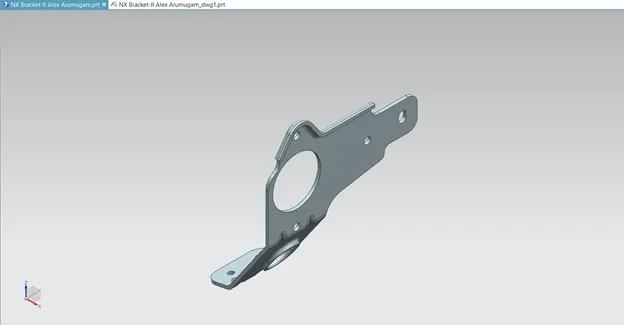
The objective of the project is to design a sheet metal Bracket using sheet metal application in Siemens NX along with a detailed drawing sheet.
INTRODUCTION
Sheet metal is a metal formed by an industrial process into thin, flat pieces. Sheet metal is one of the fundamental forms used in metalworking, and it can be cut and bent into a variety of shapes. Countless everyday objects are fabricated from sheet metal.
A Sheet Metal Bracket is nothing but a projection from a wall or overhangs from the wall to carry a weight. Brackets are often in the form of volutes, or scrolls, and can be carved, cast, or molded. These are manufactured by conducting stamping or die casting operation. These brackets found their application for mounting of any products starting from antennas to TV, projectors or street lights and many more.
NX, formerly known as "unigraphics", is an advanced high-end CAD/CAM/CAE, which has been owned since 2007 by Siemens PLM Software. In 2000, Unigraphics purchased SDRC I-DEAS and began an effort to integrate aspects of both software packages into a single product which became Unigraphics NX or NX.
DESIGN METHODOLOGY


DESCRIPTION
FEATURES USED FOR MODELLING
- NORMAL CUT OUT – Cuts material by projecting a sketch onto the model and then cutting perpendicular to the faces intersected by the projection.
- BEND – Modifies the model by bending material on one side of one side of a sketch line, adding a bend between the two sides.
- CONTOUR FLANGE – Creates a base feature by extruding a sketch along a vector or adds material by sweeping a sketch along an edge or chain of edges.
- BREAK CORNER – Rounds or Chamfer a sharp corner of a Tab or Flange.
- UNBEND – Flattens a bend and the material adjacent to the bend.
- HOLE – Adds a hole to one or more solid bodies in a part or assembly with options for counter bored, countersunk and threaded.
- REBEND – Restores an unbend feature to its previous bent state, along with any features added after the unbend feature.
- ADVANCED FLANGE – Adds a flange along an edge using a bend angle or a reference face. The edge and reference face can be curved.
- GUSSET – Creates a stiffening gusset on the part which helps to increase the stiffness of the sheet metal part.
- FLAT PATTERN – Creates a flat pattern from the formed sheet metal part.
- TRIM SHEET – Trims off a portion of a sheet body.
- THICKEN SURFACE – Thickens the surface for the required dimensions.
- FLATTENING AND FORMING – Flattens faces to a plane and re-applies those modifications to other objects.
- FORMING AND REUSE – Reuses the flattening procedure of an existing feature to unwrap or wrap additional selected objects.
PROCEDURE FOR DESIGNING THE BRACKET
- First the required sketch for creating a sheet metal bracket was drawn on YZ plane.
- Then the sketch for creating the Contour Flange was drawn in XZ plane for the required width.
- Then the unwanted portions were removed by using the Normal Cutout.
- The sharp corners were made blunt for the required radius by using break corner.
- Now the unwanted portions inside the bracket were removed using Normal Cutout.
- Then the bracket was unbent for adding additional features like holes, dimple etc.
- Now the required holes were created by drawing the required sketch.
- Now the sheet metal bracket was re-bent.
- All the sharp corners were filleted using break corner for the required dimension.
- For the top v-shaped portion the advanced flange option were used and then created for the required length.
- Now the metal bracket was unbent again for adding some more holes and re-bent.
- For the center portion an elliptical cut out was made using normal cutout option.
- Then by using the Advanced Flange option the required flange was created by selecting the edge of the elliptical cut out.
- Finally the gussets were added to increase the stiffness of the metal bracket on either sides of the elliptical cutout on the bent surface.
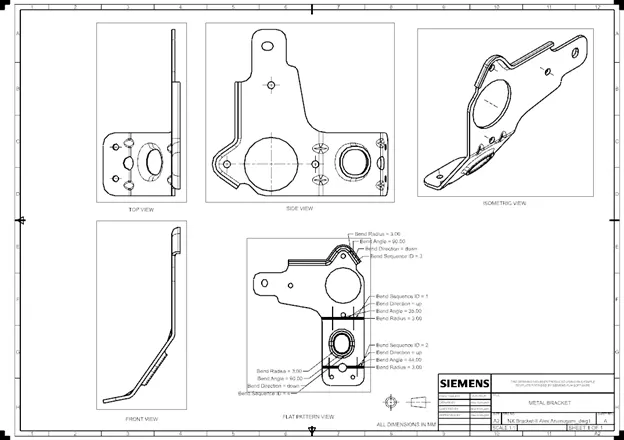
- Now the metal bracket was completed by creating a drawing sheet with flat pattern view.
- Then the designed sheet metal part was converted to NEUTRAL DATA FILE.
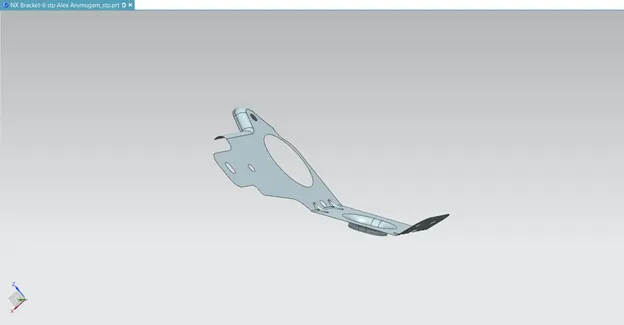
- Then by using the Neutral data file two cases were solved by using the flattening and forming feature.
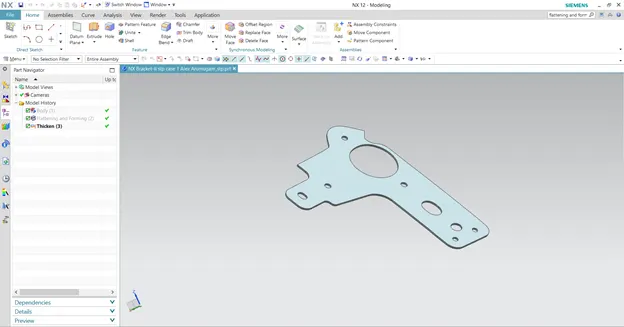
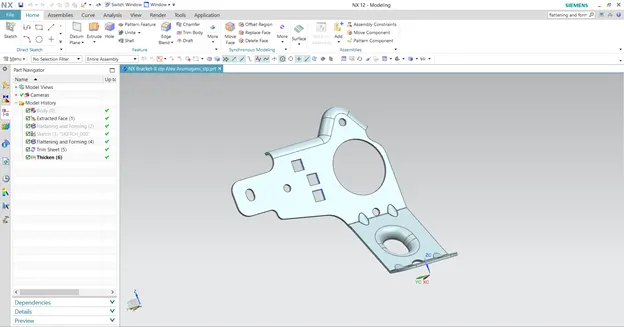
- For case 1 the solid body was flattened and thickened using flattening and forming and thicken surface feature.
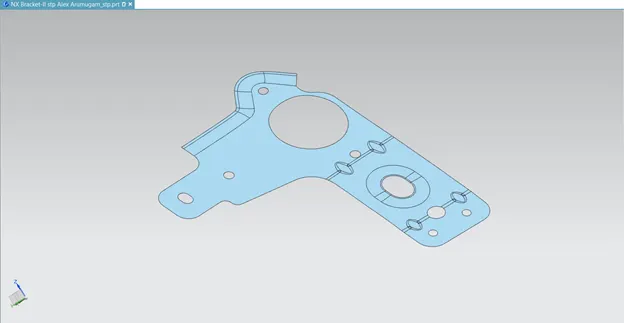
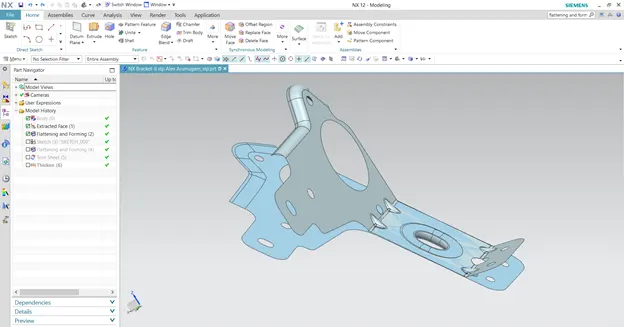
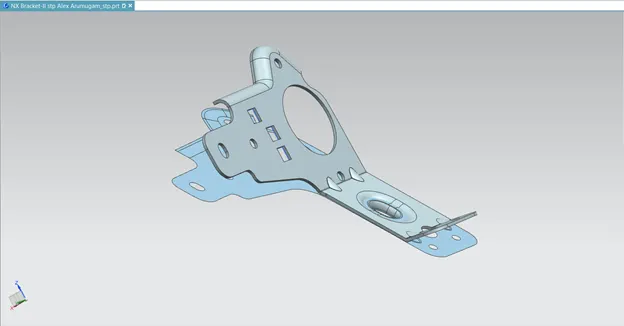
- For case 2 the flattened surface was again extracted and added some cutouts by drawing the required sketch with the forming and reuse along with the reverse transformation and trim surface feature.
- Then the flattened surface was thickened again using the thicken surface.
STANDARD VIEWS OF THE BRACKET
1.FRONT VIEW
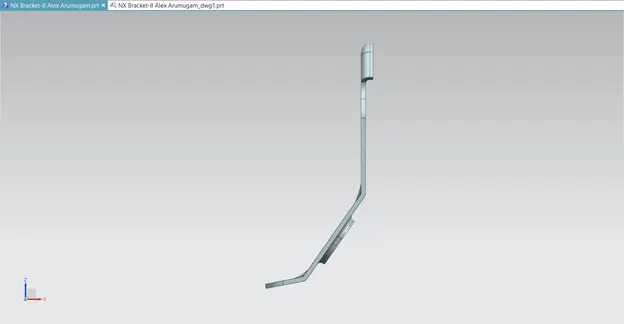
2.TOP VIEW
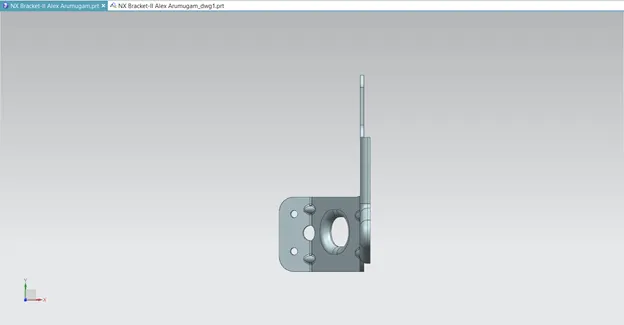
3.BOTTOM VIEW
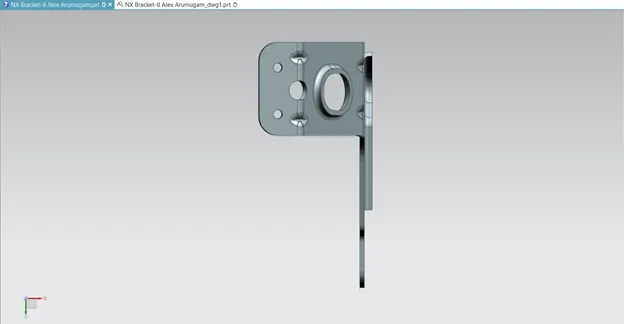
4.RIGHT SIDE VIEW
5.ISOMETRIC VIEW
6. CASE 1
7. CASE 2
DRAWING SHEET
CONCLUSION
Thus the project has been completed by designing a sheet metal Bracket using the sheet metal application in Siemens NX and the required drafting was also done using the drawing application in NX.