Advanced Sheet Metal Design Using NX Cad Challenge_7_ Metal bracket-II
Design Of Complex Metal Bracket Using Simens NX CAD
Objective
- The objective is to design a complex sheet-metal bracket using SIEMENS NX CAD.
- Various tools are used in this model, that have been used in the sketching.
- We will define our desired model with the material.
Introduction
The design is formed into a 3D model from a 2D sketch. We have used various tools to extract the 3D model.
Tools we are used is
- Tab
- Flange
- Advance Flange
- Unbend
- Rebend
- Normal Cutout
- Gusset
- Simple Hole
Design Approach
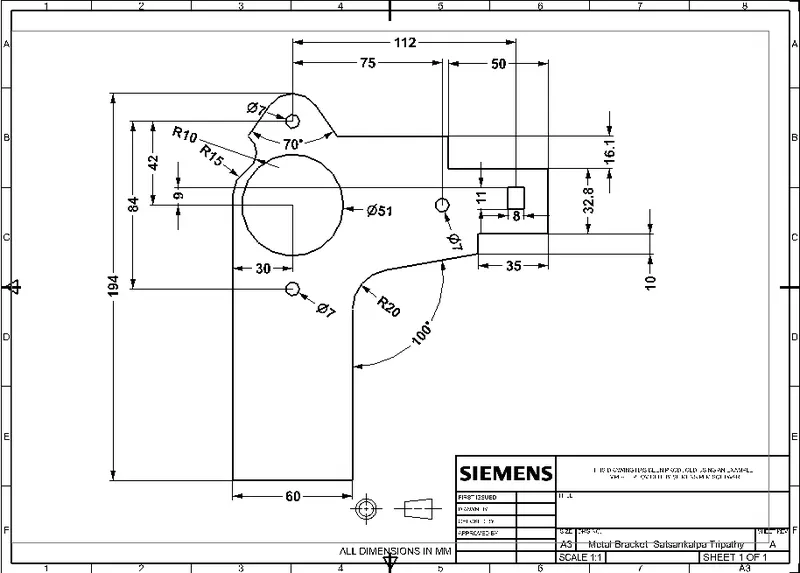
- First the 2d sketch we have to prepare for the model.
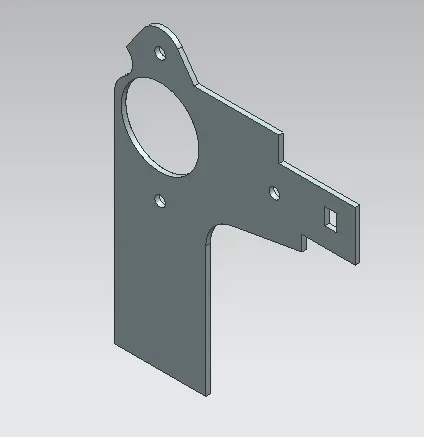
- After preparing the model we have tabbed the sketch with a thickness of 3mm.
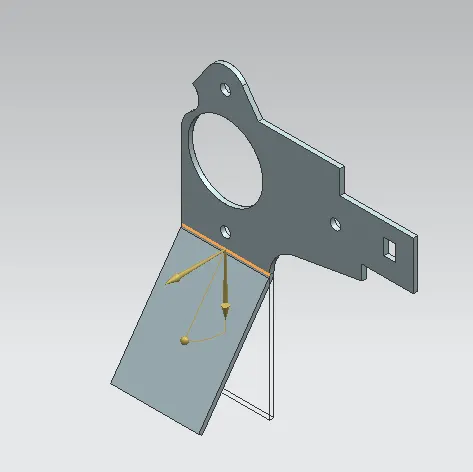
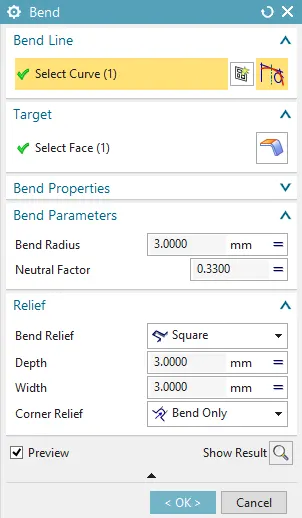
- Then, a bend is applied to the model.
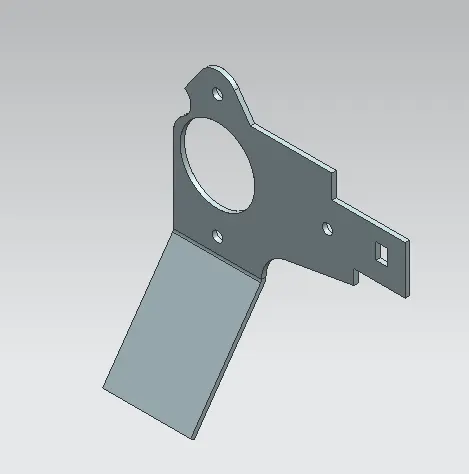
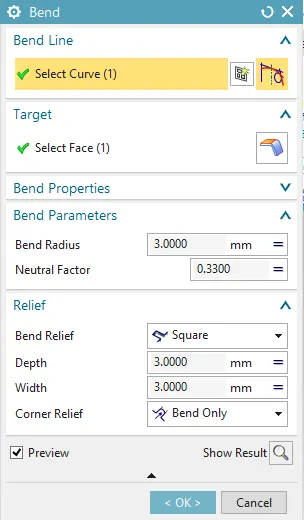
- And a second bend also applied to the model.
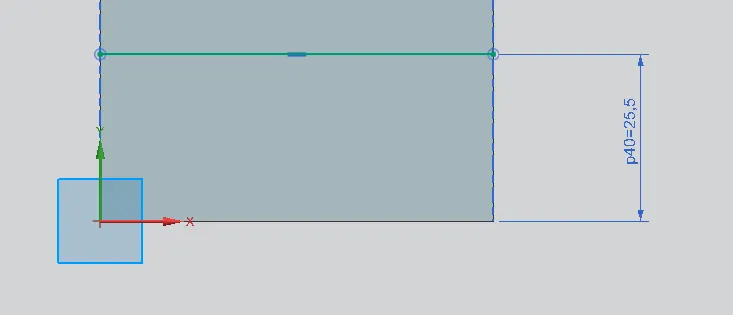
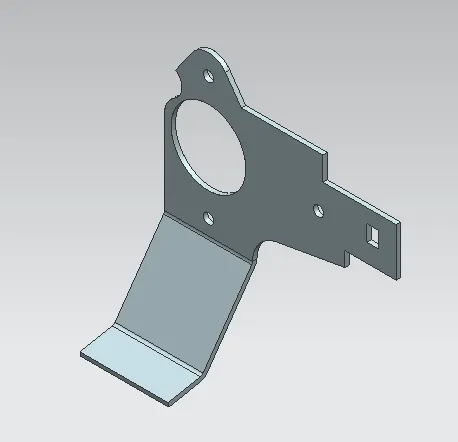
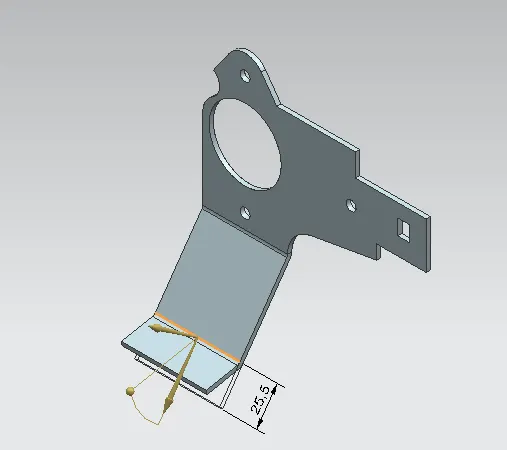
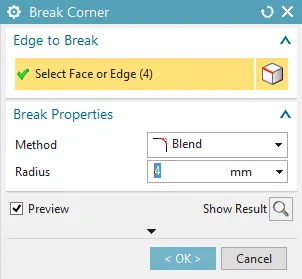
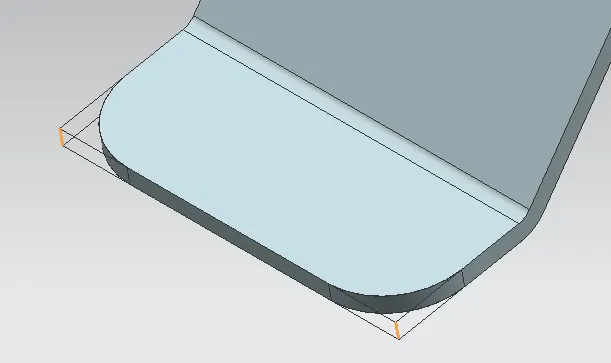
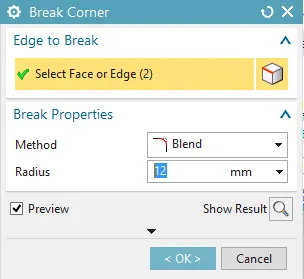
- Next, some break corner has been applied to the model as shown in the picture.
- The value for the brake corner is 4mm.
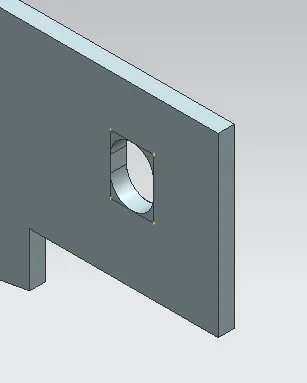
- As shown in the picture, the break corner is applied and the value of the corner is 12mm.
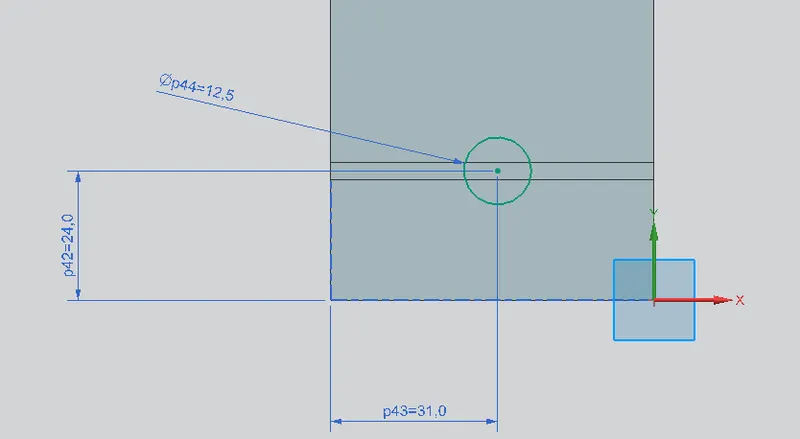
- The profile has been created as shown in the image for the normal cutout.
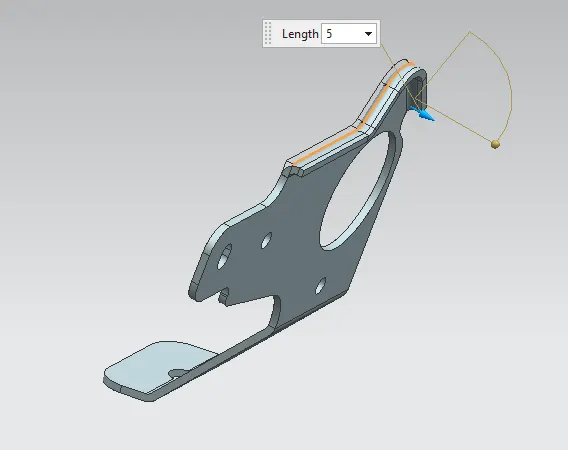
- Now an advanced flange has added to the adjacent edge of the model as shown in the image.
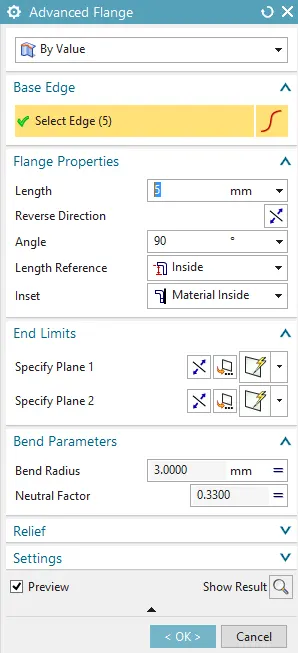
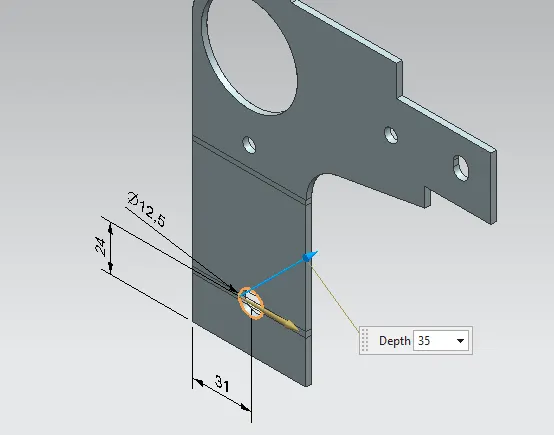
- After the advance flange, two general holes have added to the model.
- The points have created in the surface as per the given dimension.
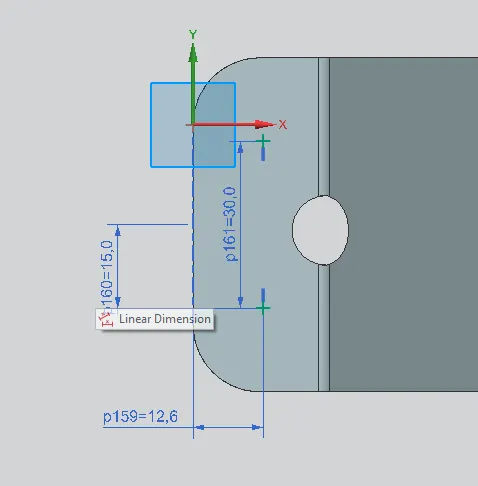
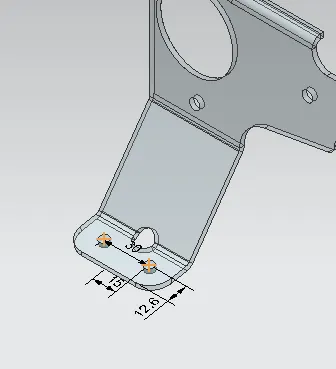
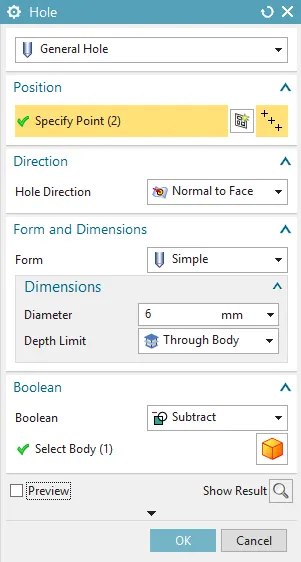
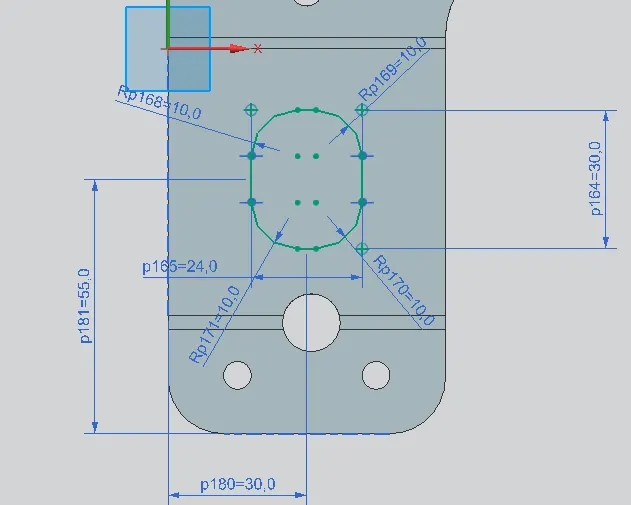
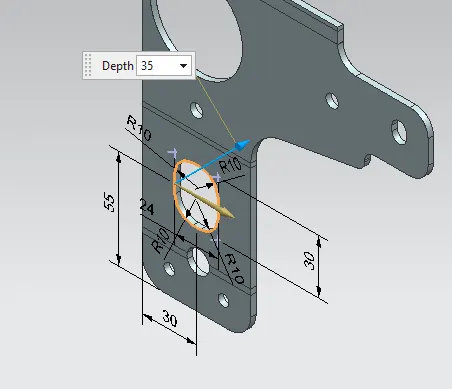
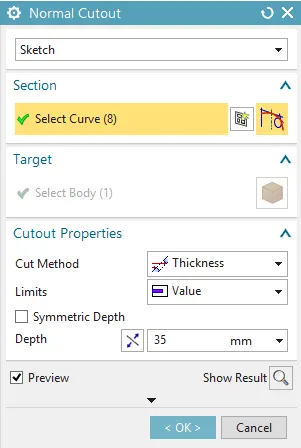
- After making unbend, a normal cutout has been added to the face as shown in the image.
- The dimension of the sketch has shown in the below image.
- Four gussets have been added to the model to strengthen the model.
- The plane is created with a distance value of 15 mm from the adjacent faces.
- Similarly, another gusset is created on the opposite side of the face.
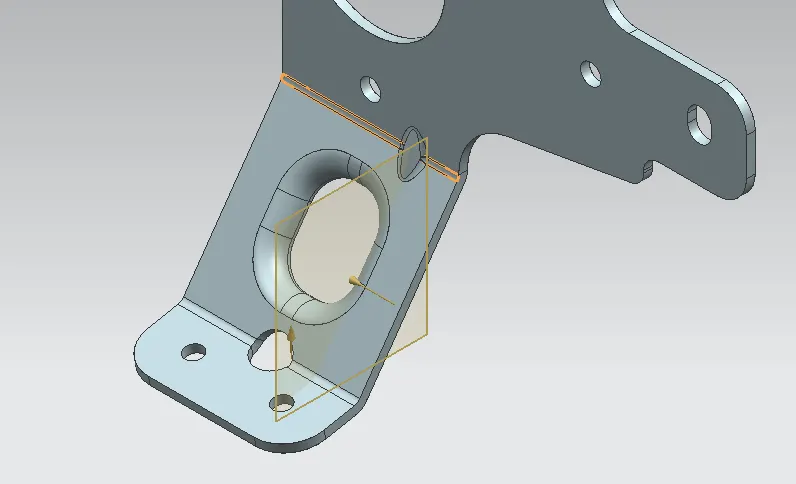
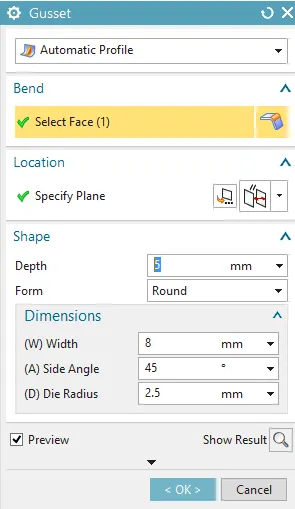
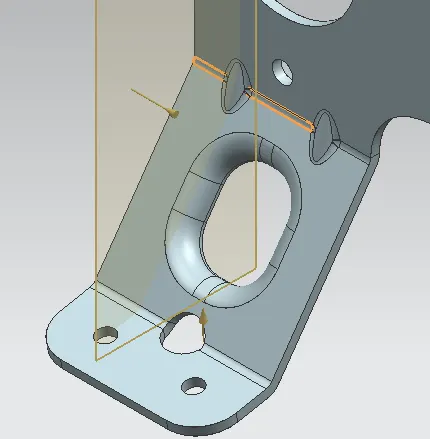
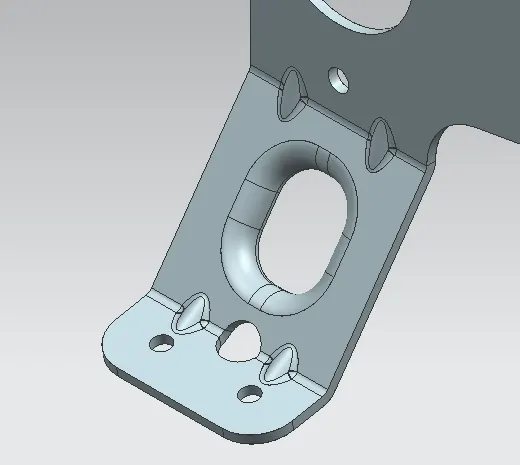
- These four gussets have been created in the picture.
The final image of the model.
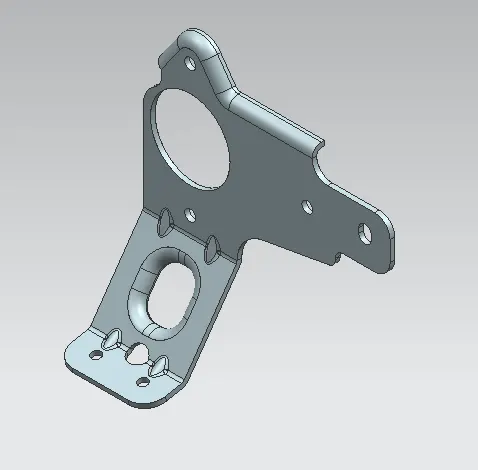
The model with some added materials
Procedure:- First go to VIEW toolbar--then click on true shading
After clicking on true shading the GUI will look as in the picture.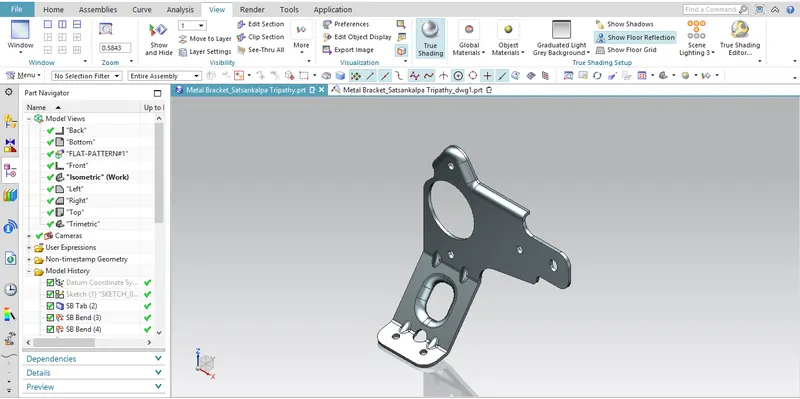
Then click on true shading editor
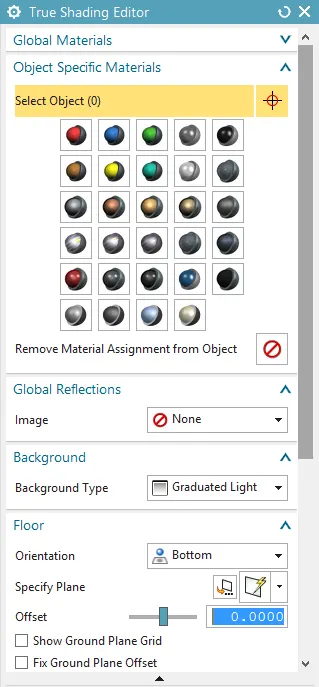
In the select object select the object by right-hand select method.
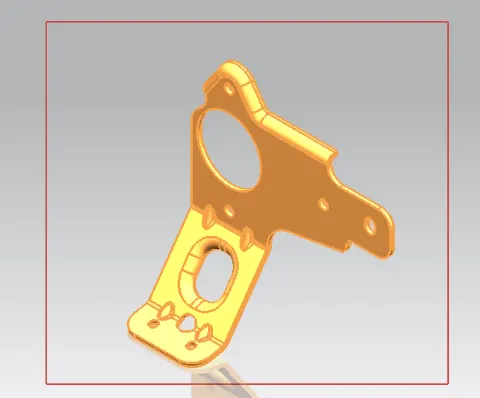
Then we can pick the material as per our choice.
Also, we can change the background, lighting, and floors as per our requirment.
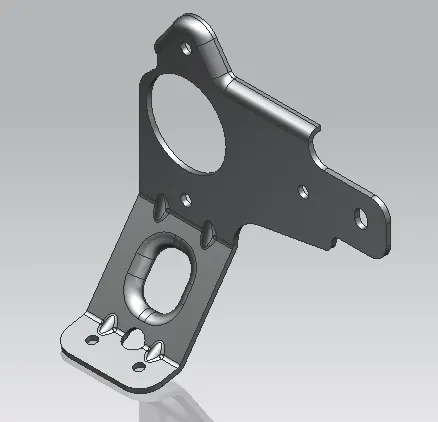
Different View of the Model
Isometric View
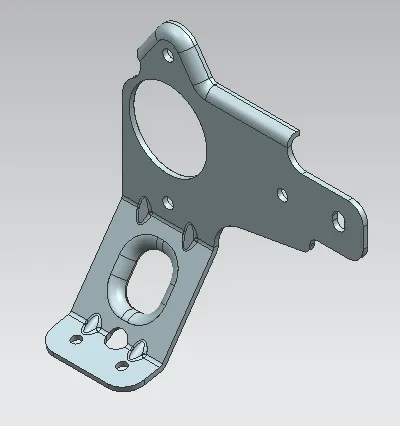
Top View
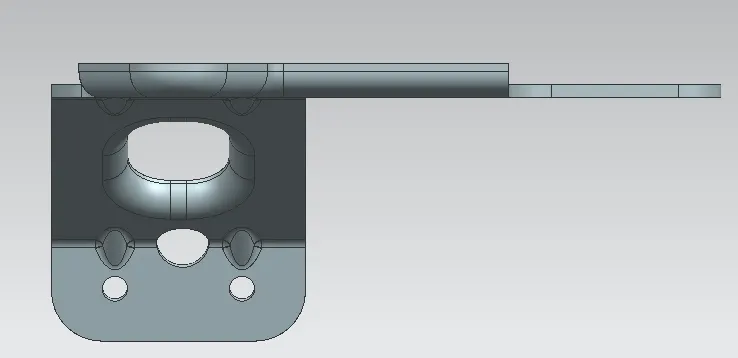
Front View
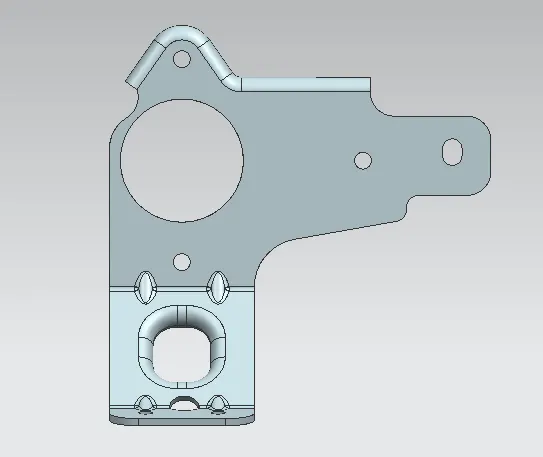
Left Side view
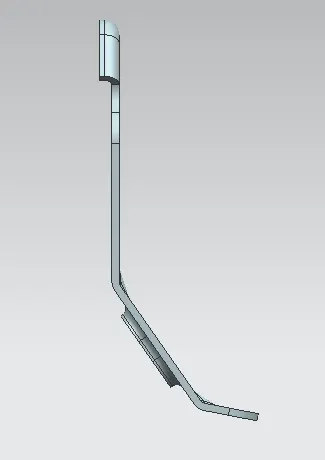
Right Side View
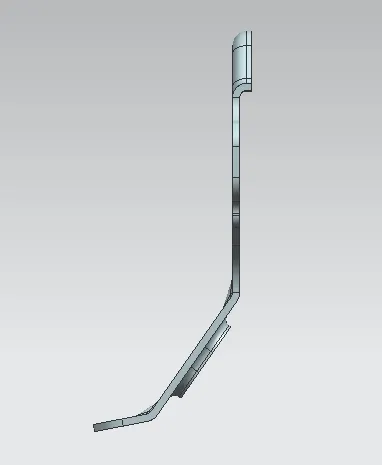
Render Image Of the Model
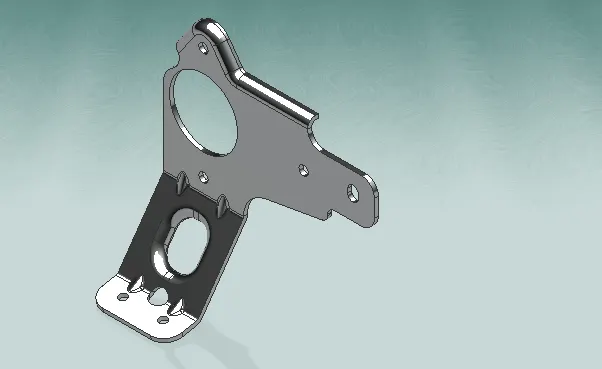
Conclusion
- Here we have drawn a sheet metal bracket by using NX CAD.
- Also, we have created a drafting sheet of the model for future presentations.
- The model can be print on A4 paper and can be represented in front of anyone.
- We have defined the material for the model to look realistic.