Advanced Sheet Metal Design Using NX Cad Challenge_2_Box Assembly
Sheet Metal Box Assembly
Objective:
To design the 3D model of box assembly using NX CAD.
Introduction:
Sheet metal is the basis of all engineering today. We can see it everywhere – from cars and machinery to house facades and furniture.
To utilize sheet metal to its full extent, engineers should first know a thing or two about it. This includes standard measurements, materials, and differences in manufacturing and possible forming methods.
Sheet metal refers to metal formed through a variety of manufacturing processes into flat pieces of varying thickness, ranging from thin foils to thick plates. It commonly finds application in sheet metal fabrication operations to produce products for the industrial, commercial, and residential sectors.
In this project, the box assembly has three parts:
- Box (main body)
- Lid
- Hinge
Design Methodology:
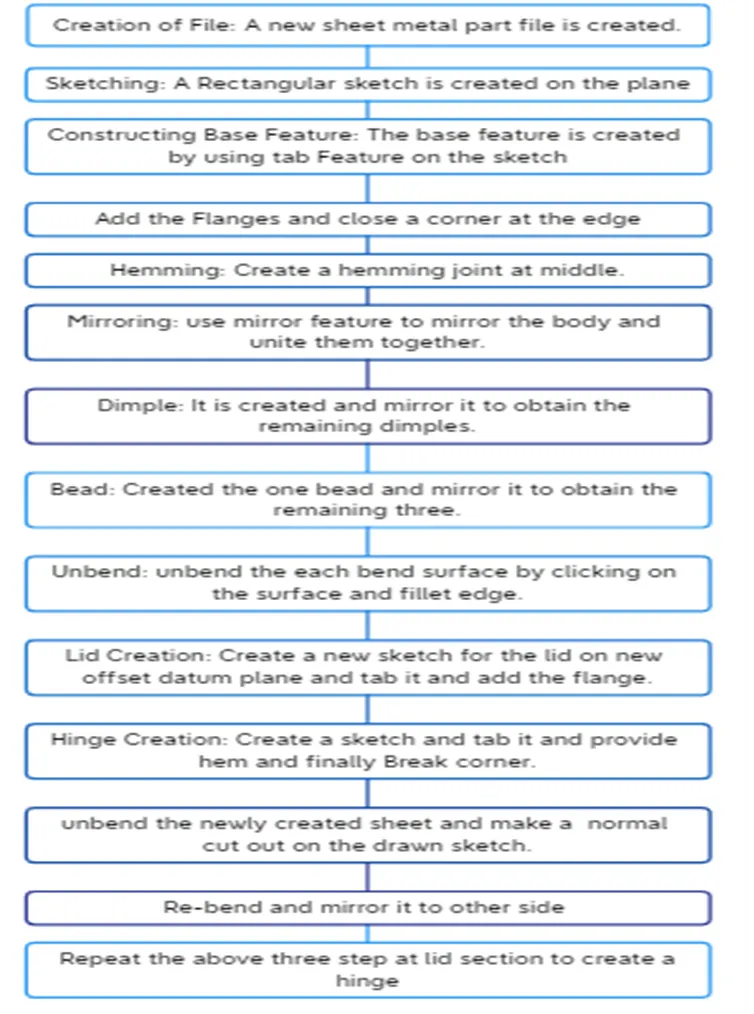
Description:
Sketch:
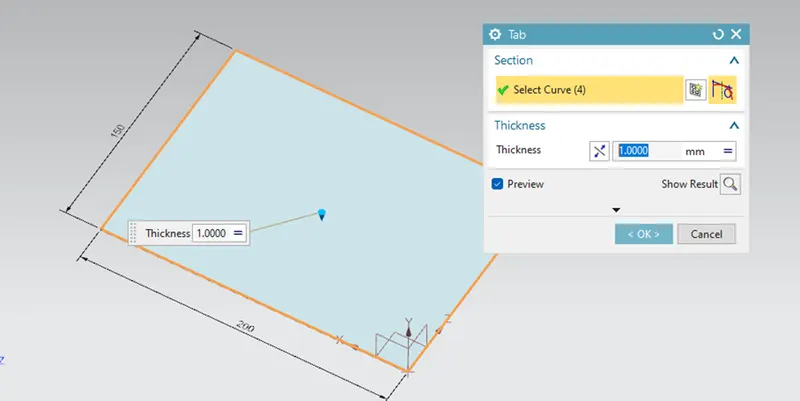
The feature is used to create the basic sketch for design on the desired plane and tab is generated on it.
Tab:
The tab Feature is used to create a base feature by extruding along a vector by a thickness value, or by adding material to existing faces and bend region of a sheet metal part.
Flange:
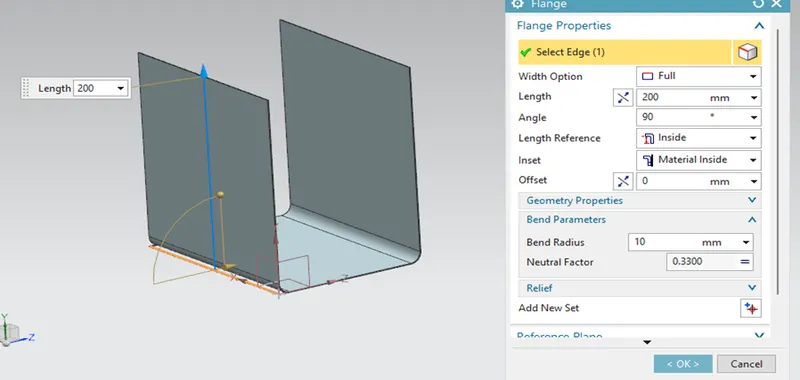
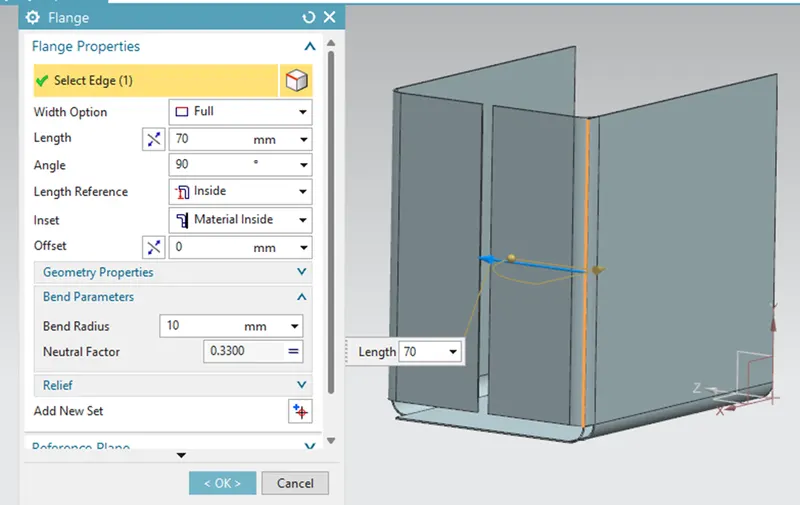
The Flange feature is used to create a flange at desired length and angle to the planar face. It consists two region, web and bend region. Here in these case, flanges were created along XY and XZ Planes.
Closed Corner:
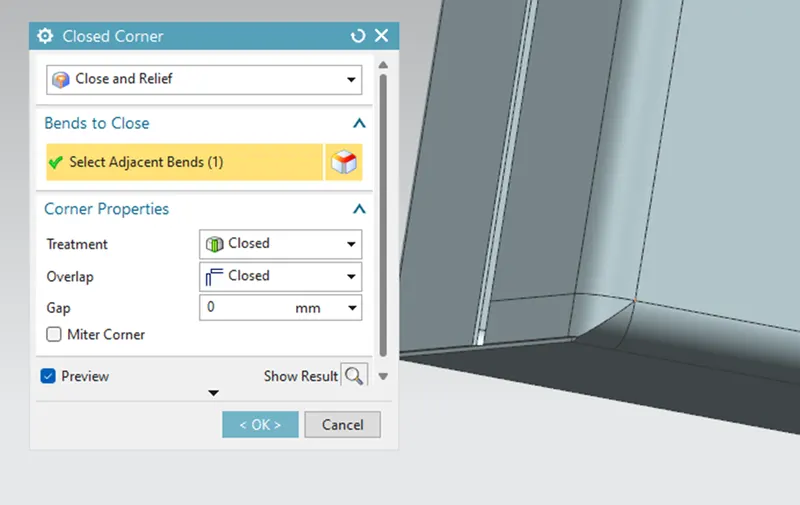
The feature is used to close a corner where two adjacent flanges meet by extending the bend and the flanges. Here I use this feature twice to close the open corners.
Flange for Fastening:
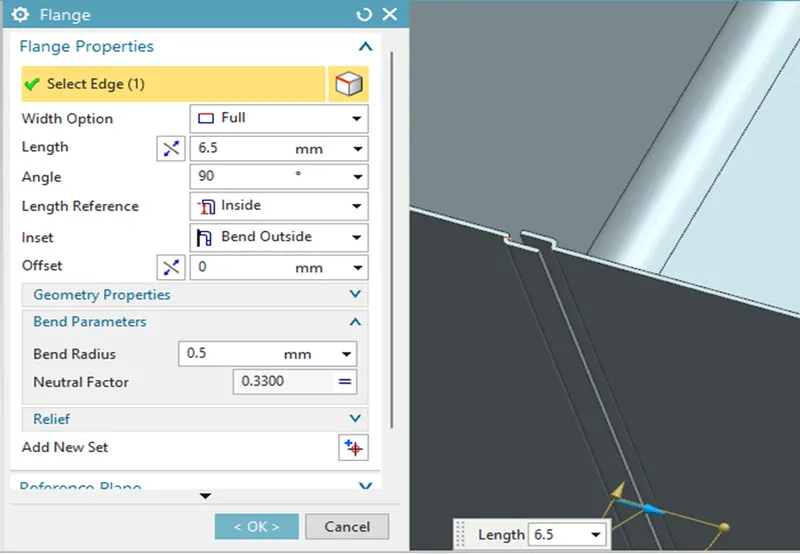
For fastening the two sheets on the side of box assembly, the flanges were created at a distance of 6.5mm with outside bend.
Hem Flange:
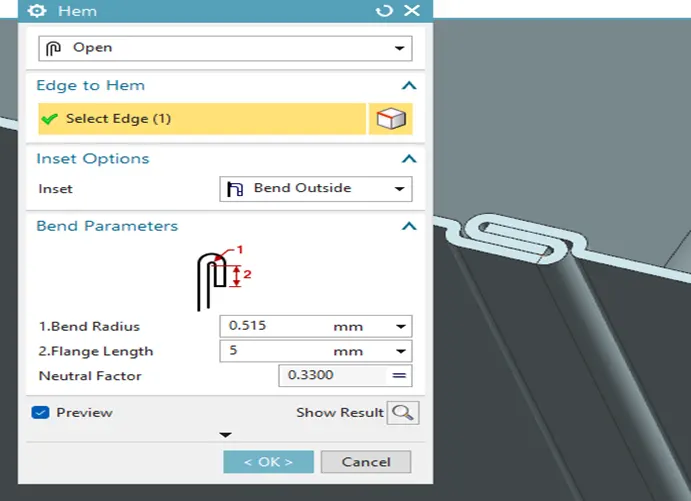
The hem flange feature is used to modify the model by folding the edge of a sheet metal flange. The main purpose is to provide the safe handling and edge stiffness.
Mirror:
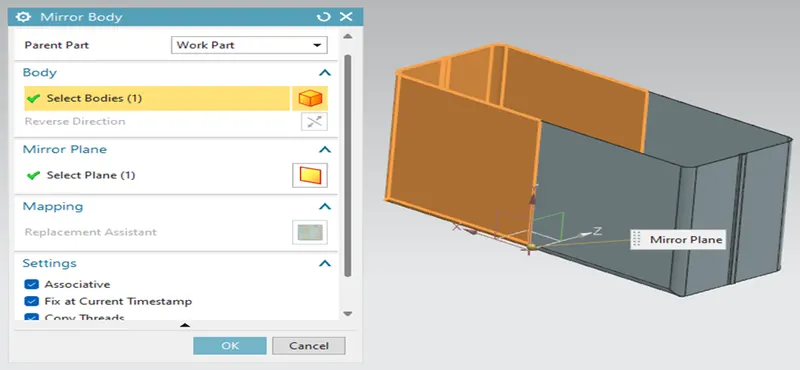
The half part of the assembly was designed and the remaining half of the part can designed or produced by mirror body feature along the datum plane as center point. Here other half is designed by mirror body feature about the new datum plane.
Unite:
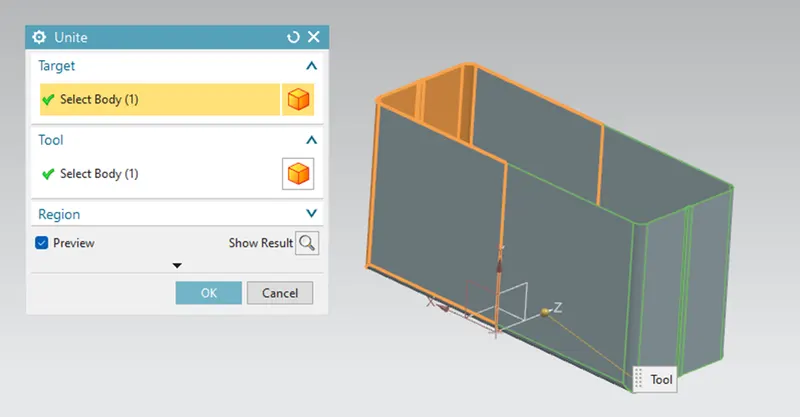
The unite feature is used to join or combine the two different bodies into single one.
Dimple:
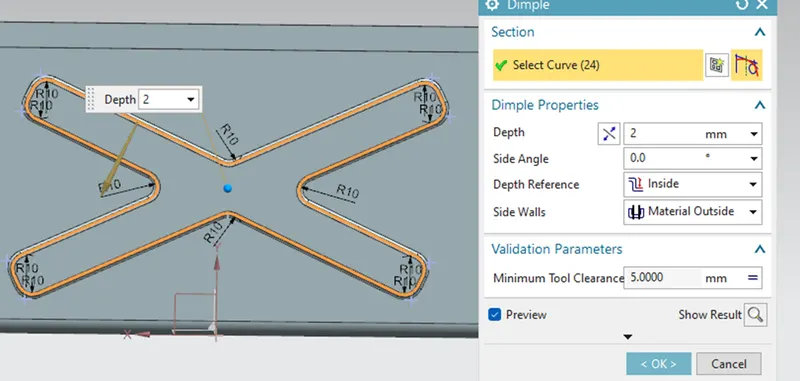
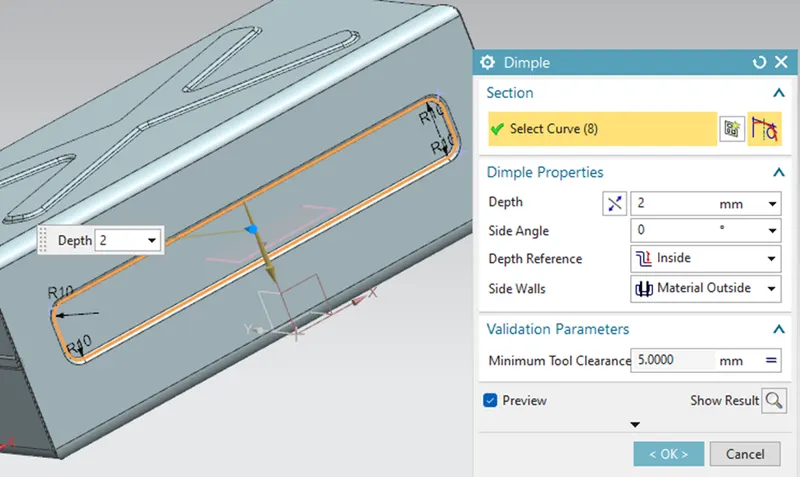
Use this command to create a raised dimple feature or lifts an area in a sheet metal part. The dimple can be placed on any flat face including flanges and will extend in the direction of the face. It is designed to reduce weight in sheet metal fabrications, while adding strength and rigidity. Dimple is created on the one side of the box. The other dimple was also created on the other side using mirror body feature. At down portion, the rectangular dimple is designed.
Beads:
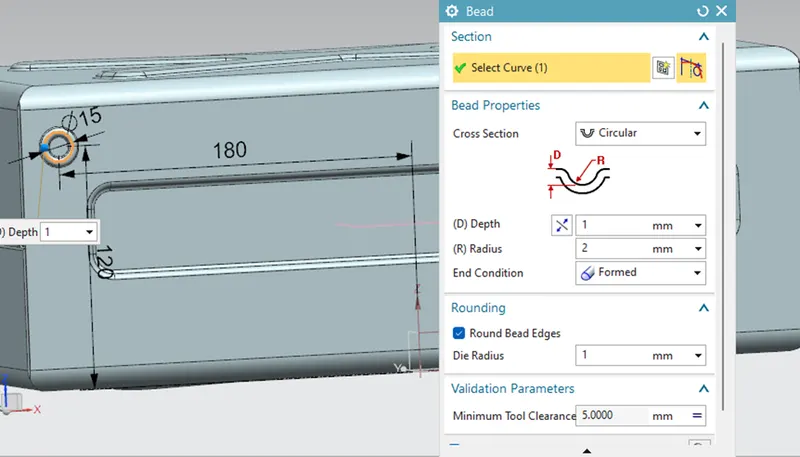
To create a beads which are elongated recesses which are stamped into the sheet metal parts to increase the stiffness. Here the sample one is designed and remaining things can be designed using the mirror feature option.
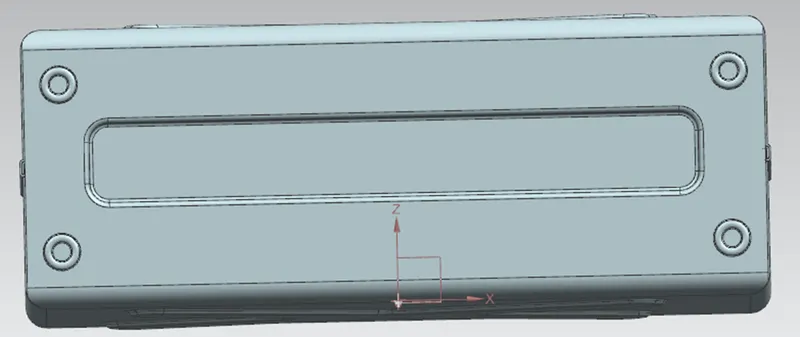
Hem Flange:
The hem flange is used to create the round edge that helps for easy handling.
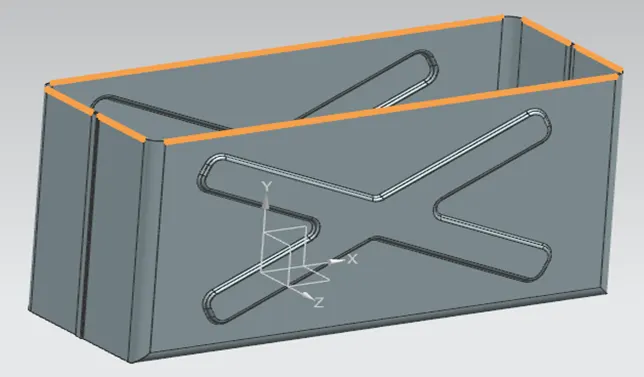
Lid Creation:
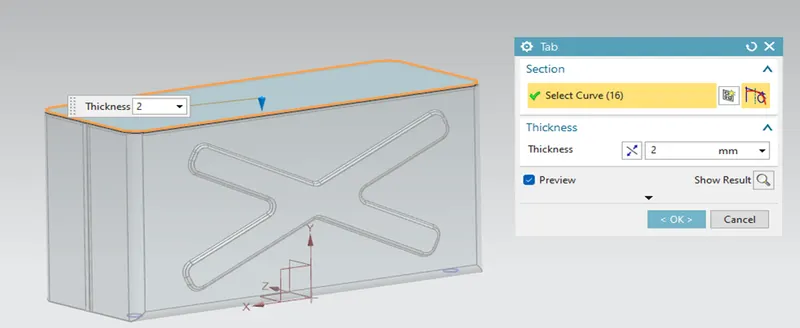
For the creation of the lid, a datum plane at a offsetted distance of 202mm from the base. The sketch were created on the new datum plane by taking the edges from the top view of the box as reference. Then tab was created on the sketch to create a lid.
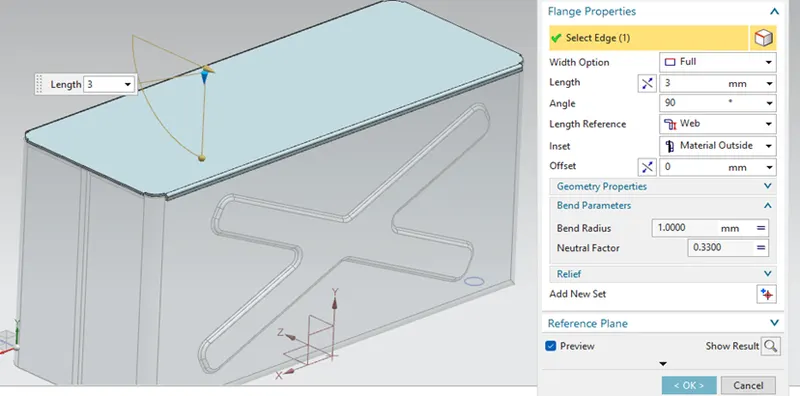
The flanges were created on the edge of the lid to provide proper alignment while closing.
Tab for Hinge:
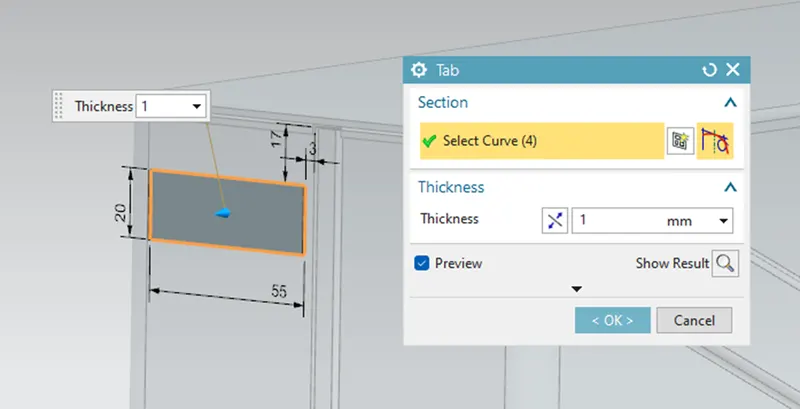
A rectangle sketch is created and tab it and provide the edge.
Break Corner:
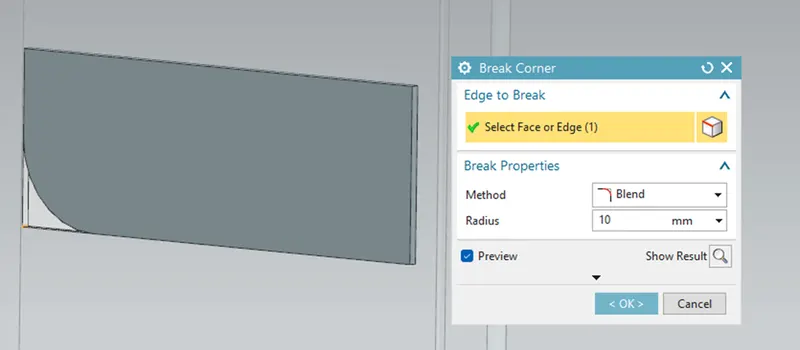
The feature is used to smoothen or chamfer the sharp edges of the sheet metal part. This will help to prevent the stress concentration and fracture breaking. Here I provided the 10mm blend.
Flanges:
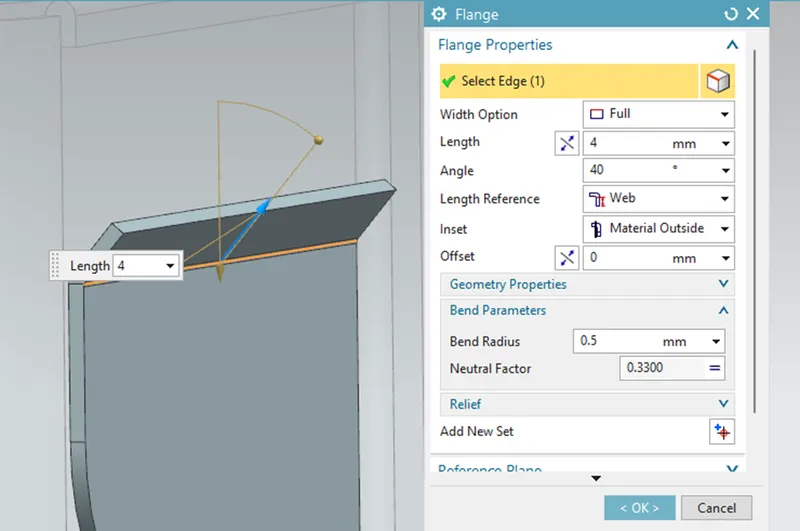
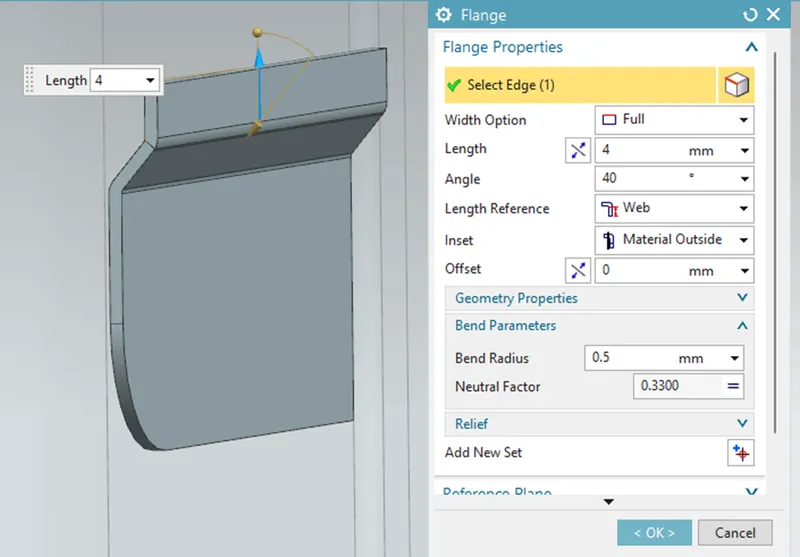
The two flanges are of 4mm length and 40 degree each.
Hem flange for Hinge:
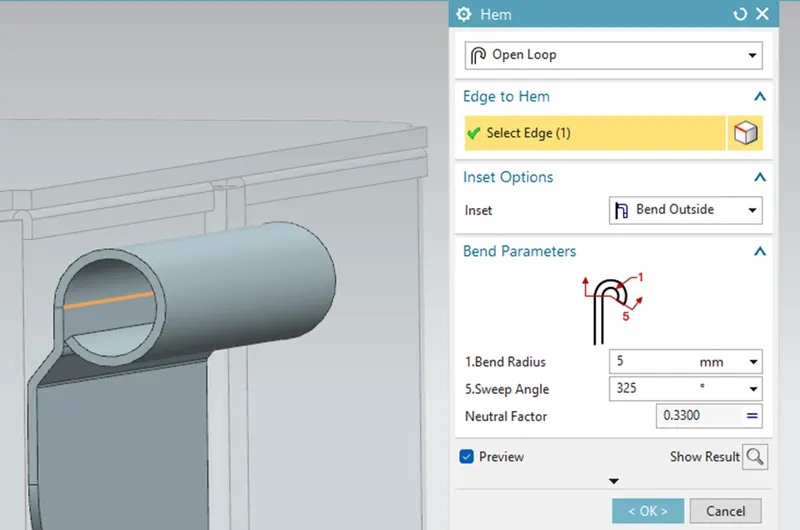
The hinge for the box lid should be generated from the hem feature with open bend outside flange with radius 5mm and sweep angle of 325 degree.
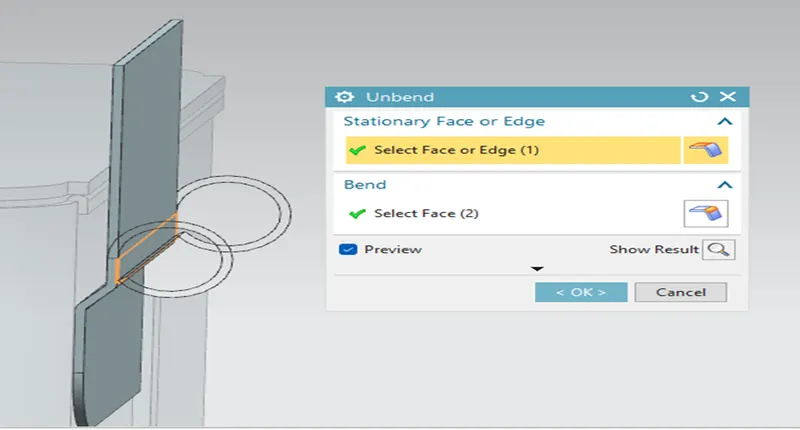
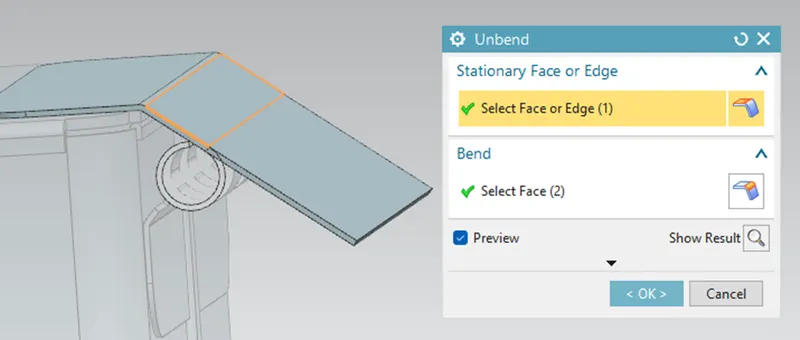
Unbend:
The un-bend feature is used to flatten the bend surface. For the marking and sketching on flat sheet metal before the actual operation. This Un-bend feature allow to do that activity in Siemens NX Cad.
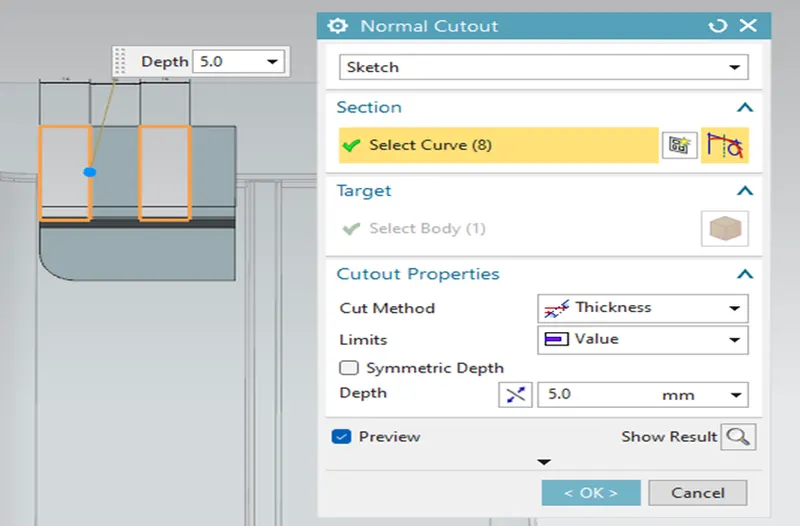
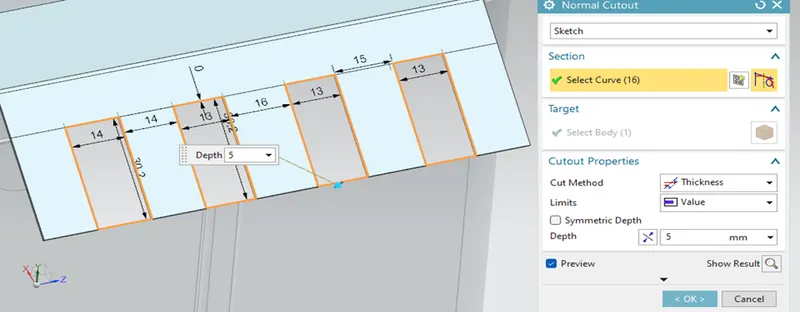
Normal cut out:
The normal cut out feature is used to cut the material with help of sketch on the model and then removing the material perpendicular to the faces. In this box assembly, I made a cutout to remove two rectangular area to obtain the hinge barrels on the both side.
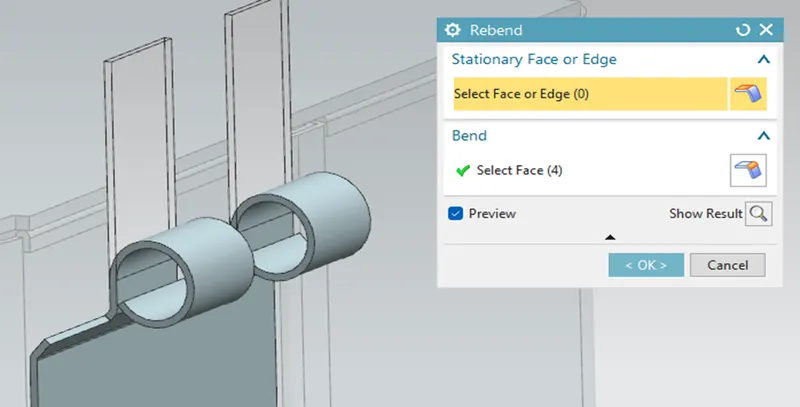
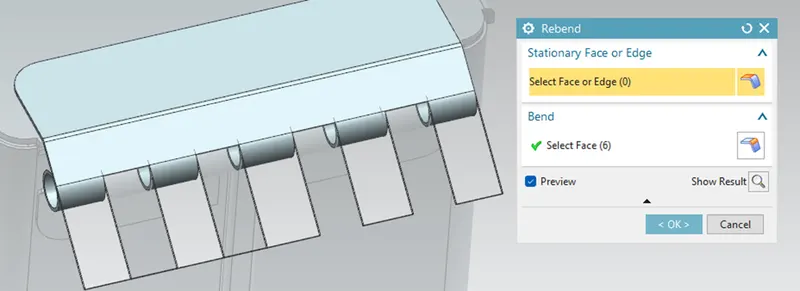
Re-bend:
The re- bend feature is used to regains to its previous bend position along with any feature added after the unbend feature. Re-bend the faces by selecting them in reverse order of bend to attain the actual sheet metal product.
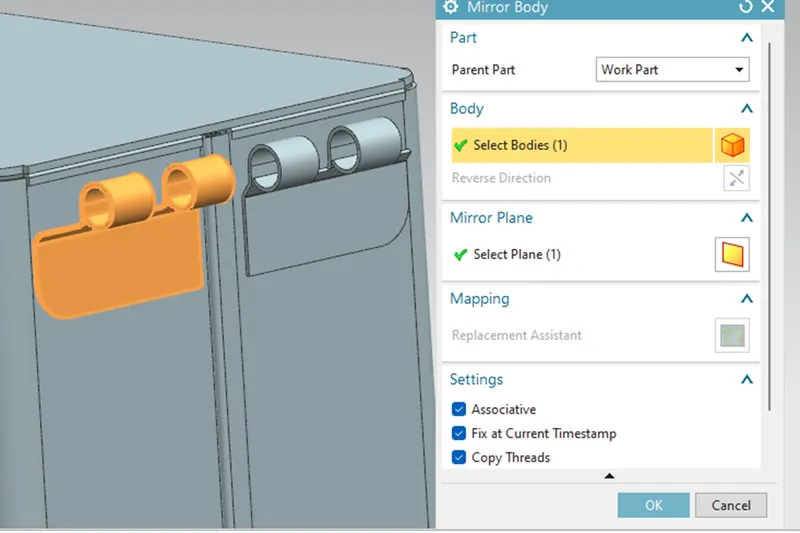
Mirror body:
It replicates the part about the plane on other side and helps to reduce the time.
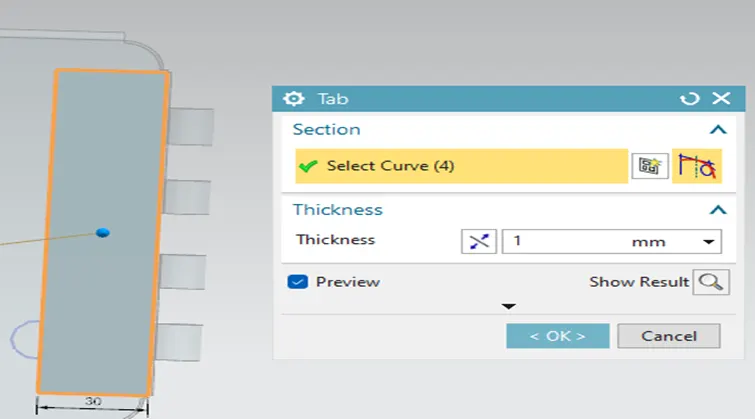
Tab:
A Rectangle sketch and tab is created on it on the top surface.
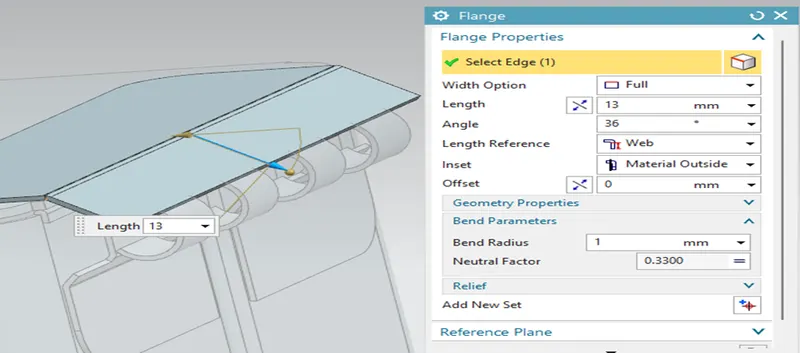
Flange:
Similar to the bottom hinge, a flange is added to the tab at 45 degrees with length of 13 mm.
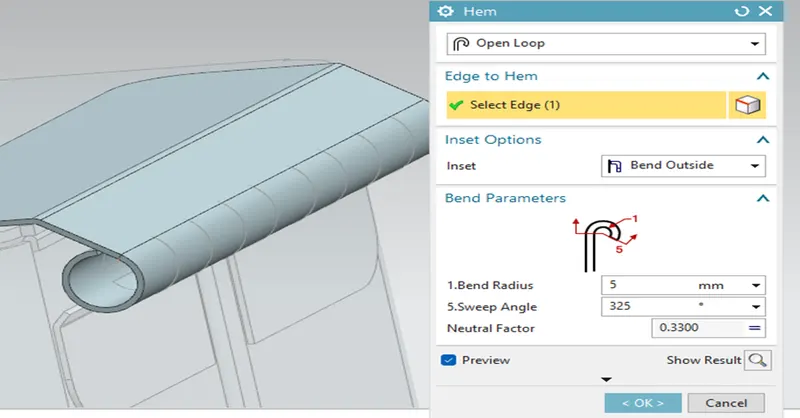
Hem flange:
An open hem flange is created, with radius of 5mm with angle of 325 degree.
Unbend:
Similarly to the previous one, the unbend feature is used to flatten the bend sheet.
Normal cut out:
The normal cut out is used to remove the material in the form of four rectangle Sketch as per requirement.
Rebend:
With the help of this feature, we bend to its previous bend postion.
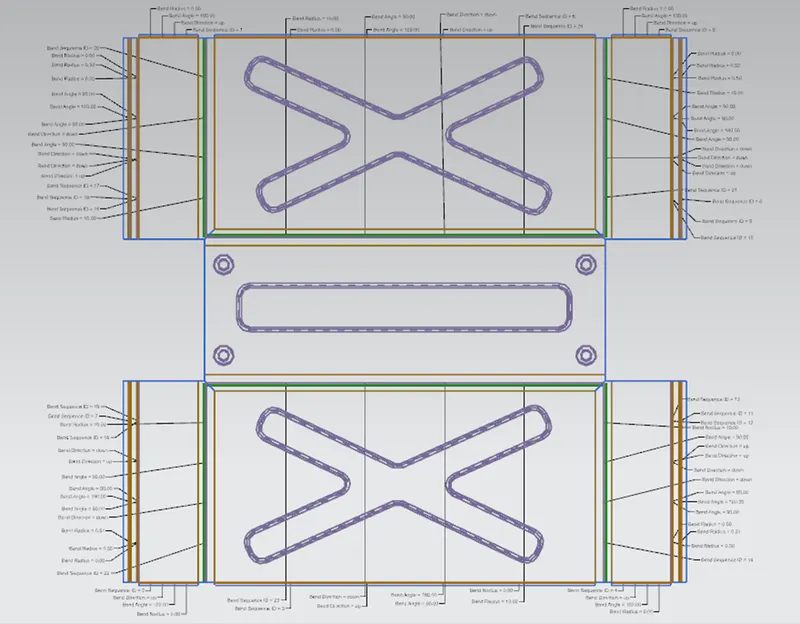
Flat Pattern:
The Flat pattern Feature allows us to convert the 3D sheet metal into 2D in Siemens NX Software. The flat pattern is used to convey the information of the sheet metal operations and avoid collisions and interference.
Drafting:
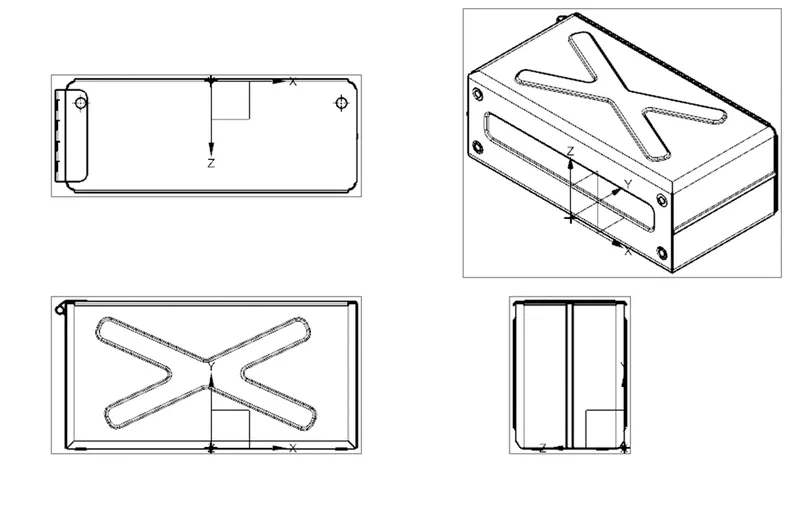
Views
Isometric:
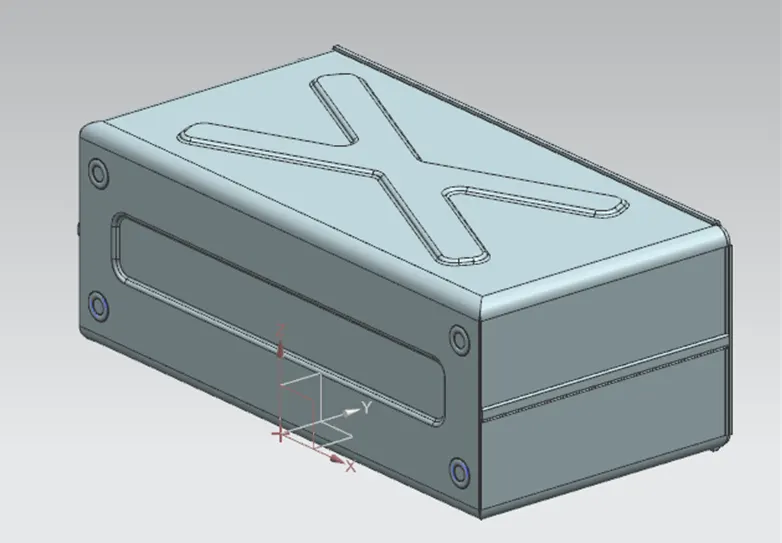
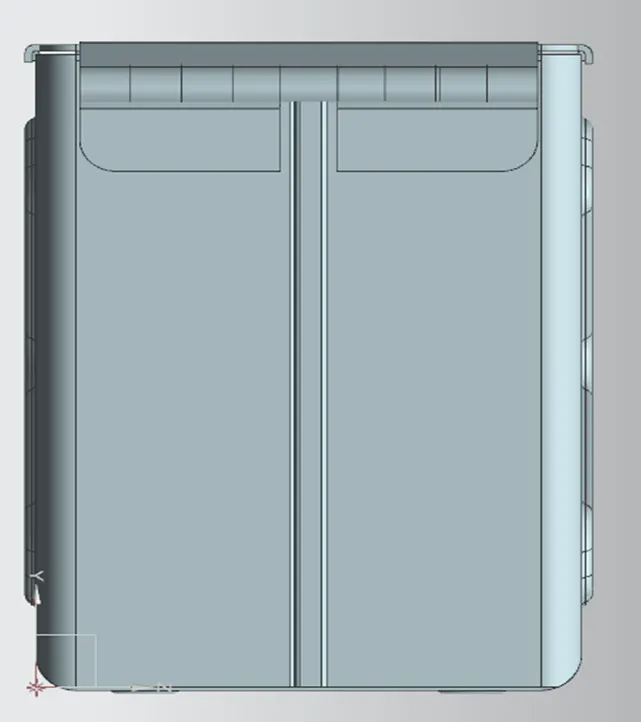
Top view:
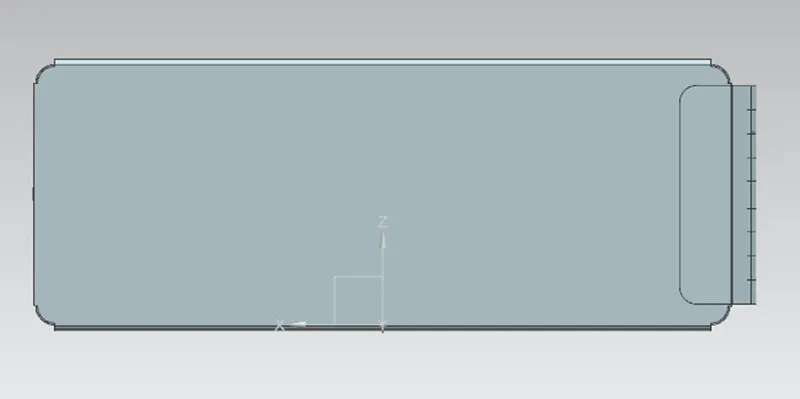
Front view:
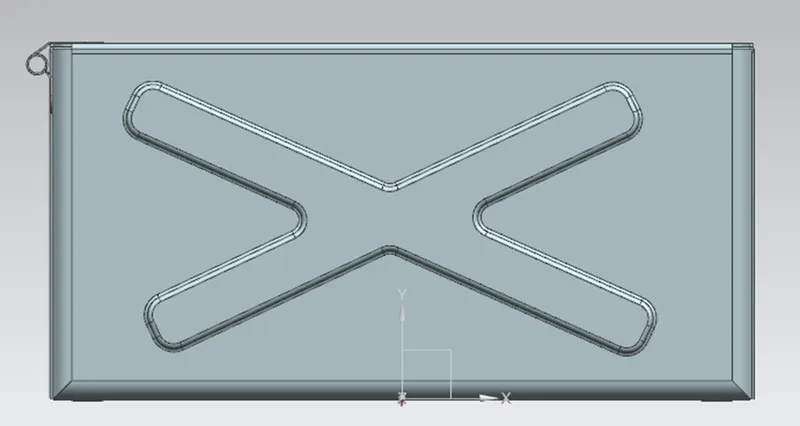
Side view:
Conclusion:
The design of the Box assembly is completed using Siemens NX.