3D Creation of Celing, Roof, Architectural plan, Structural plan, Sectional view, Elevation view and Camera specific view for a house plan using REVIT
1)We can create the Ceiling for the given building at certain floor/level using the ARCHITECTURE Tab.

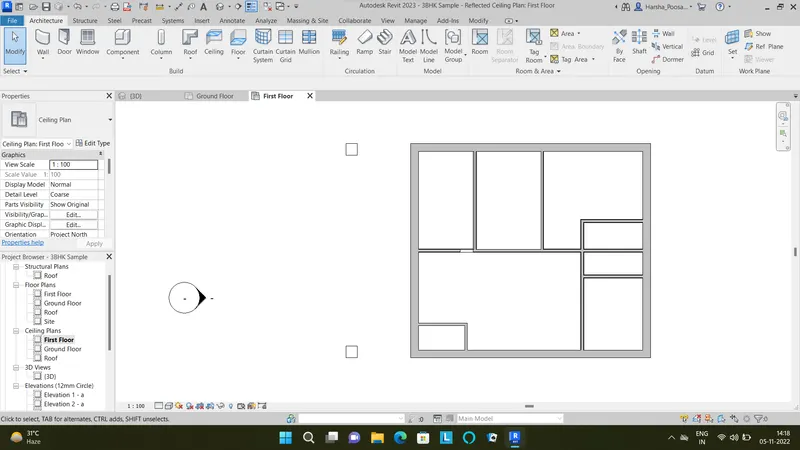
After going to the ARCHITECTURE Tab,we can find the option of CEILING,after clicking on it,we select the option of SKETCH CEILING,then various tools gets appeared such as RECTANGLE,LINE,PICK LINE,etc

Where we choose the option of drawing the RECTANGLE as it's easier and we just draw rectangles above the rooms such as to form the Ceiling and for the bigger bed room,we use the LINE option and we draw the lines all over such as to form the Ceiling in the desired shape.
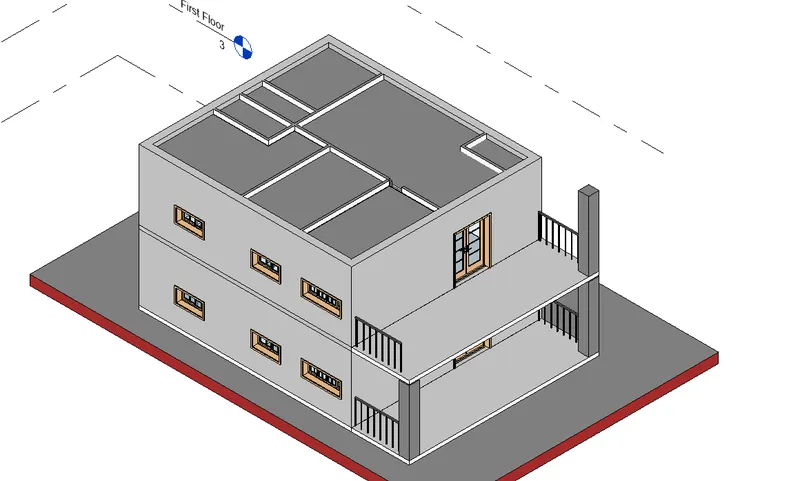
2)For even to create the Roof too,we use the same ARCHITECTURE Tab,where we select the ROOF option and we select the ROOF BY FOOTPRINT option as mentioned in the question.
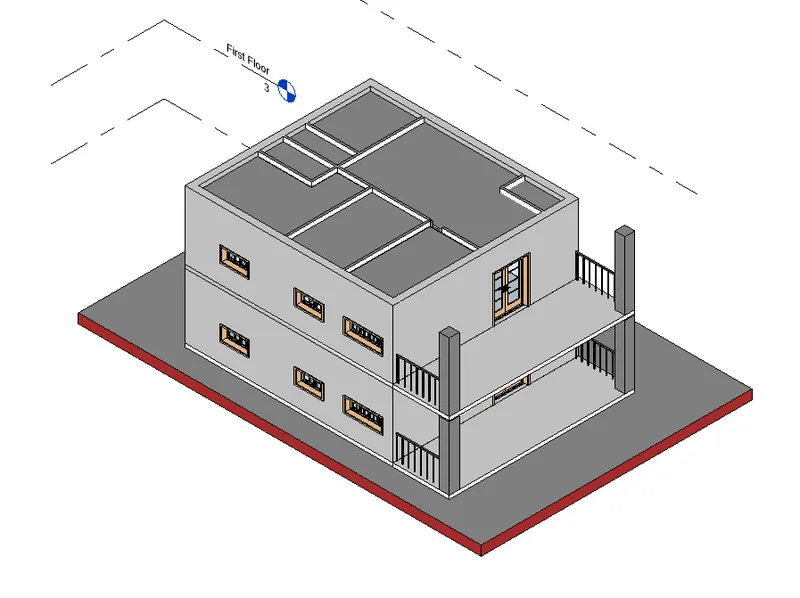

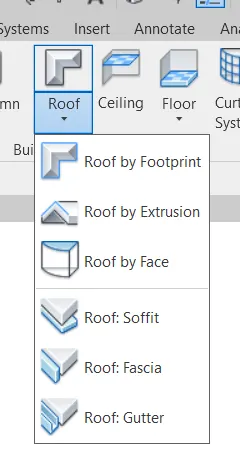
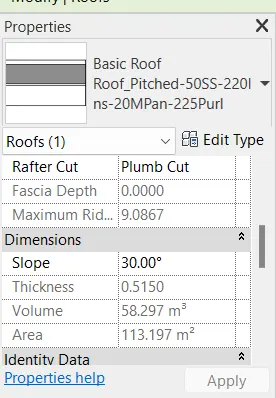
After selecting the required option as said before,the MODIFY Tab appears thereafter,where we select the RECTANGLE option similar to the previous and just a draw a rectangle in the Roof Plan,such that the Roof is created but the default value of the slope is 30 degrees but we change it to 10 degrees as asked in the question.

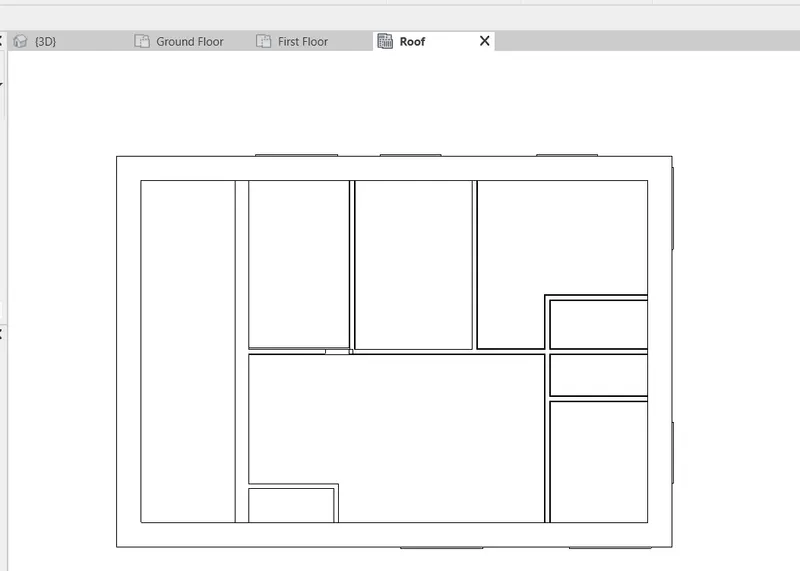
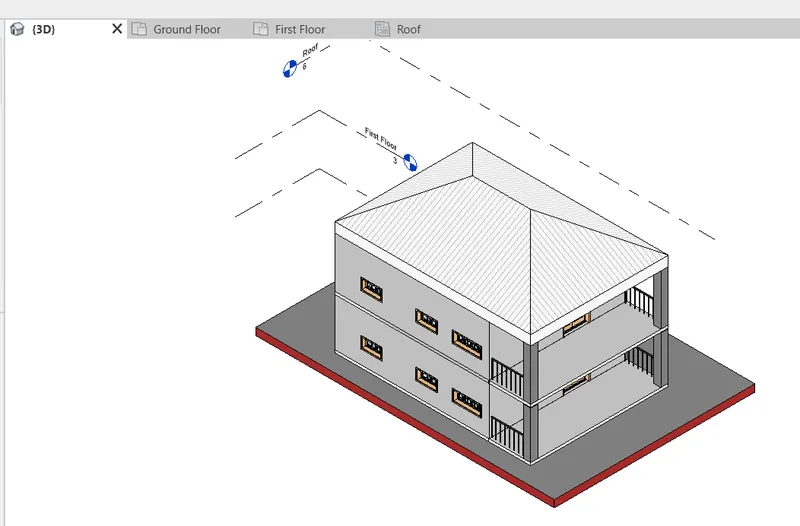
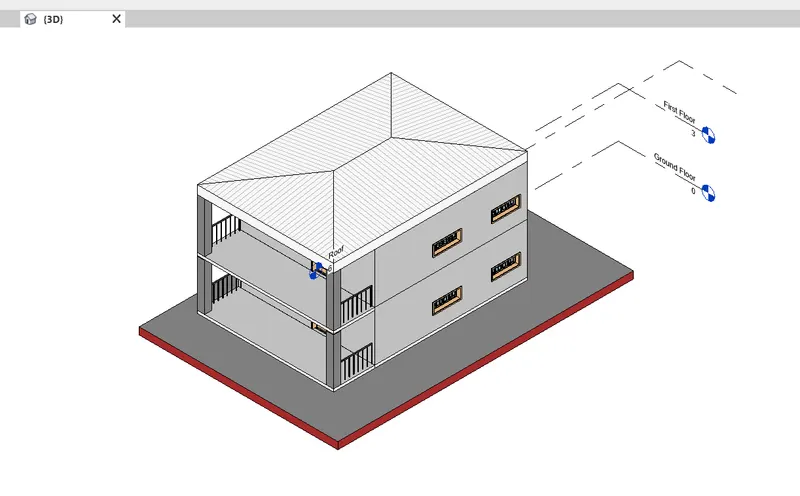
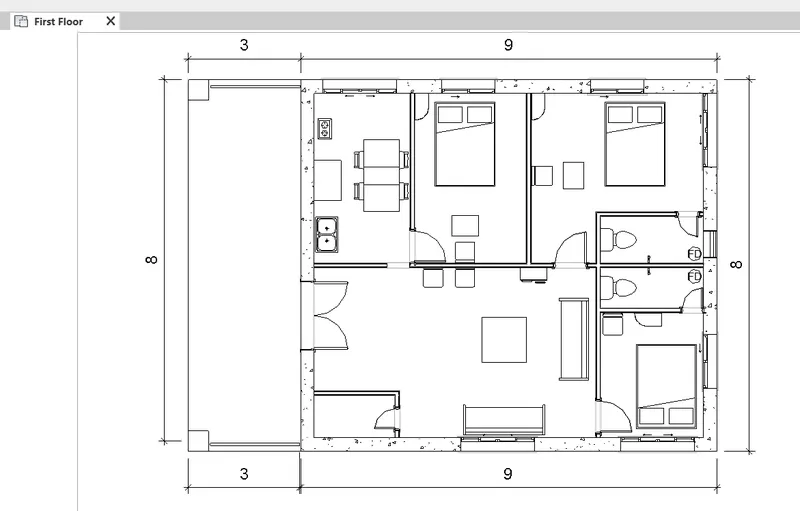
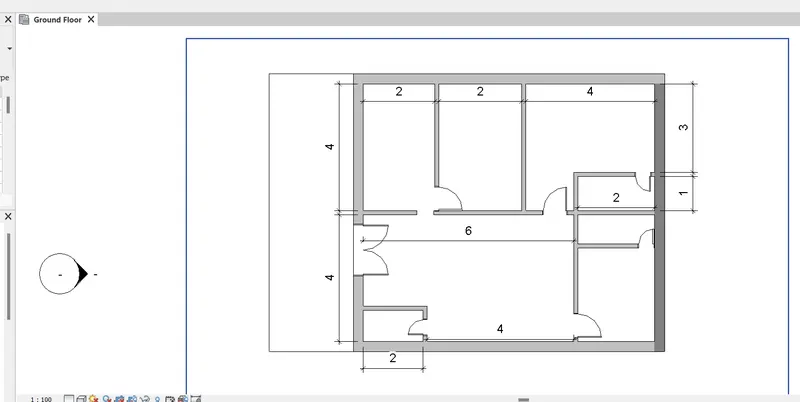
3)Here,as asked,we create the Architectural Plans and the Structural Plans!The Architectural Plans ae the ones which we use for the drawing commonly,where basing upon these the Structural Plans are automatically created.The Architectural Plans include everything we create as well all the objects we fix such as furniture,etc.Where the Structural Plans are those where they contain only the Structural items such as Walls,Columns,Stairs,etc.
For us,to do that,after drawing the in the Architectural Plans,we can go to the VIEW Tab or to the PROJECT BROWSER,from there we can select the Structural Plans and we can view them.
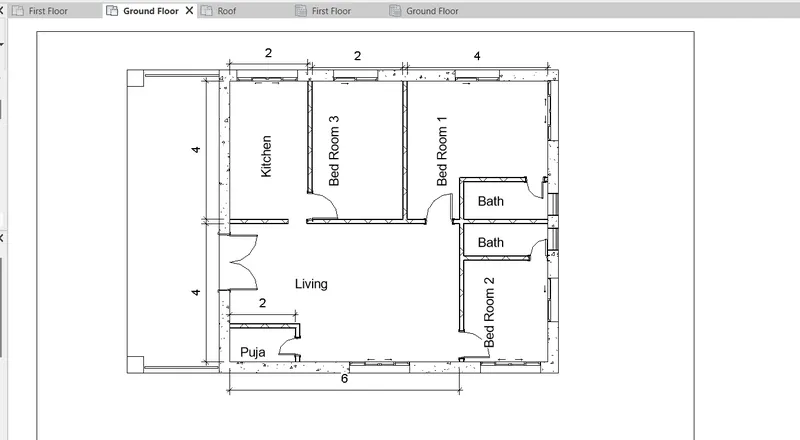
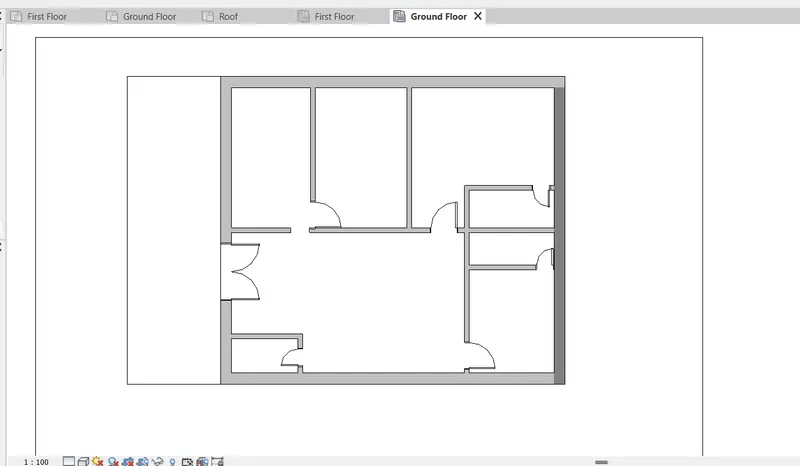
The above two are the Architectural and the Structural Plans of the Ground Floor respectively.
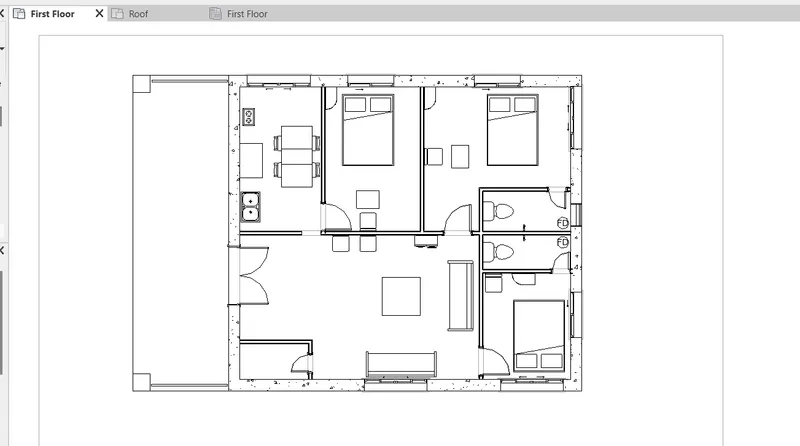
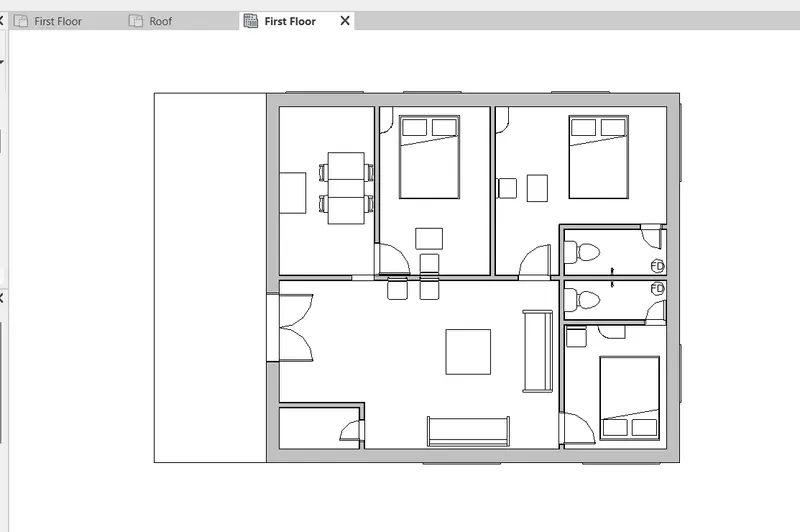
The above two are the Architectural and the Structural Plans of the First Floor respectively.
4)For us to add Dimensions,we go to the ANNOTATE Tab.

After going to the ANNOTATE Tab,we select the LINEAR Option for the Horizontal Dimensions and we select the ALIGNED Option for the Vertical Dimensions
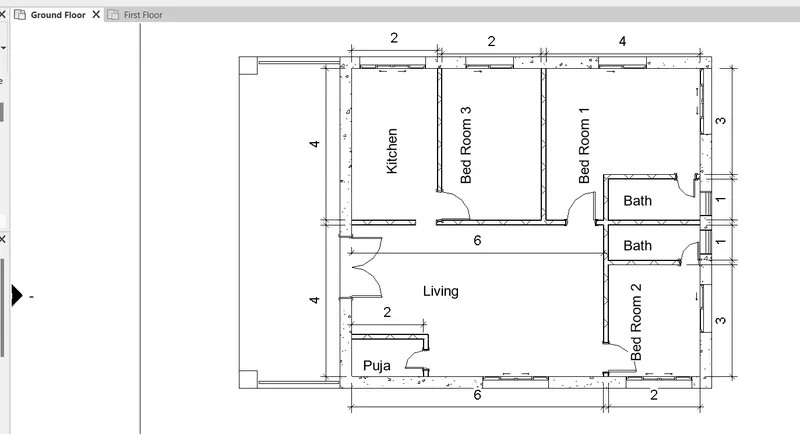
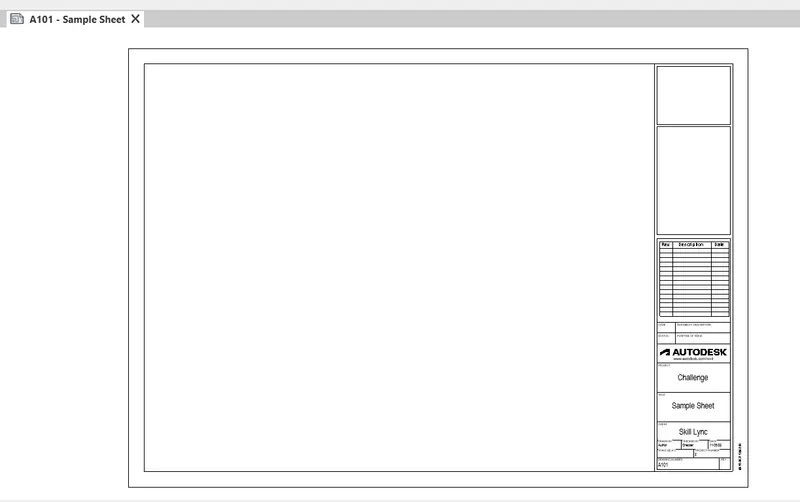
5)For us to obtain the Template as asked,we go to the VIEW Tab,where we have an option called SHEET,after click on it,we can select a Template.

After selecting a Template,it appears automatically on the screen.
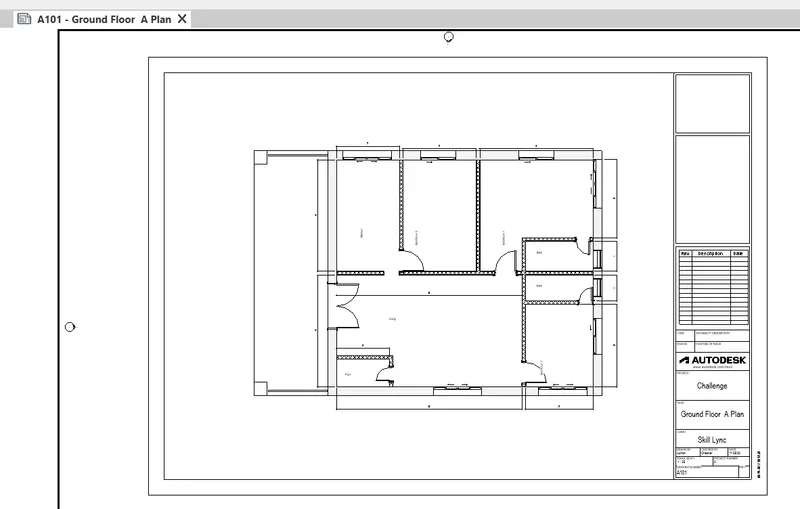
And the next step,we have to do is just,drag the required plan/elevation/section/view from the PROJECT BROWSER,where then the selected/required one appears on the screen,then we select the required scale in the PROPERTIES BROWSER and adjust it's position on the Template.
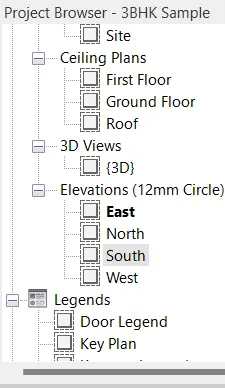
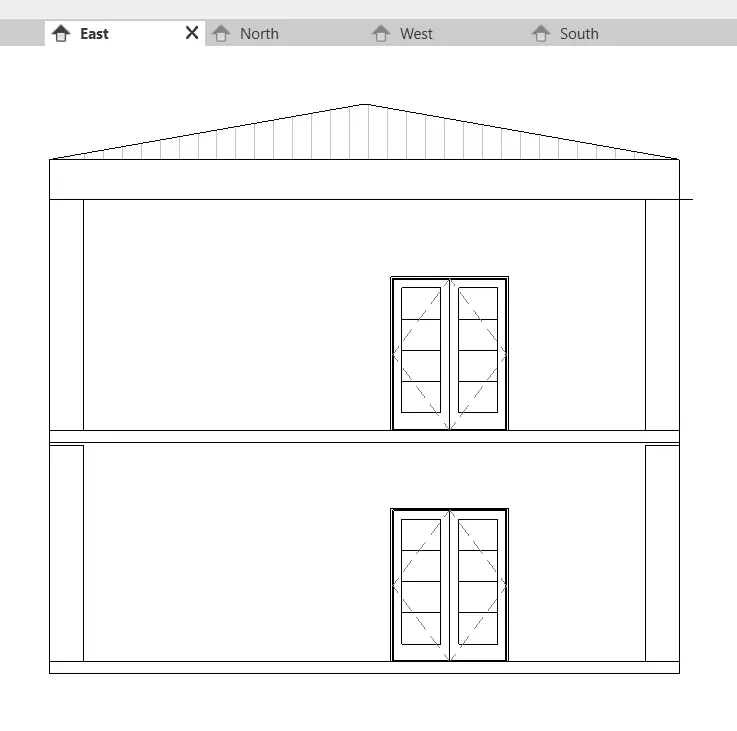
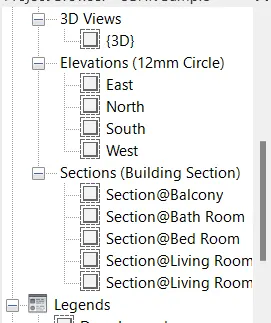
6)For us to get the required elevations,we go to the VIEW Tab and select the ELEVATION Option,then we can obtain the required elevations
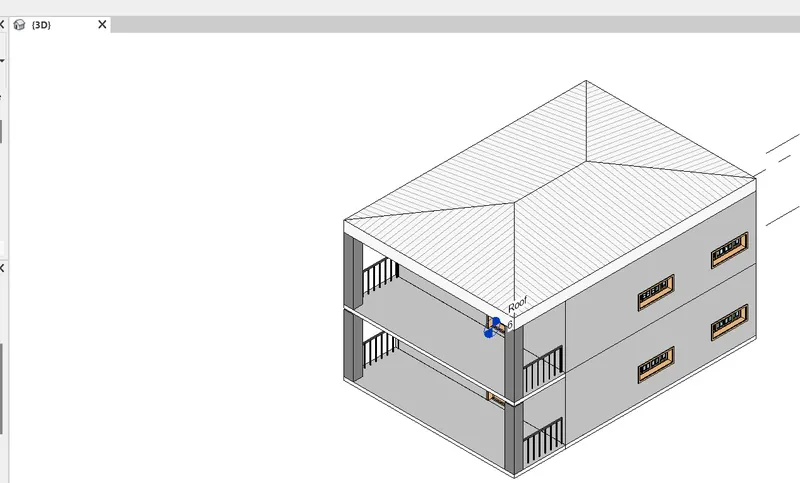
The resultant elevations are present on the PROJECT BROWSER.
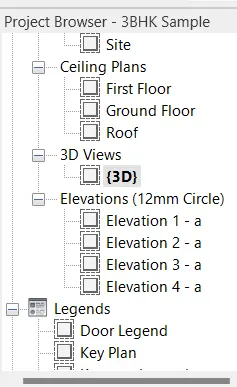
Where we rename as East,West,North and South as asked in the question.
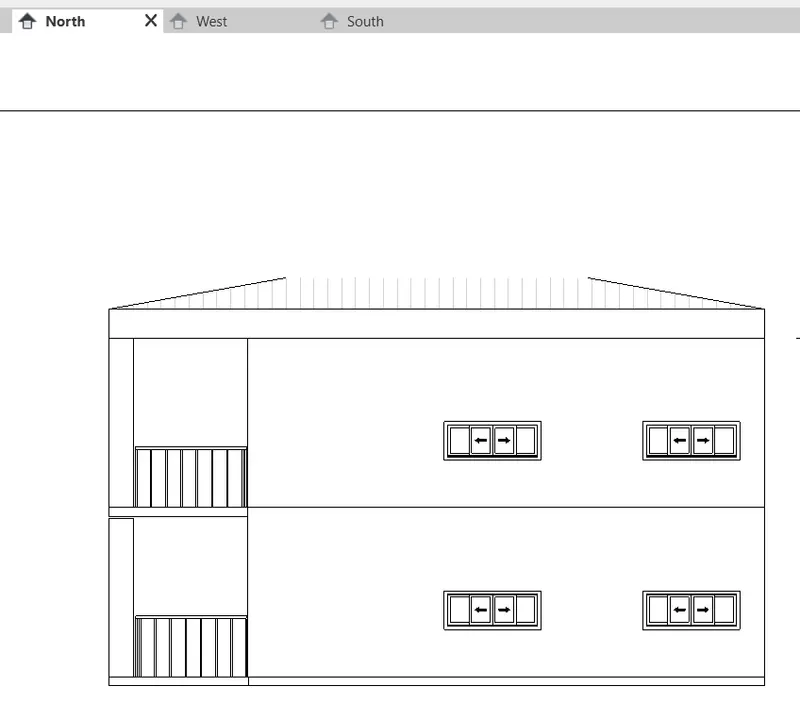
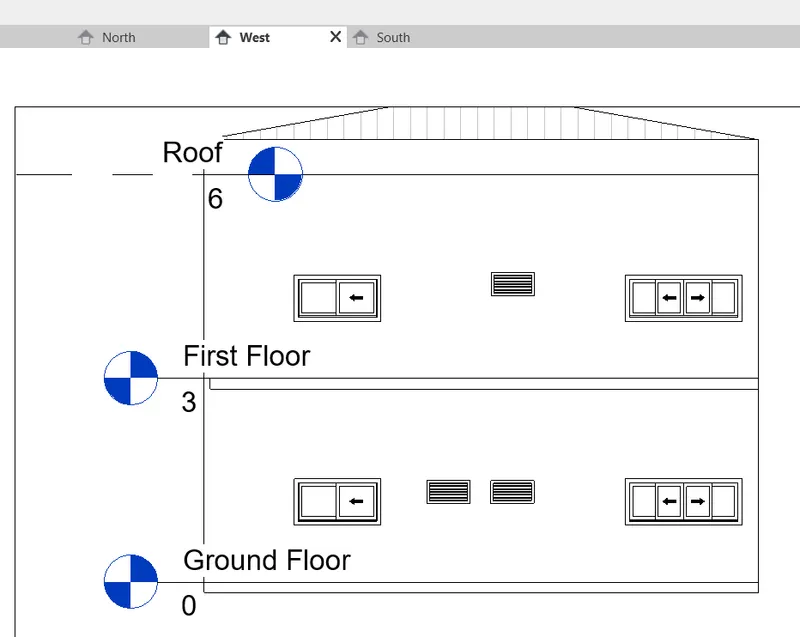
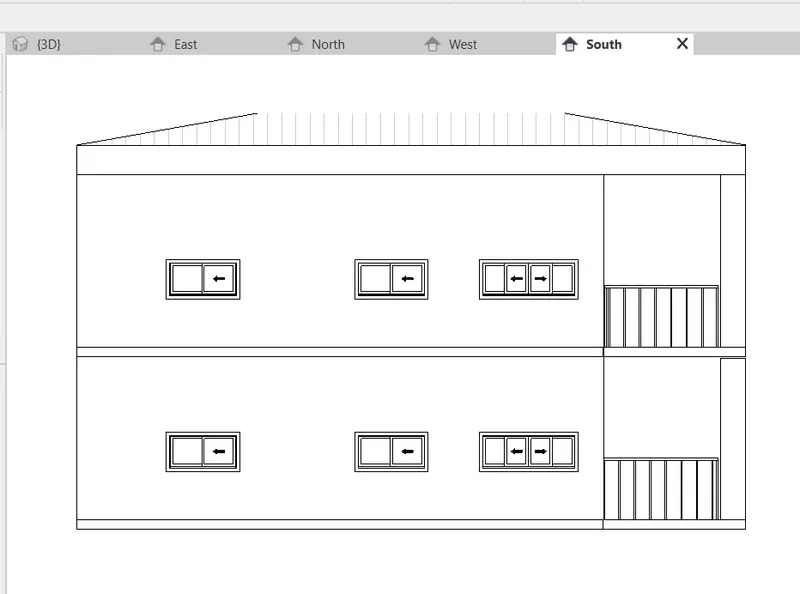
7)To obtain sections,we go to the VIEW Tab and select the SECTION Option,then we form the required Sections.

Here,we rename the Sections as shown.
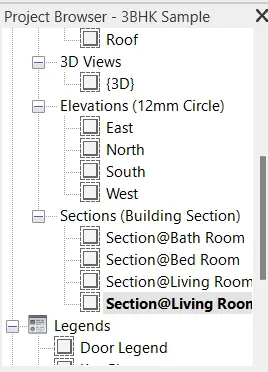
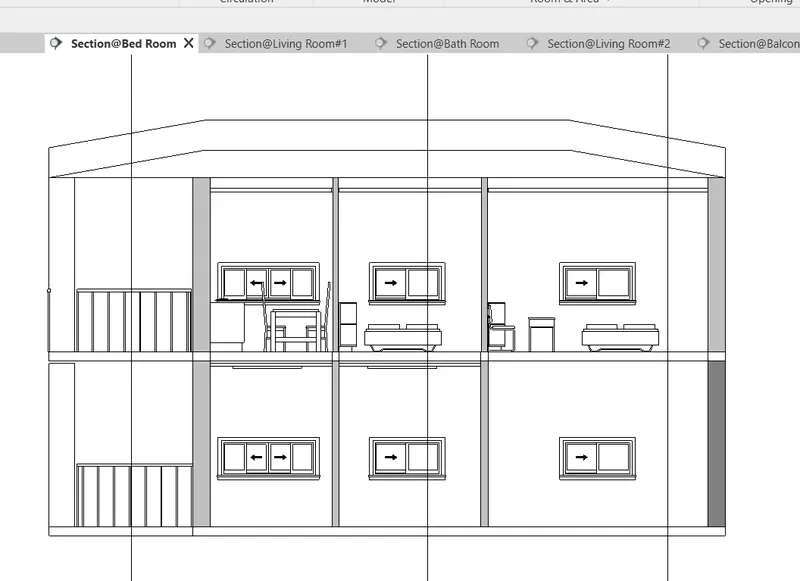
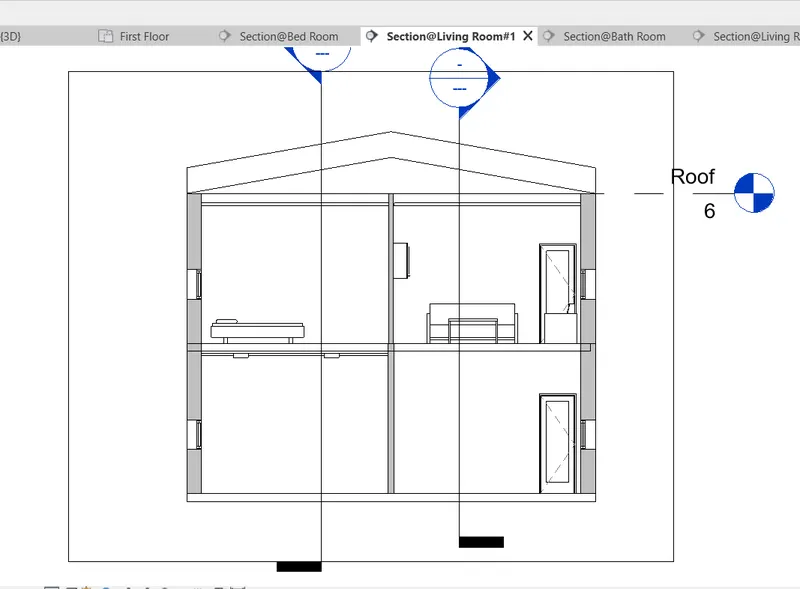
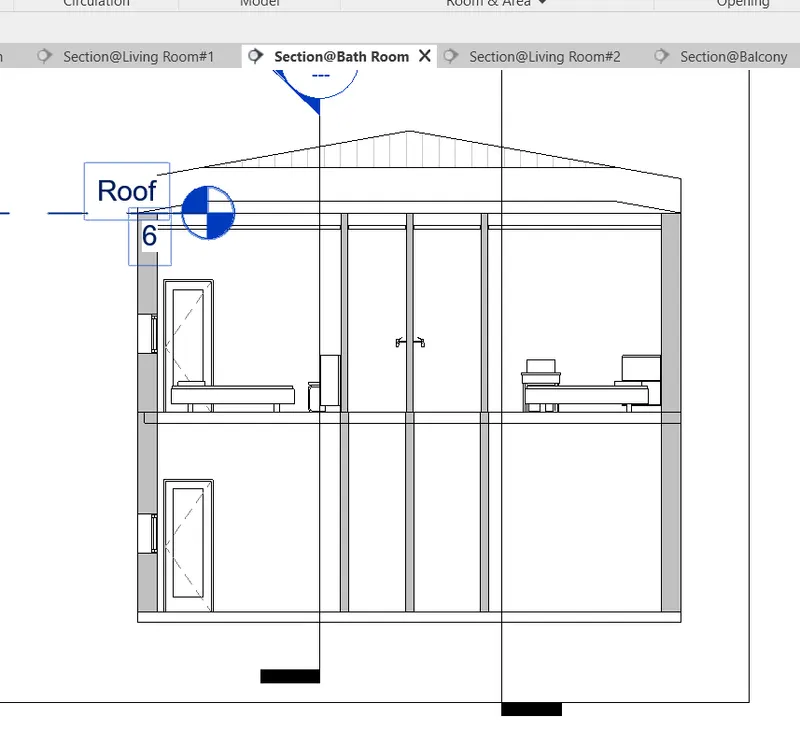
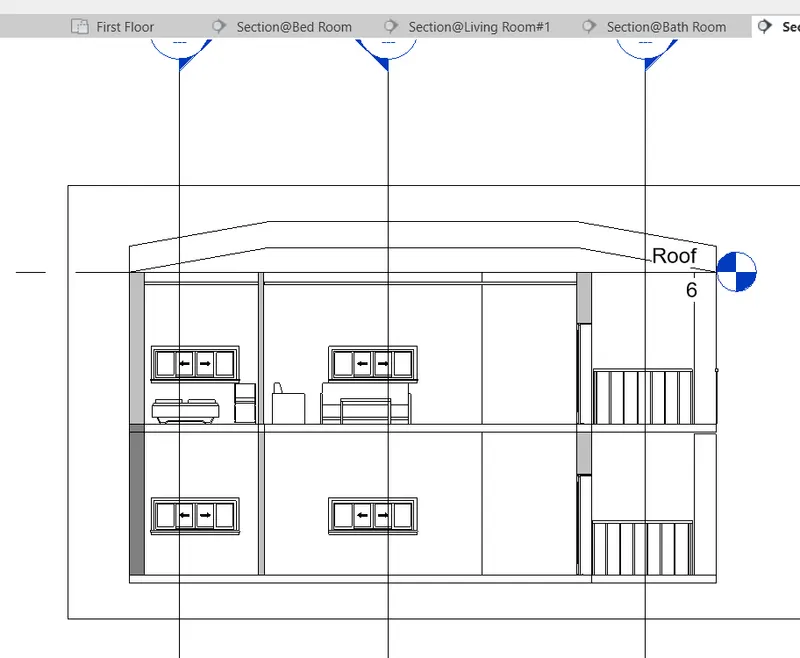
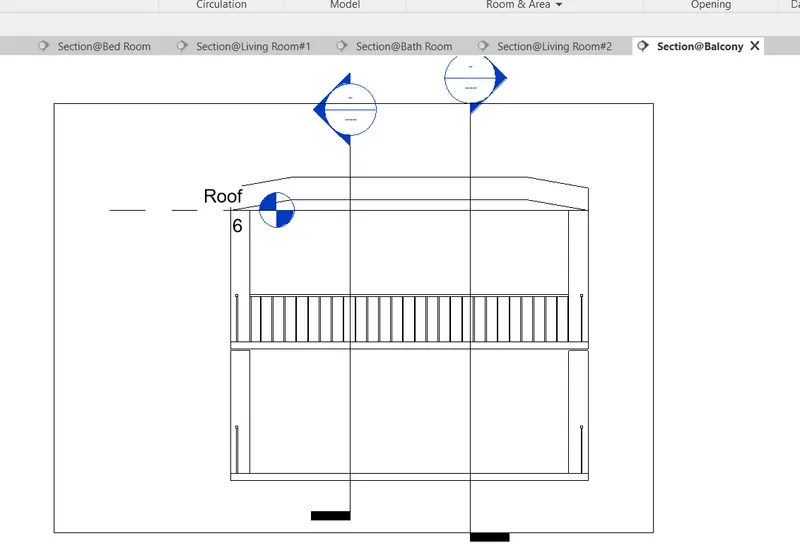
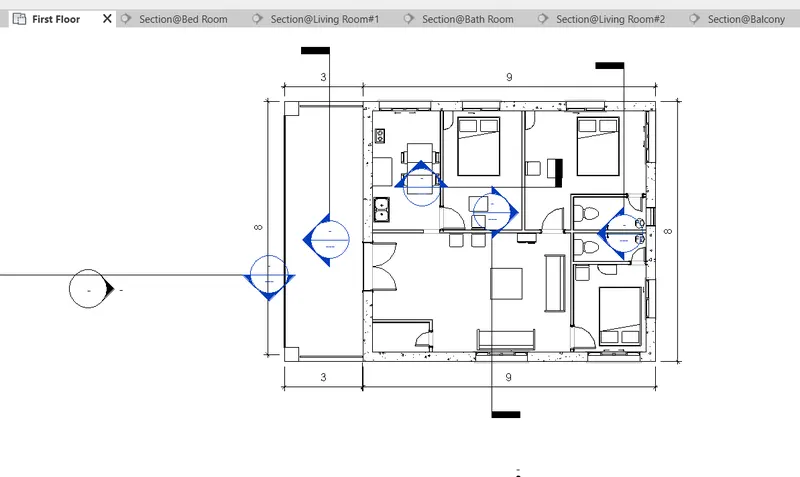
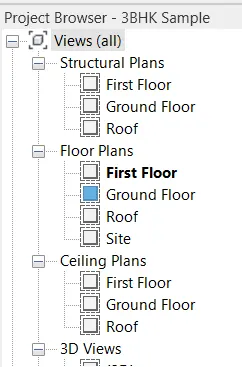
8)We can find all the created views in the PROJECT BROWSER as shown.
9)We create the multiple Templates as asked in the question.For this to happen,we go to the VIEW Tab and select the SHEET Option and a new Template will be created automatically where we rename those as mentioned in the question.
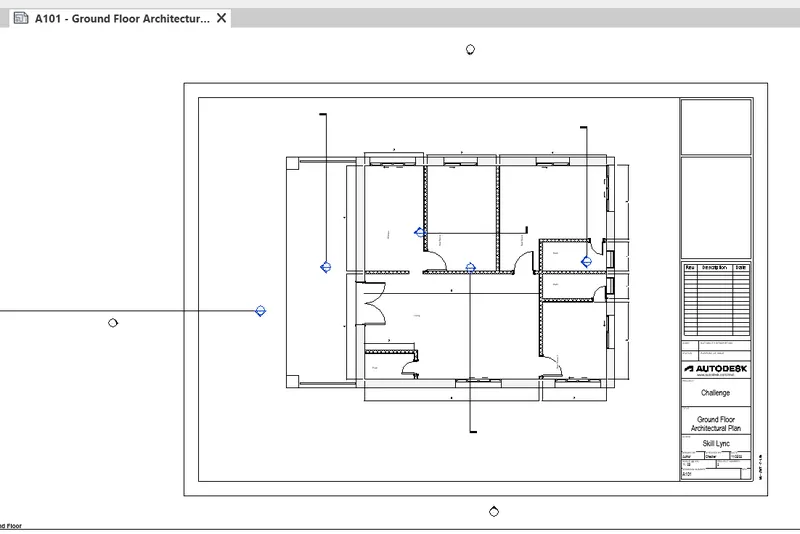
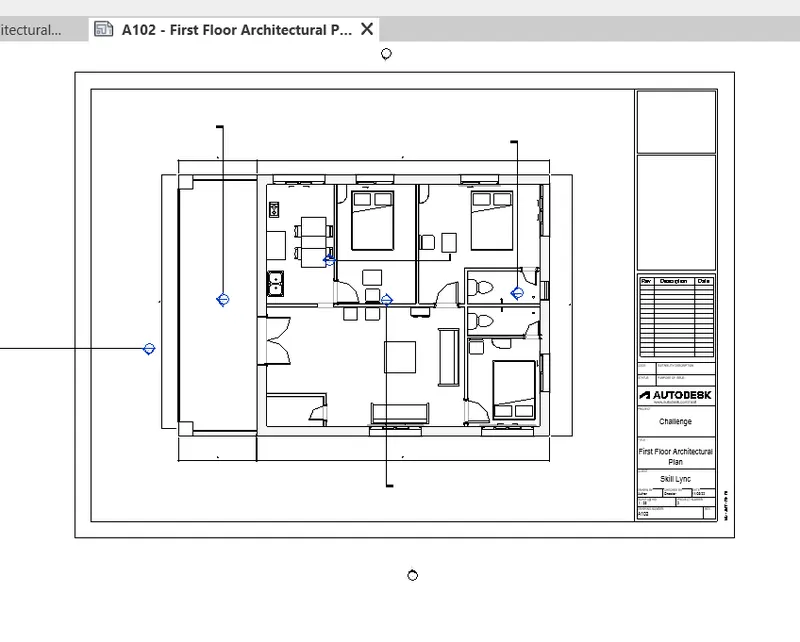
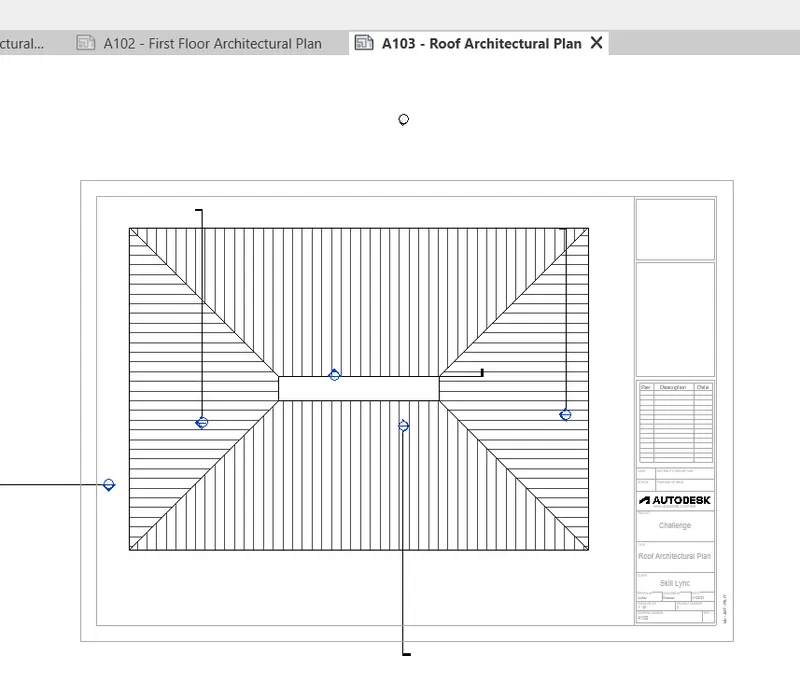
The above three are the Architectural Plans of the Ground Floor,First Floor and the Roof respectively.
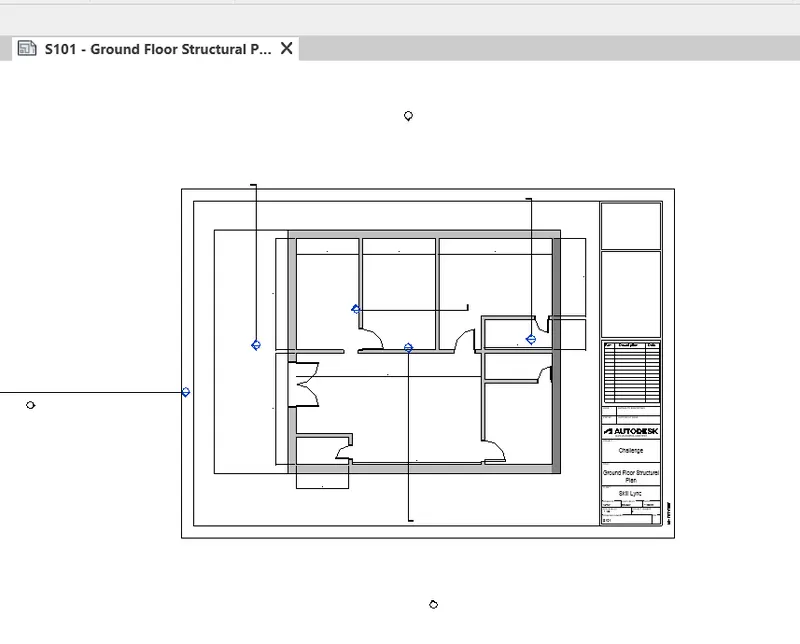
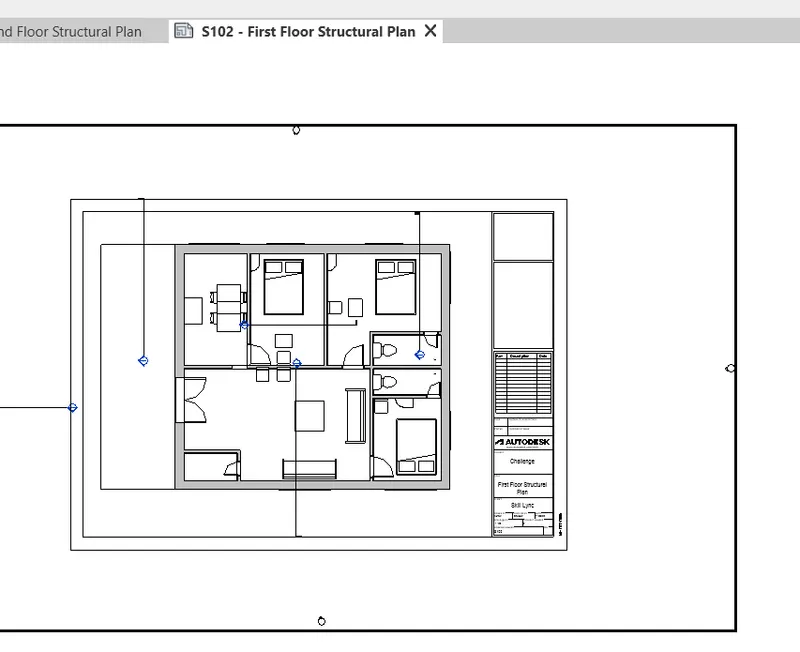
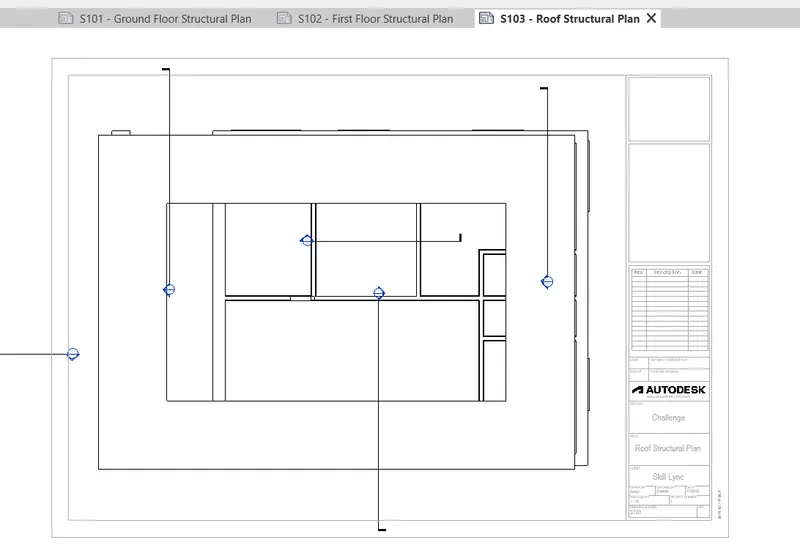
The above three are the Structural Plans of the Ground Floor,First Floor and the Roof respectively.
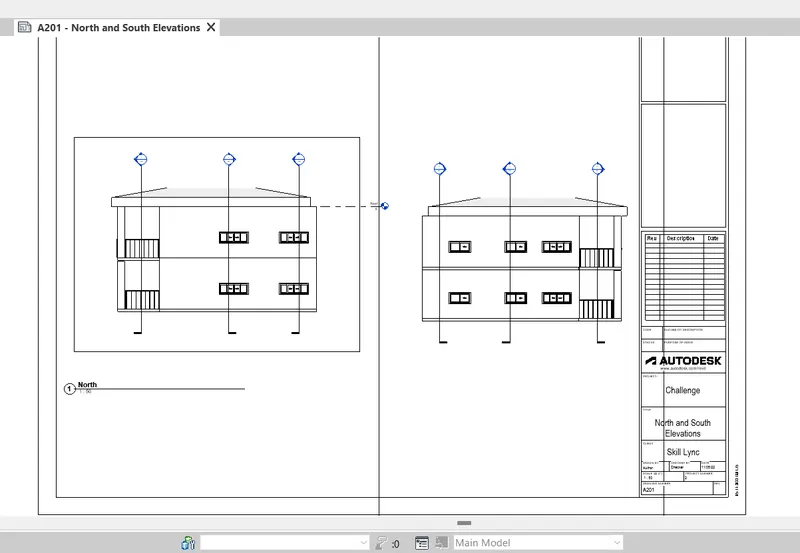
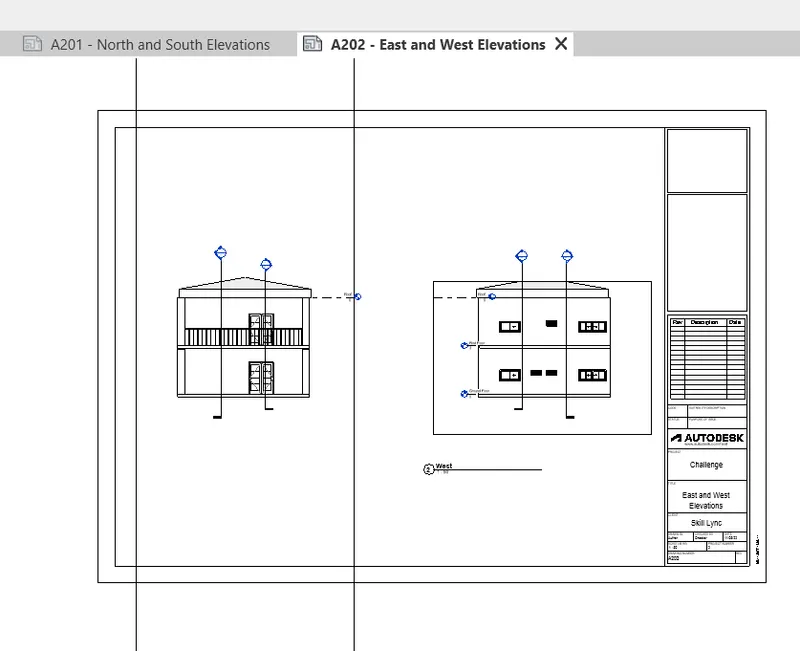
The above are the Templates for the Elevations as mentioned.
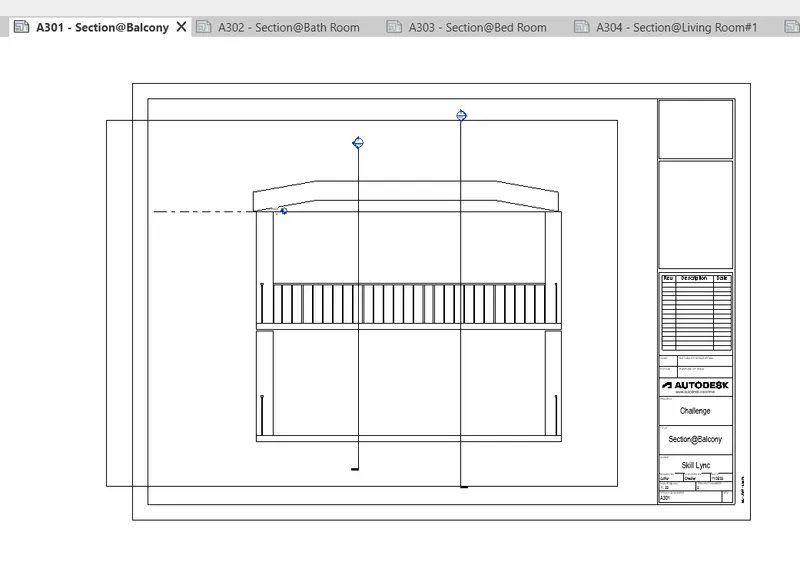
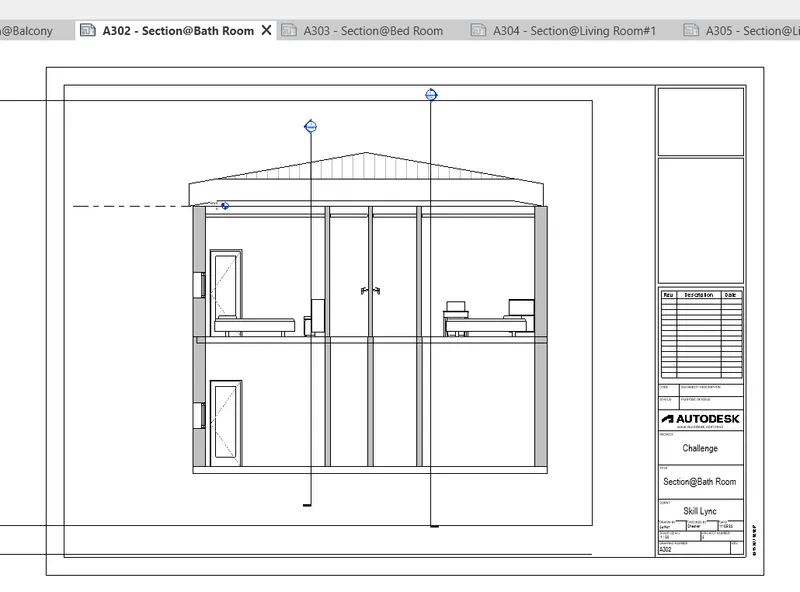
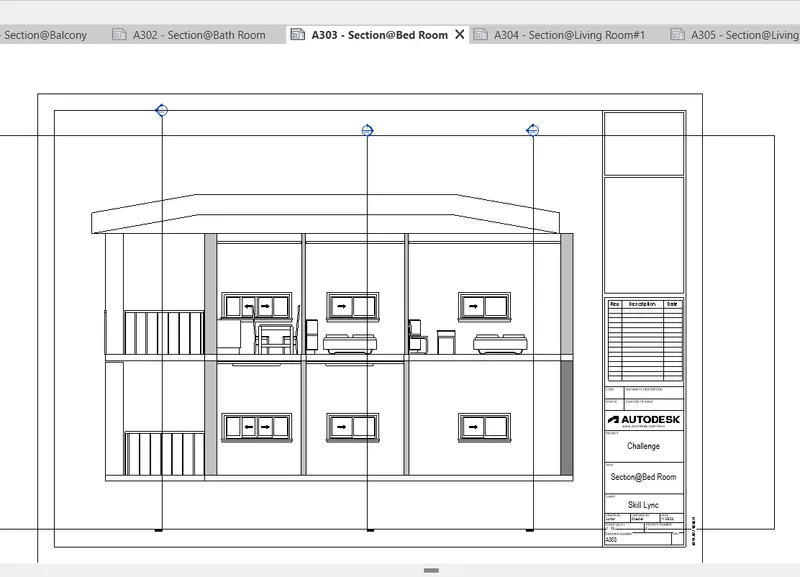
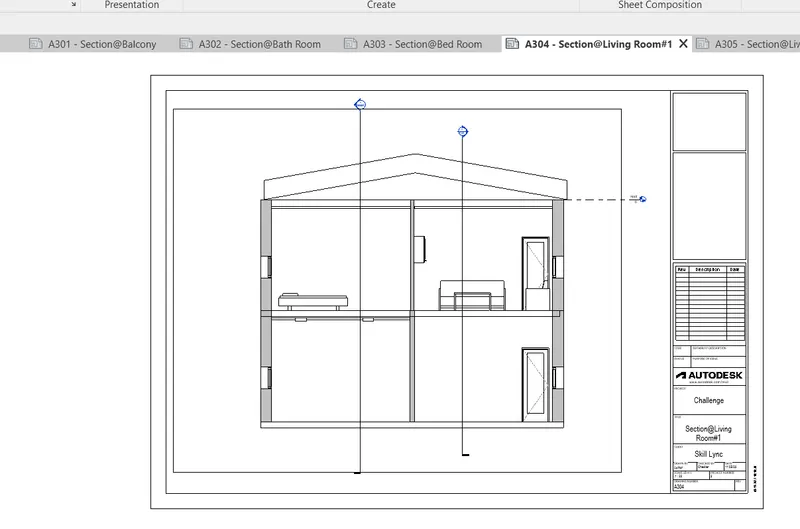
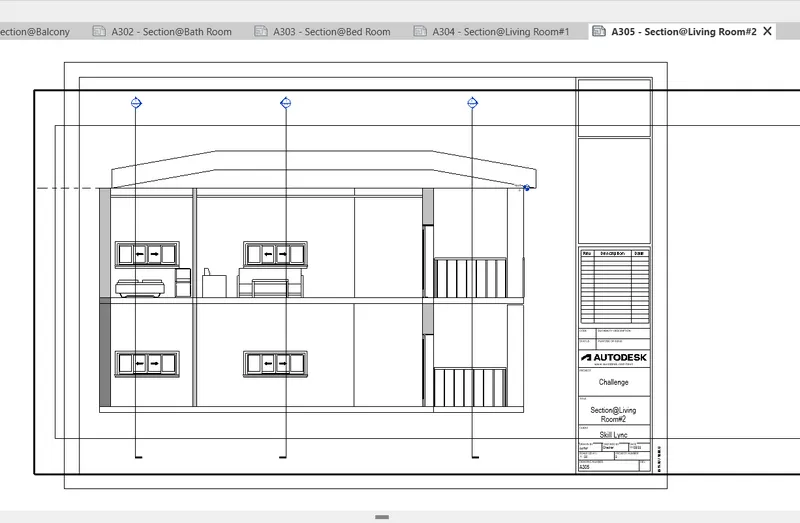
The above are the Templates for the Sections.
The Templates are named as below.
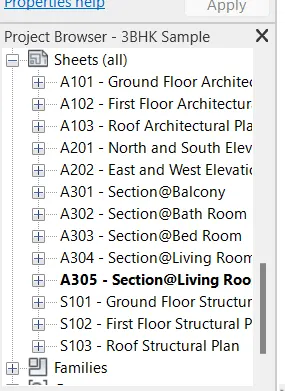
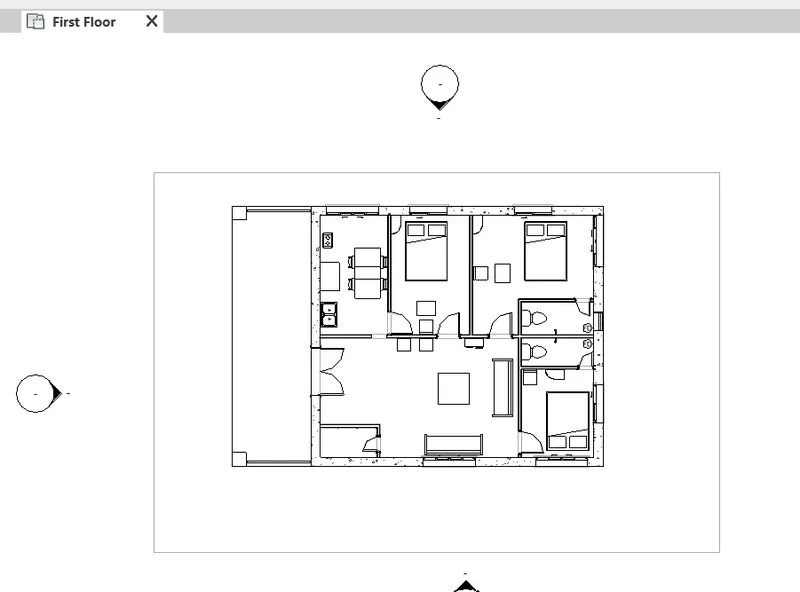
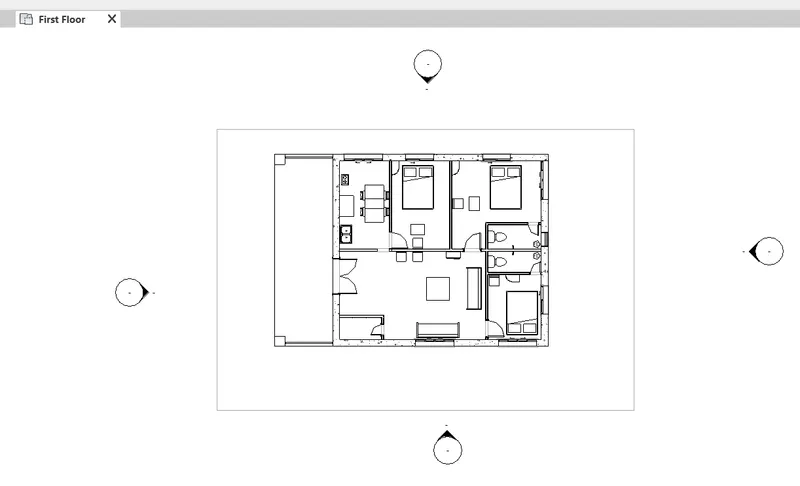
10)As asked in the question,the different Camera Views are created using the VIEW Tab,where clicking on 3D Option,we get a drop down of few more options where we select the CAMERA Option and plcae them in the Architectural Floor Plan of the First Floor.
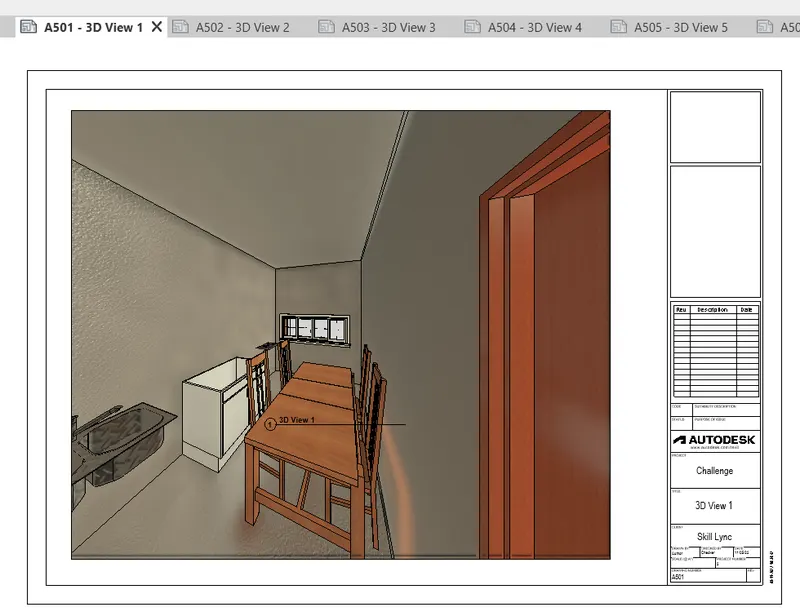
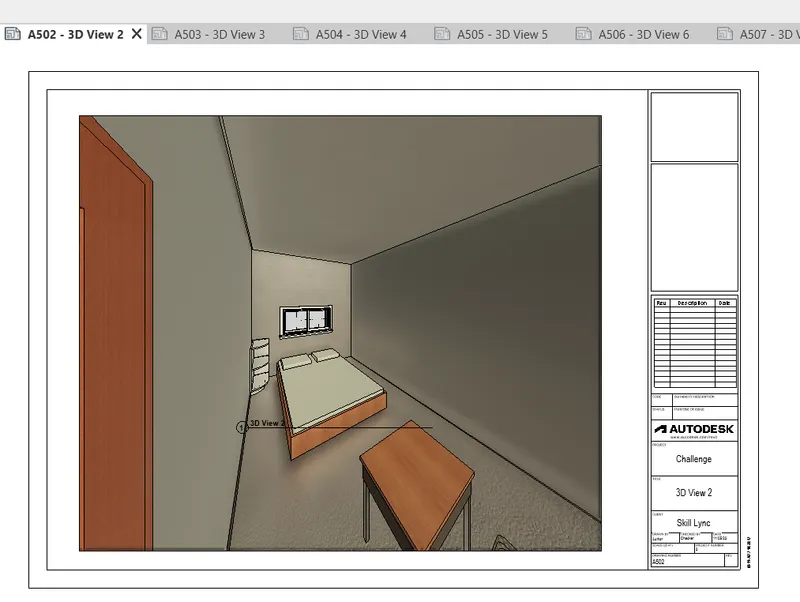
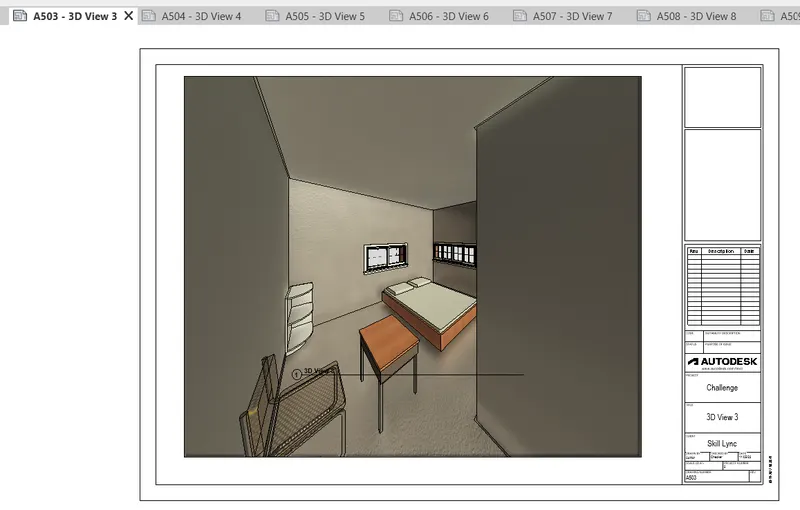
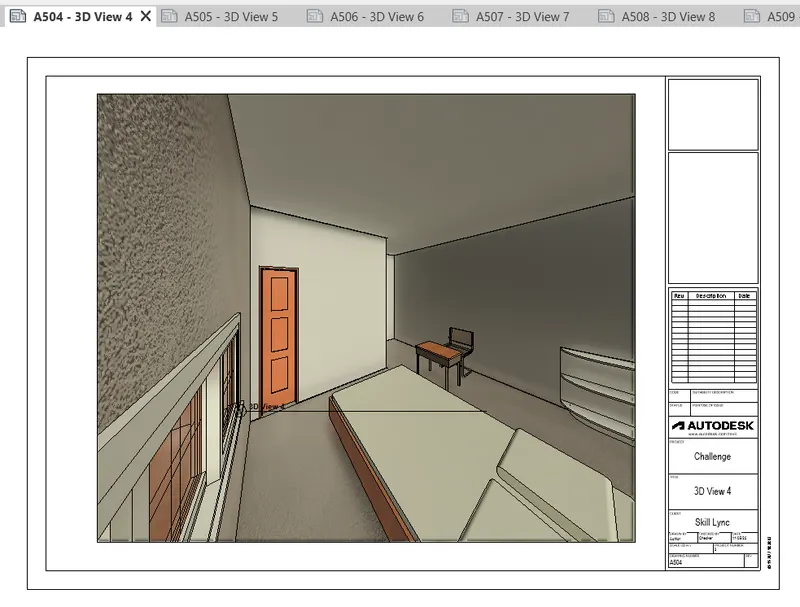
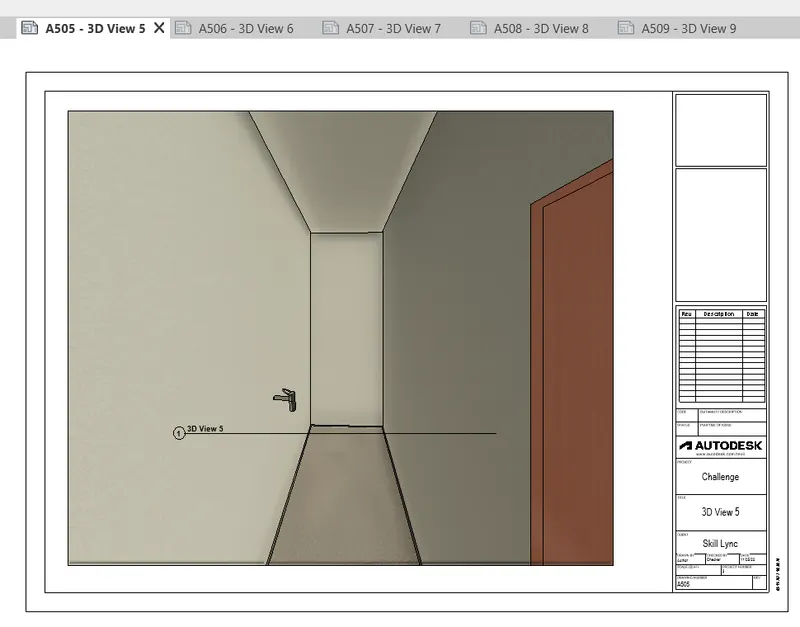
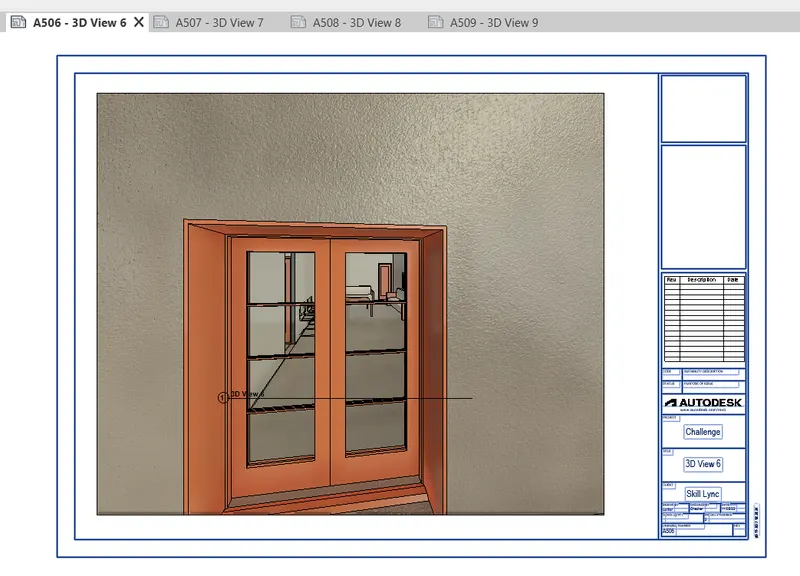
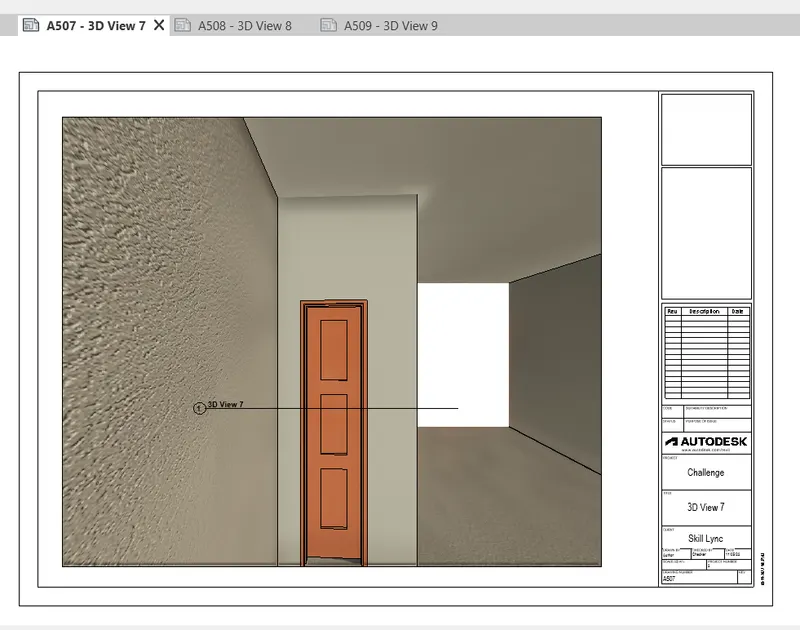
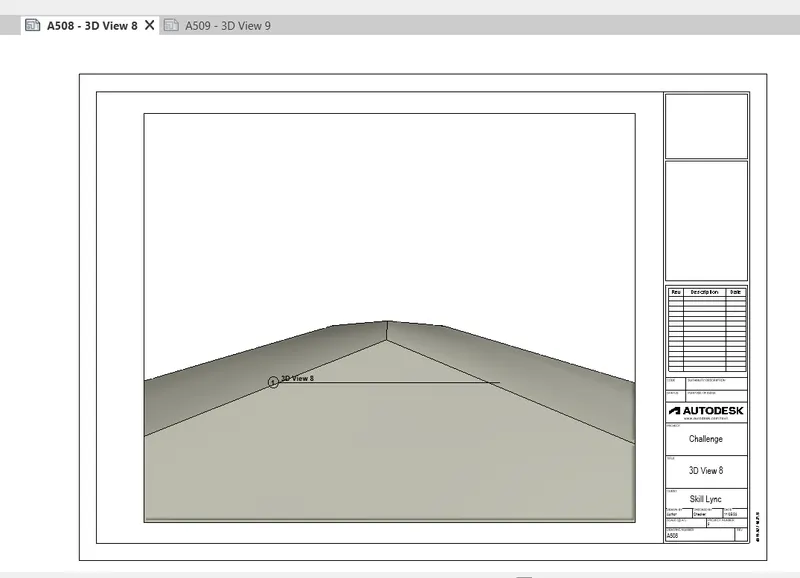
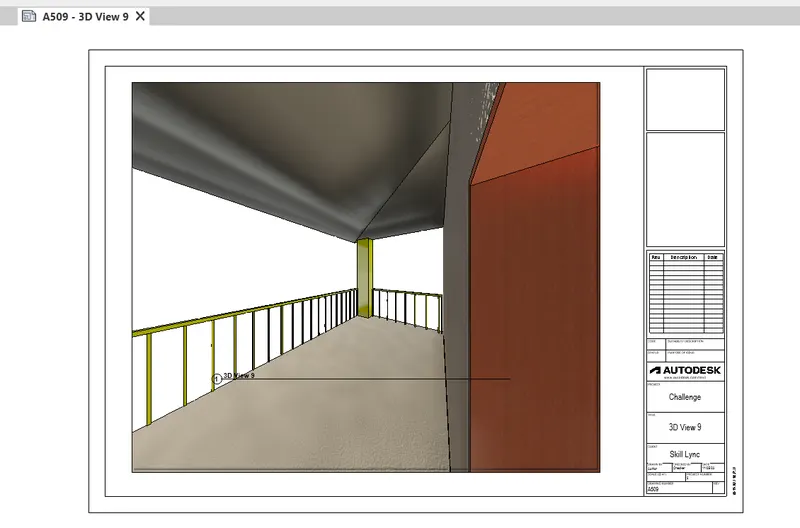
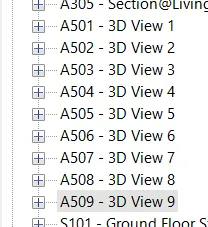
The above Views are renamed as below.