3D Creation of Celing, Roof, Architectural plan, Structural plan, Sectional view, Elevation view and Camera specific view for a house plan using REVIT
AIM : 3D Creation of Celing, Roof, Architectural plan, Structural plan, Sectional view, Elevation view and Camera specific view for a house plan using REVIT
Introduction:
Revit is a one of Building Information Modelling software for architects, landscape architects, structural engineeers, mechanical, electrical and plummbing(MEP) engineers, designers and contractors. Revit supports a multidiscipline design process for collaborative design. it used to make a coceptual design & visualization of the building or a project. Its powerful tools lets us to use the intelligent model-based process to plan, design, construct and manage buildings and infrastructure.
The software was developed by Charles River Software, founded in 1997, renamed Revit technology corporation in 2000, and acquired by Autodesk in 2002. The software allows todesign a building and structure and its components in 3D, aannotate the model ith 2D drafting elements, and access building inforation from the building model's database.
Revit is 4D building infortion modelling capable with tools to plan and track variousstages in the building's lifecycle, from concept to construction and later maintenance and / or demolition.
Question 1) Based on the project saved from Week 3, proceed from the First Floor Level. Model a Ceiling from the architecture tab above the walls at the first-floor level
Ans :
- open the challenge -3 file , goto architectue tab select ceiling.
- pick line option then pick the lines where the ceiling wanted on the walls ,click ok,
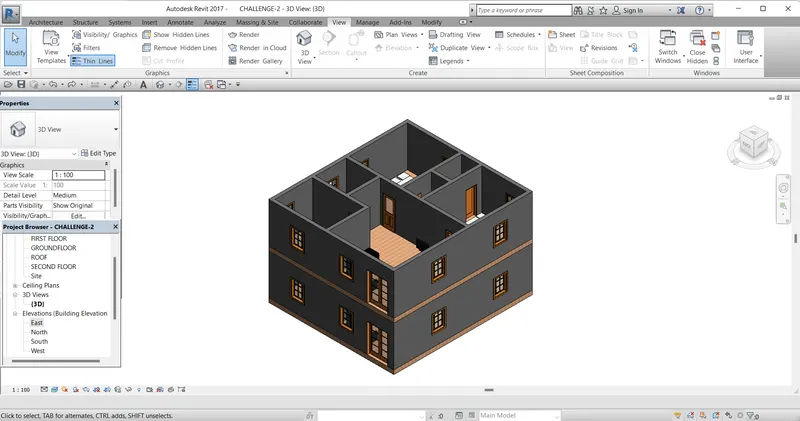
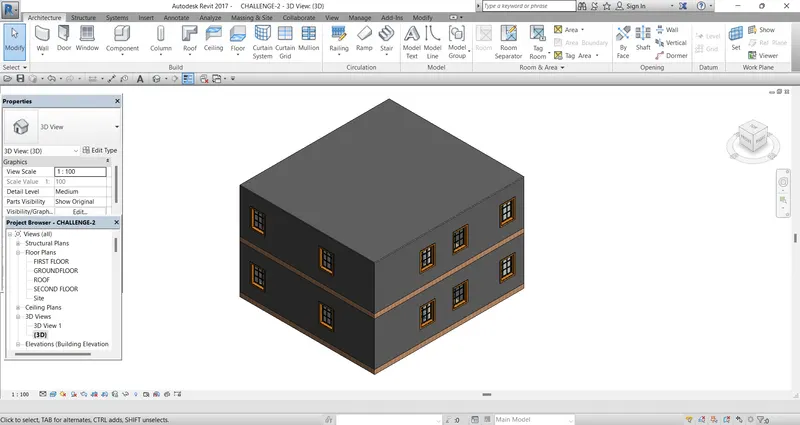
Question 2) Model a roof above the ceiling by selecting the footprints of the ceiling. Using the adjustment toolbars appearing on-screen adjust the roof slope to 10 degrees.
Ans :
- next go to roof tab under the architecture ribbon select roof by footprint option. choose the lower level as second floor level.
- then select the pick line option after that select the lines ,then click ok.
- goto properties browser change the slope to 10 degrees.
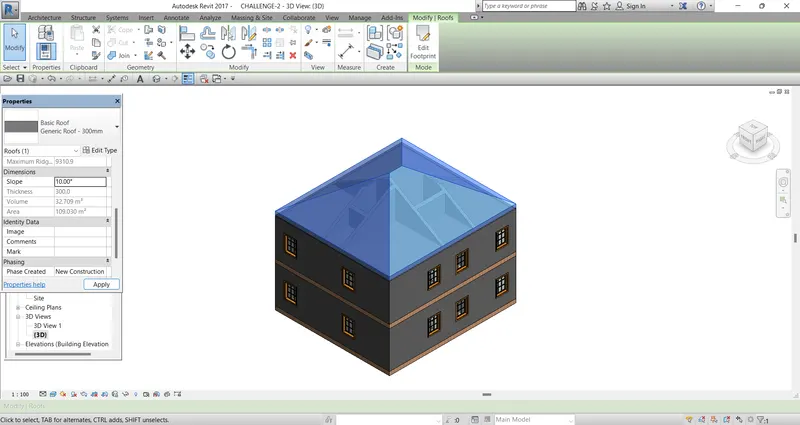
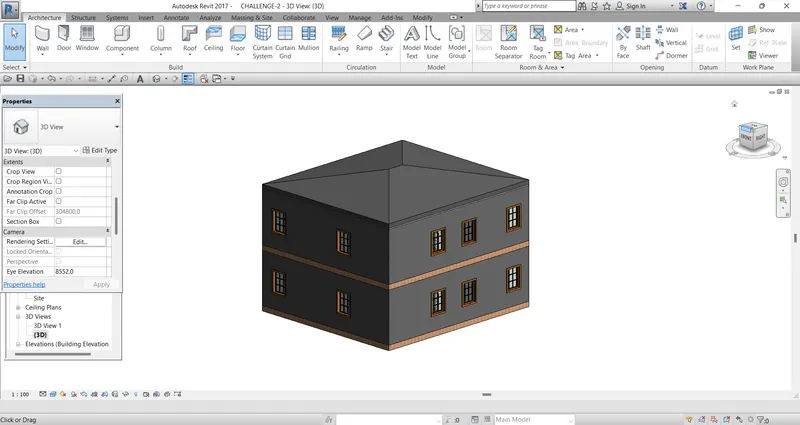
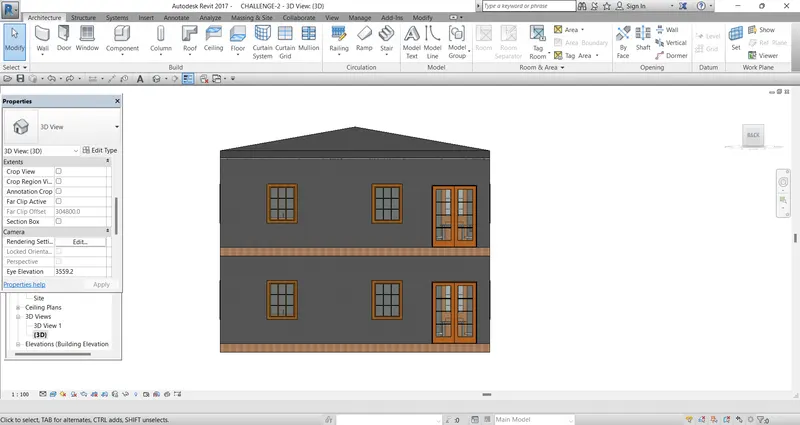
Question 3) Using the file saved from weeks 2 to 4, create plan views for ground floor level and first-floor level including all the walls, floors, and components. Separate them to
architecture and structural plans
a. Architecture plan must have walls, floors, and all the components placed within the building
b. Structure plan must have details of only walls, floors, and columns
Ans :
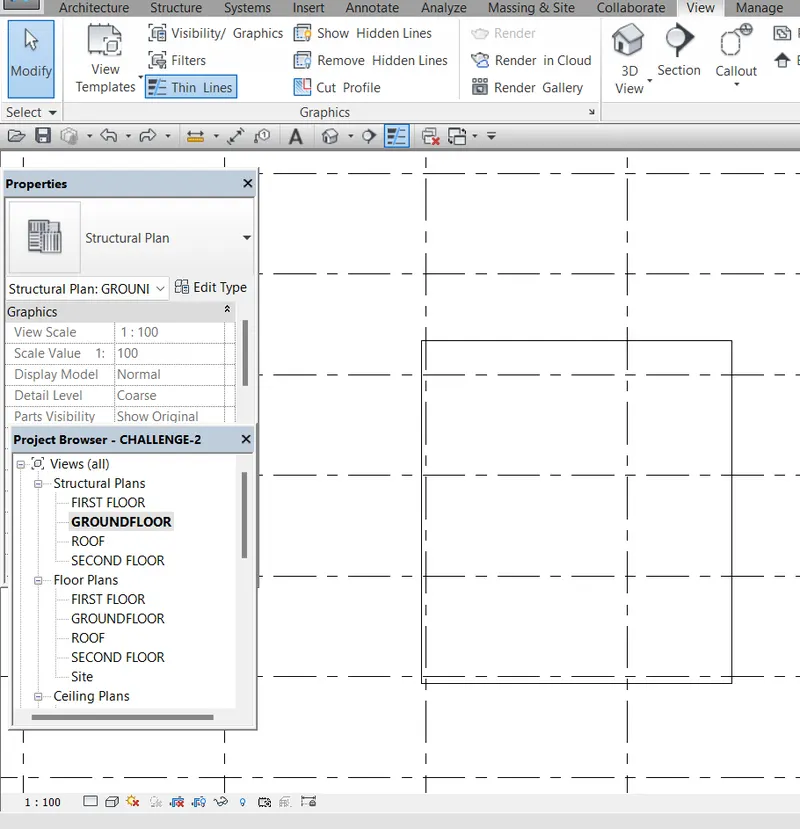
- goto view tab select plan view click on floor plan
- selct ground floor plan and save it similarly for first floor plan.
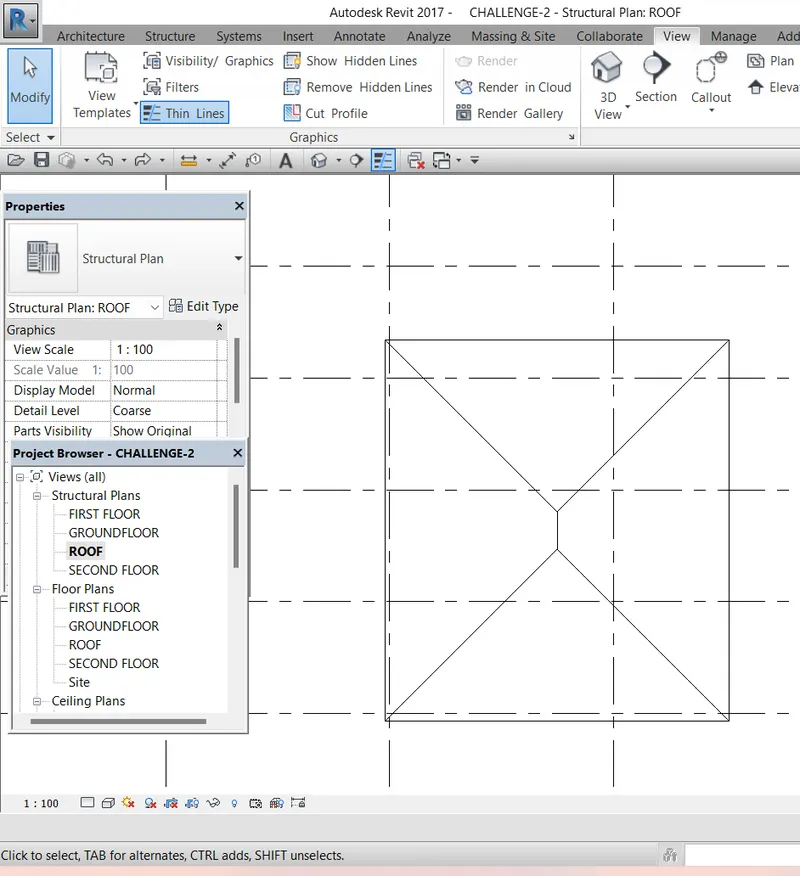
- for staructural plans goto view tab and click on the structural plan select whcich floor is wanted to create and save the file.
- similarly for roof plan also.
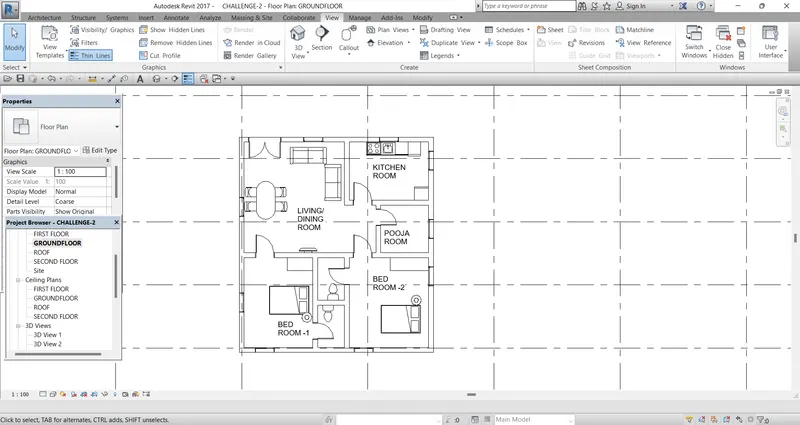
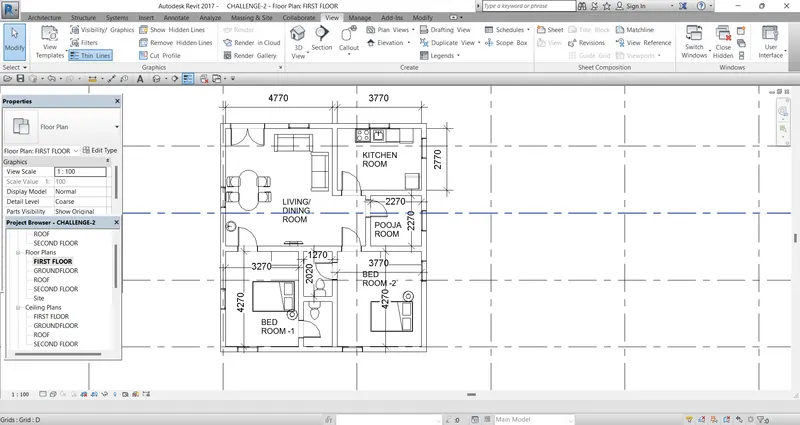
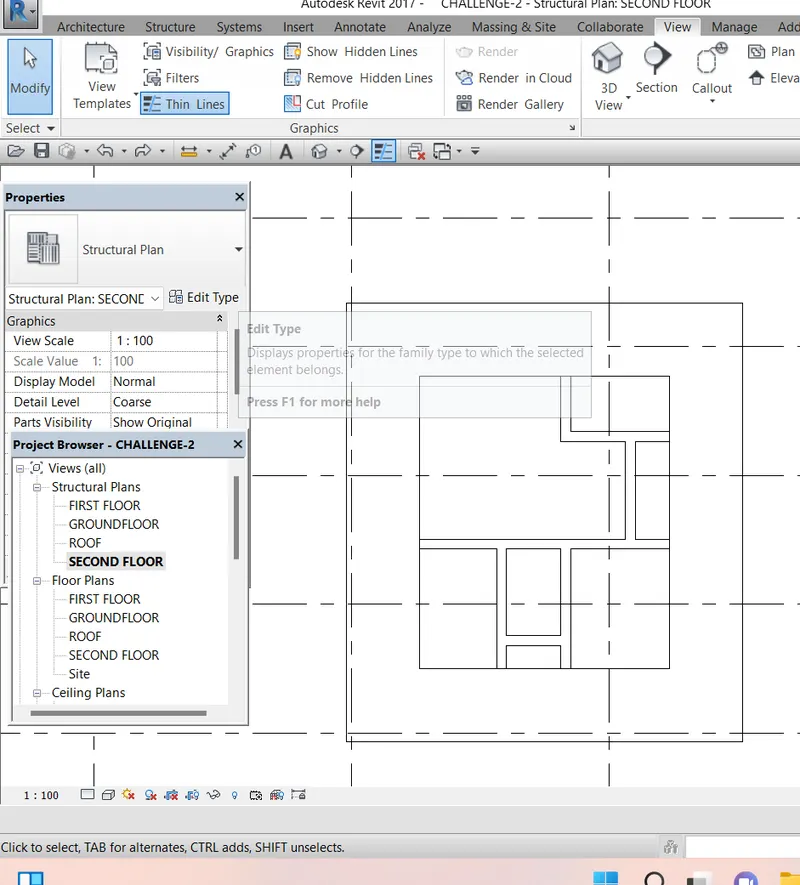
Question 4) Using annotate toolbar add dimensions to all the walls and floors with reference to the longitudinal and transverse grids created in the project file.
Ans :
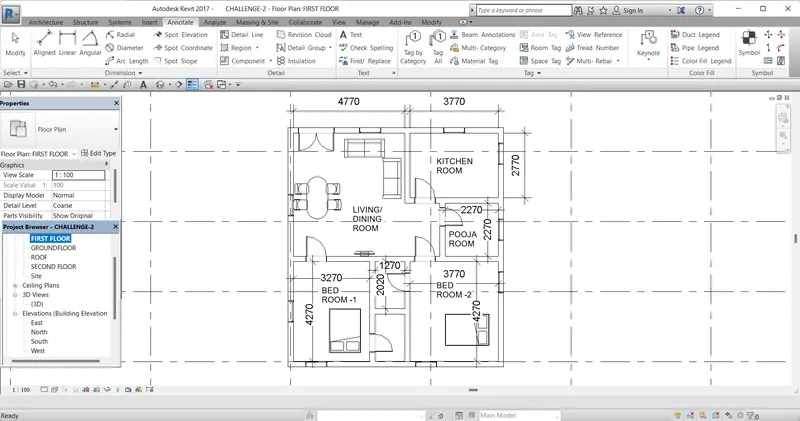
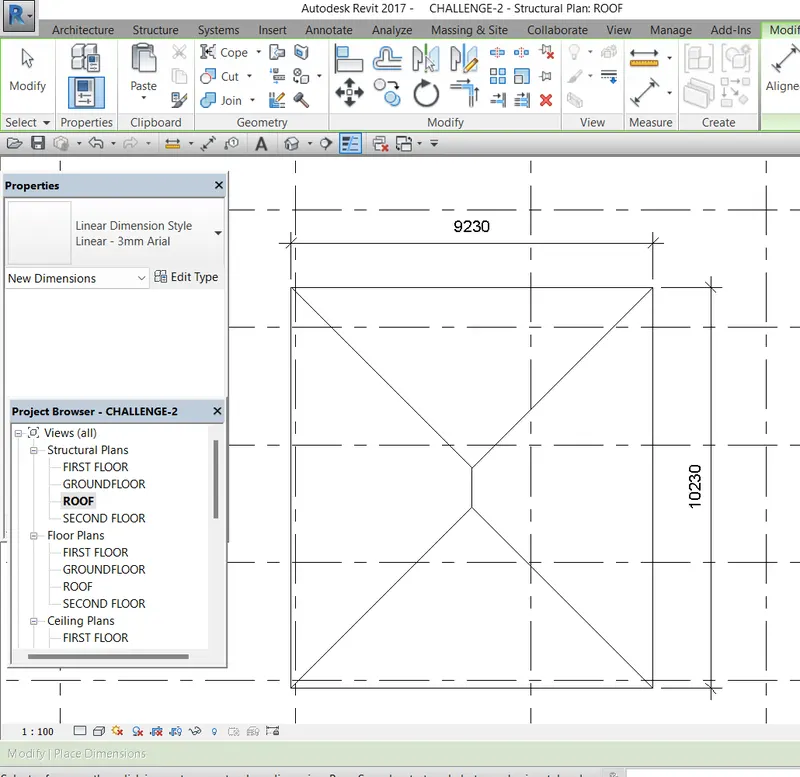
- goto annotate tab select lenear measurement then measure the walls and floor.
Question 5) Create a sheet template from the view tab and adjust the parameters on the sheet to add appropriate views.
Ans :
- goto view tab selct cheet option then insert the A1 metric template.
- to change the information of template selct and goto properties browser to change the text .
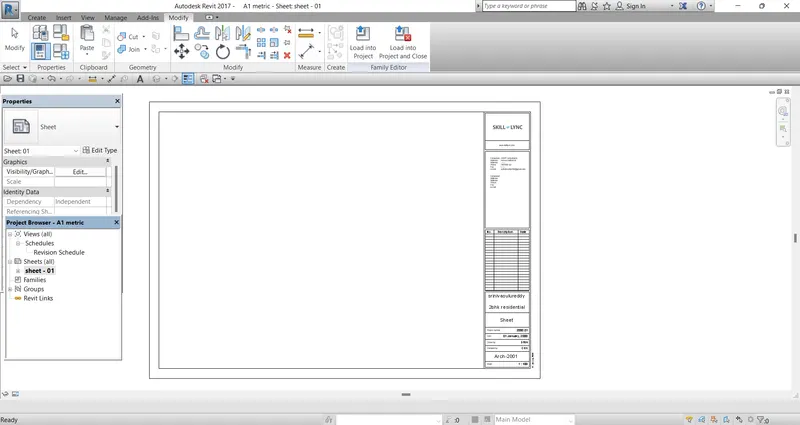
Question 6) Using the elevation tab create the elevation views, looking at your building from East, North, South, and West
Ans :
- go to view tab and selct elevation and place it the face of all directions of building.
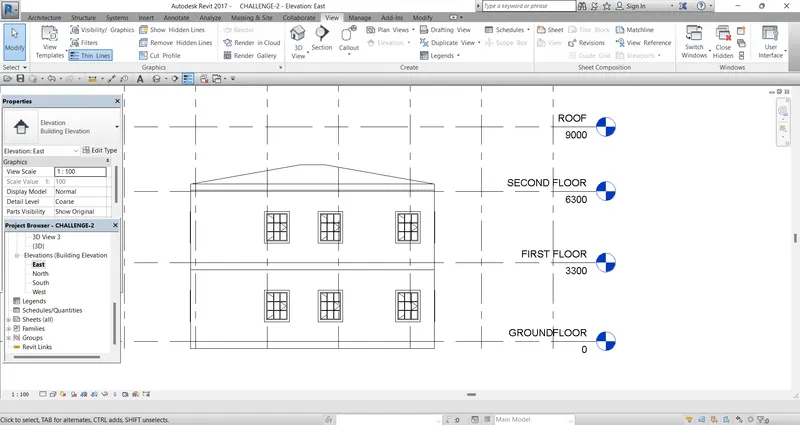
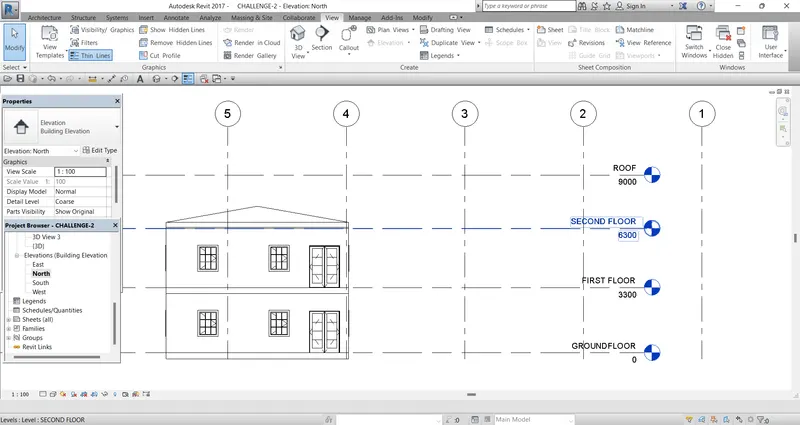
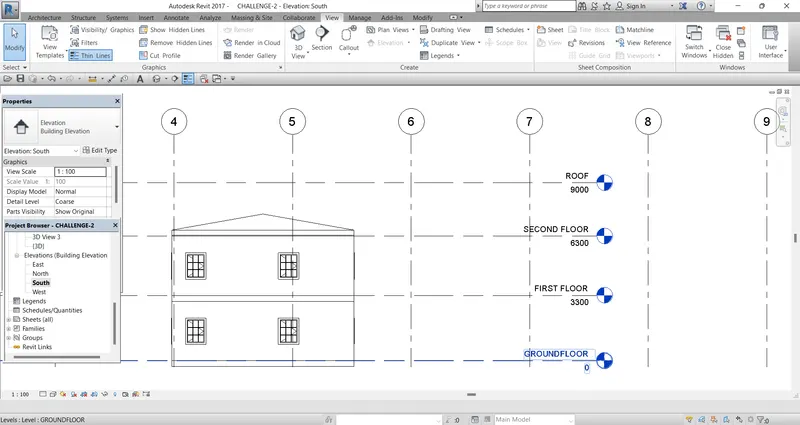
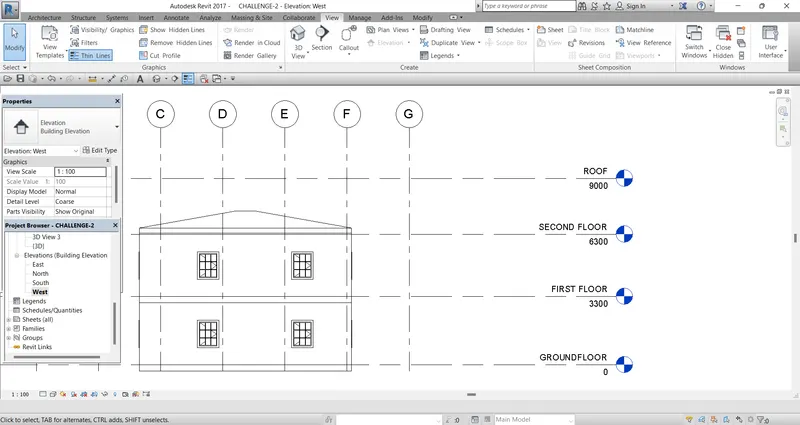
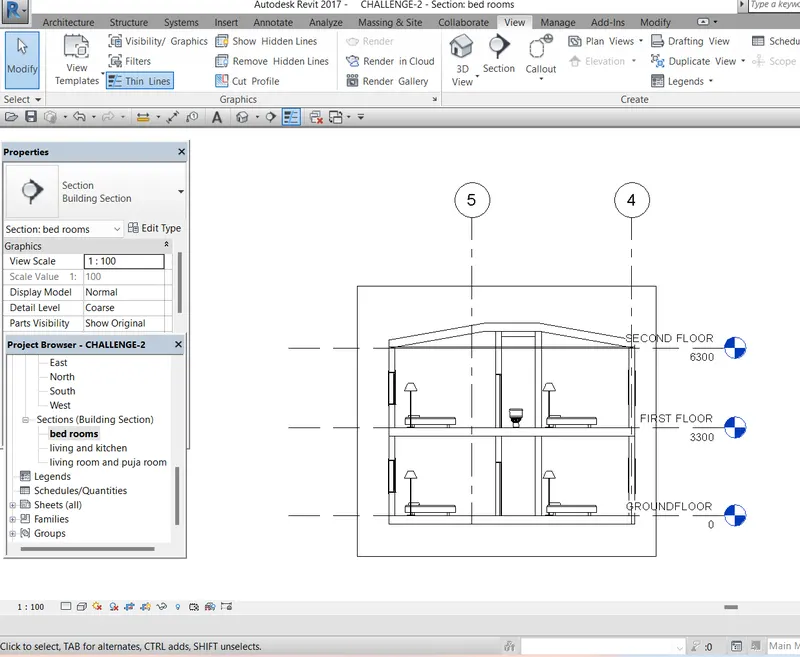
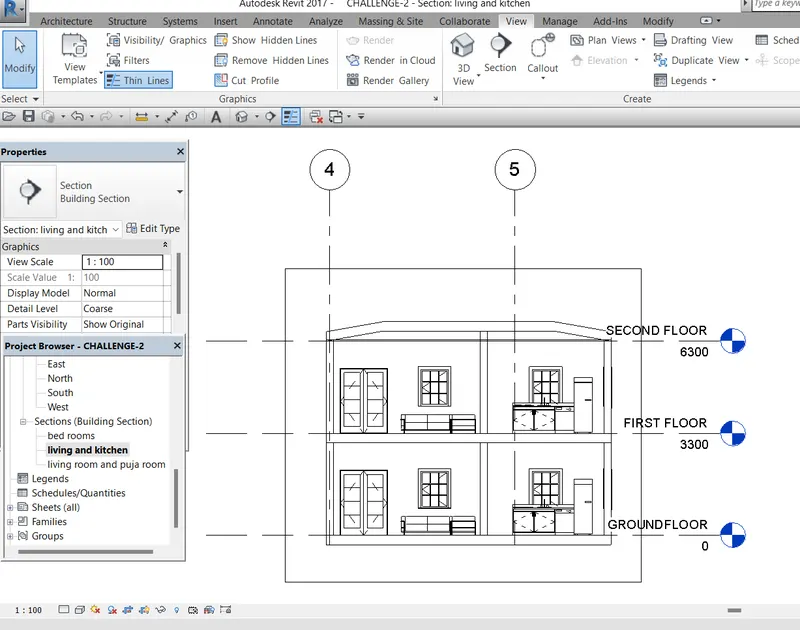
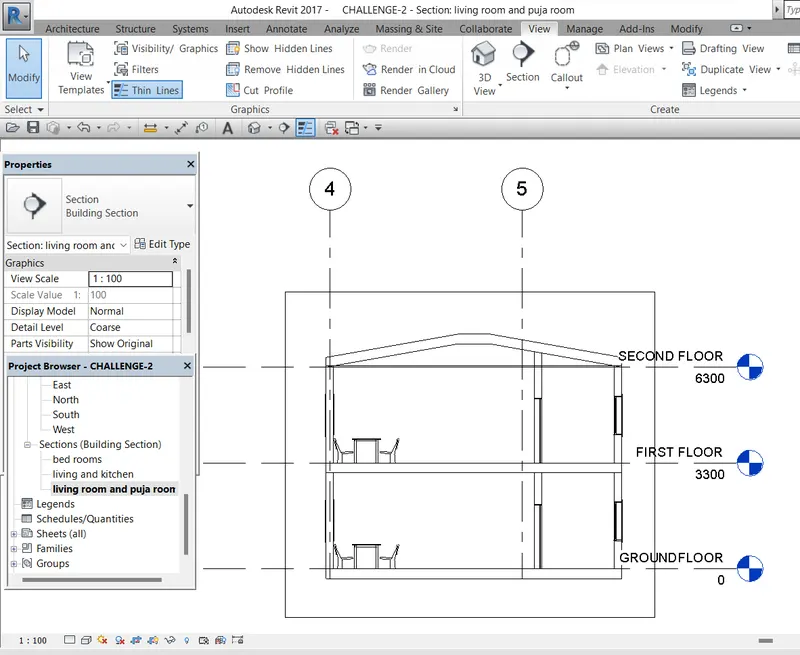
Question 7) Produce section cut through each room either cutting across longitudinally or in a transverse direction.
Ans :
- go to view tab select sction option ,then create the different sections acroos the each rooms by longitudinally and tranverse directions.
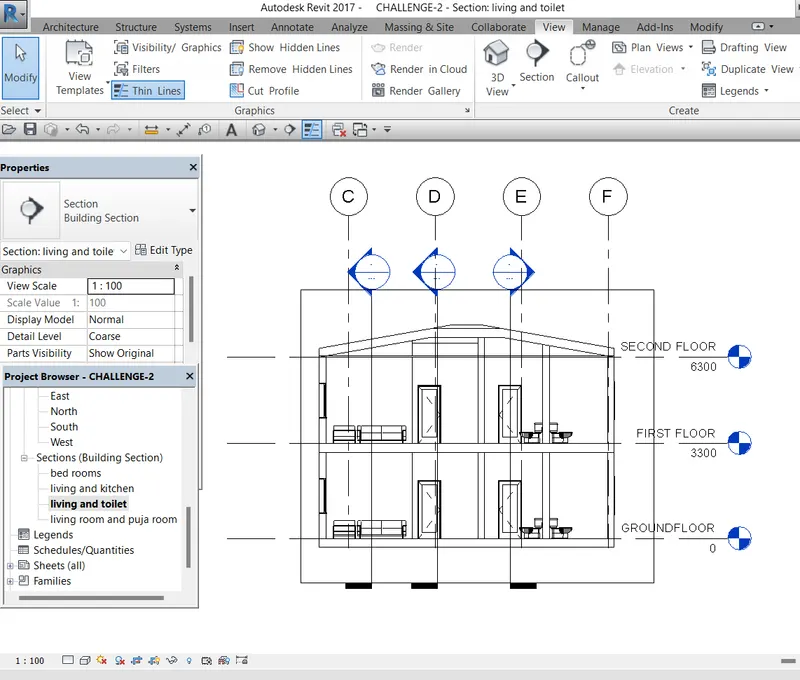
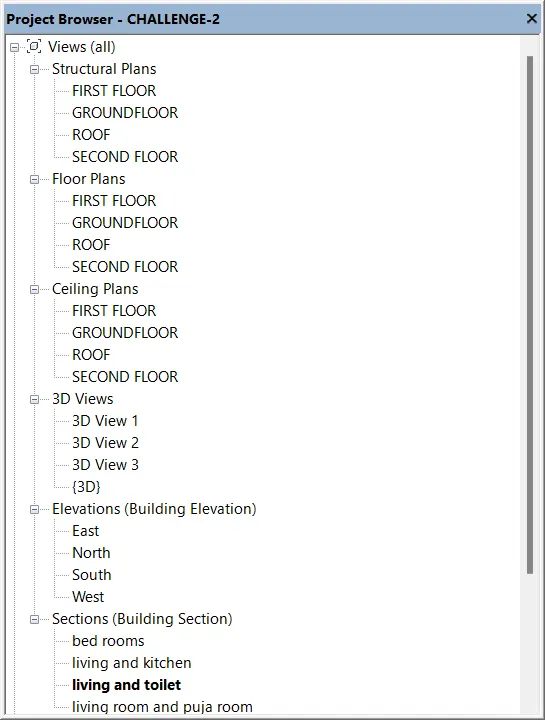
Question 8) Classify the views, Plan Views, Section Views, and Elevation views to either Design or Documentation category using Properties browser.
Ans :
- go to project browser the views are already arranged / classified.
Question 9) Using the sheet template produced create multiple sheets as follows
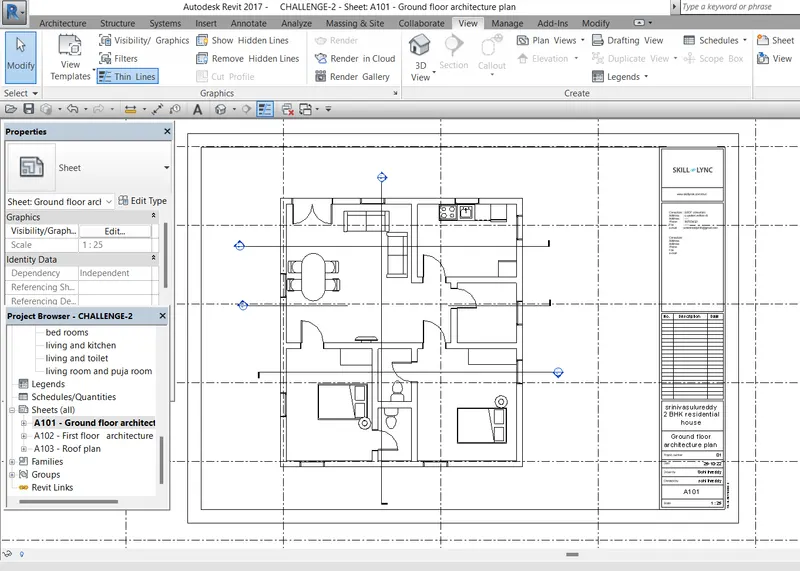
a. A 101- Ground Floor Architecture Plan
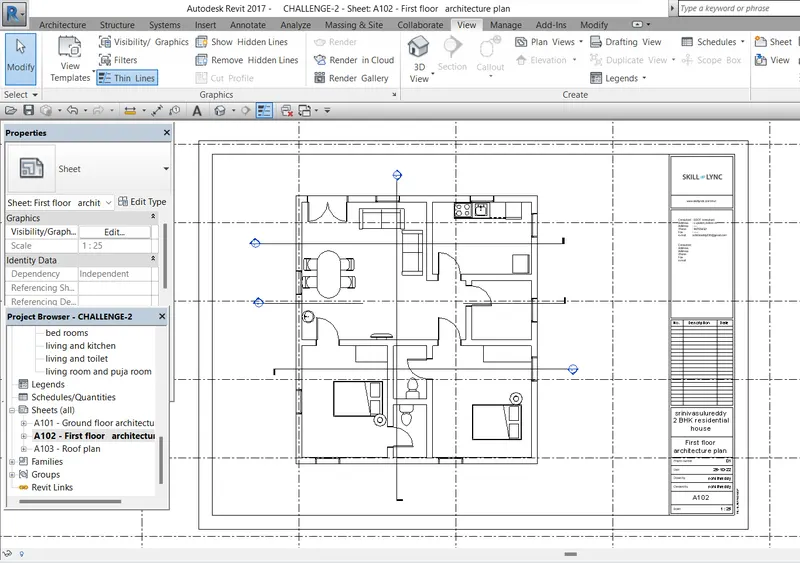
b. A 102- First Floor Architecture Plan
c. A 103- Roof Plan
d. S 101- Ground Floor Structural Plan
e. S 102- First Floor Structural Plan
f. S 103- Roof Framing Plan
g. A-201- North-South Elevations
h. A-202- East-West Elevations
Add additional sheets based on the sections created in your Revit file
Ans :
- go to view tab and select sheet option then insert the A1 metric template.
- edit the template as comfortable .
- then insert the certin views in to the sheet.
- prepare the sheets with
a. A 101- Ground Floor Architecture Plan
b. A 102- First Floor Architecture Plan
c. A 103- Roof Plan
d. S 101- Ground Floor Structural Plan
e. S 102- First Floor Structural Plan
f. S 103- Roof Framing Plan
g. A-201- North-South Elevations
h. A-202- East-West Elevations
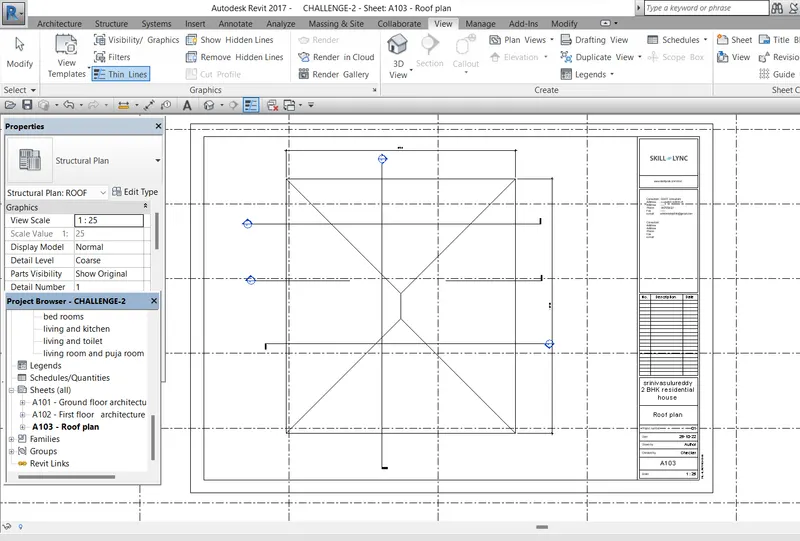
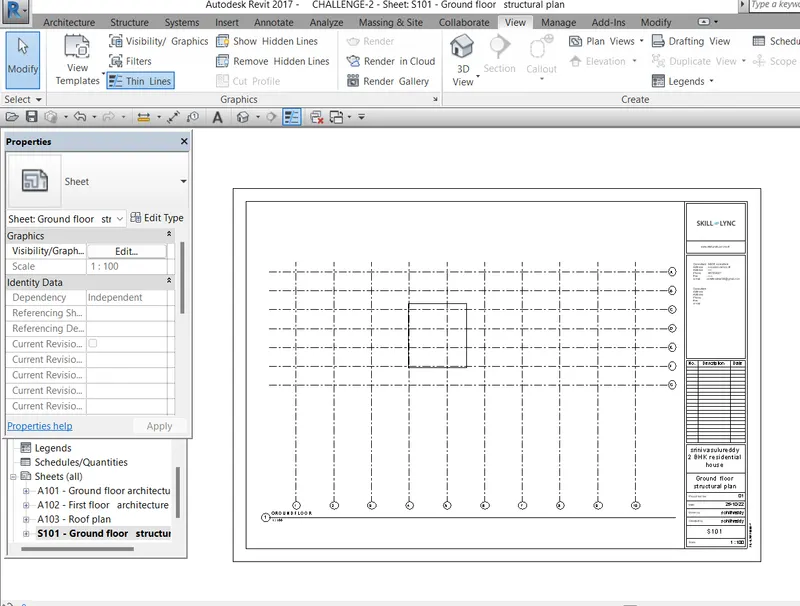
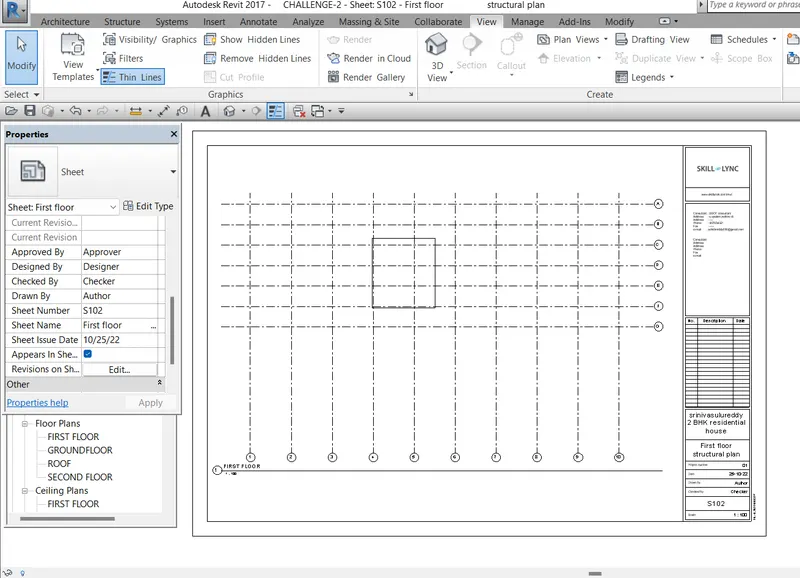
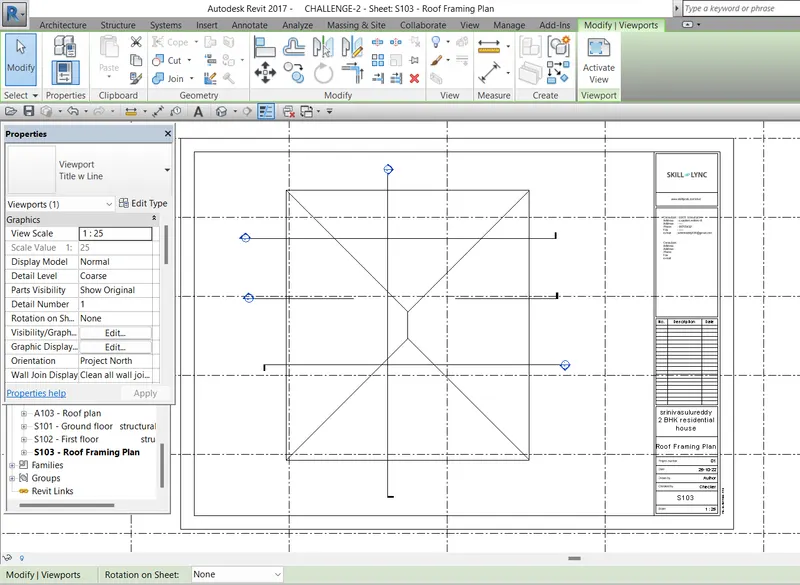
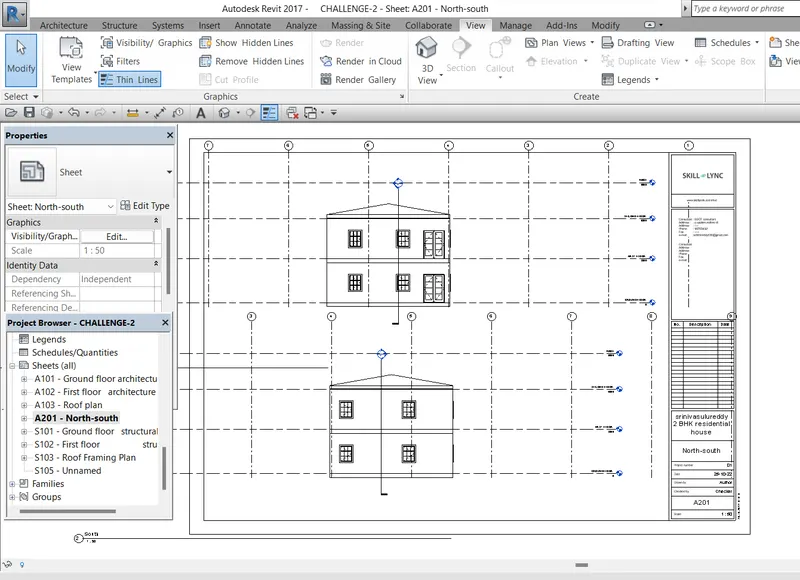
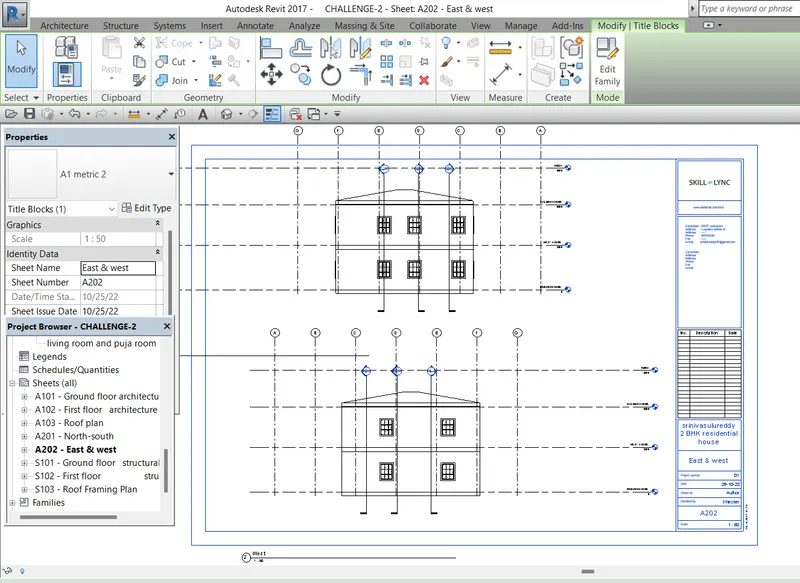
Question 10) Create a camera-specific view or a 3D view in each room ( living, dining, bedroom). Based on the views create a new set of sheets starting A-501 (you can add as many sheets after, 502, 503.. n)to place the 3D view images. Produce the sheets as a part of project drafting.
Ans :
- go to view tab click on default 3d view and then select camera view .
- then place the camera where the view wanted .
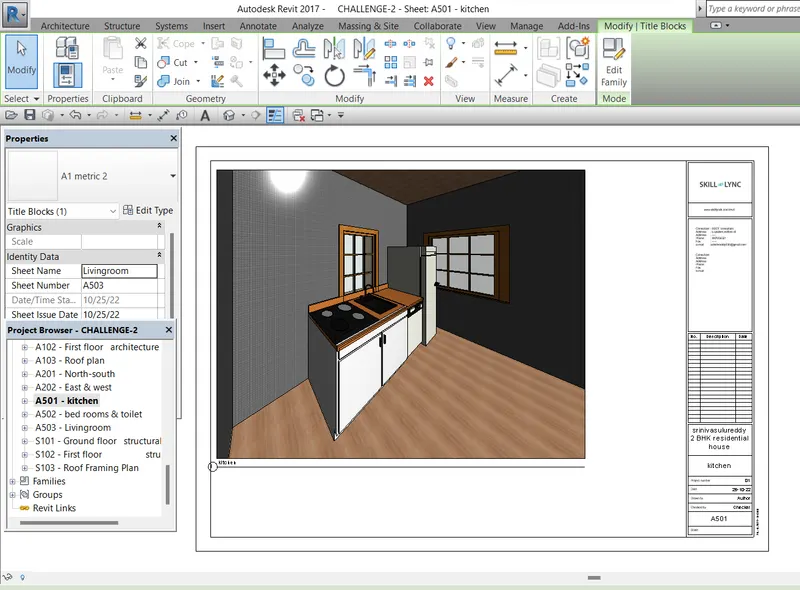
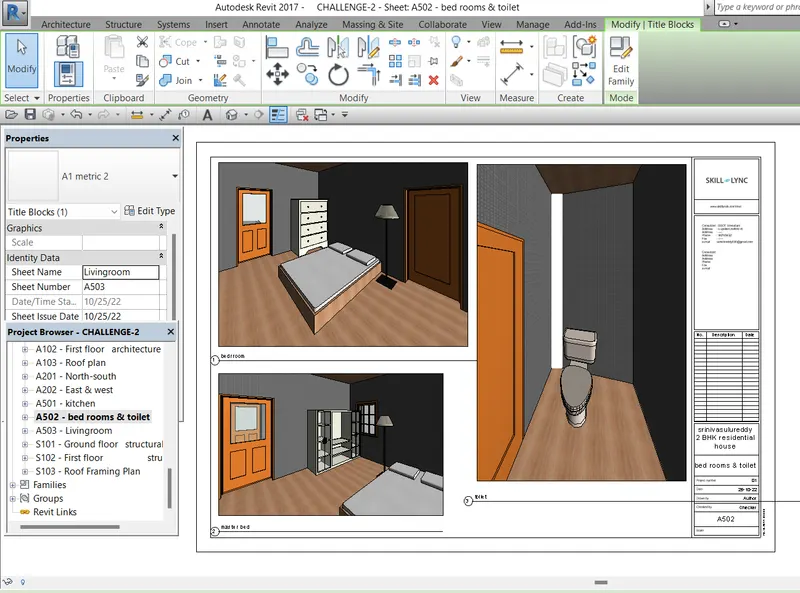
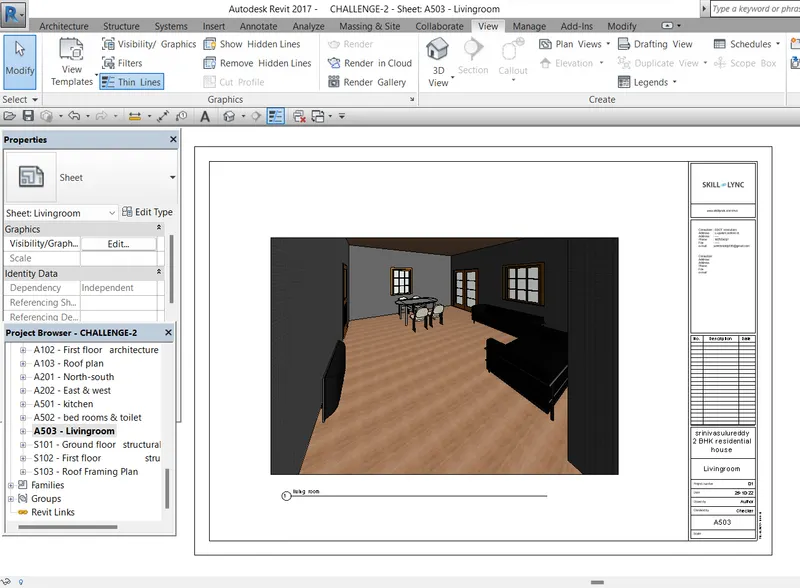
Result :
- The above given questions are solved and the answers are uploaded above with the specified ,related images.