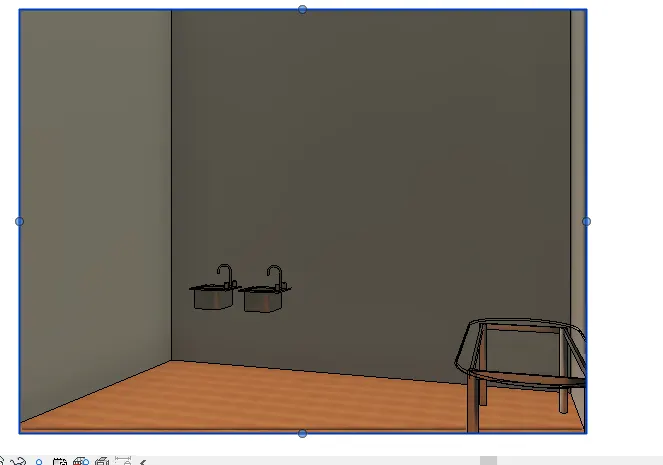
3D Creation of Celing, Roof, Architectural plan, Structural plan, Sectional view, Elevation view and Camera specific view for a house plan using REVIT
1 AIM TO DRAW THE CEALING ON THE WALLS
1 OPEN REVIT
2 SELECT an archhitectural template
3 now make a ection by the wall element
4 rectangular section of 50,70
6 now draw the partichen
7 draw the partion by using the partion wall
8 now select theceeeling optiion from the architectural tab
9 from the mody tab seldect the select wall option
10 now select the walls
11 select ok
12 now go to the 3d view to see the celing has been created
13 result 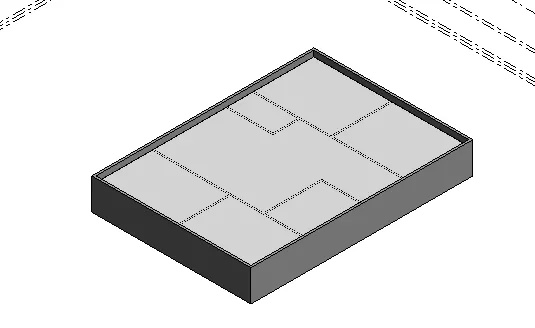
2 AIM TO DRAW THE ROOF ON THE CEALING
1 OPEN REVIT
2 SELECT an archhitectural template
3 go to the architectural tab and select the roof element
4 go to the top view and select the walls to create a roof
5 select ok
6 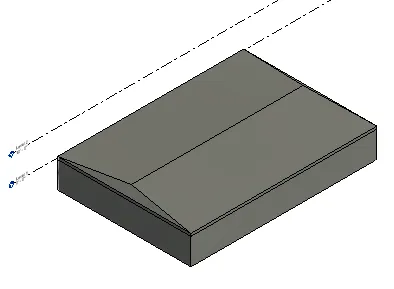
3 AIM TO CREATE A ARCHITECTURAL PLAN
1 open revit
2 open a architecutural template
3 now go to the file
4 open a file from week 3
5 now we have to seperate the architectural plan froom the structural plan
6 now go to the architectural option and select flooring
7 select the area of flooring
8 click ok
result 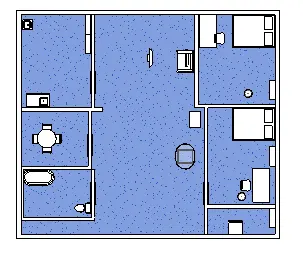
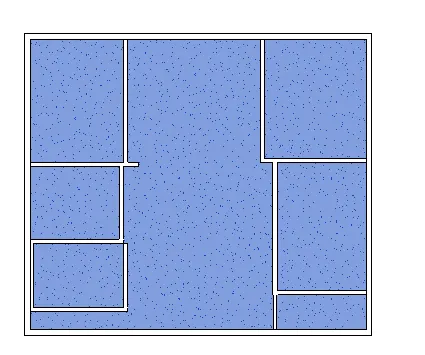
b the structural plan consits of walls and columbs without any components
1 delete all the components in the architectural plan
2 and only walls and floor should remain
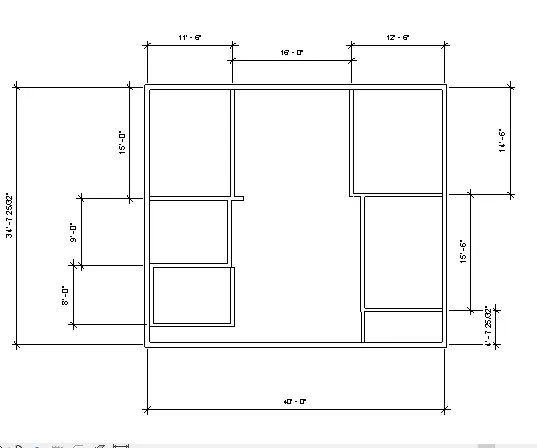
4 AIM TO ADD THE DIMENTIONS OF WALLS USING THE ANOTATION TAB
B THE USE of anotation tab to pecify the position ofthe wall with respect to the grid lies
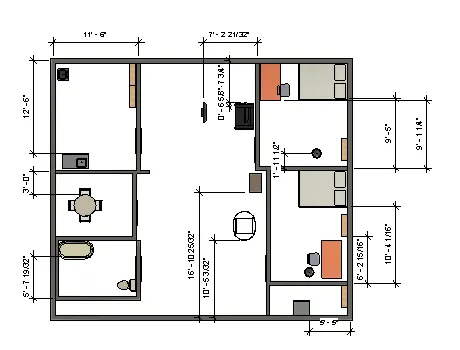
a the positon of all the componrnt in the section
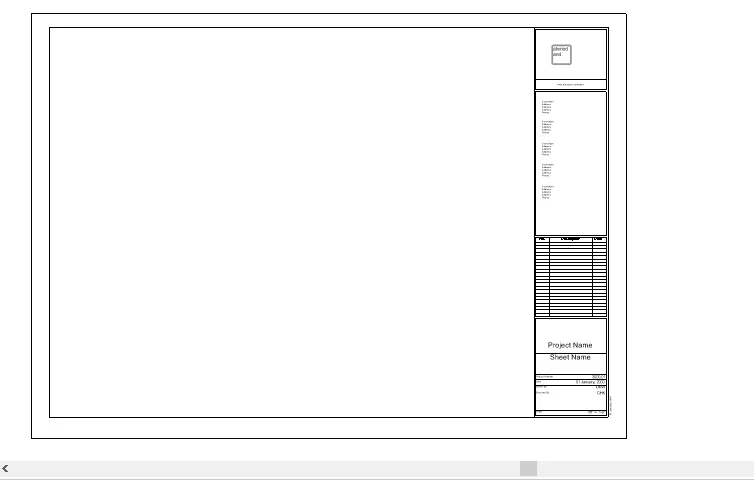
5 aim to crate a sheet to add apropriate views
1 open revit
2 open an achitectural template
3 go to the mange tab
4 select the sheet element
5 now remove the text you want to remove from the sheet and add your logos
6 aim to make see the elivations from different directions
1 open revit
2 open an architectural templte
3 fromthe propertys go to the diffrent views and see the elivation
4
east 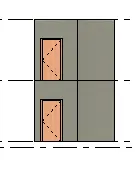
west 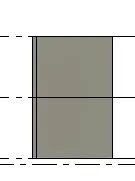
north 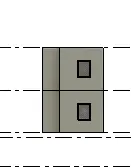
south 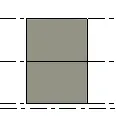
7 aim to make a section view'
1 open revit
2 open an architectural template
3 now open a saved proect of week 3
4 now go to the view tab
5 select the section
6 draw a section vertically
7 now go to the propertys and view the section view
section views of bedrooms
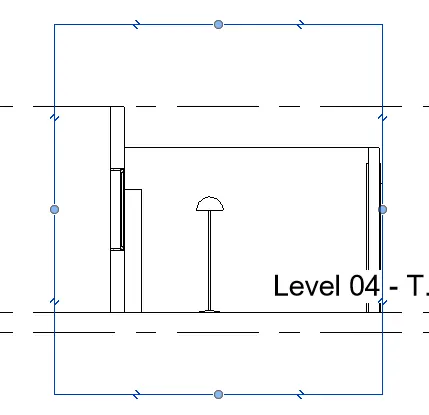
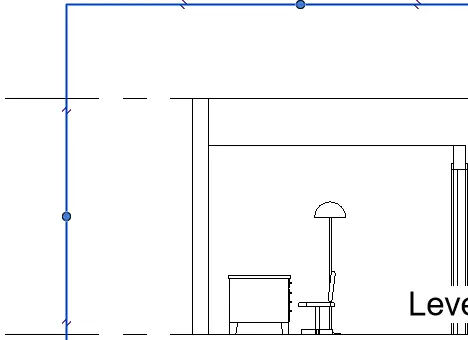
section viewof living room 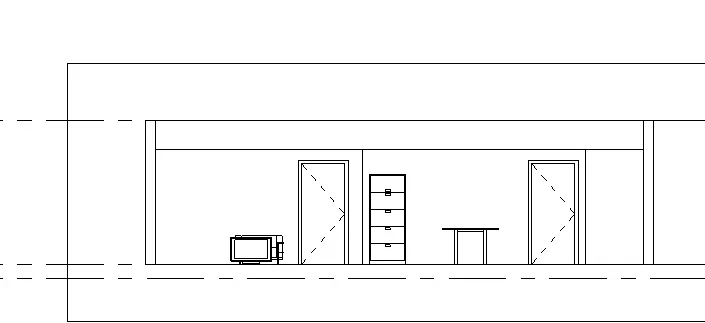
section view of kitchen 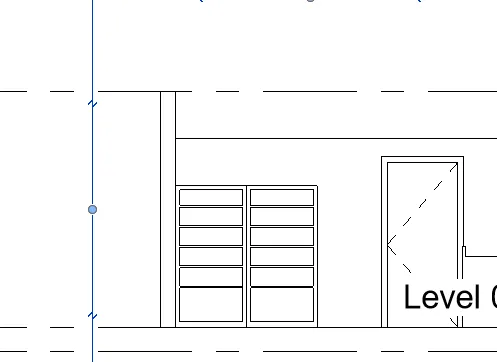
section view of dining 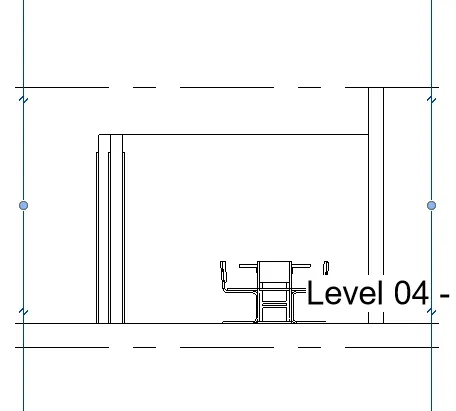
section view of bathroom 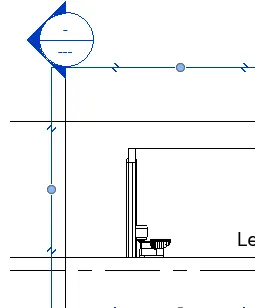
8 AIM TO CLASSIFY BETWEEN DIFFRENT VIEWS
1 PLAN VIEW IS THE 2 DVIEW WHUCH WE CREATE FOR EXAMPLE
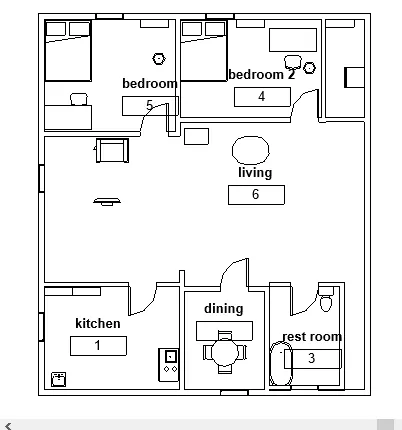
THIS IS A PLAN VIEW SHICH SHOWS ALL THE DETAILS IN THE PLAN WITH ALL THE cpmponents in it
section view is that if we cut a section using section line the view which we will get is known as section view for example this is the section view of the living room
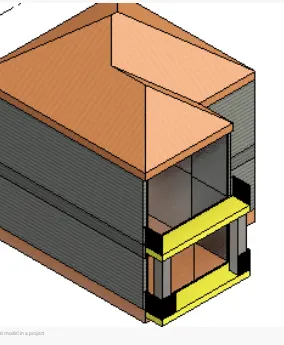
elavivation view is the 3 d view which we create it is the face of the building
9 AIM TO CREATE DIFFRENT SHEETS OF DIDDRENT VIEWS
1 OPEN REVIT
2 open the architectural template
3 go to the vuiew tab and select the sheet element
4 now go to the propertys element and drag the view into the sheet
5 ground floor structural plan
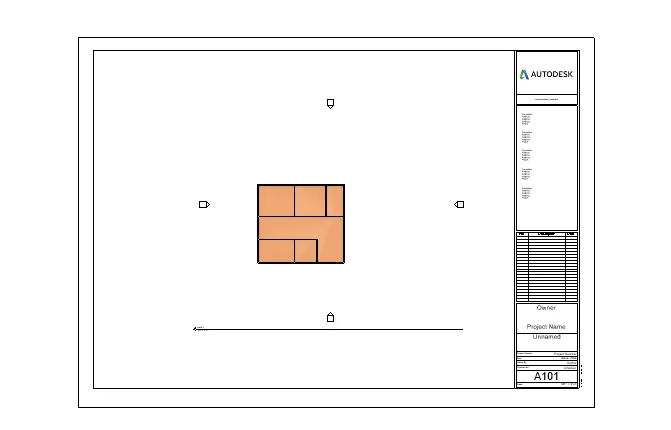
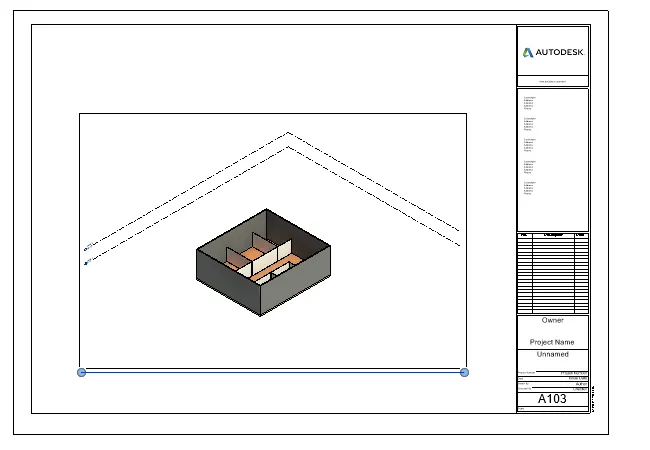
strucctural plan 1 st floor 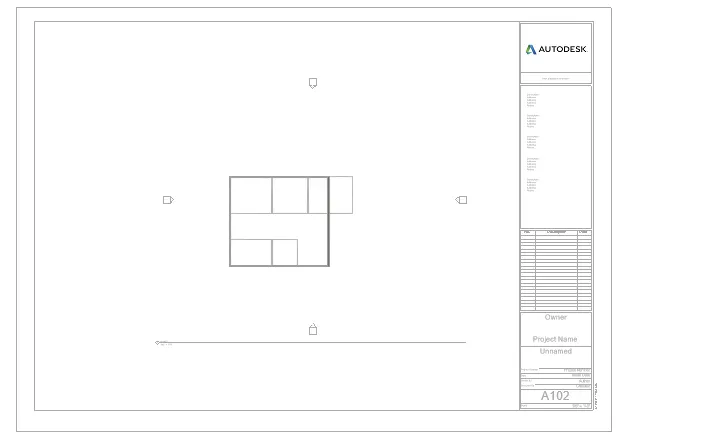
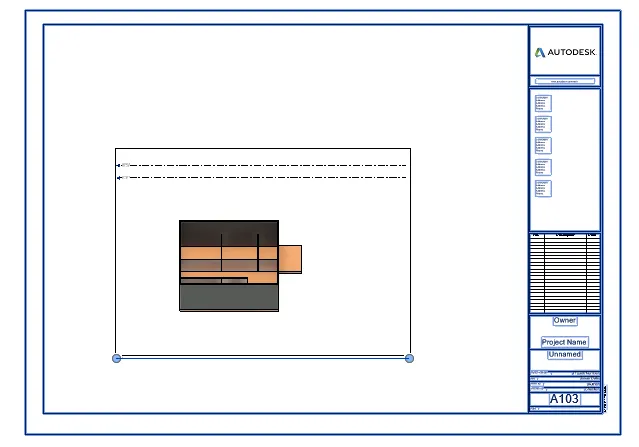
floor plan 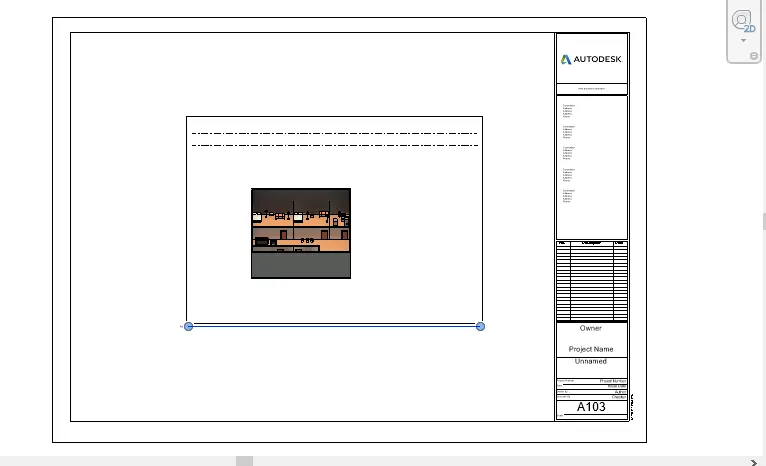
floor plan 1st floor
roof plan 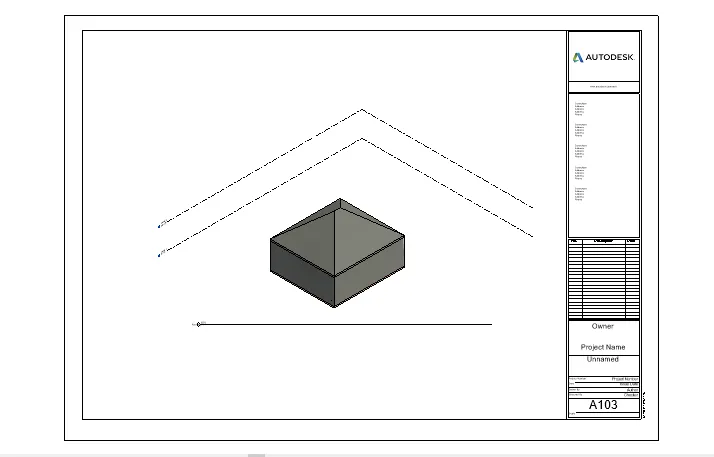
east elivation 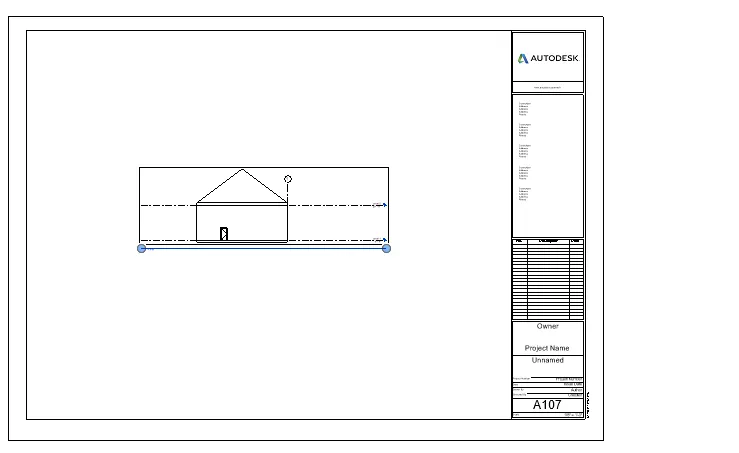
north elivation 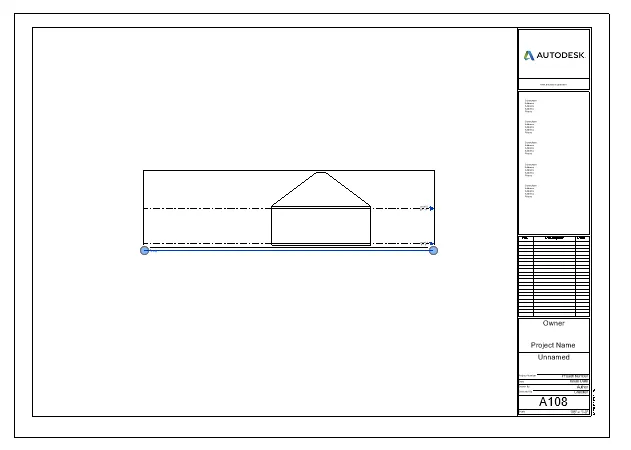
south 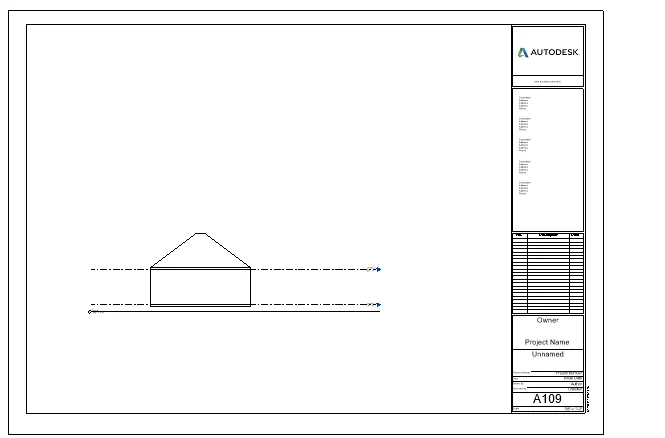
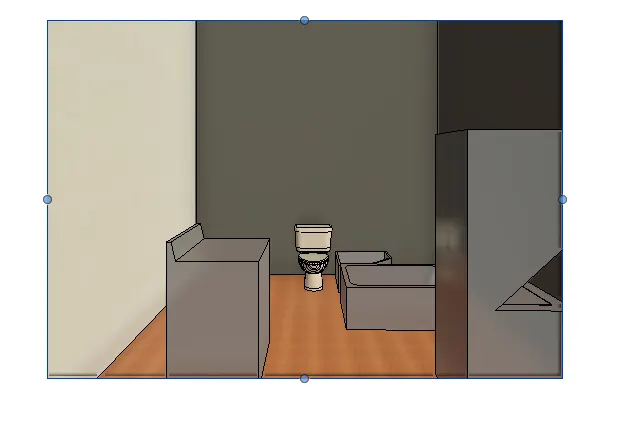
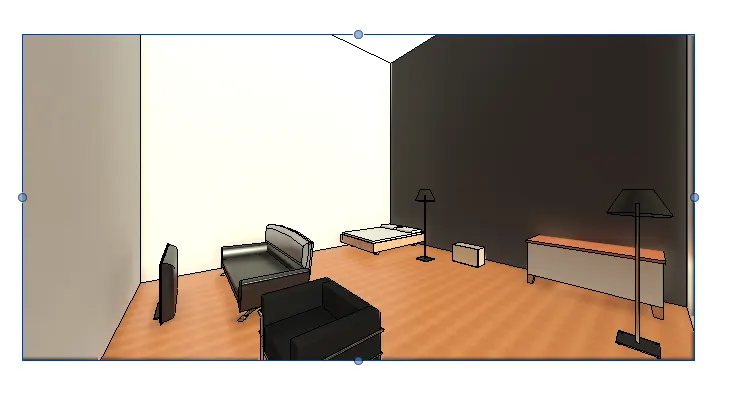
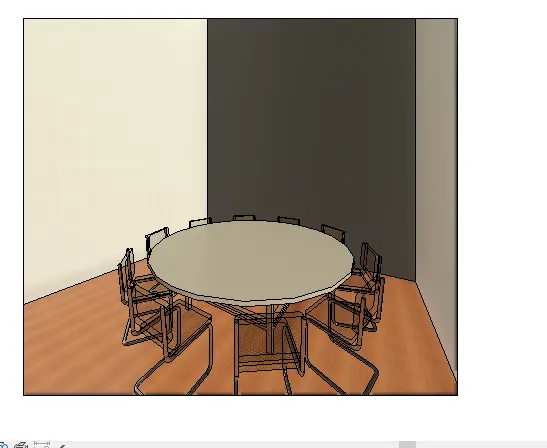
10 aim to create the camera view of each room
1 open revit
2 open the new architectural sheet
3 now open the saved model of week 3
4 now go to the view tab and select camera view
5 now place the camera in diffrent rooms to get the view
6 camera view of the bathroom
camera view of the bedroom
camera view of the dining room
camera view of the living room
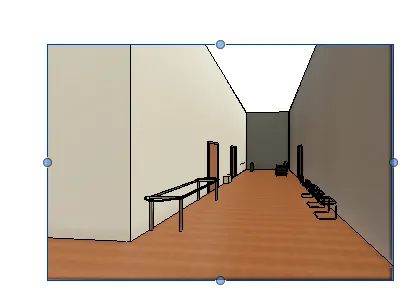
camera view of the kitchen