3D Creation of Celing, Roof, Architectural plan, Structural plan, Sectional view, Elevation view and Camera specific view for a house plan using REVIT
1.
AIM :
Based on the project saved from Week 3, proceed from the First Floor Level. Model a Ceiling from the architecture tab above the walls at the first-floor level.
INTRODUCTION :
in this project we have provided ceiling to yhe building.
PROCEDURE :
- open revit
- open week3 project
- go to prject browser > select first floor in floor plans
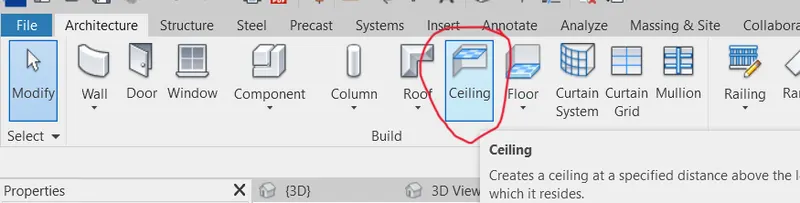
- go to architecture > select ceiling
- 
- after that select sketch ceiling
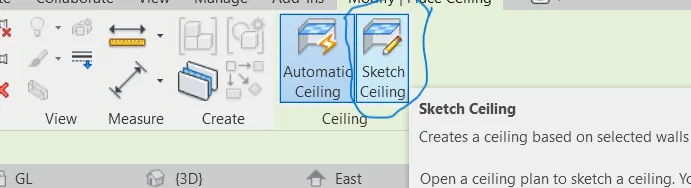
- then select pick lines
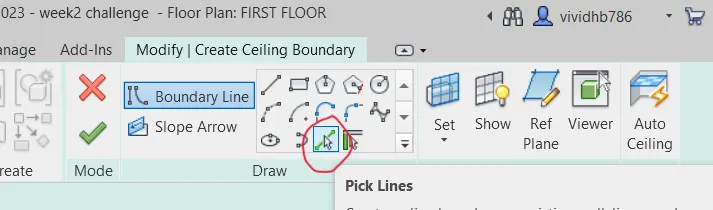
- draw the lines along the boundary lines
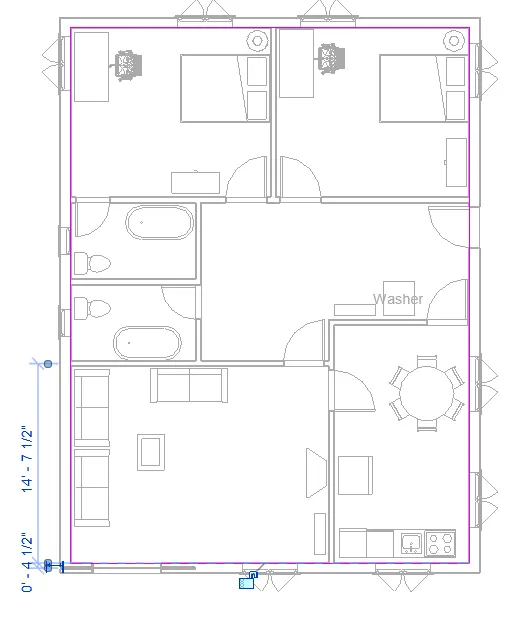
- finally select finish edit mode
- ceiling has created
RESULT :
ceiling has created from the architecture tab above the walls at the first floor level.
2.
AIM :
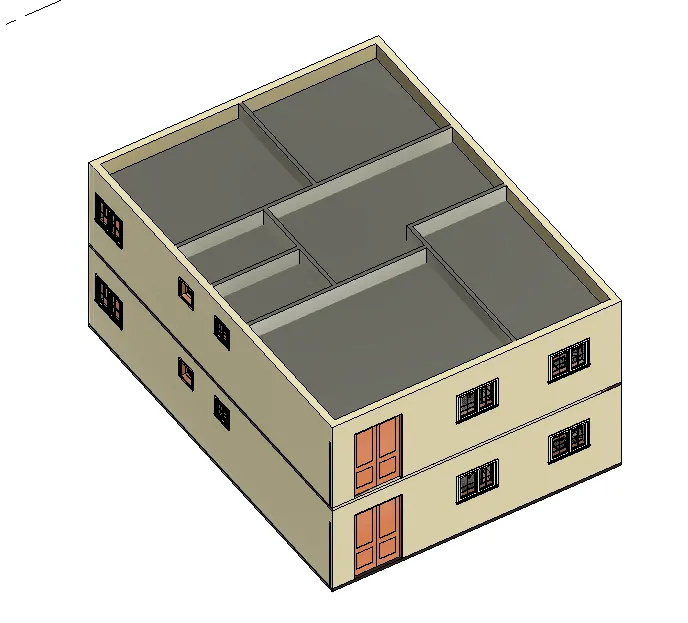
Model a roof above the ceiling by selecting the footprints of the ceiling. Using the adjustment toolbars appearing on-screen adjust the roof slope to 10 degrees.
INTRODUCTION :
roof is the top covering of a building, serving to protect against rain, snow, sunlight, wind etc. in this project we have provided roof to model Using the adjustment toolbars appearing on-screen adjusted the roof slope to 10 degree.
PROCEDURE :
step-1 :
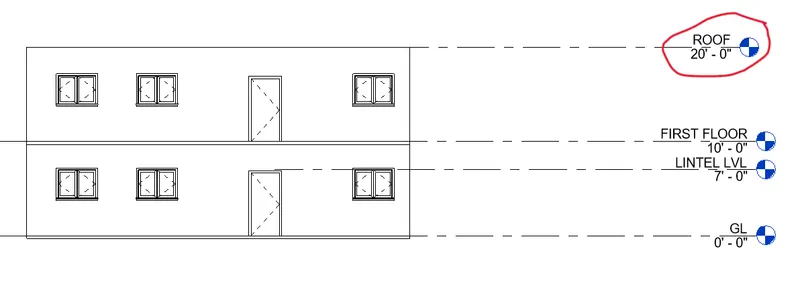
- in the drawing first we nwwd to make level for roof
- go to elevation view > select level from architecture tab > make level of 20'
step-2
- go to prject browser > select first floor in floor plans
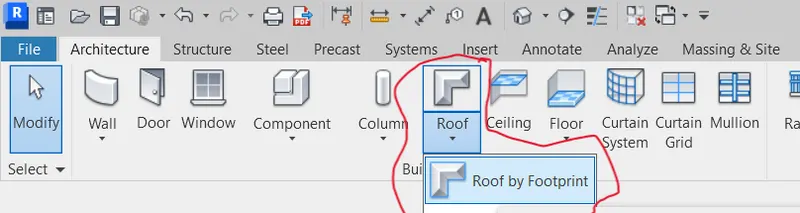
- go to architecture > select roof > select roof by footprint
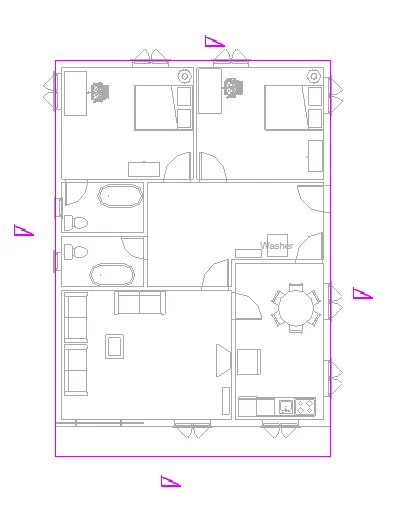
- selecgt rectangle from modify
- make rectangle along the boundary
step-3 :
- go to 3d view > select roof > make base level to roof level
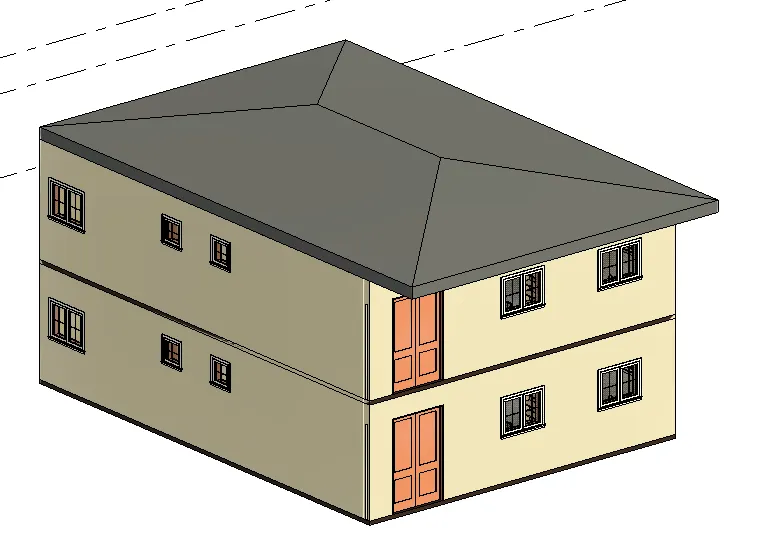
- the roof has created but we need to adjust the slope to 10degrees
- in project browser if you see the slop shown in inches so we need to adjust in degrees
- type UN > select slope > select unit in degrees
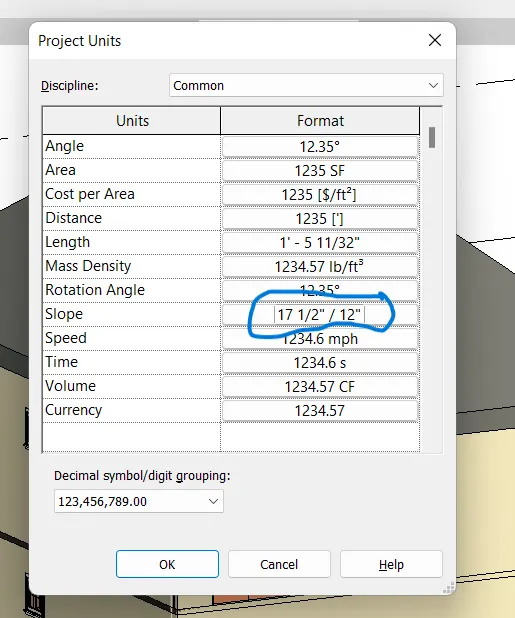
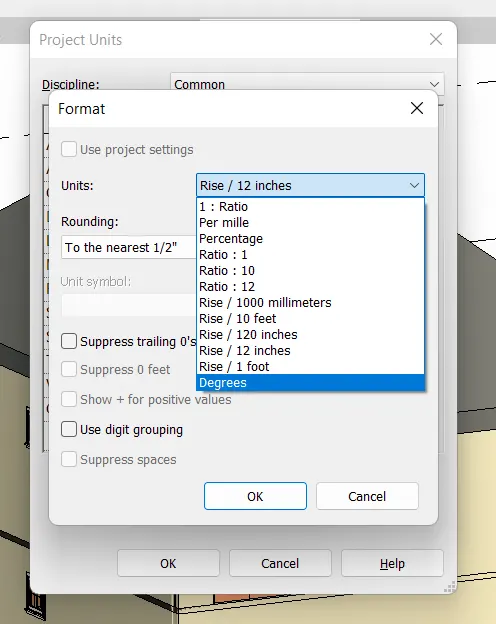
- final step go to project browser select > slope > type 10 dgree > enter
- slope of 10 degree are ready
RESULT :
we have created roof to a building Using the adjustment toolbars appearing on-screen adjusted the roof slope to 10 degree.
3.
AIM :
Using the file saved from weeks 2 to 4, create plan views for ground floor level and first-floor level including all the walls, floors, and components. Separate them to architecture and structural plans
INTRODUCTION :
a. Architecture plan must have walls, floors, and all the components placed within the building
b. Structure plan must have details of only walls, floors, and columns
PROCEDURE :
- go to project browser select ground floor plan
for architectural plan :
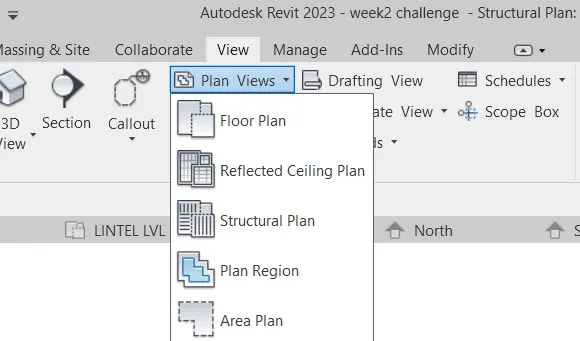
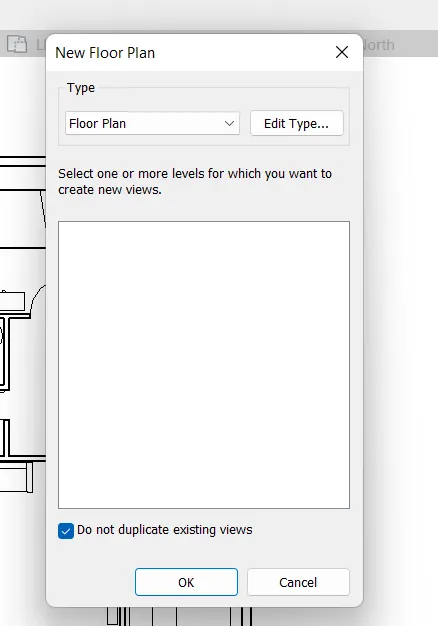
- after that go to view tab > select plan view > select floor plan > select edit type > ok > ok
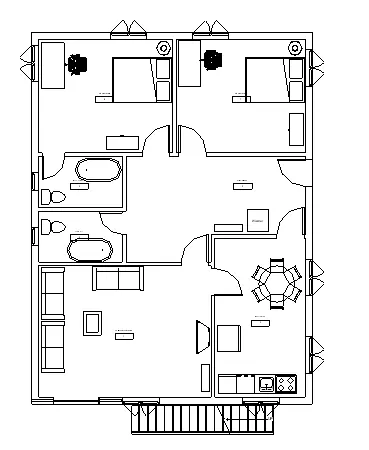
GROUND FLOOR PLAN -
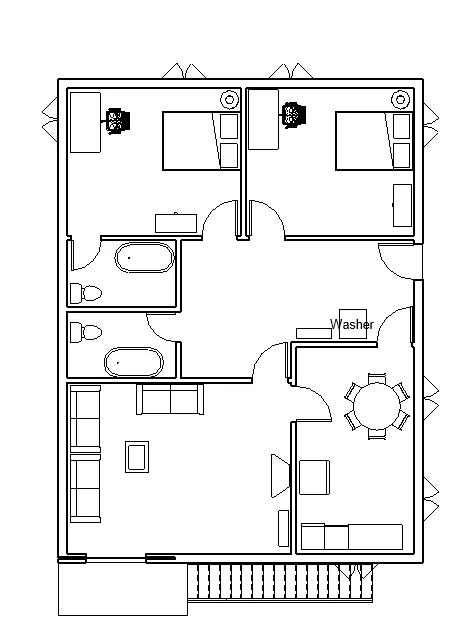
FIRST FLOOR PLAN -
for structural plan :
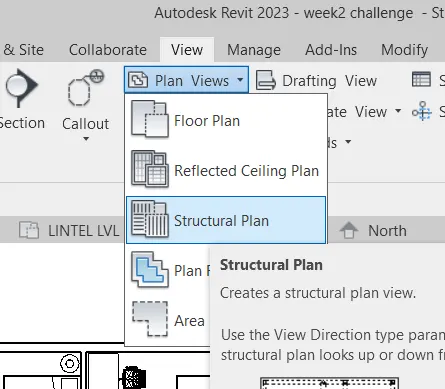
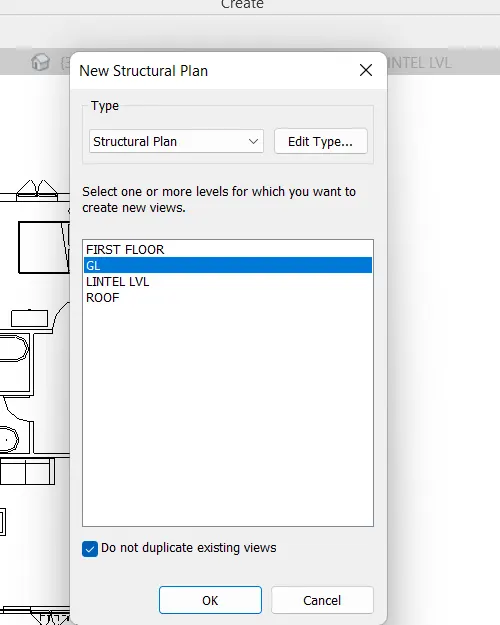
- after that go to view tab > select plan view > select structural plan > select ground floor > ok > ok
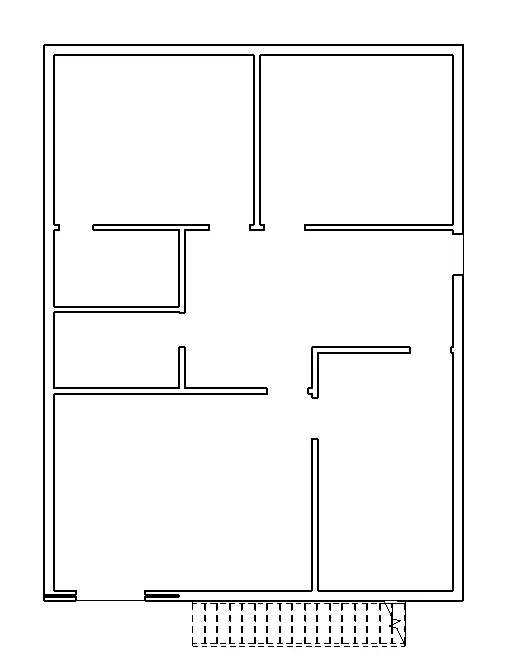
GROUND FLOOR STRUCTURAL PLAN -
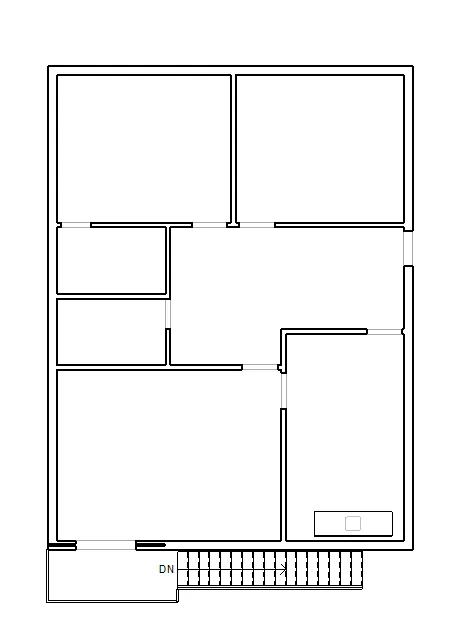
FIRST FLOOR STRUCTURAL PLAN -
RESULT :
we have created seperatly architectural plan and structural plan.
4.
AIM :
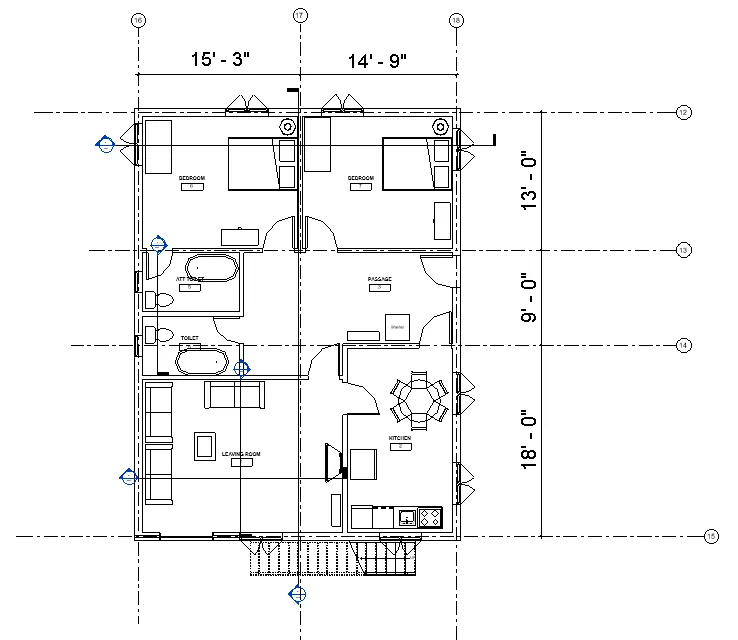
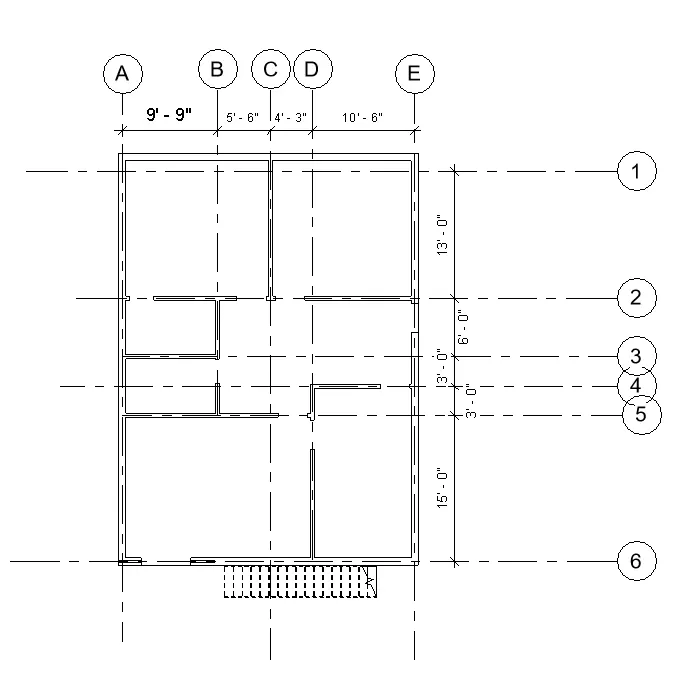
Using annotate toolbar add dimensions to all the walls and floors with reference to the longitudinal and transverse grids created in the project file.
INTRODUCTION :
a. The architecture plan dimensions include details on where the components are placed within the buildings with relation to grids. Overall dimensions are sufficient for architecture plans
b. The Structure plan dimensions must include details on the position of all the walls and interior walls with reference to grids. Locate all the framing components of the building with reference to a fixed point using Structural plans.
PROCEDURE :
- go to annotate tab select alligned dimensions, by taking reference of grid lines, give dimensions
ARCHITECTURAL PLAN DIMENSIONS
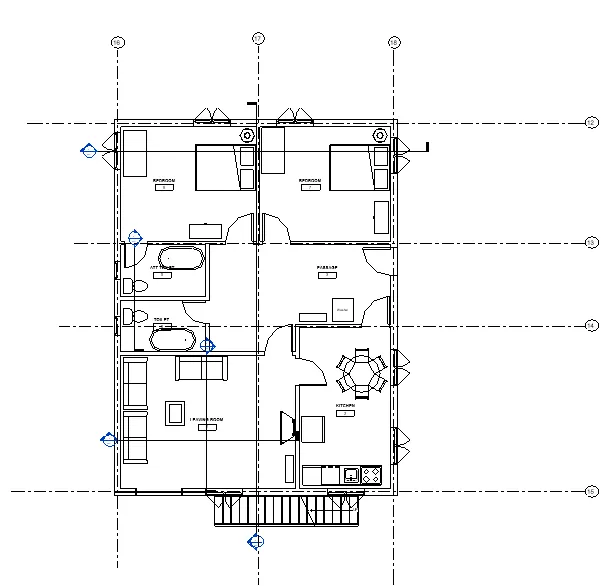
STRUCTURE PLAN DIMESIONS
RESULT :
Using annotate toolbar we have added dimensions to all the walls and floors with reference to the longitudinal and transverse grids created in the project file.
5.
AIM :
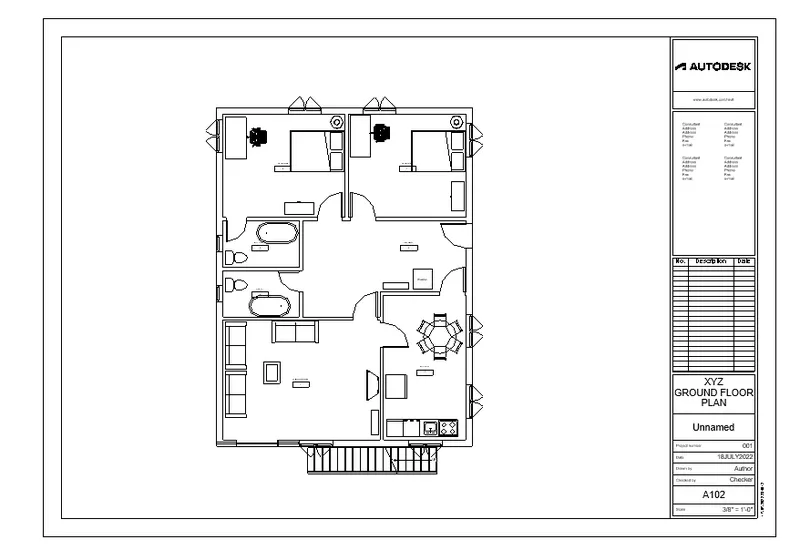
Create a sheet template from the view tab and adjust the parameters on the sheet to add appropriate views.
INTRODUCTION :
templates helps to establish and maintain quality and consistency across projects of various types within a firm.
PROCEDURE :-
- go to view tab > select sheets > select A1 metric > ok
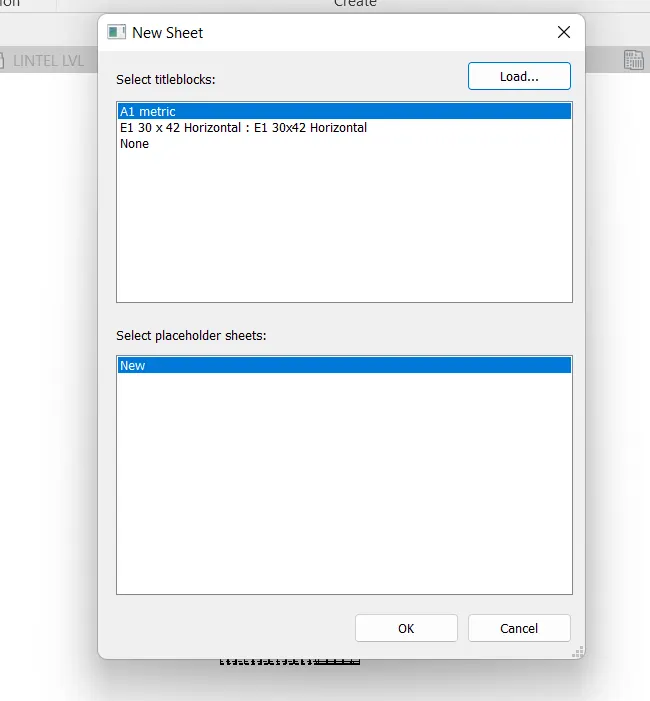
- sheet will open
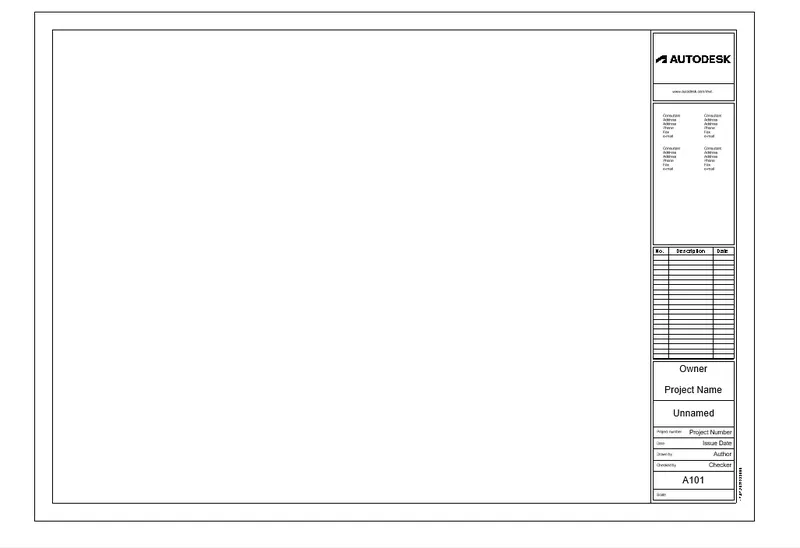
- drag the ground floor plan from project browser in sheet
- adjust the scale of plan
RESULT :
we have Created a sheet template from the view tab and adjusted the parameters on the sheet to add appropriate views.
6.
AIM :
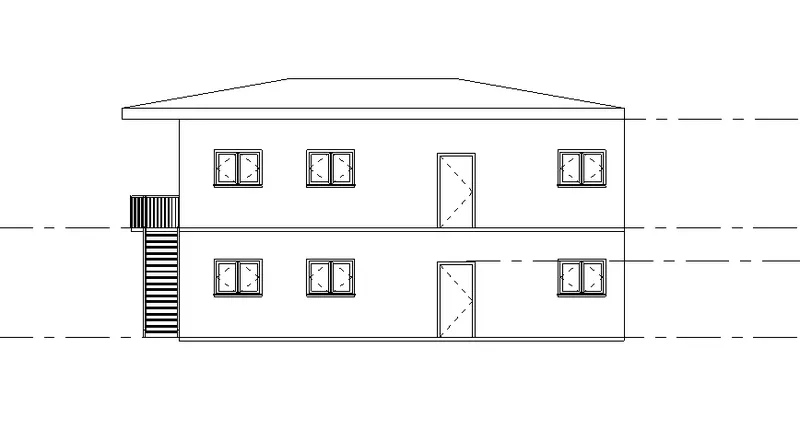
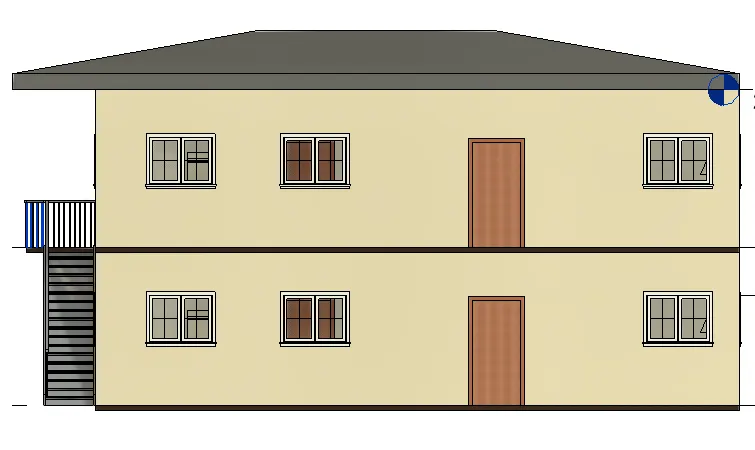
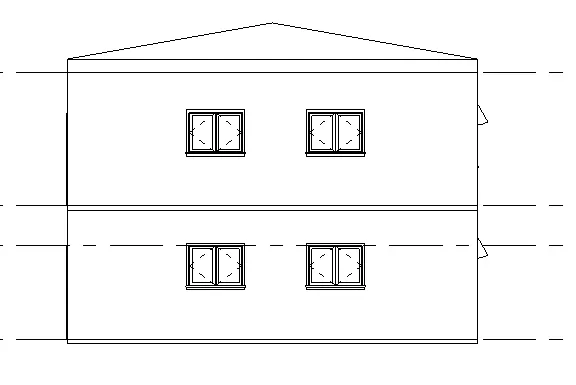
Using the elevation tab create the elevation views, looking at your building from East, North, South, and West.
INTRODUCTION :
- an elevation drawing is an orthographic position drawing that shows one side of the house. purpose is to show finished appearance of a given side. in this project we have shown elevation view from different directions.
PROCEDURE :
go to view tab > select elevation > keep point to each direction > and take views
elevation from East side-
elevation from north side-
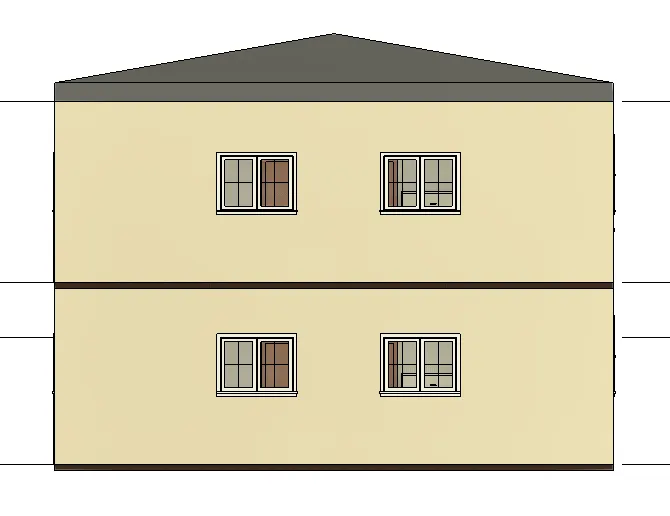
elevation from south side-
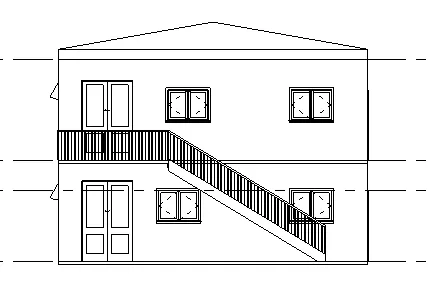
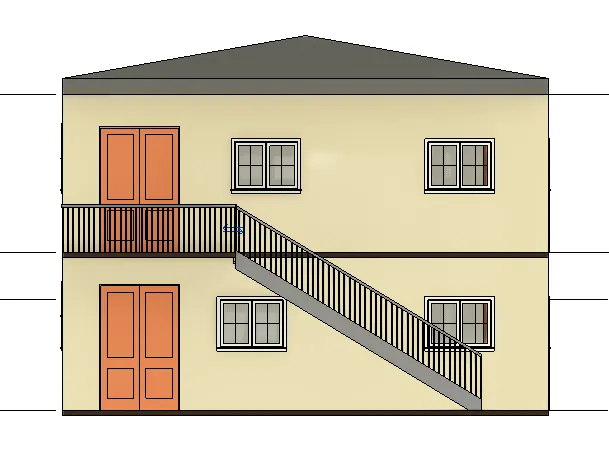
elevation from west side-
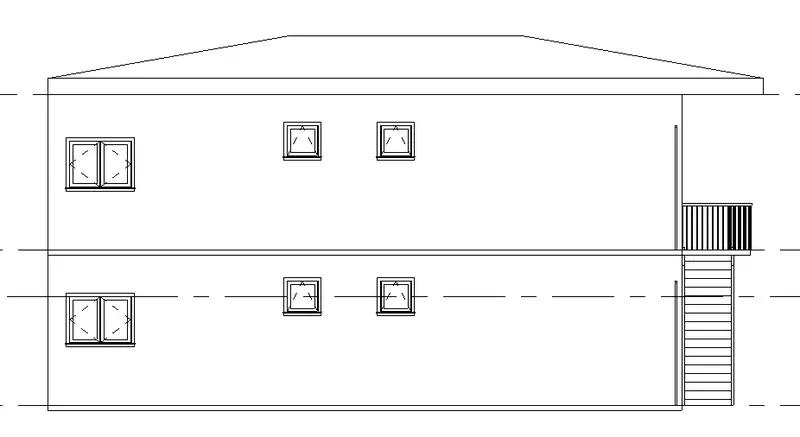
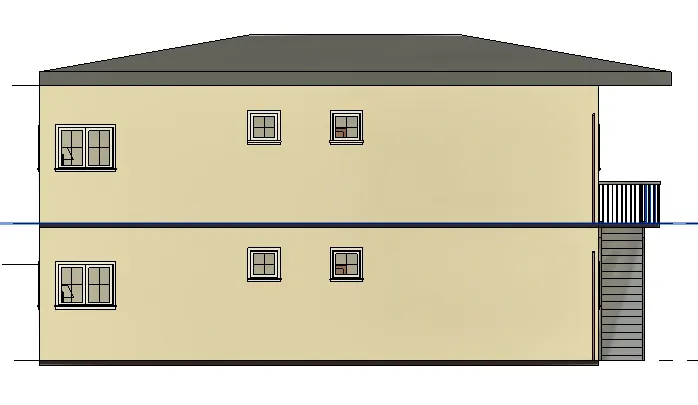
RESULT :
we have Used the elevation tab create the elevation views, looking at building from East, North, South, and West
7.
AIM :
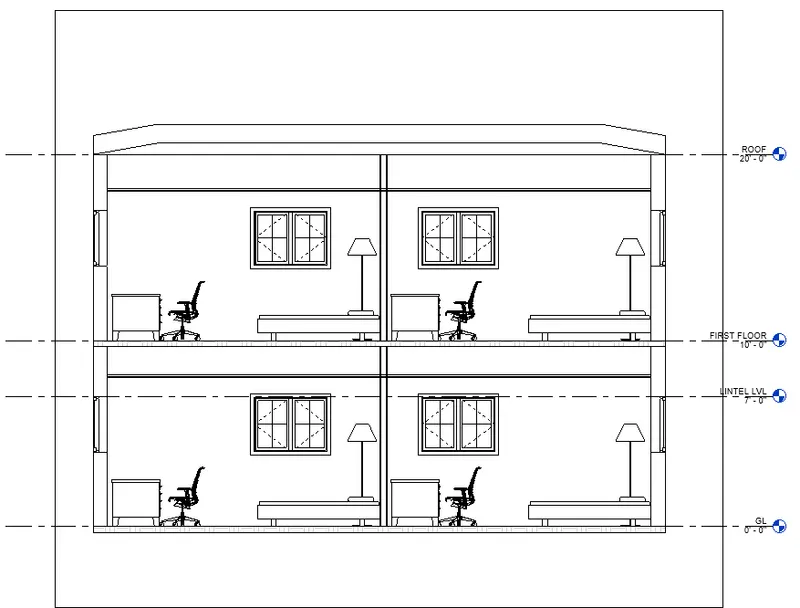
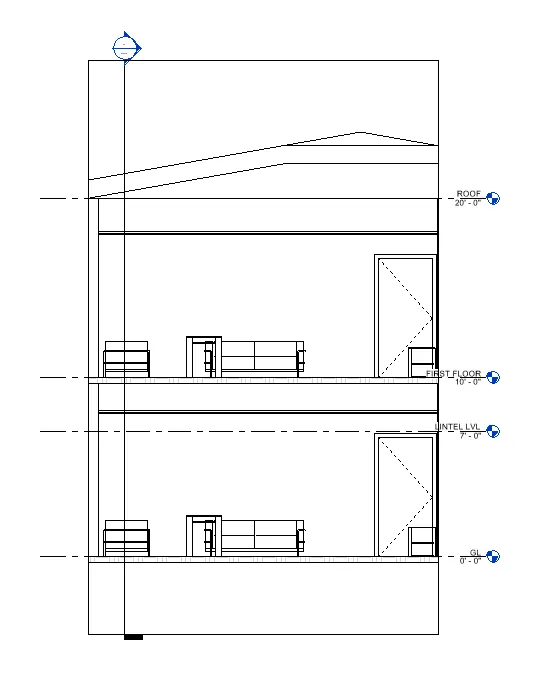
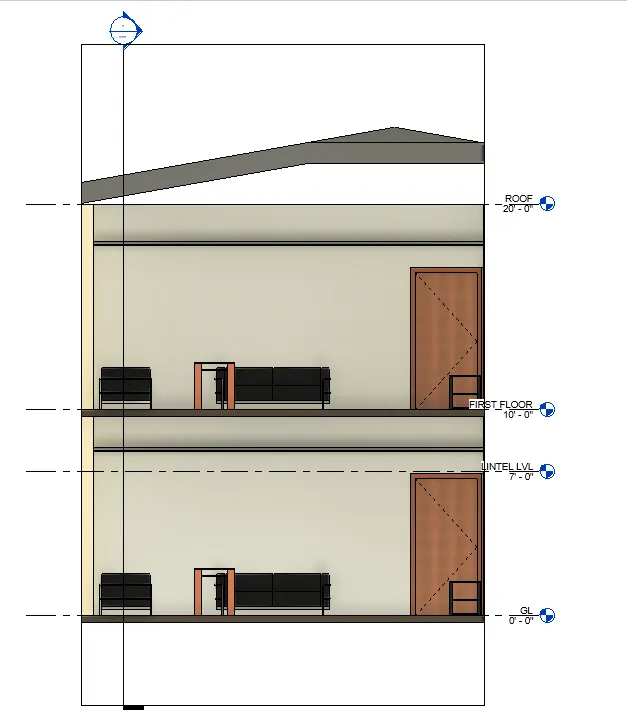
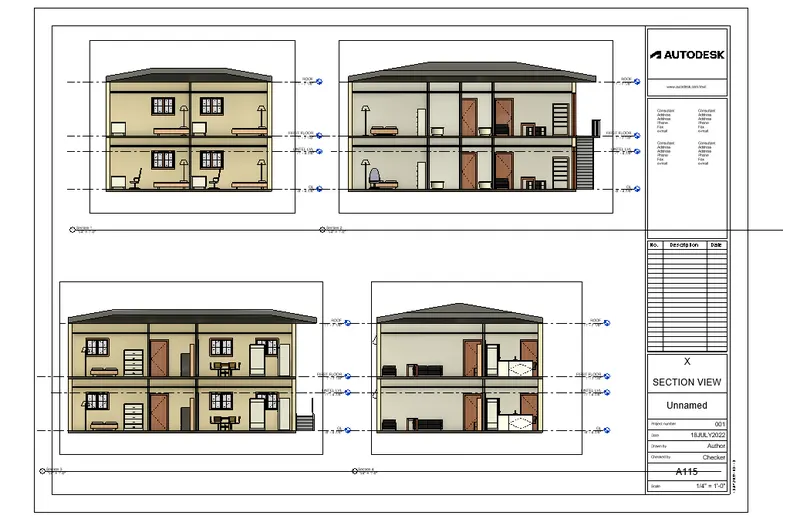
Produce section cut through each room either cutting across longitudinally or in a transverse direction.
INTRODUCTION :
- a setional view or section looks inside object. sections are used to clarify the interior construction of a part that cannot be clearly described by hidden lines in exterior views.
PROCEDURE :
- go to view > select sections > select room to cut for sections
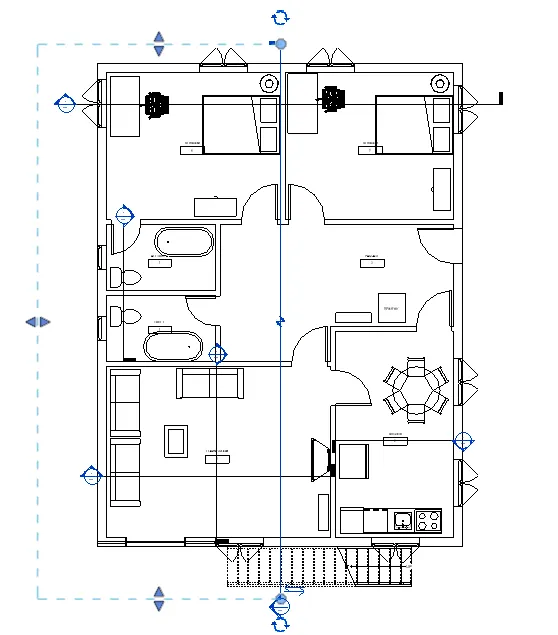
SEECTION VIEW OF BEDROOM :
section cutting two bedrooms.
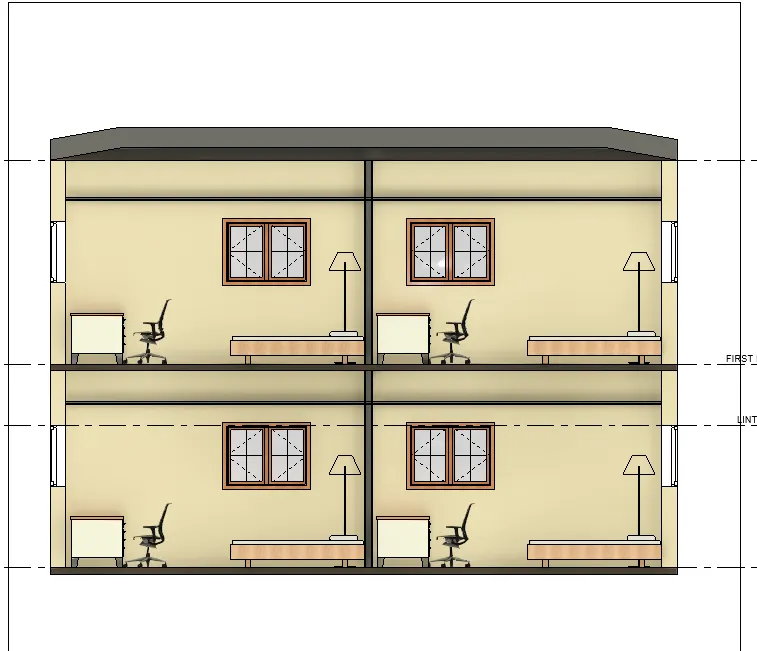
SEECTION VIEW OF TOILET :
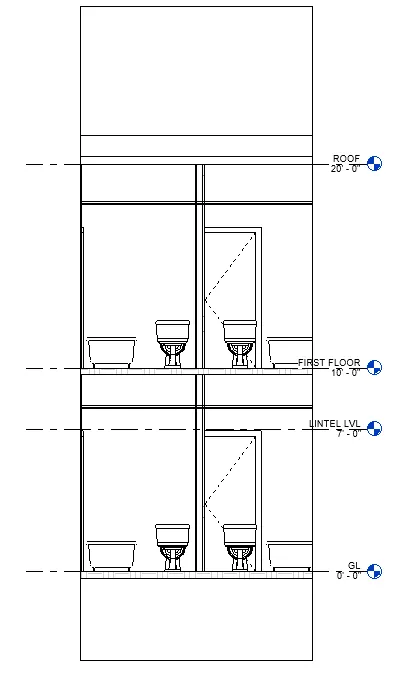
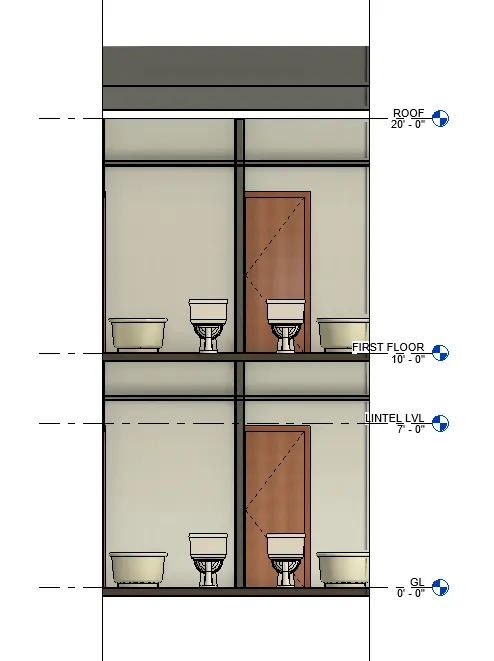
SECTION VIEW OF LEAVING ROOM :
SEECTION VIEW OF KITCHEN :
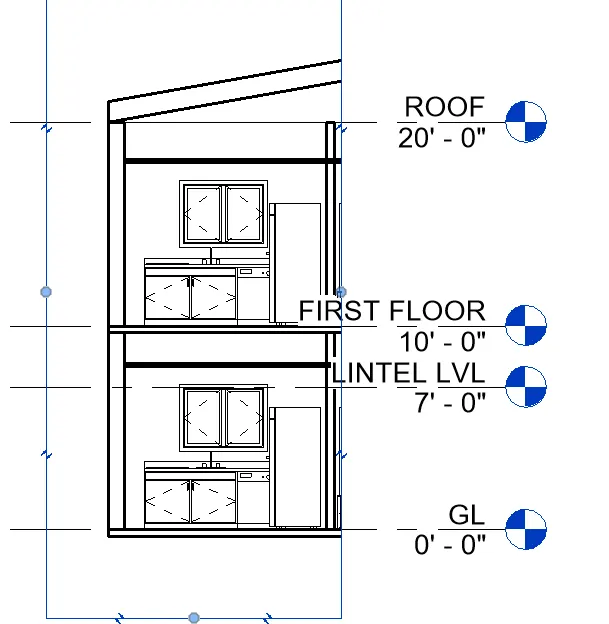
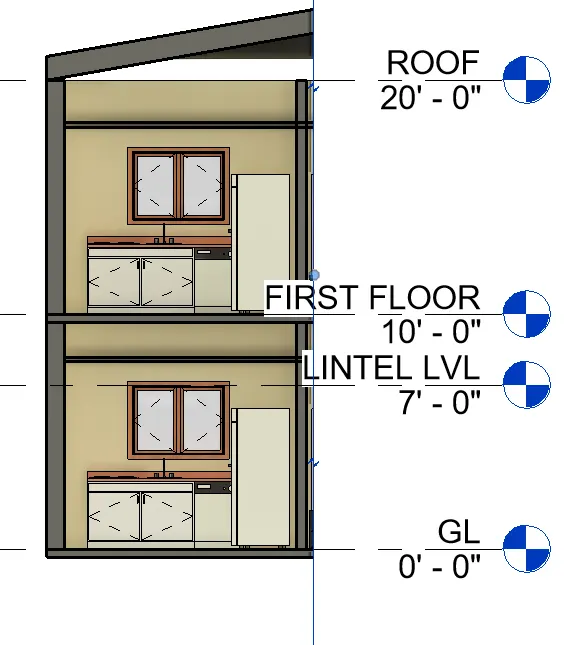
RESULT :
We have Produced section cut through each room either cutting across longitudinally or in a transverse direction.
8.
AIM :
Classify the views, Plan Views, Section Views, and Elevation views to either Design or Documentation category using Properties browser
INTRODUCTION :
in this project we have provided plan views, section views and elevation views.
PROCEDURE :
FLOOR PLAN VIEW :
go to project browser > select ground floor plans
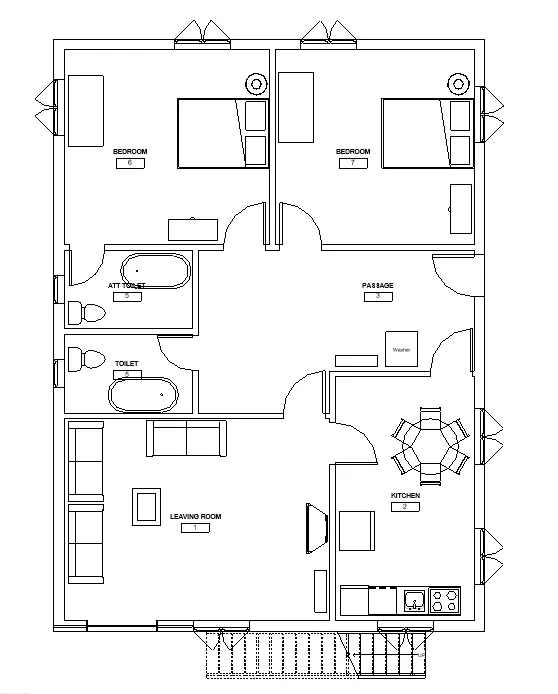
- go to project browser > select first floor plans
SECTION VIEW :
- Go to project browser > select sections > select ground floor section views
Go to project browser > select sections > select First floor section views
ELEVATION VIEW :
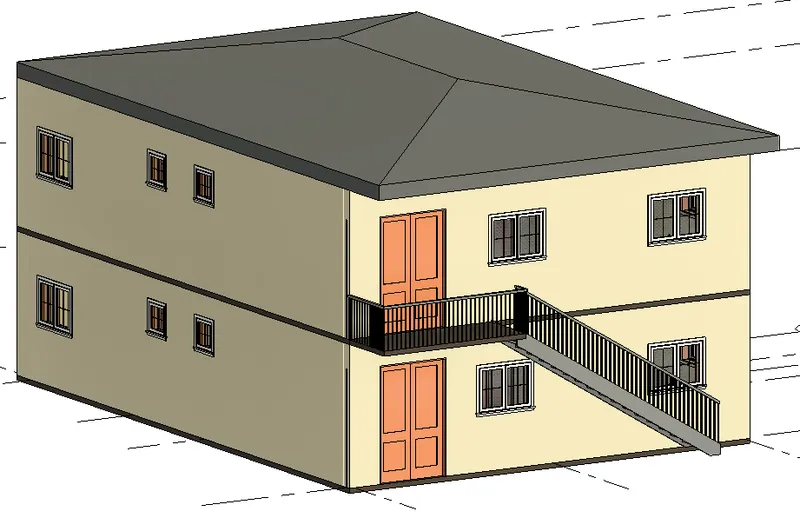
RESULT :
We have Classified the views, Plan Views, Section Views, and Elevation views to either Design or Documentation category using Properties browser.
9.
AIM :
9) Using the sheet template produced create multiple sheets as follows
a. A 101- Ground Floor Architecture Plan
b. A 102- First Floor Architecture Plan
c. A 103- Roof Plan
d. S 101- Ground Floor Structural Plan
e. S 102- First Floor Structural Plan
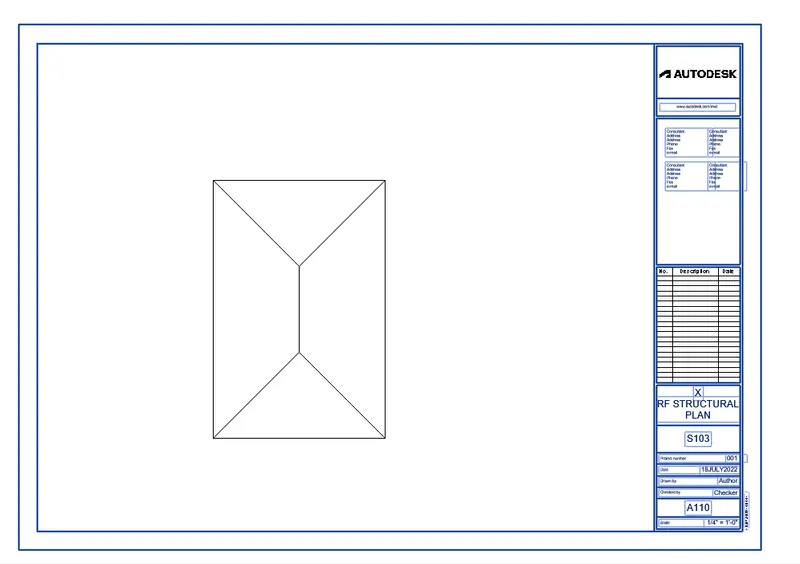
f. S 103- Roof Framing Plan
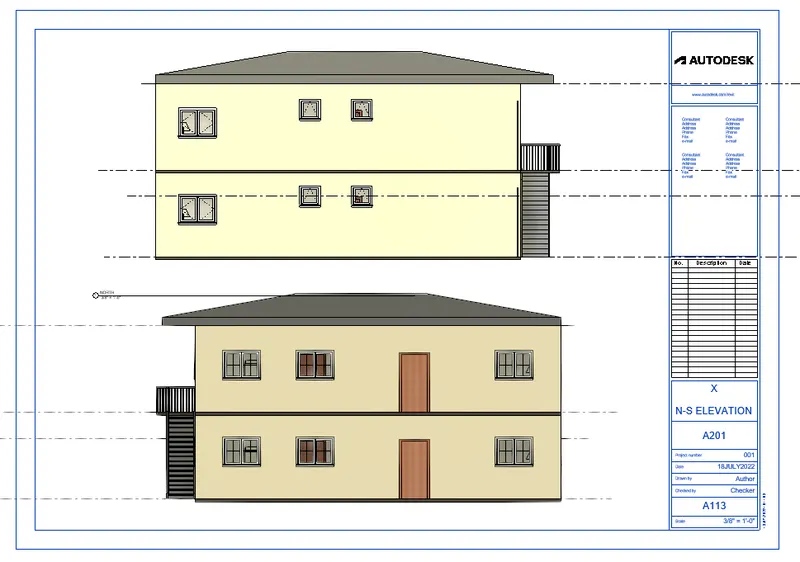
g. A-201- North-South Elevations
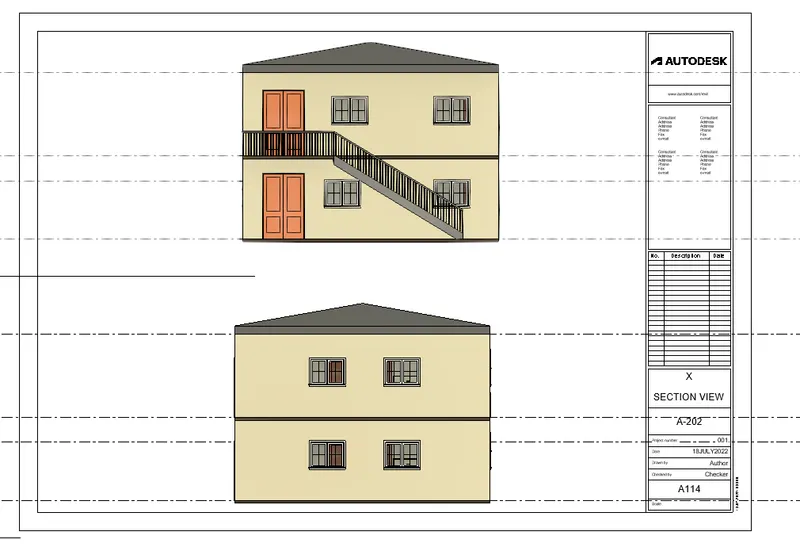
h. A-202- East-West Elevations
Add additional sheets based on the sections created in your Revit file
INTRODUCTION :
In this project by using sheet template we have shown different view of elvation, floor plan, section etc.
PROCEDURE :
- go to view tab
- select sheet > select A1 metric > ok
- drag the floor plan from project browser into the sheet
- adjust the scale
- type sheet no as given in title box
A. 101- Ground Floor Architecture Plan
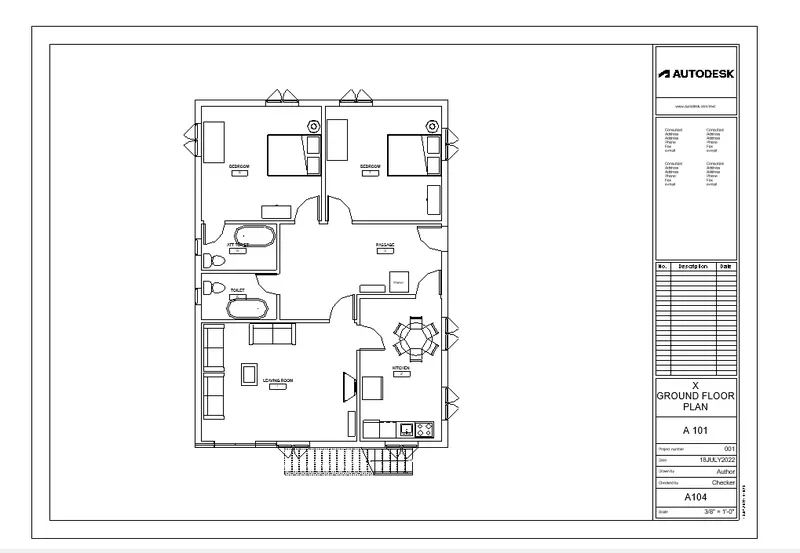
b. A 102- First Floor Architecture Plan
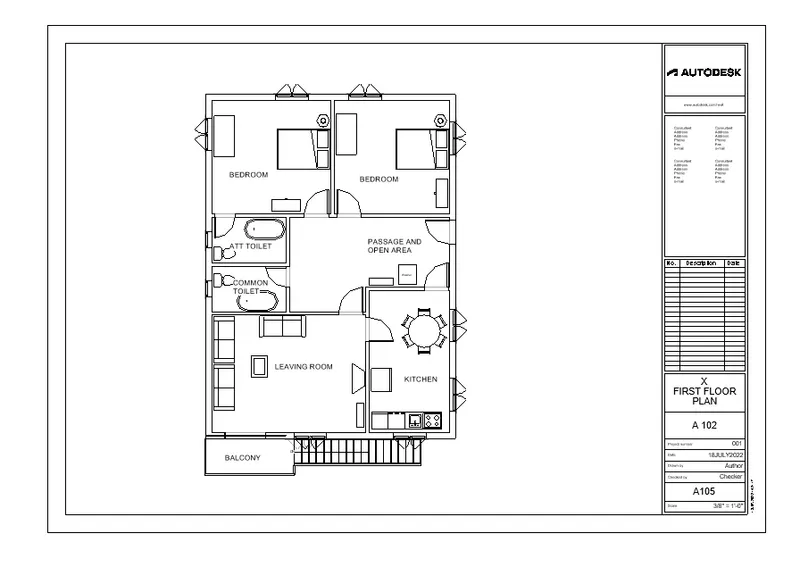
c. A 103- Roof Plan
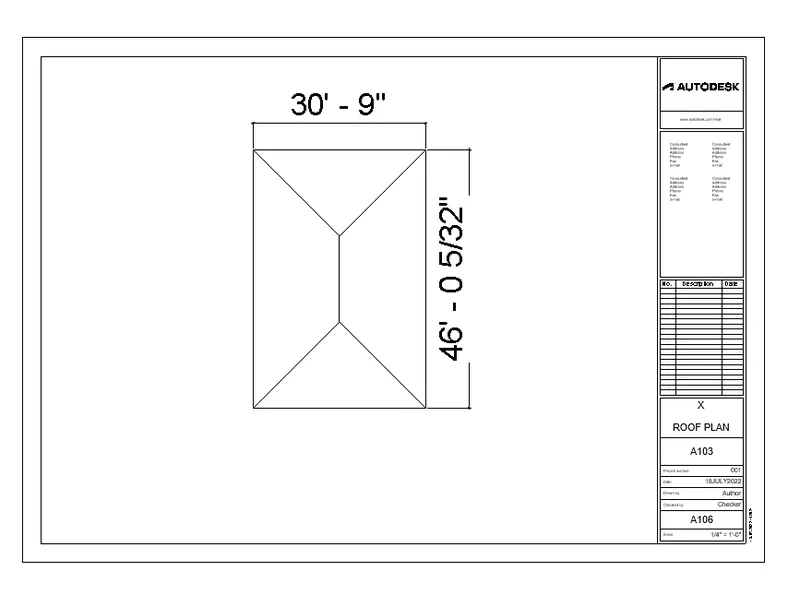
d. S 101- Ground Floor Structural Plan
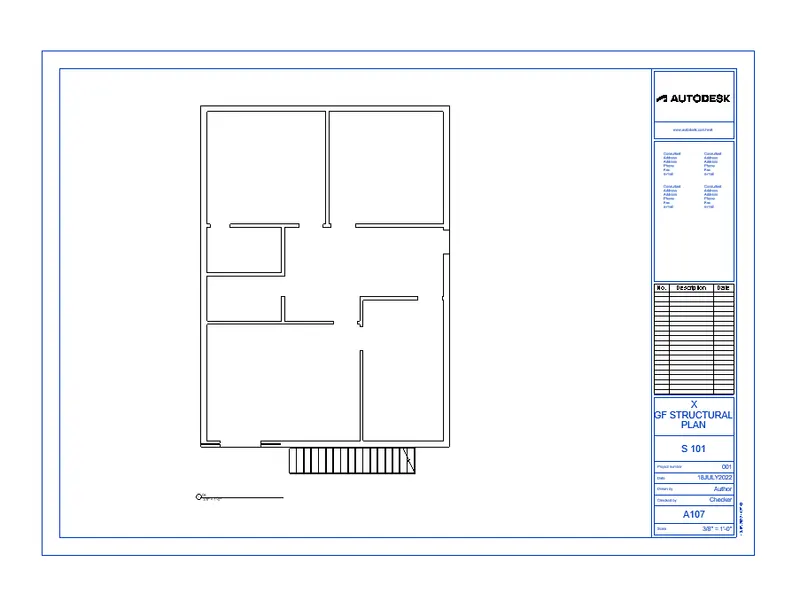
e. S 102- First Floor Structural Plan
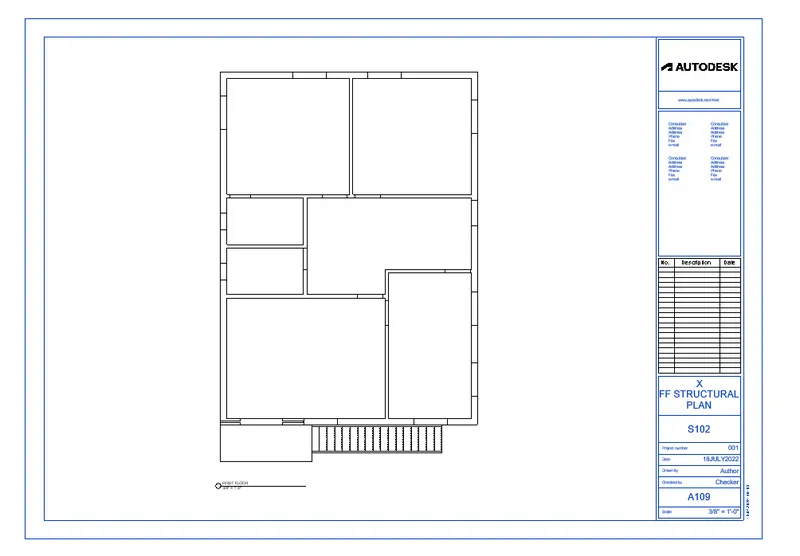
f. S 103- Roof Framing Plan
g. A-201- North-South Elevations
h. A-202- East-West Elevations
Sections :
RESULT :
by using the sheet template we have produced and created multiple sheets
10.
AIM :
Create a camera-specific view or a 3D view in each room ( living, dining, bedroom). Based on the views create a new set of sheets starting A-501 (you can add as many sheets after, 502, 503.. n)to place the 3D view images. Produce the sheets as a part of project drafting.
INTRODUCTION :
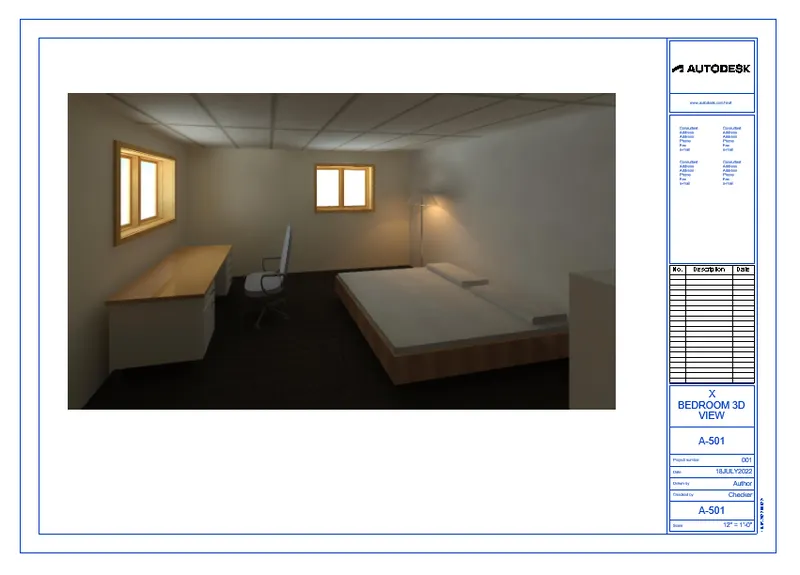
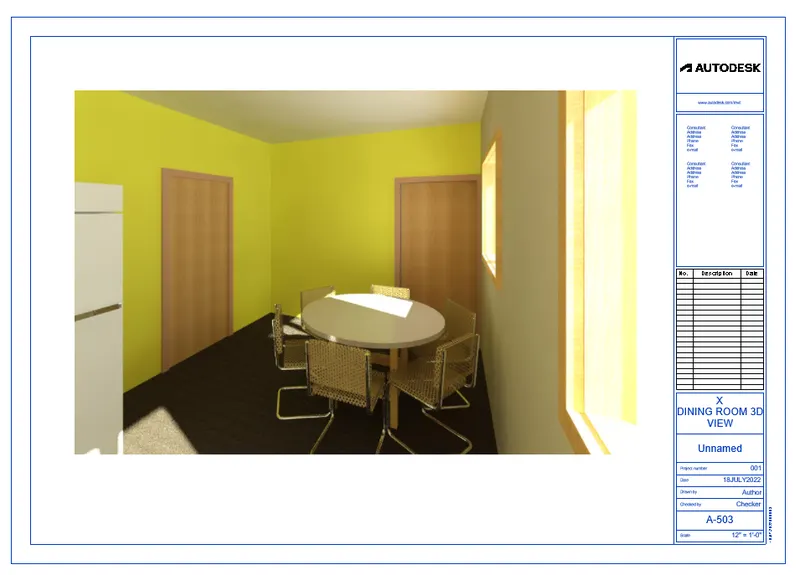
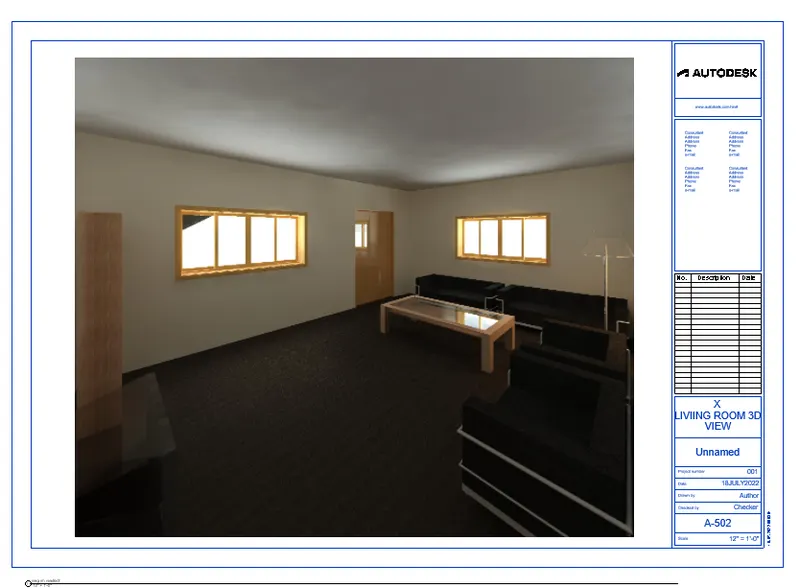
camera view allow us to view what we would actually see if we were standing at any given location in our design. camera viee gives realistic view inside the room. in revit we can setup camera anywhere to get realistic view inside the room.
PROCEDURE :
- go to view > select 3d view > select camera
- place the camera where you want
- create view for bedroom, leaving, dining and rename the view
- i have render the view after this and create view with names.
for BEDROOM VIEW :
- go to view again > select sheets > create a sheet of A-501
- drag the view of beroom into sheet.
- adjust the scale of frame
for DINING ROOM VIEW :
- go to view again > select sheets > create a sheet of A-502
- drag the view of beroom into sheet.
- adjust the scale of frame
for LIVING ROOM VIEW :
- go to view again > select sheets > create a sheet of A-503
- drag the view of beroom into sheet.
- adjust the scale of frame
RESULT :
We have created a camera-specific view or a 3D view in each room ( living, dining, bedroom).