3D Creation of Celing, Roof, Architectural plan, Structural plan, Sectional view, Elevation view and Camera specific view for a house plan using REVIT
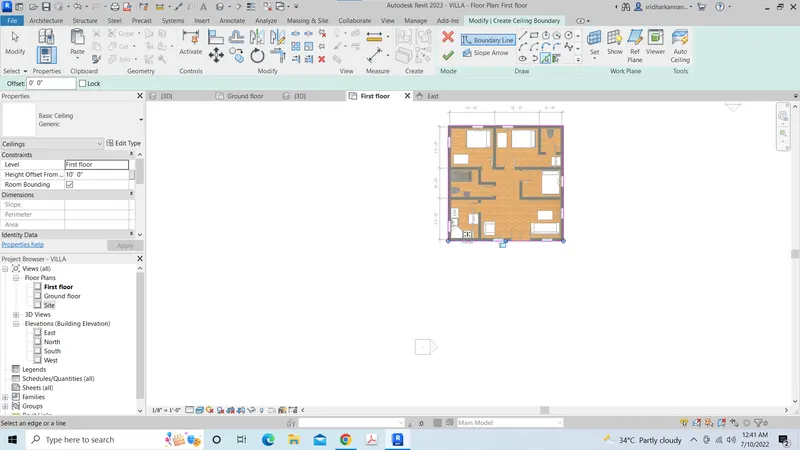
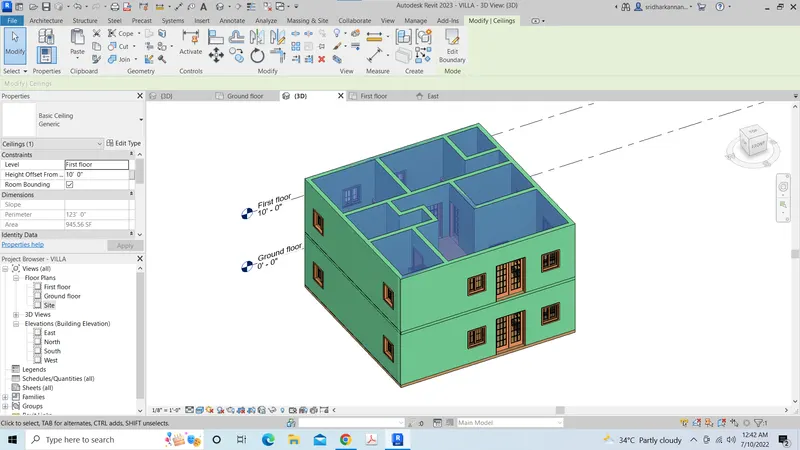
1. Ceiling at first floor level
Aim
To create the ceiling at first floor level
Steps
- Open the project created in week 3
- Select the first floor in floor plans
- Then in architecture tab, tap ceiling option then select sketch ceiling, then select pick a line
- Then select the outer line of the wall
- Then tap tick option
Result
2. Roof
Aim
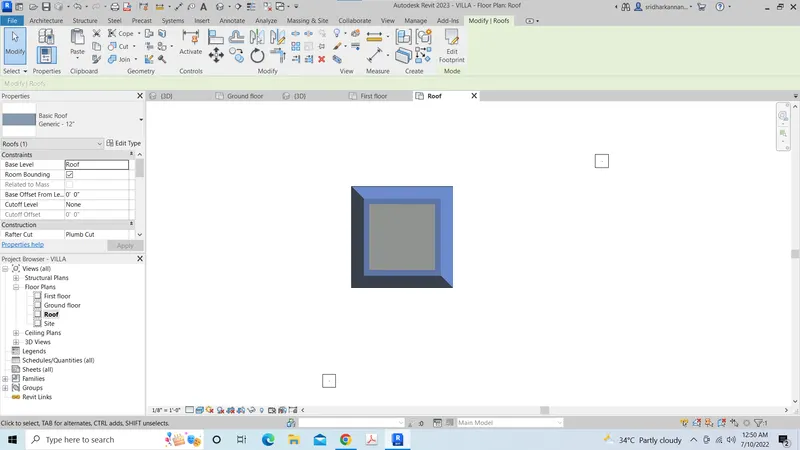
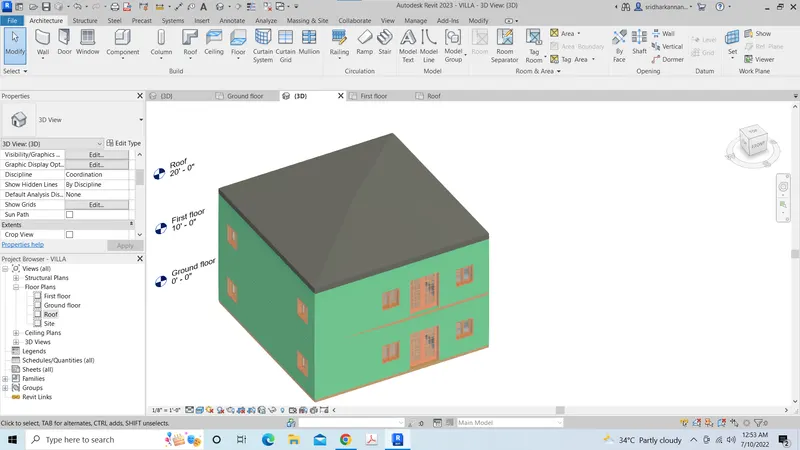
To create the roof 10 degree slope as given in challenge
Steps
- Create new level roof at 20'0
- Then select roof level in properties browser
- Then select roof in architecture ribbion
- Then select pick by line option
- Then select the outline of the wall
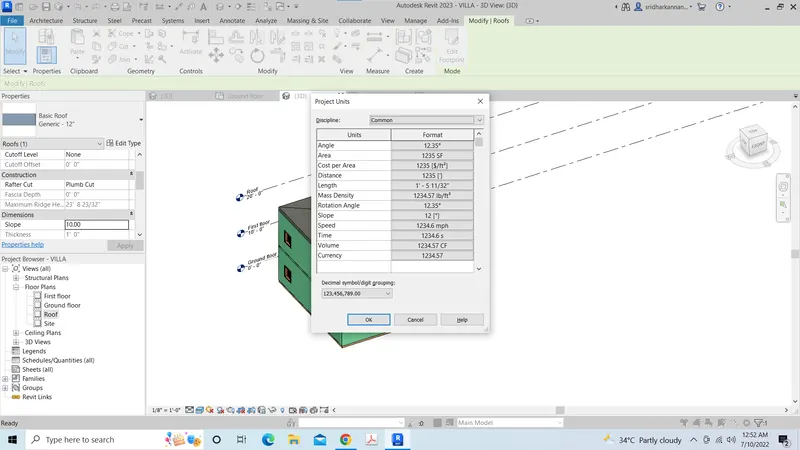
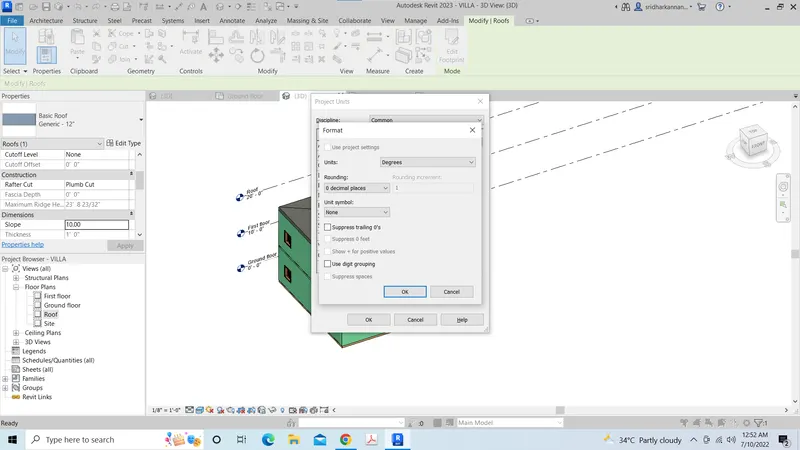
- Then change the unit from default feet inches to degree by typing UN and then select slope then change the degree
- Then change the slope to 10 degree
- Check the roof in 3d view real time
Result
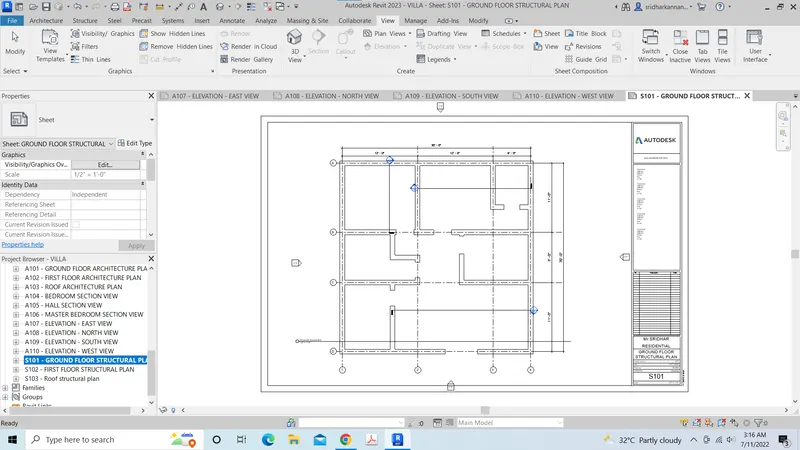
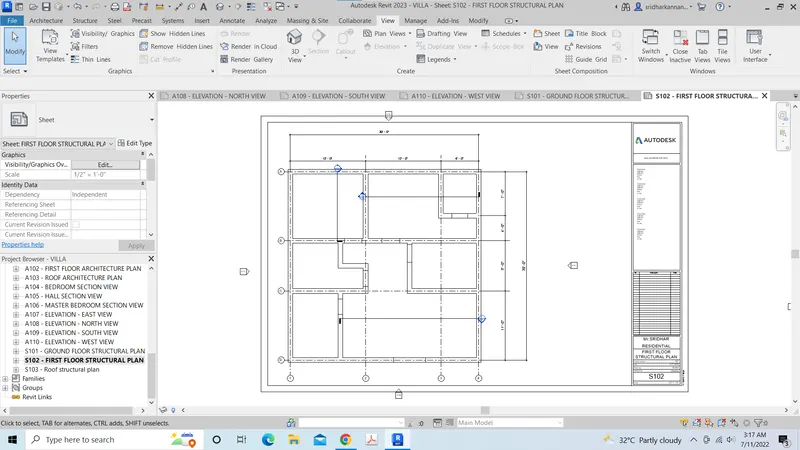
3.Floor plan and Strucutral plan
Aim
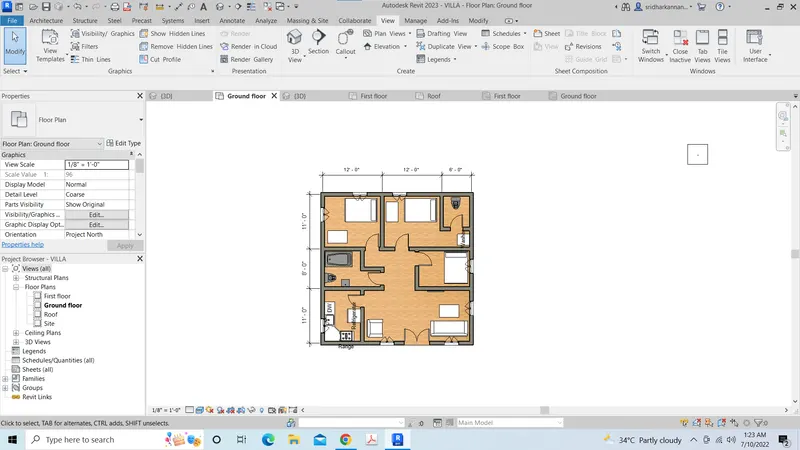
To create the floor plan and structural plan
Steps
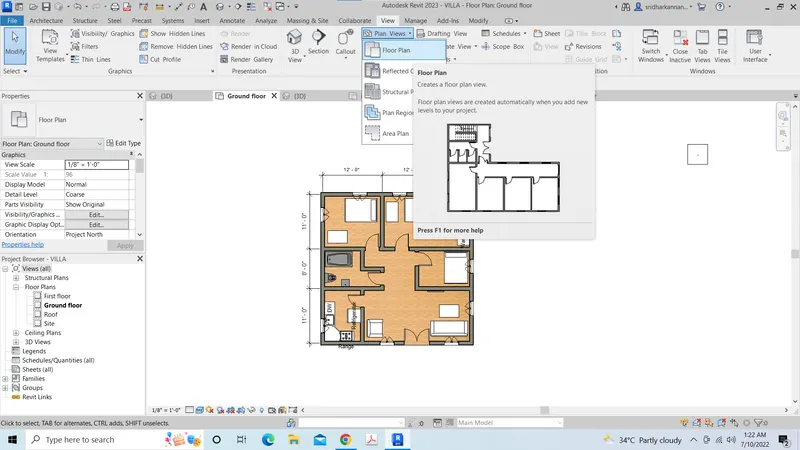
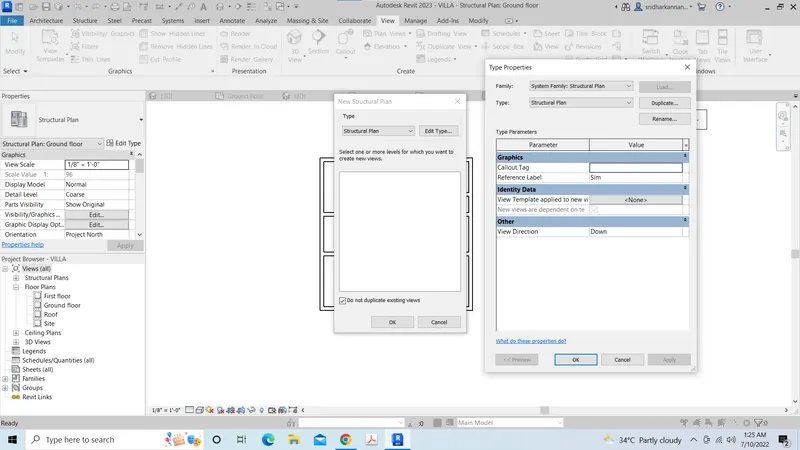
- Select view tab
- Then select plan views in view tab
- Then select floor plan for archcitecture plan and stuctural plan for structural plan
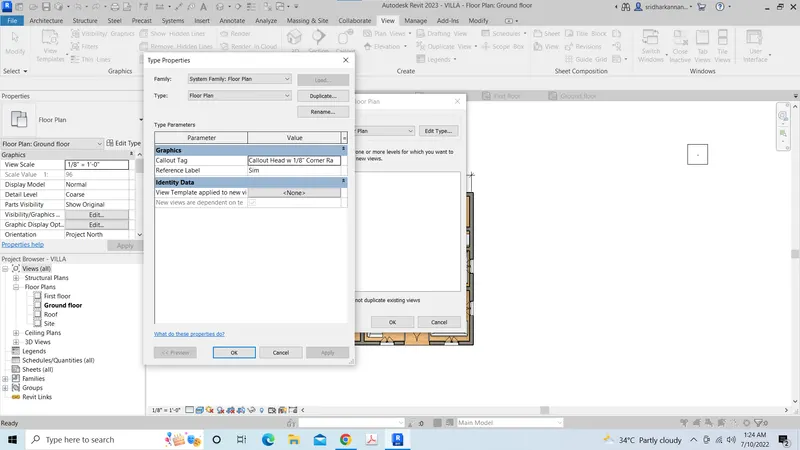
- Then select edit type then select ok
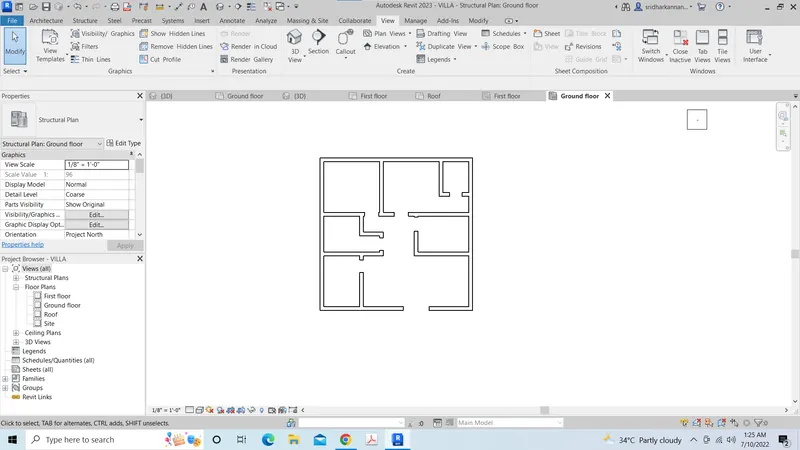
- For me structural plan showing all the architectural models , then I typed VG(Visibility Graphics) then VG tab opened, then I turned off all elements in architecture and left only wall
Result
4. Annotate the architectural plan and structural plan
Aim
To annotate the architectural plan and structural plan
Steps
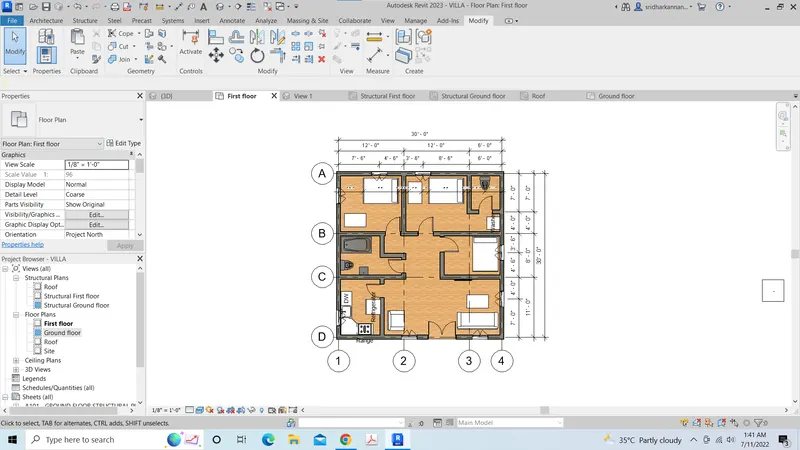
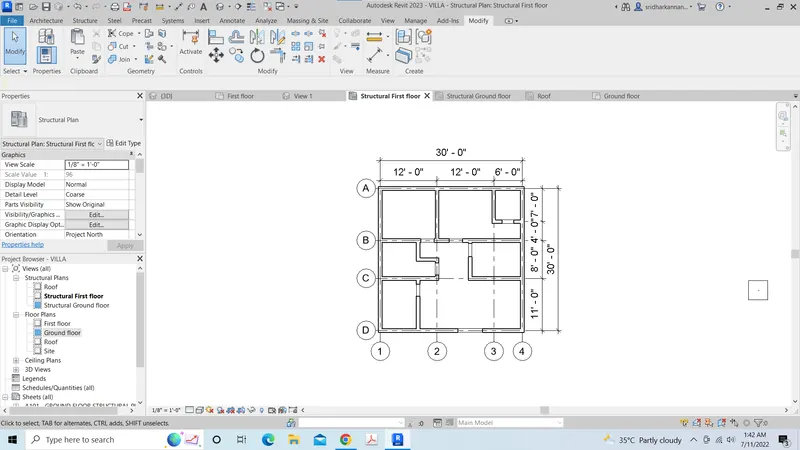
- Select the annotate tab
- Then select the aligned option
- Then give dimension for all rooms, walls, components
Result
5. SHEET TEMPLATE
Aim
To create the sheet template as given in challenge
Steps
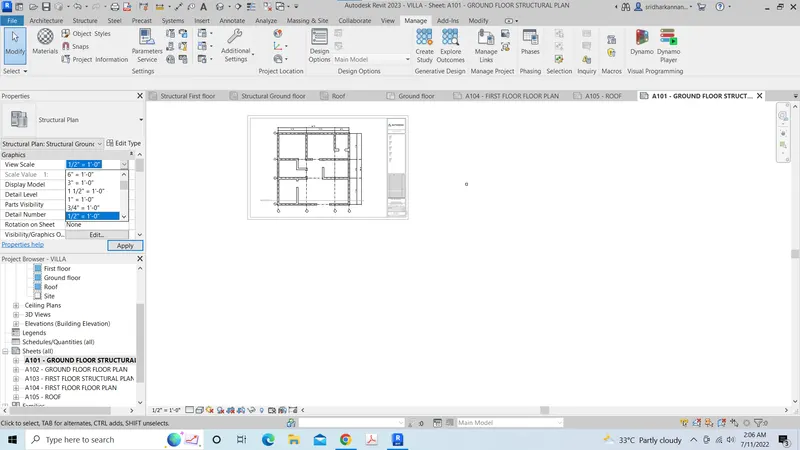
- Go to view tab, tap it
- Then in view tab,find the sheets
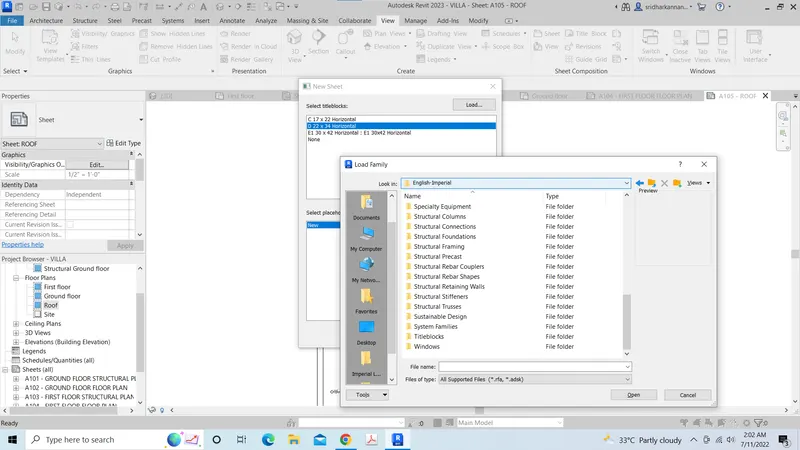
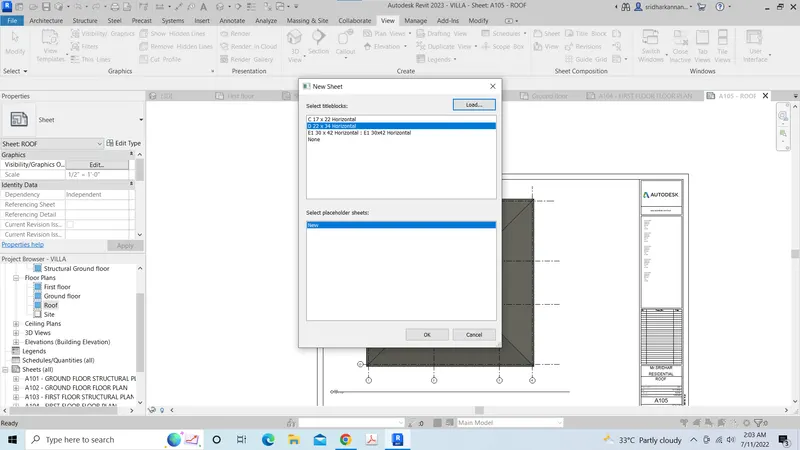
- Then tap sheets, then sheet title blocks will popup
- In that box, select the titleblock A1 size or any size (22 x 34), if not load from the libraries
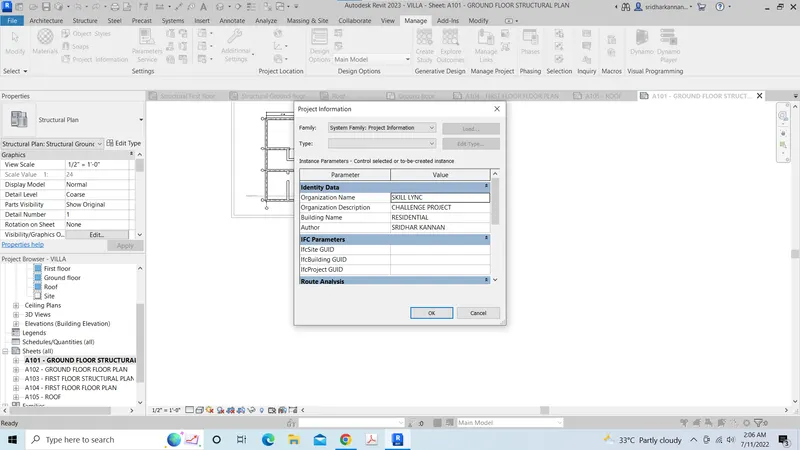
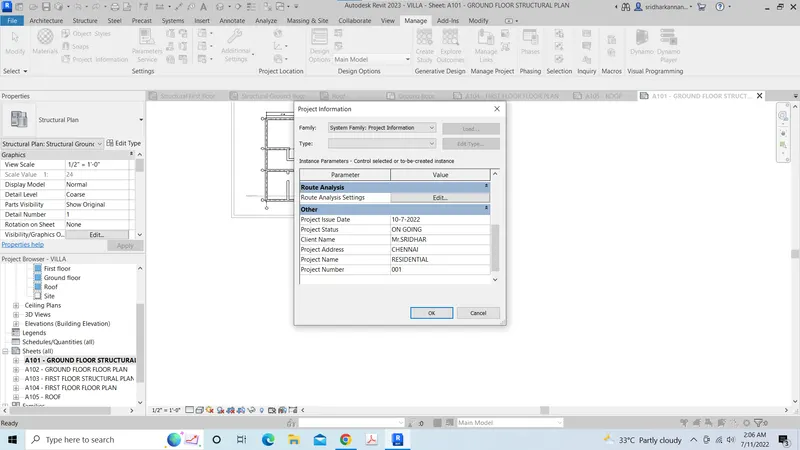
- Then once select the size, feed project information manually or go to manage tab, then project information box
- Then once set the titleblock, select any plan from the project browser drag it
- Then set appropriate scale 1/2'' = 1'-0''
- Then adjust the viewport accordingly
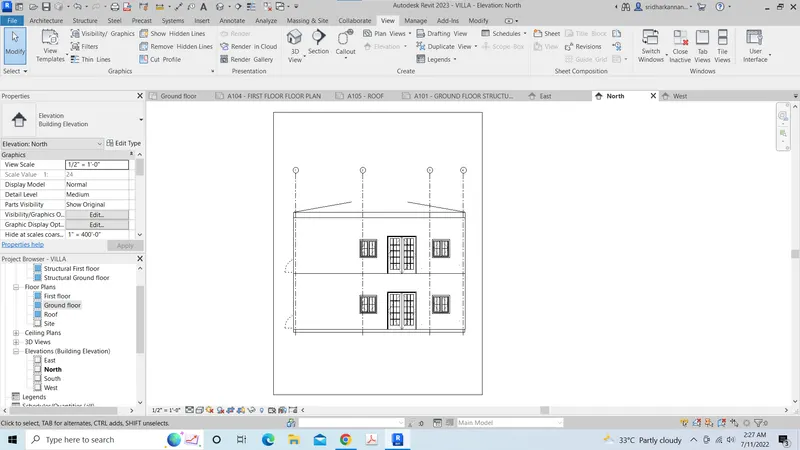
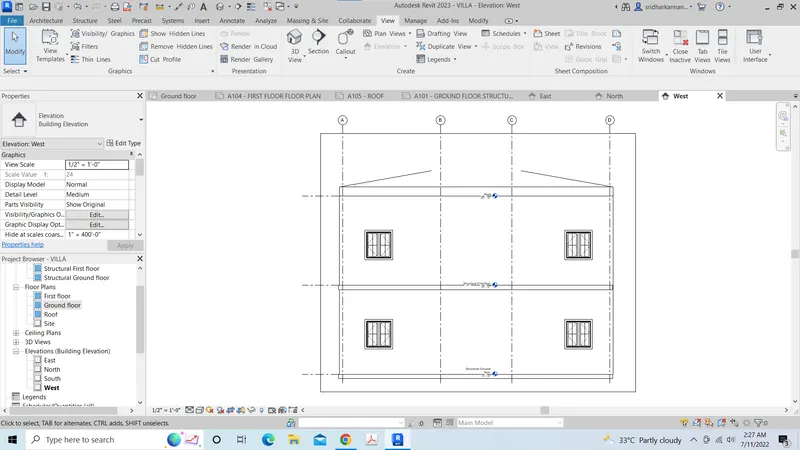
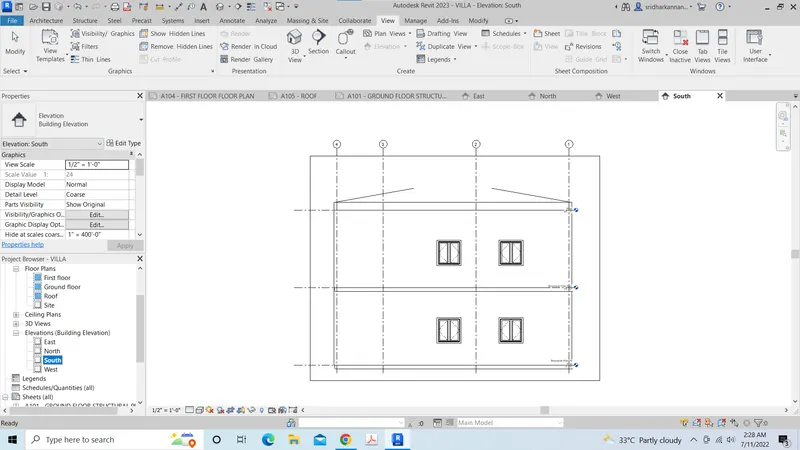
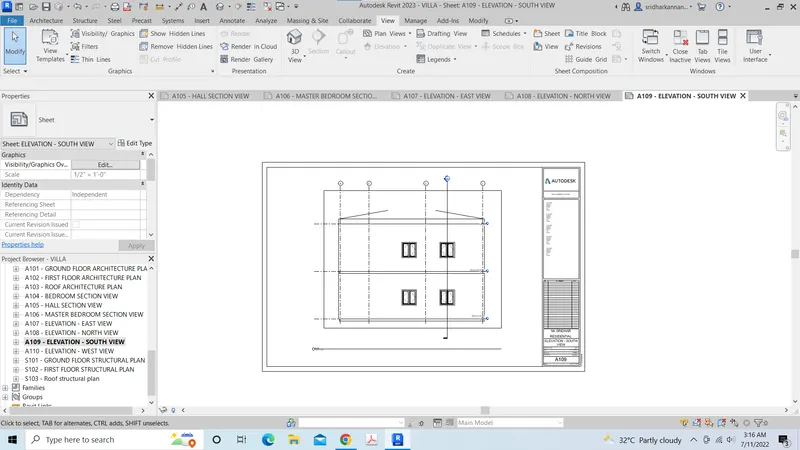
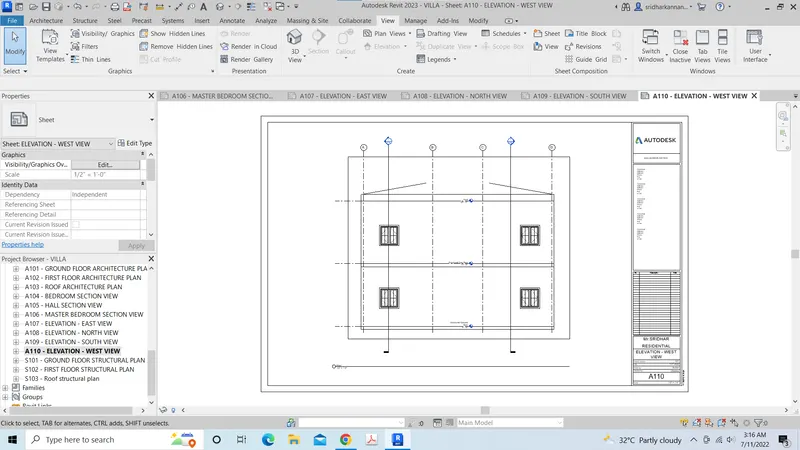
6. Elevation views
Aim
To create the elevation views given in the challenges
Steps
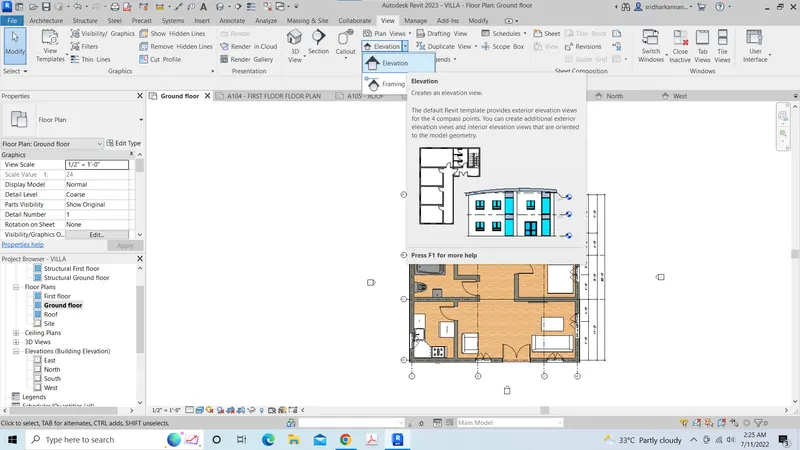
- Go to view tab, tap it
- Then in view tab,find the elevation
- Then tap elevation, then elevation will popup
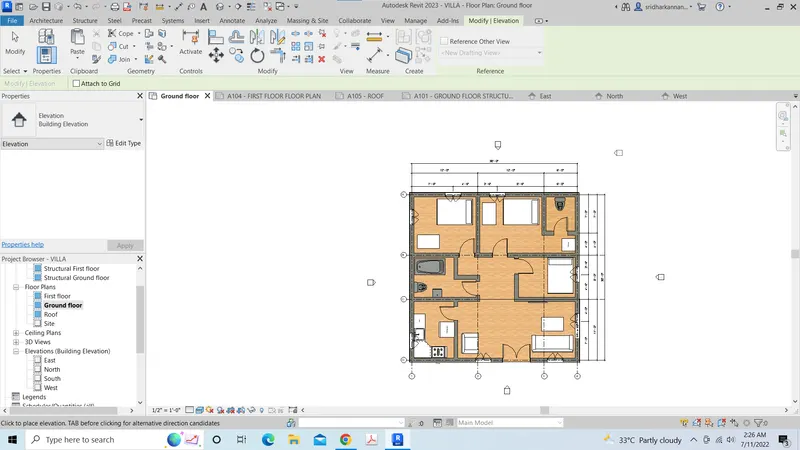
- Once you select elevation, elevation triangle will appear
- Then drag the triangle to all four sides of the building
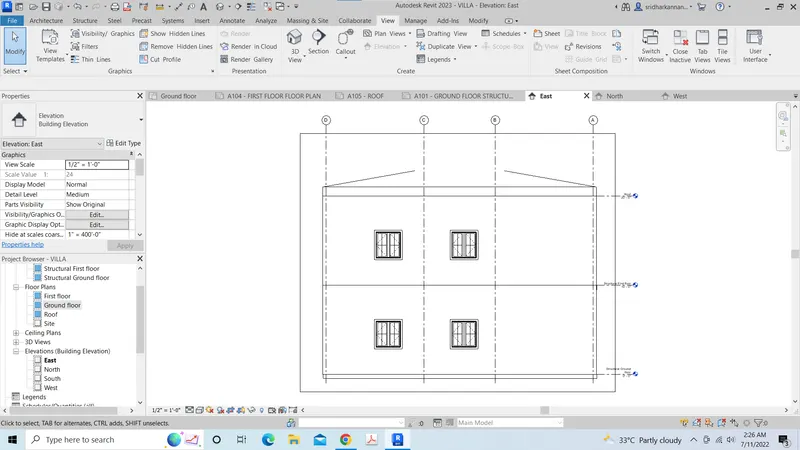
- Give directions east, west, north and south
Result
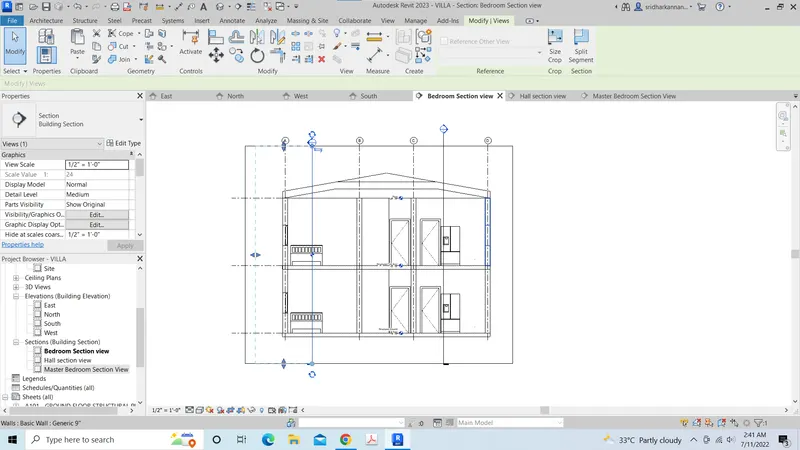
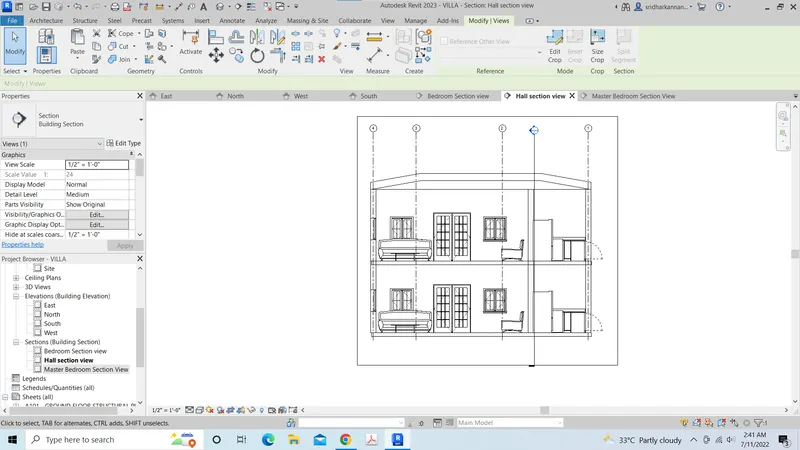
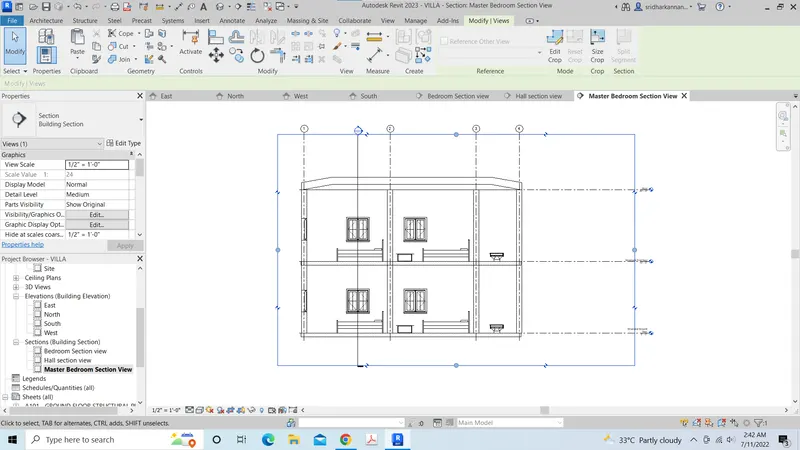
7. Section view
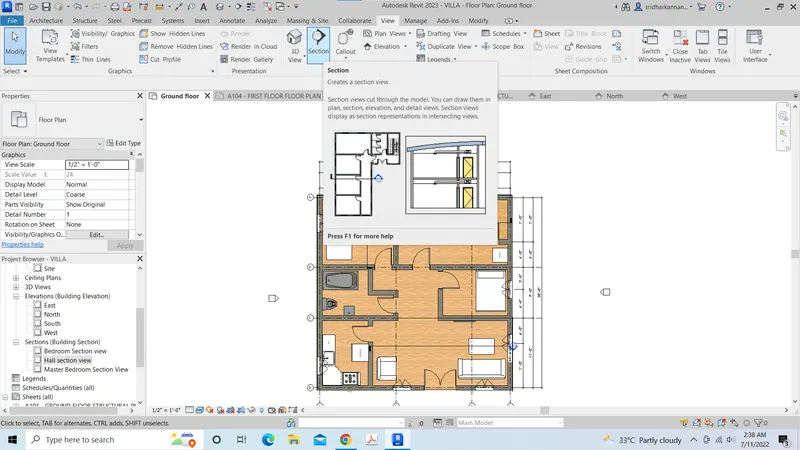
Aim
To create the room section as given in the challenge
Steps
- Go to view tab, tap it
- Then in view tab,find the section
- Then select the bedroom in longitudinal direction
- Then select the master bedroom in traverse direction
- Then select the hall in traverse direction
- Then rename it in the project browser
Result
8. Classify the views
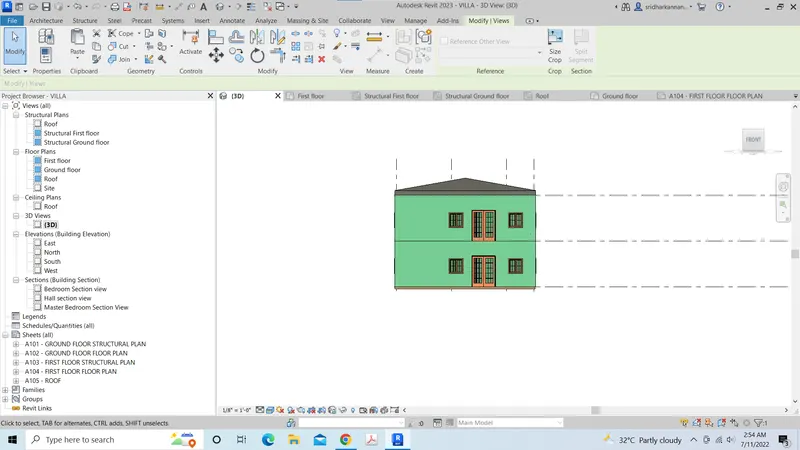
Aim
To classify the views as given in the challenges
Steps
- Go to the project browser
- Add all the views which is created
Result
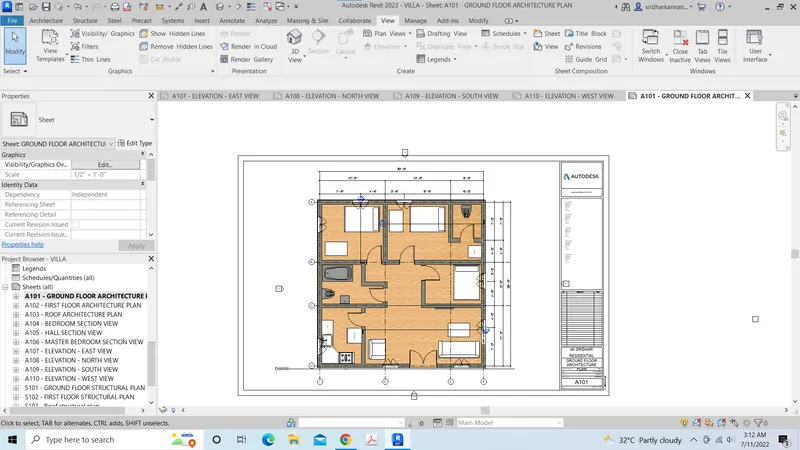
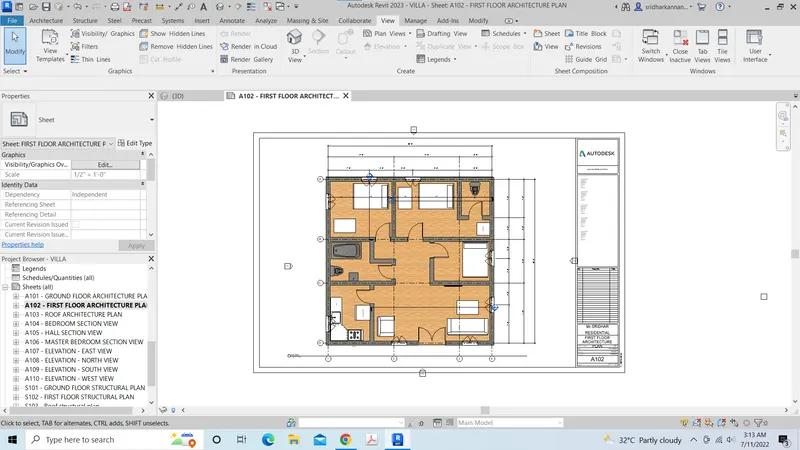
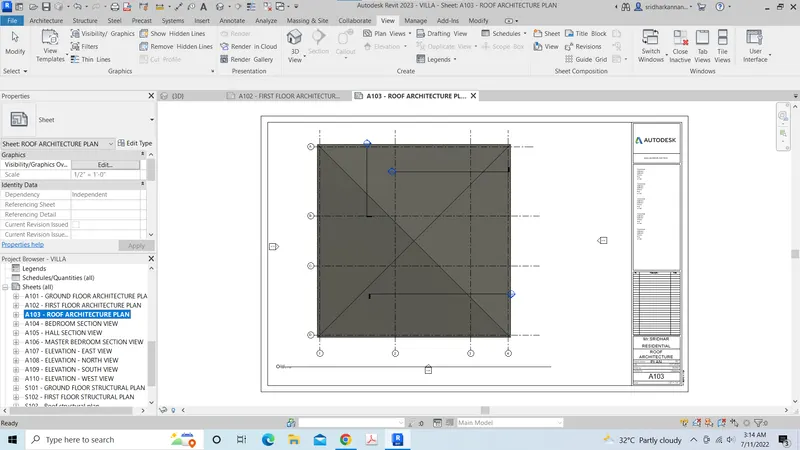
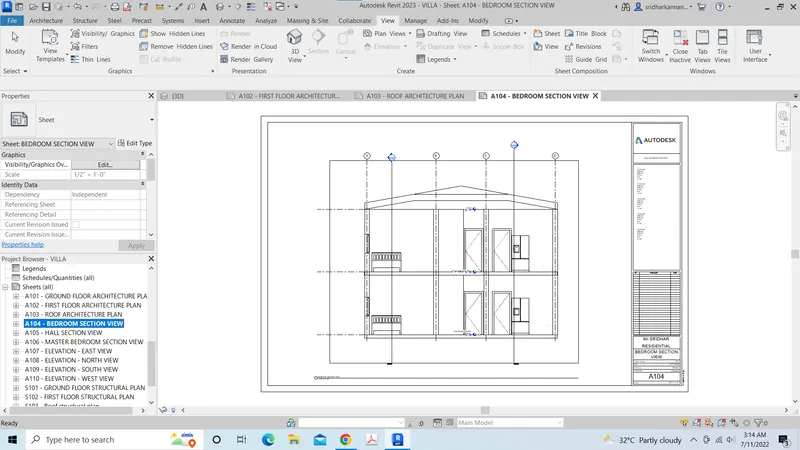
9. SHEET TEMPLATE
Aim
To create the multiple view ports using the sheet template
Steps
- Go to view tab, tap it
- Then in view tab,find the sheets
- Then tap sheets, then sheet title blocks will popup
- In that box, select the titleblock A1 size or any size (22 x 34), if not load from the libraries
- Then once select the size, feed project information manually or go to manage tab, then project information box
- Then once set the titleblock, select any plan from the project browser drag it
- Then set appropriate scale 1/2'' = 1'-0''
- Then adjust the viewport accordingly
- Then create the multiple sheets
Result
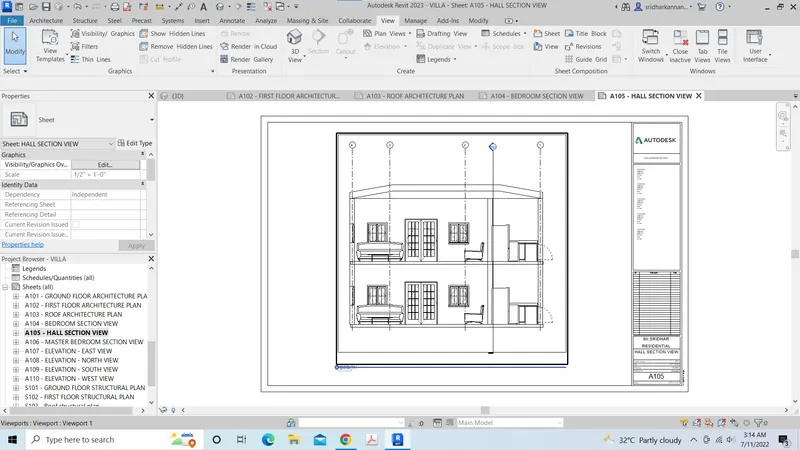
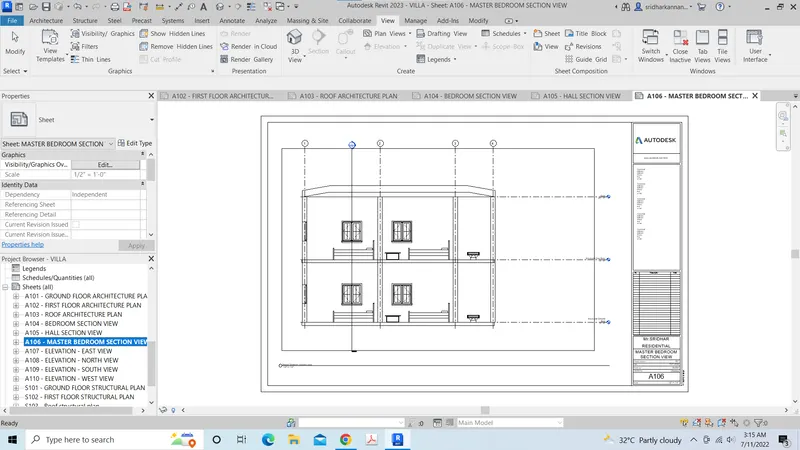
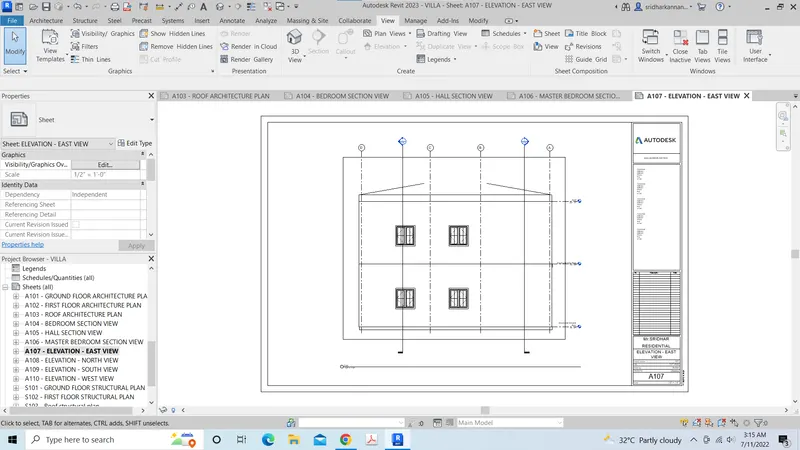
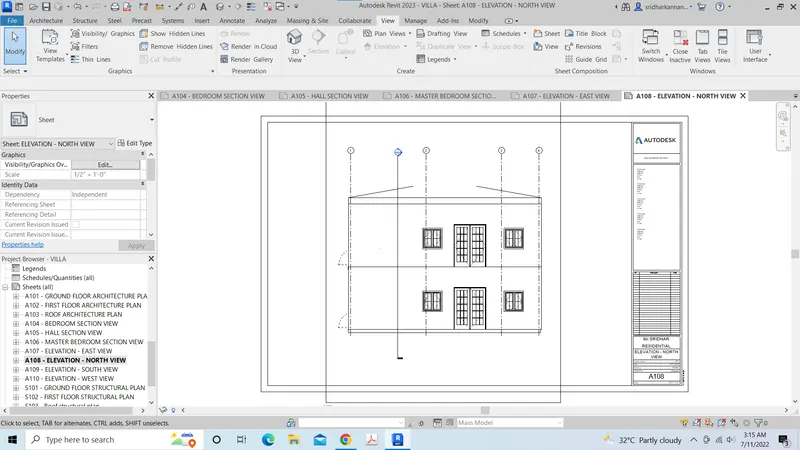
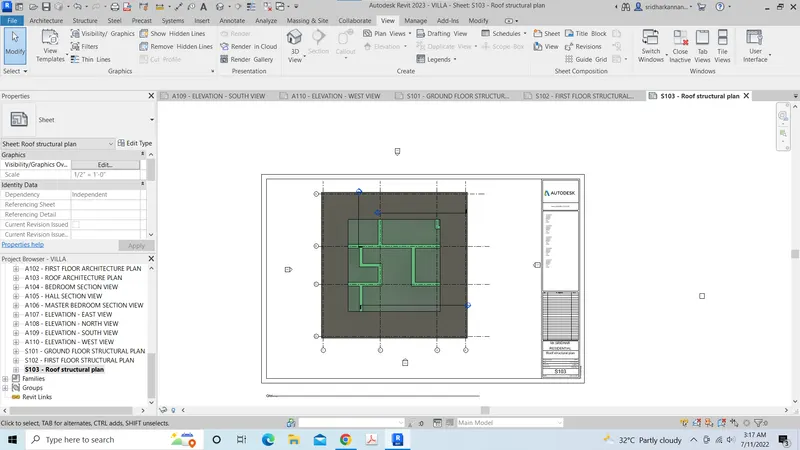
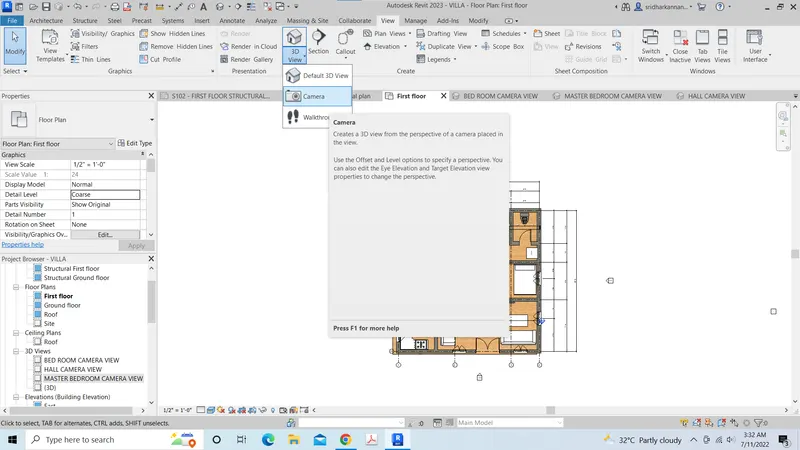
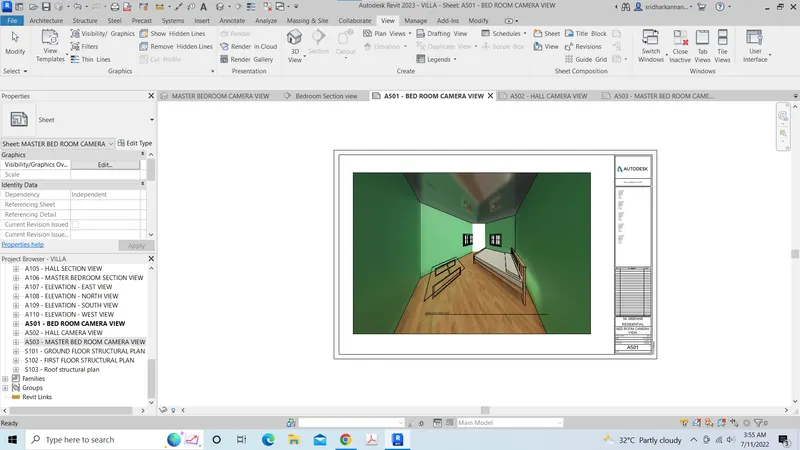
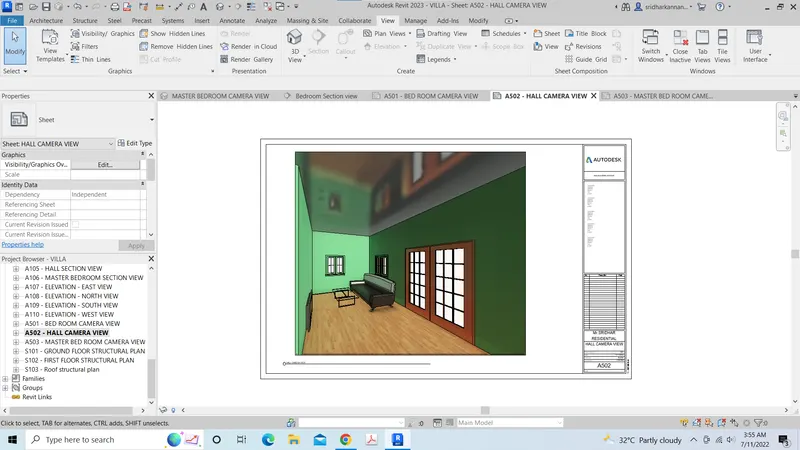
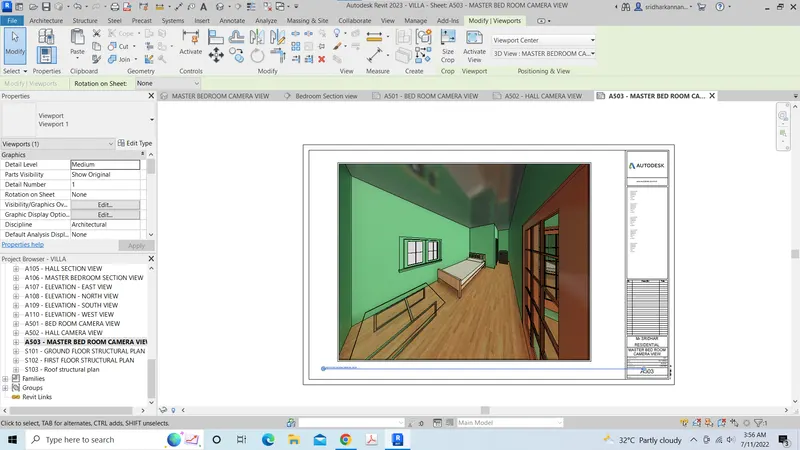
10. Camera view and sheets
Aim
To create camera specific view and sheets
Steps
- Go to view tab, tap it
- Then in view tab,find the 3D view
- Then tap 3D view, then find the camera in the popup
- Then camera symbol will appear drag it and place it in the required room
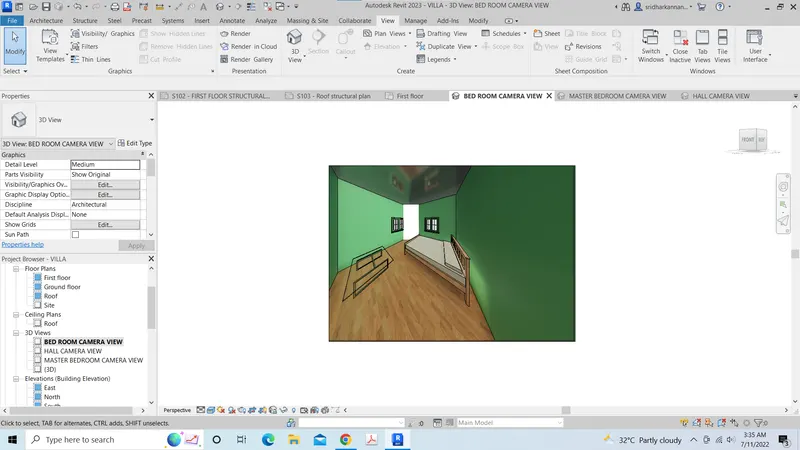
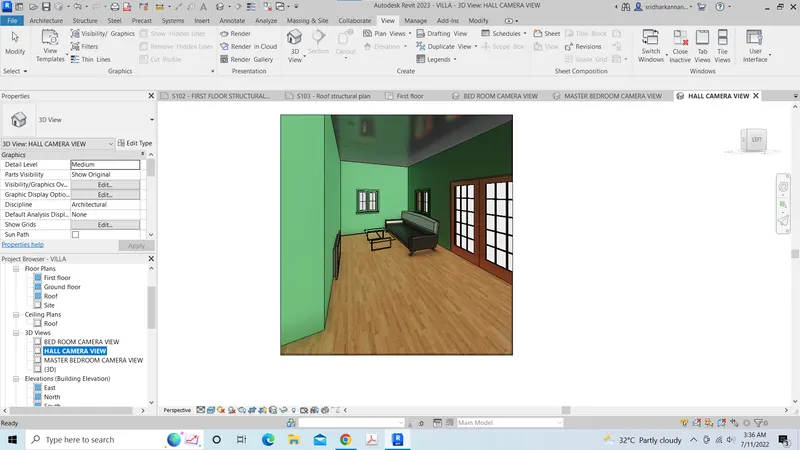
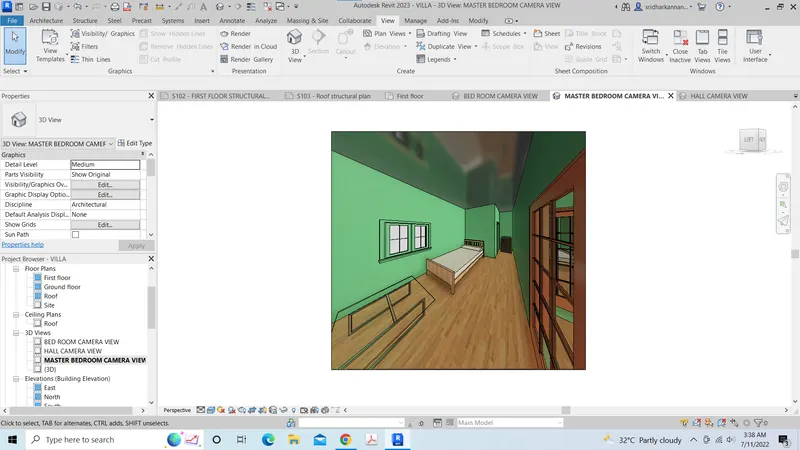
- Then set the target and focus
- Then 3d view 1 will appear
- Then rename it as per the location
- Then create the sheets with that view as did before
Result