3D Creation of Celing, Roof, Architectural plan, Structural plan, Sectional view, Elevation view and Camera specific view for a house plan using REVIT
ANS 1)
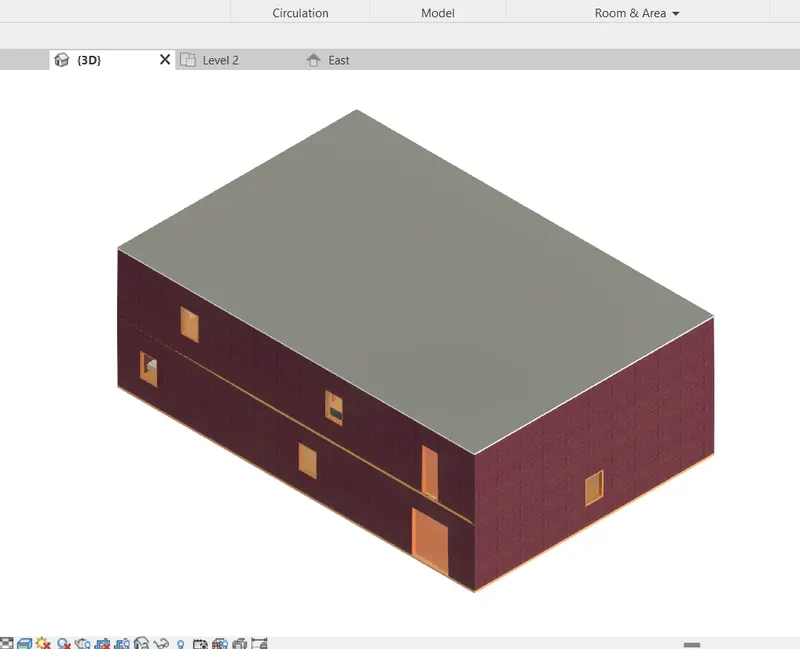
Aim: Model a Ceiling from the architecture tab above the walls at the first-floor level.
Procedure:
- Firstly open the existing drawing which we created in week 3 challenge.
- In the Project browser there is Floor Plan, in floor plan select the level 2(First Floor).
- Now go in Architecture tab and select the CEILING option.
- Modify tab is open, in that select the option for Sketch ceiling.
- Again in Modify tab is open, in that select the option for pick a line.
- Now select the outer lines of the plan and click on Finish Edit Mode.
- In 3D view our CEILING is visible.
ANS 2)
Aim: Model a roof above the ceiling by selecting the footprints of the ceiling and adjust the roof slope to 10 degrees.
Procedure:
- Firstly open the existing drawing which we created in week 3 challenge.
- In the Project browser there is Floor Plan, in floor plan select the level 3(Roof).
- Now go in Architecture tab and select the ROOF option.
- Modify tab is open, in that select the option for "pick a line" option.
- Now select the outer lines of the plan and click on Finish Edit Mode.
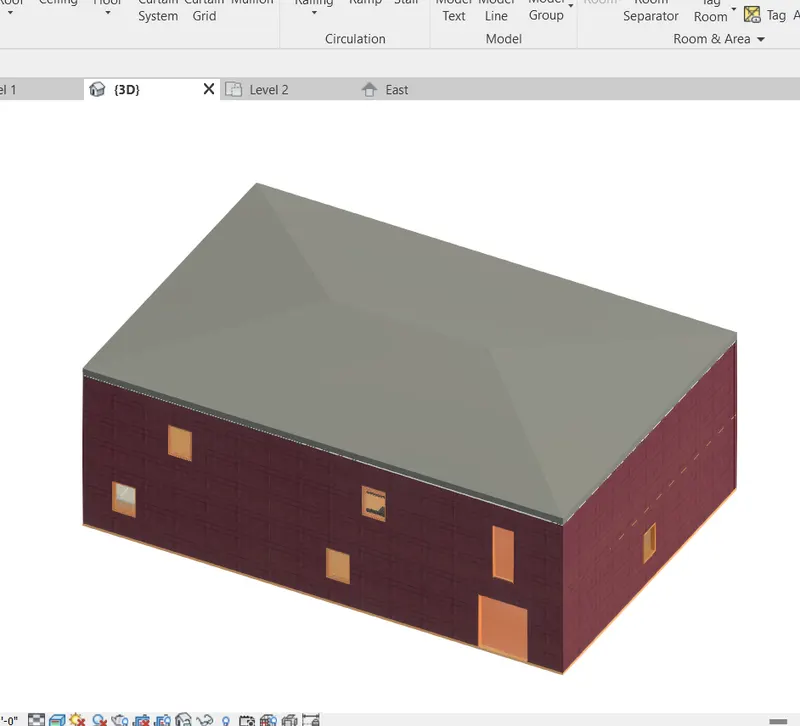
- In 3D view our Roof is visible.
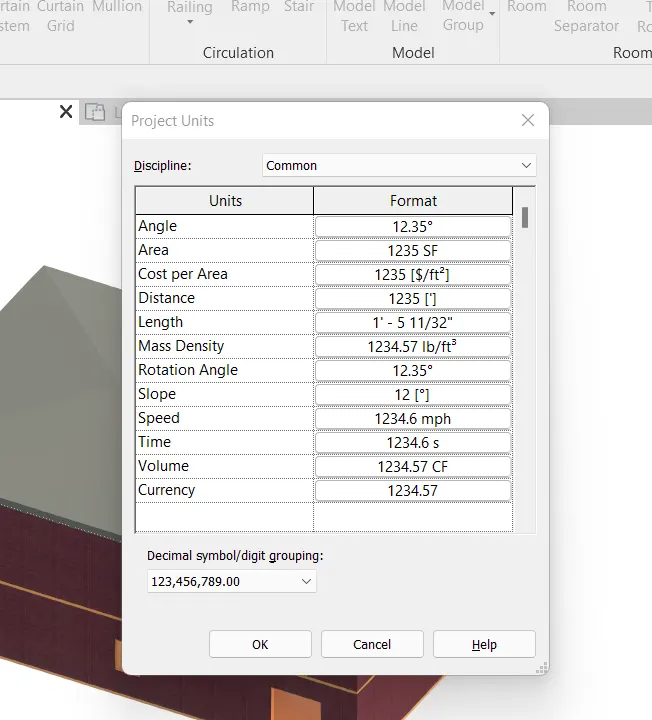
- Now for the roof slope, selct the roof and in the PROPERTIES there is option for slope click on it.
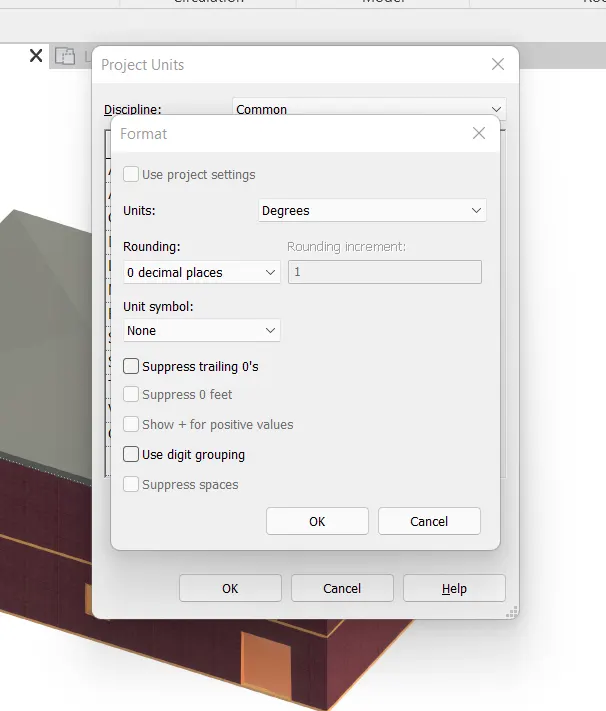
- Type UN for project units click on slope and select the slope is in degrees click ok and again ok.
- Now in the properties option click on slope and enter the value as 10 degrees .
- Click on apply and the roof slope becomes 10 degrees.
ANS 3)
Aim: Creating plan views for ground floor level and first-floor level including all the walls, floors, and components.
Procedure:
- Firstly open the existing drawing which we created in week 3 challenge.
- Now go in the view tab, there is a option for the plan views.
- Click on plan view, there are several options in it.
- First select the floor plan and the popup shown below will be displayed.
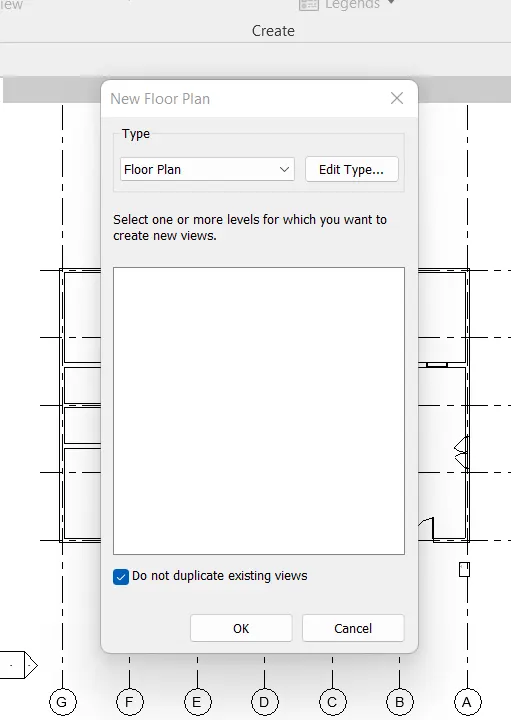
- Go to edit type and then press ok and again press ok.
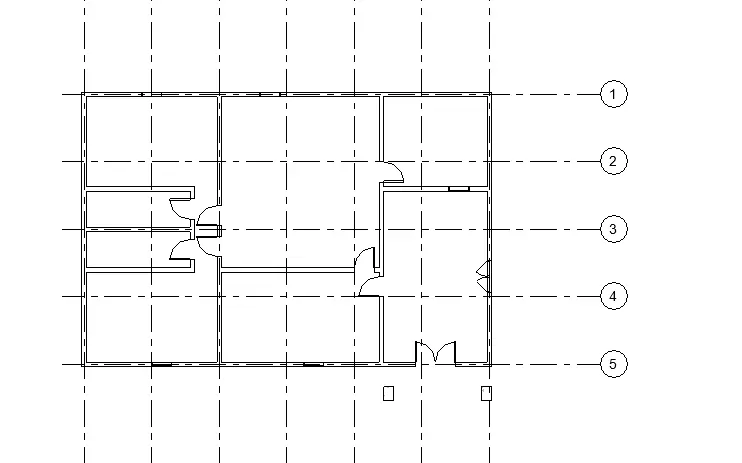
- Our architectural plan is visible now.
- Now again for the structural plan, go to the view tab again.
- And in plan view select the Select the structral plan.
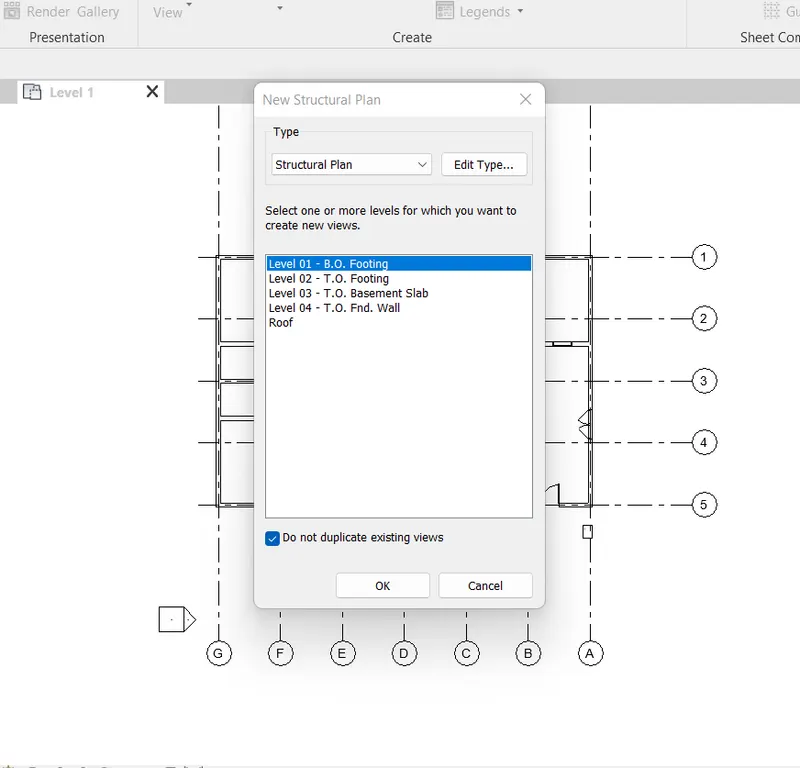
- Now press okay and our structural plan is visible.
ANS 4)
Aim: Using annotate toolbar add dimensions to all the walls and floors with reference to the longitudinal and transverse grids created in the project file.
Procedure:
- To add the dimensions to the walls and floors, go to the annotate tab.
- In annotate tab there is option called aligned, linear etc.
- Select the aligned option and give the dimensions.
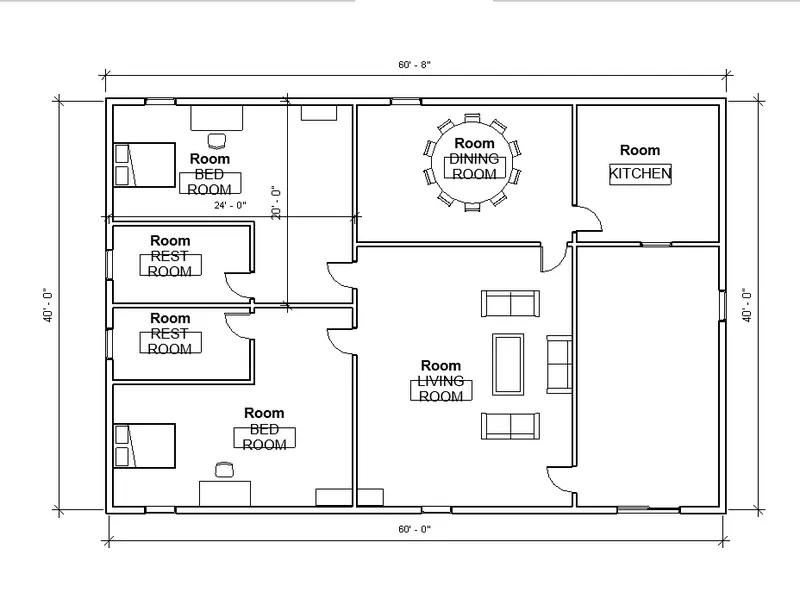
These are the dimensions for the architectural plan.
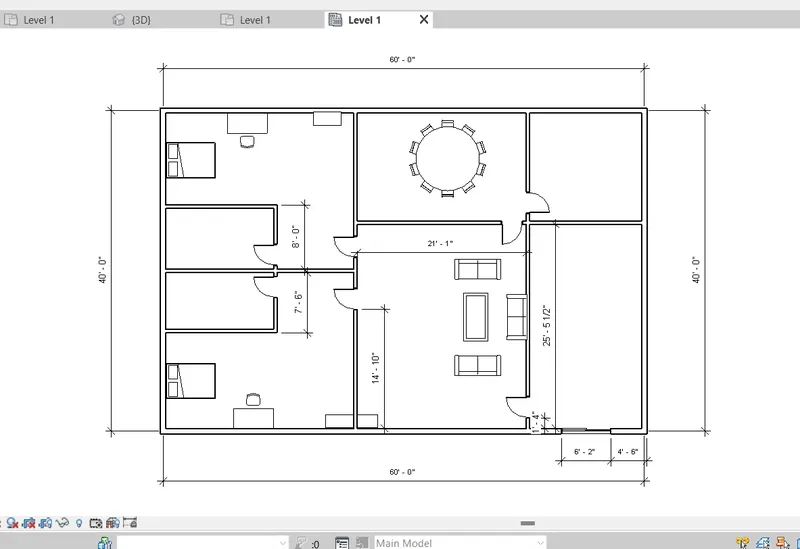
- Similiarly as for the architectural plan, structural plan dimensions are given.
- Go to the annotate tab and select the aligned or linear option and give the dimensions as shown below.
ANS 5)
Aim: Create a sheet template from the view tab and adjust the parameters on the sheet to add appropriate view.
Procedure:
- To create a sheet template, firstly go to the view tab.
- In the view tab, there is option called sheet composition.
- In sheet composition, sheet option is available.
- Click on sheet and there is a popup appears on display as shown below.
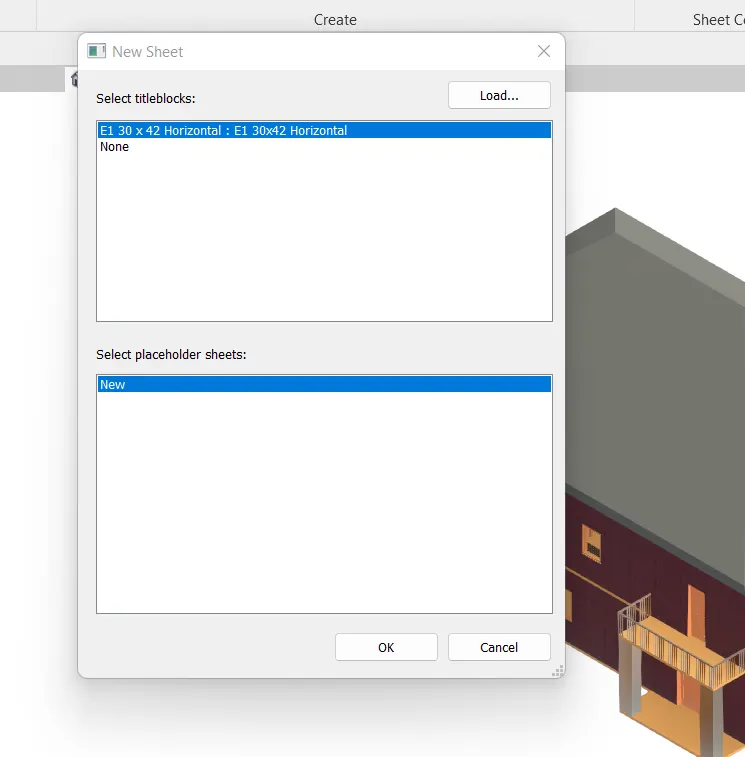
- Select the sheet and click on the ok.
- After that a sheet format is opened as shown below.
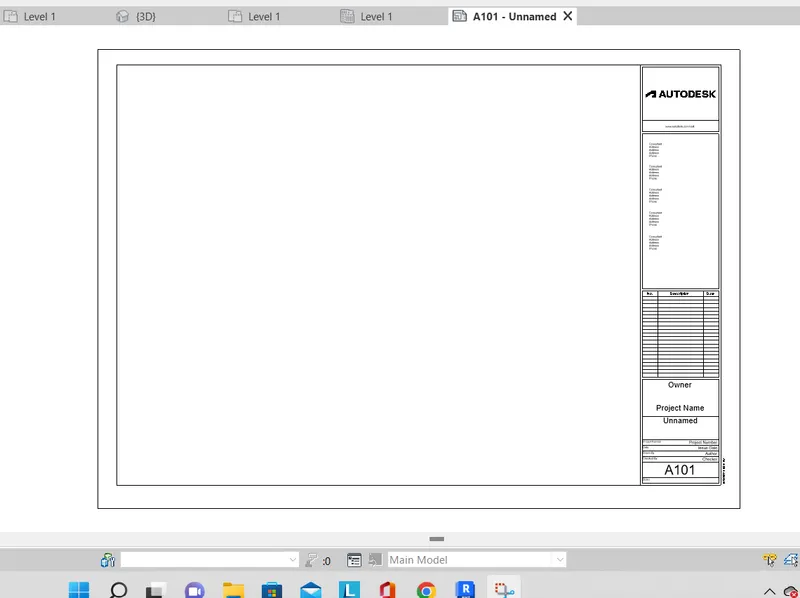
- Edit the name of tthe project, date, drawn by etc.
- Or go to the manage tab and fill the project information there.
- Now simply drag the plan to the sheet, Firstly Drawing the ground floor plam onn the sheet.
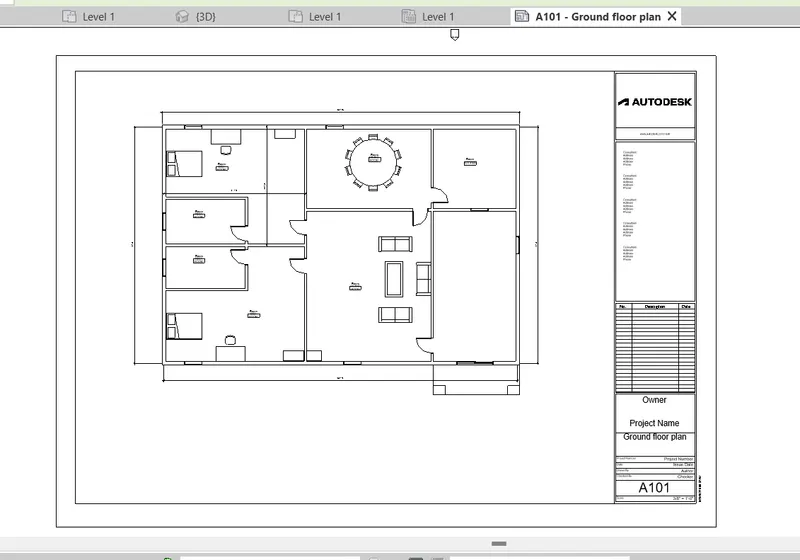
ANS 6)
Aim: Using the elevation tab create the elevation views, looking at your building from East, North, South, and West.
Procedure:
- To create the elevation views, go to the view tab.
- In the view tab, there is an option of the elevation.
- When you click on elevation there are two options shown one is elevation and the other is framing elevation.
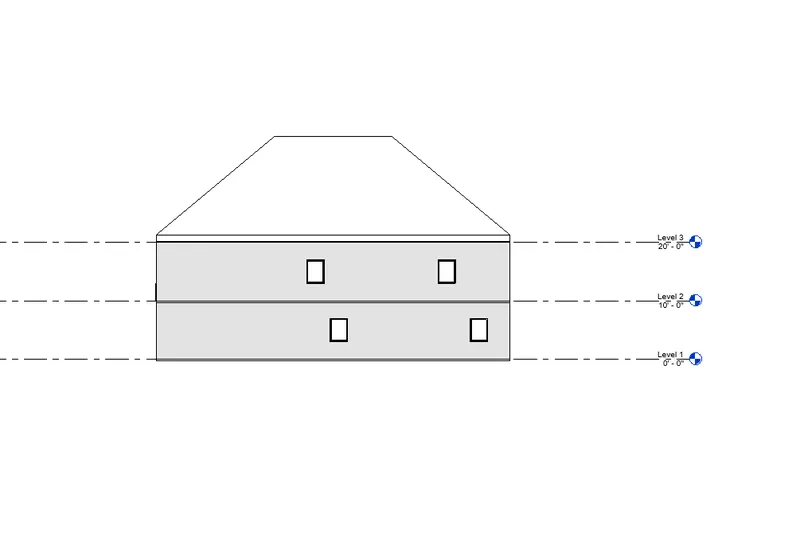
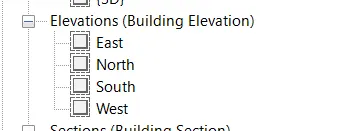
- In revit, there are automatically four elevation are generated named EAST, WEST, NORTH, SOUTH.
- In the project browser there are elevations.
- First we click on the east side elevation.
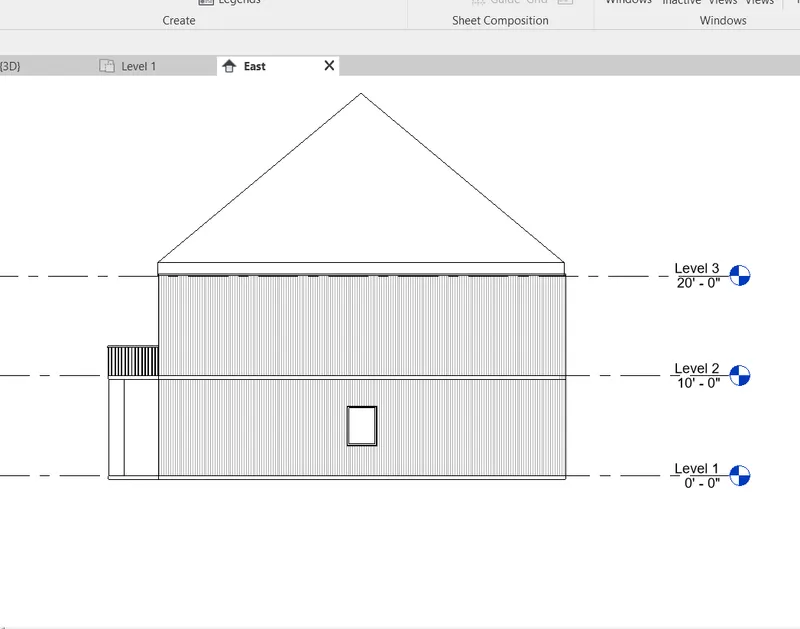
West side Elevation.
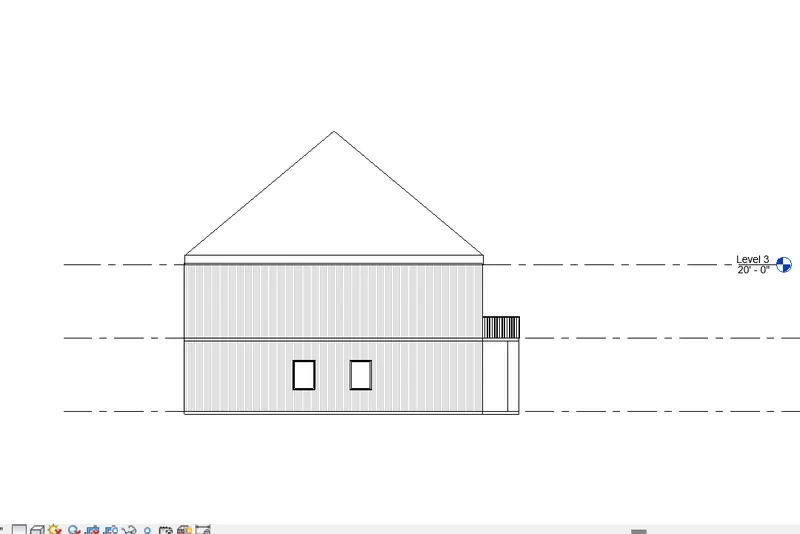
North side elevation.
South side elevation.
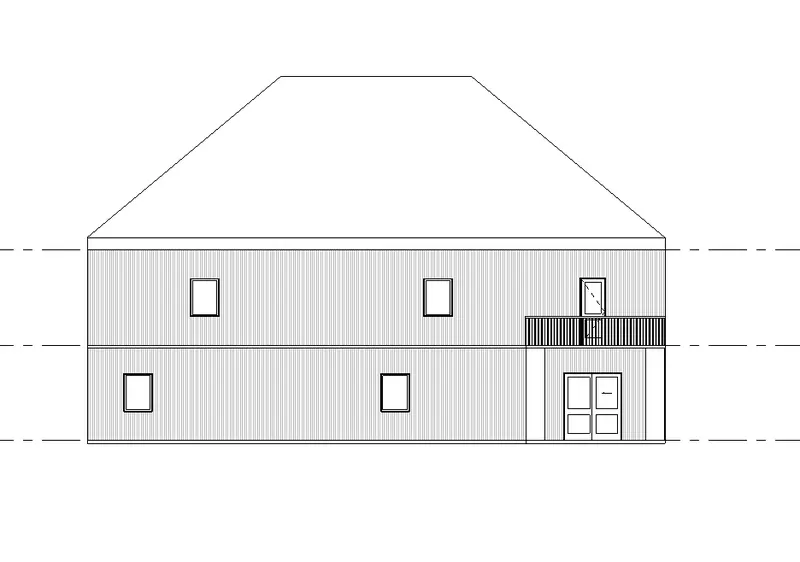
- If these elevations are not available than click on the elevation and generate the elevations.
ANS 7)
Aim: Produce section cut through each room either cutting across longitudinally or in a transverse direction.
Procedure:
- To create the section views, go to the view tab.
- In the view tab, there is an option of the section.
- When you click on section, and move your cursor in the model.
- Click where you want to cut the section.
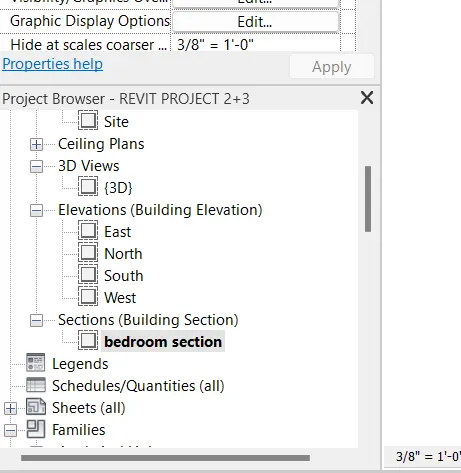
- In the project manager, there is section option click on it.
- In that there is a section one, rename it accordingly.
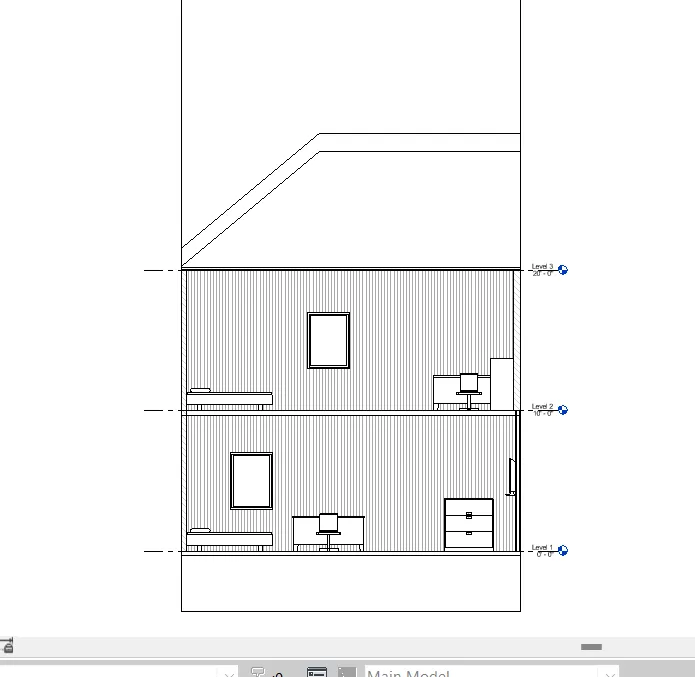
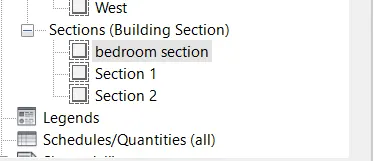
- Below is the longitudinal section od a bedroom.
ANS 8)
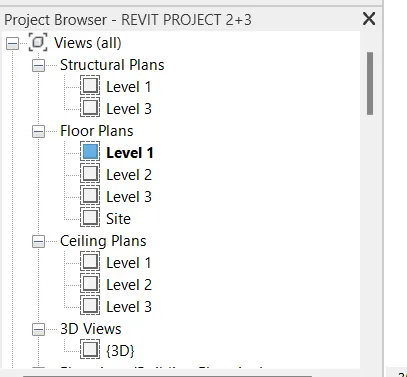
Aim: Classify the views, Plan Views, Section Views, and Elevation views to either Design or Documentation category using Properties browser.
Procedure:
- To classify the different views, here i am sharing the images of my property browser.
1) Plan views
2) Section Views
3) Elevation Views
ANS 9)
Aim: Using the sheet template produced create multiple sheets.
Procedure:
- To create a sheet template, firstly go to the view tab.
- In the view tab, there is option called sheet composition.
- In sheet composition, sheet option is available.
- Click on sheet and there is a popup appears on display as shown below.
- Select the sheet and click on the ok.
- After that a sheet format is opened as shown below.
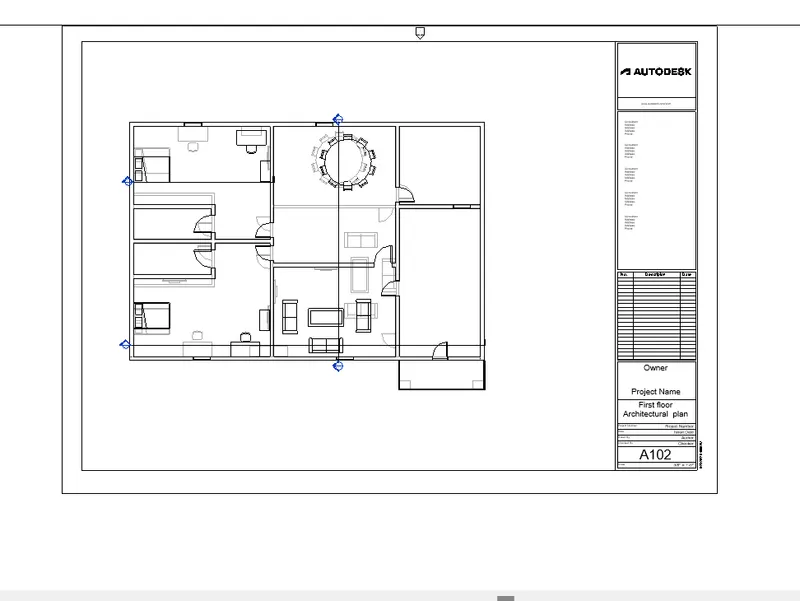
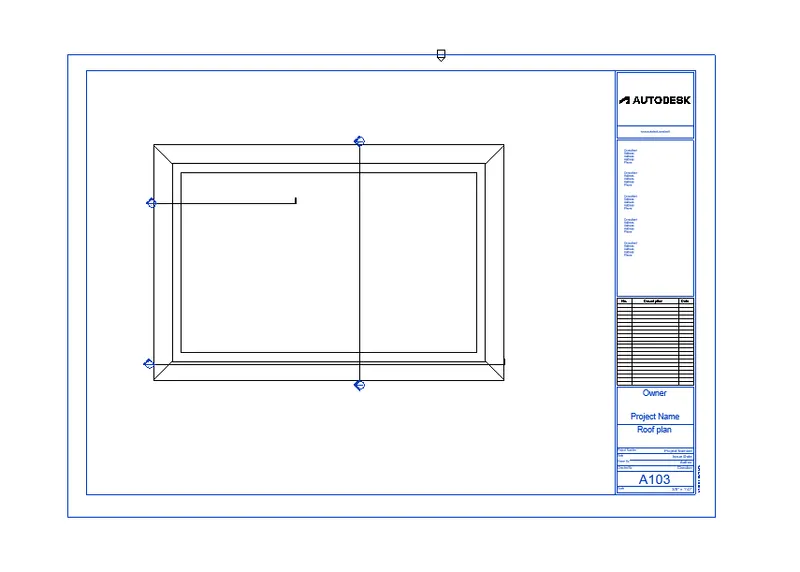
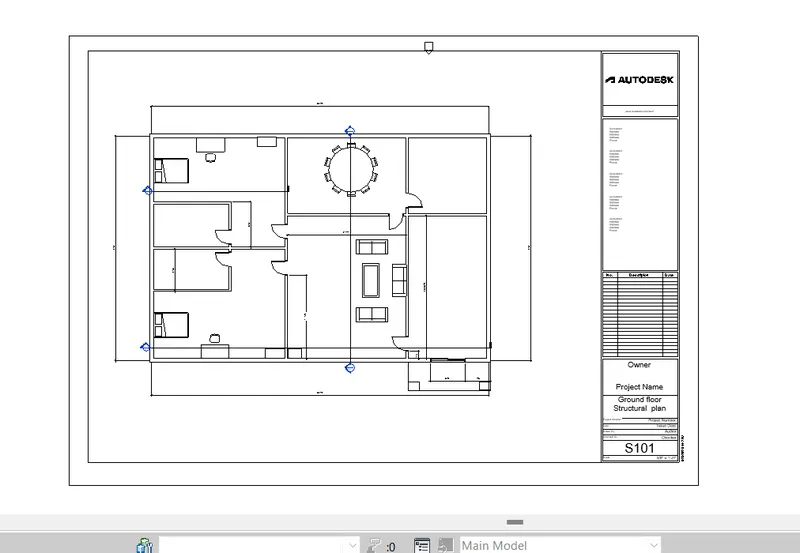
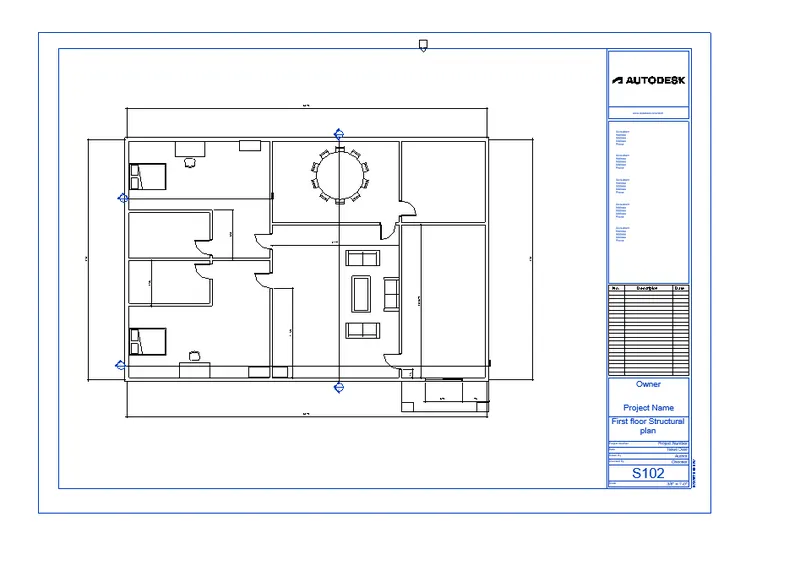
- Now simply drag the plan to the sheet, Firstly Drawing the ground floor plan on the sheet.
a. A 101- Ground Floor Architecture Plan
b. A 102- First Floor Architecture Plan
c. A 103- Roof Plan
d. S 101- Ground Floor Structural Plan
e. S 102- First Floor Structural Plan
f. S 103- Roof Framing Plan
g. A-201- North-South Elevations
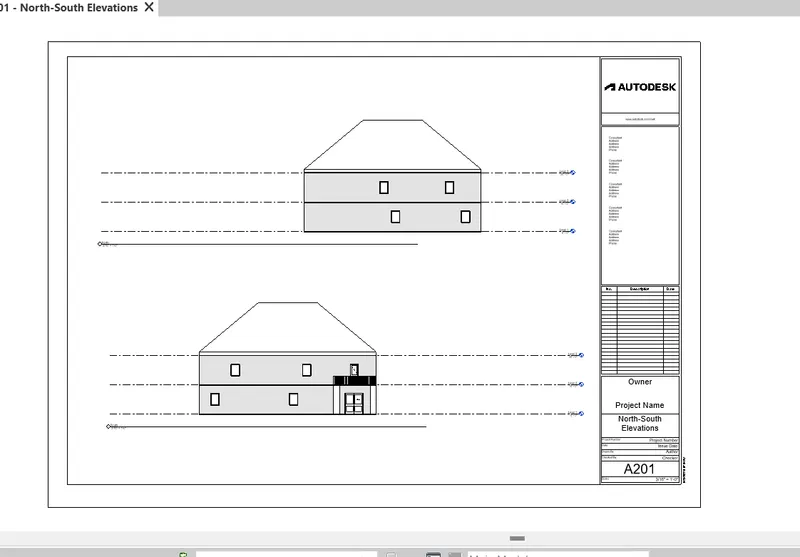
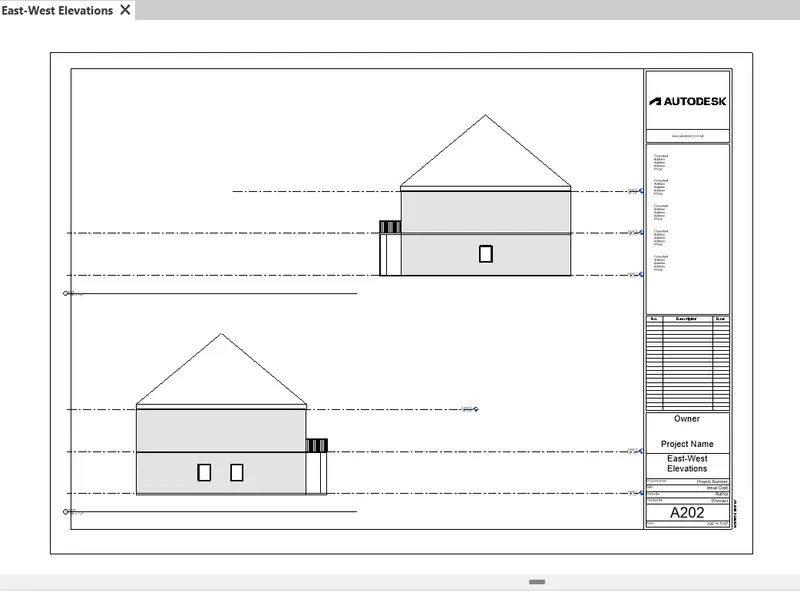
h. A-202- East-West Elevations
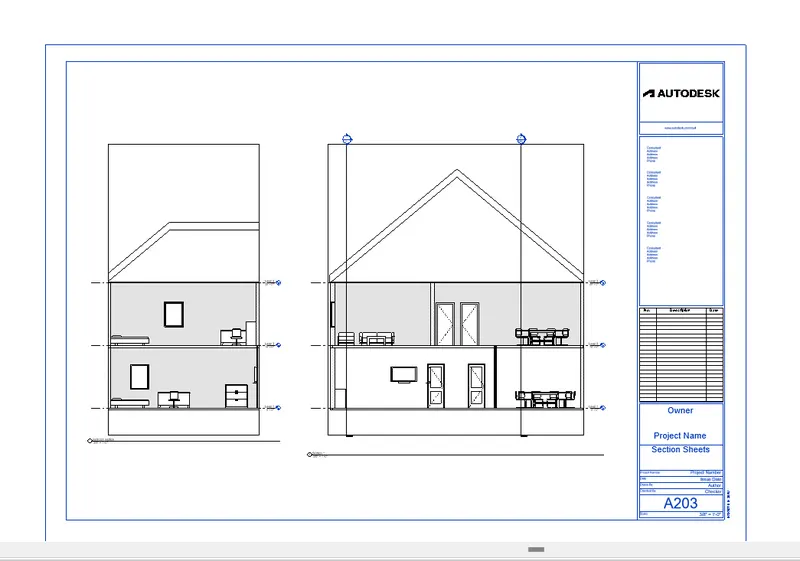
Section sheets
ANS 10)
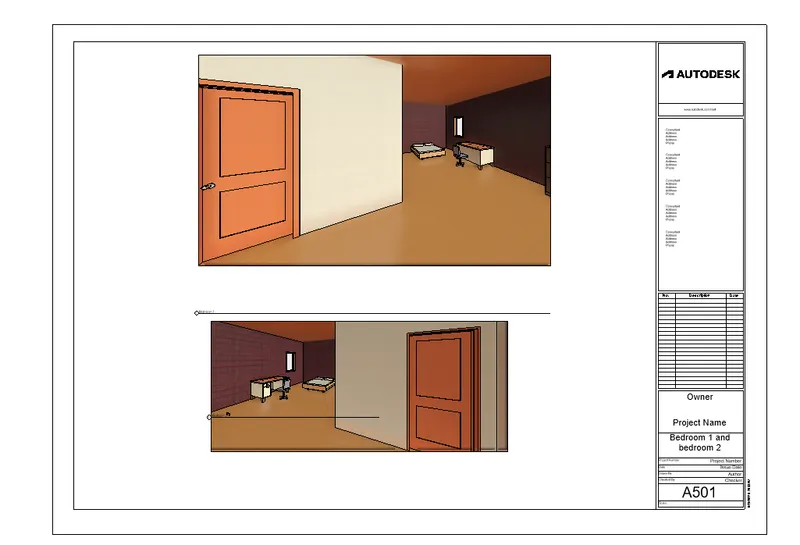
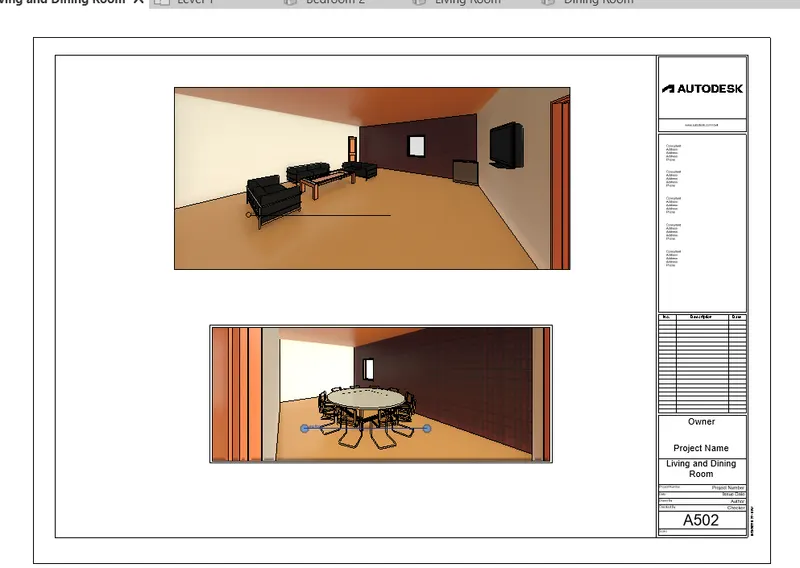
Aim: Create a camera-specific view or a 3D view in each room ( living, dining, bedroom).
Procedure:
- To create the camera specificor a 3D view, go to the view tab.
- In the view tab, there is an option of the 3D view.
- In 3D view there is option for camera click on it.
- Place the camera in the room And drag it.
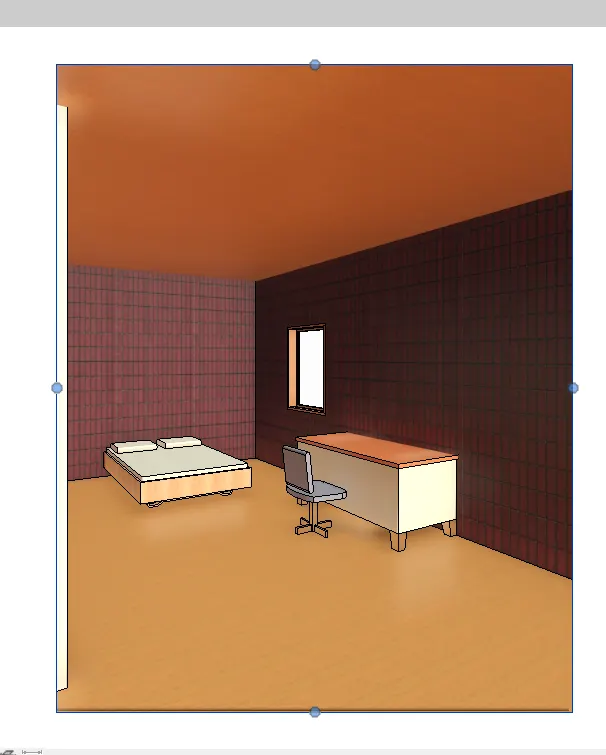
- This type of image is generated from the camera view.
- Now put the camera in different room and different images are generated as shown below.
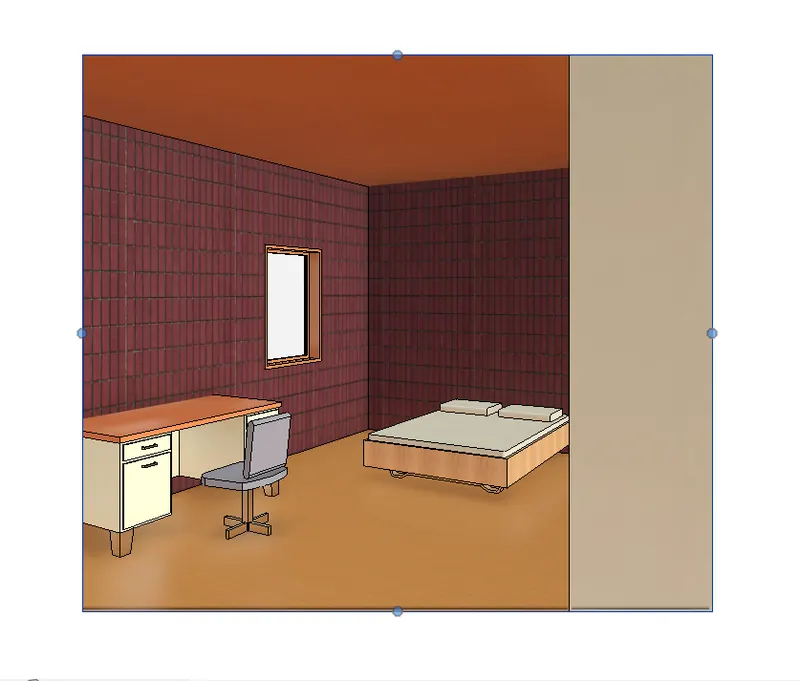
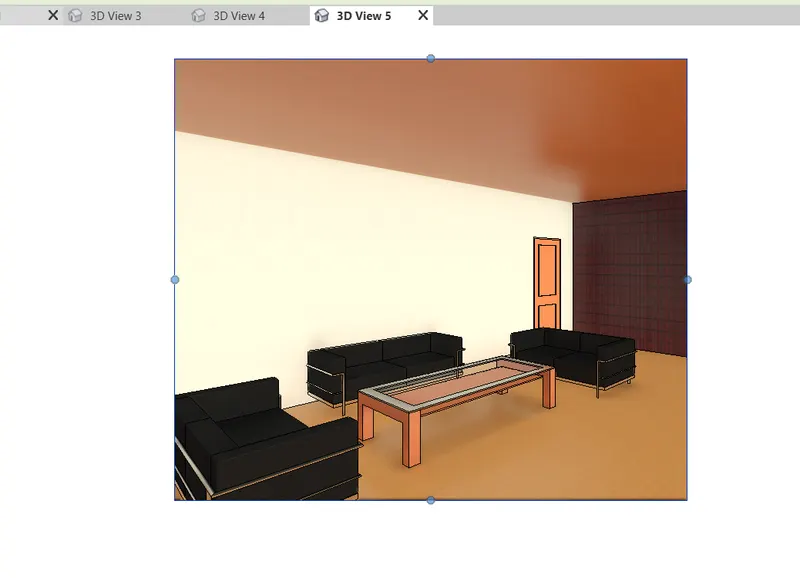
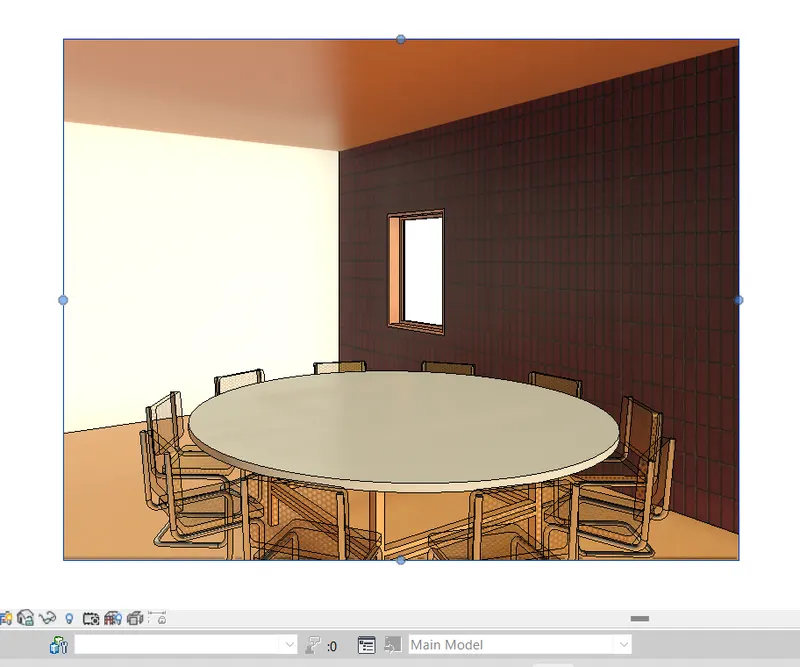
Now create the sheets as we did above.
Go to the view tab and select the sheets option.