3D Creation of Ceiling, Roof, Architectural plan, Structural plan, Sectional view, Elevation view and Camera specific view for a house plan using REVIT
1) AIM: Create ceiling for the project model.
Steps:
Go to Architectural tab.
Select floor plan.
Select ceiling.
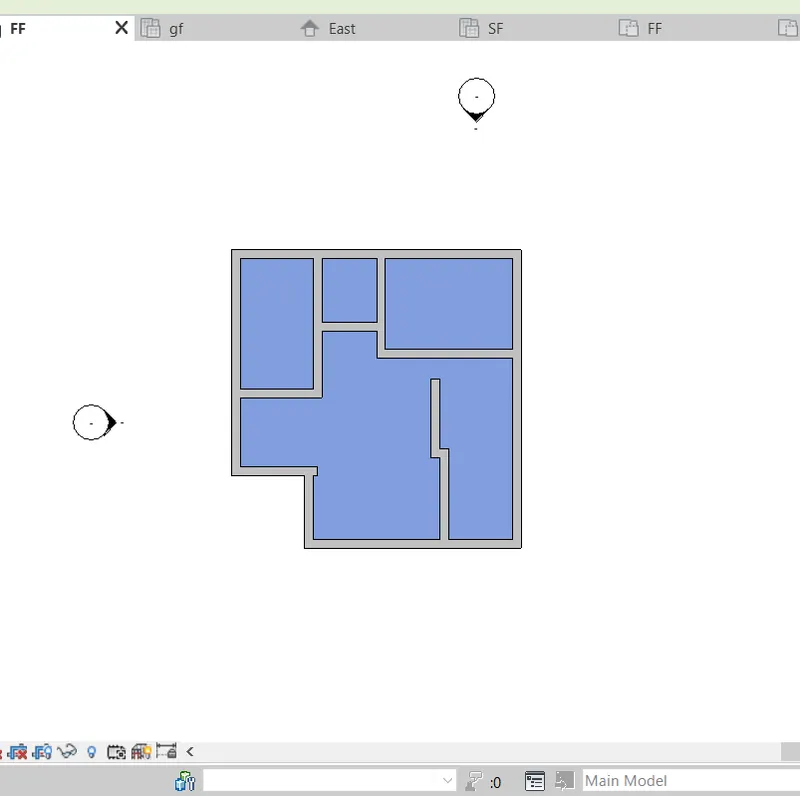
draw the boundary line
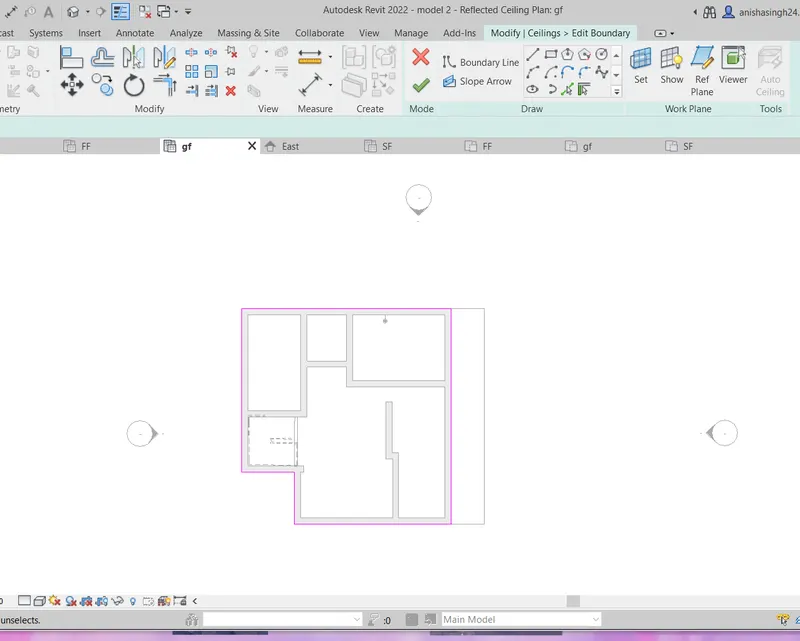
Select ok.
Then the ceiling is created.
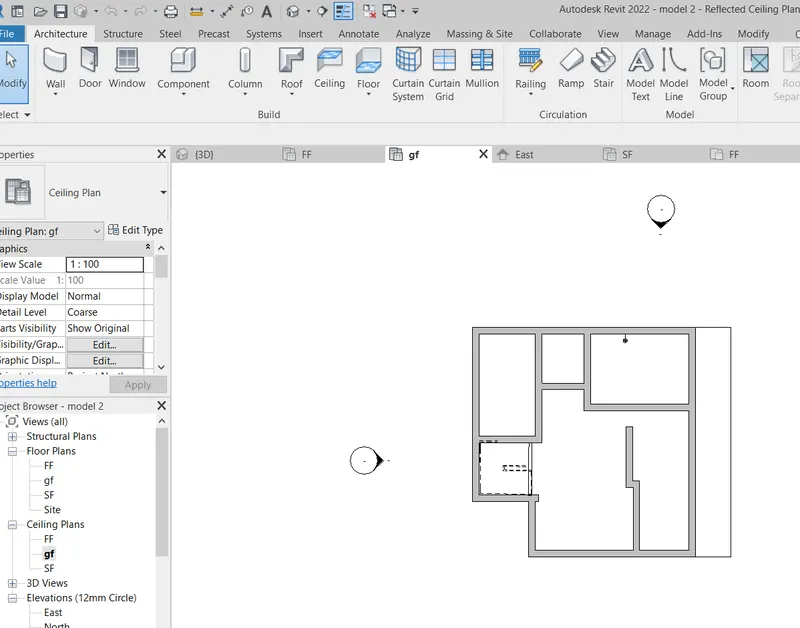
Same for the first floor.
Go to Architectural tab.
Select first floor plan.
Select ceiling.
Sketch the boundary.
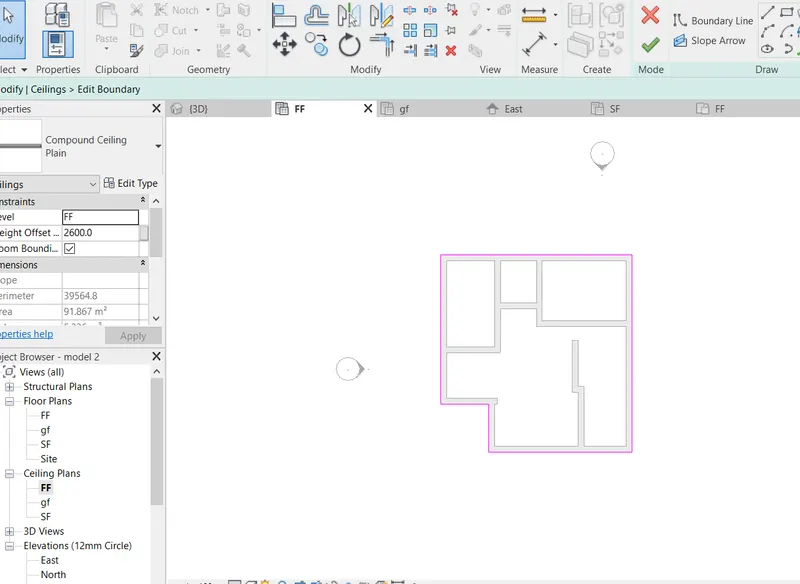
Click ok.
Thid is the 3D view of the ceiling drawn.
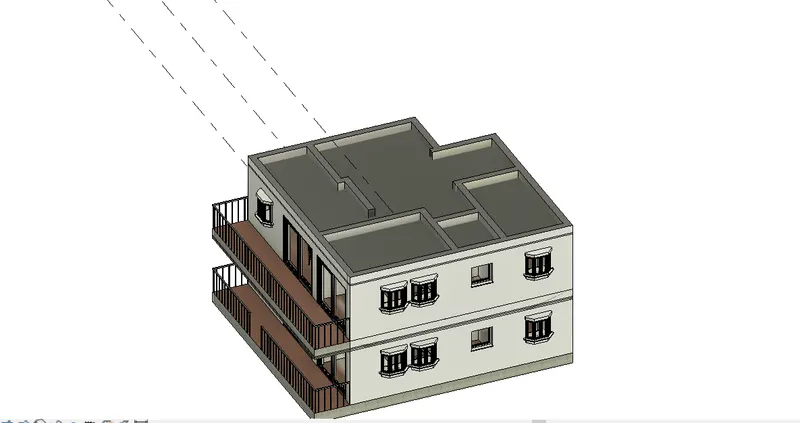
2) AIM: Create a roof for the model with a roof slope of 10 degress.
Steps:
In the architectural tab.
Select roof by footprint
Draw a boundary line for the roof.
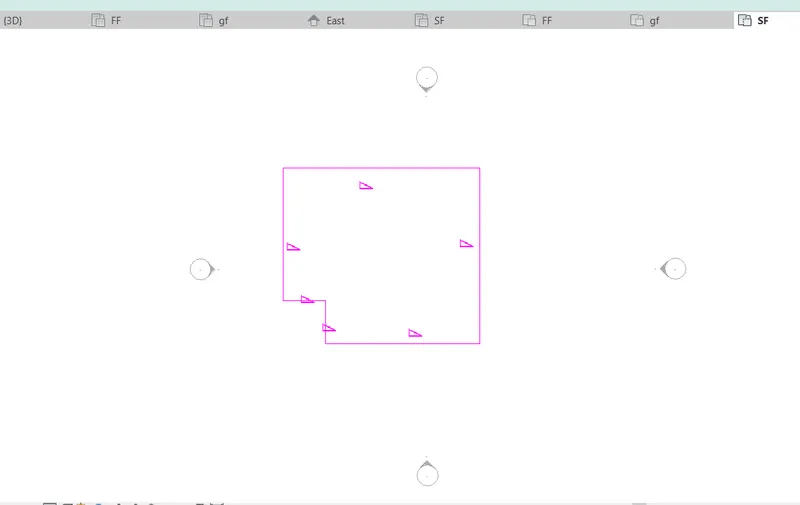
Click ok.
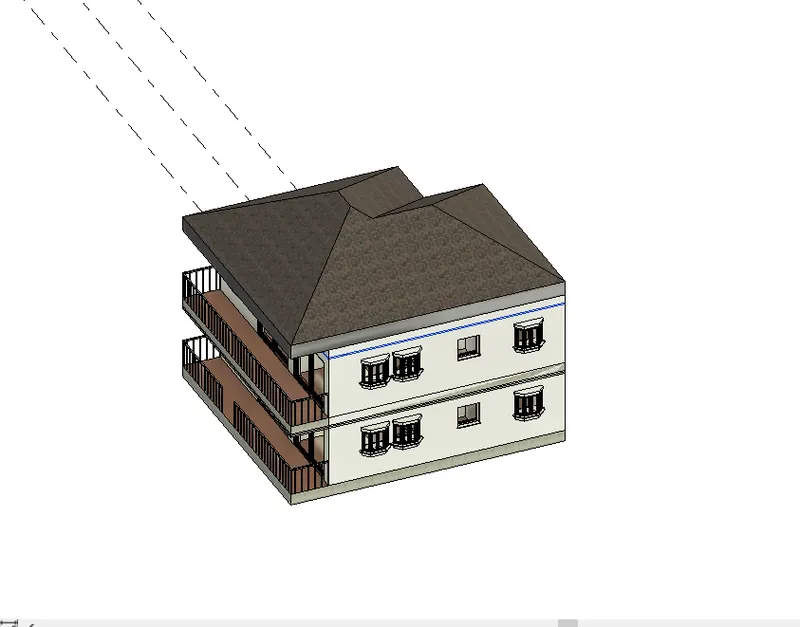
This is the 3D view of the roof created.
On the side of the screen , in the properties.
Chnage the degree of slope to 10 degree,.
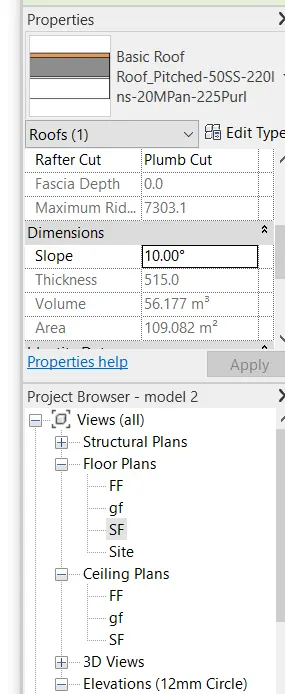
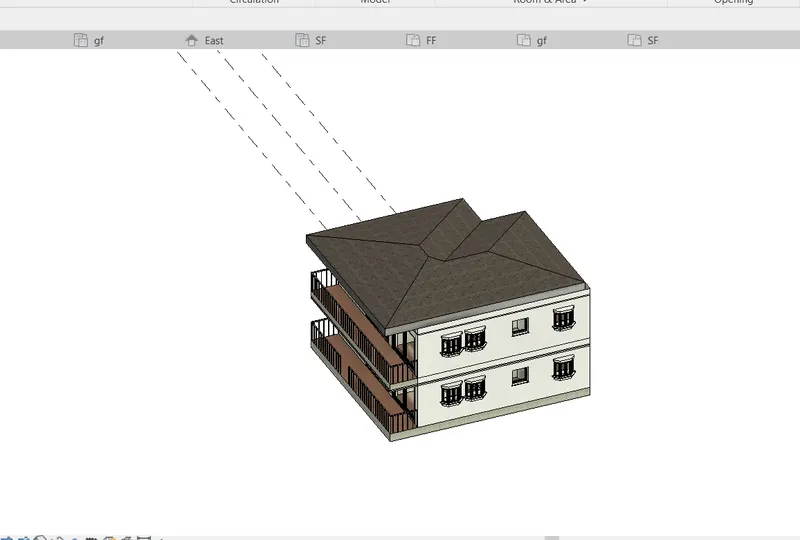
Now this is the view of 10 degree slope roof in 3D.
3) AIM:Create plan views for ground floor level and first-floor level including all the walls, floors, and components. Separate them to architecture and structural plans.
Steps:
MODEL2.
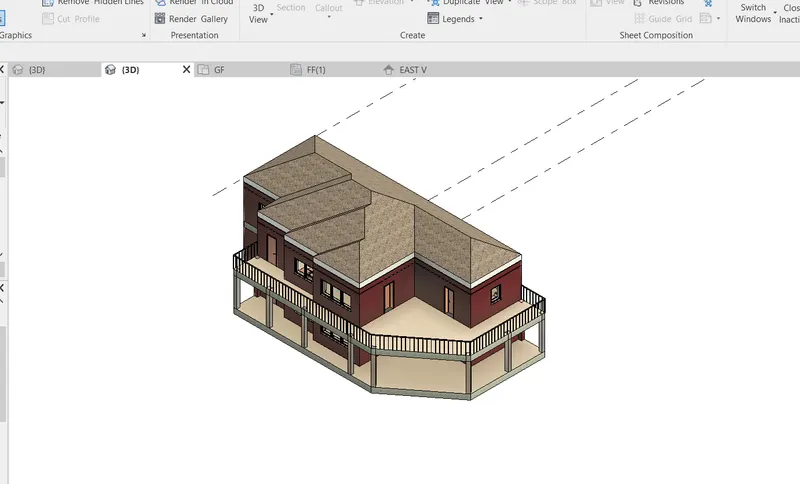
To create a plan view :
Go to view tab.
Select elevation.
Place the cursor on the point for the VIEW.
And create east view
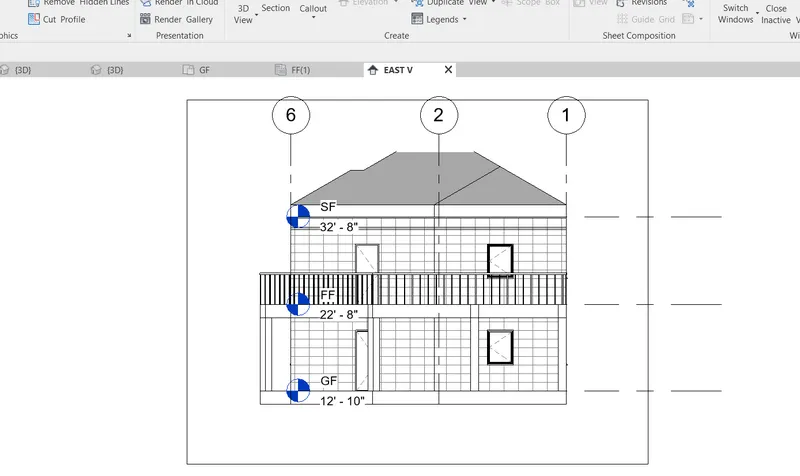
South view.
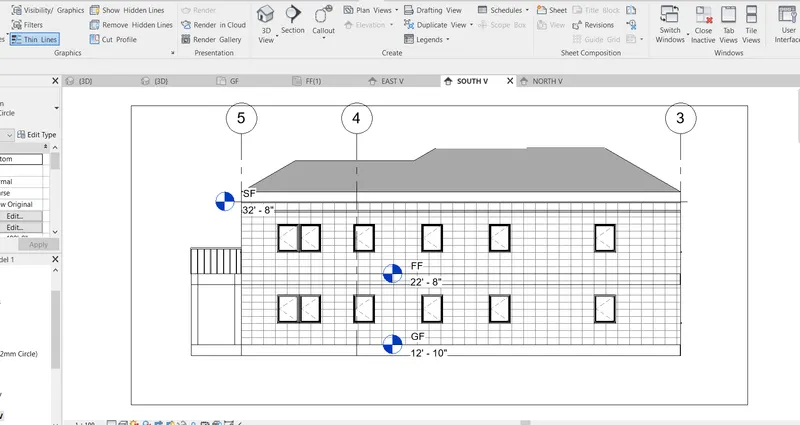
North view.
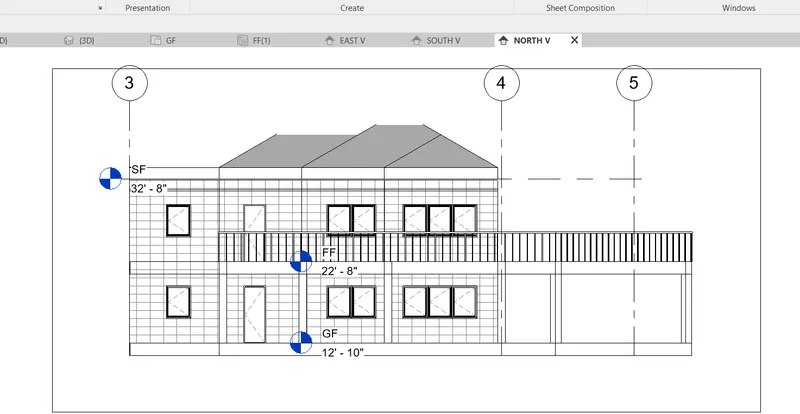
West view.
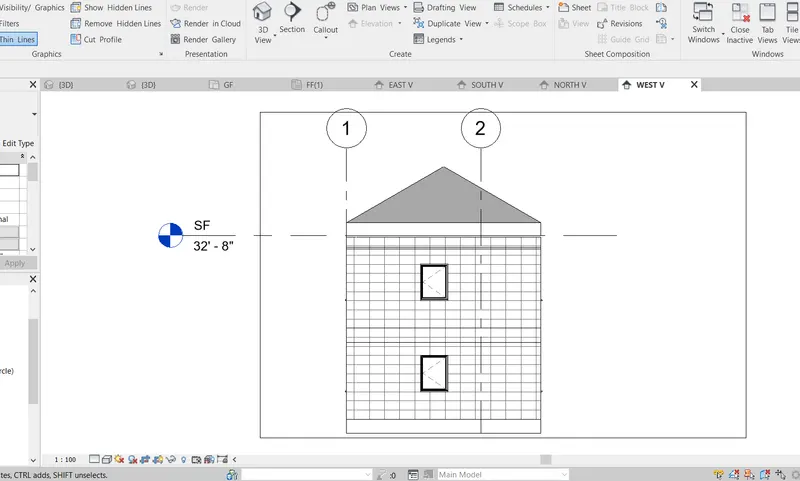
For archtectural Plans:
Got to view tab.
Select plans view.
Select floor plan.
Ground floor plan.
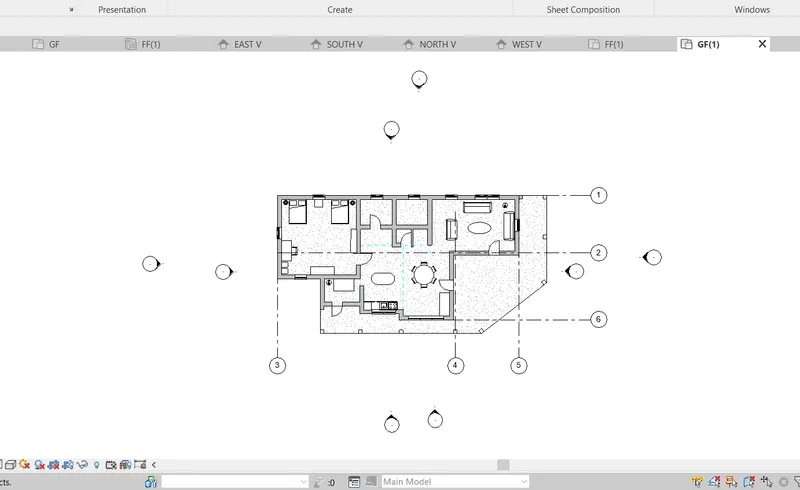
First floor plan.
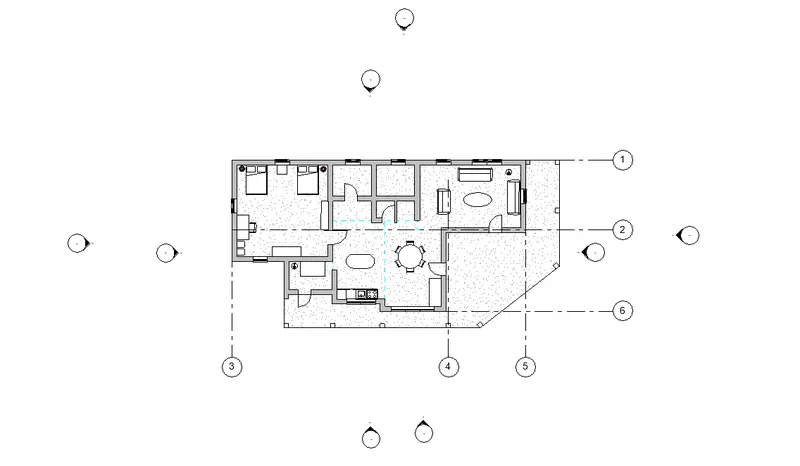
Second floor.
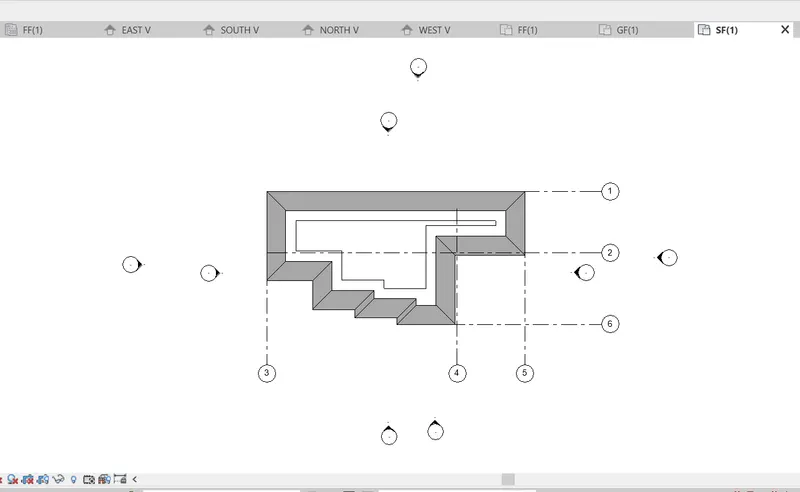
Structural Plans:
The structural plan for ground floor and first floor plan.
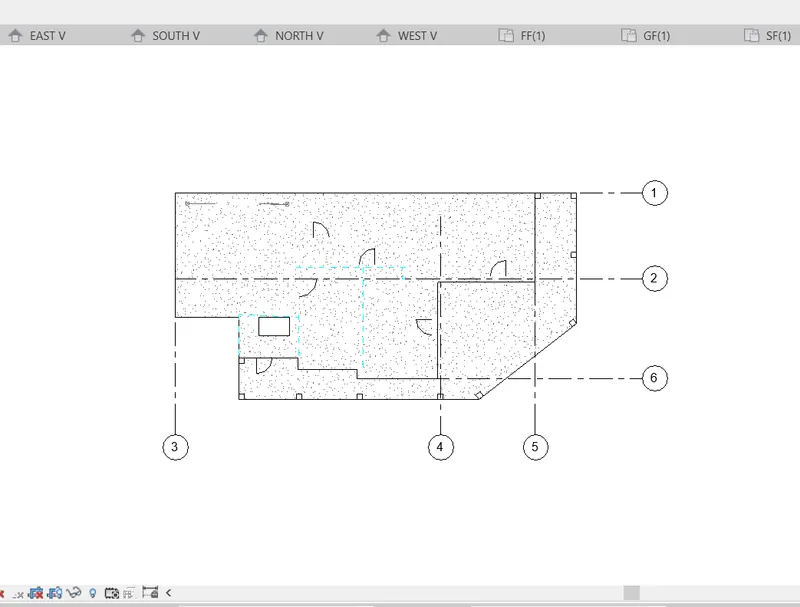
The structural plan for second floor.
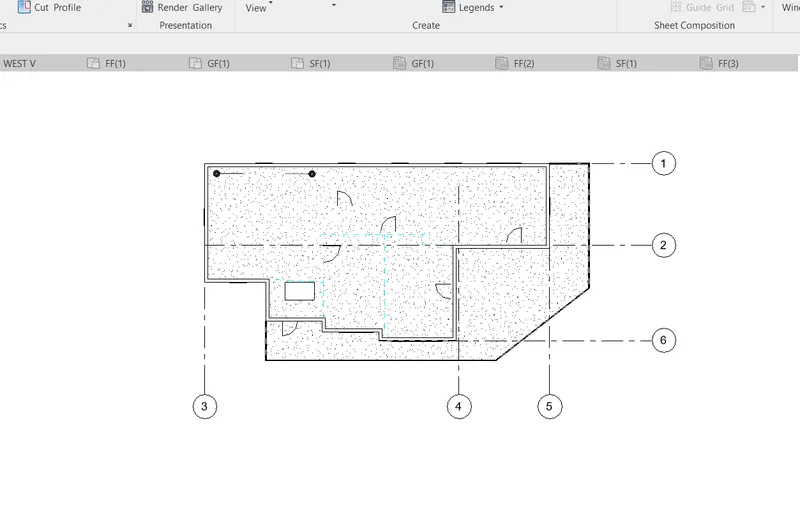
MODEL 2:
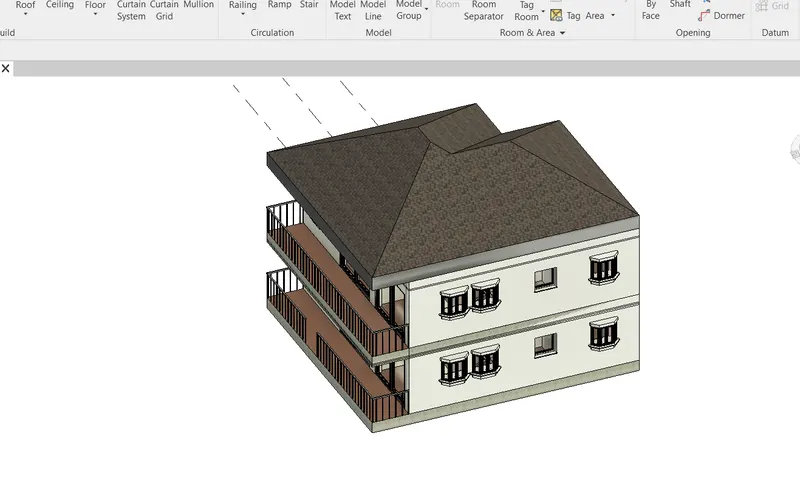
To create a plan view :
Go to view tab.
Select elevation.
Place the cursor on the point for the VIEW.
And create east view
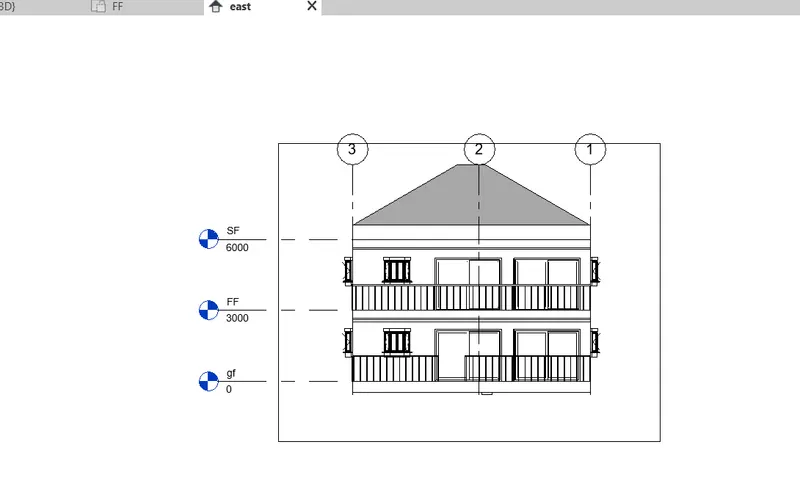
South view.
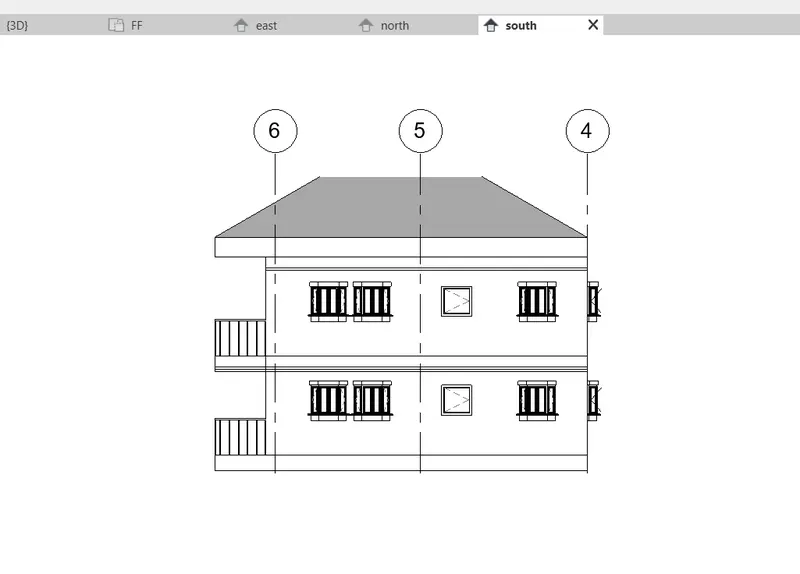
North view.
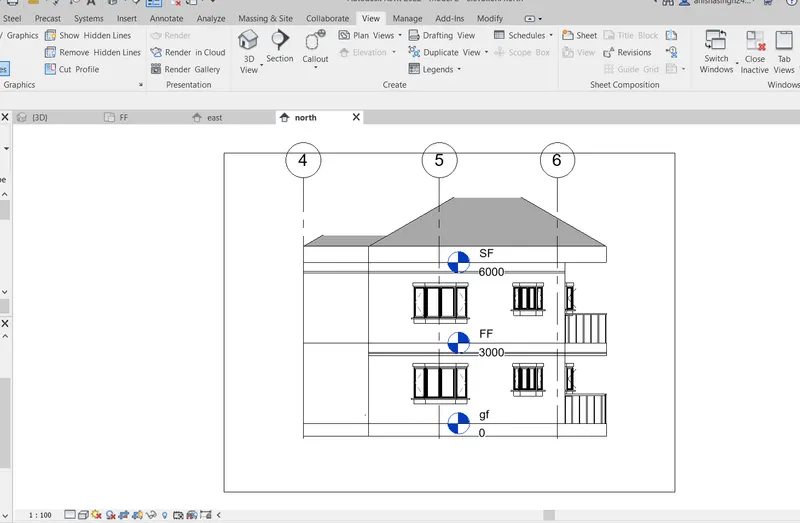
West view.
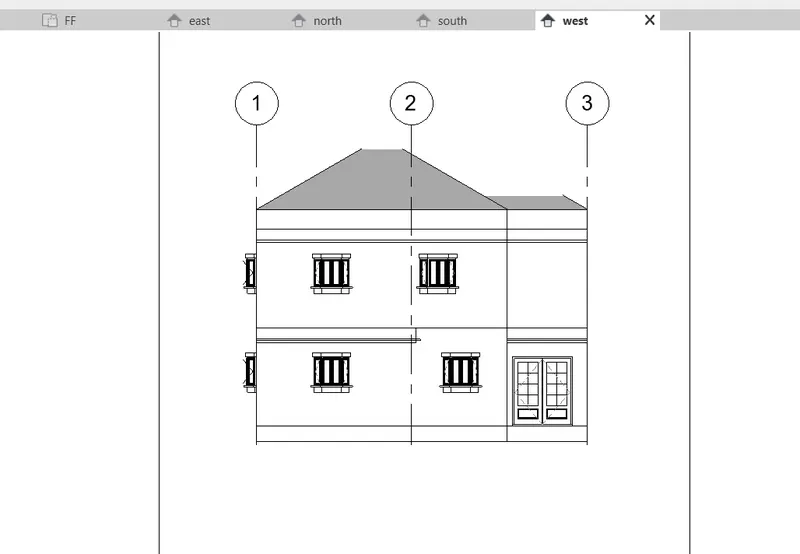
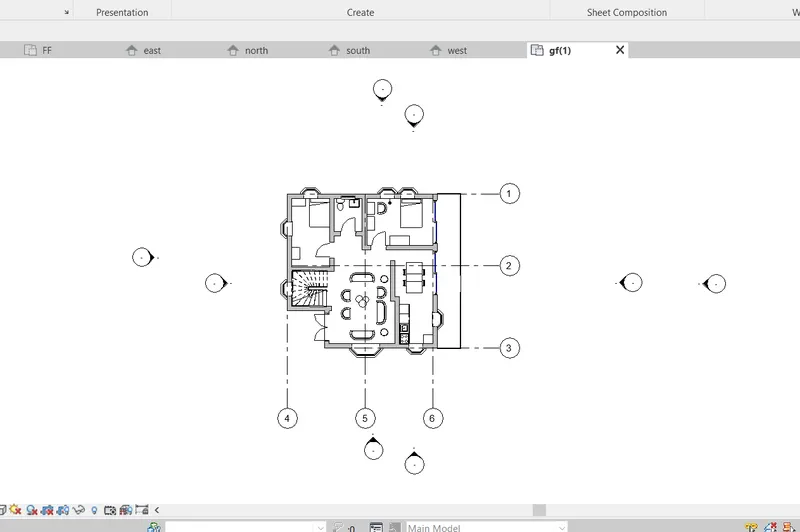
For archtectural Plans:
Got to view tab.
Select plans view.
Select floor plan.
Ground floor plan, first floor
Second floor.
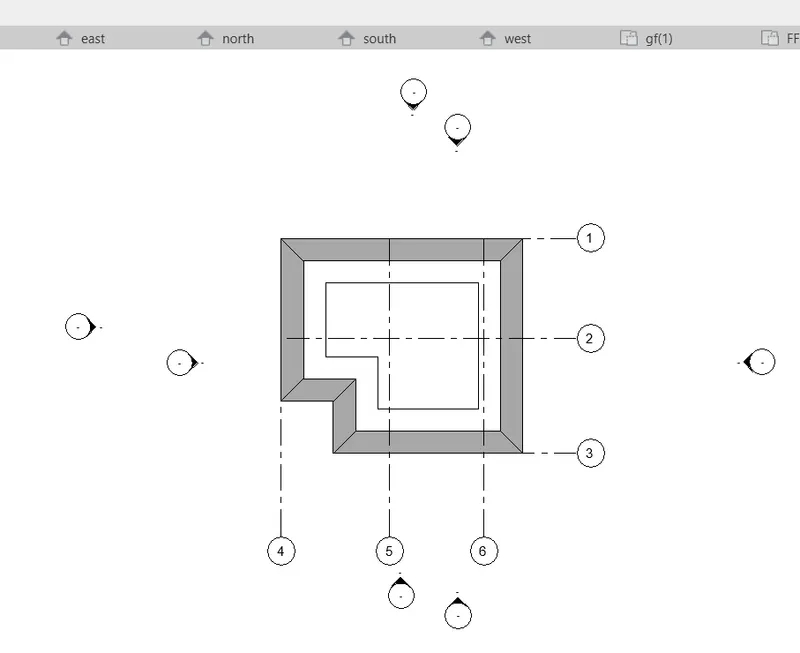
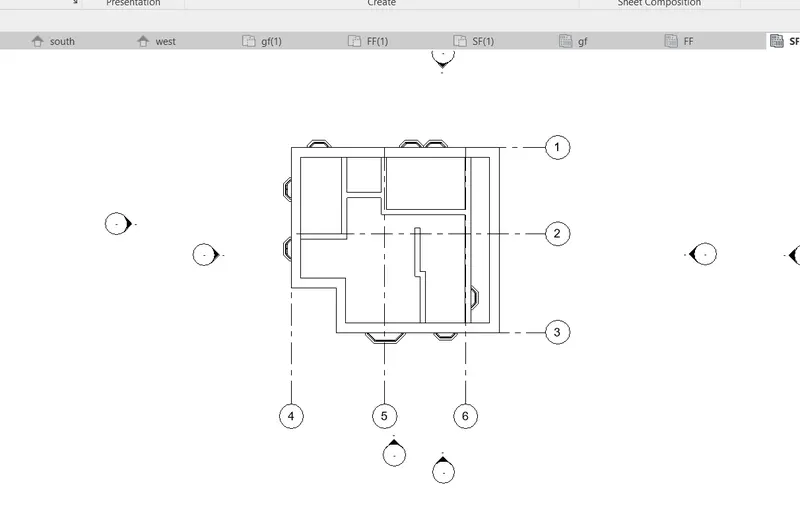
Structural Plans:
The structural plan for ground floor and first floor plan.
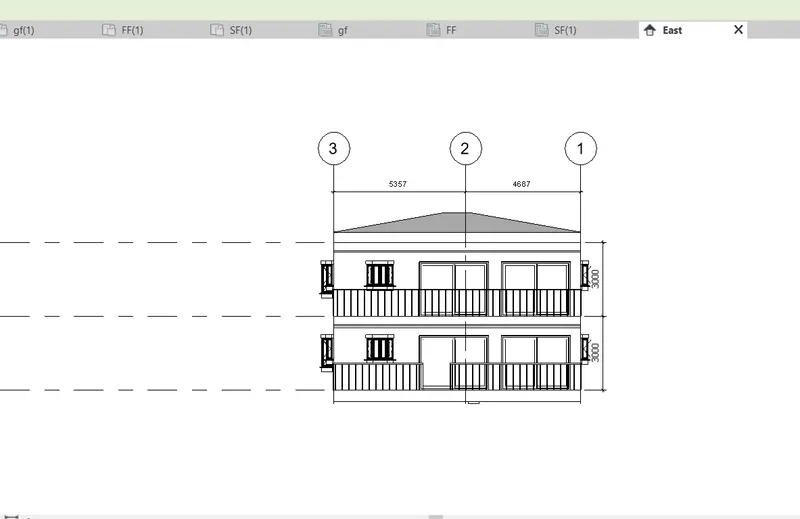
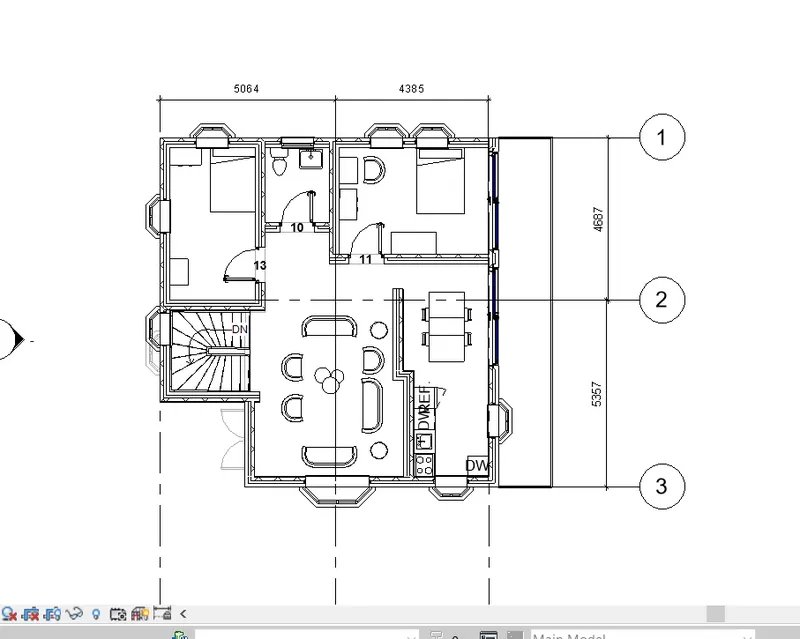
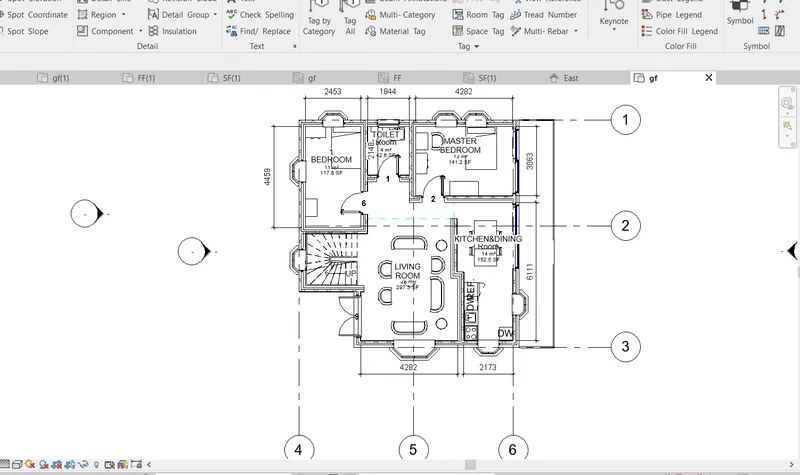
4) AIM: Create structural dimensions and architectural.
Steps:
Dimensions for this model2
Structural.
Go to annotate tab.
Select linear.
Architectural dimensions.
5) AIM: Create a sheet template .
Steps:
Go to view tab.
Select sheets.
Click on new
A new sheet will be created
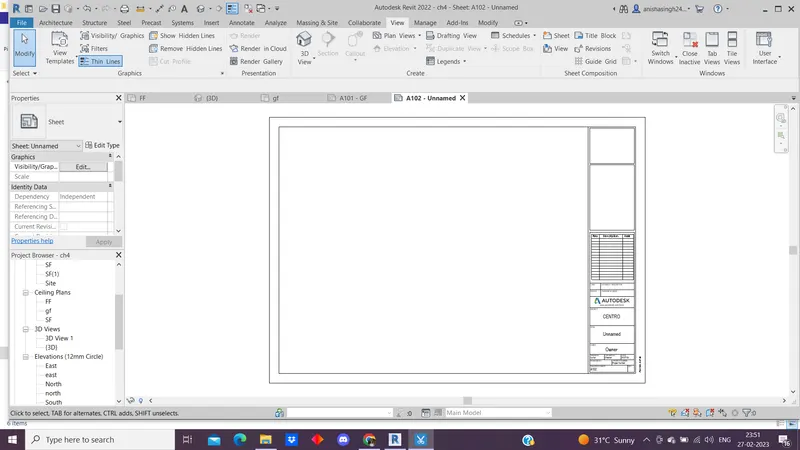
Change the project name, and all the information needed.
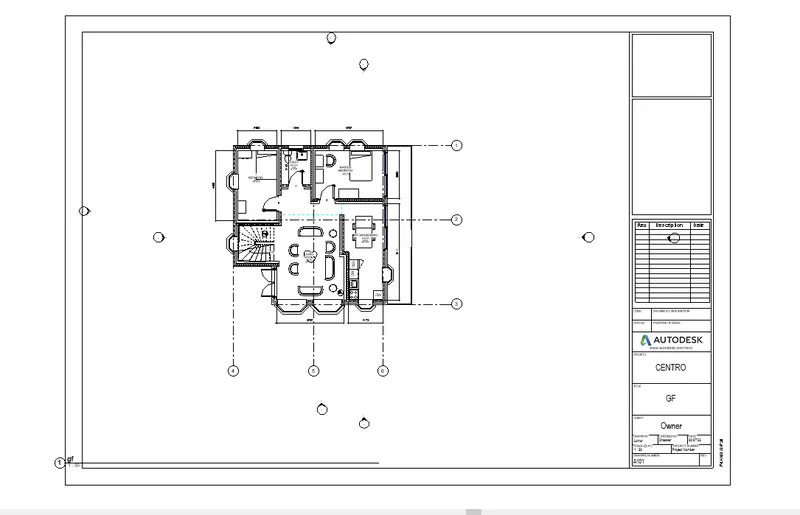
This is how thw sheet are made.
6) Aim: Create the elevation views, looking at your building from East, North, South, and West.
To create a Elevation :
Go to view tab.
Select elevation.
Place the cursor on the point for the VIEW.
And create east view
South view.
North view.
West view.
7) AIM: Produce section cut through each room either cutting across longitudinally or in a transverse direction.
Steps:
Go to view tab.
Select section.
Draw a line where the section is needed to be created.
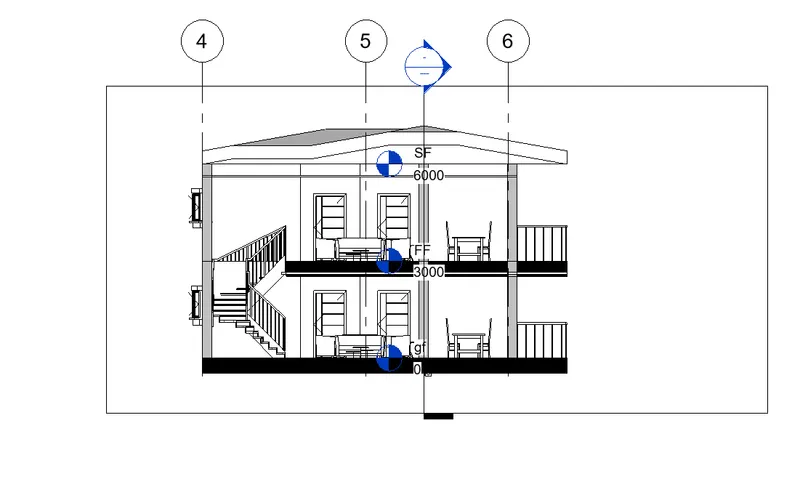
The second section is created.
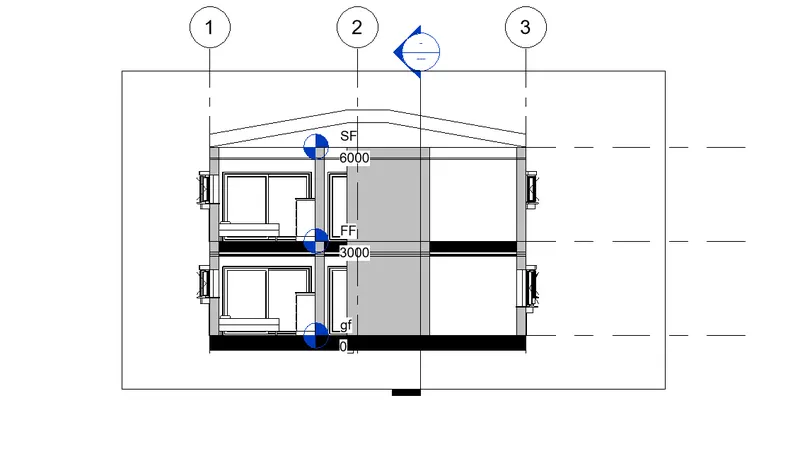
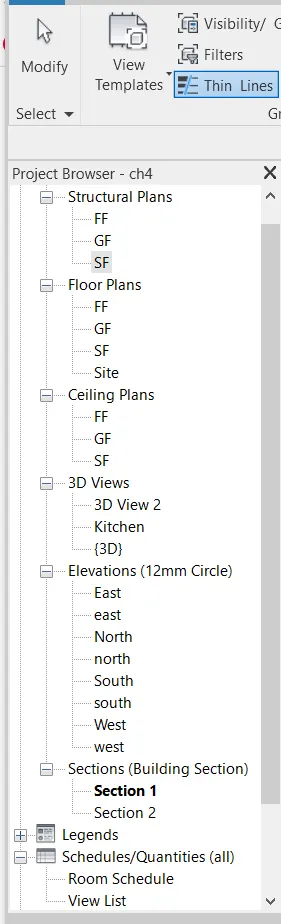
8) AIM: Classify the views, Plan Views, Section Views, and Elevation views to either Design or Documentation category using Properties browser.
STEPS:
In the property browser , all the view :
Plan views such as structural plan, floor plan,ceiling plans can be seen
Views as Section views, Elevation views, 3D Views are also present in the project browser
9) AIM: Using the sheet template produced create multiple sheets as follows
a. A 101- Ground Floor Architecture Plan
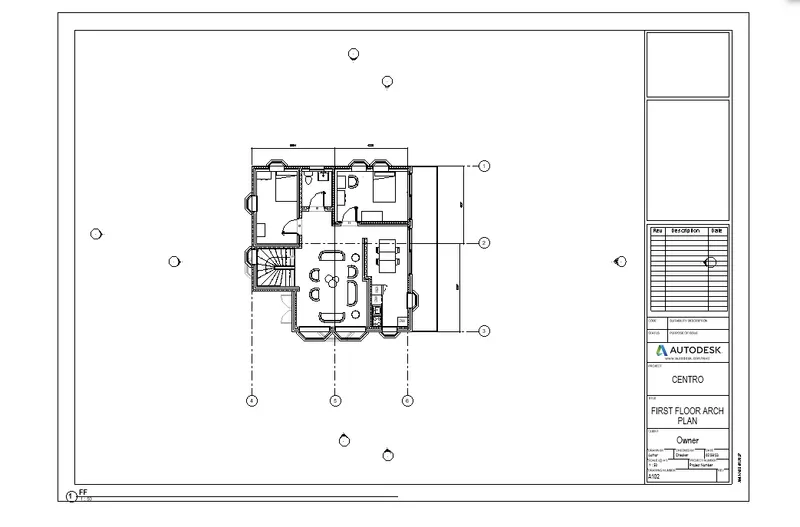
b. A 102- First Floor Architecture Plan
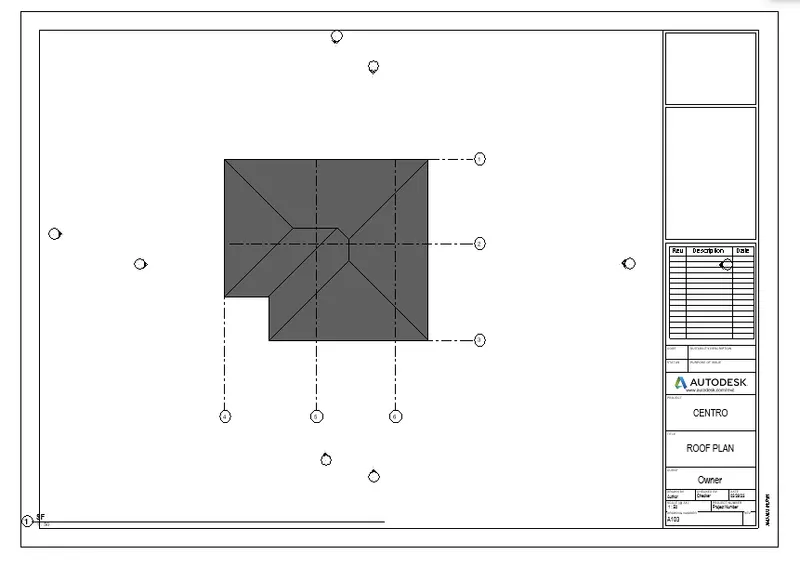
c. A 103- Roof Plan
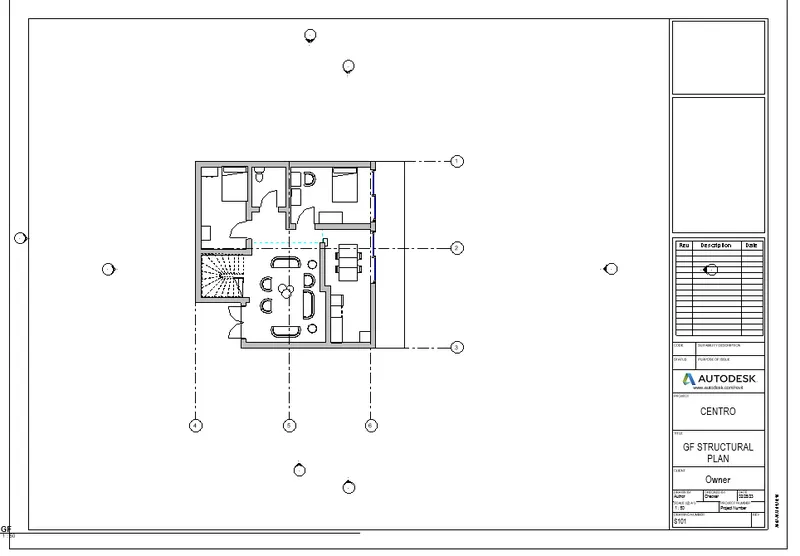
d. S 101- Ground Floor Structural Plan
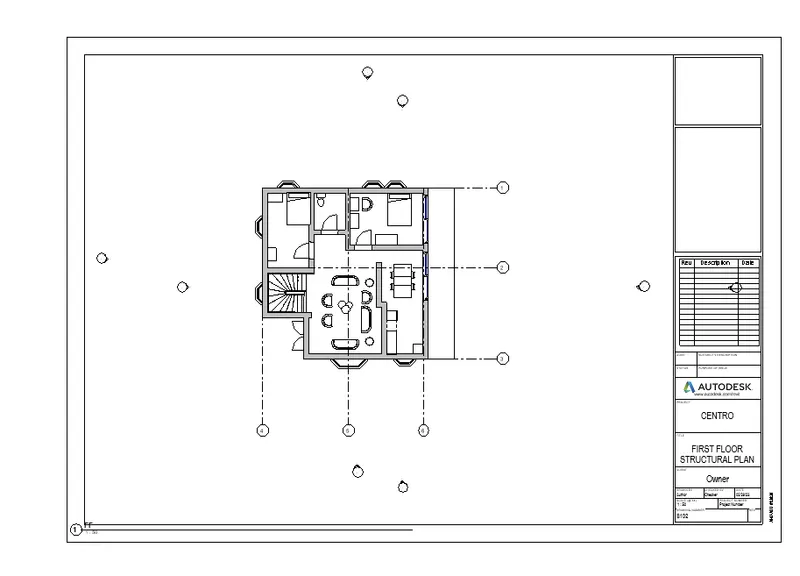
e. S 102- First Floor Structural Plan
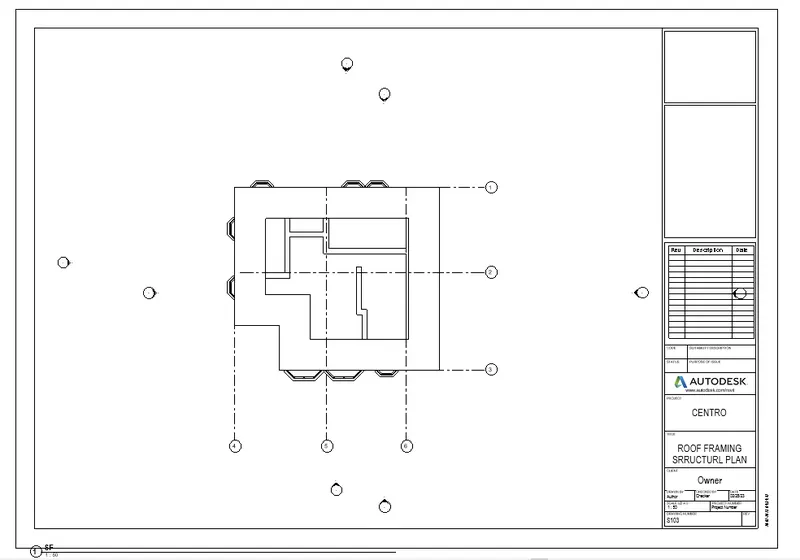
f. S 103- Roof Framing Plan
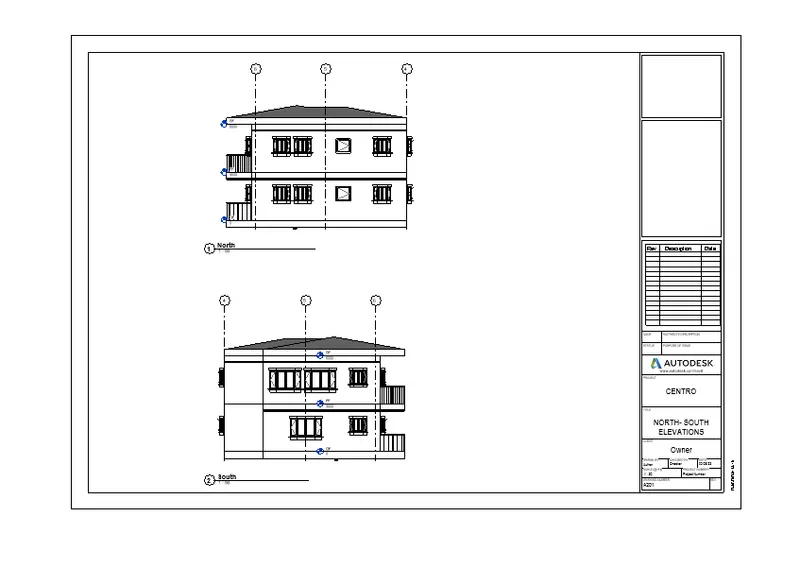
g. A-201- North-South Elevations
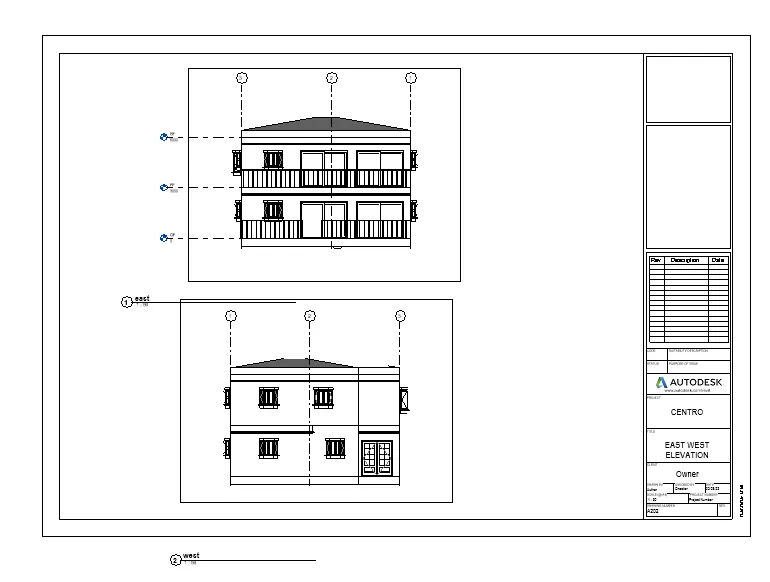
h. A-202- East-West Elevations
Steps:
Goto view tab.
Select sheets.
Click on new
a. A 101- Ground Floor Architecture Plan
Sheet: A101
A sheet will be created
Change the project name, and all the information needed.
This is how thw sheet are made.
b. A 102- First Floor Architecture Plan
c. A 103- Roof Plan
d. S 101- Ground Floor Structural Plan
e. S 102- First Floor Structural Plan
f. S 103- Roof Framing Plan
g. A-201- North-South Elevations
h. A-202- East-West Elevations
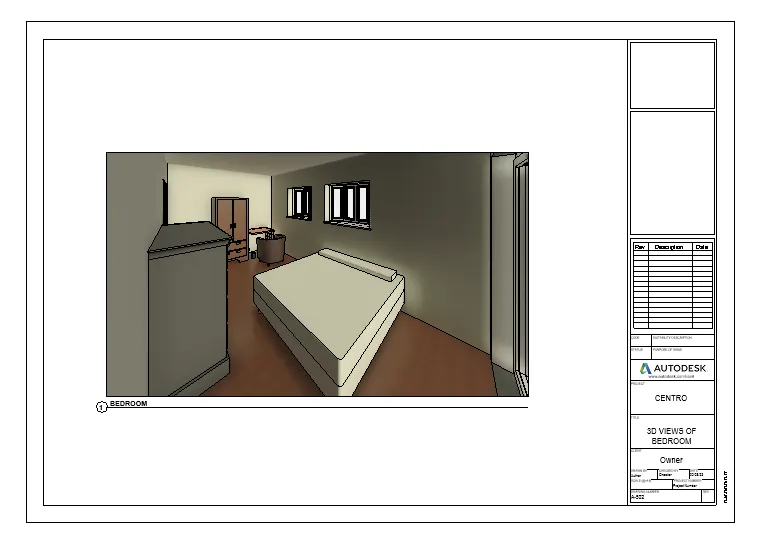
3D view of bedroom, living room, kitchen, living room.
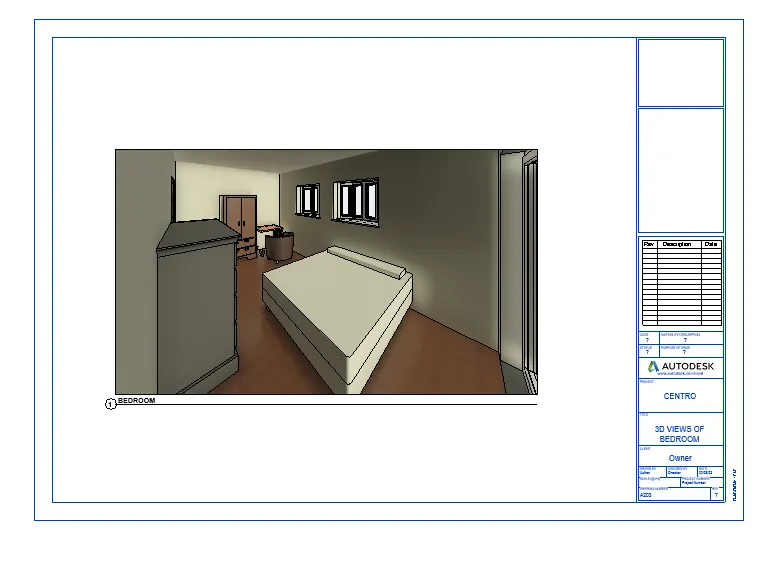
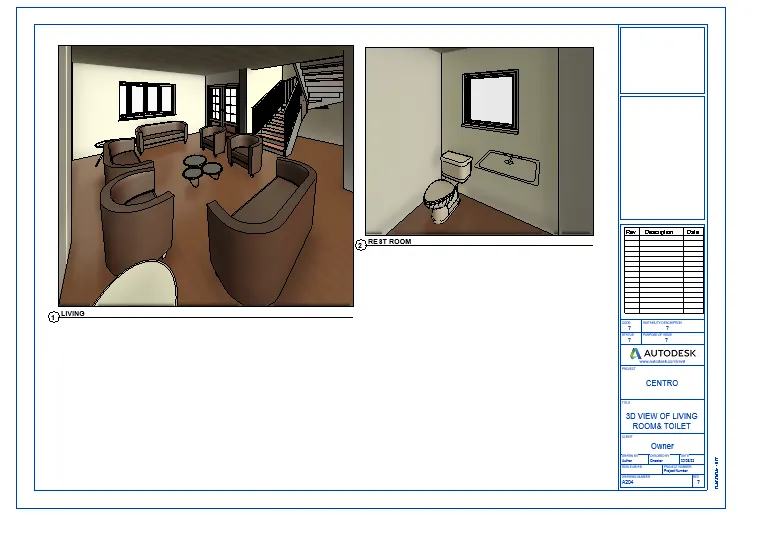
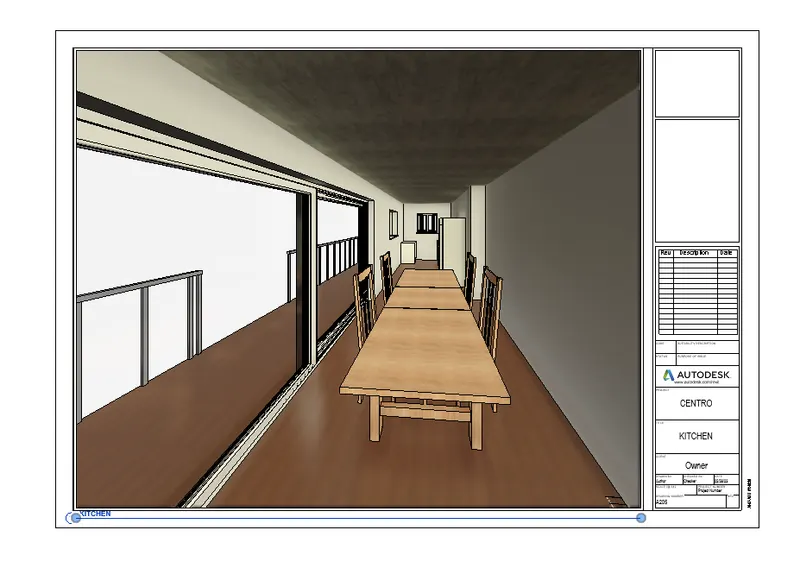
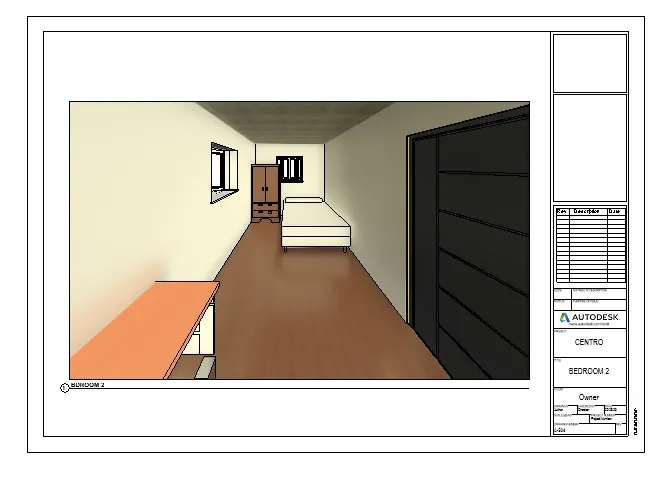
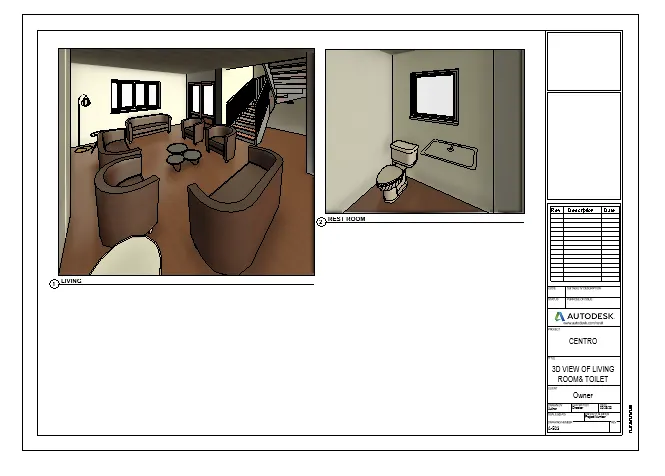
10) AIM: Create a camera-specific view or a 3D view in each room ( living, dining, bedroom). Based on the views create a new set of sheets starting A-501 (you can add as many sheets after, 502, 503.. n)to place the 3D view images. Produce the sheets as a part of project drafting.
Steps:
Goto view tab.
Select sheets.
Click on new
Sheet A501: 3D view of Kitchen
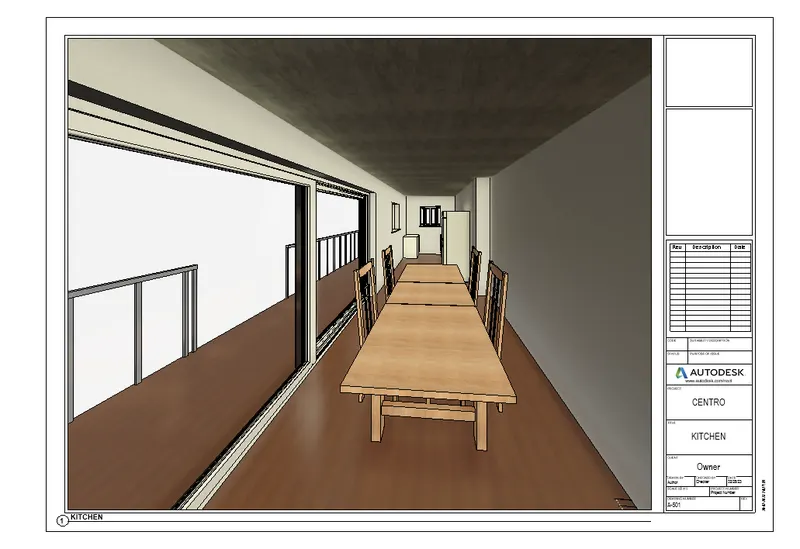
Sheet A502; 3D view of bedroom1
Sheet A503: 3D view of living room and toilet
Sheet A504: 3D view of bedroom 2