1D Connections for Automotive Door using ANSA
AIM :
To provide the necessary connections for the car door model.
OBJECTIVES :
Provide the following connections for the various regions of the door geometry.
- Bolt
- Welds
- Hinges
- Mass
- Weather Strips (Cbush Elements)
PROCEDURE :
The first and foremost step in the procedure is importing the door geometry into ANSA. The imported geometry is as shown.
Here, we use the ‘FE Perimeters’ function to recognize the un-defined CONS in the geometry as shown.
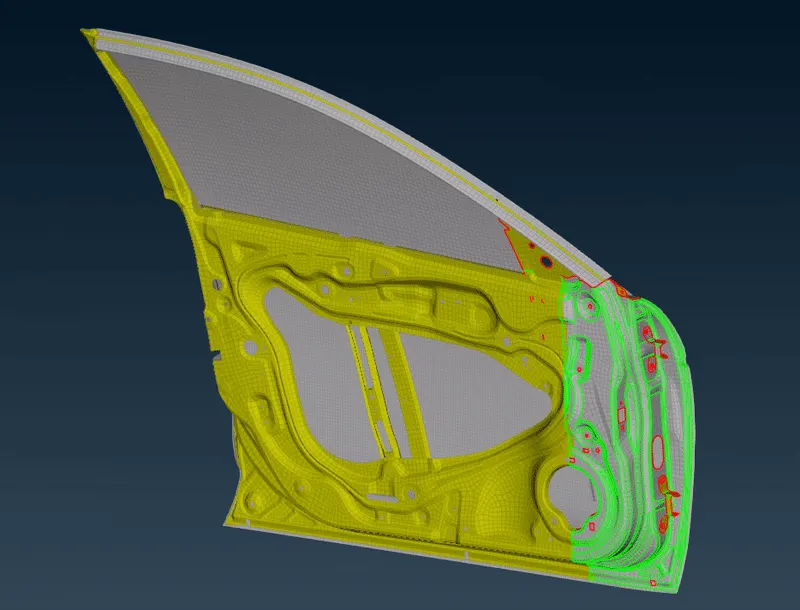
Further, we move on to creating the various connections for the geometry.
Bolt Connections :
Bolted connections are a type of structural joint used to join two or more structural components together. For the door model, we create bolt connections using 2 methods.
In the first method, we automatically create a bolt connection by using the following procedure.
- First, we create a 3D point by using the COG point option, so as to obtain our 3D point in the middle of the hole geometry.
- Next, we convert the 3D point into a bolt connection entity by using the ‘convert’ function in the assembly tab.
- By using the connection manager, we then assign the respective surfaces for P1 , P2 , P3 and P4 (if applicable), through which the bolt connection is required. By providing the value of search distance, we then realize the bolt connections.
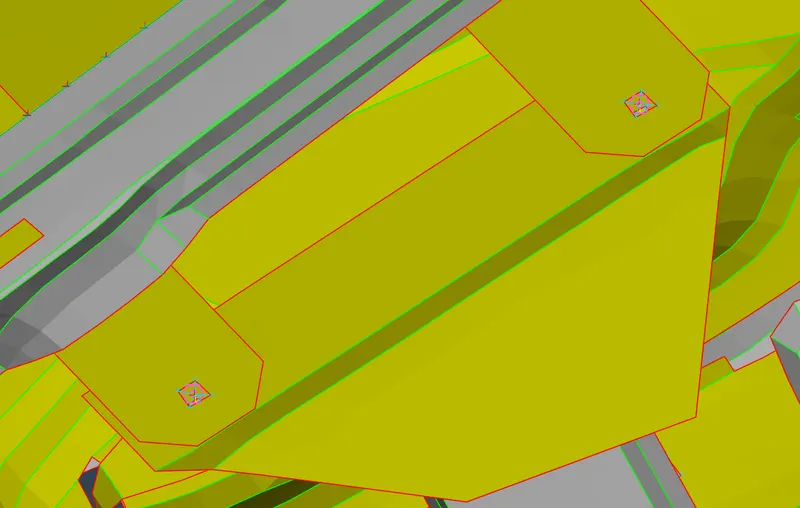
The following bolt connections are made across the geometry as shown.
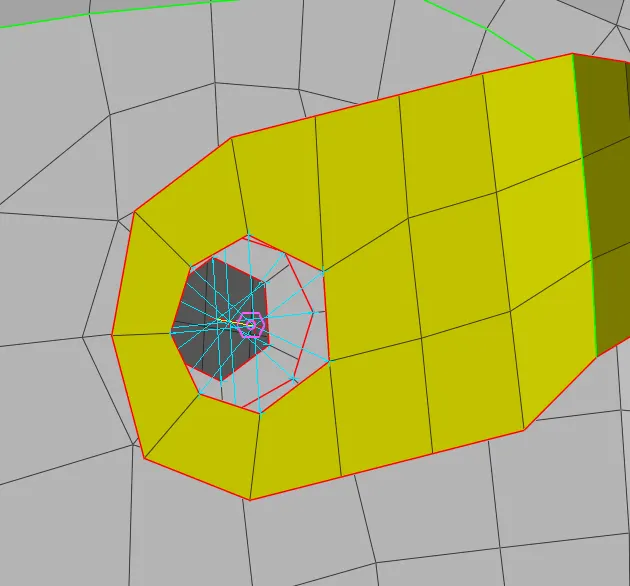
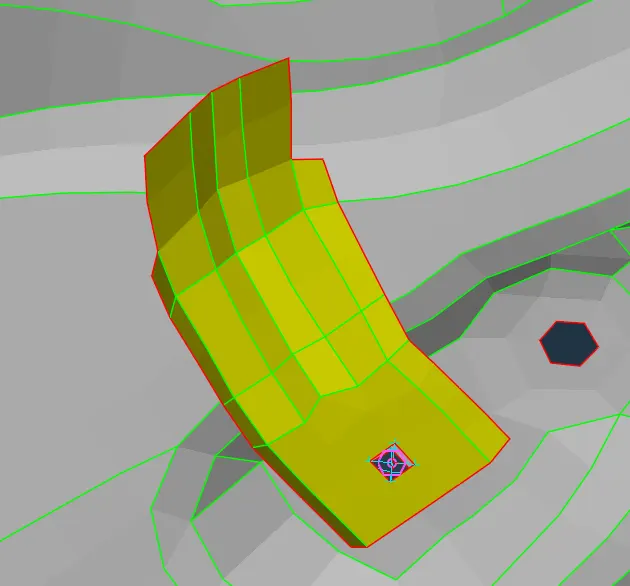
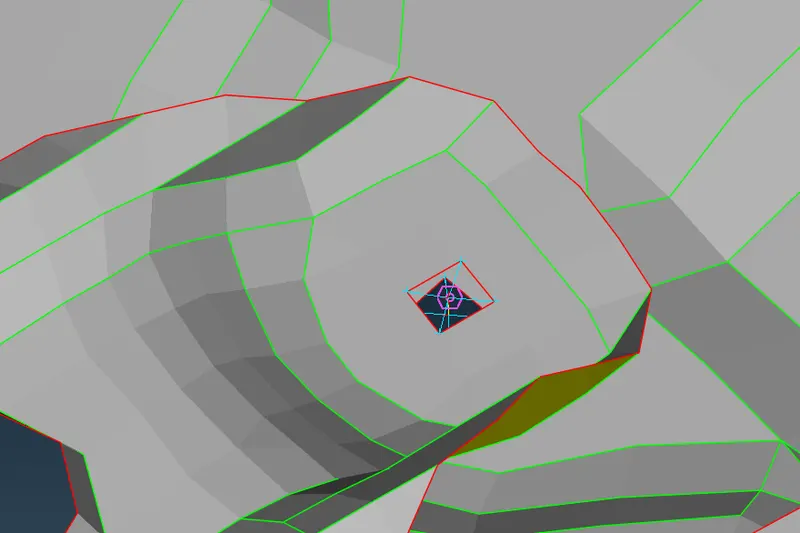
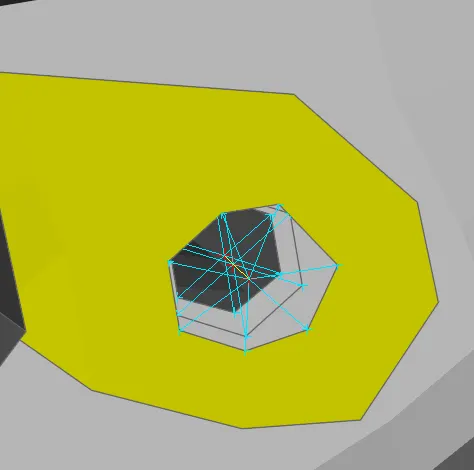
Similarly, we can create the bolt joints manually by using the NASTRAN solver deck as follows.
- In the NASTRAN deck, we use the RBE2 element (many nodes) to create a connection entity manually, for each of the parallel holes through which we require the bolt connection.
- Next, by using the RBE2 – 2 nodes function, we obtain connectivity between the centre nodes of the connection entities and thereby obtaining our bolt connection as shown.
Hinge Connections :
A hinge joint is a type of joint that exists in the body and serves to allow motion primarily in one plane.
Hinge connections are similar to bolt connections. The only difference being, in hinge connections – we free the degree of freedom in one direction.
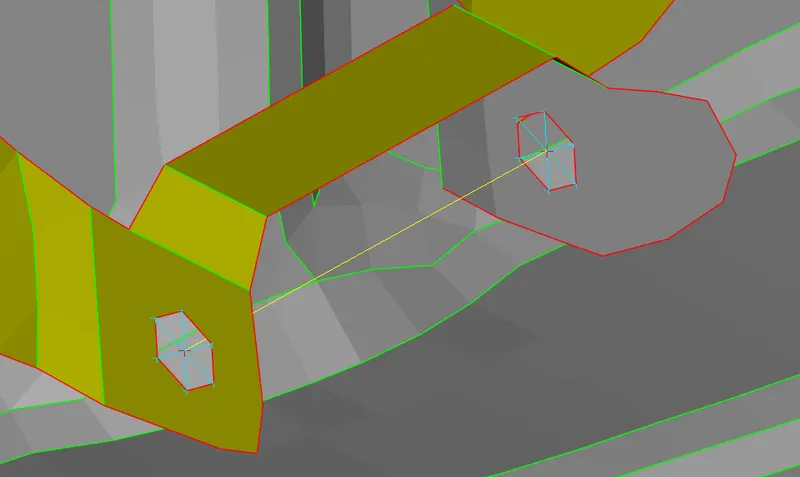
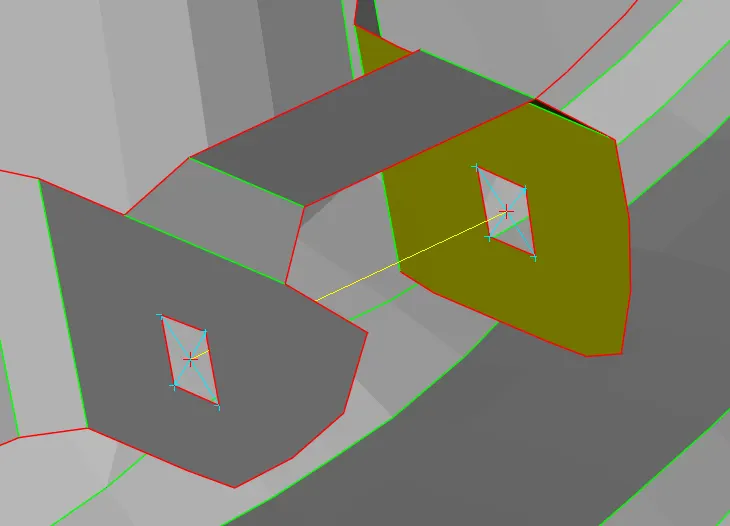
- By using the RBE2 – many nodes function in the NASTRAN solver deck, we create connection entities for both the holes, between which the hinge joint is required.
- Further, by using the RBE2 – two nodes function, we obtain connectivity between the 2 hole entities. Before finalising the connection, we reduce the degree of freedom (CM) from 123456 to 12345, and thereby obtaining our hinge connection.
The following hinge connections are made in the geometry.
Weld Connections :
Welding is used to produce a solid connection between two or more parts that are joined at their contacting surfaces by a suitable application of heat and/or pressure.
In application, two types of welds are used for this model.
1. Spot Weld
The contacting metal surface points are joined by the heat obtained from resistance to electric current.
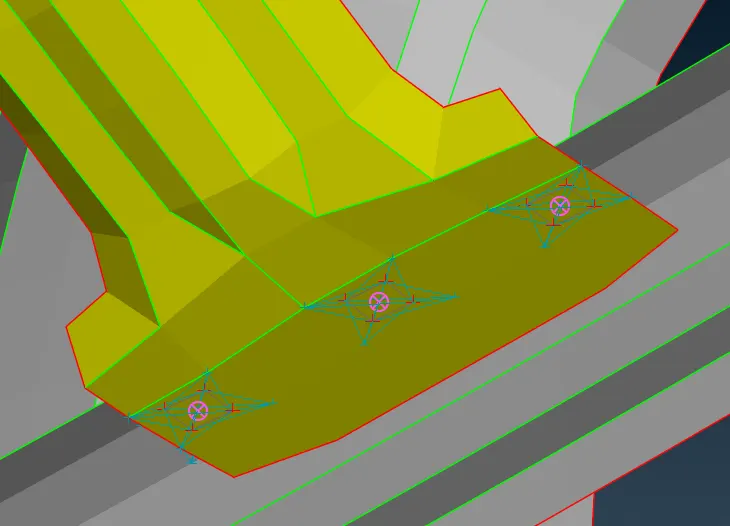
- To obtain a spot weld, we first create a 3D point where the weld is required. This 3D point is then converted into a spot-weld point.
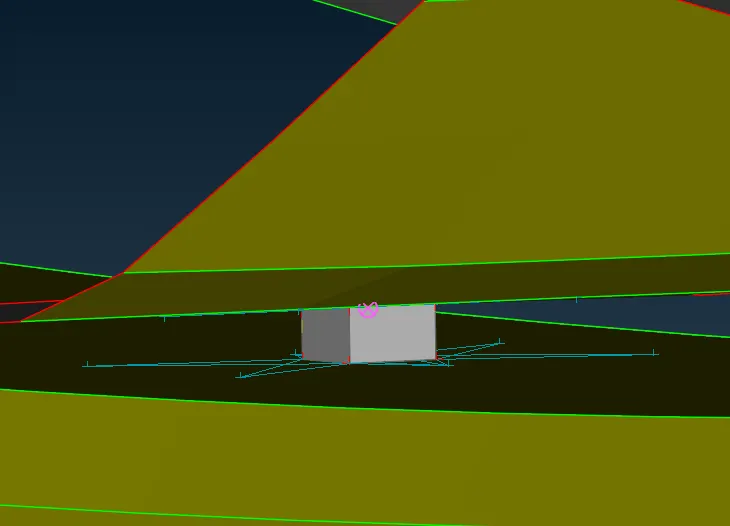
- Next, by using the connection manager, we assign the 2 surfaces between which the spot weld is required as P1 and P2. We select the FE representation type as RBE3-HEXA-RBE3.
- By providing the search distance value and also creating a new PID for the welds, we thereby obtain our spot weld joint as shown.
2. Seam Weld
Joining of work pieces made of similar or dissimilar materials along a continuous seam.
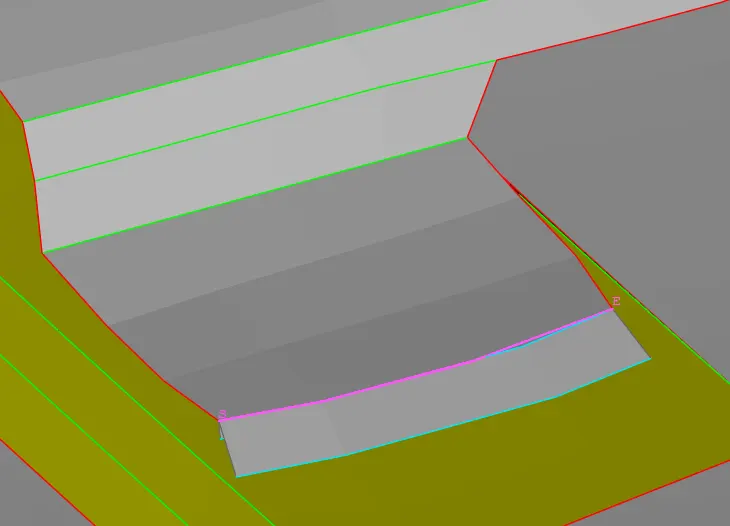
- To create a seam weld, we first convert the edge of the geometry where the seam weld is required, into a curve by using the ‘Feat2Curve’ Further, we convert this curve into a seam-line.
- Next, in the connections manager we assign the surfaces P1 and P2 respectively. We select the FE representation type as overlap shell (for parallel surfaces) and Y-joint shell (for perpendicular surfaces).
- We provide the search distance and also select the appropriate base sheet. We provide the weld width to be the same as that of the target mesh length.
- A new PID is created and the seam weld is thereby realized as shown.
Door Handle Connection :
In this procedure, we create a connection to represent a door handle.
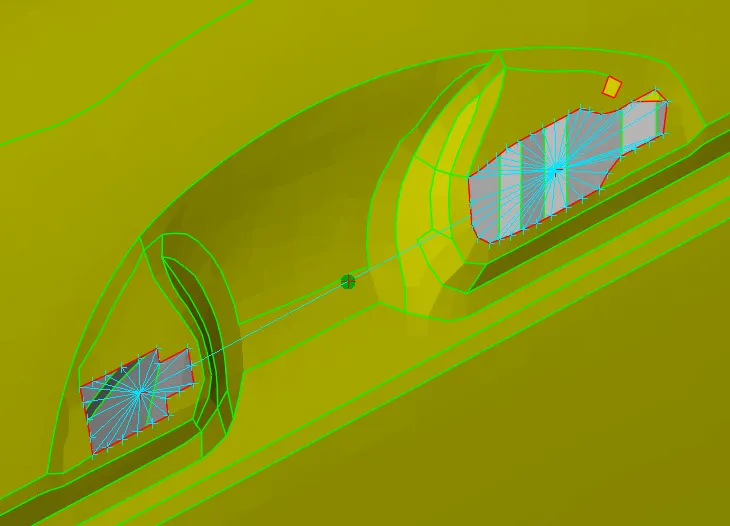
- In the first step, we create cluster RBE2’s for both the holes of the door handle. By using the RBE2 – 2 node function, we create another cluster RBE2 connecting both the connection entities.
- To the connecting entity, we next assign a load/mass specification. This is done by using the ‘CONMi’ function in the NASTRAN deck. The connecting node is selected and a mass (M11) of 10 kg is assigned to it.
Weather Strip (C-Bush) Connection :
Weatherstrip is basically a rubber material that seals the edges of the vehicle's doors, windows, windshield and other areas which prevent outside elements such as rain, snow, wind and pests from reaching the inside of the vehicle.
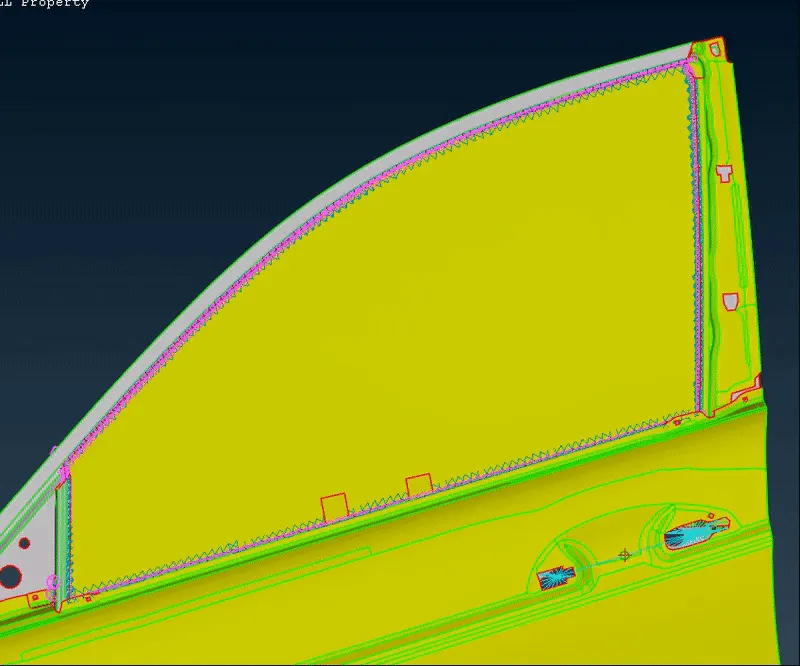
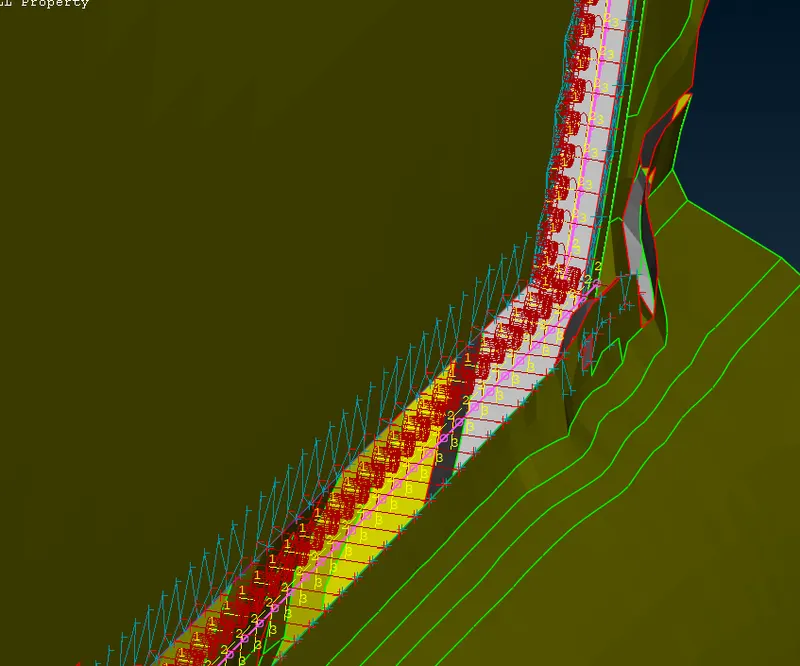
In order to represent this, we use a C-Bush connection around the windows of the door as follows.
- By using the ‘Feat2Curve’ option, we create a curve representing the path of the weather strip surface. Next, we move the curve by a particular distance, such that it is in the middle of the 2 surfaces inbetween which we require the C-Bush connection.
- Next, we convert the curve into a spot-line such that the C-Bush is obtained on both sides of the curve.
- Using the connections manager, we provide the spacing value (S), assign surfaces to P1 and P2 and finally assign the FE representation type as RBE3-CBUSH-RBE3.
- The search distance value is provided and a new PID is created and thereby, our C-Bush is obtained on both the sides as follows.
CONCLUSION :
The various connection entities such as bolt , welds , hinge and c-bush connections have been obtained for the given car door geometry at various sections as shown above.
Final Model File : https://drive.google.com/file/d/1ZQSWBI3cWF_26cPyOG8y-zpU-vdMOjw3/view?usp=share_link