Wiring harness routing & packaging Rules Week 3 Challenge
WIRING HARNESS ROUTING & PACKAGING
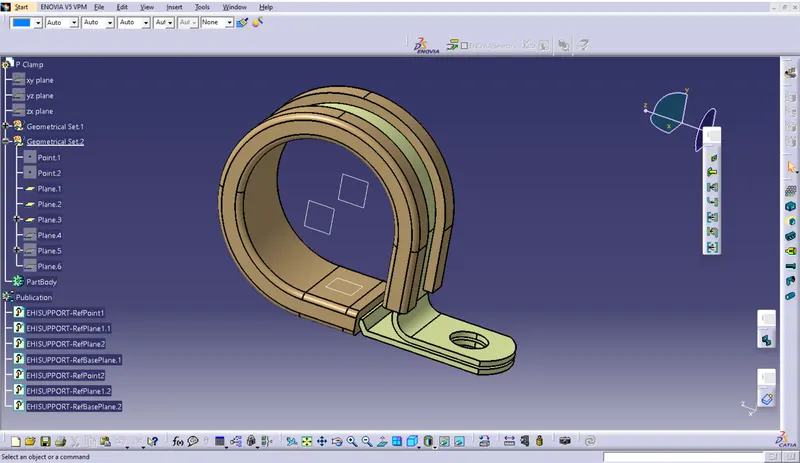
Q1. Download following cad data & define it as Electrical support using Electrical Part design Workbench. Define all the necessary properties.
Procedure:
- Create Entry and Exit point
- Create two plane at the point and another plane in the base
- Switch into electrical part design
- Click on support defination - select part - select entry point - select entry plane, exit and base plane.
- Again Click on support defination - select part - select exit point - select exit plane and base plane as secondary plane is automatically taken.
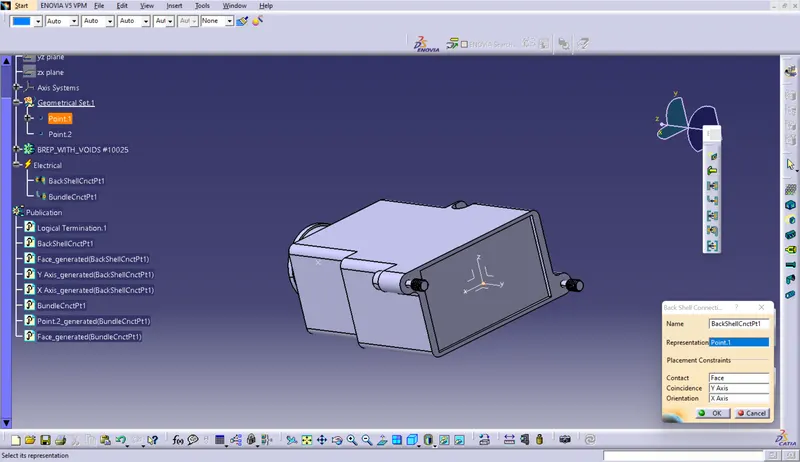
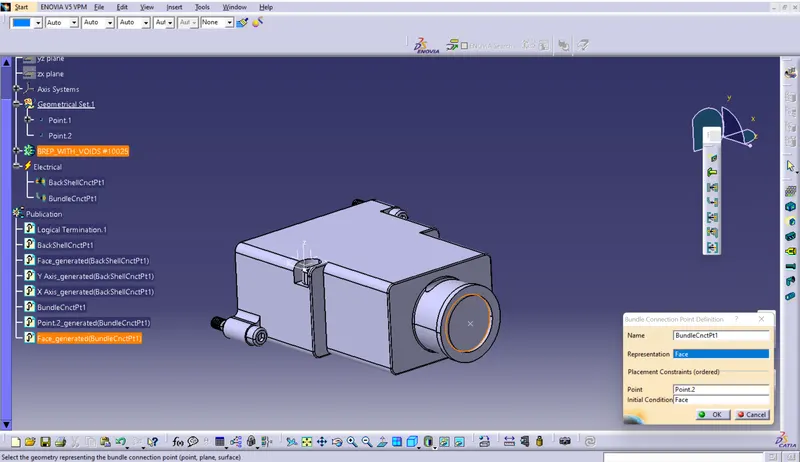
Q2. Download following Back shell cad data & define it as Electrical back shell using Electrical Part design Workbench. Define all the necessary properties.
Given Deta
Tyco 1738312-1 https://www.te.com/usa-en/product-1738312-1.html
Procedure.
- create Back shell entry point.
- create axis system for back shell entry.
- create bundle connection point.
- switch to Electrical part design.
- Define part electricaly as back shell.
- Then define Back shell connection point.
- Define bundle connection point.
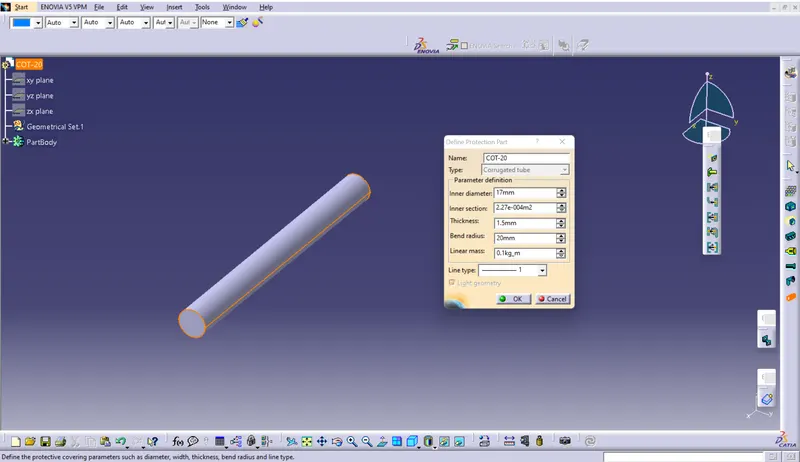
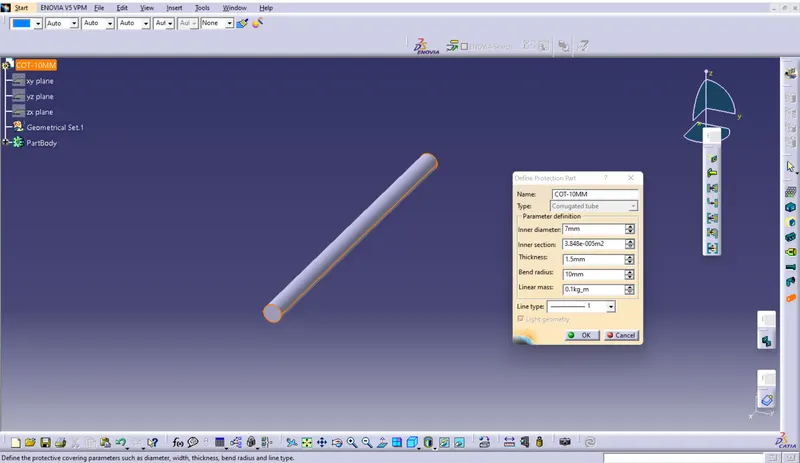
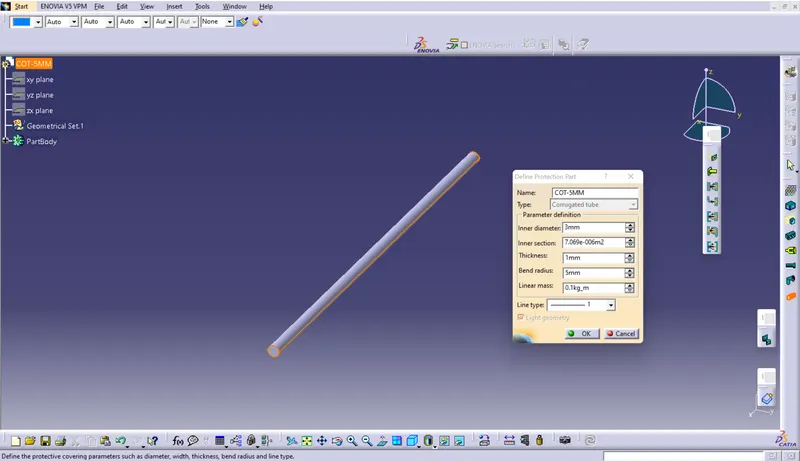
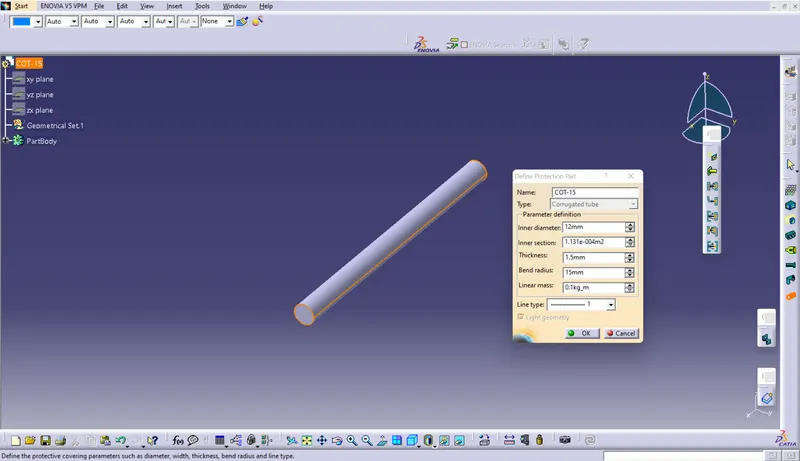
Q3. Create Following Corrugated tubes & Add them in Catalogue under “Slit COT” family.
|
Name |
ID (mm) |
OD (mm) |
Thickness (mm) |
|
15mm COT |
12 |
15 |
1.5 |
|
20mm COT |
17 |
20 |
1.5 |
|
35mm COT |
32 |
35 |
1.5 |
|
10mm COT |
7 |
10 |
1.5 |
|
5mm COT |
3 |
5 |
1 |
Procedure:
- Switch to Electrical part design
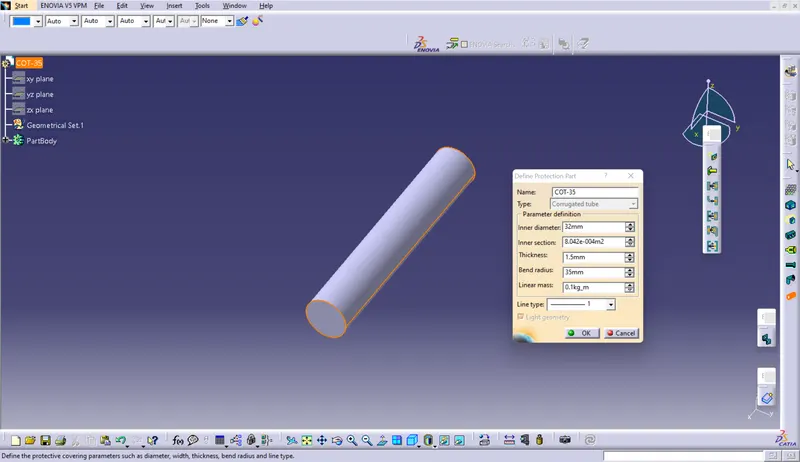
- Select Define protection Part
- Click on part (on file name in specification tree)
- Provide given parameters and bend radius as '1.5 x Outer Dia'.
Catalogue Cretation:
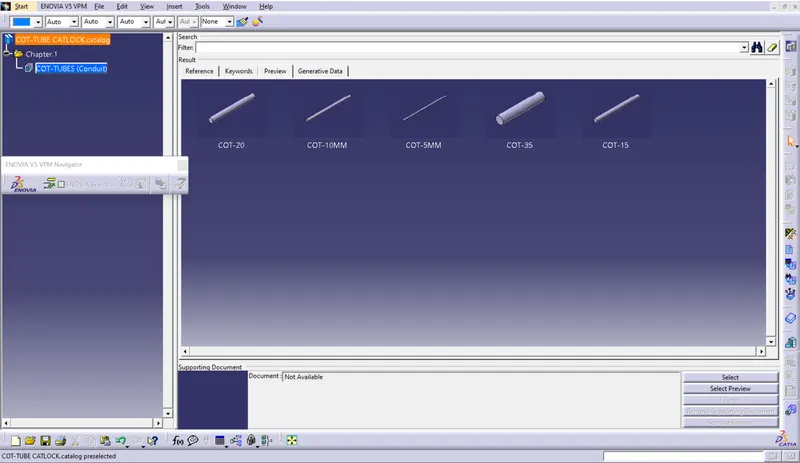
- new part - catalogue document - add family - give name - type - select Conduit - save.
- Open part to add catalogue - store device command - select catalogue - family - Slit_cot_tube - ok