Wiring harness design in CATIA V5 - 3D modeling Week 7 Challenge
AIM
To flatten the harness assembly that was finished for the "Week 4 challenge". Ensure that bundle with protective coverings have distinct visuals on the drawing view by placing the flattened view on the drawing sheet.
PROCEDURE
- Acquire the CAD files for the required connectors.
- Convert the acquired mechanical parts into electrical parts by the following steps,
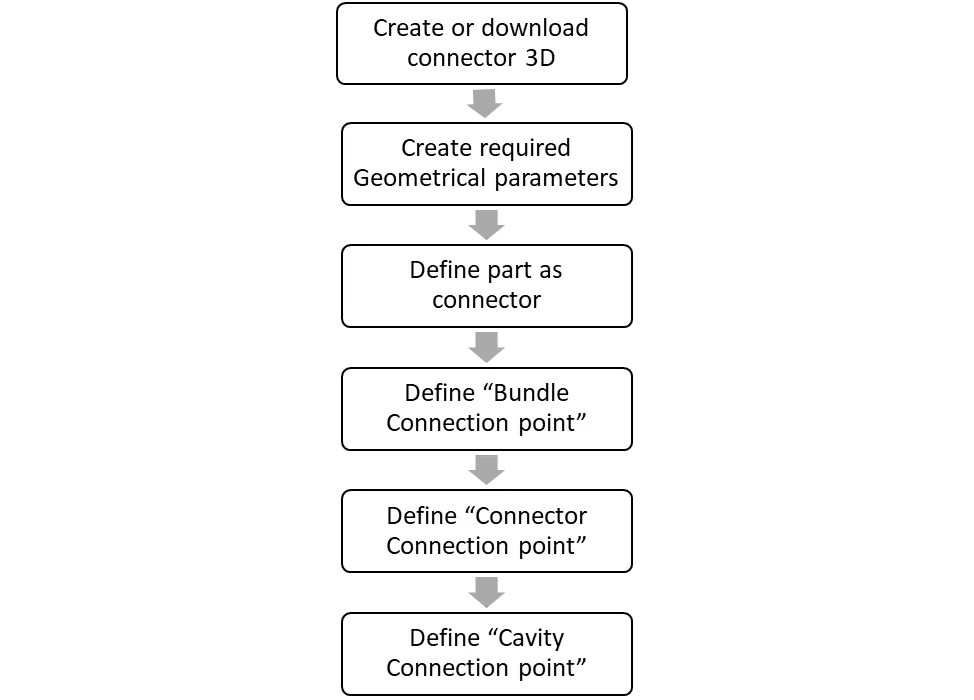
- After converting it into electrical parts, Bring all the converted connectors into the electrical harness assembly workbench.
- Then, place all the connector in the required position using move, snap, translate or rotation command.
- Route it by giving route definition.
- Then provide protective covering in the required place.
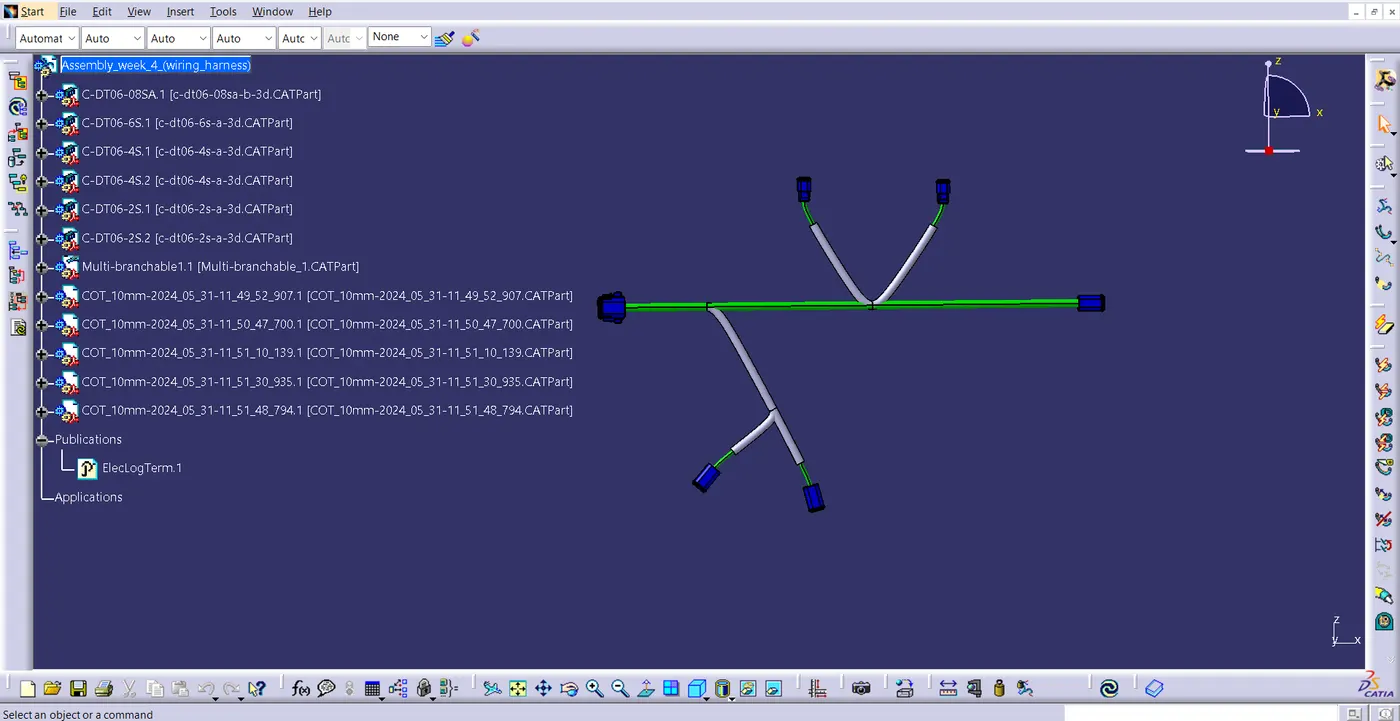
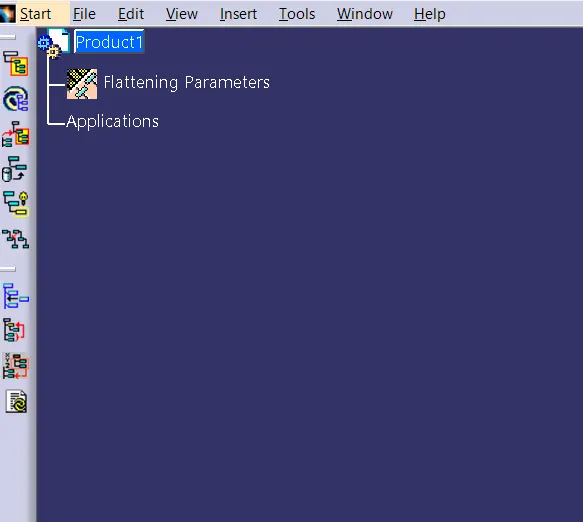
- After completing the assembly, open a new product file in Electrical Harness Flattening workbench.
- Using the Harness flattening parameter, define the required parameters like Plane, flattening Orientation and drawing.
- Bring the assembly to the Flattening workbench with the help of Extract command.
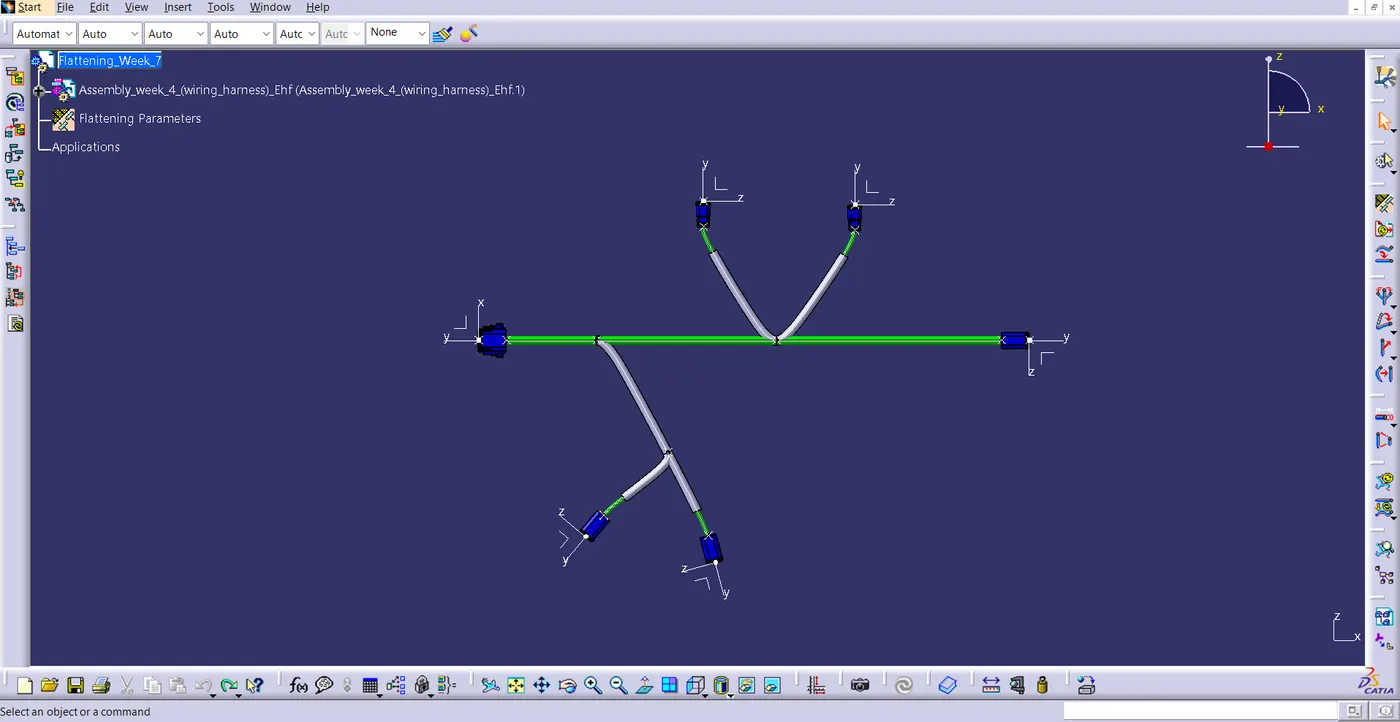
- Then, using the Flattening command, Flatten the branches by selecting the branches and the required plane.
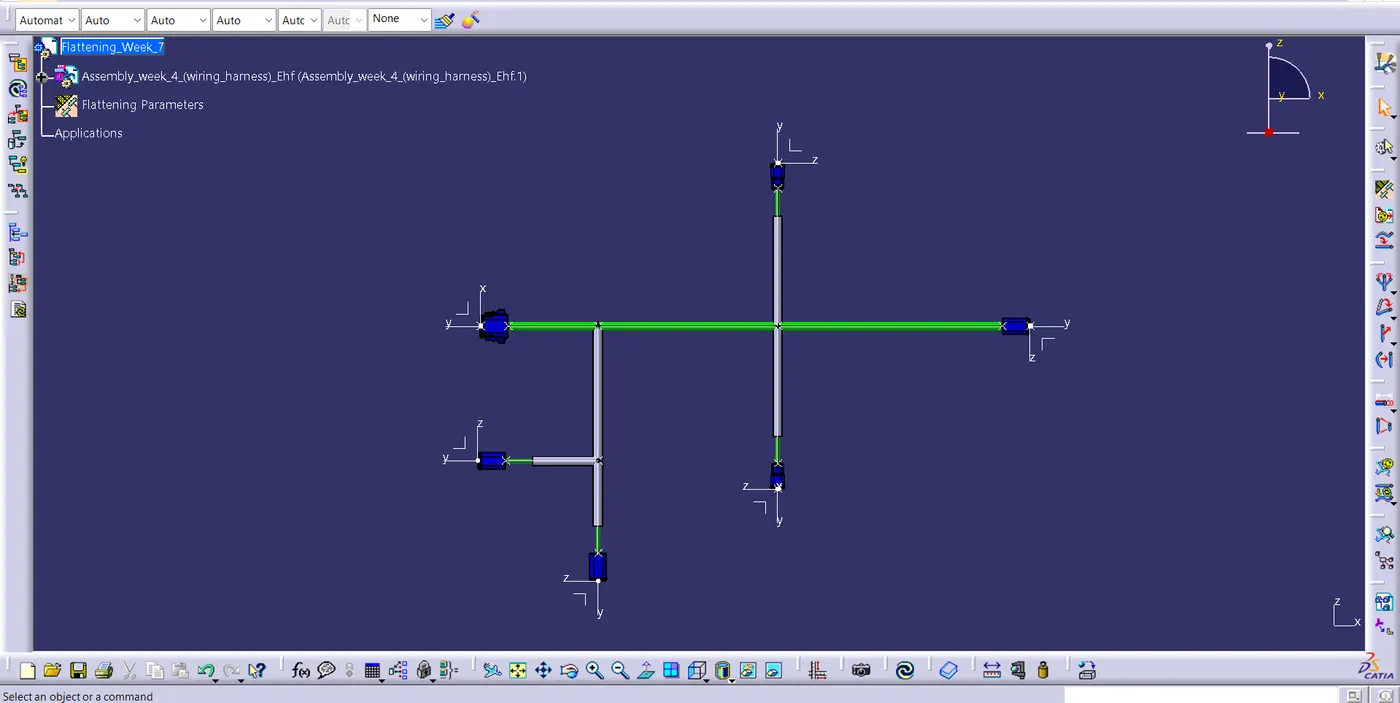
- Using the commands like rotate and scale change the it to the required position. Flattening is completed.
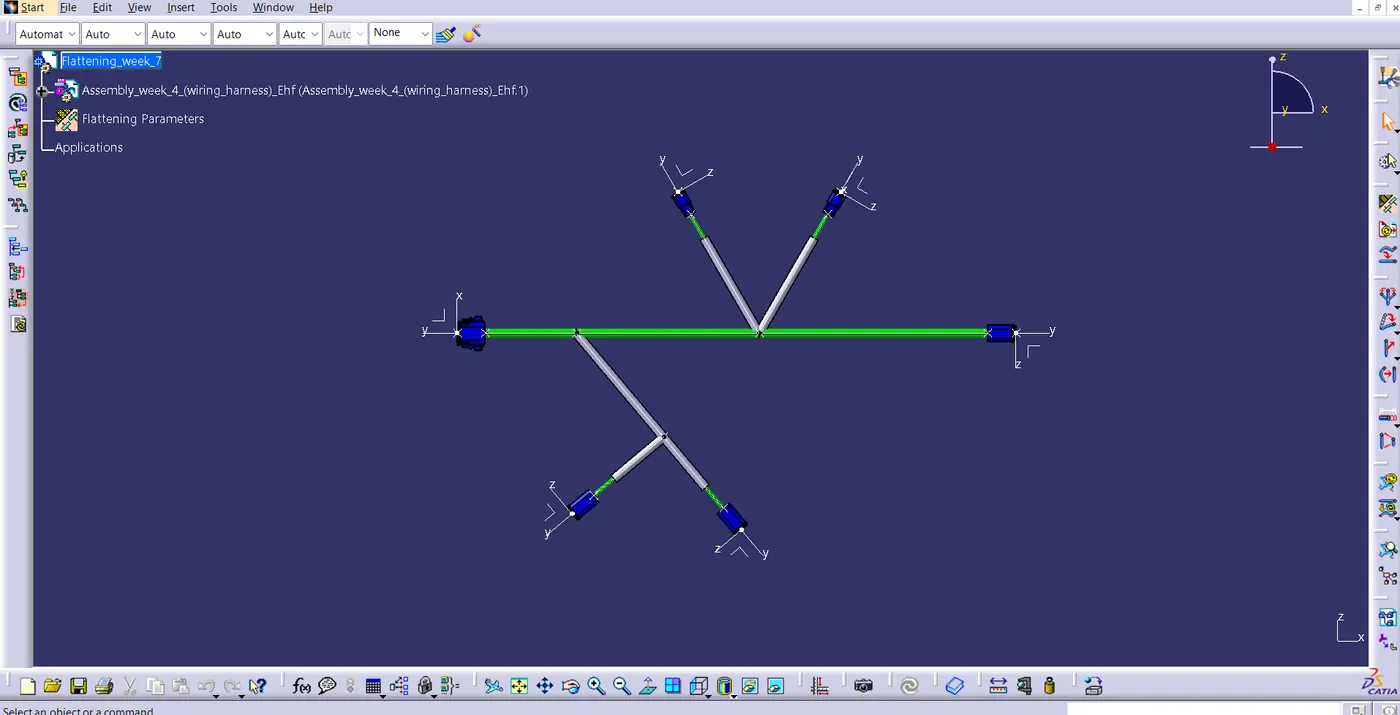
- Open the new file in drafting workbench, to create the drawing of the flattened wiring harness.
- Using the Front View command, insert the front view of the flattened wiring harness.
- I have depicted both drawing with and without 3D colour below.
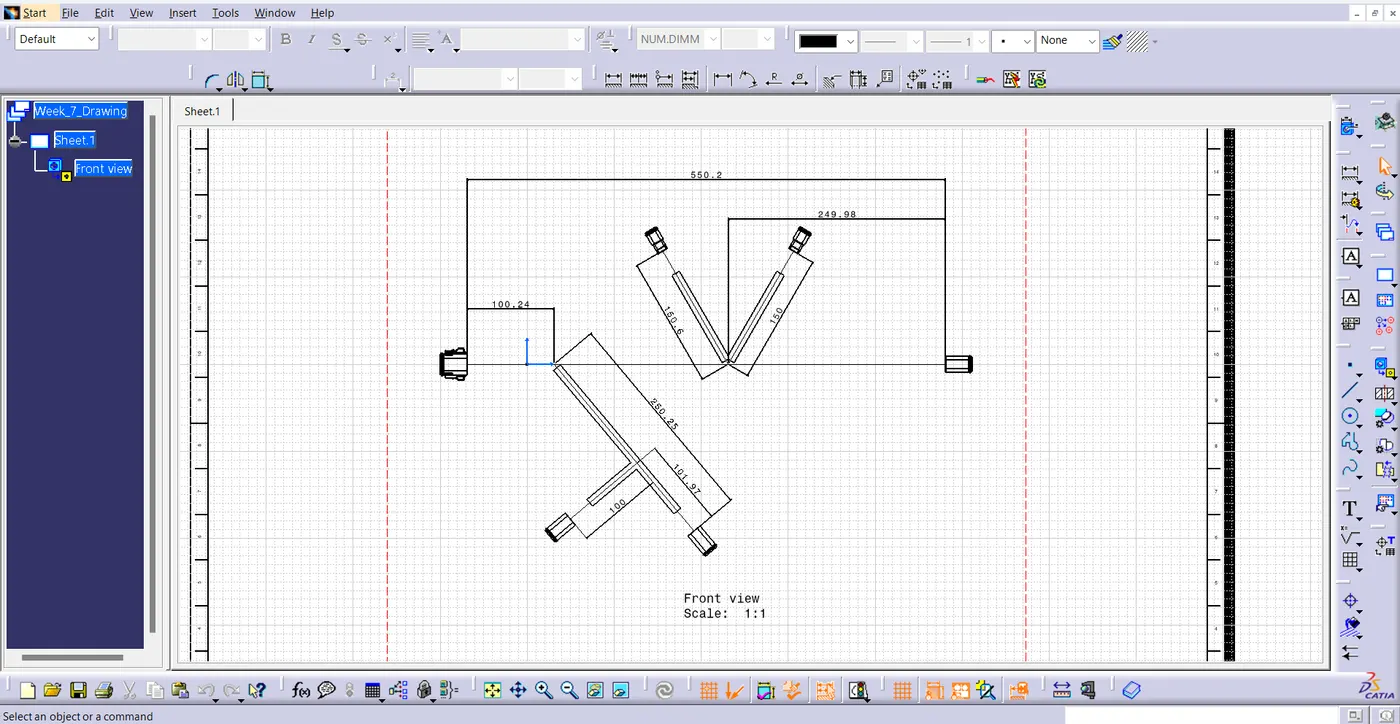
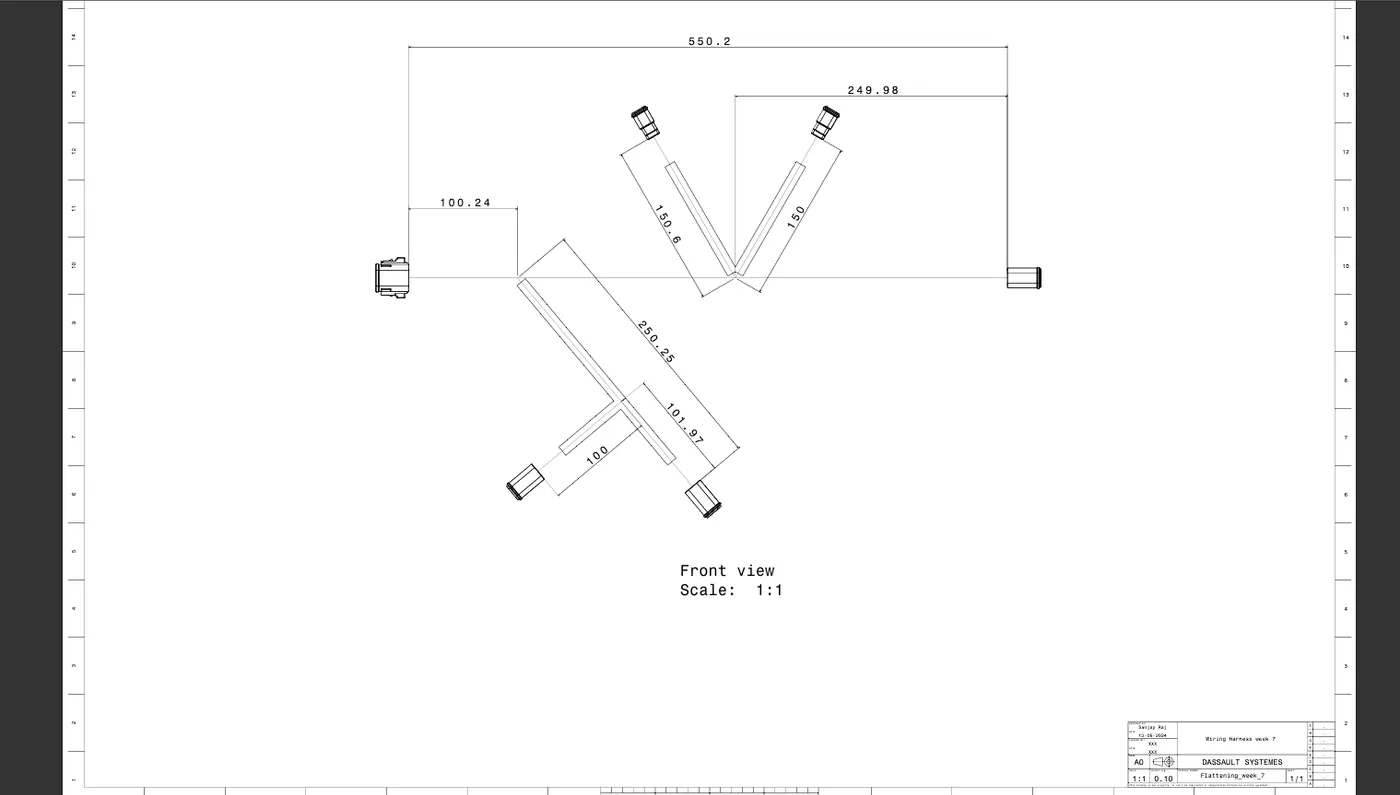
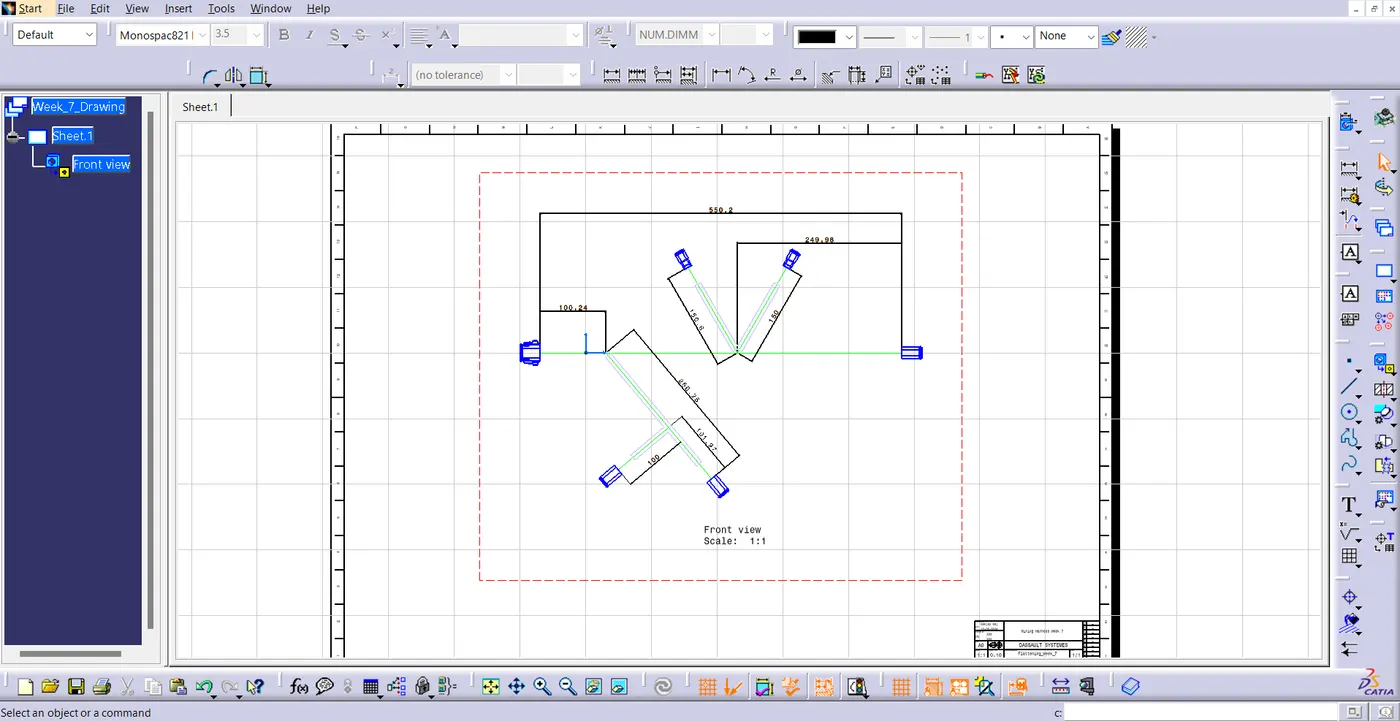
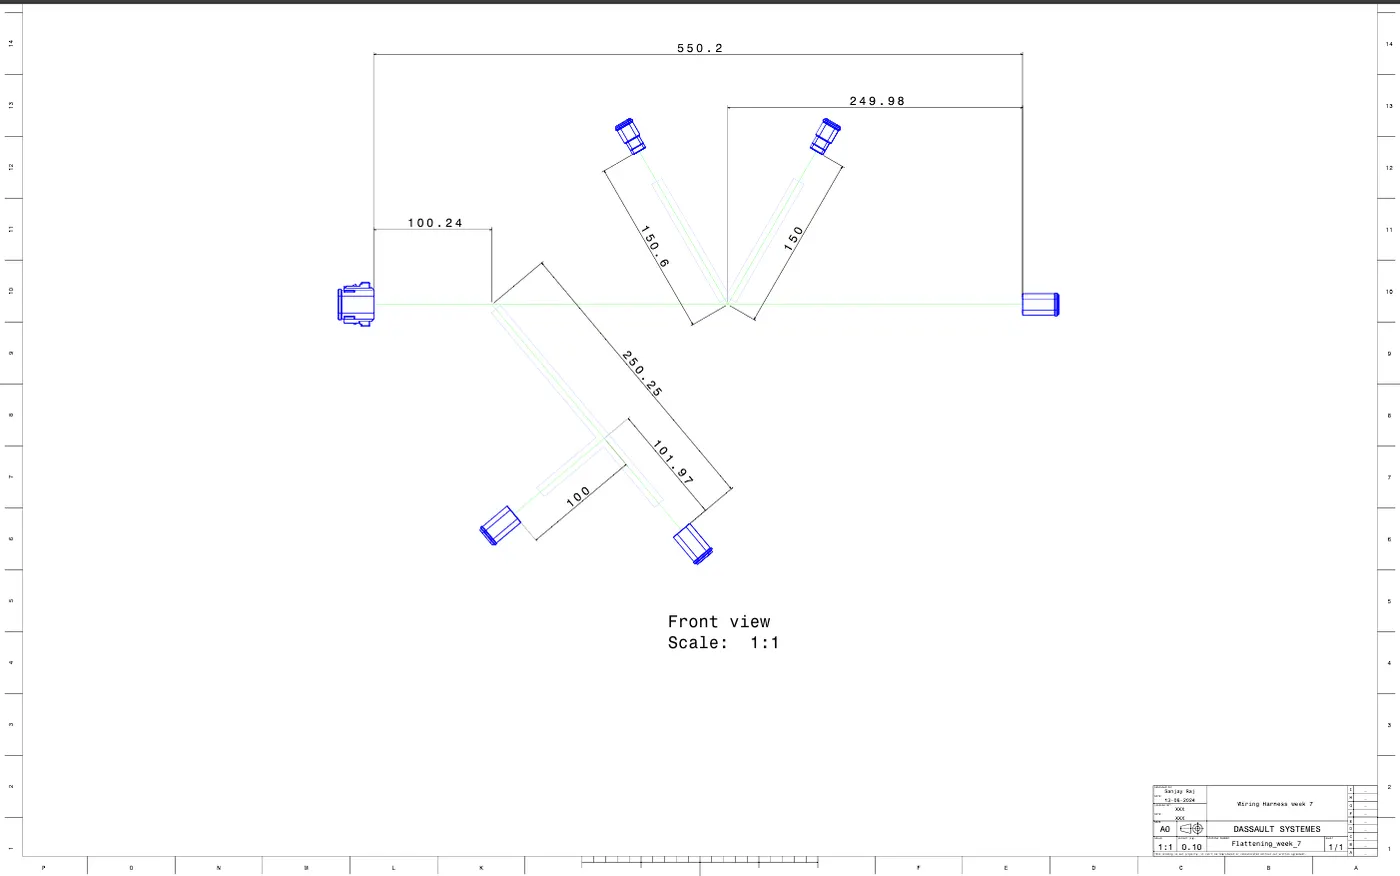
Result
Flatten the harness assembly is completed using CATIA V5. Ensured that bundle with protective coverings have distinct visuals on the drawing view by placing the flattened view on the drawing sheet.