Wiring harness design in CATIA V5 - 3D modeling Week 7 Challenge
REPORT
Design of wireharness flatenning in catia v5
INTRODUCTION:
The wiring harness flatenning consists of assembly of geometrical bundel to from flatten bundel to get 2D drawing details. for the mechanical wire harness, assembly of geometrical bundel is the main component.
In the present project, the wiring harness for the following mentioned figure.
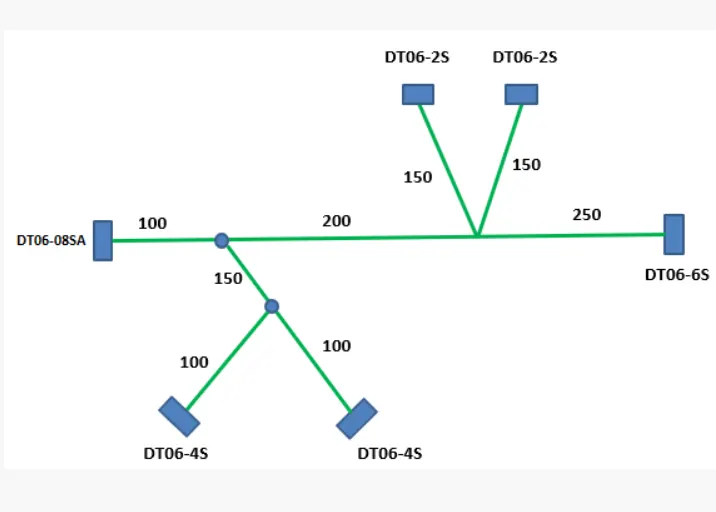
Assign electrical properties to connectors:
The required connectors are downloaded from the te.com. The electrical properties are given to all connectors using electrical part design workbench.
1) Go to electrical part design.
2) Define the connectors by using connectors command.
3) Define the connectors connection point and bundels connectors point to the connectors.
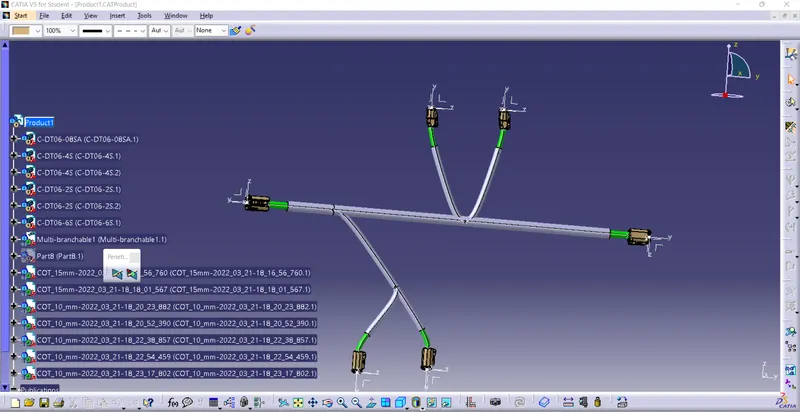
Creating wiring harness:
1) create the assembly of geometrical bundel product in catia v5.
2) open all the required connectros in to the geometrical bundel assembly product. note that all the connactors must be electrically defined.
3) As mentined in figure, the connectors are placed at the required positions using some commands like snap, smart move , coordinate system and manupulation.
4)Now enter in to the wiring harness assembly workbench.
5) Click on multibranchable document, give the branch diameter and the bend ratio. open the route definition and connect the bundel connection point.
6) To give the routing from main branch use add branch ponits on the bundel at the required location and give the subbranch.
7) Now, add the corrugated tubes which are created and saved in COT_tube catalogue.
8) Cover all the branches with corrugated tubes and provided extremity point.
CREATEING WIRING HARNESS FLATTENING:
1) open new product file.
2) Go to the electrical harness flattening workbench. select the harness flattening parameters and select the excat options that we needed.
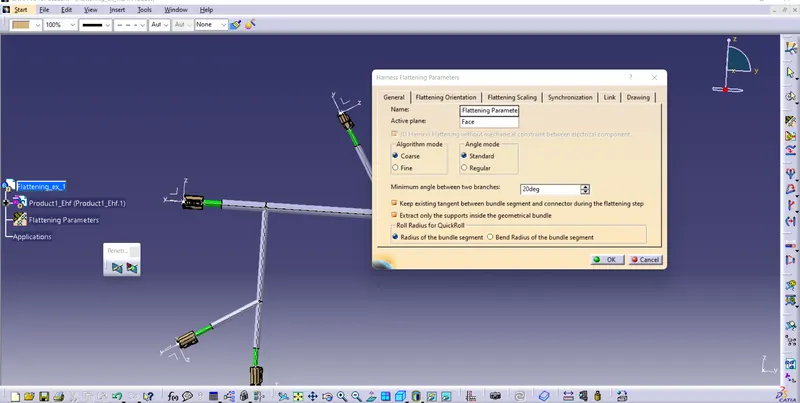
3) change the parameters accordingly in general and drawing options.
4) make the window vertically and place the geometrical bundel in another window.
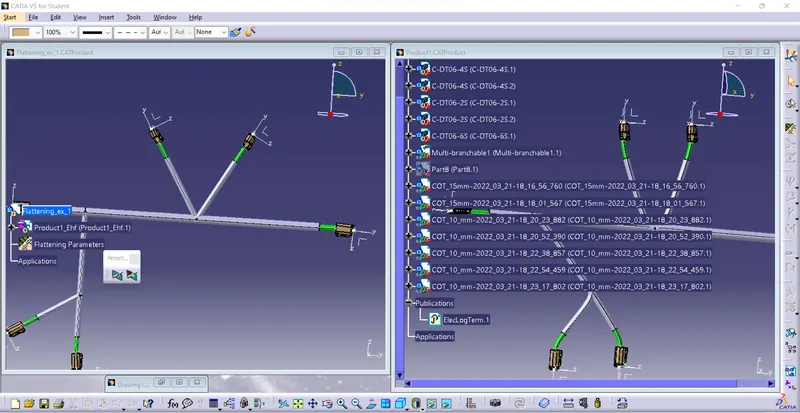
5) Extract the geometrical bundel in to the electrical harness flattening window. now the geometrical bundel name is changed in to the geometrical bundel Ehf (electrical harness flattening).
6) so the next step is we have select the flatten command and select the bundel, enter the geometrical bundel will be flatten.
7)There are other components like rotate, roll, quick roll, synchronise , scale etc, which helps to modify the flatten bundel to our requirements.
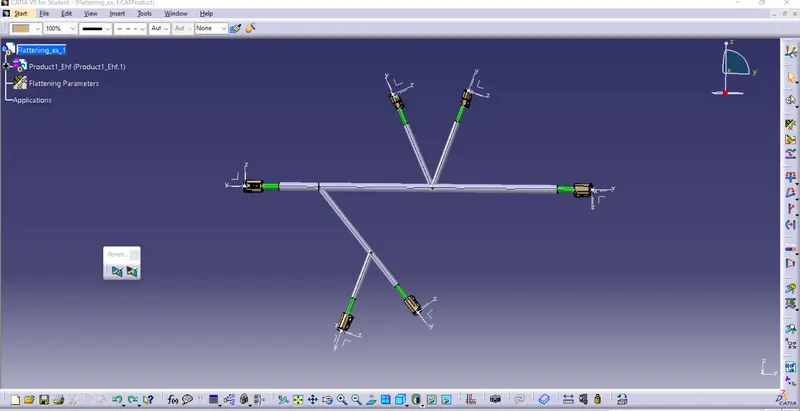
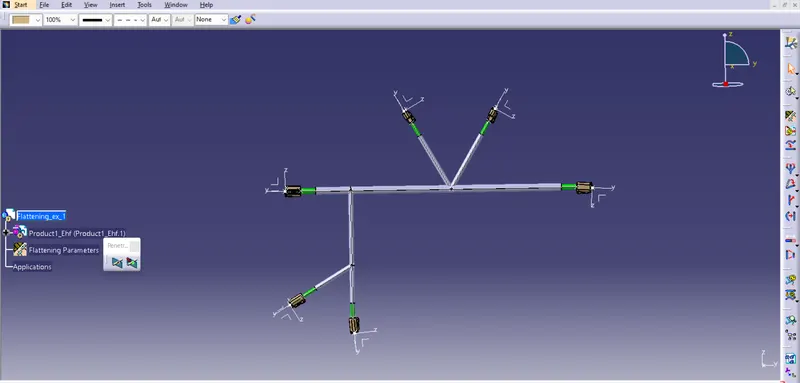
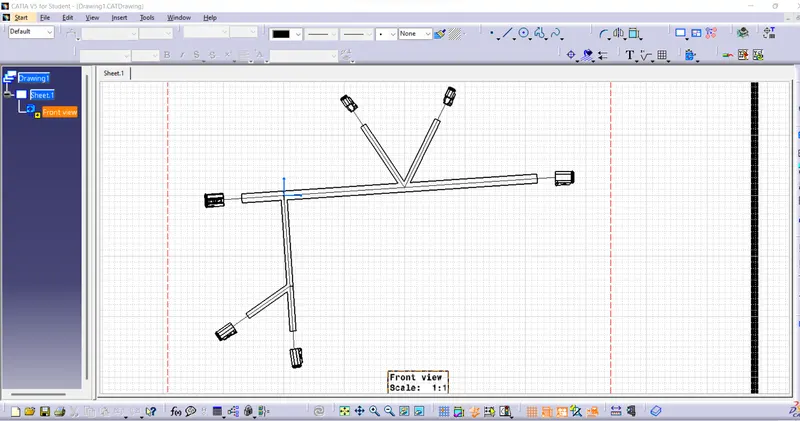
2D DRAWING:
For 2d drawing go to the drafting work bench. select the front view and get the flattening in to the drawing worksheet then change the properties into the 3D in the drawing option.